Stuffed animals bring joy, color, and warmth, but let’s be honest, they can also take over every surface if we don’t stay ahead of them. If you’ve ever tripped over a teddy bear army or felt guilty hiding plush friends in a closet, this list is for you. These DIY stuffed animal storage solutions will help you organize, display, and celebrate your collection.

Most ideas are easy weekend projects, using things you probably already have at home. Let’s make your space cozy, creative, and clutter-free!
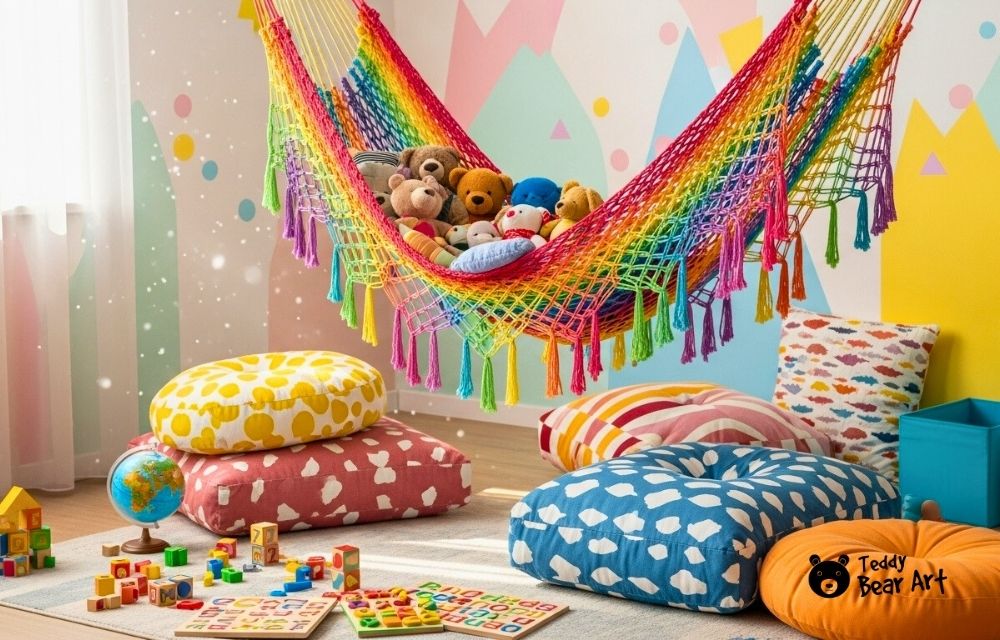
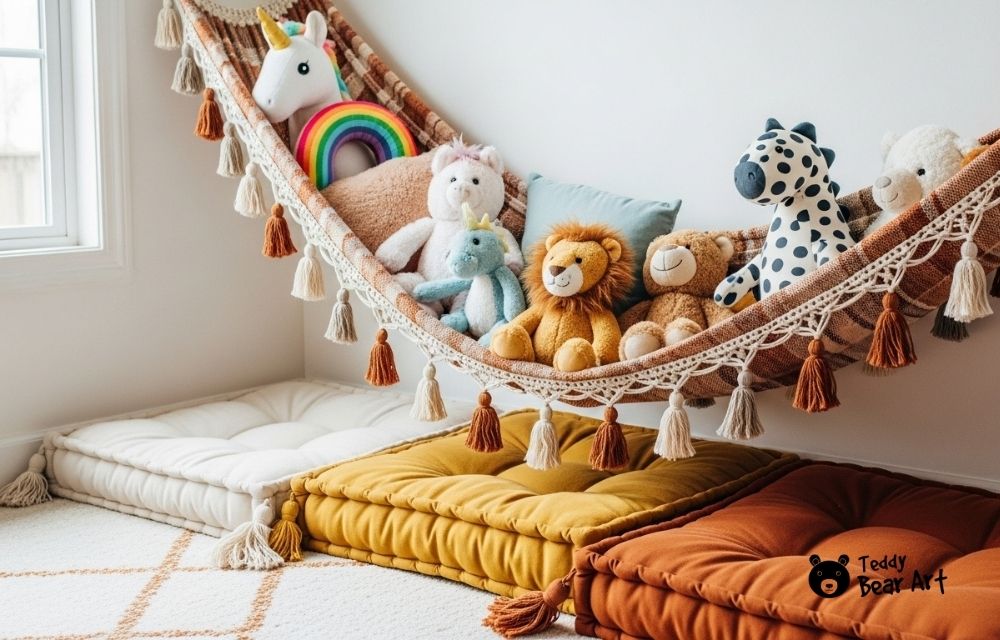
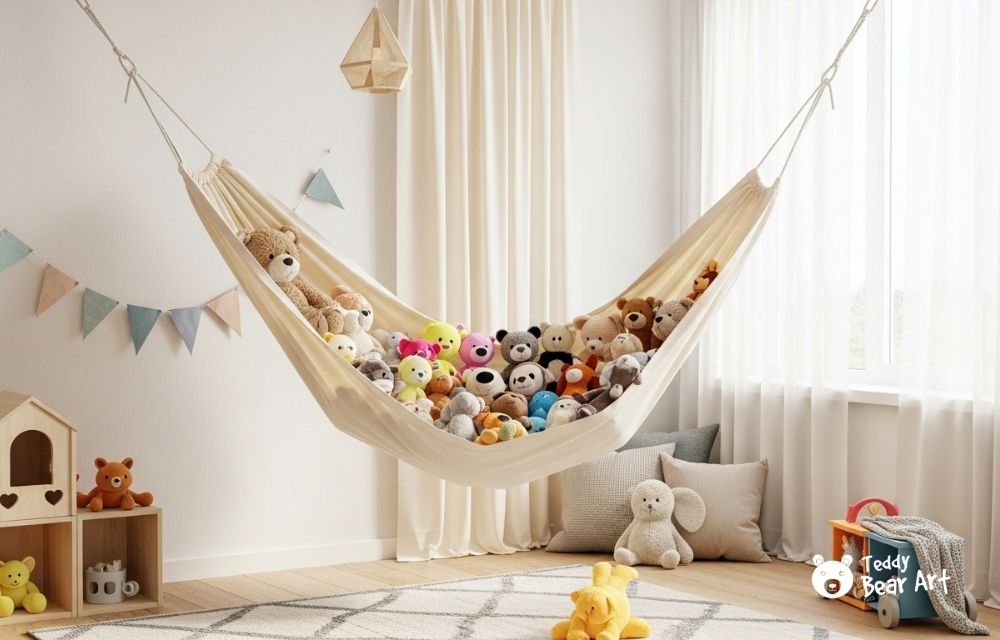
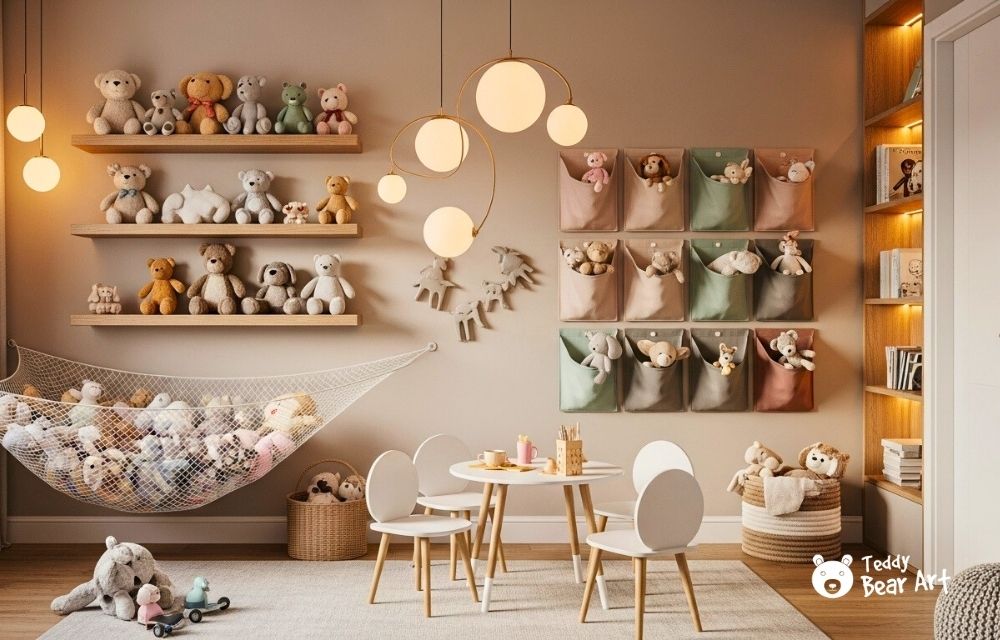
1. DIY Macramé Hammock
Make a soft cotton macramé hammock and hang it in a corner. Use a thick rope, a few simple knots, and sturdy wall hooks. Adjust the height so even kids can reach their toys safely. It looks artistic and saves floor space.
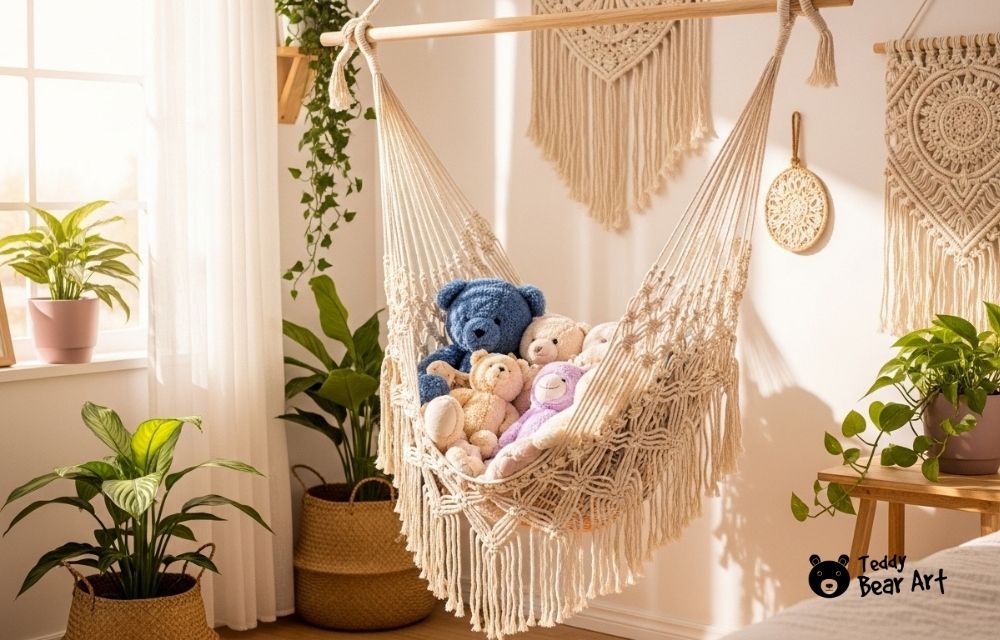

To make a DIY macramé hammock for stuffed animals, you will need: cotton macramé cord, two wooden dowels or curtain rods, ceiling hooks, and scissors.
Instructions:
Cut several long cords (about 10–12 pieces). Tie them to one dowel using lark’s head knots, then create square or spiral knots down the length. Attach the ends to the second dowel. Hang both dowels from ceiling hooks or wall brackets.
Design tips:
Use cream or pastel cord for a soft boho look. Add wooden beads or tassels for decoration.
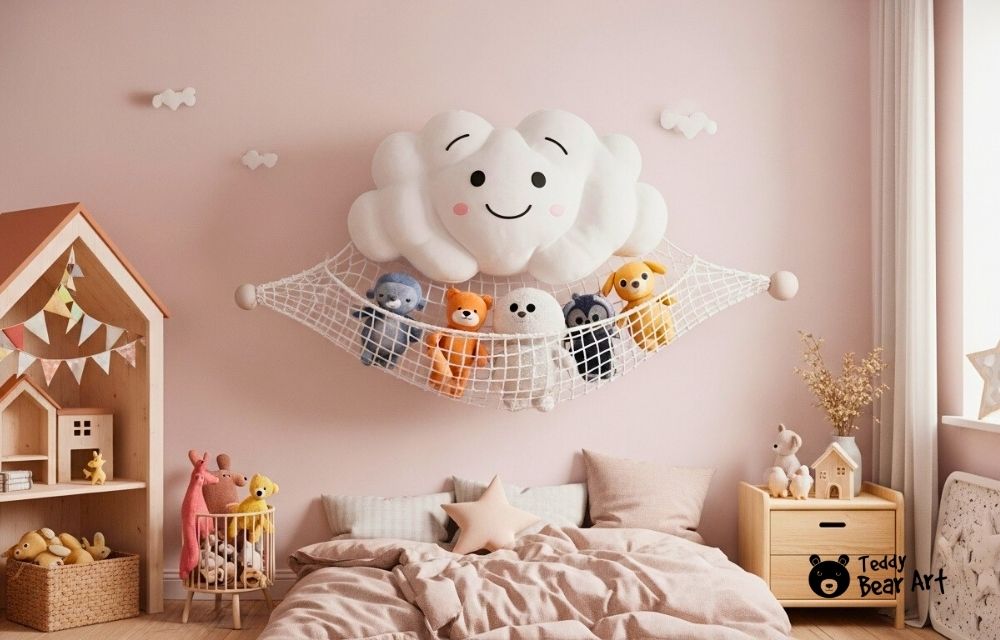
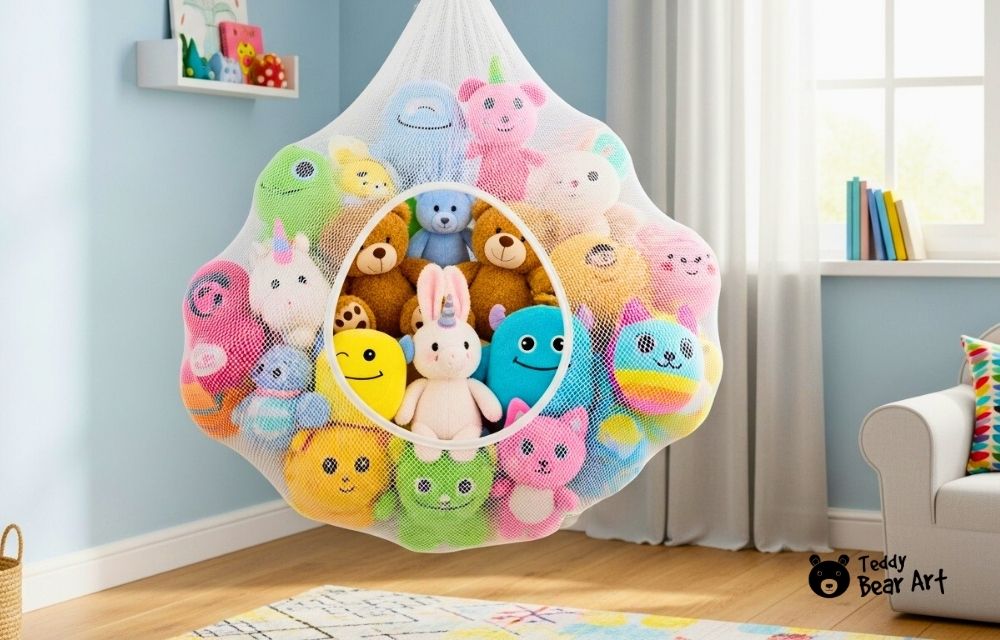
2. Ceiling Mesh Hammock
Stretch a wide mesh net from two ceiling hooks to hold plushies overhead. A mesh laundry net works perfectly. Just make sure the hooks are anchored securely into a ceiling stud, and don’t overload it. Plushies are light, but too many can sag the net.
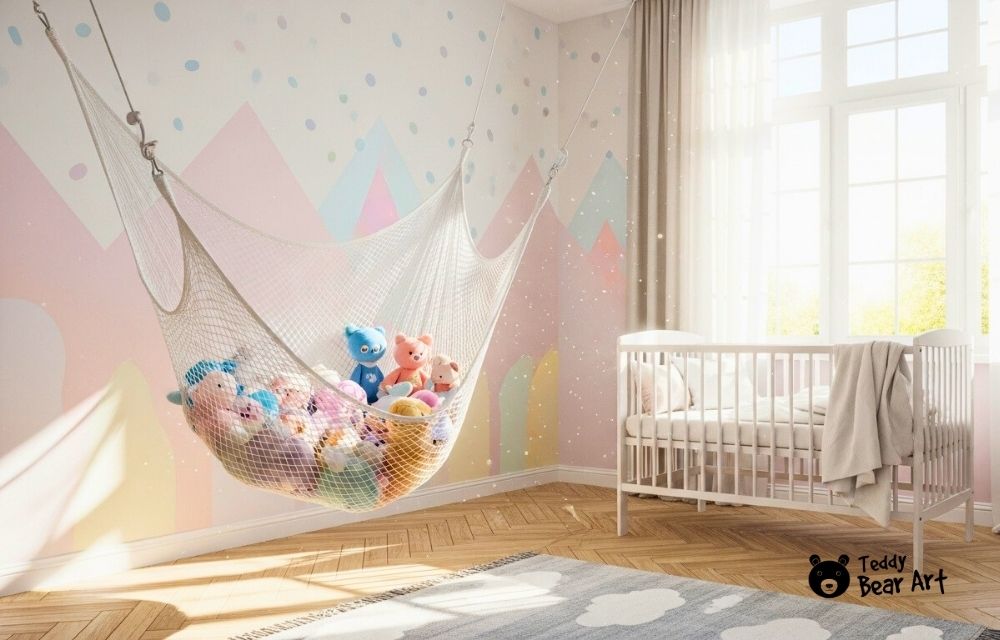
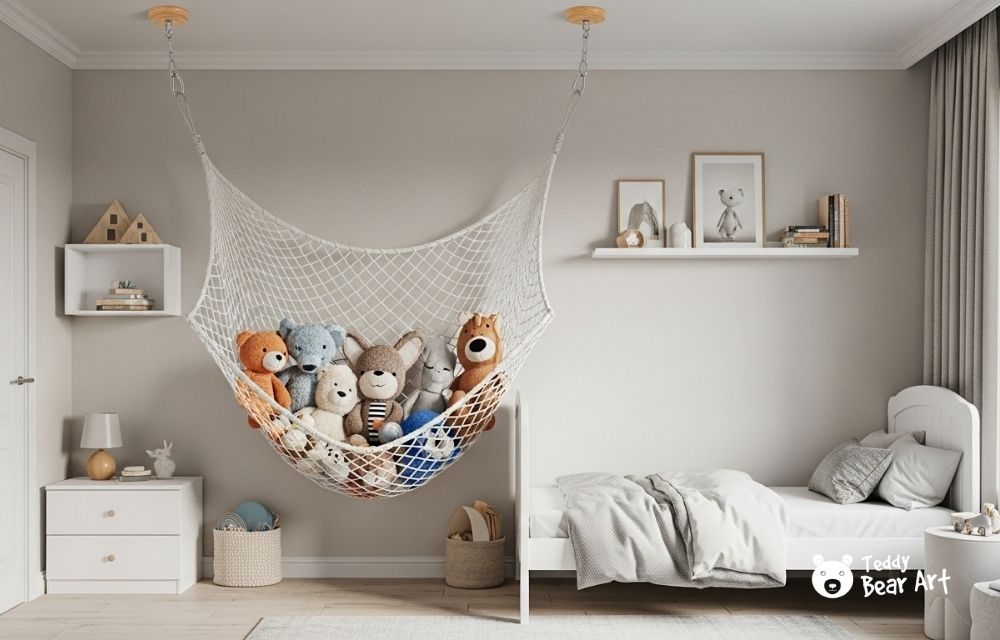

To make a DIY ceiling mesh hammock for stuffed animals, you will need: a piece of mesh fabric or netting, three or more ceiling hooks, and rope or cord.
Instructions:
Cut the mesh into the shape that fits your space, a triangle for a corner or a rectangle for along a wall. Tie ropes to the edges and connect them to the hooks, adjusting tension so the hammock hangs evenly.
Design tips:
Use colored mesh for a playful touch or white for a clean look. Add a pompom trim or lace edge for extra charm.
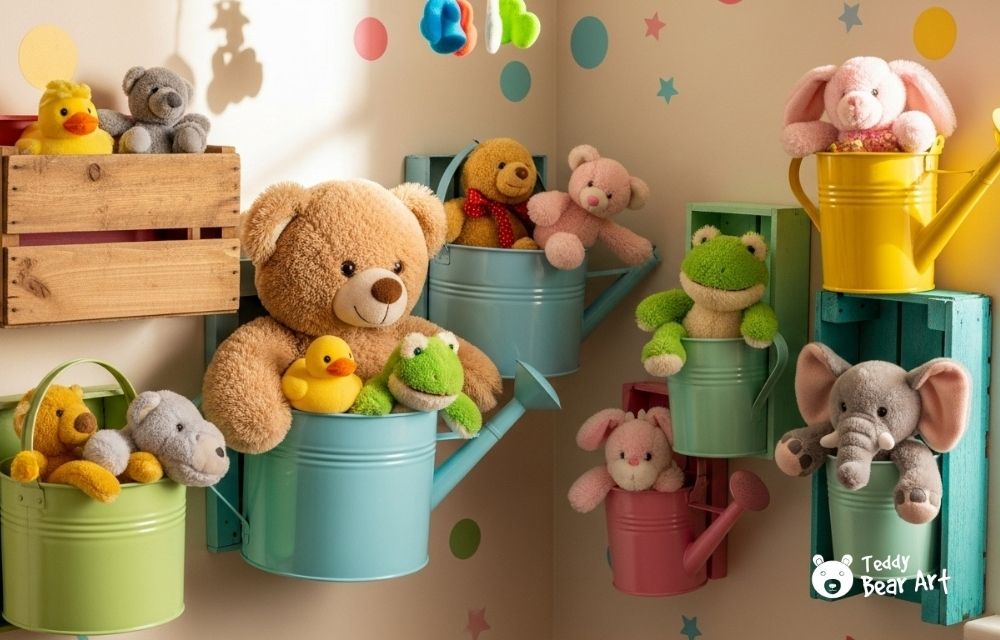
3. Hanging Fruit Baskets
Repurpose tiered fruit baskets into adorable toy storage. Spray-paint them in soft pastels or metallic tones, then hang from a ceiling hook. The layered design keeps toys sorted by size and adds a charming touch.

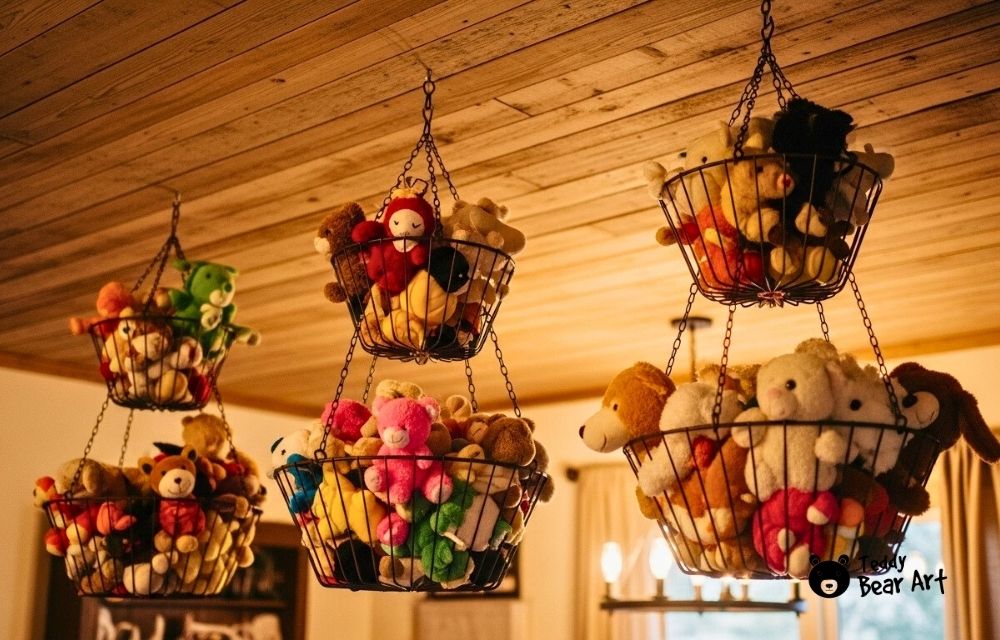

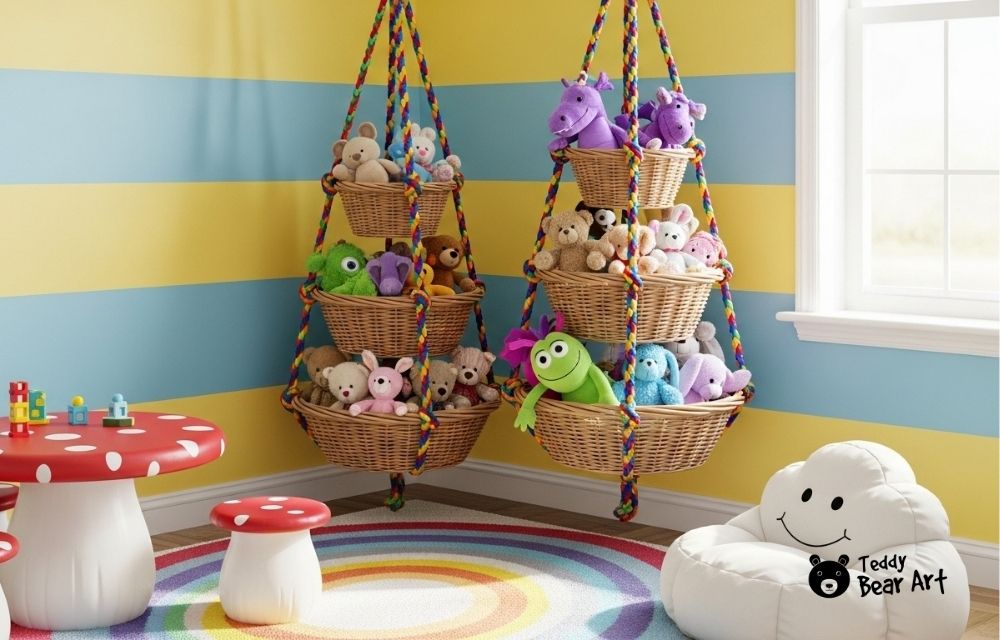
To make hanging fruit baskets for stuffed animals, you will need: 2–3 wire or wicker fruit baskets, a chain or rope, and a ceiling hook.
Instructions:
Stack the baskets vertically by attaching them with chain links or knotted ropes. Hang the top from a ceiling hook, adjusting the length so each basket hangs freely.
Design tips:
Spray-paint the baskets gold, white, or pastel for a stylish finish. Line them with fabric if you want a softer look.
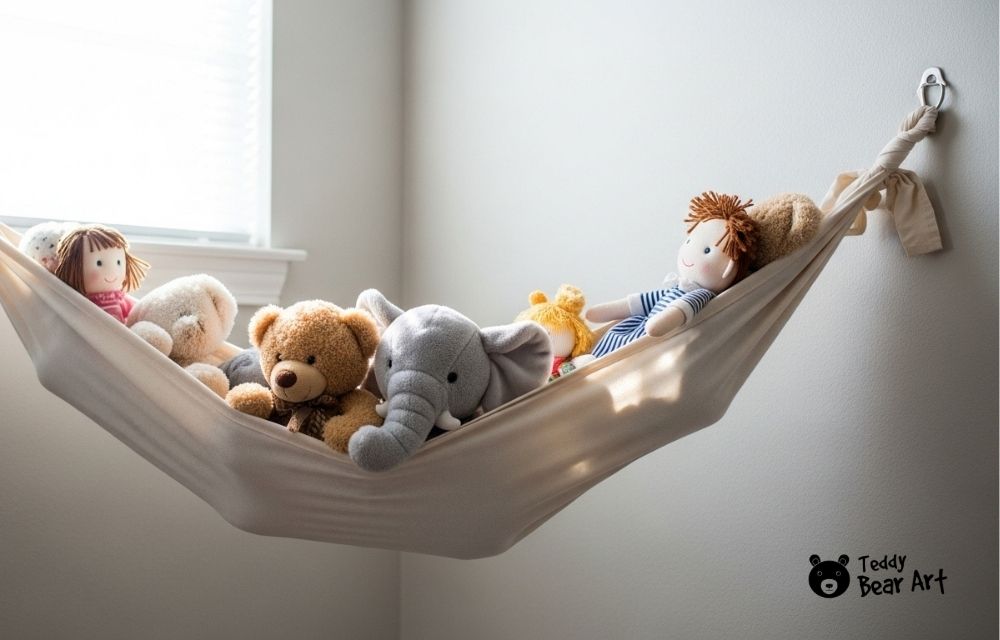
4. Wall-to-Wall Fabric Sling
Use a strong piece of cotton or canvas fabric and two curtain rods or dowels. Mount the rods on opposite walls and stretch the fabric between them. It’s a super-simple DIY “toy shelf” that looks neat and holds plenty of plush friends.


To make a fabric sling for stuffed animals, you will need: sturdy cotton fabric, two wooden dowels, screws, and wall brackets.
Instructions:
Hem the fabric edges, then sew a loop on each short side to slide in the dowels. Mount the dowels on wall brackets or hooks so the fabric sags slightly in the middle.
Design tips:
Use patterned or themed fabric that matches your child’s room, stars, bears, or florals look adorable.
5. Laundry Bag Organizer
Grab a large mesh laundry bag, add a decorative label, and hang it on the back of a door. It’s a quick fix that costs almost nothing. Great for kids who love to toss toys inside, cleanup takes seconds!


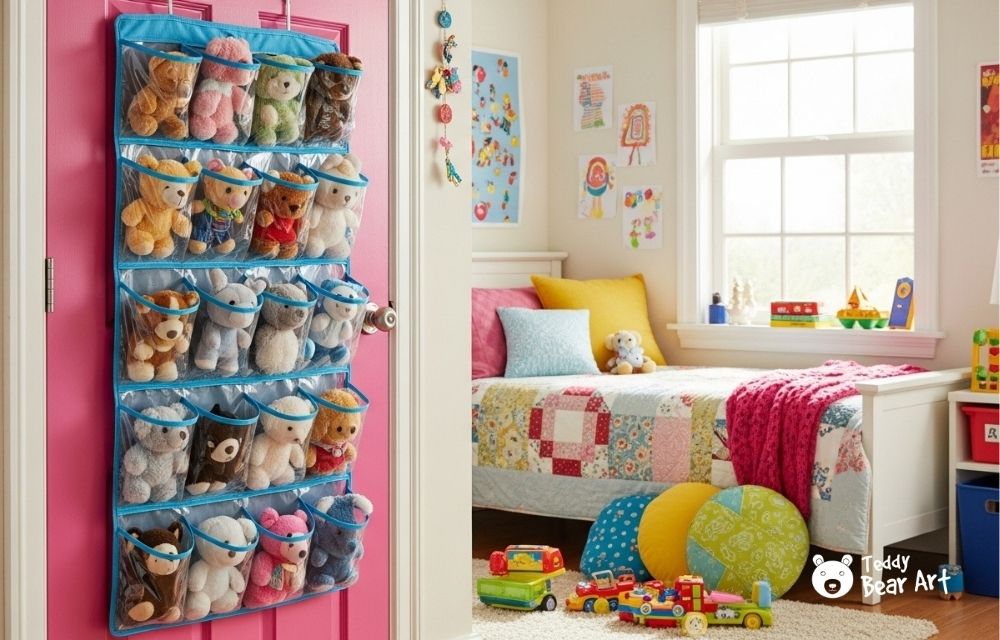
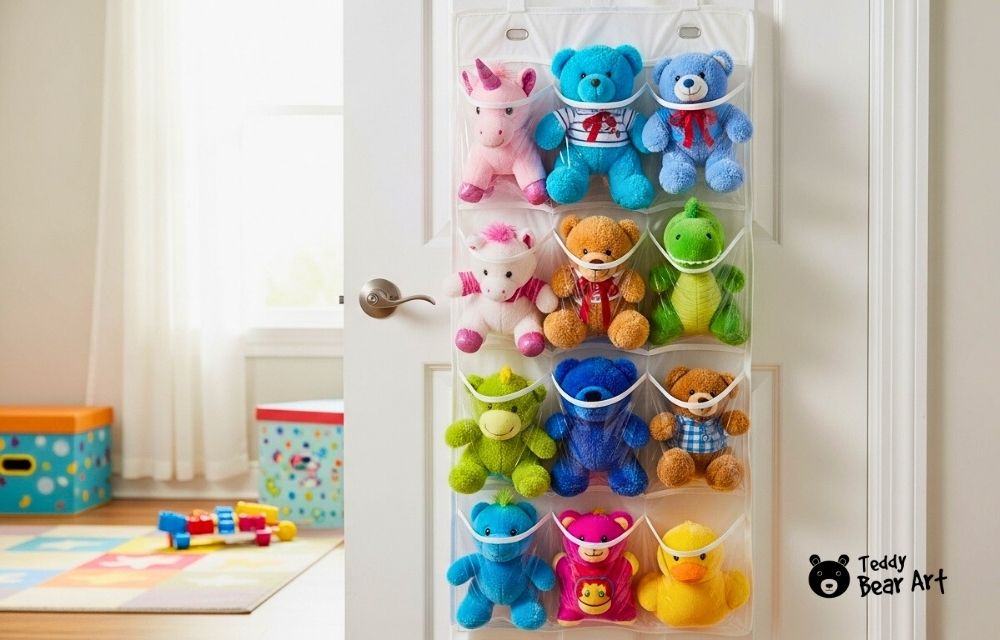
6. Hanging Shoe Organizer
Slip a clear shoe organizer over the back of a door. Each pocket becomes a mini bed for small stuffed animals. You can even label the pockets with stickers or names for a playful touch.

To make a stuffed animal organizer from a hanging shoe rack, you will need: a clear pocket shoe organizer and a sturdy over-the-door hook.
Instructions:
Hang the organizer on the back of a door or closet. Place small or medium plush toys inside each pocket, sorted by color or size.
Design tips:
Label each pocket with cute tags or stickers to make cleanup fun for kids.
7. Rope Line with Clothespins
Stretch a decorative rope across a wall or window frame and attach plushies with wooden clothespins. It turns your soft toys into cheerful wall art. Use lightweight toys and avoid direct sunlight to keep colors from fading.

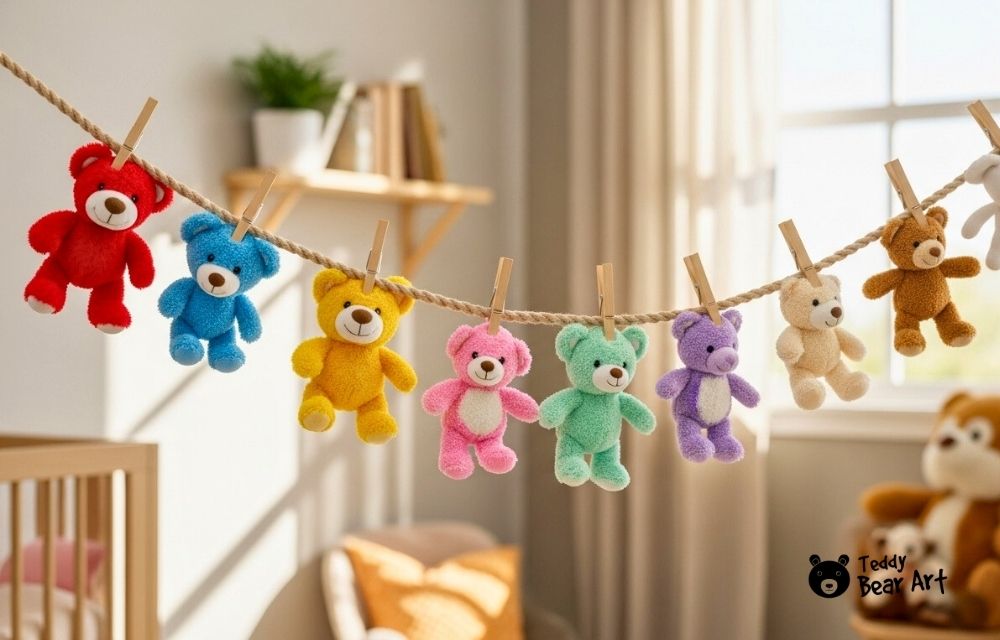
To make a rope line display for stuffed animals, you will need: strong rope or twine, wooden clothespins, and wall hooks.
Instructions:
Stretch the rope across a wall and tie it securely to hooks. Clip lightweight plush toys along the line using clothespins.
Design tips:
Use colorful clothespins or paint them yourself. Hang multiple lines at different heights for a playful “laundry line” effect.
8. Mesh Canopy Storage
Drape a sheer canopy from the ceiling and fill it with stuffed animals to create a magical “toy tower.” Secure it with a small hook and use a hoop at the top for an even fall. Kids love the fairy-tale vibe.


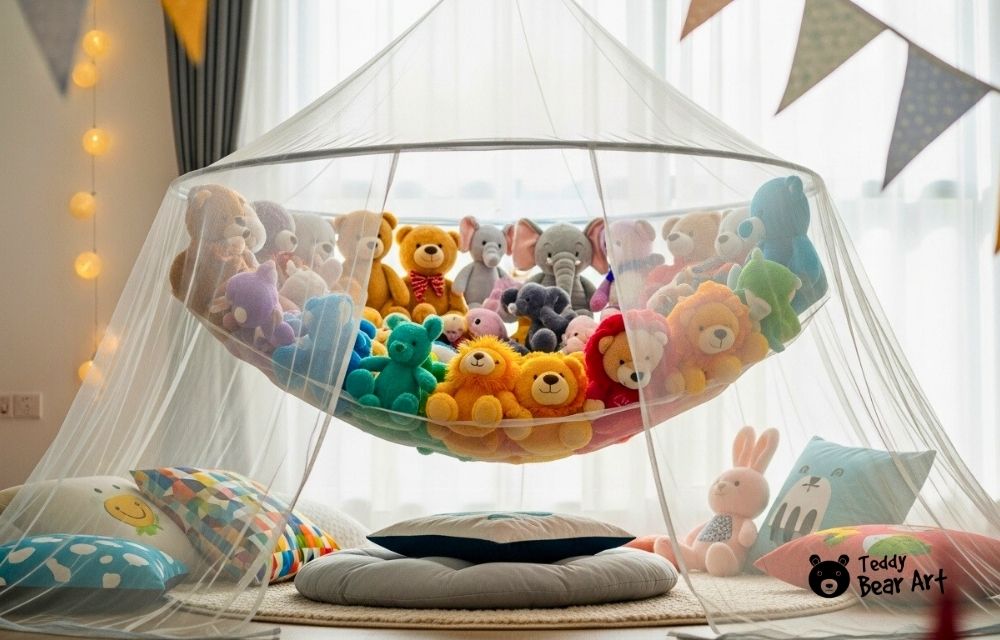
To make a mesh canopy storage for stuffed animals, you will need: a mesh laundry hamper or tulle fabric, a ceiling hook, and ribbon.
Instructions:
Attach the mesh or tulle to a ceiling hook to create a hanging cone shape. If you sew or tie a lightweight hoop inside the fabric near the top, the cone will hold its shape nicely and look more structured. Leave the bottom open so kids can easily toss in toys.
Design tips:
Add fairy lights or fabric butterflies for a magical touch.
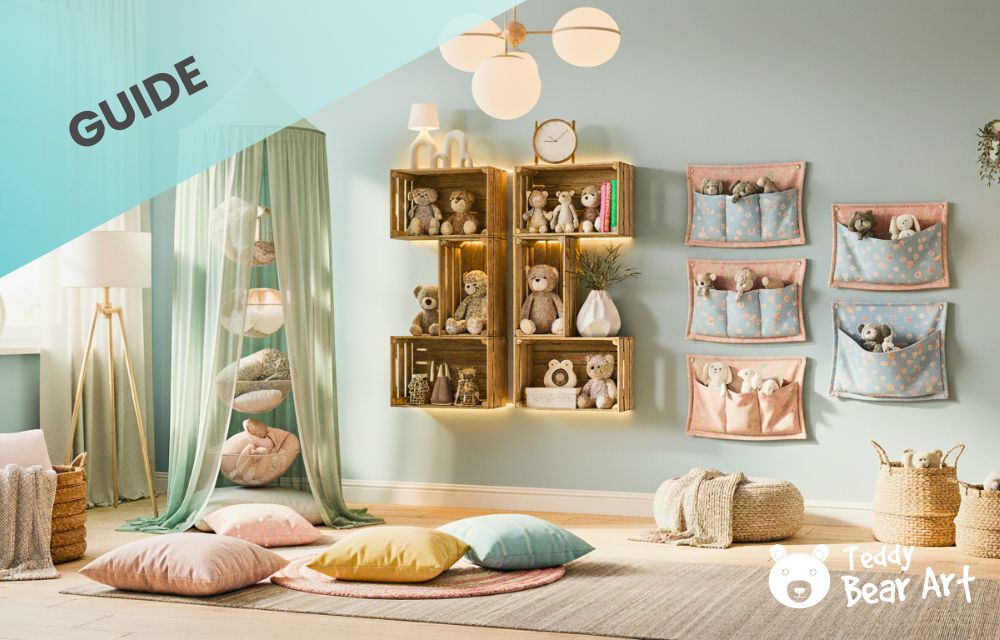
9. Floating Shelves
Install simple floating shelves at different heights. Use a level for accuracy, and choose wall anchors if you’re not screwing into studs. Display plushies by color or theme for a sweet, gallery-like effect.


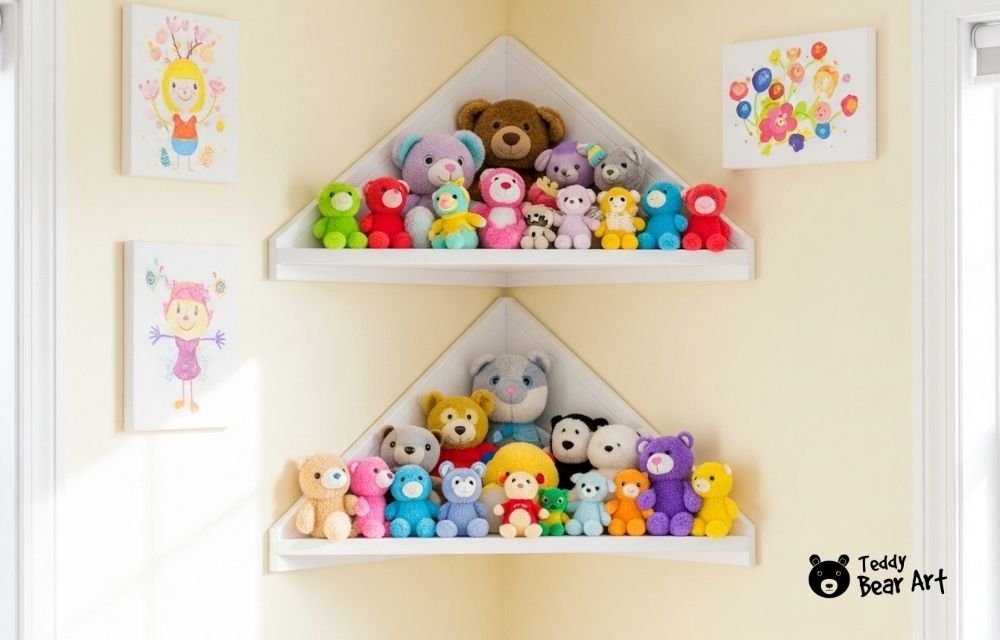
10. Corner Wall Shelves
Corners are often wasted space, turn one into a display zone. Mount small triangular shelves and stack plushies from smallest to largest. It gives the room height and personality without taking up valuable floor area.


11. Pegboard Wall Organizer
Paint a pegboard in your favorite color, screw it to the wall, and add baskets, hooks, or small shelves. The best part? You can rearrange it anytime as your collection grows.

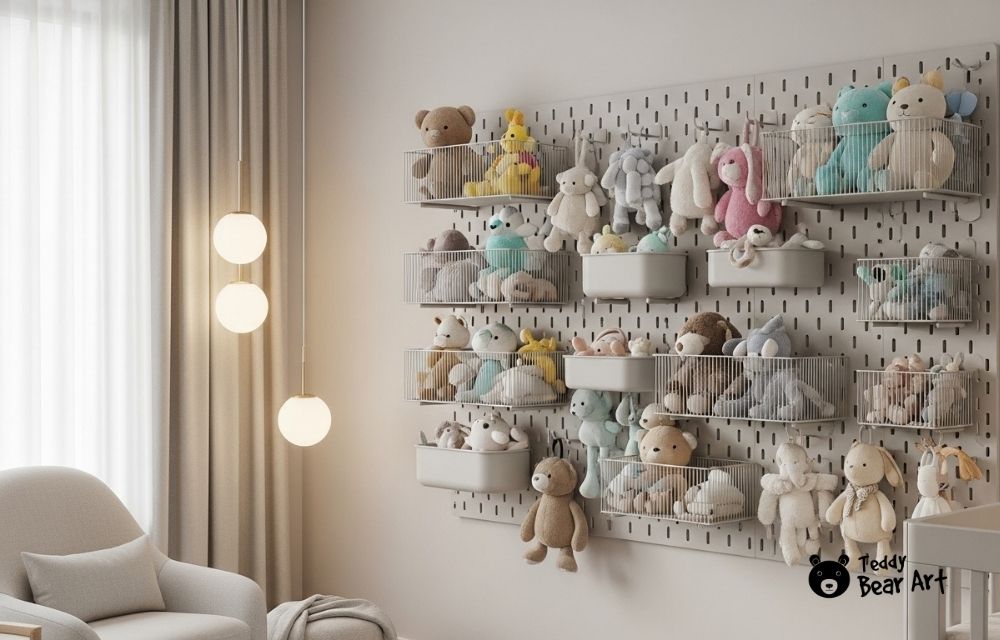
To make a pegboard wall organizer, you will need: a pegboard, screws, hooks, and small baskets.
Instructions:
Mount the pegboard on wall studs, arrange hooks and baskets as needed.
Design tips:
Paint the pegboard a cheerful color to brighten up the playroom.
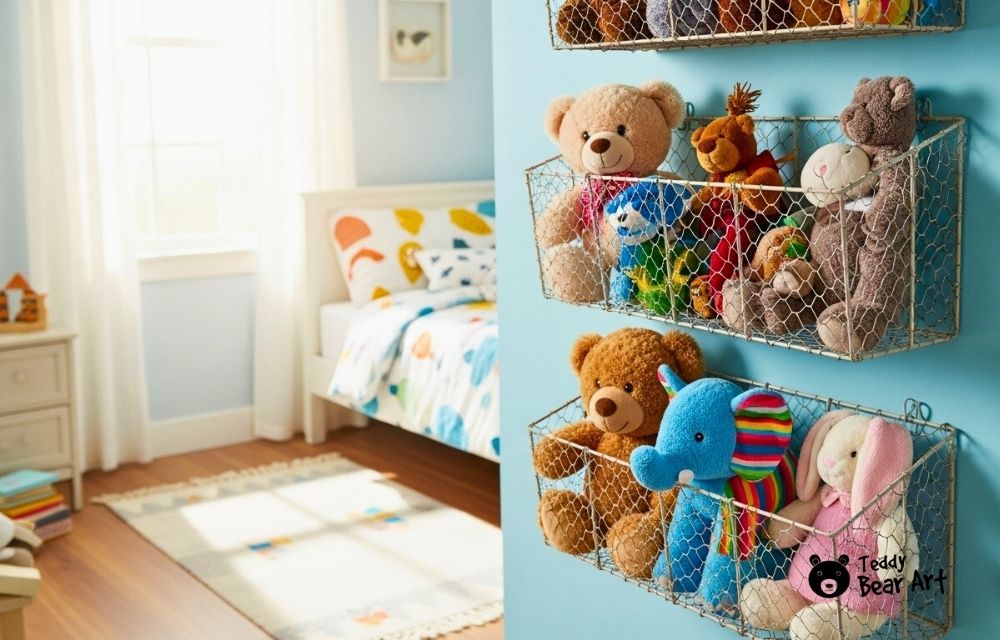
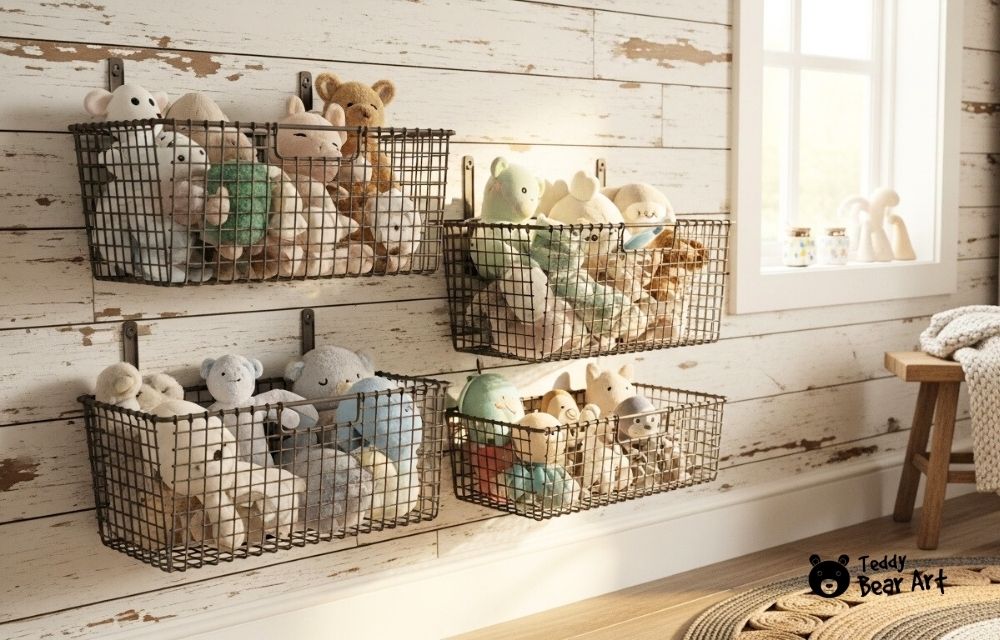
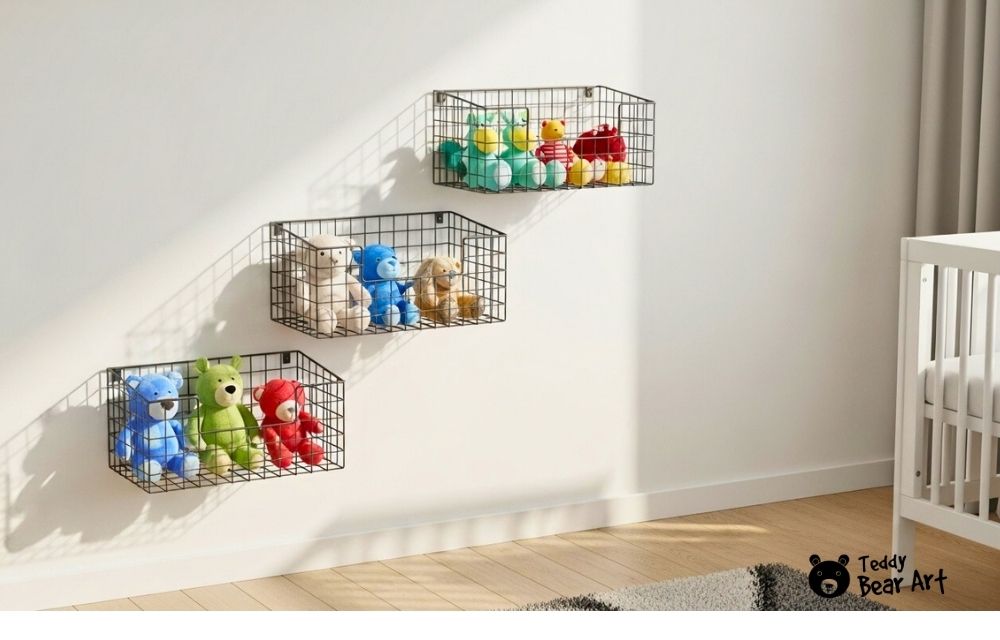
12. Wall-Mounted Wire Baskets
Wire baskets add a rustic vibe and are perfect for quick cleanup. Mount them with screws or adhesive hooks, then toss toys in. The open design makes it easy to see everything at a glance.
13. Wooden Crate Wall Units
Stack wooden crates or mount them individually on the wall. Sand them smooth, paint or stain, and secure with wall anchors. They add farmhouse charm and are strong enough for big plushies.
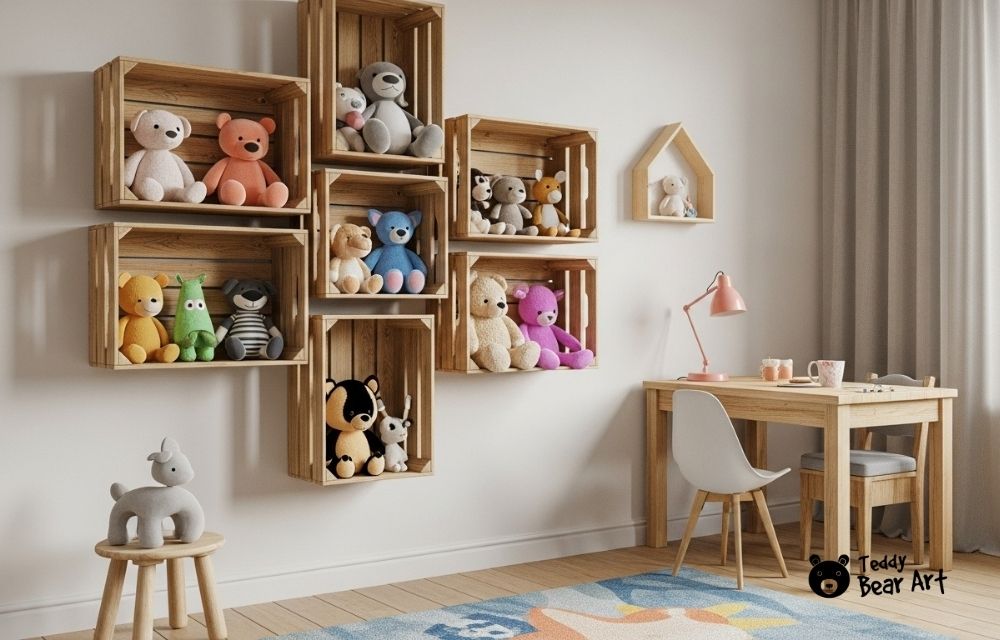
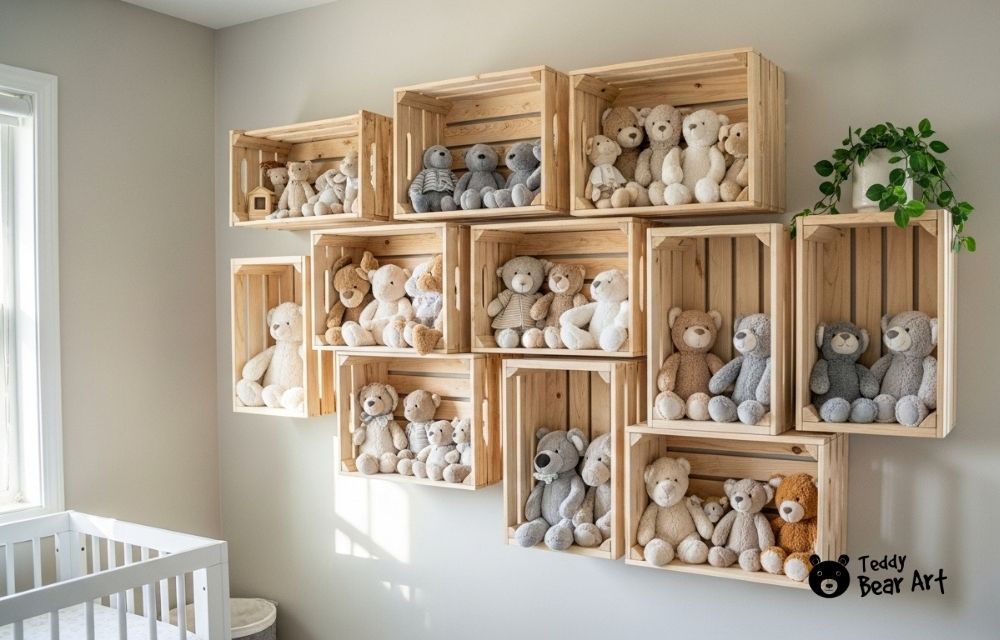
To make a crate shelf for stuffed animals, you will need: wooden crates, screws, wall anchors, and paint.
Instructions:
Paint or stain the crates. Mount them horizontally on the wall with screws, or stack them on the floor for a modular shelf system.
Design tips:
Mix crate sizes for visual interest. Add a name label to each crate for sorting toys.
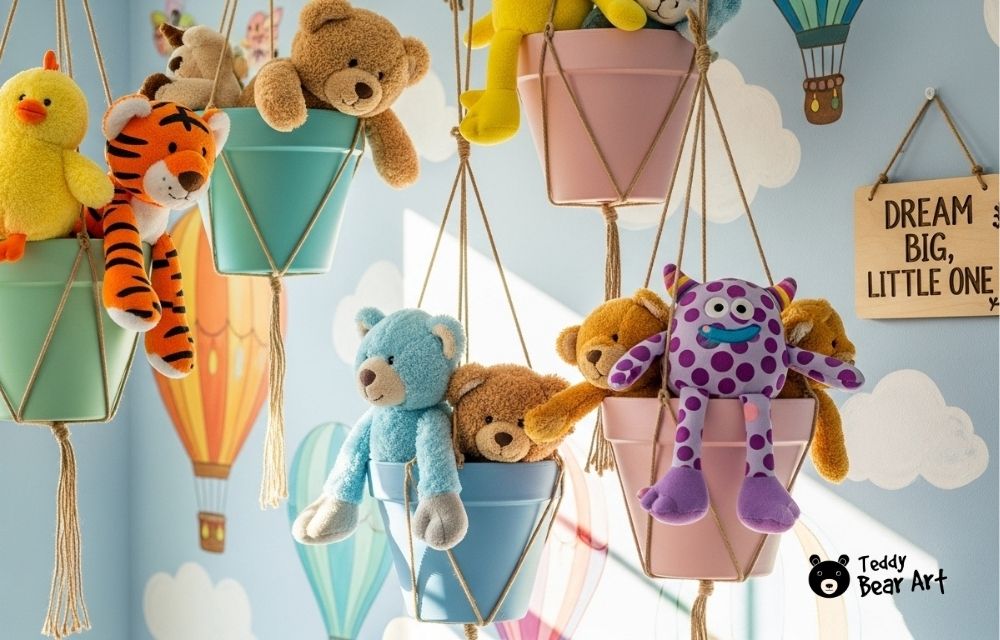
14. Repurposed Planters
Those cute hanging flower pots? Perfect for small plush toys! Clean them thoroughly, paint them in fun colors, and attach them to the wall. Mix different shapes for a playful, garden-inspired display.

15. Magazine Rack Storage
An old magazine rack can get new life as toy storage. Sand it lightly, give it a coat of paint, and line the inside with fabric for softness. Slide in medium-sized plushies for a neat and nostalgic look.


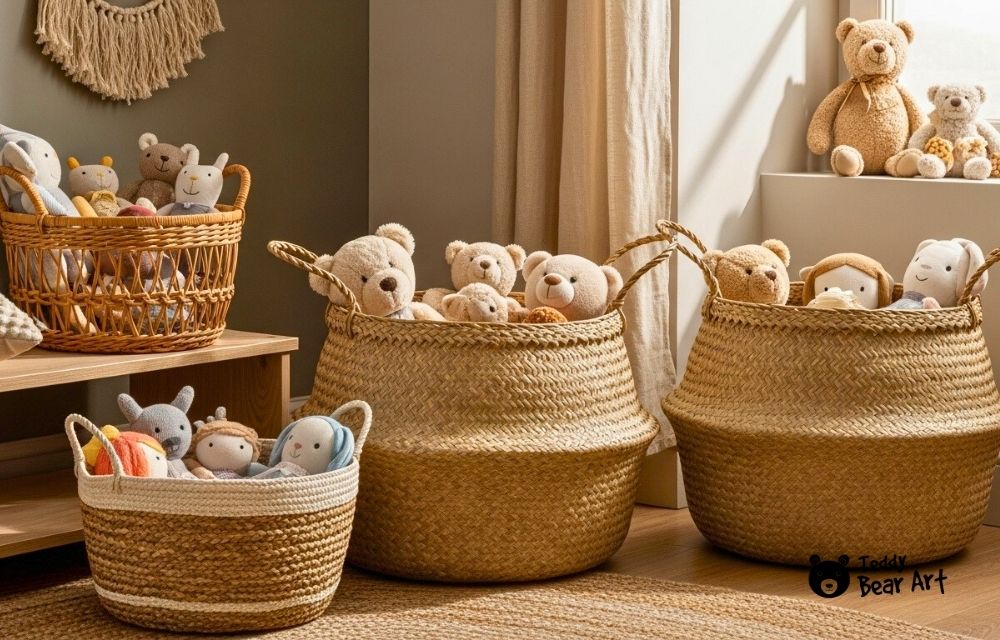
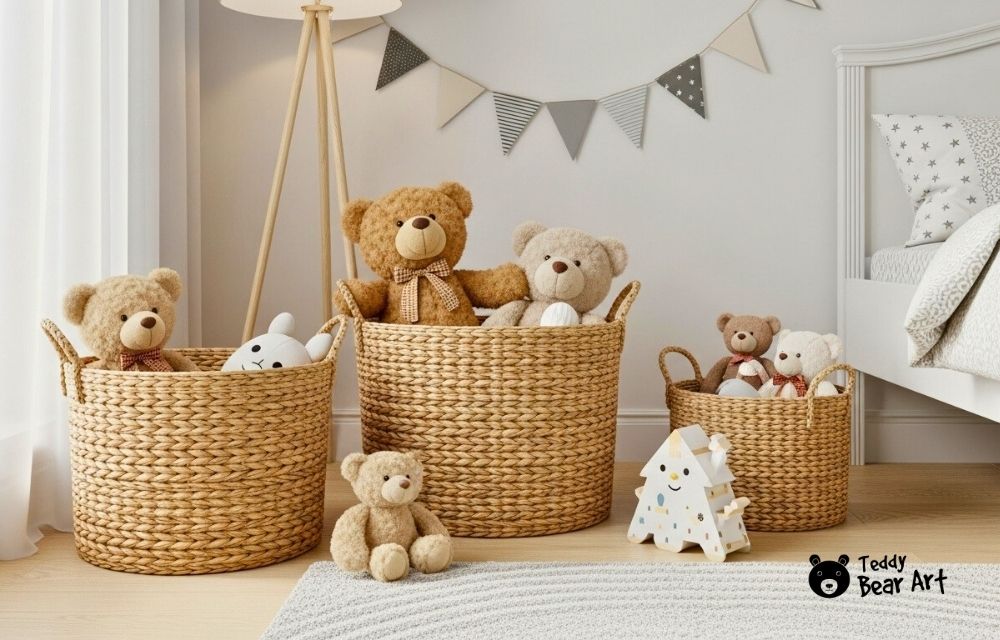
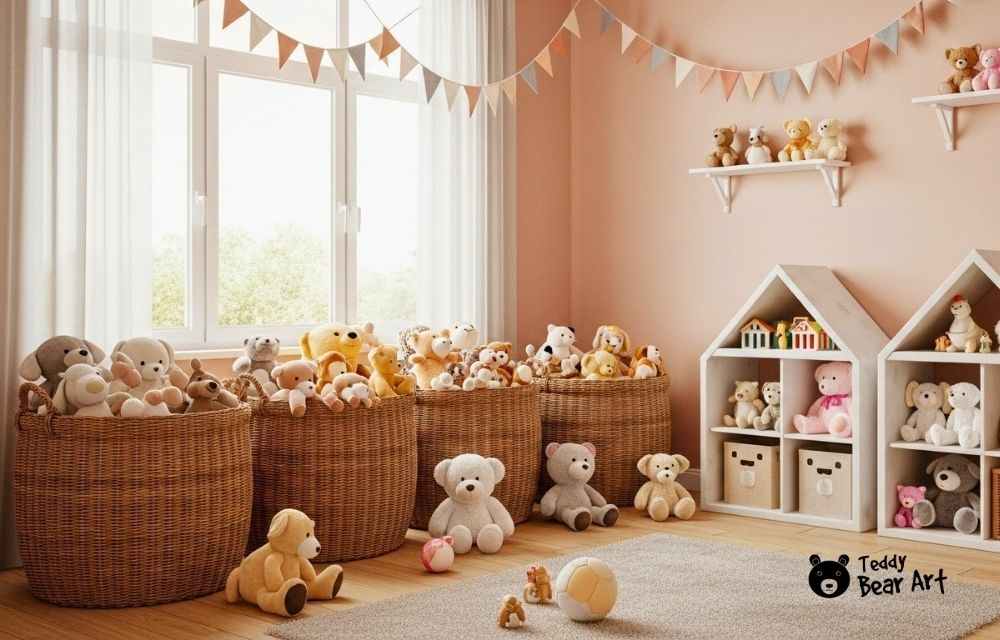
16. Woven Baskets
Use natural fiber baskets, rattan, jute, or seagrass, for a cozy, organic touch. They’re lightweight and can sit under tables or in corners. Add a tag or chalkboard label so kids know where toys go.
To make fabric baskets for stuffed animals, you will need: thick cotton fabric, interfacing, thread, and a sewing machine.
Instructions:
Cut two fabric circles (base) and two rectangles (sides). Sew the sides to the base, add interfacing for firmness, and fold the top edge down to create a neat rim.
Design tips:
Use contrasting lining or add a label patch. Perfect for matching nursery colors.
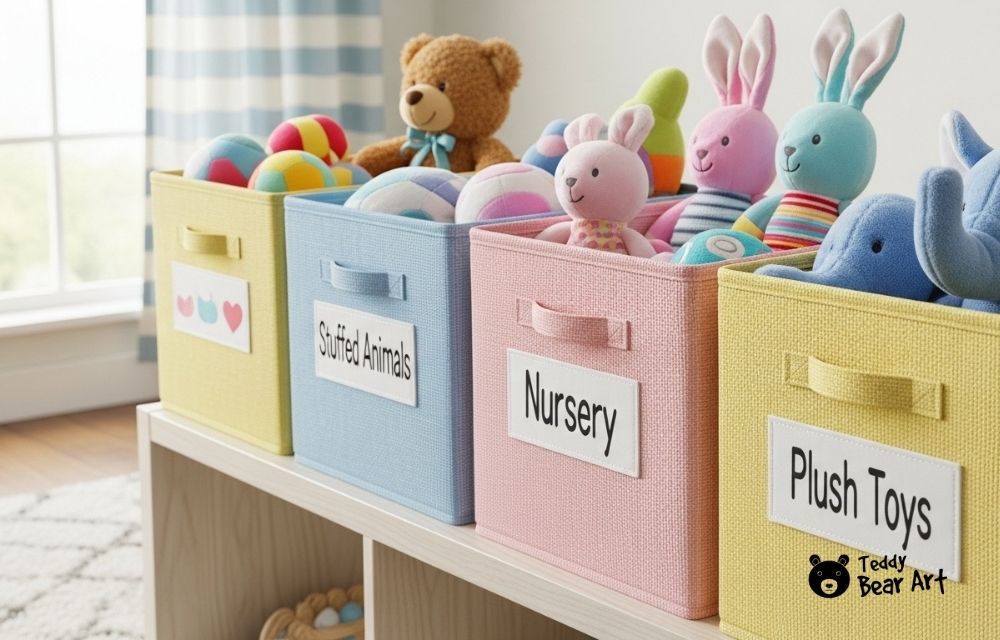
17. Fabric Bins with Labels
Sew or buy simple fabric bins and label them with iron-on letters. These bins are washable, flexible, and easy to move around. Choose matching prints for a cohesive look in the playroom.

18. Plastic Tubs with Open Fronts
Cut the front panel of a plastic bin slightly lower so toys can “peek out.” Stack several bins to create a DIY shelving system. Perfect for younger children who can’t lift heavy lids.


19. Rolling Baskets on Wheels
Attach small caster wheels to the bottom of wooden crates or metal baskets. It’s ideal for large collections you want to roll in and out of the room. Use locking wheels to keep the basket steady when not in use.


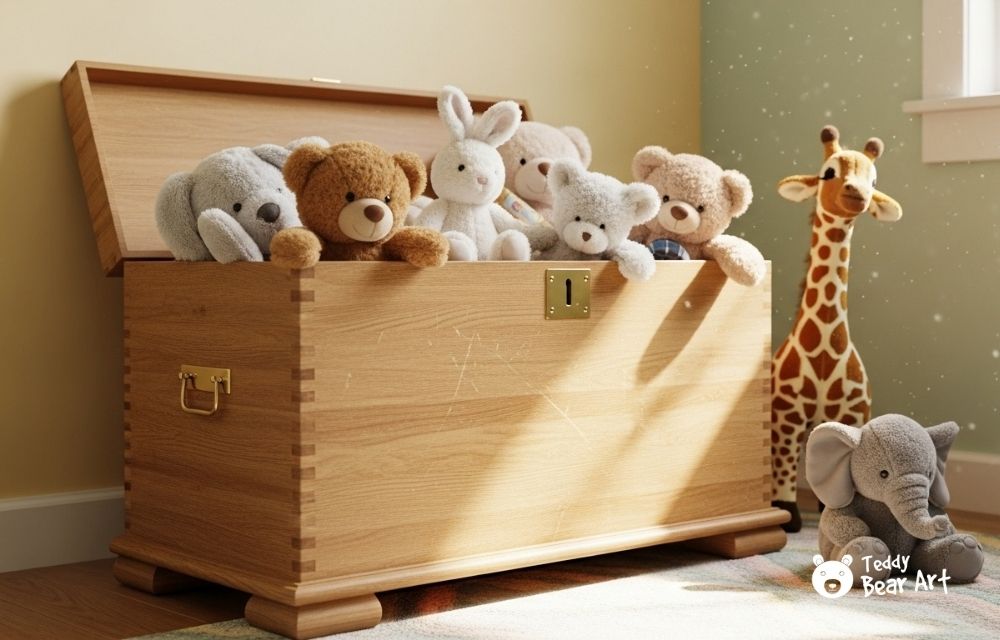
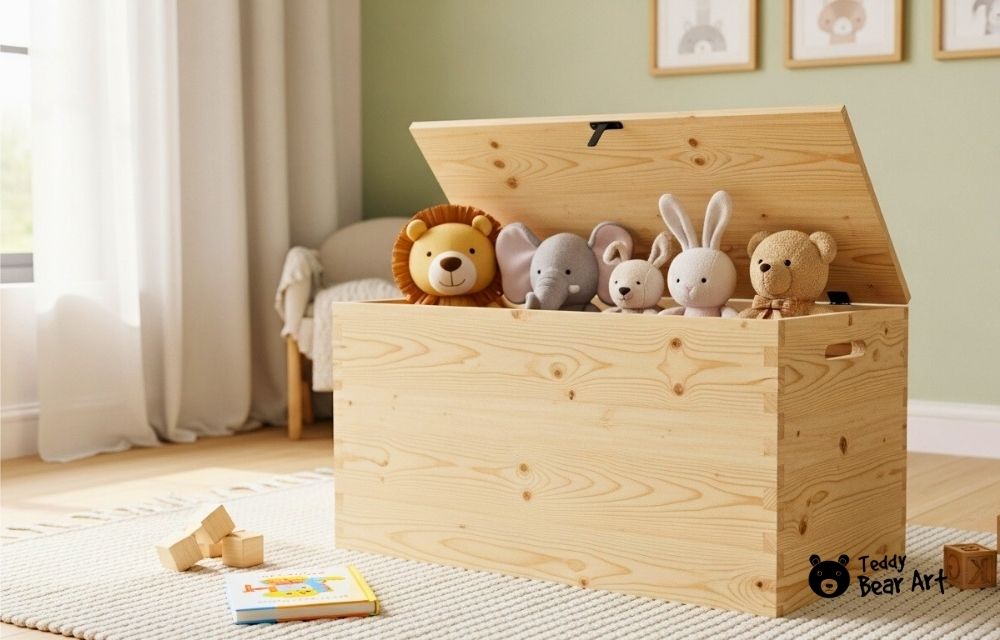
20. Classic Toy Chest
Build or upcycle a wooden chest. Sand it smooth, add child-safe paint, and line the inside with fabric. Install slow-close hinges so tiny fingers stay safe. It’s a timeless storage solution that doubles as décor.
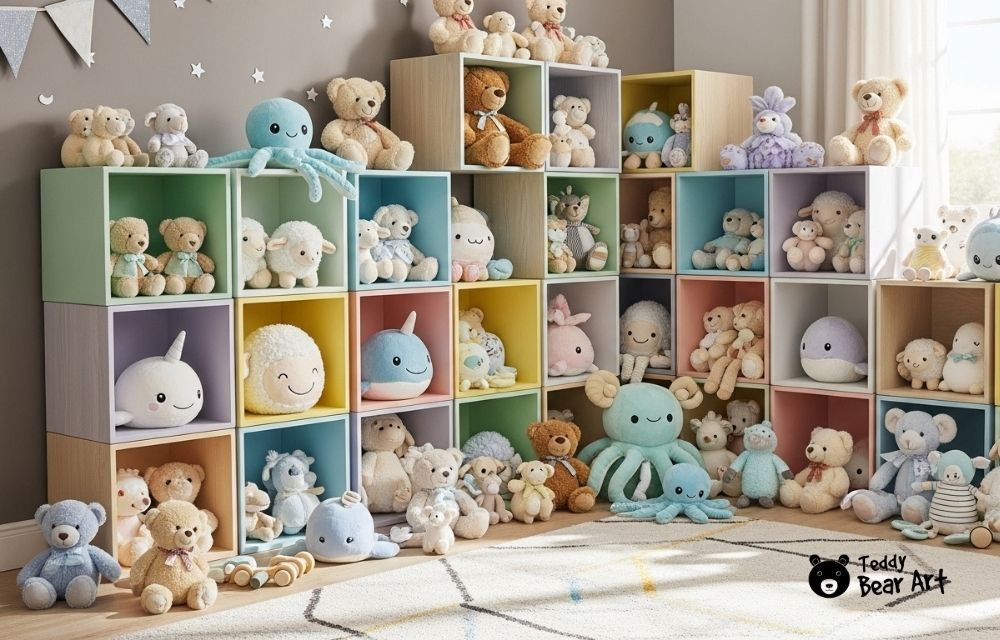
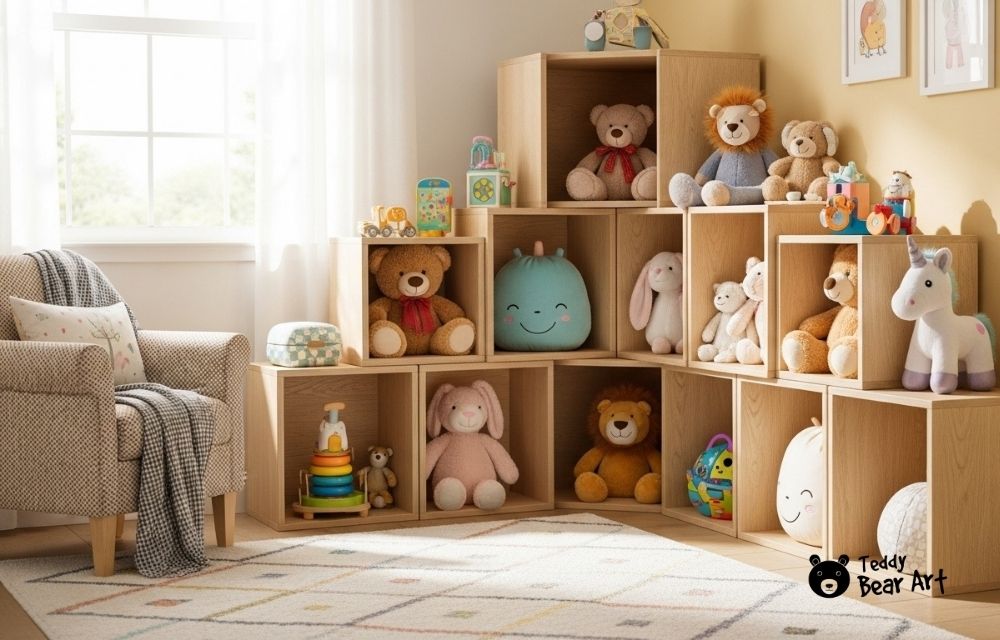
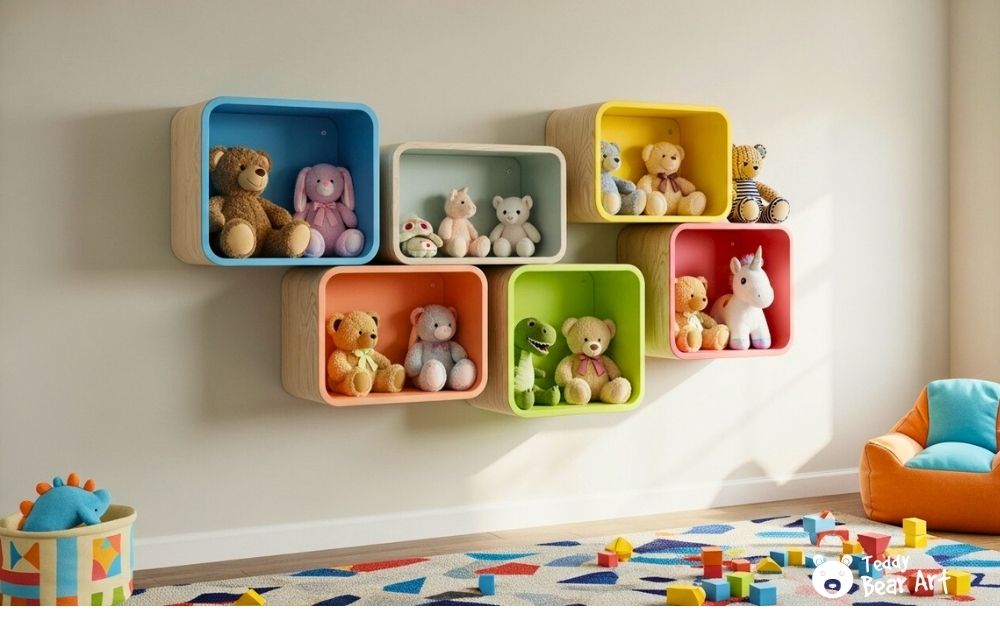
21. Stackable Storage Cubes
Pick cube organizers or make your own from plywood squares. Stack them in different patterns, straight, staggered, or stepped. You can paint the inside of each cube in a different color for fun contrast.
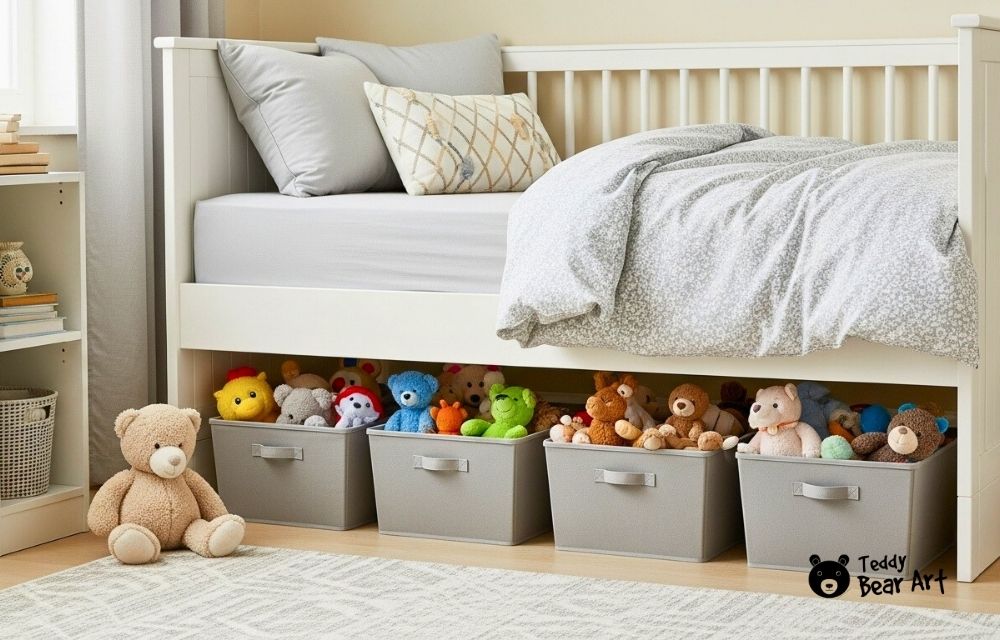
22. Under-Bed Storage Bins
Use low, wide bins that slide easily under the bed. Add wheels if needed and label each lid. It’s perfect for extra toys that don’t need to be displayed every day.

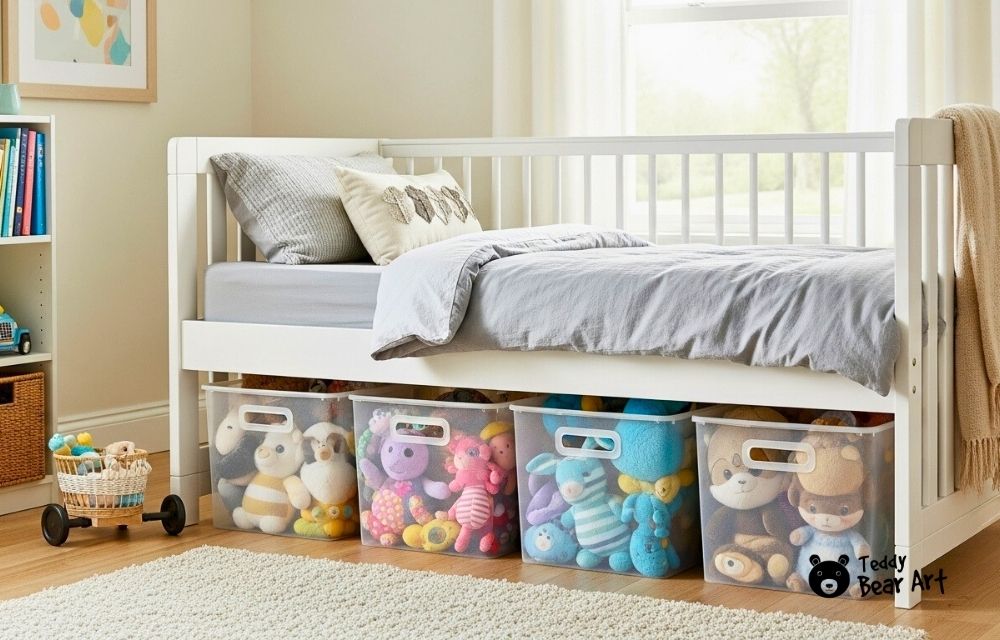
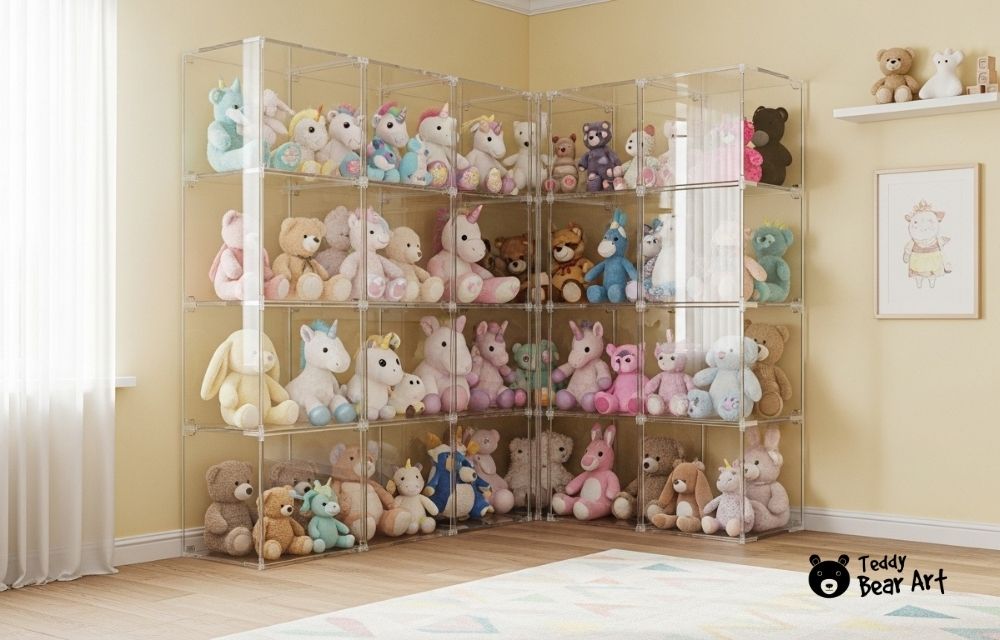
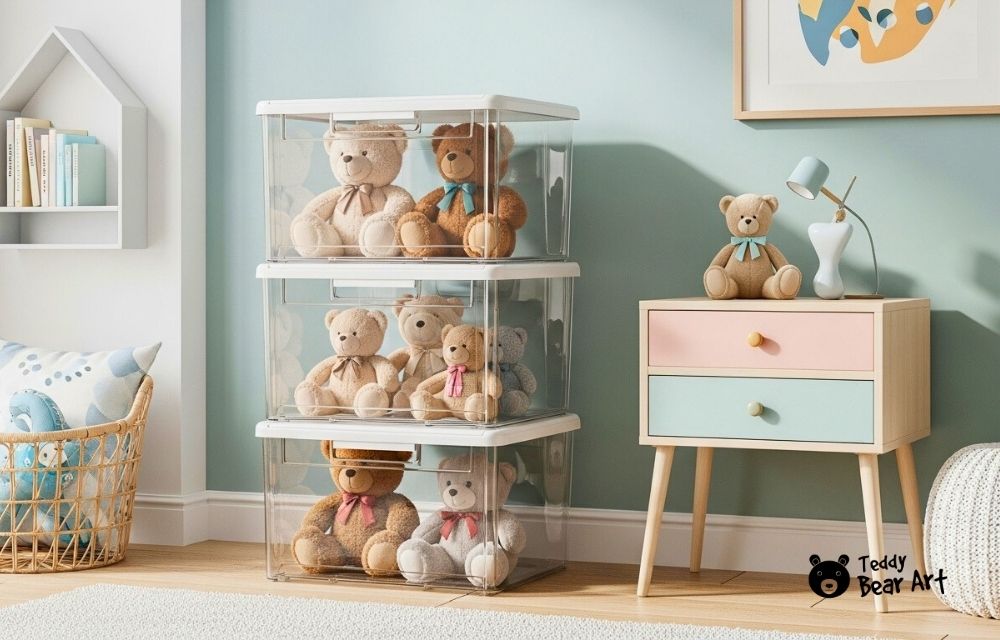
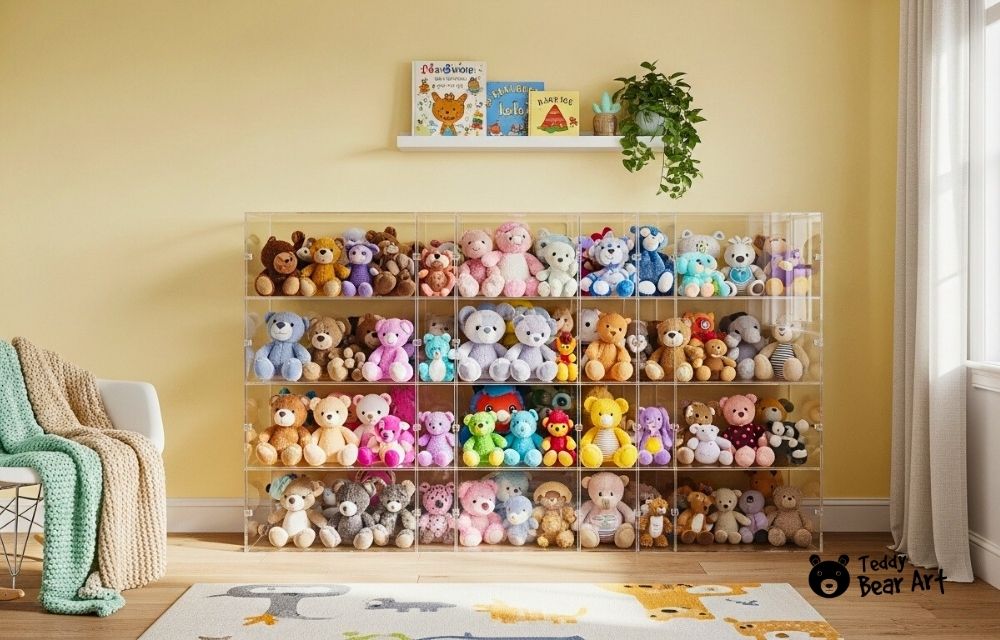
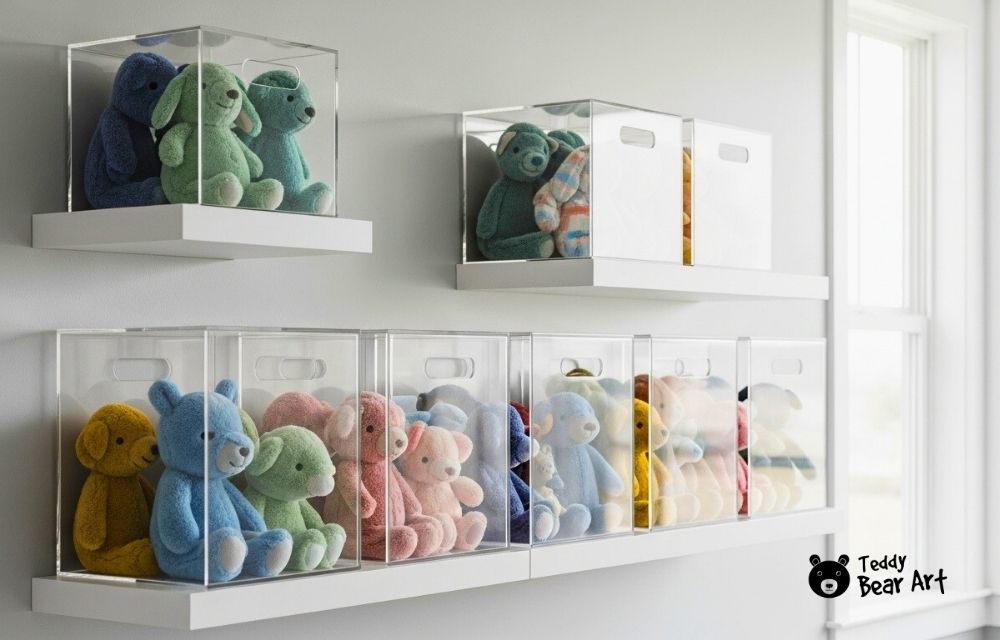
23. Transparent Boxes
Clear bins let you showcase plushies while keeping them dust-free. Choose acrylic boxes for a polished look or soft plastic for kids’ rooms. Stack them vertically and add LED fairy lights for a magical glow.
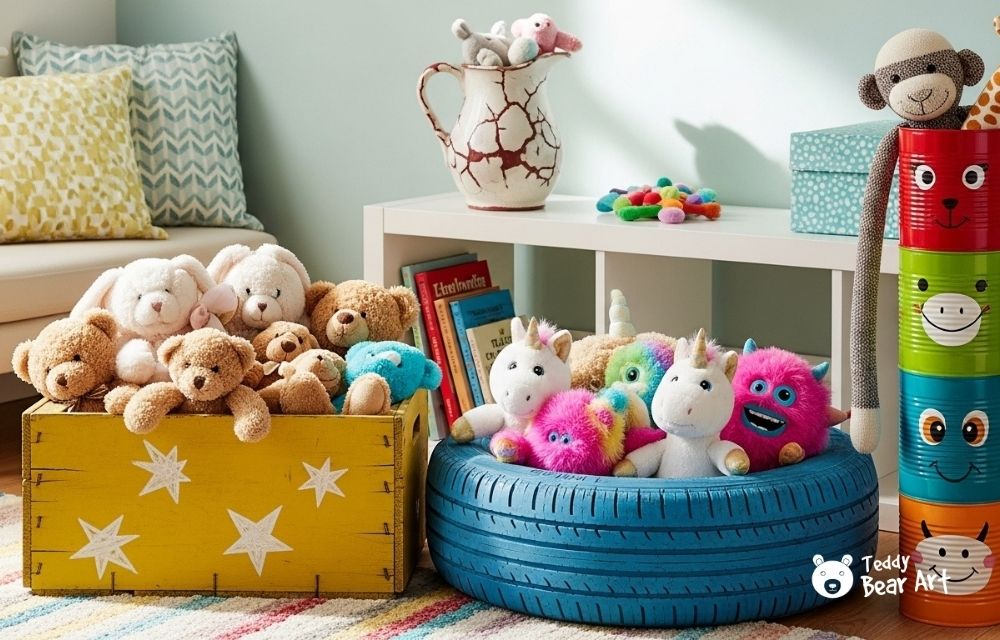
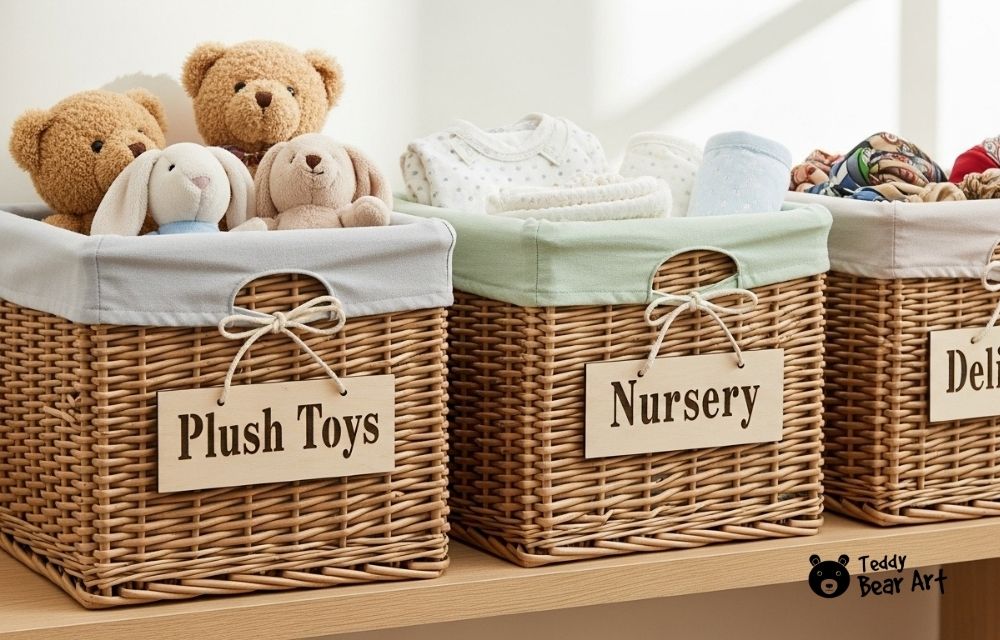
24. Laundry Baskets by Category
Assign each type of toy its own laundry basket: sea animals, teddy bears, fantasy creatures, etc. Use color-coded baskets so kids can help sort and find their favorites quickly.

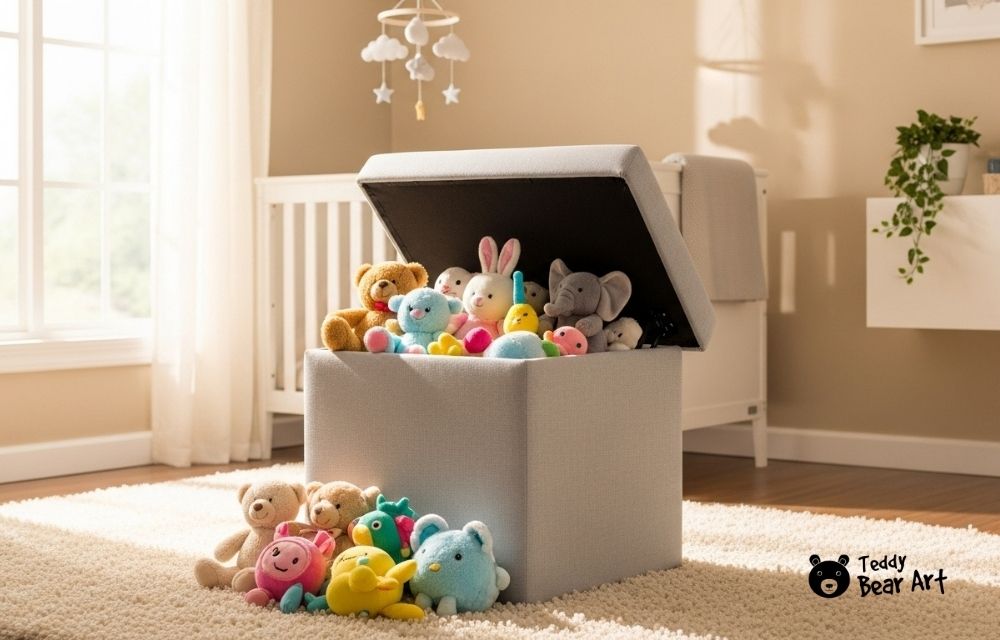
25. Storage Ottoman
Buy or DIY a cube ottoman with lift-up lid storage. Cover it with durable fabric and add padding on top. It’s perfect for living rooms where you want hidden toy storage that still looks stylish.


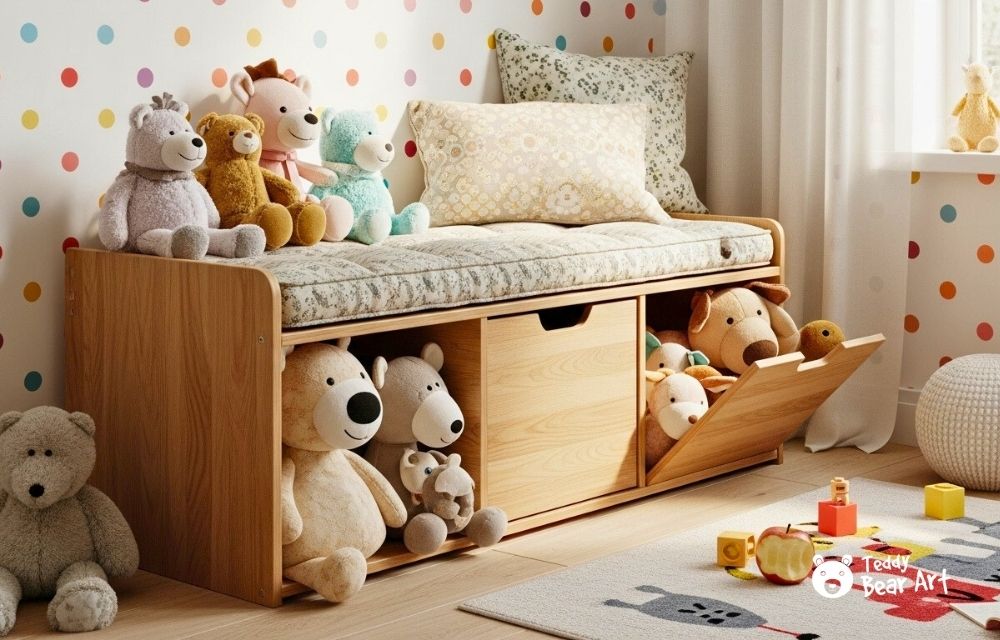
26. Bench with Compartments
Make or repurpose a small wooden bench with a hinged top. Paint it bright, add soft cushions, and it becomes both a toy box and a seating spot. Ideal for entryways or kids’ reading corners.


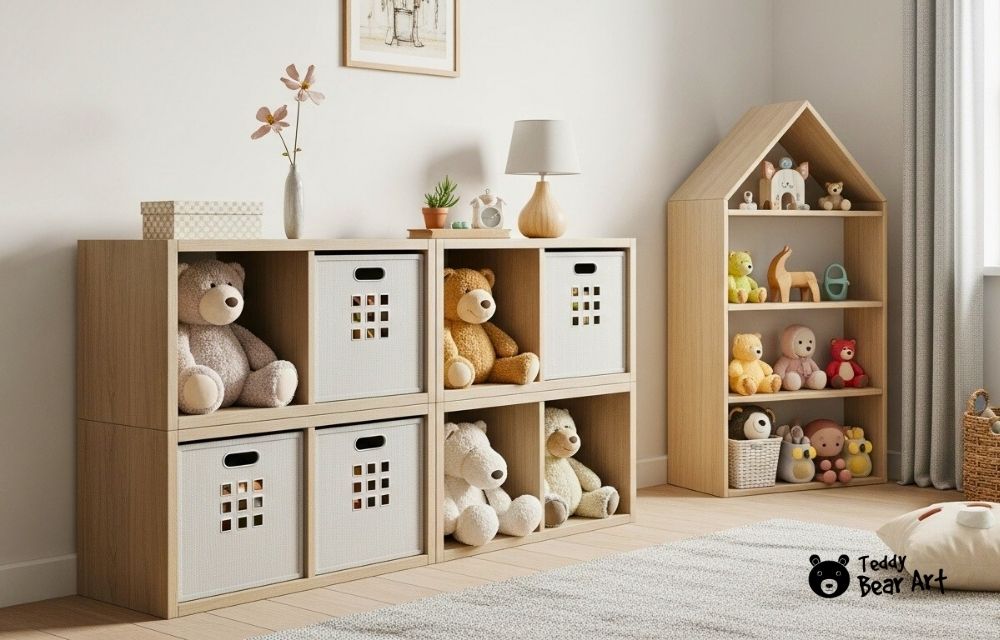
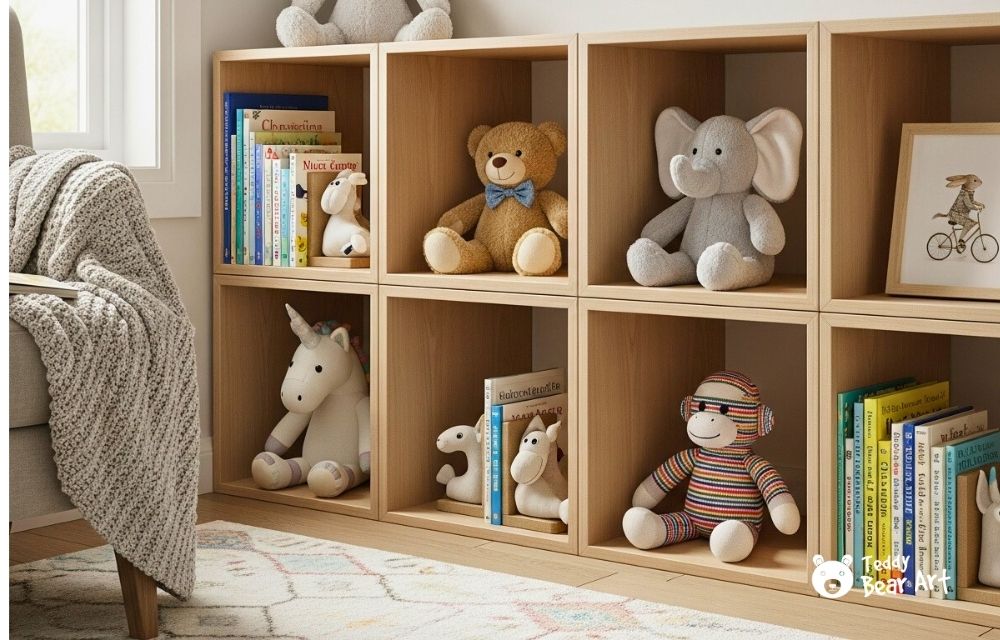
27. Bookshelf Cubbies
Transform a bookshelf by sliding baskets or cloth bins into the shelves. It mixes books and plushies beautifully. Leave the top open for your favorite display pieces.
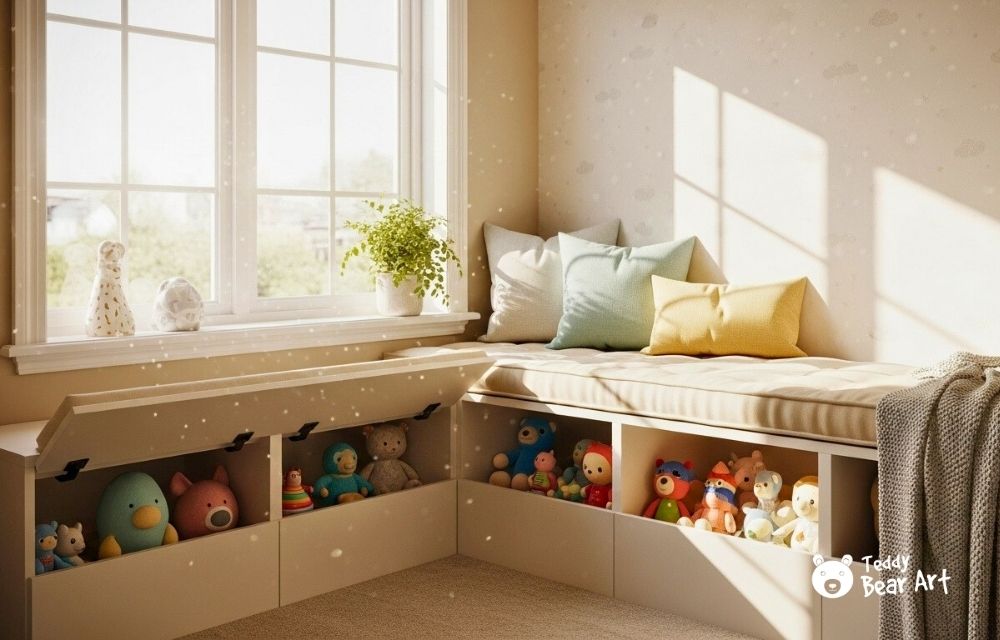
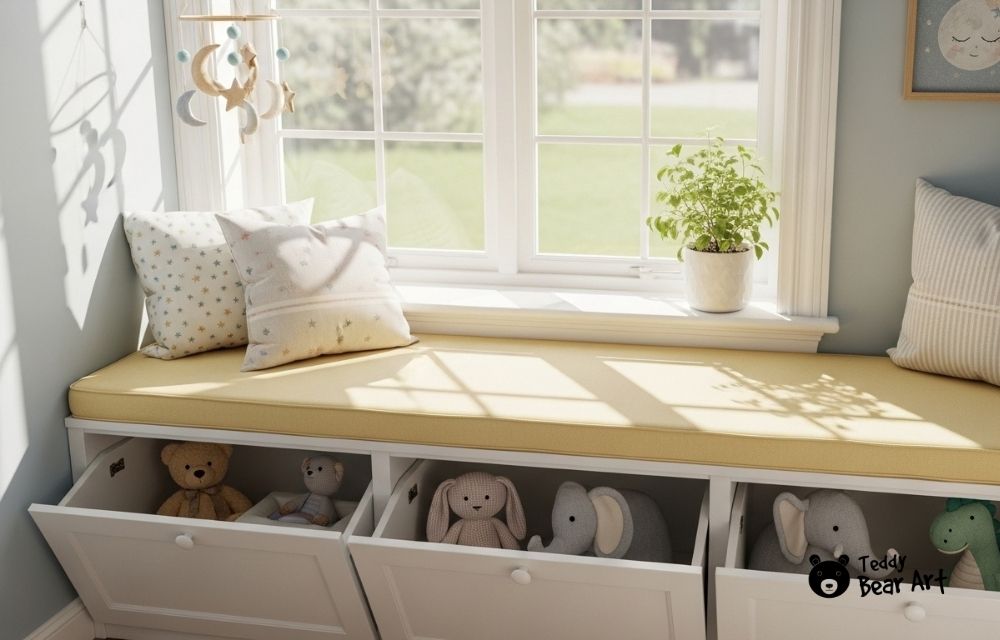
28. Window Seat with Storage
Add drawers or lift-top compartments under a window bench. It’s the perfect hideaway for plushies and doubles as a sunny reading spot. Use sturdy hinges for long-term safety.

29. Coffee Table with Lift-Up Top
For family rooms, pick a coffee table with hidden space inside. You can build one using plywood and hinges or repurpose an old chest. It keeps plush toys out of sight when guests arrive.


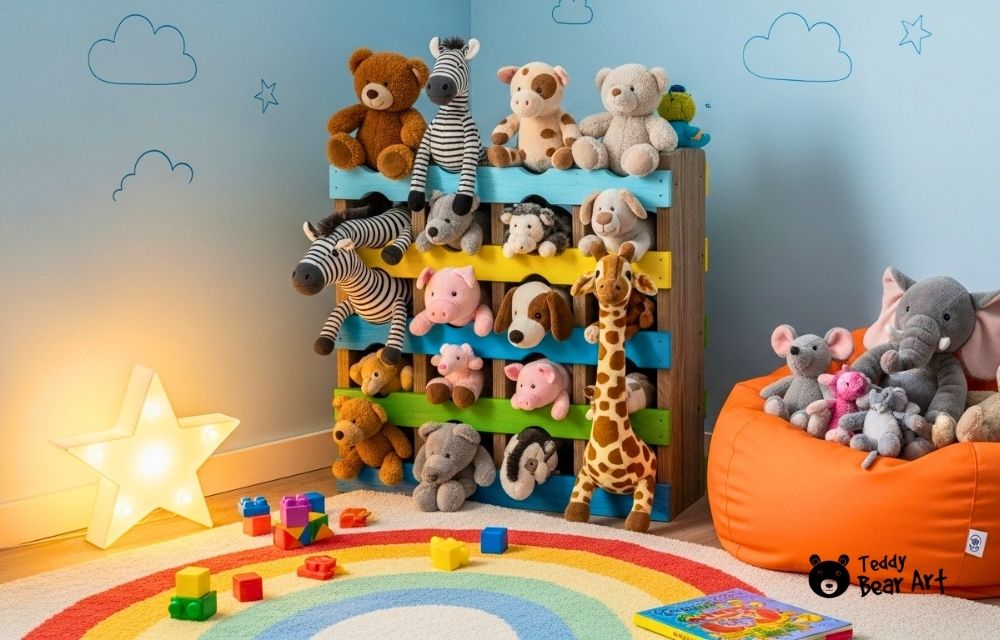
30. Stuffed Animal Zoo
This one’s a DIY favorite! Build a wooden box frame, drill holes, and thread bungee cords vertically. Kids can push toys through the cords, and it looks like a playful zoo enclosure. Paint it in bright colors for extra fun.

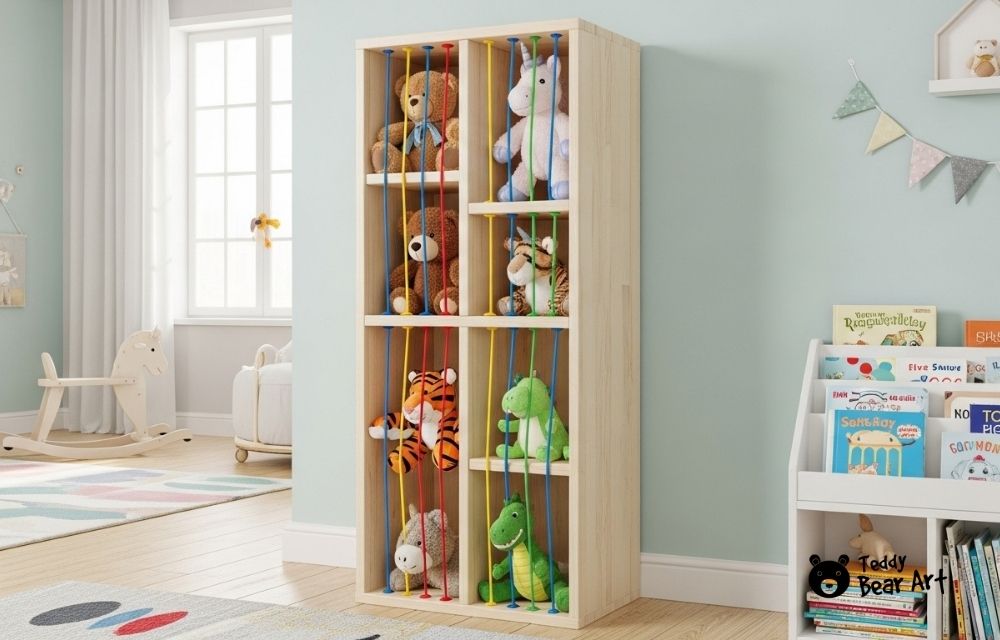
To make a stuffed animal zoo, you will need: wooden boards, dowels, bungee cords, and screws.
Instructions:
Build a rectangular frame with wooden boards. Drill holes and thread vertical bungee cords as “bars.” Fill the “zoo” with plush toys.
Design tips:
Paint it white or rainbow colors. Add a name sign like “Cuddle Zoo.”
31. Stuffed Animal Bean Bag Chair
Sew a large bean bag cover with a zipper and fill it with plush toys instead of beans. When closed, it becomes a comfy seat; when opened, instant access to every soft toy. It’s practical, fun, and space-saving.


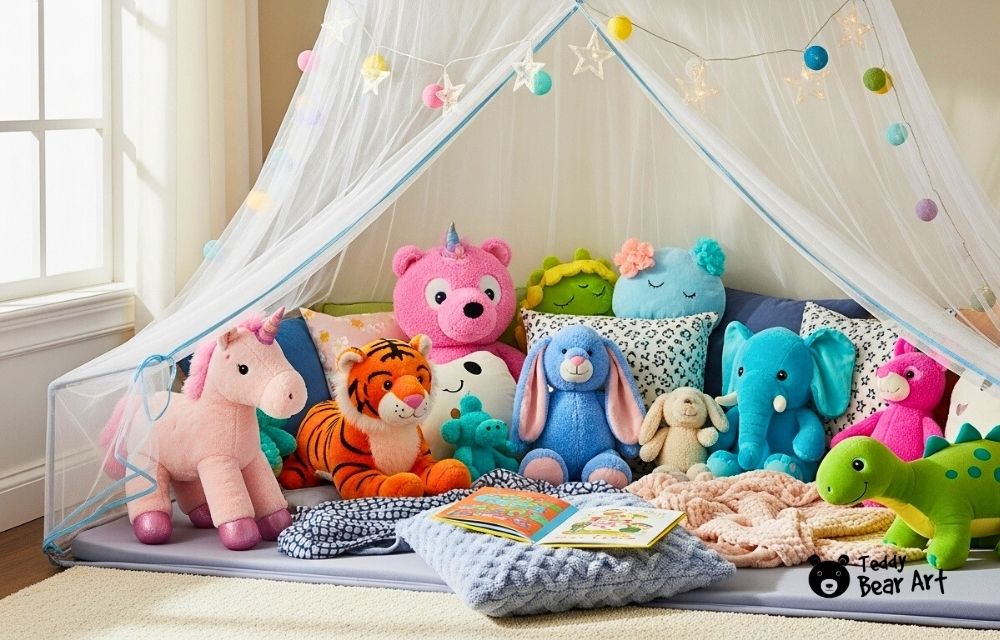
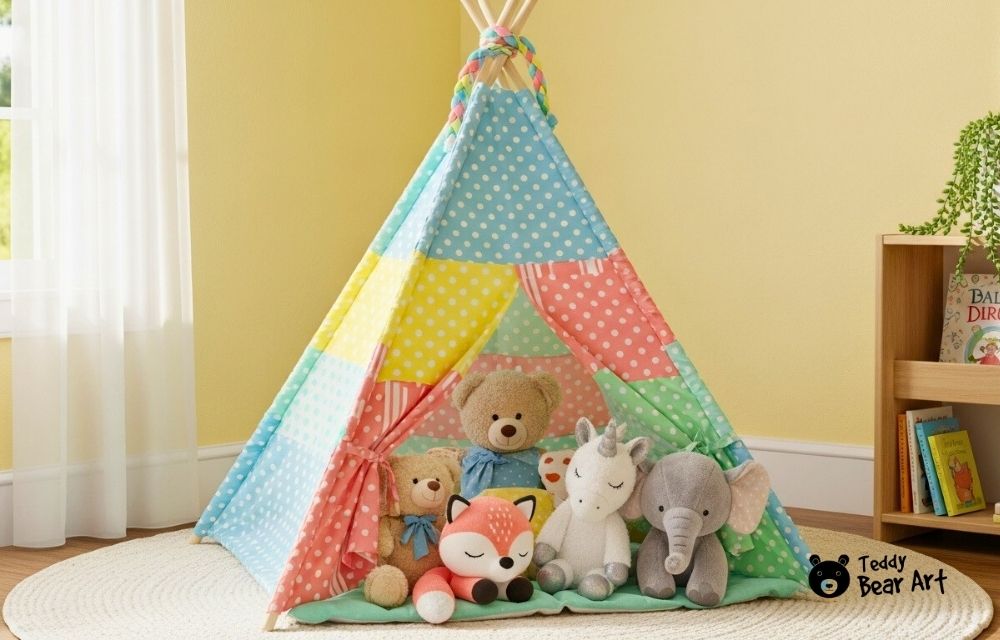
32. Toy Storage Teepee
Create a small teepee with wooden dowels and cotton fabric. Tie the poles together at the top and spread them evenly to form a stable base. Fill it halfway with plushies for a cute reading or play corner.


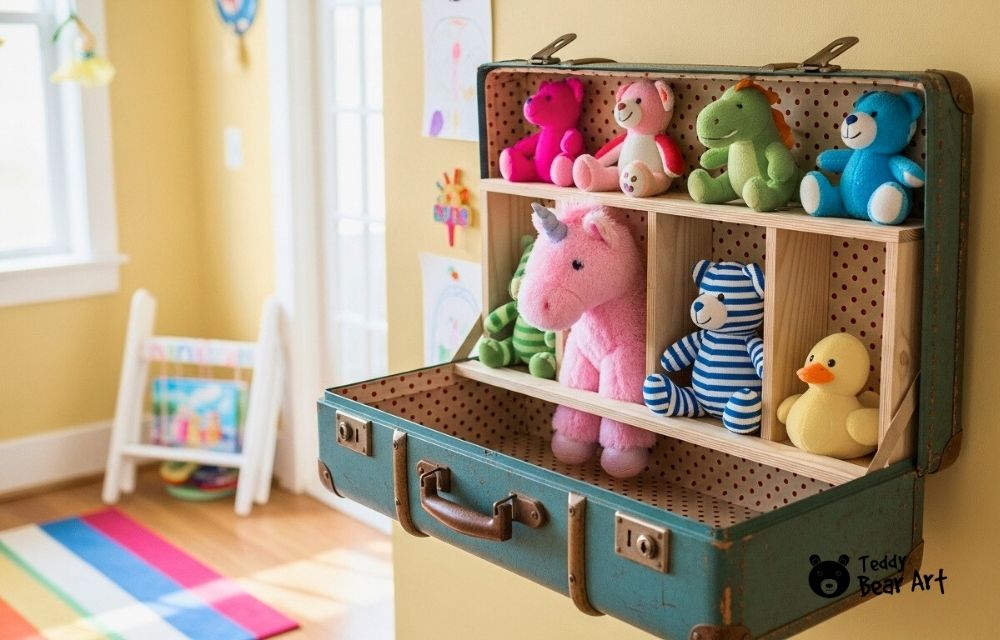
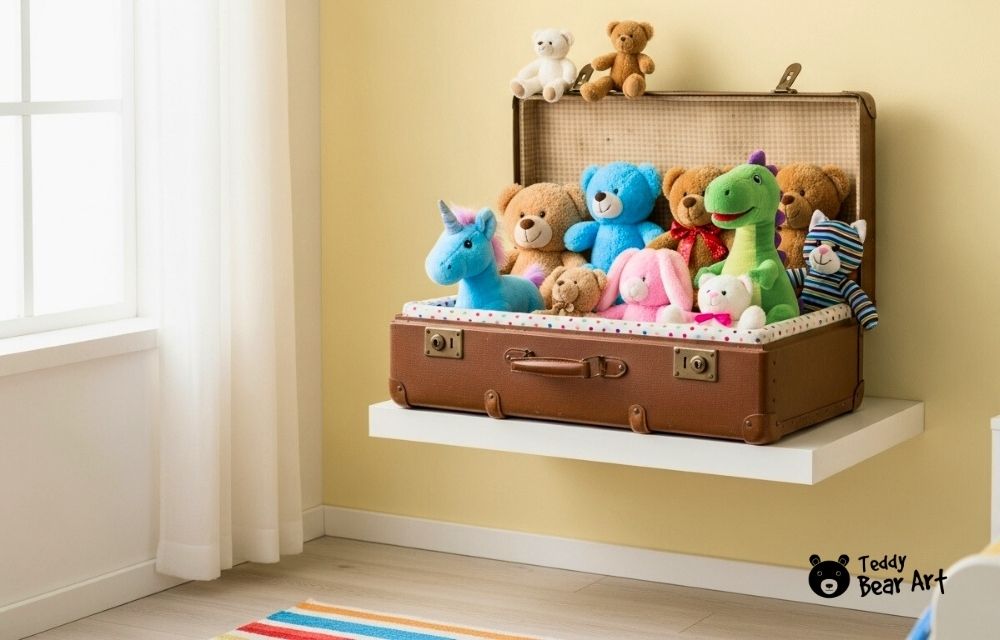
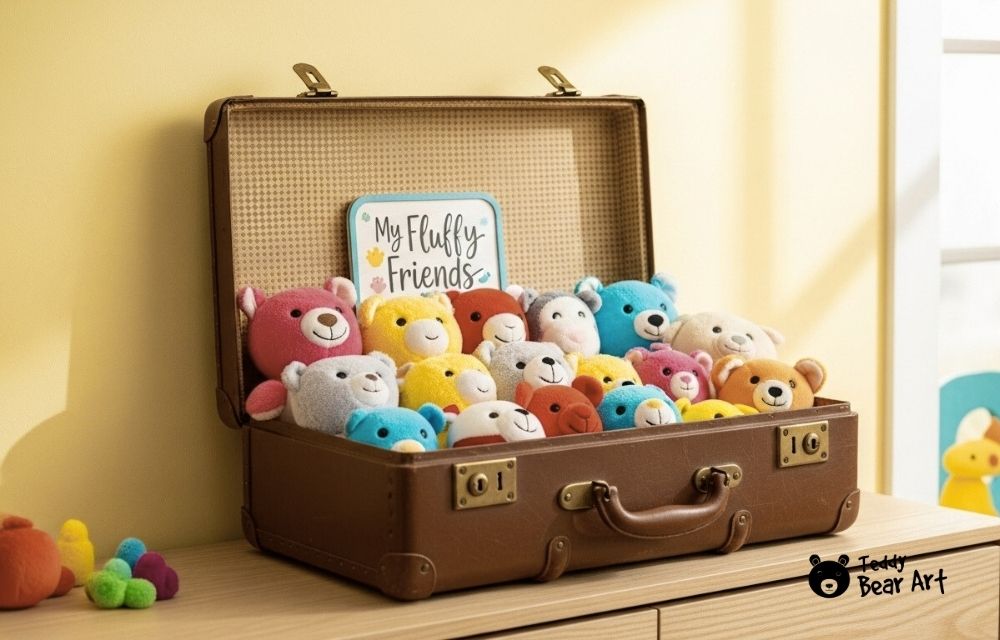
33. Vintage Suitcase Display
Stack one or two vintage suitcases on top of each other. Line them with patterned fabric and place plushies inside. It’s a nostalgic, photo-worthy way to display collectibles.

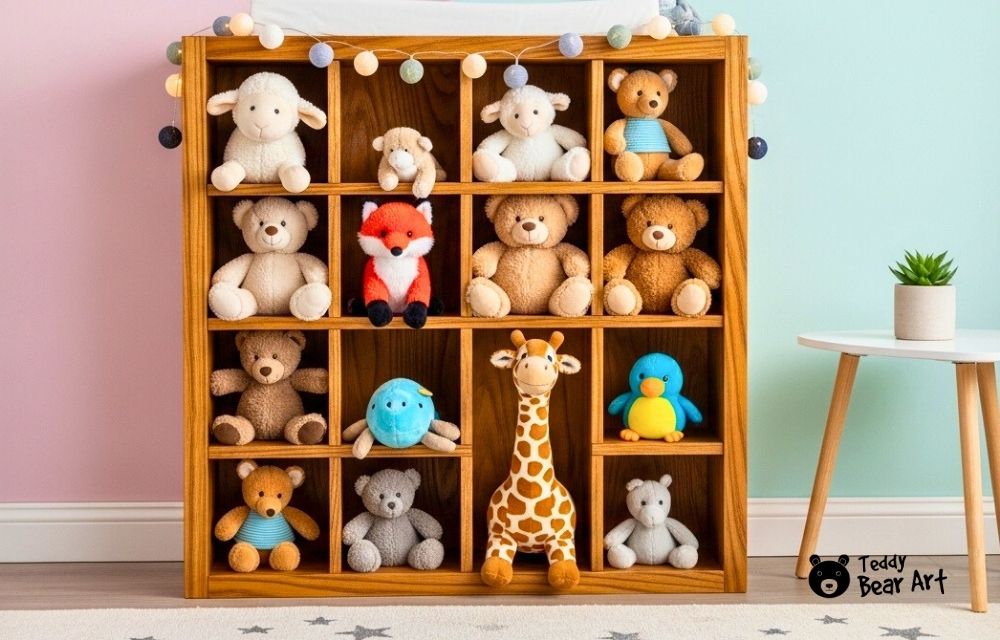
34. Recycled Wine Rack
A simple wine rack makes an excellent storage grid for small plush toys. Clean it, repaint if needed, and mount it safely. Each plushie fits into its own cozy cubby.

35. Cloud or Hot-Air Balloon Net
Attach a decorative net shaped like a cloud or balloon to the wall. Fill it with lightweight plushies and use cotton batting to accent the edges. It adds a dreamy, floating illusion to any nursery or bedroom.
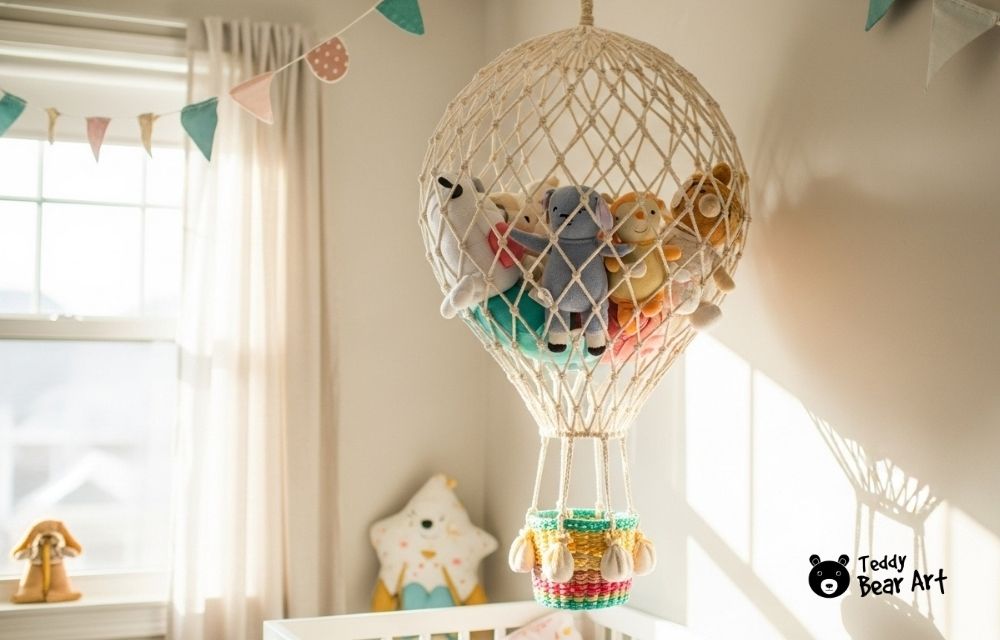


To make a DIY hot-air balloon net for stuffed animals, you will need: flexible wire (for the frame), nylon or rope net, small basket, glue gun or zip ties, cord or macramé rope, and a ceiling hook.
Instructions:
- Create the frame. Bend the wire into two circles (top and bottom) and connect them with 4–6 vertical wire arcs to form a balloon shape.
- Attach the net. Wrap the net around the frame and secure it with zip ties or glue. Keep it slightly loose for a soft, rounded look.
- Add the basket. Tie the basket to the bottom ring using four cords spaced evenly around it.
- Hang it up. Use a ceiling hook and sturdy rope to hang the balloon securely before filling it with plush toys.
Design tips:
Paint the wire white or gold, wrap LED fairy lights around the frame, and add felt clouds for a dreamy floating effect.
Bonus Tips for Success
- Keep heavier toys on lower shelves or bins for safety.
- Wash or vacuum plush toys regularly to keep them fresh.
- Avoid overstuffing hanging storage, plushies need breathing room too!
- Let kids help choose where to store their toys; it makes them more likely to tidy up later.

Frequently Asked Questions
What are the easiest DIY stuffed animal storage solutions for beginners?
Start small with fabric bins, hanging fruit baskets, or rope lines with clothespins. They need minimal tools, are quick to make, and instantly tidy up plush toys.
How can I store lots of stuffed animals without taking up floor space?
Vertical solutions like wall shelves, macramé hammocks, mesh canopies, or pegboards are perfect. They save floor space and turn your stuffed animals into playful décor.
What materials work best for DIY stuffed animal storage solutions?
Soft fabrics, wooden crates, mesh, and sturdy rope are ideal. They’re easy to work with, safe for kids, and can be customized with paint or labels.
How do I make sure my DIY stuffed animal storage is safe?
Smooth any rough edges, use non-toxic paints, and securely mount hanging items. Avoid suspending storage above beds or high-traffic areas.
Can I mix store-bought and DIY storage solutions?
Absolutely! Combine handmade items like hammocks, wall pockets, or crates with purchased baskets or bins. Mixing adds both style and functionality to your room.
How do I make DIY stuffed animal storage fun for kids?
Let children help choose colors, patterns, or labels. Add whimsical touches like tassels, fairy lights, or themed decals, this makes cleanup part of playtime.
Before You Go
Organizing your plush friends doesn’t have to be boring or complicated. These DIY stuffed animal storage solutions combine imagination with practicality, helping you create a room that feels warm, stylish, and joyful. Pick one idea to start, gather your materials, and enjoy the process. Your teddy bears will thank you with the cutest smiles!
Get Free Patterns & Be the First to Know!
Want free teddy bear patterns, exclusive tutorials, and a chance to win craft supplies?
Sign up for our newsletter using the subscribe form in the middle of this article to receive new patterns, insider tips, and the latest news on teddy bear art. You’ll also automatically be entered into our annual giveaway for a chance to win teddy bear crafting materials.
Bonus entry: Save one of our pins on Pinterest to increase your chances of winning!
Let’s create, inspire, and craft beautiful teddy bears together!
What a delightful and practical post! I love how each idea blends creativity with functionality especially the macramé hammock and the canopy storage, which turn simple organization into charming décor pieces. It’s refreshing to see so many low-cost, DIY-friendly options that make cleanup fun for kids while keeping rooms stylish. The mix of textures such as fabric, rope, wire, and wood gives so much flexibility for any home style. Which of these storage ideas do you think works best for smaller spaces or apartments with limited wall area?
Thank you so much! I’m really happy you enjoyed the ideas — I had so much fun putting them together. For smaller spaces or apartments with limited wall area, I’d recommend the hanging macramé hammock or corner basket storage. They make great use of vertical space, take up very little room, and add such a cozy, decorative touch. You can also take advantage of the space under the bed by using baskets, boxes, or storage bins to keep the room organized without making it feel cluttered.
By the way, here’s a little trick to visually make a small room look bigger — use larger décor or furniture pieces, like the hammock or tall shelving. Bigger elements create a sense of openness, while lots of small decorative items can actually make even a spacious room feel smaller.
True, Hanna. Loved this list. I’ve used rope lines with clothespins and a DIY stuffed animal zoo with bungee cords to tame a plush invasion at home, and both turned cleanup into play. Your safety notes on studs and anchors are spot on.
Quick question: which options hold up best for heavier plushies and humid rooms—mesh hammocks, crates, or wire baskets?
John
Thanks so much, John!
For heavier plushies and humid rooms, I’d say wire baskets are the most durable option. They don’t trap moisture like mesh can, and they keep their shape better than crates if they’re wall-mounted. Mesh hammocks are great for lighter teddies, though — especially if you want to show them off!