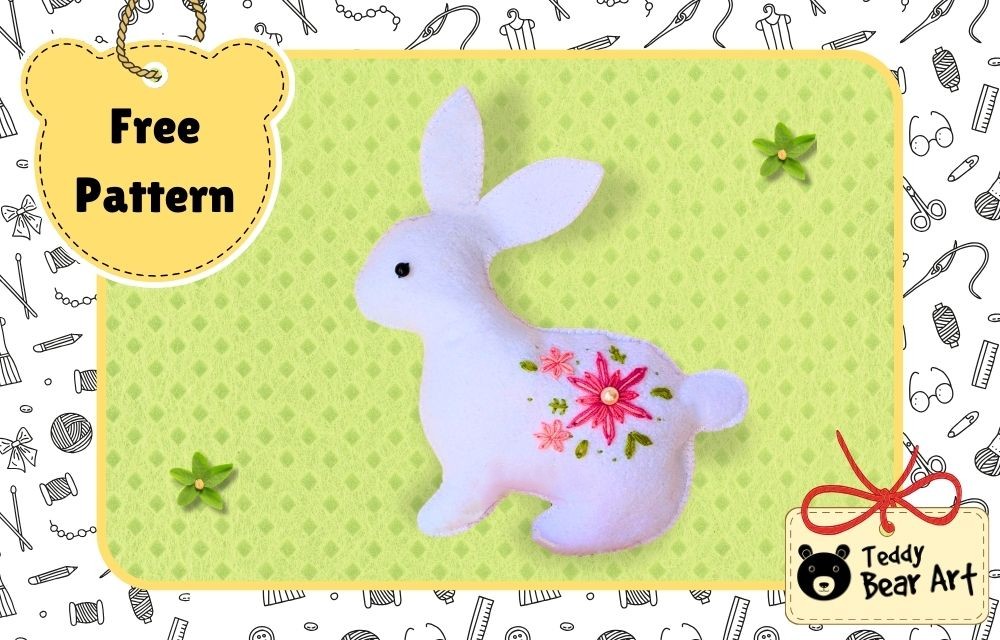
The charm of a tiny felt rabbit is hard to resist, especially when the project is simple and approachable. A felt rabbit sewing pattern is a wonderful starting point for anyone who wants to enjoy a calming, creative moment with soft materials and gentle shapes. This pattern suits small home decor arrangements, seasonal displays, and handmade gifts. It works beautifully for beginners because the pieces are clear, the lines are simple, and the entire process encourages experimentation with colors and textures.
Download the Pattern
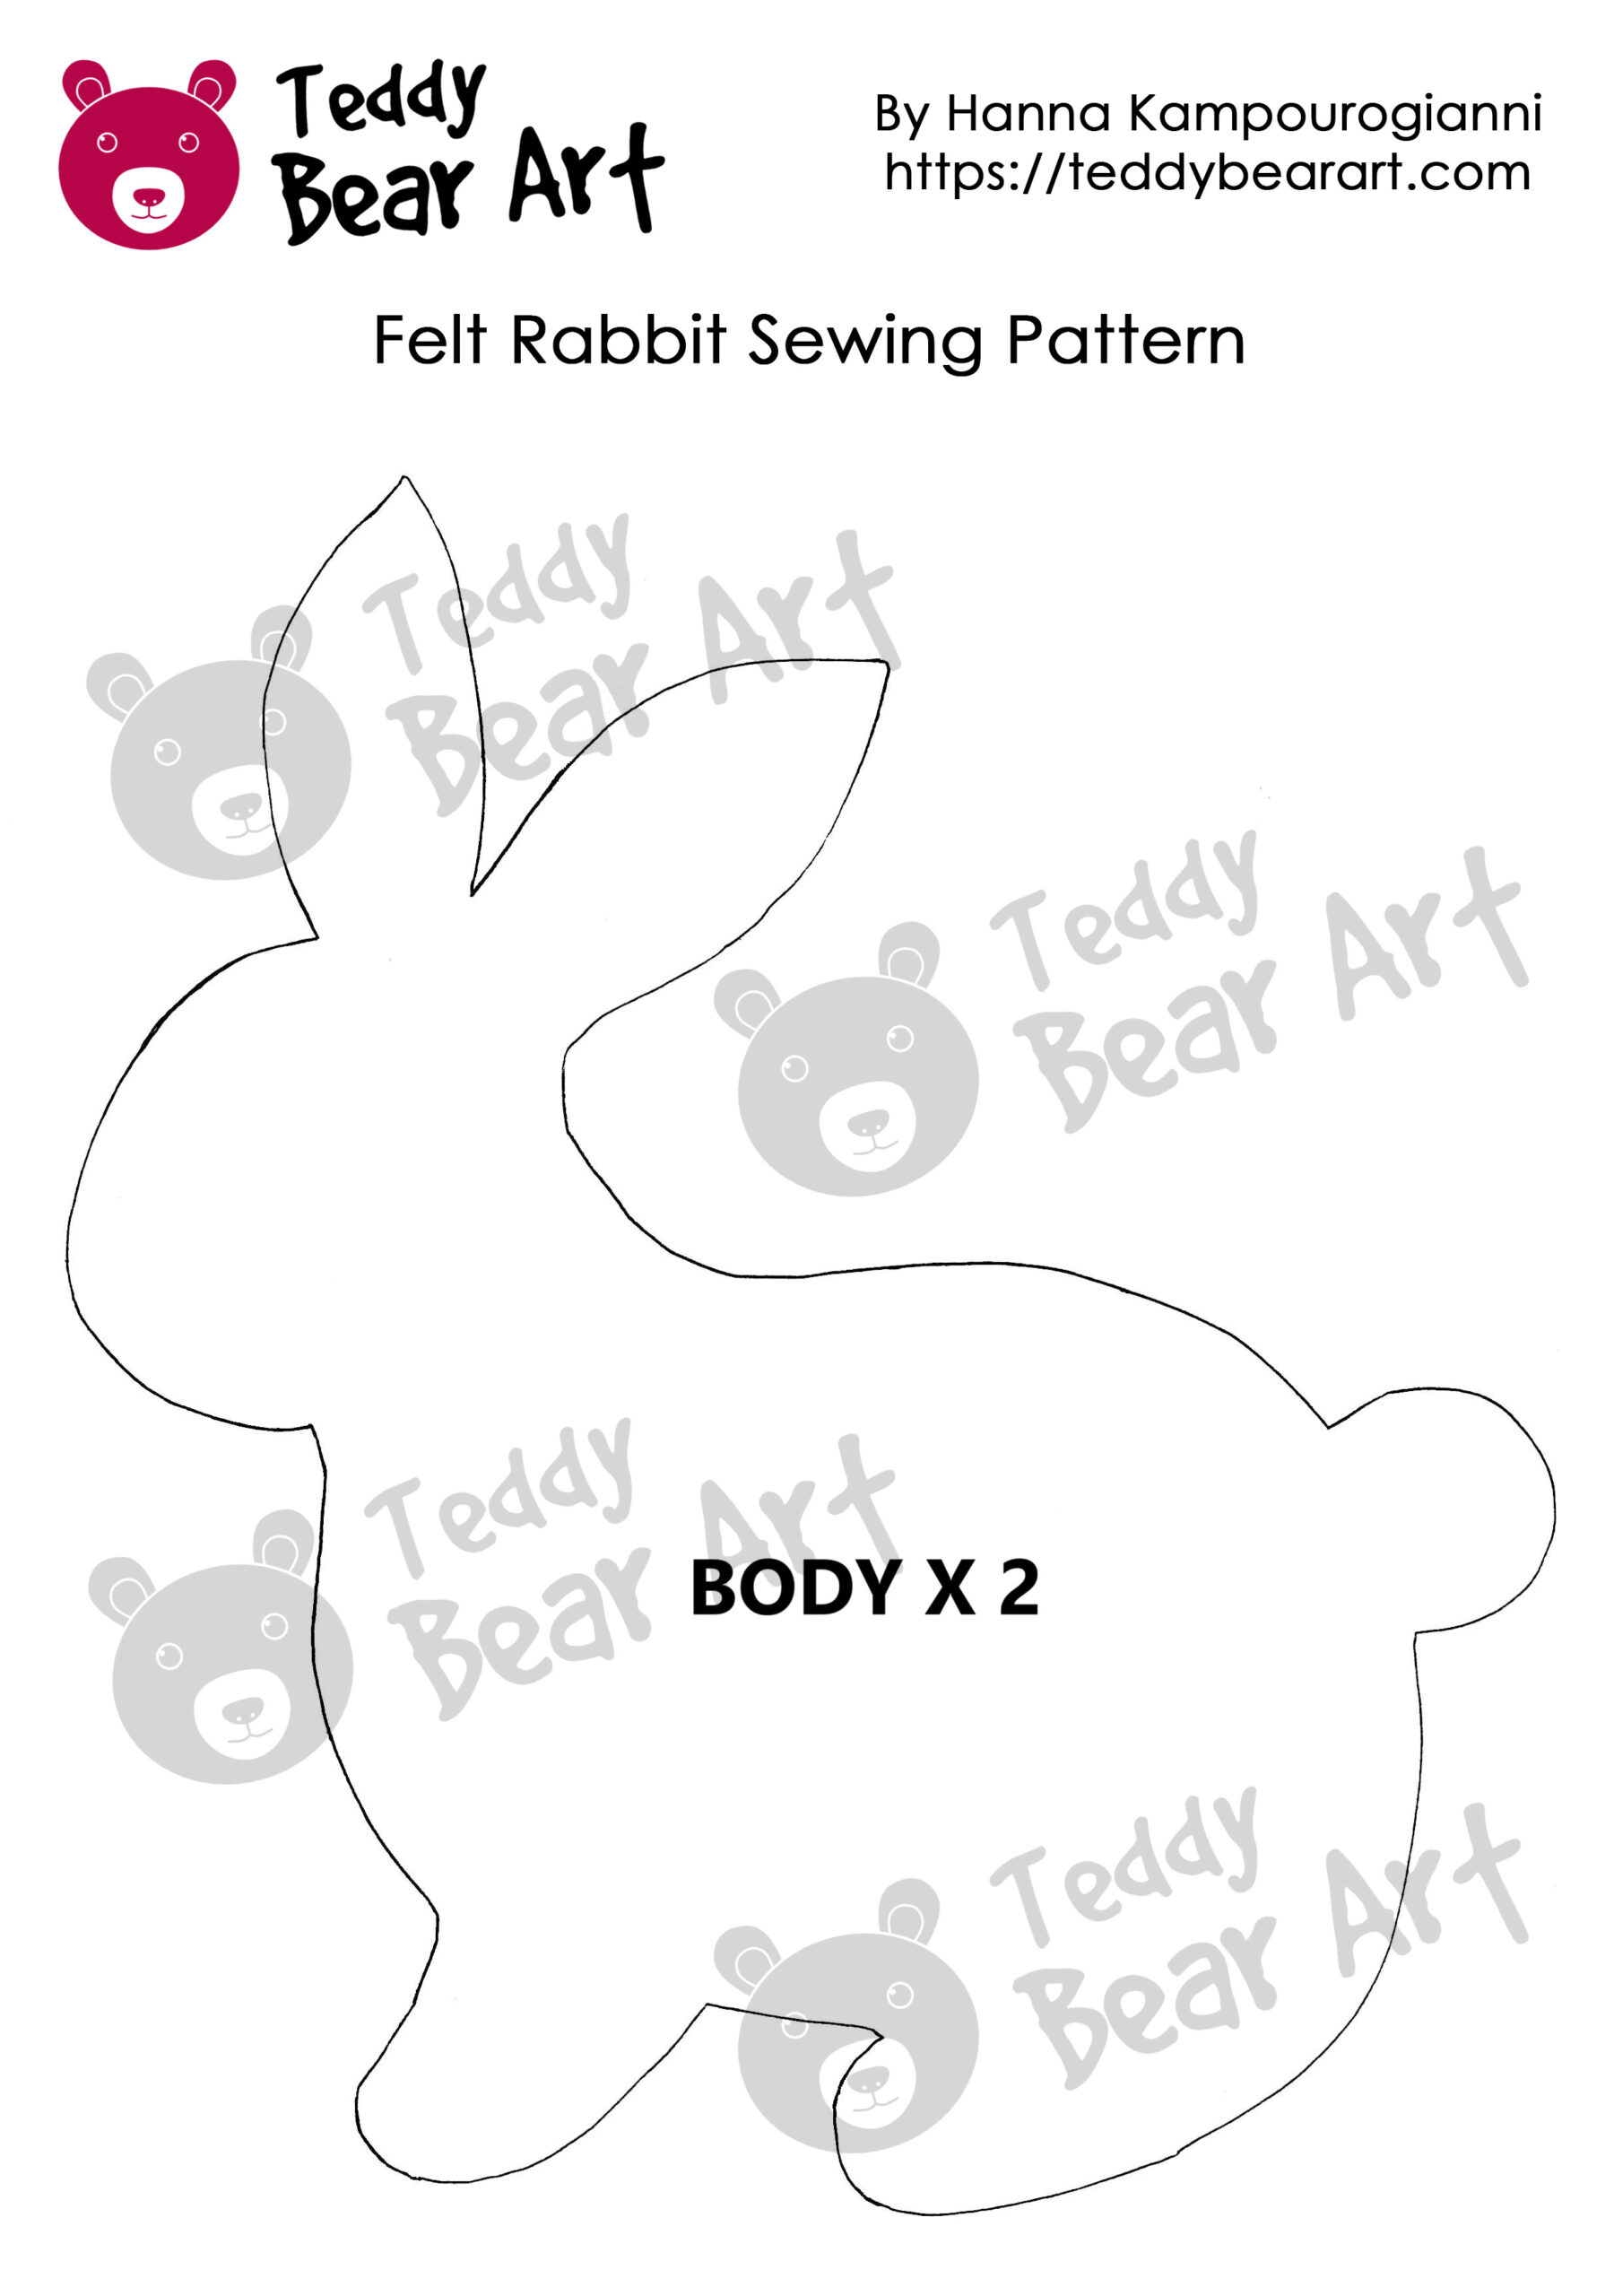
Notice that seam allowances are included.
To download the pattern, follow the instructions below:
From a phone or tablet: There should be a similar option for mobile devices with Android or iOS. Click on the image. Save it by holding your finger on the image and selecting the “Save Image” option. Then, go to your photo gallery and print it (an option available).
From a computer: Click on the photo of the pattern you see below. In the new tab that will open, you press the right mouse button and select the “Save image as …” option. Then, you choose where the image will be saved on your computer.
Materials You Will Need
- Felt sheets in your chosen colors
- Embroidery floss
- Hand sewing needle
- Small sharp scissors
- Polyester stuffing
- Beads
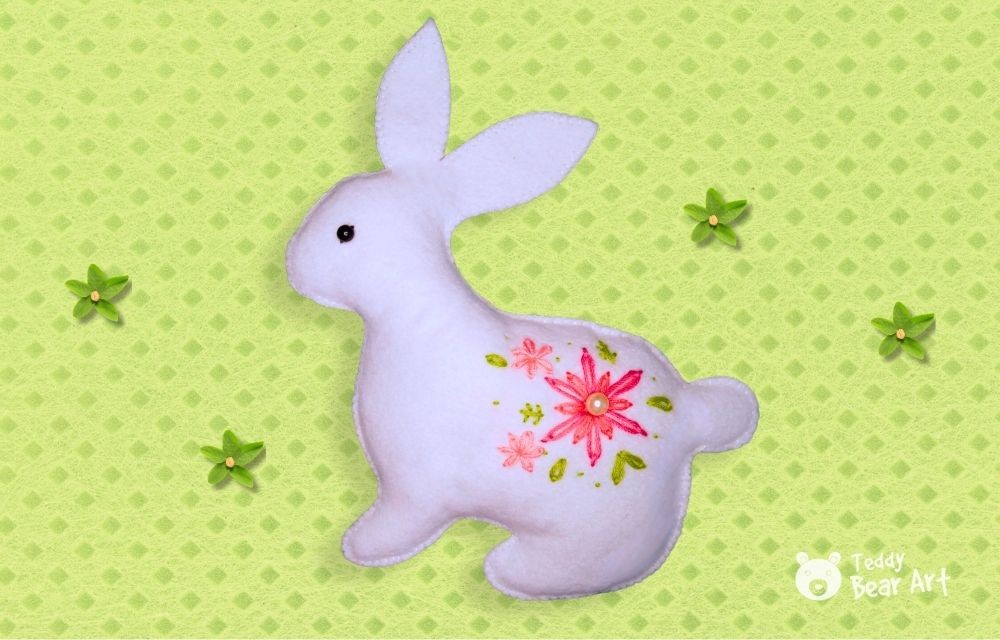
Follow our detailed tutorial, completed with numerous photos, to embroider and sew this beautiful rabbit.
Frequently Asked Questions
What thickness of felt works best for this pattern?
For small soft toys like this rabbit, felt with a thickness of around 2 mm gives the nicest result. Thin felt keeps the edges smooth and flexible, so the curves of the rabbit look neat and even. Thicker felt can also work, but may feel too stiff for delicate shapes.
How can the rabbit be decorated if there are no embroidery skills?
There are many beginner-friendly options. Paillettes, tiny beads, fabric markers, acrylic paint, ribbon bows, felt appliqué pieces or small cotton patches can all make lovely details without any embroidery. These additions keep the project simple but still give the rabbit character.
Can the pattern be resized?
Yes, the pattern can be reduced or enlarged by adjusting the print scale. Setting the printer to 80 percent, 50 percent or any custom size will shrink the template proportionally. Enlarging works the same way, so the rabbit can be made tiny for ornaments or bigger for soft play pieces.
Before You Go
The felt rabbit sewing pattern opens the door to a project that is easy, relaxing, and filled with creative possibilities. With soft materials, simple shapes, and numerous ways to decorate, the rabbit becomes a delightful, handmade piece for gifting or displaying at home. This pattern also pairs wonderfully with seasonal themes, especially springtime and Easter arrangements.
We encourage readers to explore the many decoration ideas and let each rabbit take on a personality of its own. Sharing finished creations with friends or crafting communities often inspires new color combinations and fresh ideas. With just a few materials and a bit of time, this gentle little project brings joy to makers of every experience level.
Get Free Patterns & Be the First to Know!
Want free teddy bear patterns, exclusive tutorials, and a chance to win craft supplies?
Sign up for our newsletter using the subscribe form in the middle of this article to receive new patterns, insider tips, and the latest news on teddy bear art. You’ll also automatically be entered into our annual giveaway for a chance to win teddy bear crafting materials.
Bonus entry: Save one of our pins on Pinterest to increase your chances of winning!
Let’s create, inspire, and craft beautiful teddy bears together!
This pattern looks so simple. Do you think this pattern could work in classrooms or community groups where people are just discovering handicrafts for the first time? It seems like it could be a great way to introduce beginners to basic techniques without overwhelming them. Plus, finishing a project like this quickly could give them a real sense of accomplishment and boost their confidence.
This pattern looks so simple. Do you think this pattern could work in classrooms or community groups where people are just discovering handicrafts for the first time? It seems like it could be a great way to introduce beginners to basic techniques without overwhelming them. Thank you!
Yes, this pattern would be perfect. It’s the simplest one on the entire site, and even complete beginners can handle it easily.
Hey Hanna,
What a sweet and generous pattern—thank you for sharing it!
I’m planning to make a whole basket of these for my niece’s Easter table.
Could you tell me, do you usually attach the eyes before stuffing the bunny, or after the head is fully shaped? I’m trying to understand which method gives a cleaner result.
Thank you.
There are actually two ways to do it. If I’m attaching both eyes, then I always sew them on after stuffing, the shape is already formed, and it’s much easier to place them evenly.
But if I’m adding only one eye (like in this project, my bunny is one-sided since it’s meant as a decoration, not a toy), then I sew that eye before stuffing. That way it sits perfectly on the flat piece.