This frog plush sewing pattern is the easiest and simplest you can imagine, giving almost instant results for anyone who loves sewing fun projects. It is made from just two pieces of fabric, so it comes together quickly and easily. You can use different materials like plush, fleece, felt, or minky to make your frog soft, cuddly, and just the way you want. If you have 10 free minutes, don’t hesitate and start sewing! You’ll love it!

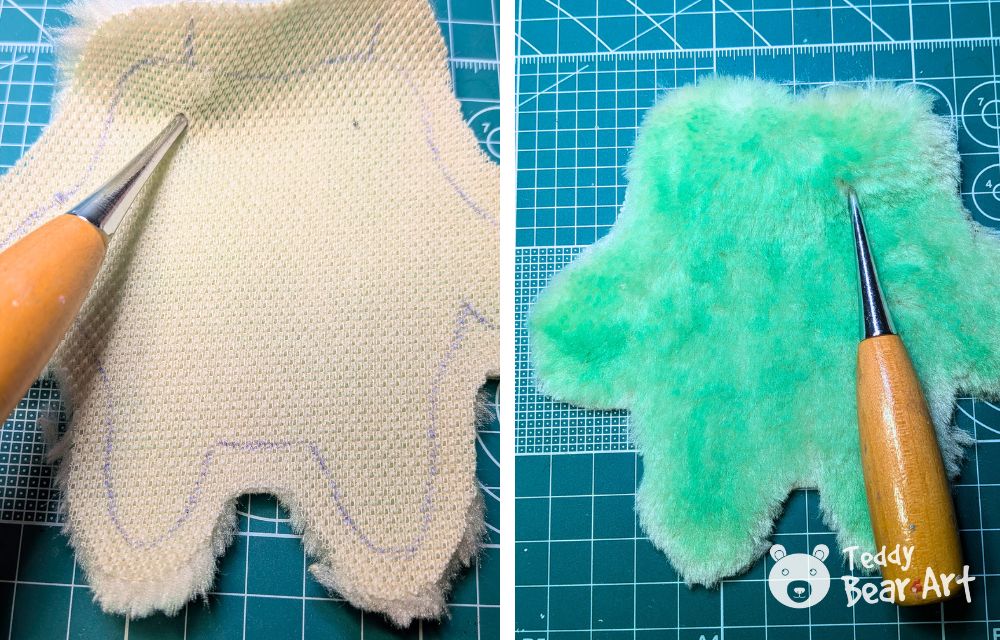
If you don’t have green fabric, like I didn’t, you can dye white plush green, and the easiest way to do it is with pastel chalk.
Download the Pattern
Notice that seam allowances are not included.
To download the pattern, follow the instructions below:
From a phone or tablet: There should be a similar option for mobile devices with Android or iOS. Click on the image. Save it by holding your finger on the image and selecting the “Save Image” option. Then, go to your photo gallery and print it (an option available).
From a computer: Click on the photo of the pattern you see below. In the new tab that will open, you press the right mouse button and select the “Save image as …” option. Then, you choose where the image will be saved on your computer.

Materials Needed
- Fabric of your choice: plush, fleece, felt, or minky
- 14 mm plastic safety eyes, with secure backing
- Synthetic fiberfill for stuffing
- Needle and thread
- Scissors
- Black thread for embroidering the mouth
Step-by-Step Sewing Guide
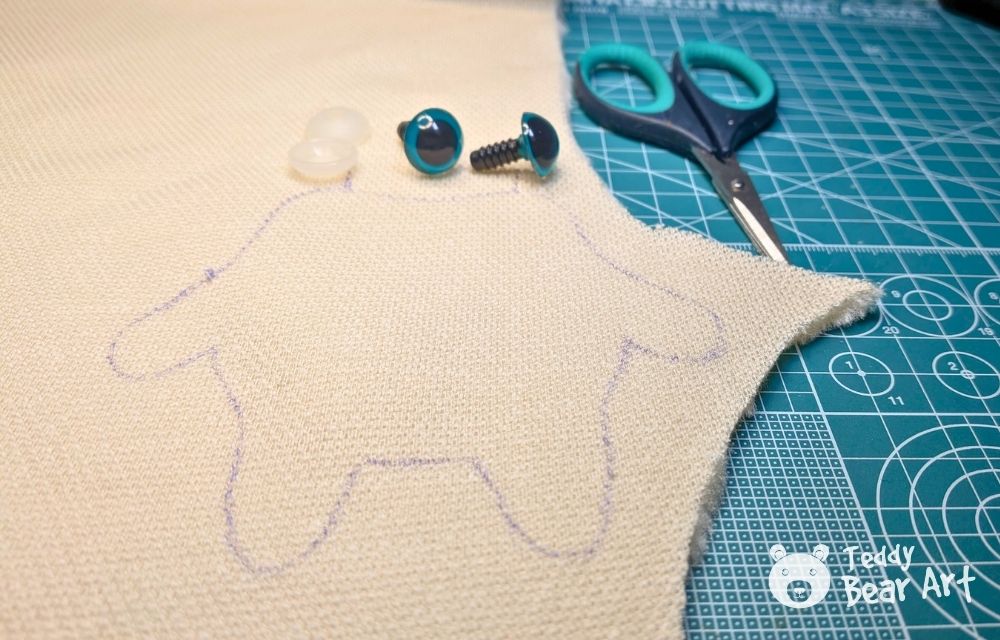
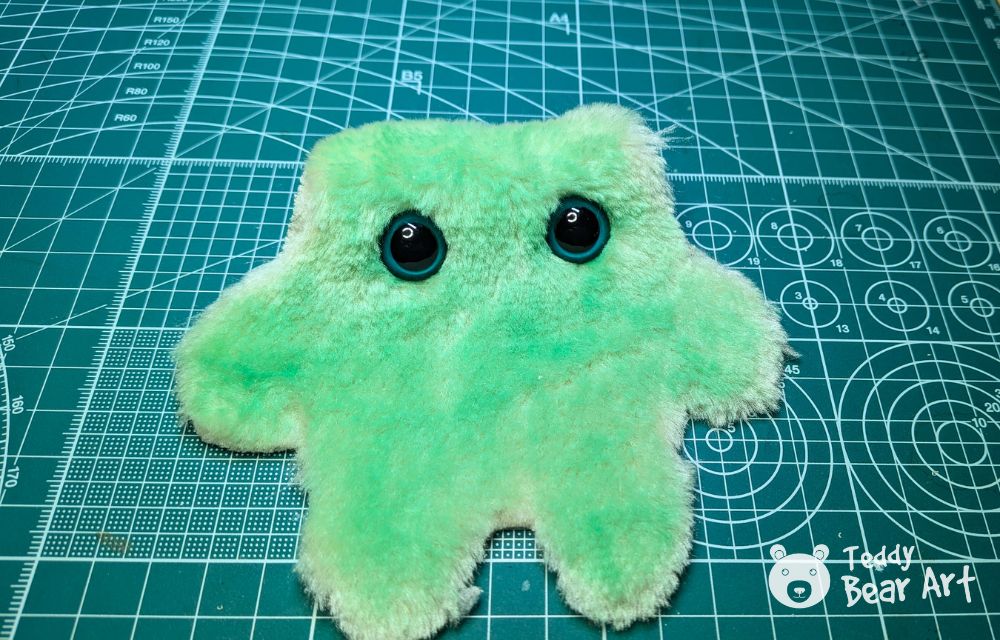
Begin by transferring the two identical pieces of the frog pattern onto your chosen fabric. One piece will serve as the front, which will hold the frog’s eyes and face, while the other forms the back.
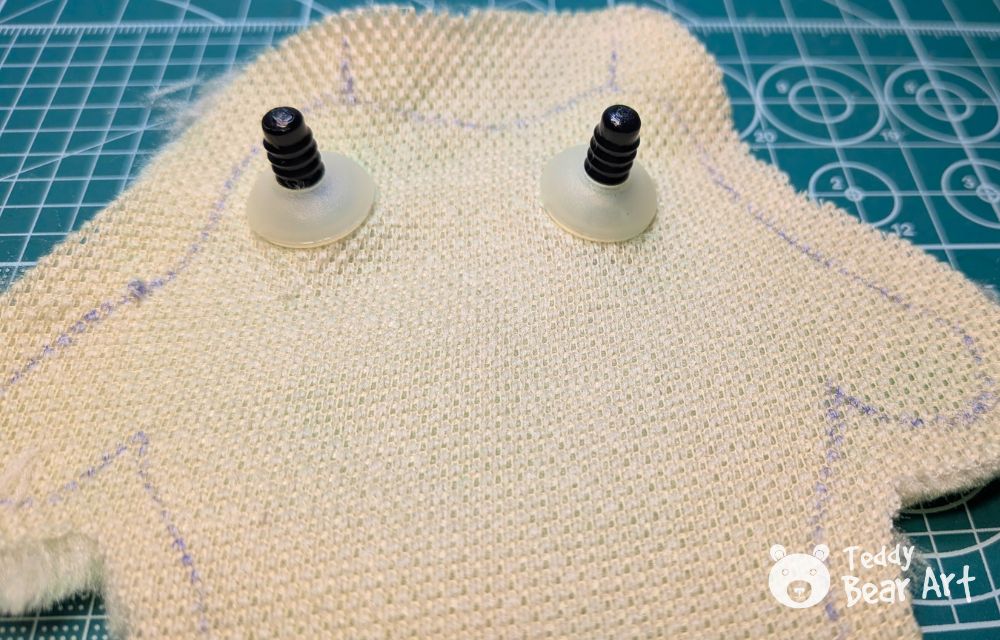
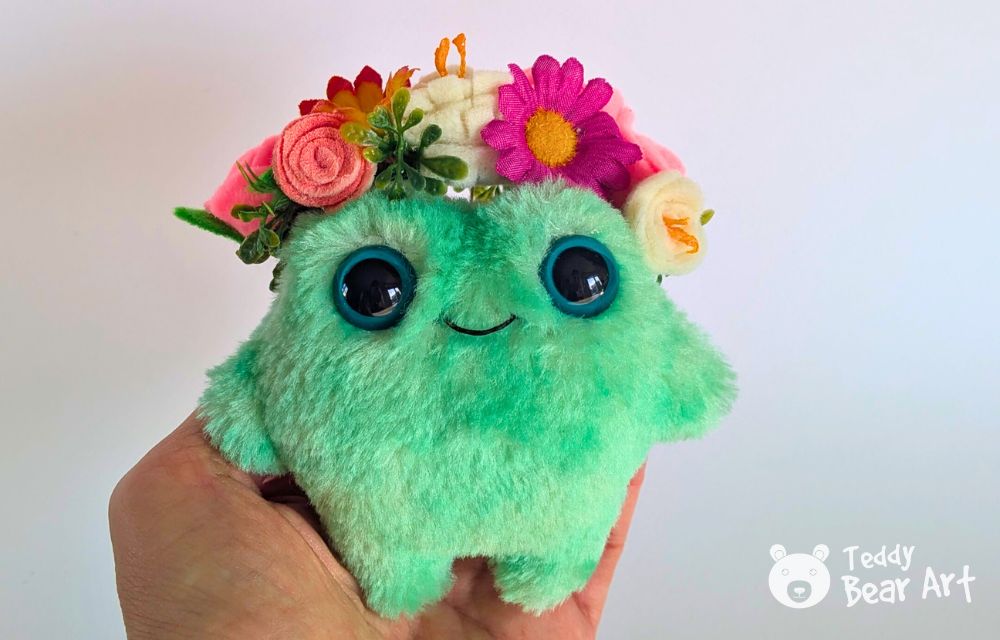
Secure the safety eyes in place on the front piece, positioning them evenly and firmly attaching the backing to prevent shifting. This adds personality and life to the frog, giving it an engaging gaze.


Once the eyes are in place, put the two pieces with the right sides facing each other and sew, leaving a small opening at the top. This opening will later allow for stuffing the plush toy.
Stuffing the frog is an essential step that brings it to life. Gently fill the plush with synthetic fiberfill, using a wooden stick or pencil to push the stuffing into the corners and shape the frog’s head and limbs evenly.

Be mindful to distribute the filling so the frog maintains a plump, balanced form. After the frog is sufficiently stuffed, close the top opening with careful stitching, ensuring the seam is secure and tidy.
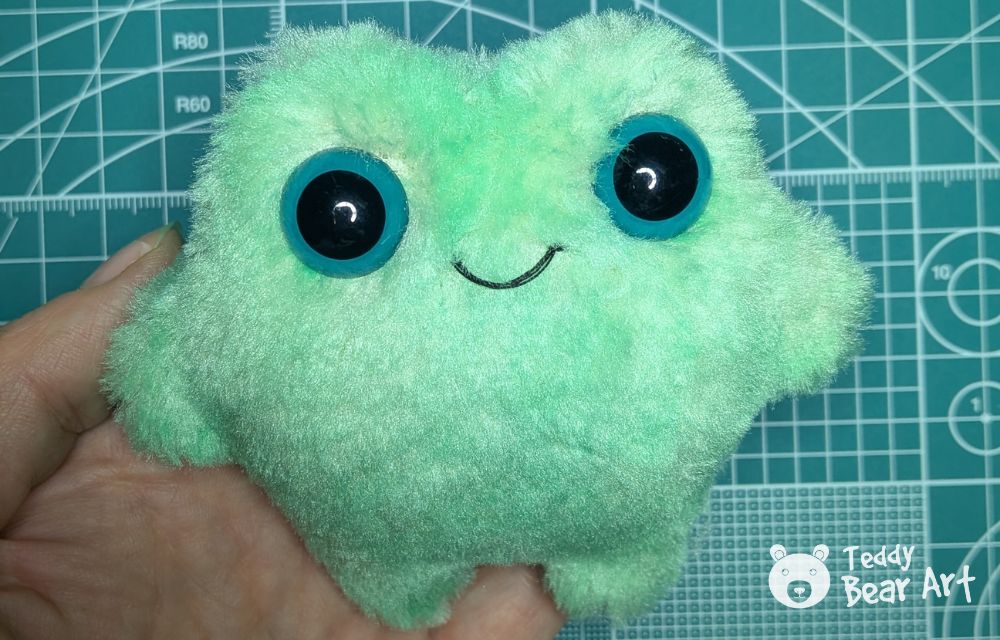
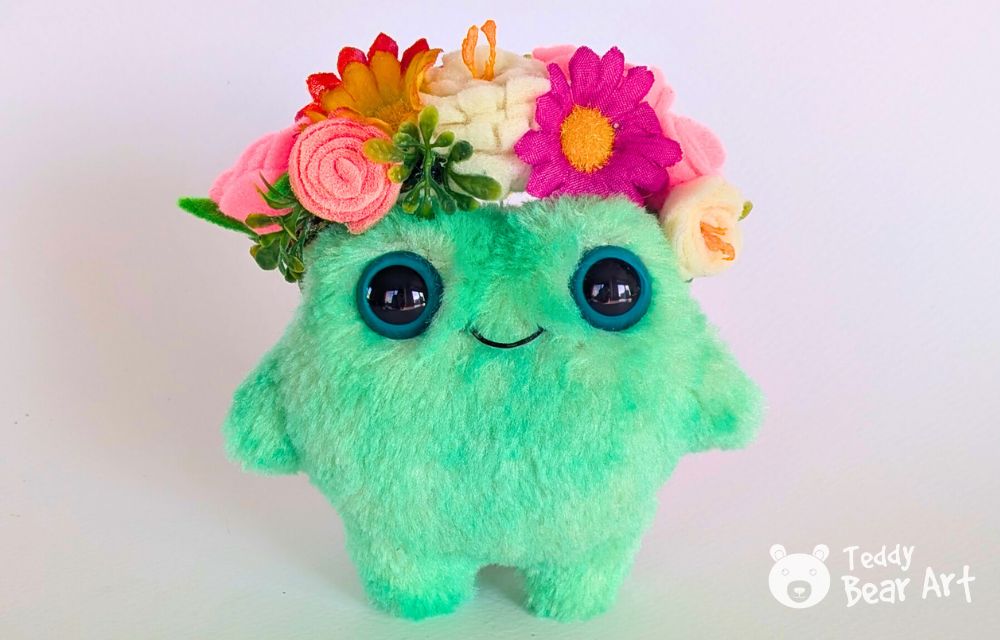
Using a brush or comb, lightly fluff the fabric to achieve a soft, finished texture. Complete the frog’s facial expression by stitching a small, cheerful smile with black thread. This simple detail adds charm and character, transforming the plush into a lovable companion.
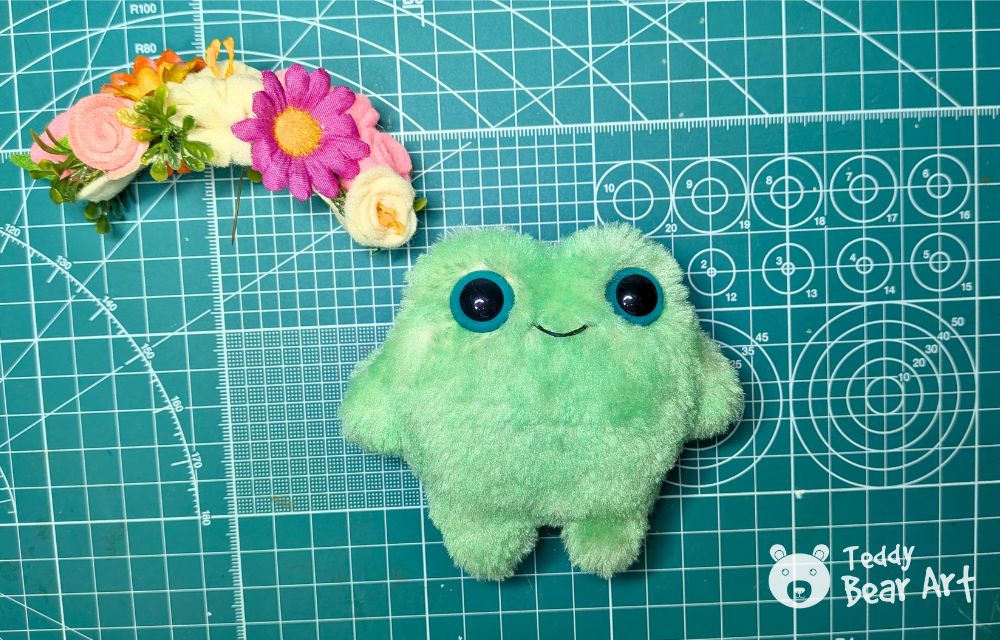
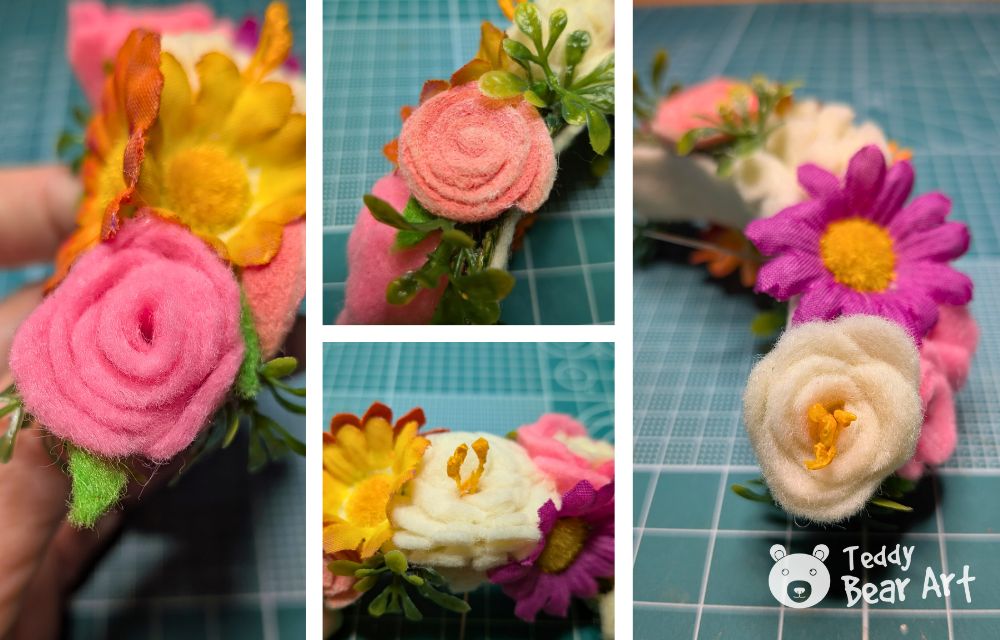
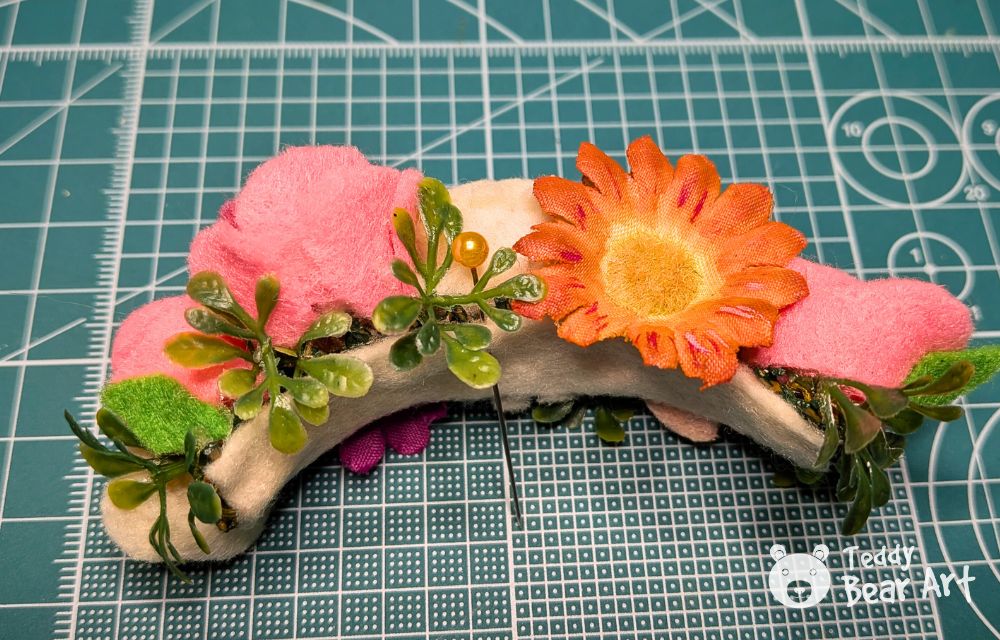
You can customize your little froggy by adding nice accessories.

Frequently Asked Questions
What can be used as an alternative to safety eyes?
If safety eyes are not available, there are many simple alternatives. Eyes can be cut from felt and glued or sewn on, embroidered with thread, or replaced with buttons, beads, or small black craft beads. Any option works well as long as it is securely attached and suits the style of the plush toy.
Can the size of the pattern be changed?
Yes, the pattern can be resized very easily. It can be enlarged or reduced when printing, or scaled digitally before transferring it to fabric. Changing the size does not affect the construction process, only the final size of the frog plush.
Is this pattern suitable for beginners?
Yes, this pattern is beginner-friendly. It is made from only two identical pieces and uses simple sewing steps, making it a great project for anyone who wants a quick and enjoyable result.
Before You Go
This free frog plush sewing pattern is versatile, allowing for a variety of creative adjustments. Experimenting with different fabric textures, such as soft fleece for a cozy feel or shiny minky for a playful look, can make each frog unique.
The eyes can also be varied in size or color to create different expressions, making each toy distinctive. Adding small accessories, like a fabric bow or tiny stitched spots, can further personalize the frog and give it a character that reflects your creative vision.
Get Free Patterns & Be the First to Know!
Want free teddy bear patterns, exclusive tutorials, and a chance to win craft supplies?
Sign up for our newsletter using the subscribe form in the middle of this article to receive new patterns, insider tips, and the latest news on teddy bear art. You’ll also automatically be entered into our annual giveaway for a chance to win teddy bear crafting materials.
Bonus entry: Save one of our pins on Pinterest to increase your chances of winning!
Let’s create, inspire, and craft beautiful teddy bears together!
I love this! In my classroom, we often talk about ‘comfort objects’ and empathy. I can see my students being so proud to create a little frog friend to keep in their desks or to gift to a younger sibling. For a group project, do you think it’s easier for kids to work with felt or a more traditional cotton fabric when trying to navigate the curves of the frog’s legs?
For a group classroom project, felt is usually the easier option for kids, especially when dealing with curved shapes like the frog’s legs. It doesn’t fray, holds its shape well, and is very forgiving if stitches aren’t perfectly even. That means less frustration and more confidence, which is ideal in a group setting.
Felt also lets kids focus on creativity and the emotional side of the project rather than technical sewing challenges, which fits your classroom goals beautifully.