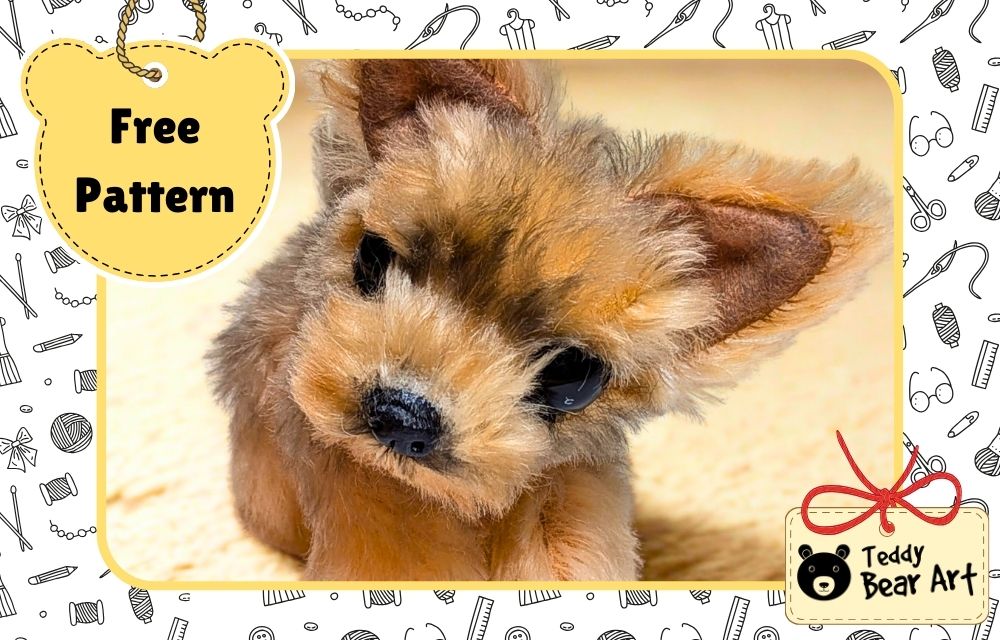
If you love creating lifelike plush animals, this Yorkie sewing pattern was designed especially for you. This pattern focuses on proportions, character, and texture, helping you create a Yorkshire Terrier puppy plush with a realistic look and a soft, expressive presence. The pattern itself is completely free and ready to download.

This Yorkie pattern was developed for teddy bear artists, plush makers, and collectors who enjoy working with mohair and appreciate detailed, realistic designs. It fits beautifully into the world of collectible plush and teddy-style animals, where personality and craftsmanship matter more than speed.
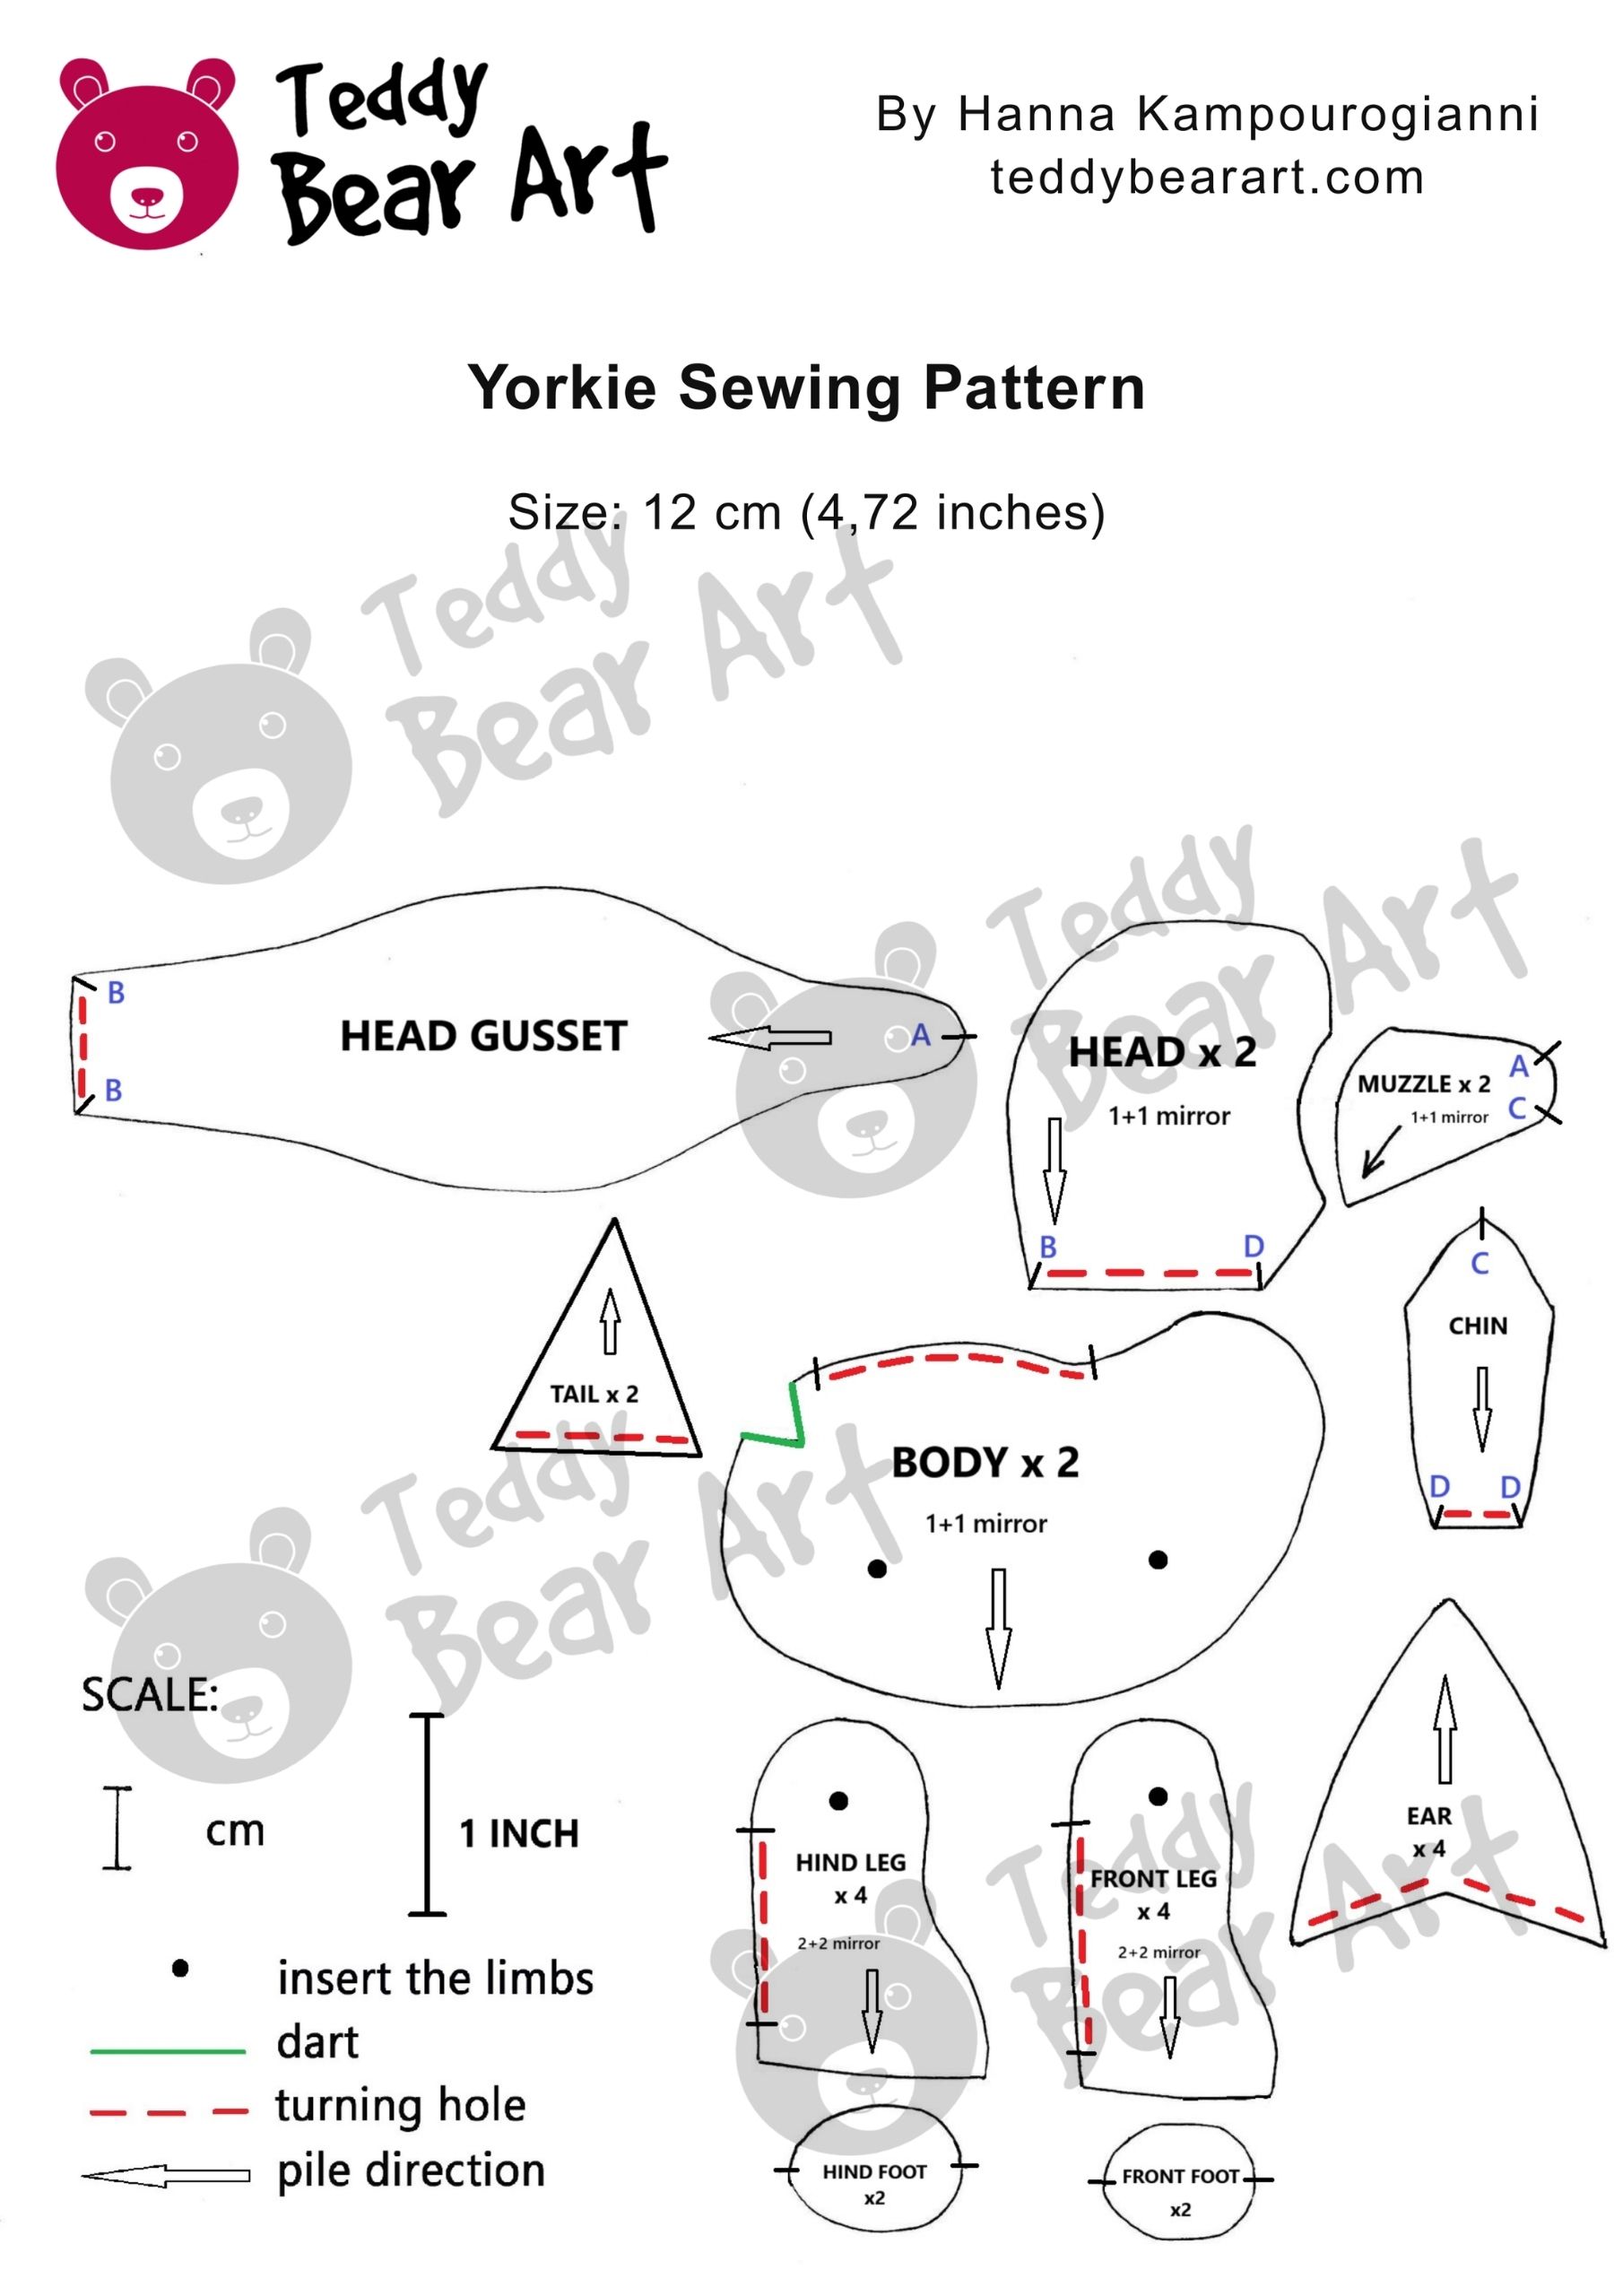
Download the Pattern
Notice that seam allowances are not included.
To download the pattern, follow the instructions below:
From a phone or tablet: There should be a similar option for mobile devices with Android or iOS. Click on the image. Save it by holding your finger on the image and selecting the “Save Image” option. Then, go to your photo gallery and print it (an option available).
From a computer: Click on the photo of the pattern you see below. In the new tab that will open, you press the right mouse button and select the “Save image as …” option. Then, you choose where the image will be saved on your computer.
Materials and Tools
- Mohair fabric with a pile length of 1.5 cm
- Strong threads and a needle for hand sewing
- A pair of small glass eyes with a pupil on a metal loop (12 mm or 14 mm in diameter)
- Black sheep wool merino
- Waxed thread
- Metal pellets or glass pellets for weight
- Felt fabric for paws and ears
- Discs 15 mm – for the legs – 4 pieces, 12 mm for the arms, and the head – 6 pieces
- Washers – 10 pieces
- T-shaped cotter pins – 5 pieces
- Clay for the nose
- Glue
- Synthetic filler or sheep wool filler
- Paints
- Long doll needle
- Scissors
- An awl
- Pliers
Short Sewing Instructions
Head
Start with the head. Sew the muzzle to the head pieces. Next, insert and sew the head gusset, matching the points from A–A to B–B. After that, sew the section from A to C. Finally, insert and sew the chin, matching the points from C–C to D–D.
Body
Begin by sewing the darts. Then sew the two body pieces together.
Legs, ears, and tail
Sew the front and hind legs, then attach the feet to each leg. Sew the ears. Sew the tail.
Frequently Asked Questions
Can I sell finished Yorkies made using this pattern?
Yes, you may sell finished plush Yorkies created using this pattern. The only restriction is that the pattern itself may not be shared, redistributed, or resold. Each handmade Yorkie will naturally be a little different, which is part of the charm of artist-made plush.
Will there be a step-by-step sewing tutorial for this Yorkie?
Yes, a detailed step-by-step tutorial is now available. Please follow it to see the complete process from start to finish.
Before You Go
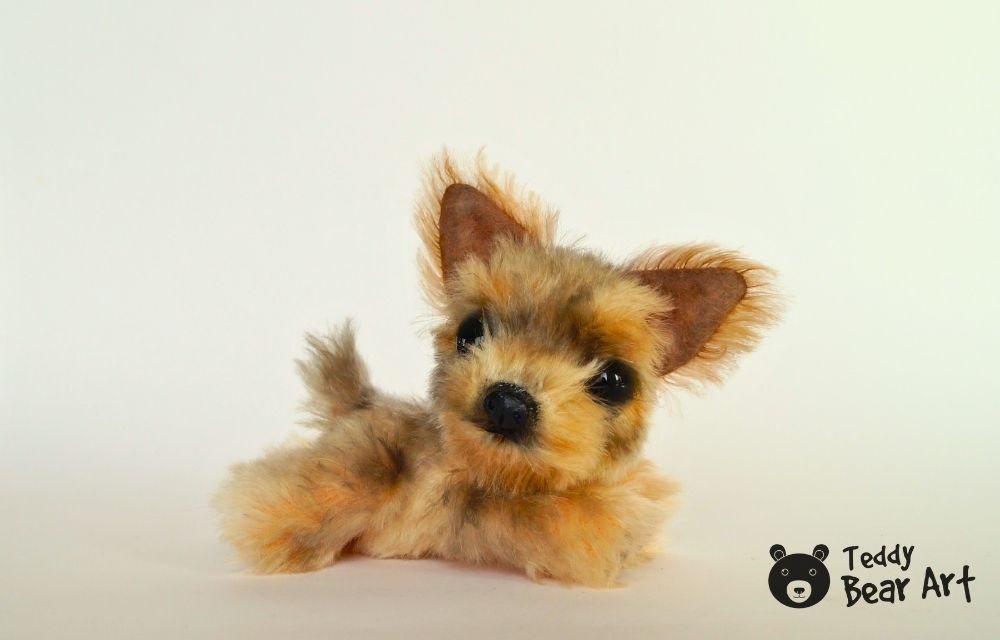
Creating your own realistic Yorkie with this pattern is a wonderful way to explore your creativity and improve your plush-making skills. Even at this stage, simply studying the pattern, choosing your mohair, and planning your colors and finishing touches can be inspiring and fun. Each Yorkie you make will have its own unique personality, and small details like trimming, shading, and tiny accessories can bring it to life in a way that’s completely your own.
Keep this pattern handy, experiment with different fabrics, and enjoy the process of making a collectible plush that reflects your artistic style. When the full tutorial is released, you’ll be ready to follow every step and create a Yorkie plush that’s both realistic and full of charm. Happy sewing!
Get Free Patterns & Be the First to Know!
Want free teddy bear patterns, exclusive tutorials, and a chance to win craft supplies?
Sign up for our newsletter using the subscribe form in the middle of this article to receive new patterns, insider tips, and the latest news on teddy bear art. You’ll also automatically be entered into our annual giveaway for a chance to win teddy bear crafting materials.
Bonus entry: Save one of our pins on Pinterest to increase your chances of winning!
Let’s create, inspire, and craft beautiful teddy bears together!
I finally made this Yorkie and I’m honestly so happy with how it turned out. I used slightly smaller eyes than recommended, and it gave the face a softer expression. I also managed to use leftover mohair from another project, which was perfect for this size. The pattern is very well designed and the realistic shape really makes a difference.
Thank you so much for your lovely review! I’m thrilled to hear that your Yorkie turned out so well and that the pattern worked perfectly for you. I really appreciate you sharing your experience. It means a lot!