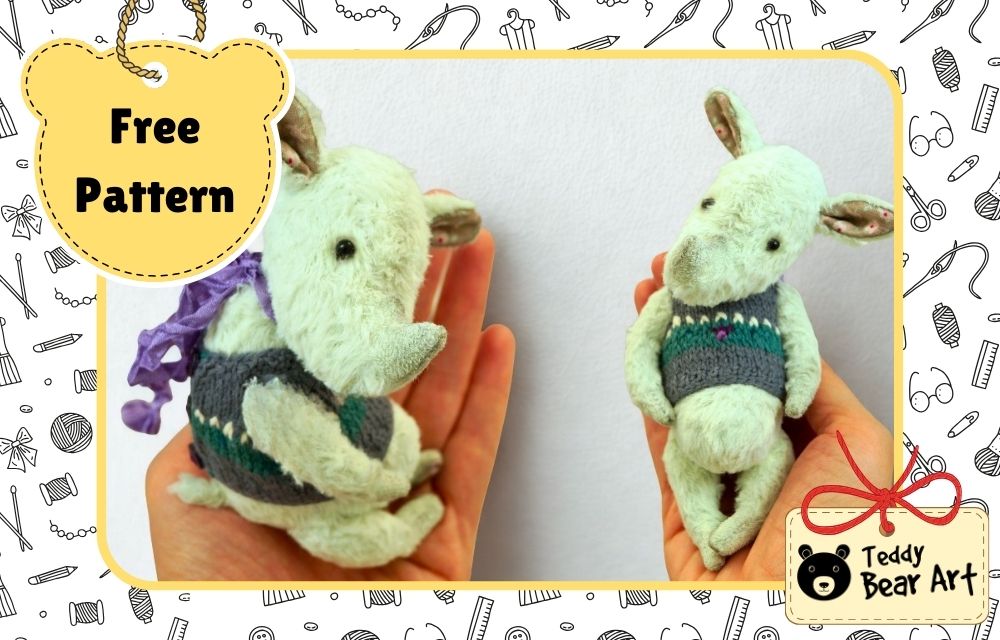
I made this miniature rhinoceros as a jointed soft toy, and before sewing it, I carefully planned the proportions, choice of materials, and joint construction. This rhino sewing pattern was created for makers who enjoy artist techniques, expressive forms, and traditional materials. The pattern is designed for a jointed rhino made from viscose, with a focus on sculpted shape and collectable quality rather than quick plush results. It fits naturally into the world of artist teddy making and jointed soft toys.
Download the Pattern
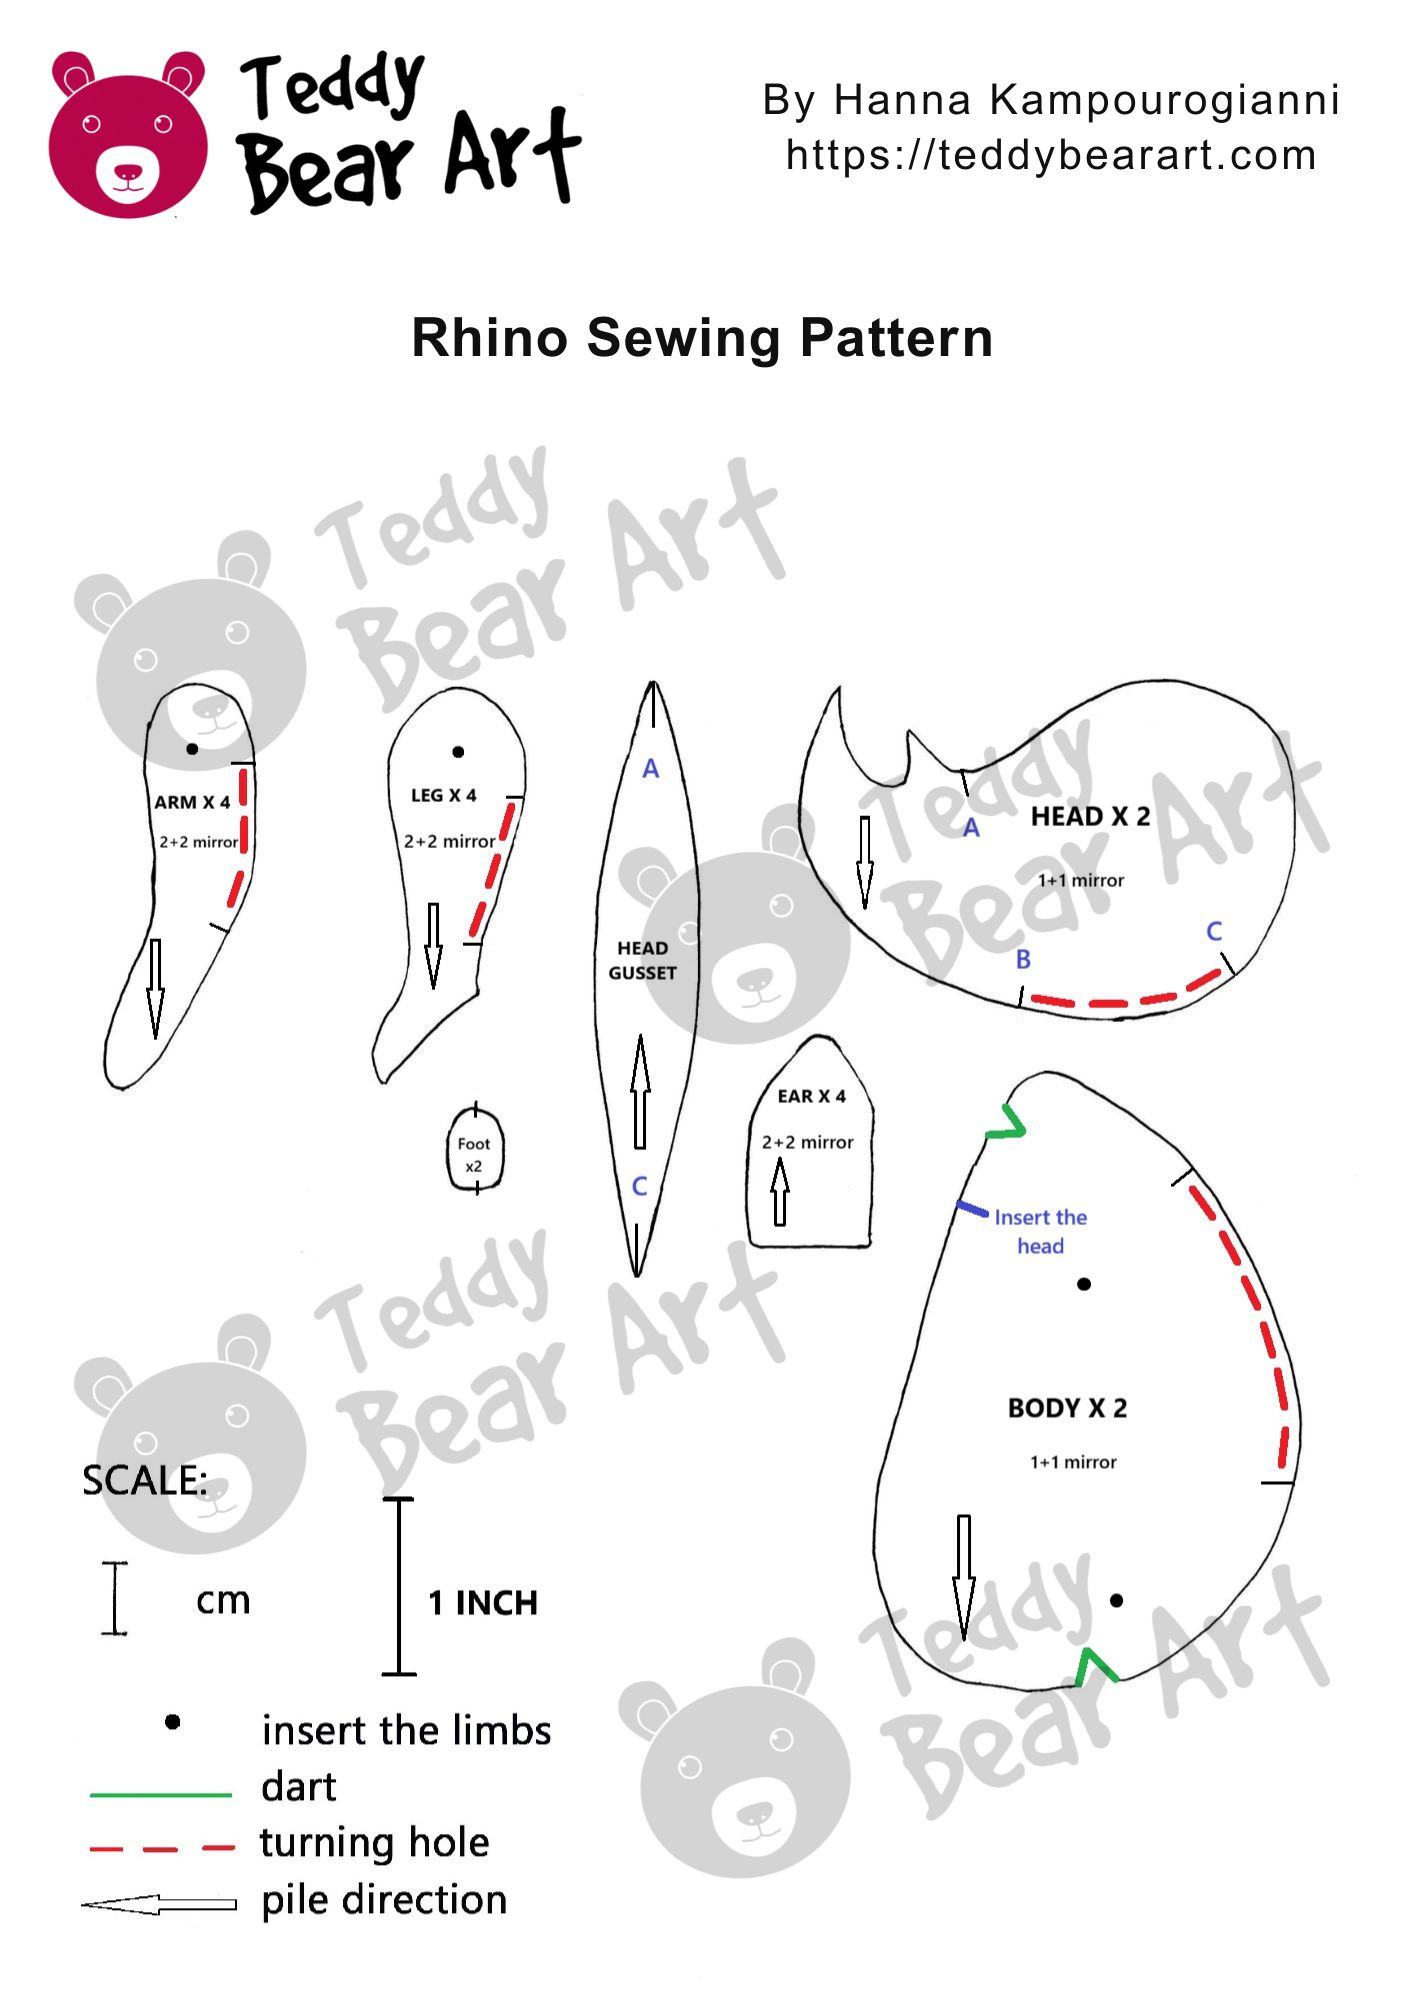
Notice that seam allowances are not included.
To download the pattern, follow the instructions below:
From a phone or tablet: There should be a similar option for mobile devices with Android or iOS. Click on the image. Save it by holding your finger on the image and selecting the “Save Image” option. Then, go to your photo gallery and print it (an option available).
From a computer: Click on the photo of the pattern you see below. In the new tab that will open, you press the right mouse button and select the “Save image as …” option. Then, you choose where the image will be saved on your computer.
Materials and Tools
- Viscose fabric (Schulte or Helmbold is recommended)
- Strong threads and a needle for hand sewing
- A pair of black glass eyes on a metal loop
- Waxed thread
- Metal pellets or glass pellets for weight
- Fabric for paws and ears (cotton works best because of the miniature pattern pieces)
- Discs 12 mm for the head and the legs – 6 pieces, 9 mm for the arms – 4 pieces
- T-shaped cotter pins 1.6×20 – 5 pieces
- Washers – 10 pieces
- Synthetic filler or sheep wool filler
- Long doll needle
- Scissors
- Pliers
- An awl

Short Sewing Instructions
Begin by sewing the two pieces of the head together, matching the markings from A to B. Next, sew the head gusset into the head along A to C. Assemble all the limbs and ears separately. For the body, start by sewing the darts, then join the two mirrored body pieces together.
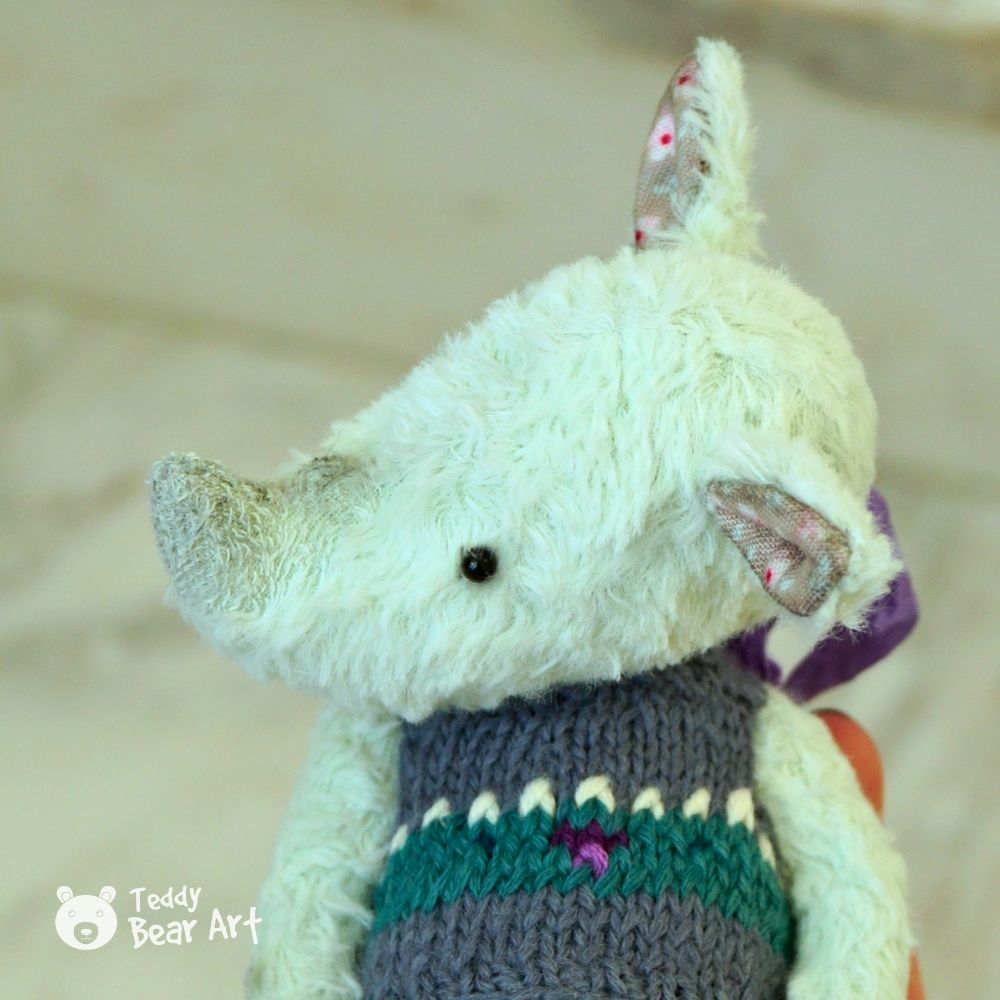
Once the head and limbs are fully stuffed and sewn, carefully trim the pile on the rhino’s horn as well as on the hands and feet. If desired, a small tail can be added for extra charm.
Finally, add subtle shading to bring the rhino to life. Light fabrics can be gently toned around the eyes, horn, and limbs, while darker fabrics can be enriched with deeper tones to create contrast.
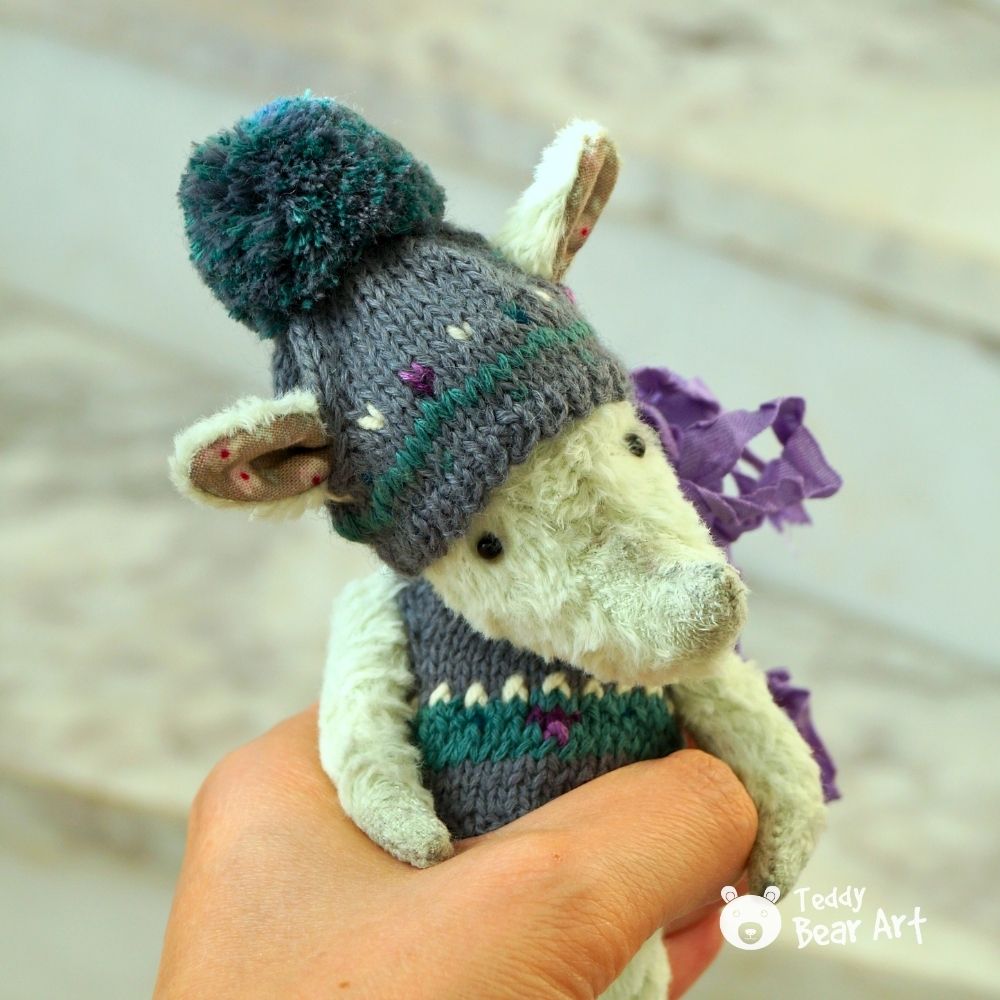
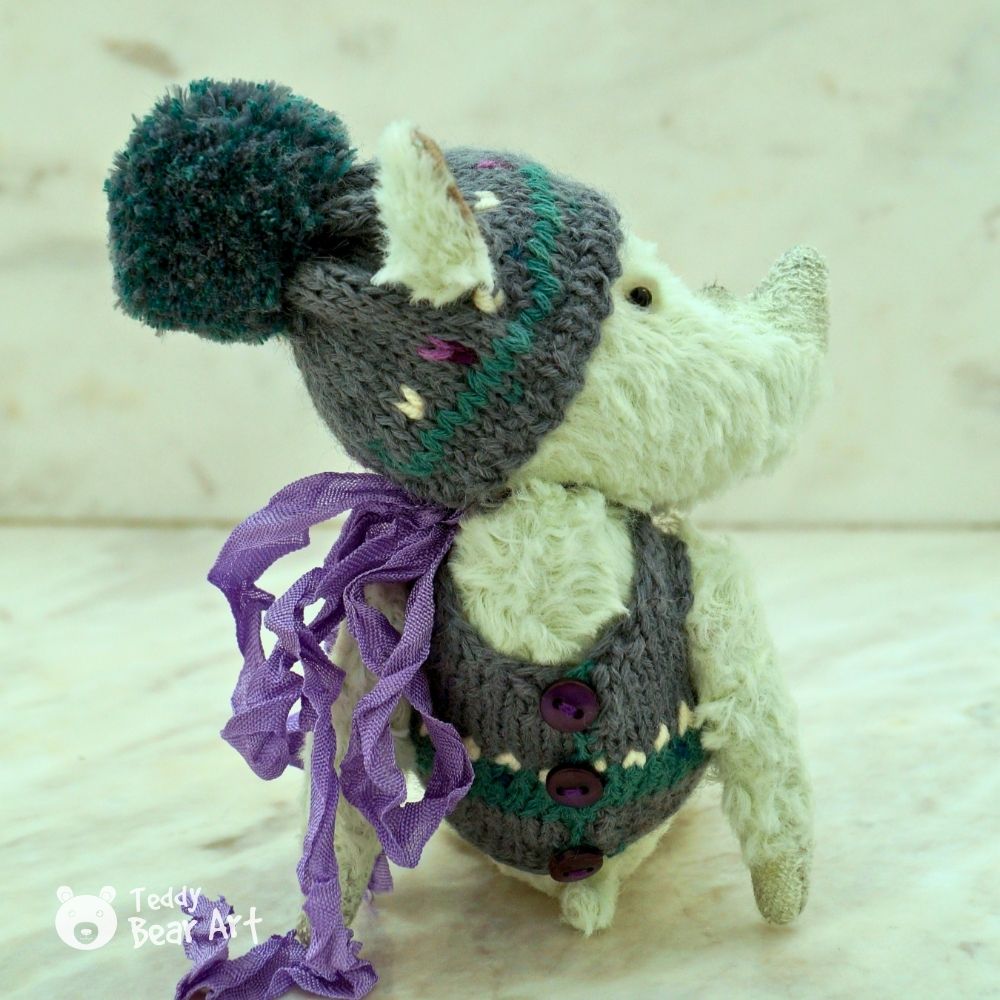
Dress your rhino as you like. In this example, it wears a knitted hat and vest, but a simple ribbon around the neck works beautifully as well.
Frequently Asked Questions
Is this pattern suitable for beginners?
This pattern is best suited for teddy bear artists, jointed toy makers, and crafters with some experience in hand sewing and toy construction. It is not recommended for beginners or for those looking for a fast project. The reward comes from taking time, working carefully, and enjoying the process of shaping a character from quality materials.
Can this pattern be resized?
The template can be scaled up. But the result will look different.
Before You Go
This miniature rhino is more than just a sewing project; it’s a chance to explore jointed soft toy techniques and create a truly unique collectable. Each rhino will develop its own unique character, depending on the fabric choice, shading, and how it is stuffed and weighted.
Take your time shaping the head, limbs, and horn, and don’t be afraid to add small details like a tail, subtle shading, or a simple accessory.
Enjoy the process, share your creations if you like, and remember that every stitch adds character and charm. With this rhino sewing pattern, you have the tools to create something special that will stand out in any collection of handmade soft toys.
Get Free Patterns & Be the First to Know!
Want free teddy bear patterns, exclusive tutorials, and a chance to win craft supplies?
Sign up for our newsletter using the subscribe form in the middle of this article to receive new patterns, insider tips, and the latest news on teddy bear art. You’ll also automatically be entered into our annual giveaway for a chance to win teddy bear crafting materials.
Bonus entry: Save one of our pins on Pinterest to increase your chances of winning!
Let’s create, inspire, and craft beautiful teddy bears together!
Hello,
I just happened upon your website because I am in search of a new hobby for my elderly mother, she has problems doing her old hobbies and gets bored now a days.
Nice that you offer a free pattern, that makes it easy for someone to get started.
You have provided a good step-by-step guide with a material list that is extremely helpful, I notice you don’t recommend this for beginners so I guess I will have to keep looking for a new hobby for my mother.
For more experienced sewers this is a great project
Jeff
Hello, Jeff!
Thank you for your comment. I definitely have many projects on my website that are perfect for beginners, with simple steps and detailed instructions. You can start here: https://teddybearart.com/how-to-make-5-easy-diy-stuffed-animal-patterns-for-beginners/ I’m sure you’ll be able to find a suitable hobby for your mother.