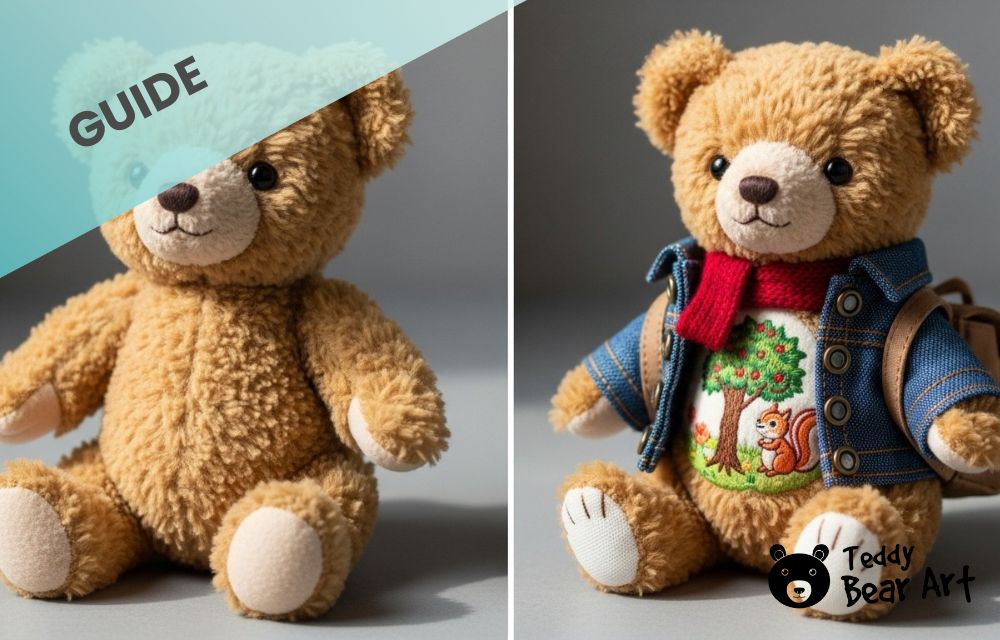
Learning how to customize stuffed animals can turn simple plush toys into unique, personalized companions. By adding special details, creative touches, or playful accessories, you can make each stuffed friend truly one-of-a-kind. In this step-by-step guide, we’ll explore easy techniques and imaginative ideas to bring your plush creations to life.

Why Customize Your Stuffed Animals?
A carefully customized animal reflects your creativity and attention to detail, turning a simple toy into a unique work of art.
Customization also gives crafters full control over the final look and feel of the toy. You can match specific color palettes, add special textures, or even replicate a beloved pet or childhood toy. This flexibility makes the process deeply personal and meaningful.
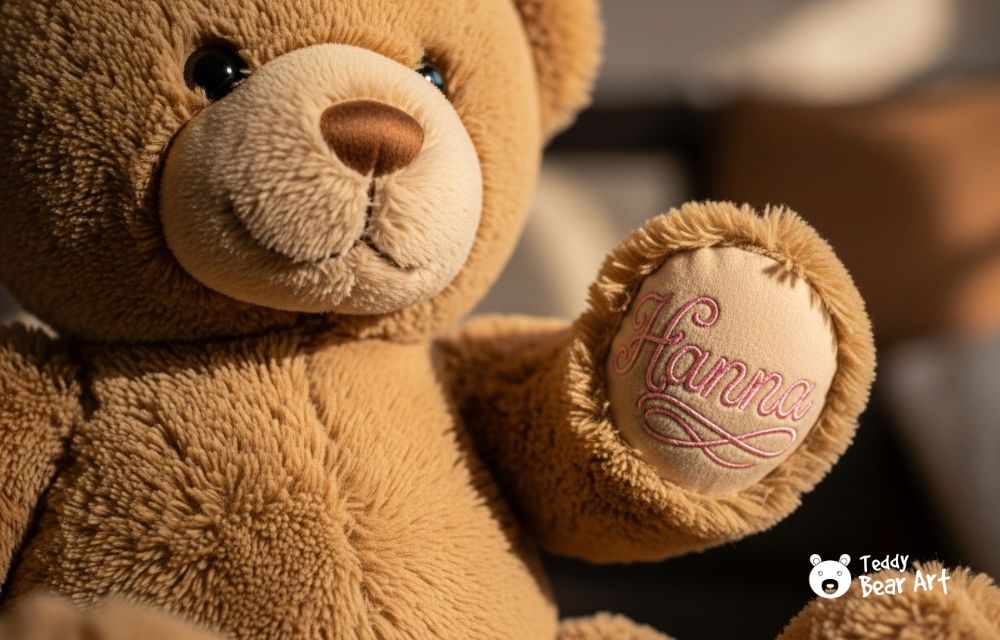
Many artists use customization to tell a story — for example, adding a name, birth date, or tiny outfit that carries sentimental value.
Doesn’t matter, if it’s a collectible piece or a heartfelt present, a customized plush becomes a one-of-a-kind treasure that connects emotions, memories, and creativity in a way no mass-produced toy ever could.
Guide: How to Customize Stuffed Animals
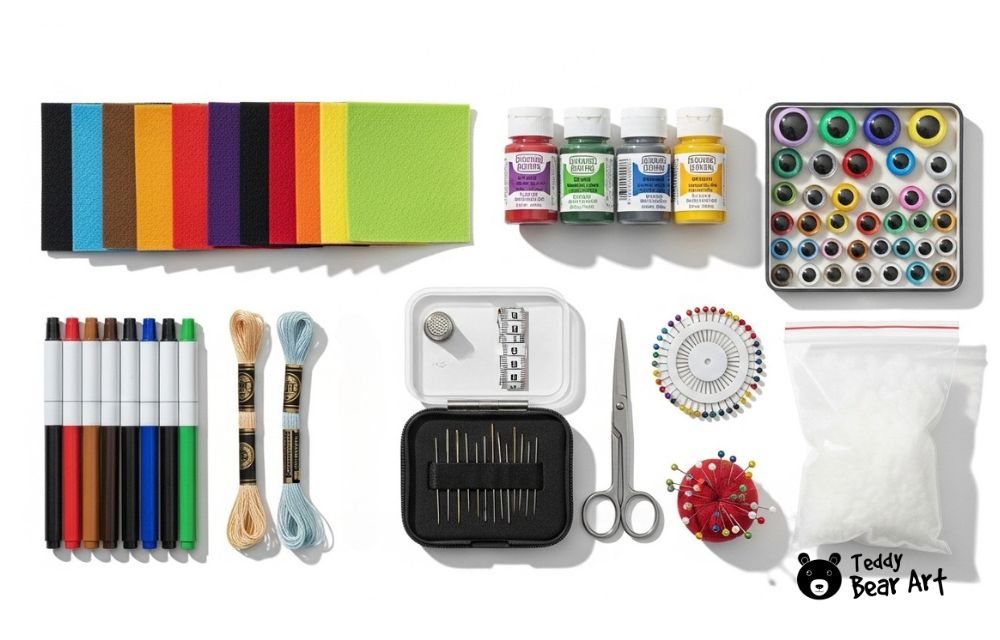
Before diving into your project, gather the essential supplies. High-quality fabrics, threads, buttons, ribbons, and decorative items give your plush toys a professional and polished look.
For durable customization, consider fabric paints, fabric markers, embroidery floss, or small felt pieces. Choosing safe and reliable materials is crucial, especially if your plush creations will be handled frequently or gifted.
Step 1: Planning the Design
Decide on the personality and style you want to give your stuffed animal. Sketch ideas or note color combinations and details you want to include, from facial expressions to clothing.

Step 2: Choosing Fabrics and Accessories
Select complementary fabrics and textures. Soft plush, felt, or faux fur can completely change the character of your toy. Think about adding accessories like tiny scarves, bows, or hats to enhance personality.

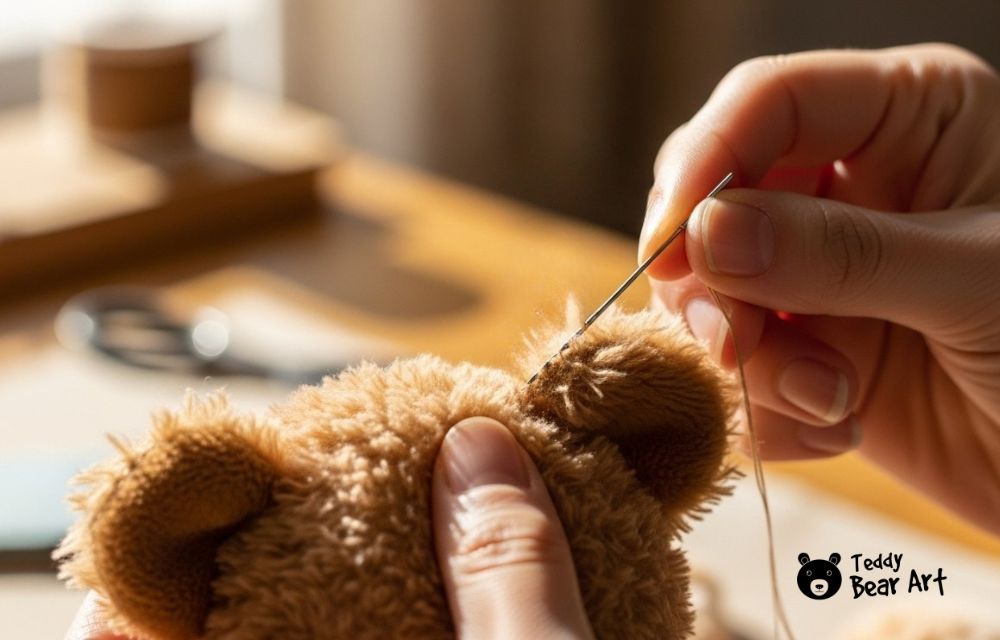
Step 3: Sewing or Attaching Features
Carefully sew new features onto your stuffed animal. This may include patching fabrics, adding ears, tails, or other unique parts. Small details make a big impact, so take your time to secure them neatly.
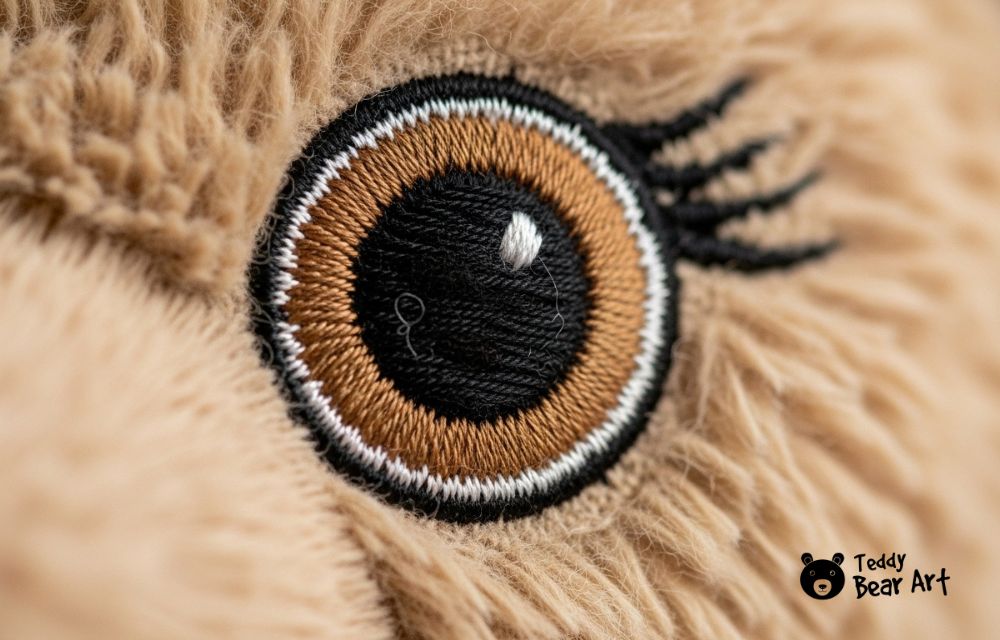
Step 4: Adding Details
Embroidery, fabric paint, or applique can add distinctive touches. Eyes, noses, and mouth details can be hand-stitched or replaced with safe embellishments for a customized expression. Personalizing clothing or props adds extra charm.


Step 5: Final Touches and Finishing
Check that all elements are securely attached and that the stuffed animal is balanced and well-shaped. Fluff stuffing and adjust seams to ensure a polished final look. Your creation is now ready to bring joy to yourself or a lucky recipient.

Tips and Tricks for Unique Customizations
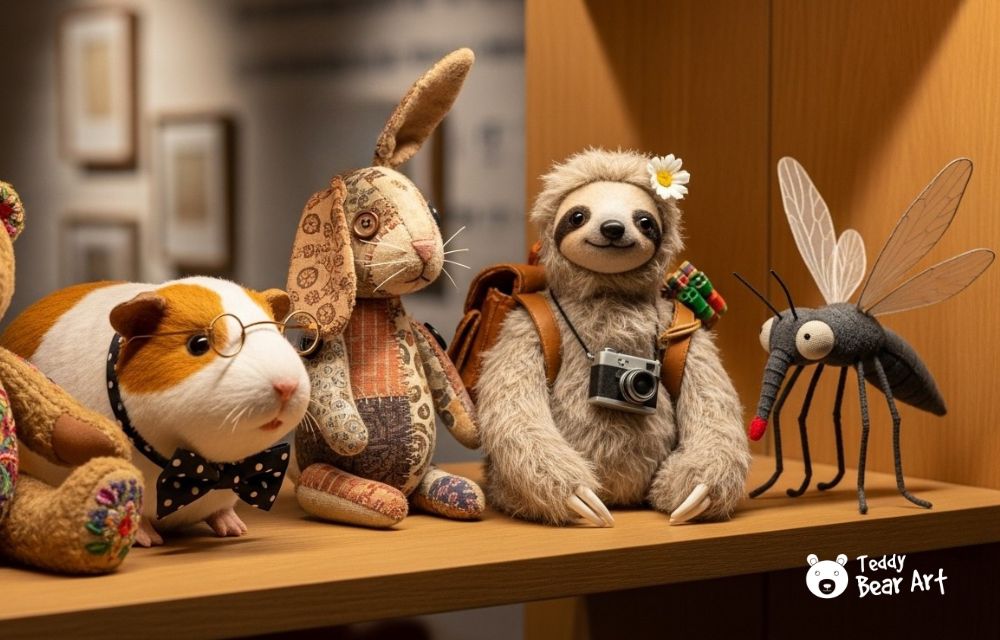
Experiment with color blending and combining textures to create depth and visual interest. Incorporate unexpected materials or subtle patterns to give your toy an individual style. Consider making small changes to different toys in your collection to create a family of unique plush companions.
Frequently Asked Questions
What materials work best for customized stuffed animals?
High-quality plush, felt, faux fur, mohair, viscose, fabric paints, embroidery threads, and small embellishments work well for long-lasting and visually appealing results.
Are these customizations safe for children?
Yes, as long as all materials are securely attached and small parts like buttons or beads are avoided or replaced with embroidered features.
Where can I sell my customized stuffed animals?
Customized plush toys are popular gifts and can be sold through craft fairs, online shops, or as commissioned pieces.

Before You Go
Learning how to customize stuffed animals opens up endless creative opportunities. Each plush toy can be transformed into a unique masterpiece that reflects your style and imagination. Start experimenting with textures, colors, and personal touches today, and let your stuffed animals tell their own story. For more detailed guides and patterns to inspire your projects, explore this collection of beginner-friendly stuffed animal tutorials.
Get Free Patterns & Be the First to Know!
Want free teddy bear patterns, exclusive tutorials, and a chance to win craft supplies?
Sign up for our newsletter using the subscribe form in the middle of this article to receive new patterns, insider tips, and the latest news on teddy bear art. You’ll also automatically be entered into our annual giveaway for a chance to win teddy bear crafting materials.
Bonus entry: Save one of our pins on Pinterest to increase your chances of winning!
Let’s create, inspire, and craft beautiful teddy bears together!
I really enjoyed this, Hanna. It reminded me of when we used to make our own toys from mud and fabric scraps as kids. It wasn’t fancy, but it carried our imagination. Customizing plush toys like this feels like the modern version of that same creative joy. It’s beautiful work that mixes craft, memory, and heart.
John
Thank you, John! I love that connection—you’ve captured the essence of why handmade toys are so special.
This is such a wonderful and comprehensive guide! What I love most is how you’ve made customization feel accessible for absolutely everyone—from someone just picking up a needle for the first time to seasoned crafters looking for fresh ideas. The way you broke down the techniques by skill level is incredibly helpful.
The suggestion to add weighted pellets for a calming effect is absolutely brilliant and something I’d never considered. It transforms a simple stuffed animal into a therapeutic tool, which is just so thoughtful. Your tips on choosing the right fabrics and tools are also invaluable; they’re the kind of practical details that make the difference between a project that works and one that doesn’t.
This post is more than just a crafting tutorial—it’s an invitation to create something truly unique and personal. It’s inspired me to look at my old stuffed animals not as worn-out toys, but as blank canvases full of potential. Thank you for sharing such creative and heartfelt ideas!
Thank you so much! I’m really happy it inspired you. That’s exactly what I hope for—to spark new creative ideas and make crafting feel special.