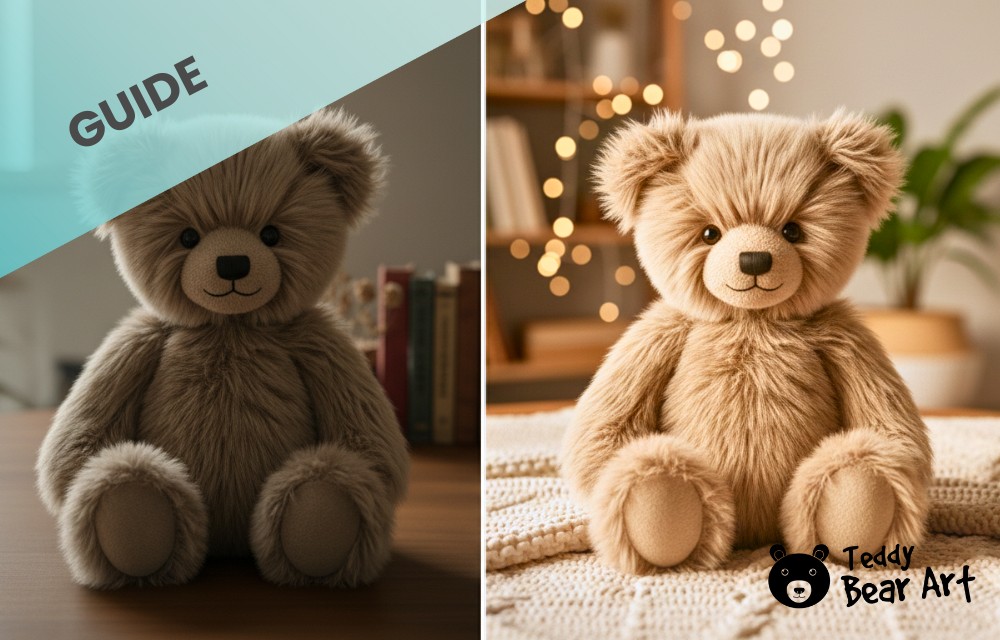
How to photograph plush toys so your photos look professional and help sell your handmade creations? If you’re a crafter or handmade artist who loves making stuffed animals, this guide is for you. We’ll share simple, practical tips to make your toys look cozy, charming, and ready to attract buyers — even if you’re not a photography expert. You don’t need fancy equipment, just a little patience, some tricks, and a love for your creations.
Choose the Right Lighting and Setup
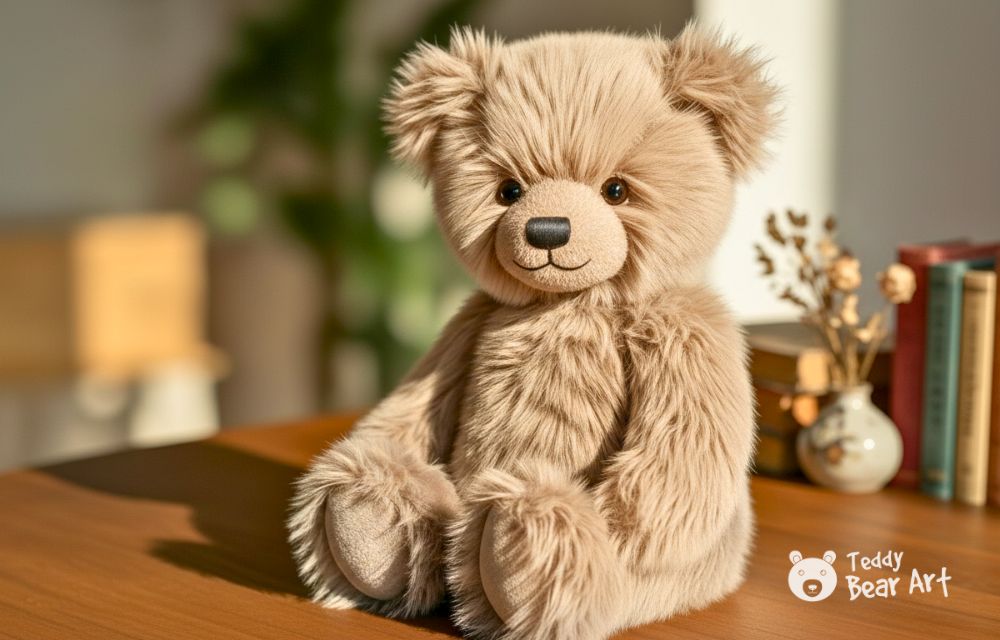
Lighting makes a huge difference. The easiest and most flattering light comes from natural daylight. Place your plush near a window with indirect sunlight — morning or late afternoon works best. Direct sun can create harsh shadows and wash out the colors.
If you have to shoot indoors at night, use a desk lamp or LED light with a thin white cloth over it to diffuse the light. A small ring light can also work if placed slightly above and to the side. Avoid using flash — it flattens the toy and makes the fur look harsh.
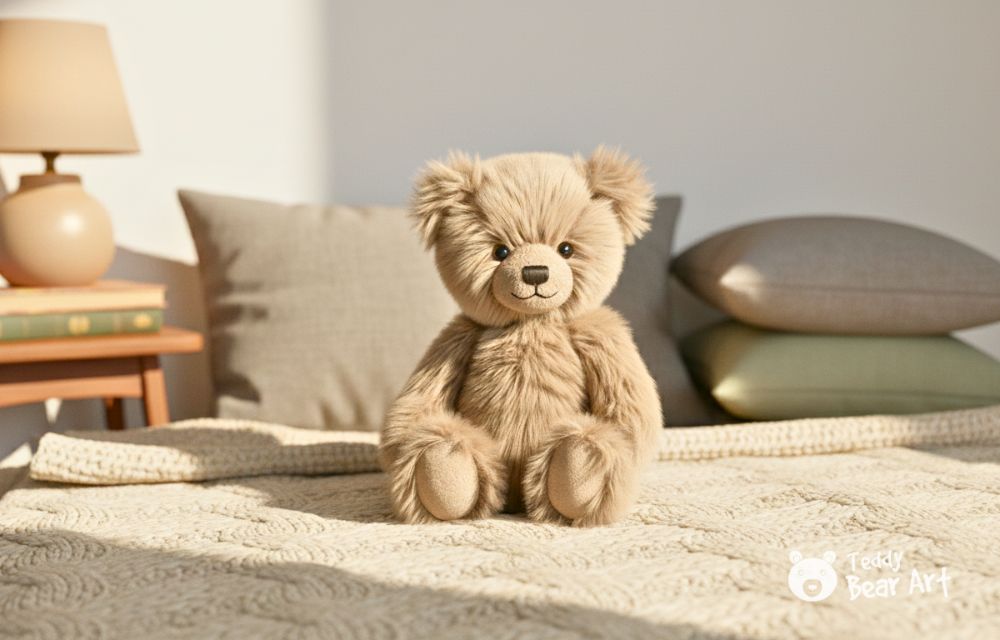
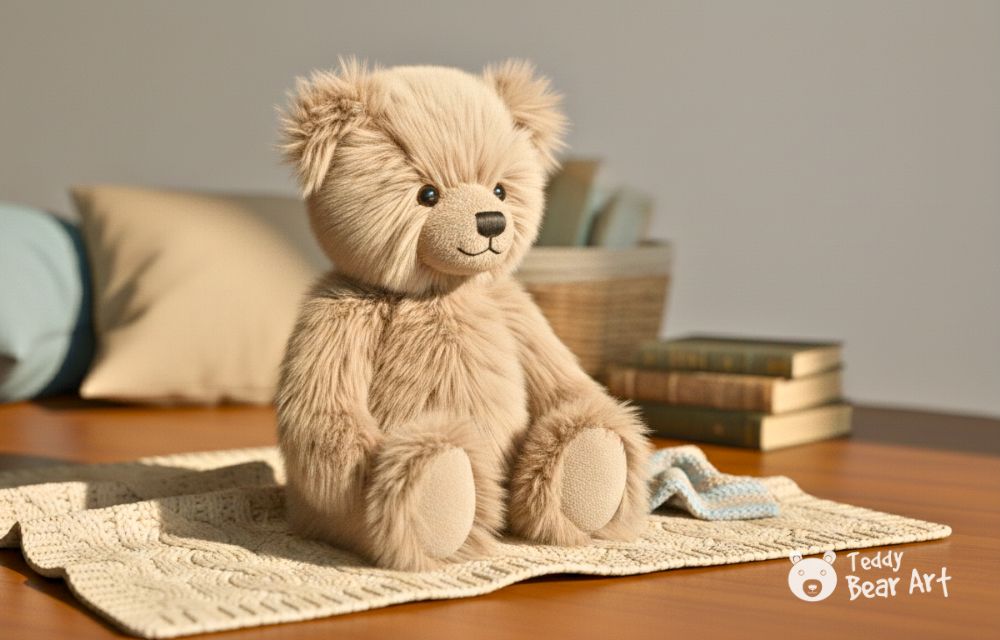
Keep your background clean and simple. White poster boards, neutral fabrics, or light wooden surfaces work well. You can add small props like a flower, a tiny chair, or a book, but don’t let them steal the focus from your plush.
Tip: Use a piece of white paper or foam board opposite the light source as a reflector to soften shadows and brighten the toy’s face.
Master Composition and Create Mood
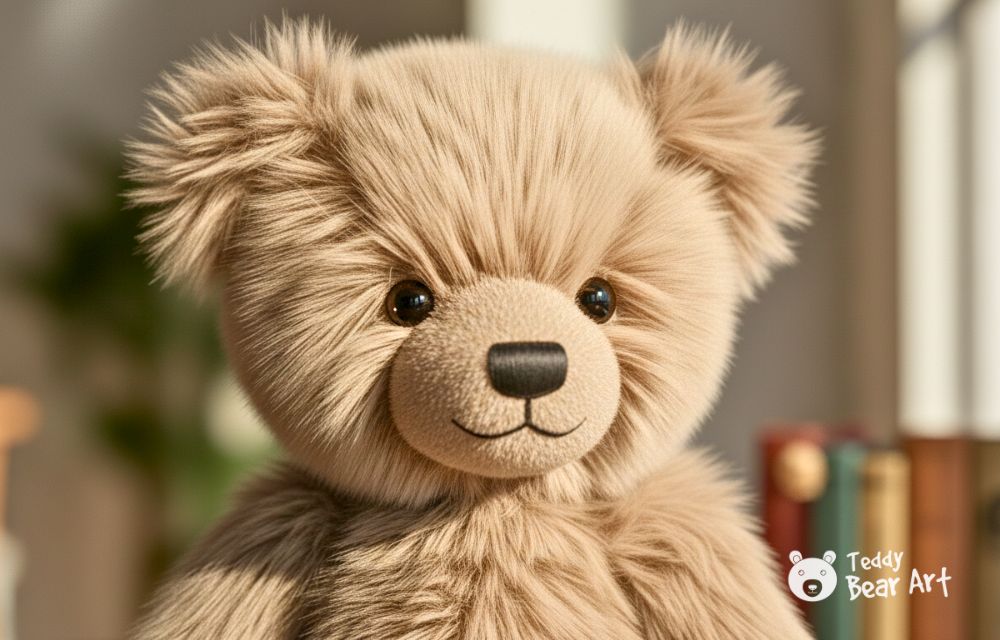
Good composition transforms a snapshot into a captivating photo. Always get down to the toy’s level — photos from above can make it look flat or lifeless. Position the camera at eye level with the plush to make it appear friendly and inviting.
Try different angles:
- Front-facing to show personality and expression
- Three-quarter view to highlight shape and texture
- Close-ups for details like stitching, accessories, or fur texture
Use the rule of thirds: imagine your frame divided into nine equal parts and place the toy slightly off-center. Leave some empty space around it to make the photo feel balanced and professional.
If your plush keeps falling over, use hidden supports like small sticks, soft wire, or even clear tape.
Tip: Focus on the eyes — sharp eyes make your plush come alive, even if the rest of the photo is softly blurred.
Think of your plush as a character. What story do you want to tell? For example:
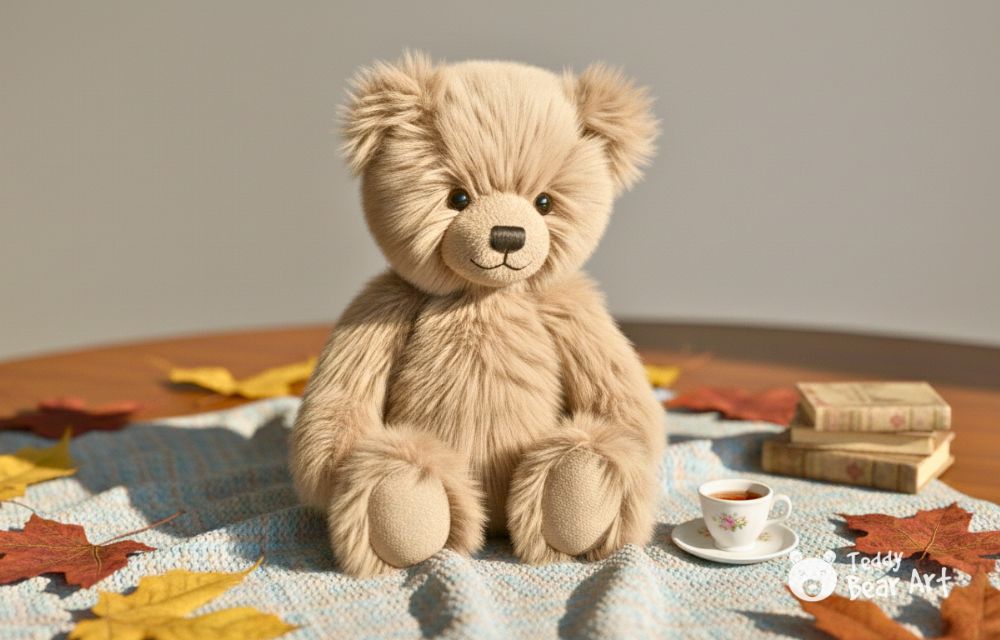
- A teddy bear with a tiny teacup evokes cozy, nostalgic vibes
- A bunny among spring flowers feels fresh and playful
- A monster plush on colorful blocks looks fun and modern
Match colors carefully. Muted, complementary tones often work best for plush. Too much contrast can make the photo harsh. Seasonal styling is great for Pinterest: autumn leaves, Christmas lights, or pastel Easter backgrounds.
Use fabrics to your advantage — wool blankets, linen, or lace add texture and warmth. Keep props small to maintain the illusion of scale.
Tip: Create depth by placing objects slightly in front or behind your plush to make the image more dynamic and visually interesting.
Take Sharp, Bright Photos
Even a cute setup fails if your photo is blurry or dark. Keep your camera steady — a mini tripod works well, but you can also prop your phone on a stack of books. Tap on the plush’s face to lock focus.
Adjust exposure manually if your device allows it. Increase slightly until the toy looks bright but not washed out. Warm up the tones to keep the cozy feeling.
Shoot multiple versions of the same pose — vertical, horizontal, and close-up. Later, you can pick the best ones.
For online posting, resize images to at least 1000px wide for crisp display on Pinterest and Etsy. Save JPEGs for the web but keep a high-resolution copy for printing.
Editing and Final Touches
Editing enhances your photo, but subtlety is key. You want to improve the natural beauty, not change it. A simple editing routine:
- Slightly increase brightness and contrast
- Warm up the tones for a cozy feel
- Soften shadows around the plush
- Sharpen only key details, like eyes or nose
Adding a soft vignette can draw attention to the toy’s face. Maintain a consistent filter style for Pinterest and Instagram to create a recognizable aesthetic.

If your background looks dull, blur it slightly to make the plush pop. Crop messy edges and always save the final photo separately to preserve the original.
Tip: Zoom in at 100% to check details — fur, eyes, and colors should look natural, not artificial.
Frequently Asked Questions
1. Can I shoot outdoors?
Yes! Soft, cloudy daylight is ideal. Choose a clean surface, protect your toy from moisture and dirt, and use a natural background for a cozy look.
2. What accessories work best to bring a plush toy to life in photos?
Small props like miniature cups, books, blankets, or toy accessories help tell a story and highlight your toy’s personality. Just don’t overcrowd the frame.
3. Which backgrounds work best for selling toys online?
Solid pastel colors, wooden textures, or simple fabrics make your toy stand out. Avoid overly bright or busy patterns that distract from the main subject.

Before You Go
Learning how to photograph plush toys for beginners isn’t about expensive cameras. It’s about observing light, creating mood, and showing the personality of your handmade creations. Take your time, experiment, and have fun. Each photo is a chance to let your toys shine and connect with people who appreciate your craft.
Get Free Patterns & Be the First to Know!
Want free teddy bear patterns, exclusive tutorials, and a chance to win craft supplies?
Sign up for our newsletter using the subscribe form in the middle of this article to receive new patterns, insider tips, and the latest news on teddy bear art. You’ll also automatically be entered into our annual giveaway for a chance to win teddy bear crafting materials.
Bonus entry: Save one of our pins on Pinterest to increase your chances of winning!
Let’s create, inspire, and craft beautiful teddy bears together!
This guide is a gentle masterclass in visual storytelling for handmade plush toys. From lighting and composition to editing and emotion, it reminds us that great photos don’t require expensive gear — just intention, patience, and love for the craft. Each tip helps creators showcase not just their products, but the soul behind them. A beautiful resource for anyone turning cozy creations into meaningful connections.
Thank you so much for your kind words! I’m really happy you enjoyed the guide — it means a lot!
That was such a thoughtful and inspiring guide. I’m not into plush toy crafting myself, but I appreciate how it connects creativity with storytelling. Back home in South Sudan, I grew up seeing mothers and sisters hand-stitching dolls from old clothes or dried grass, giving them faces that spoke of care and imagination. They didn’t have fancy lighting or cameras, yet their creations carried life.
This article reminded me that good art, like good light, starts from the heart. As we say along the Sobat River, even the smallest spark can light a dark hut. Keep creating and letting your stories shine through every photo. I begin to love your craft articles and their clear guidance with stages of how to make these creations from stage one to the last. Keep sharing your works with the world and with me.
John
Thank you so much, John!
Your words truly touched my heart. I love the image you painted of mothers and sisters hand-stitching dolls back home, that’s such a beautiful reminder of how creativity and love shine even in the simplest materials. I completely agree that real art begins from the heart, not from tools or fancy setups.
I’m so happy that my guides speak to you and remind you of those special memories. Thank you for sharing your story, it’s inspiring! I’ll definitely keep creating and sharing more.