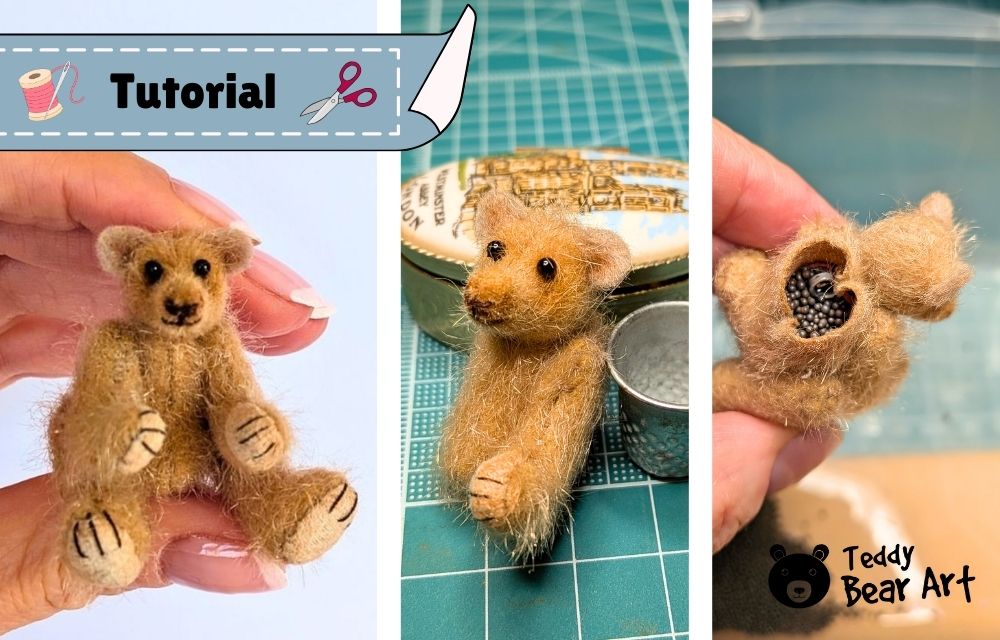
This miniature teddy bear making tutorial is written for those who already feel confident at a very small scale and are ready to work with precision, patience, and traditional teddy-bear sewing techniques.
If you have not downloaded the pattern yet, please start with our first article, where you can get the free 2-inch pattern, the exact list of materials, and read the construction notes before beginning this tutorial.
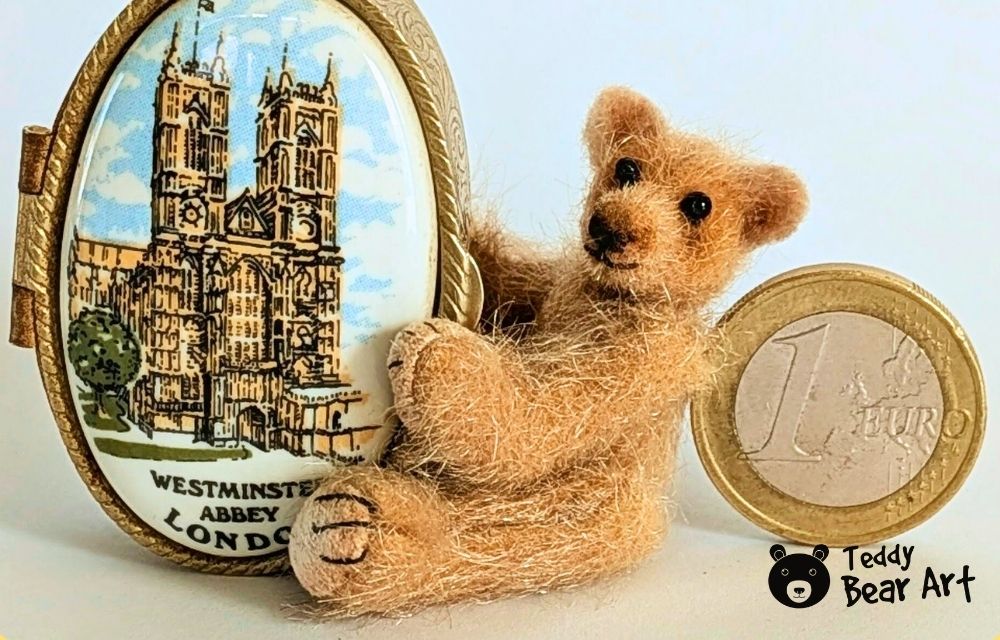
At just 2 inches (5 cm) tall, this bear may look sweet and simple. In reality, every millimeter matters. Seam allowances, fabric thickness, joint placement, and stuffing density will directly affect how your bear moves and sits. This miniature teddy bear making tutorial is not about speed, it is about control and craftsmanship.
Head Construction and Facial Work
We begin with the head, because the expression defines the entire character.
First, sew the darts in each mirrored headpiece. These darts create the rounded skull shape and must be stitched accurately. After closing the darts, sew the two mirrored head pieces together, following the seam line precisely. Leave a small opening for turning and stuffing.
Turn the head carefully. At this scale, rushing can distort the seams. Begin stuffing with very tiny portions of polyester filling. Do not insert large pieces. Add filling gradually and compress gently with a thin wooden stick. The head should feel firm but not rock hard.
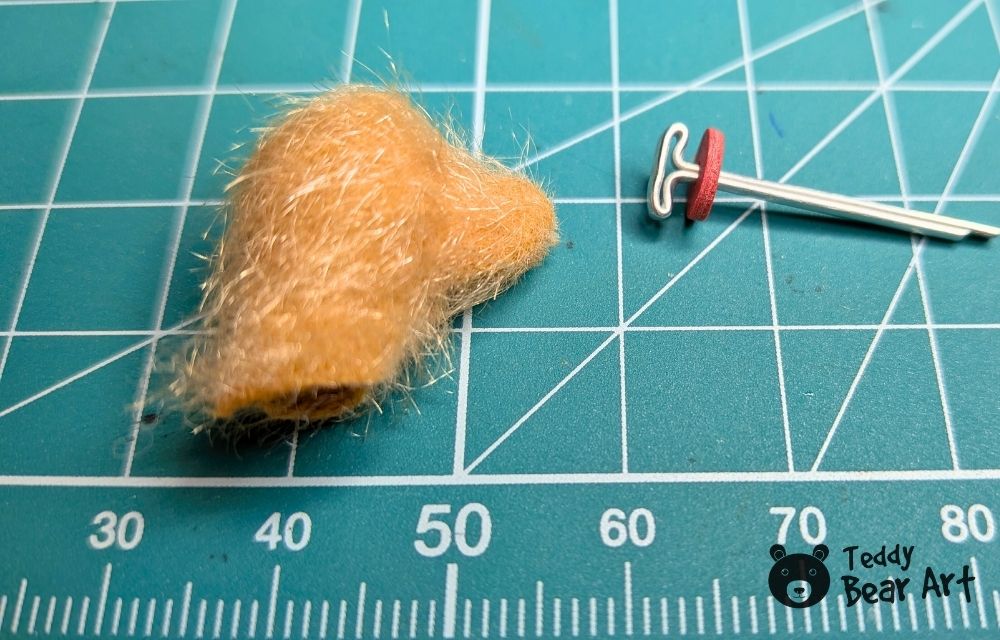
Insert the disc with the cotter pin through the neck opening. Position it centrally. Once the joint is secure, close the opening neatly with a ladder stitch. Take your time here; uneven stitches will be visible later.
After closing, carefully extract the trapped pile from the seams using a fine needle. This step instantly improves the finish.
Tone the eye sockets and nose area softly. Subtle shading adds depth. Insert the glass eyes in the traditional teddy bear way.
For the nose, I embroidered using a beading needle and very fine cotton thread. A regular needle feels too heavy at this size. Build the nose slowly, layer by layer, keeping proportions delicate.

Cut the ears from felt and stitch them in place securely. Because the bear is so small, even ear placement by half a millimeter can change the expression. Step back and check alignment before final stitches.
Sewing and Turning the Limbs
Next, move to the arms and legs.
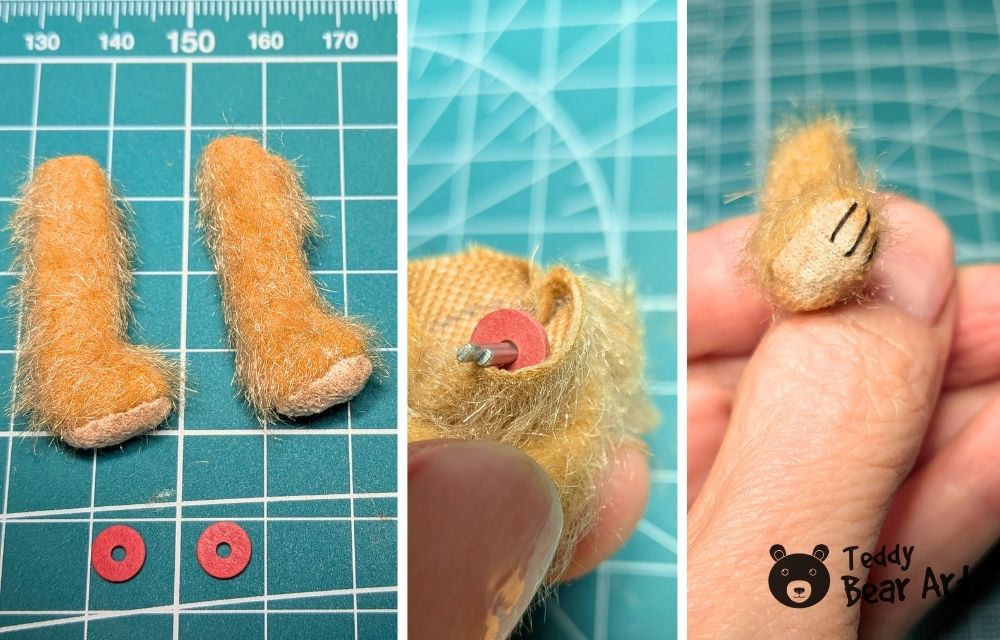
Sew each limb carefully, maintaining a narrow and consistent seam allowance. Turning these tiny parts can be challenging. This is where material choice becomes crucial.
For the paw pads and soles, you must use extremely thin and highly stretchable fabric. Without stretch, turning the narrow paws can become almost impossible. In my case, the main fabric was completely non-stretch, which added difficulty. If your material has even a slight stretch, it will make the process easier.
To turn the limbs, use fine tweezers or small pliers carefully, combined with blunt wooden sticks. Gently pull the fabric through and push out curves slowly. Never force it. Patience protects your stitches.
Once turned, stuff with very small amounts of polyester filling. Shape gradually. Insert the discs with cotter pins and secure them. Close the openings neatly. Extract pile from the seams again to refine the finish.
Tone the paws lightly and embroider small claws. Keep claw stitches fine and understated. At this scale, subtlety looks more realistic than bold lines.
Assembling the Body and Weighting the Bear
Now we move to the torso.
First, sew the darts in the body pieces. Then stitch the two body halves together, leaving openings for joint insertion and stuffing.
Insert the already finished head into the neck opening and secure the cotter pin inside the body. Then attach the legs and arms one by one, positioning them symmetrically. Test movement before proceeding further. All joints should rotate smoothly.

Now comes the weighting.
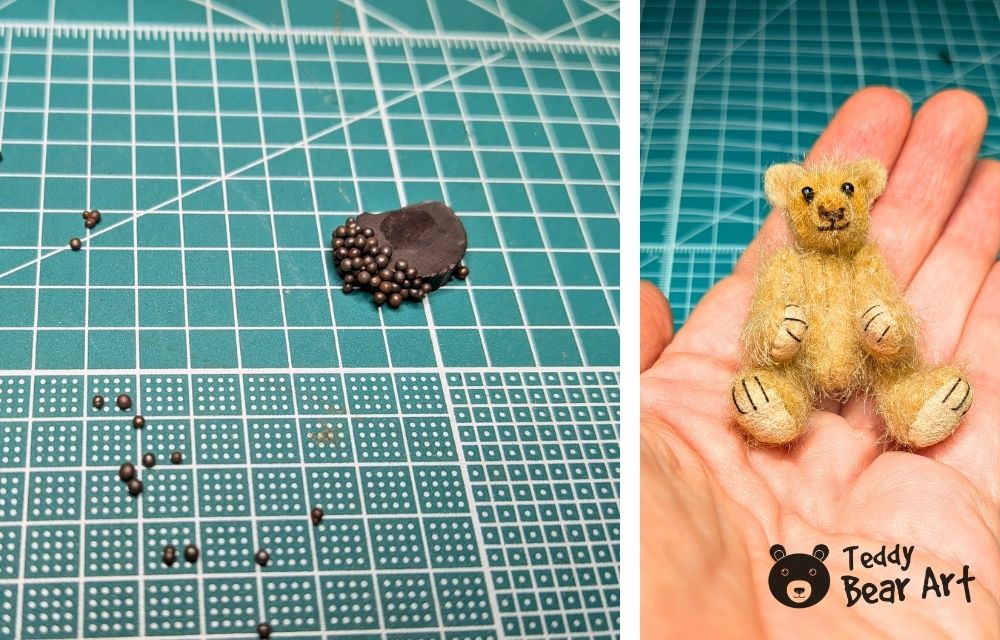
Use very fine metal granules. Because they are tiny, you can create a small paper funnel to pour them neatly into the body cavity. Insert the funnel into the opening and gently pour the granules into the lower part of the torso.
If some granules spill onto your table, a simple magnet helps collect them quickly. This little trick saves time and frustration.
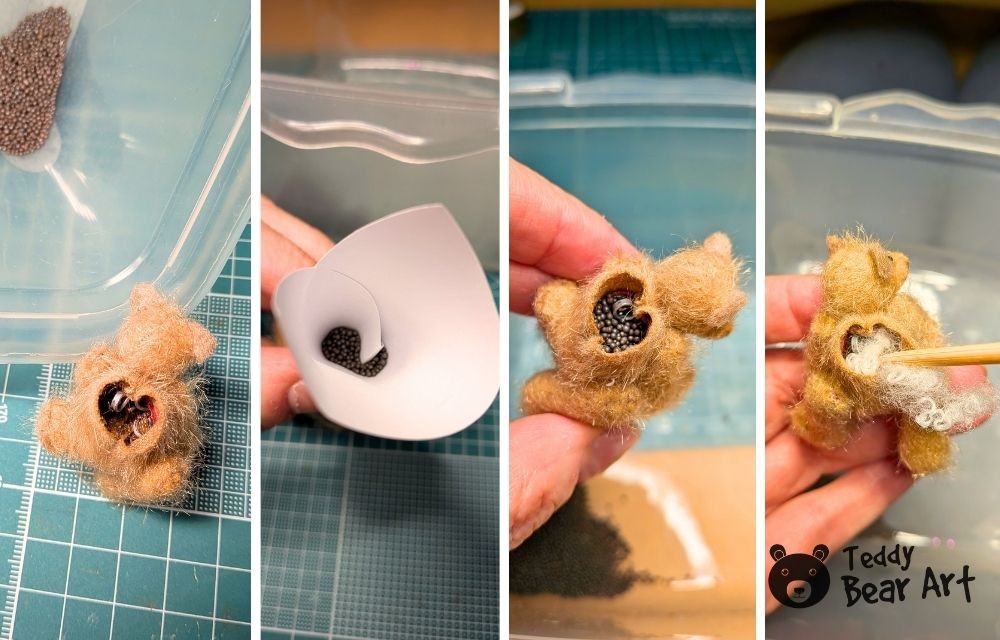
Once the desired weight is added to the bottom of the body, begin filling with polyester stuffing. The stuffing prevents shifting and stabilizes the weight. Distribute everything evenly inside the torso. Check the balance before closing. The bear should sit naturally without tipping backward or forward.
When satisfied, close the body opening carefully with small, even stitches. Extract any trapped pile from the seams.
Final Adjustments and Professional Finishing
After full assembly, rotate each joint gently to ensure smooth articulation. Adjust stuffing slightly if posture feels off. If the bear leans backward, reduce upper body firmness or increase weight at the base in future attempts.
Brush the fur softly and refine facial shading if necessary. Examine the overall silhouette from multiple angles. At 2 inches, proportion and balance define quality.
This miniature teddy bear making tutorial for advanced makers only focuses on precision because miniature work magnifies every decision. The discipline learned here strengthens all other bear-making skills.

FAQ
Is this tutorial suitable for beginners?
No. The scale requires confident handling of tiny seam allowances, disc joints, and fine embroidery. Beginners may find the turning and joint installation process frustrating at this size.
Can I enlarge the pattern and still achieve proper sitting balance?
Yes, but proportions must remain consistent. When enlarging, maintain joint placement relative to body height and adjust weight accordingly. If joints are positioned too high or too low, the bear may struggle to sit naturally.
Why is stretch fabric recommended for paw pads?
Stretch makes turning extremely small paws possible without damaging seams. Without flexibility, the fabric resists inversion and increases the risk of tearing stitches.
Before You Go
Miniature teddy bear making is not about speed. It is about control, sensitivity, and understanding structure. This miniature teddy bear making tutorial for advanced makers only reflects that philosophy. Every decision, from fabric selection to final embroidery, shapes the outcome.
Working at a true miniature scale can feel intimidating at first. Yet the satisfaction of holding a fully jointed, perfectly balanced 2-inch teddy bear makes the effort worthwhile. For makers who appreciate traditional techniques refined to their smallest form, this process offers both challenge and artistic growth.
Get Free Patterns & Be the First to Know!
Want free teddy bear patterns, exclusive tutorials, and a chance to win craft supplies?
Sign up for our newsletter using the subscribe form in the middle of this article to receive new patterns, insider tips, and the latest news on teddy bear art. You’ll also automatically be entered into our annual giveaway for a chance to win teddy bear crafting materials.
Bonus entry: Save one of our pins on Pinterest to increase your chances of winning!
Let’s create, inspire, and craft beautiful teddy bears together!