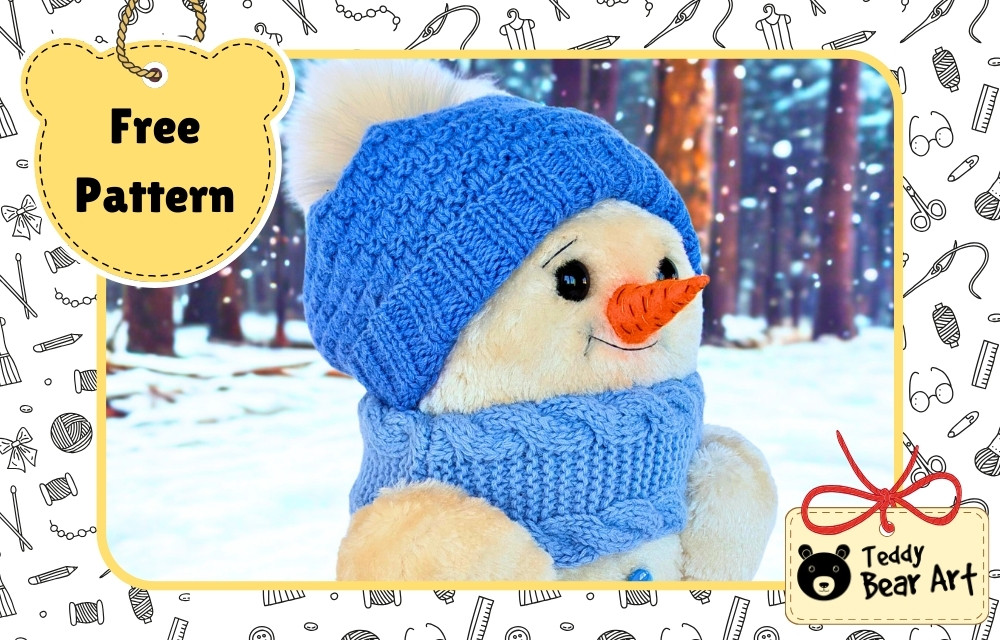
Looking for a cozy project to brighten the winter season? This snowman free sewing pattern is the perfect way to bring some handmade magic into your home. Meet Ollie, a soft plush snowman with twinkling glass eyes, a carrot-shaped felt nose, and a smile embroidered with love. He’s quick to sew, customizable, and a wonderful craft for both beginners and experienced makers.

Download the Free Snowman Sewing Pattern
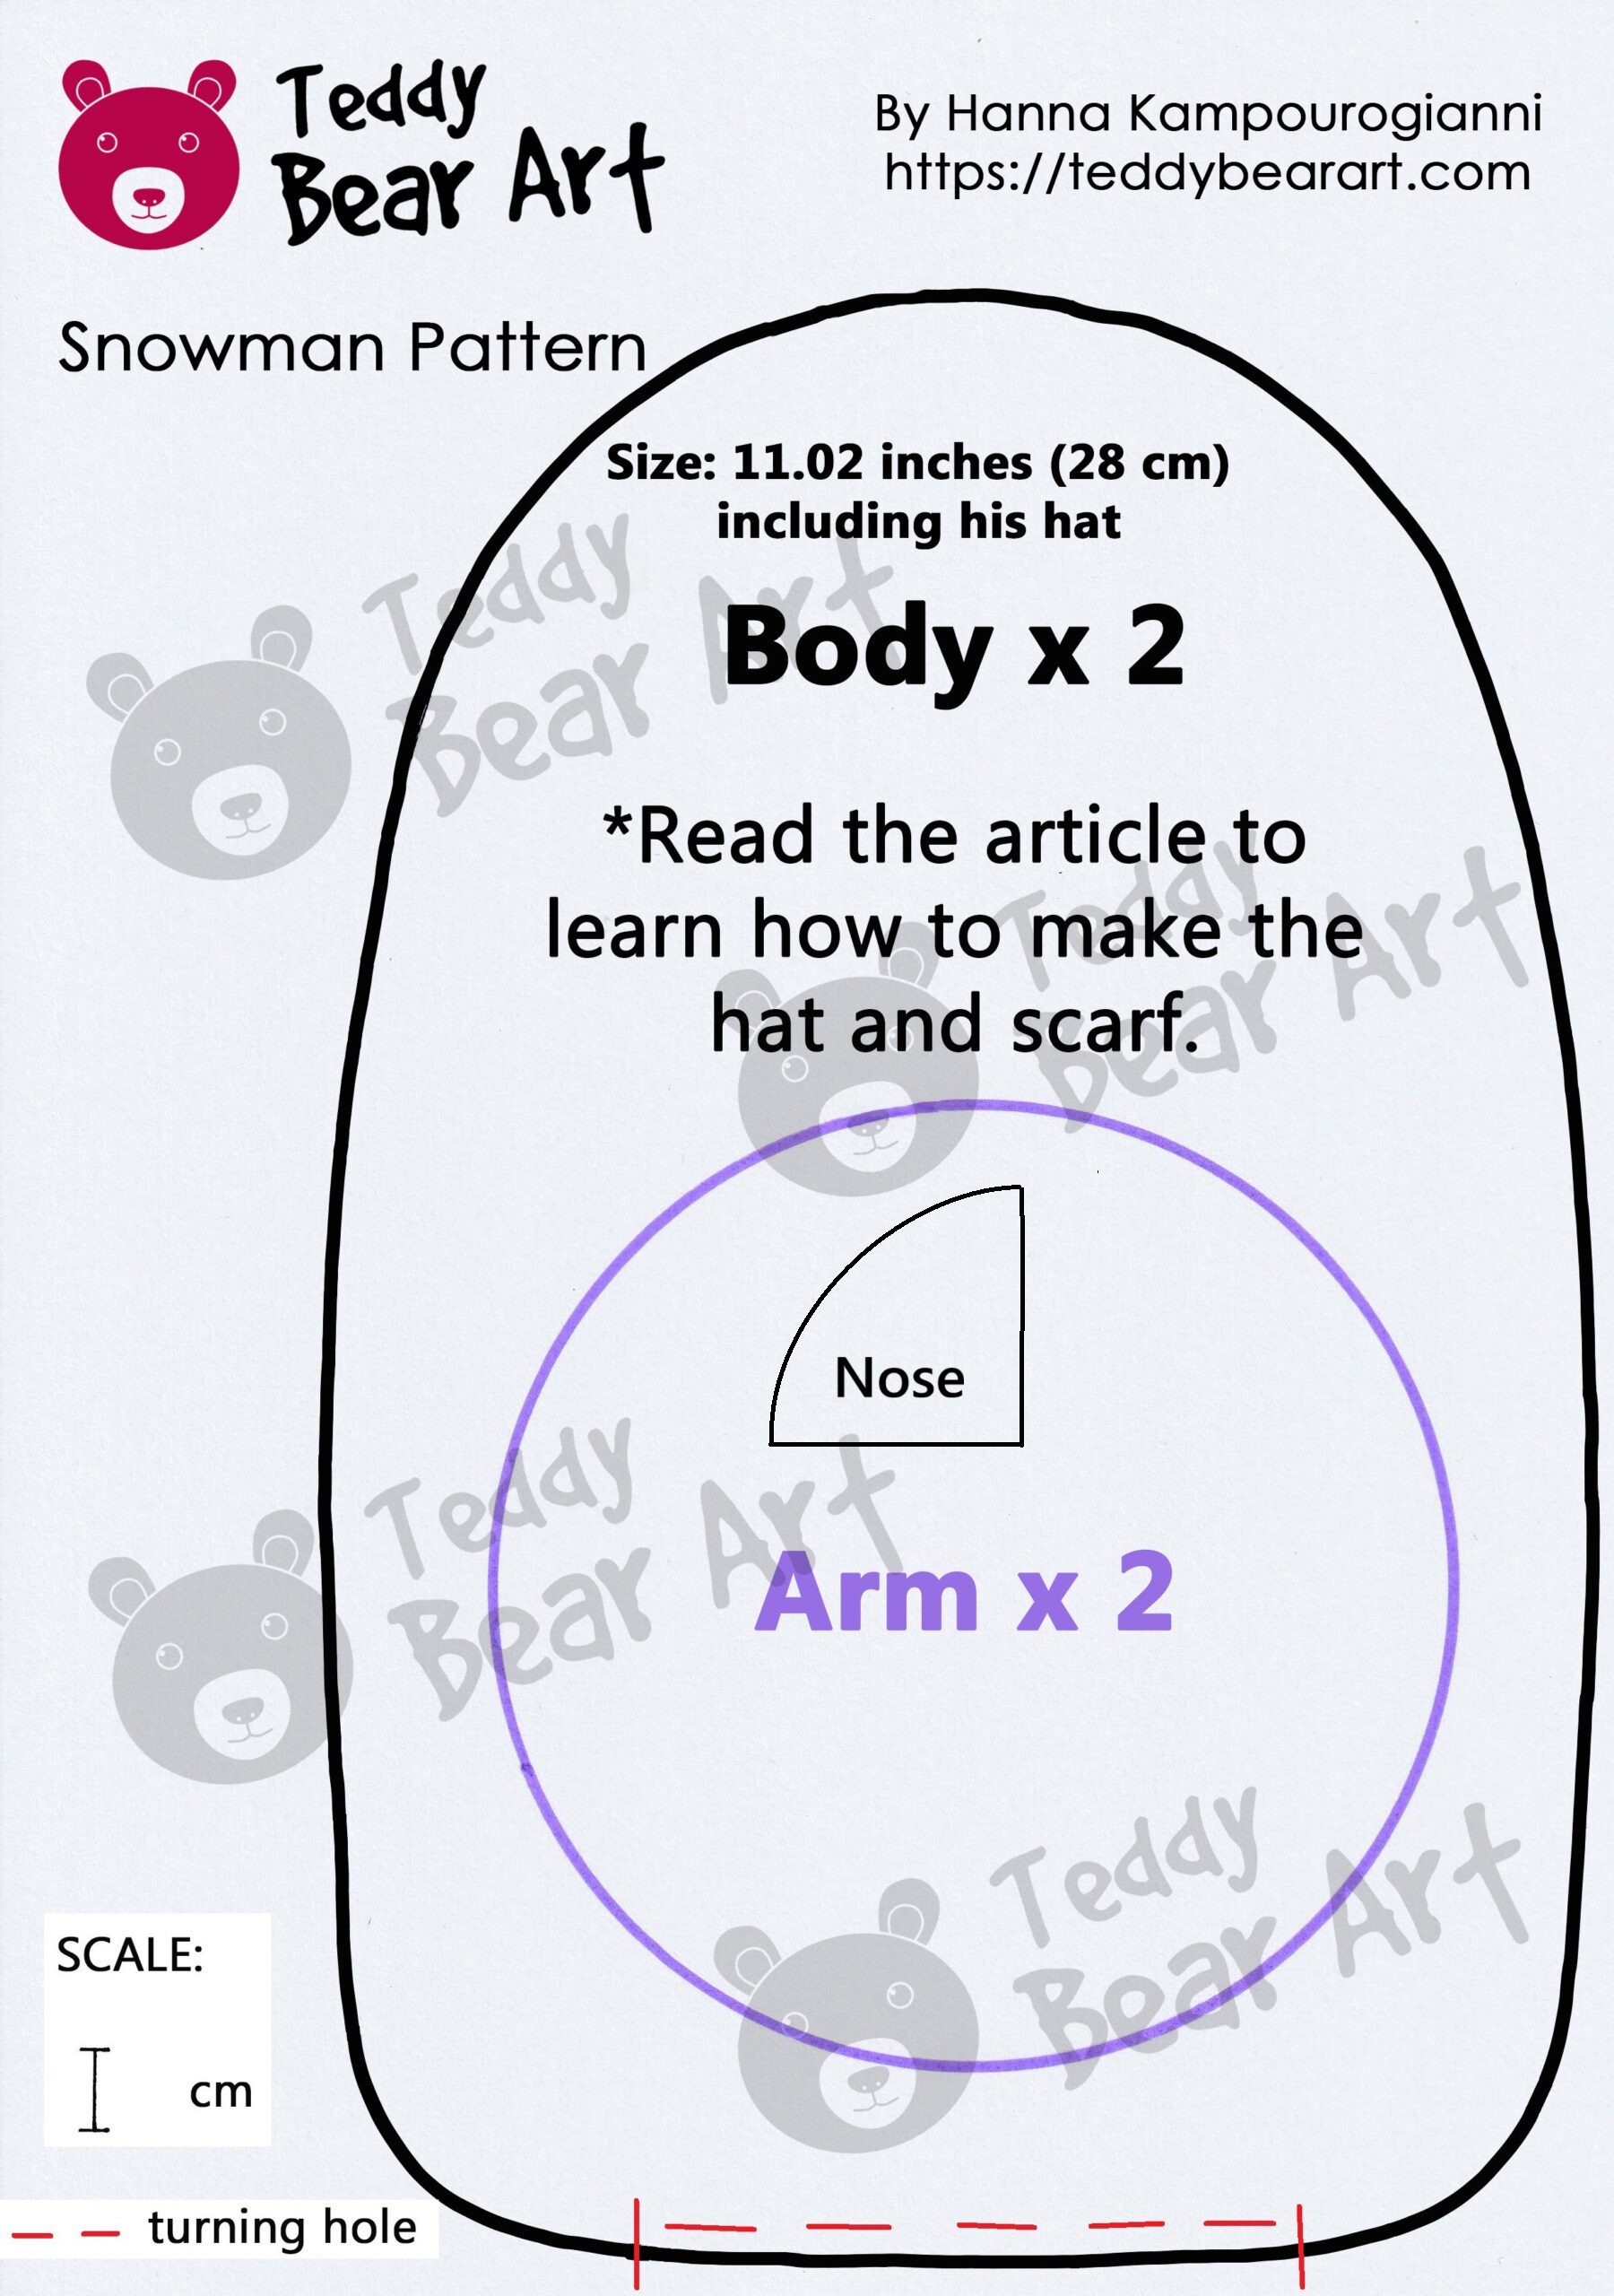
Notice that seam allowances are not included.
To download the pattern, follow the instructions below:
From a phone or tablet: There should be a similar option for mobile devices with Android or iOS. Click on the image. Save it by holding your finger on the image and selecting the “Save Image” option. Then, go to your photo gallery and print it (an option available).
From a computer: Click on the photo of the pattern you see below. In the new tab that will open, you press the right mouse button and select the “Save image as …” option. Then, you choose where the image will be saved on your computer.
Materials and Tools You’ll Need
- White plush fabric for the body
- Synthetic stuffing
- Orange felt for the carrot nose
- Black glass eyes on a loop, 14 mm in size
- Black thread for the smile and eyebrows
- Sewing needle and matching thread (or sewing machine)
- Extra strong threads
- Scissors and pins
- Strong glue for quick fixes
- Awl
- Accessories: hats, scarves, buttons—choose your favorite look
Step-by-Step Guide: Snowman Sewing Pattern
Step 1: Cut the Pieces
Trace the body twice, the arms twice, and the nose once onto your fabric and felt. Cut carefully to keep edges clean.
Step 2: Sew the Body
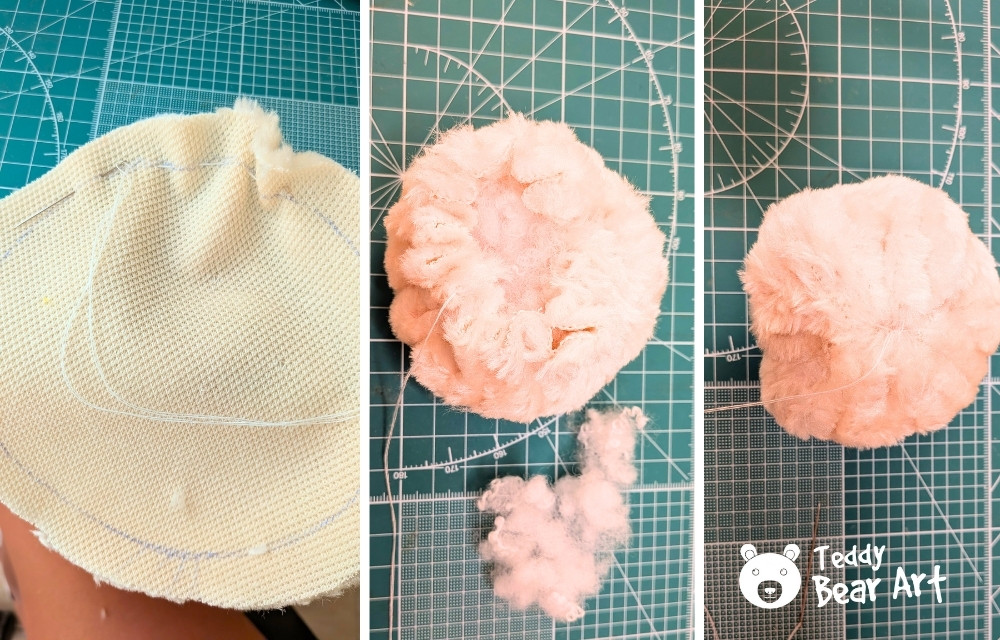
Place the two body pieces right sides together and stitch along the edge. Leave a turning hole at the bottom so you can fill it later.
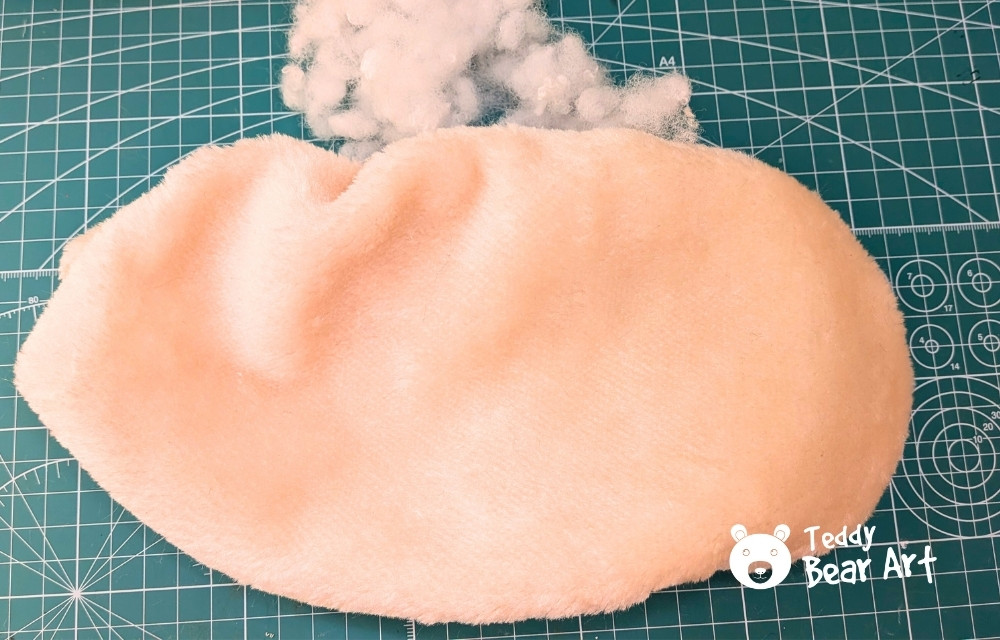
Flip the body right side out. Fill it with soft stuffing until Ollie looks round and cheerful. Take care not to overfill, so the seams don’t stretch.
Use a ladder stitch to sew the turning hole closed neatly. This creates an almost invisible seam at the base.
Tighten the snowman’s neck with a running stitch using extra-strong thread.

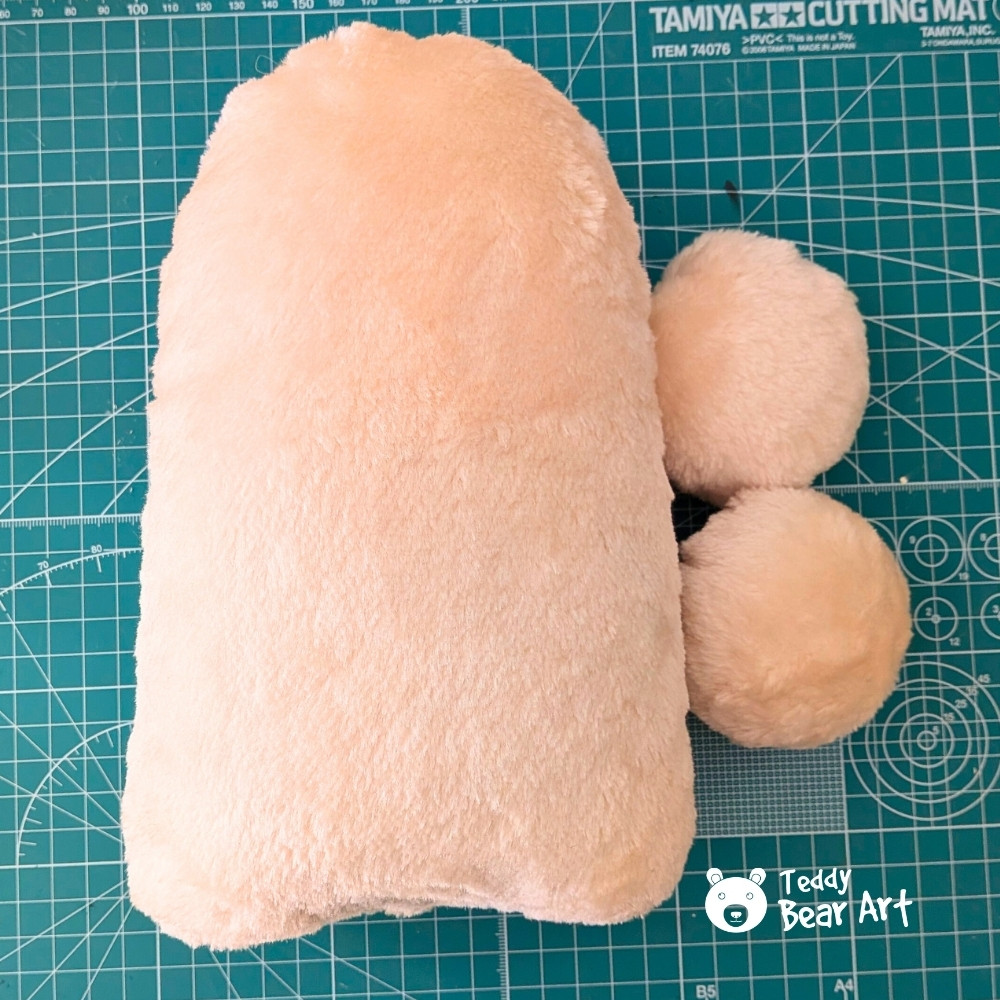
Step 3: Make and Attach the Arms
Tie with a running stitch and stuff each arm of the snowman lightly. Attach both arms to the snowman’s body with small hand stitches. Or leave them aside until you craft or knit the scarf.
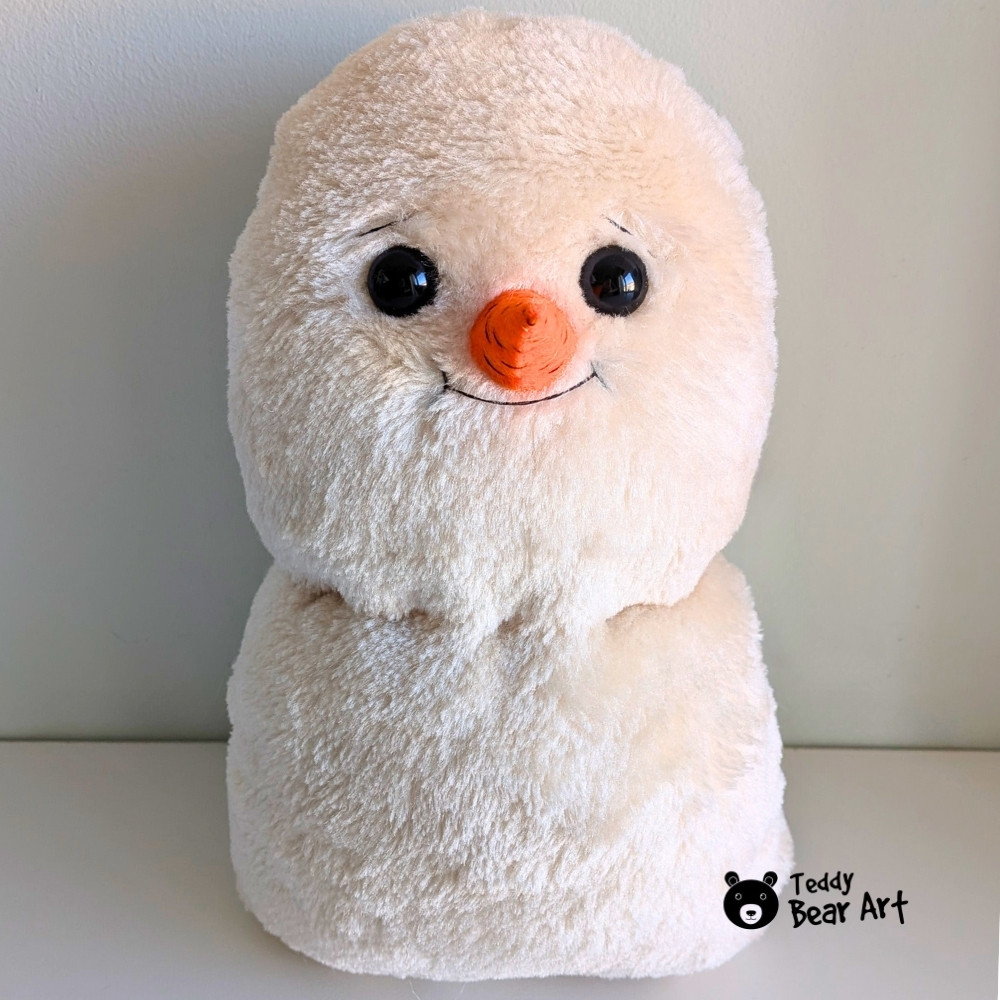
Step 4: Add the Face
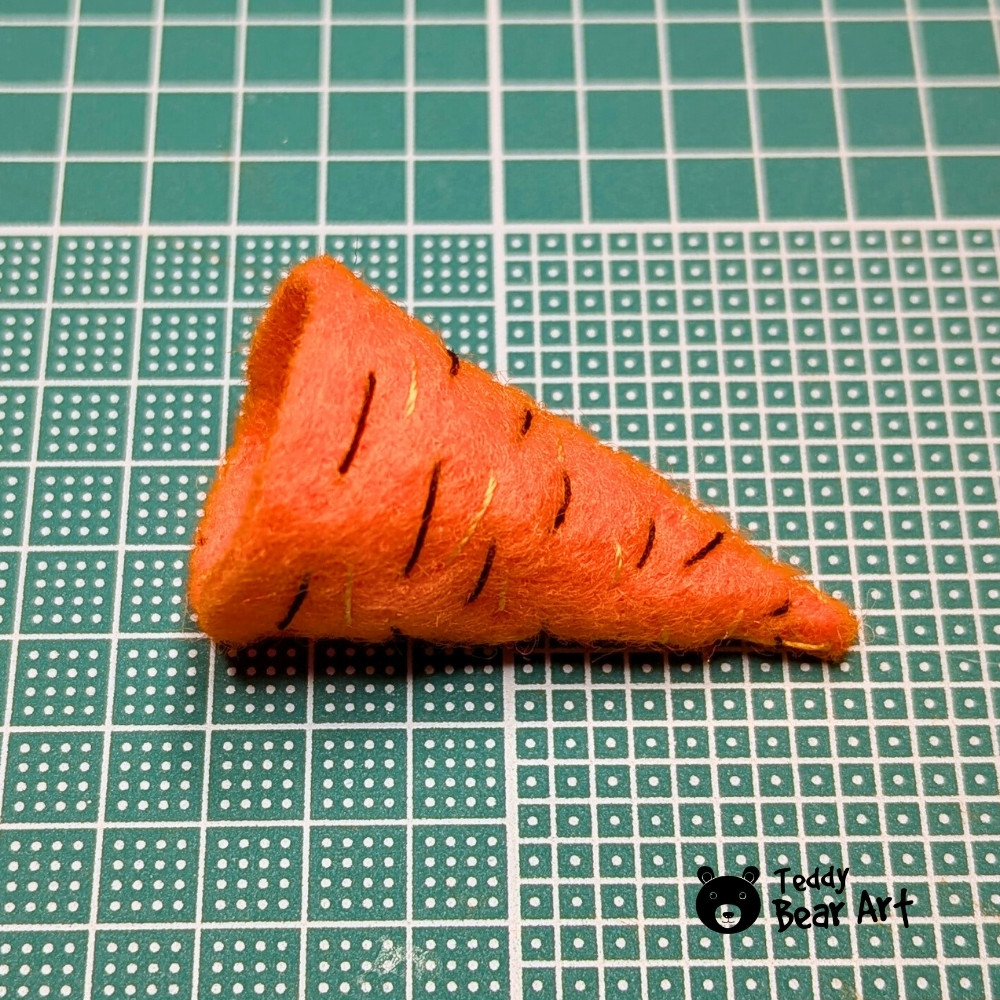
Sew the carrot nose from orange felt. Use invisible stitches for this. Secure it in place with glue.
Attach the glass eyes carefully using the awl to make small holes and a long needle with an extra-strong thread —they give Ollie a bright, lively expression. Here is a short video on how to attach glass eyes to stuffed animals:
Using black thread, embroider his smile and a pair of friendly eyebrows.
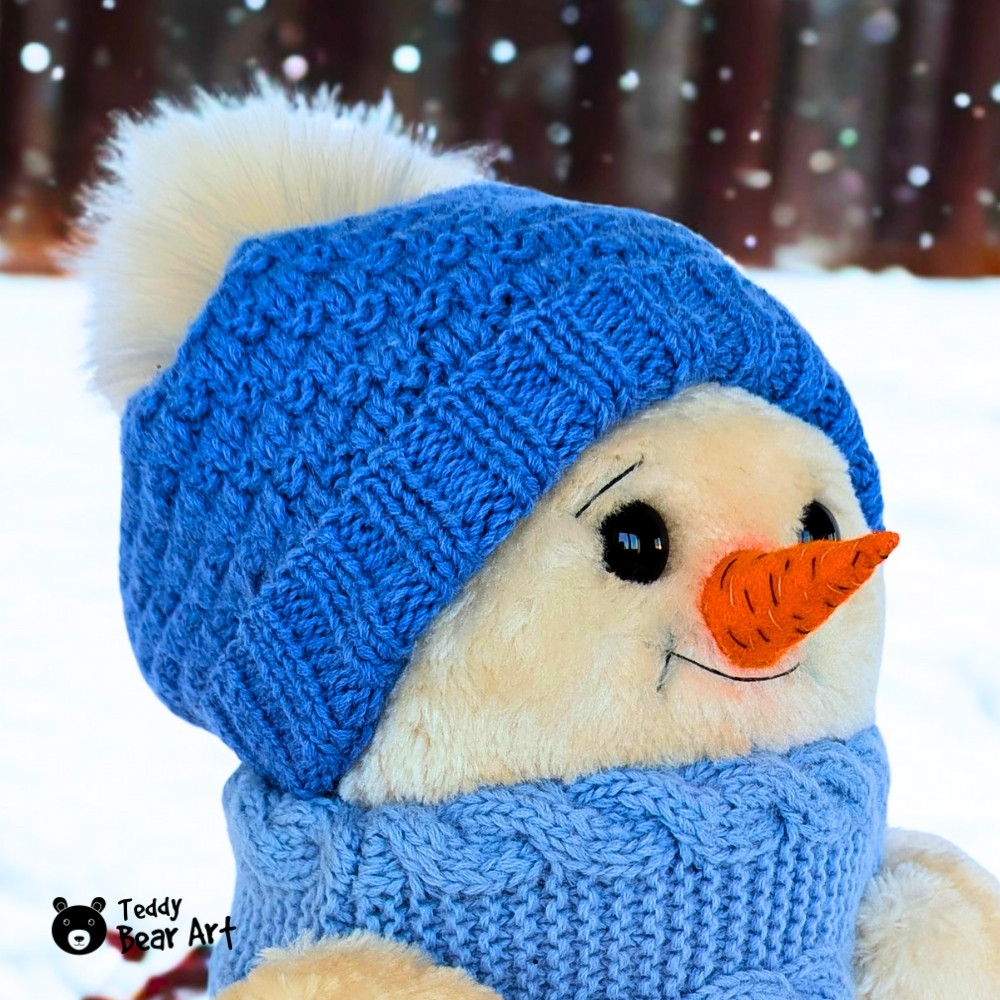
Step 5: Dress Your Snowman
Now comes the creative part. Our Ollie wears a knitted hat and scarf, but you can design yours however you like. A fleece strip can be cut into a quick scarf, and a simple fabric tube makes a perfect little hat. Add buttons down the belly, tiny bows, or even festive trims.
Tips for Customization
- Experiment with different fabrics—plush makes him soft, but cotton gives a vintage look.
- Swap the scarf for a ribbon or lace strip if you prefer a delicate style.
- Add sparkly beads, sequins, or bells to give your snowman a holiday feel.
- Make a family of snowmen by resizing the pattern and playing with different accessories.
- Turn Ollie into a Christmas tree ornament by sewing a loop of ribbon onto the top of his hat.
Wrap-Up
This snowman sewing pattern is a delightful way to add warmth and handmade charm to winter. Ollie makes a cheerful decoration for your home or a thoughtful handmade gift for a friend. Each snowman is unique, and the joy comes from making him your own.
Get Free Patterns & Be the First to Know!
Want free teddy bear patterns, exclusive tutorials, and a chance to win craft supplies?
Sign up for our newsletter using the subscribe form in the middle of this article to receive new patterns, insider tips, and the latest news on teddy bear art. You’ll also automatically be entered into our annual giveaway for a chance to win teddy bear crafting materials.
Bonus entry: Save one of our pins on Pinterest to increase your chances of winning!
Let’s create, inspire, and craft beautiful teddy bears together!
Your website is so cute!! What a charming snowman project — thank you for sharing Ollie’s pattern! I love how you included clear steps and customization ideas to make each snowman unique. The plush fabric and glass eyes detail really bring Ollie to life. I wish I could be more crafty. My sister is way better at these projects than I am! LOL Debra
Thank you so much, Debra! I’m so glad you enjoyed Ollie’s pattern. Don’t worry about being “less crafty”—it’s all about having fun and adding your own little touches! Sometimes the simplest creations can turn out the most charming. Maybe you and your sister could make a snowman together sometime—it sounds like a perfect craft duo!
This pattern is absolutely adorable! I love how you’ve made Ollie both beginner-friendly and customisable —it’s the kind of project that feels approachable but still leaves lots of room for creativity. The step-by-step photos and clear instructions make it easy to follow along, and the tips for personalising with hats, scarves, or even sequins are such a nice touch.
I’m already imagining making a little snowman family in different sizes as Christmas gifts. Do you find plush fabric works best?
Thank you so much for such a warm comment! Yes, fleece works great for this project too — it’s soft, easy to work with, and looks lovely. But personally, I prefer plush because it gives the toy that extra cozy texture and makes it look super “huggable.”