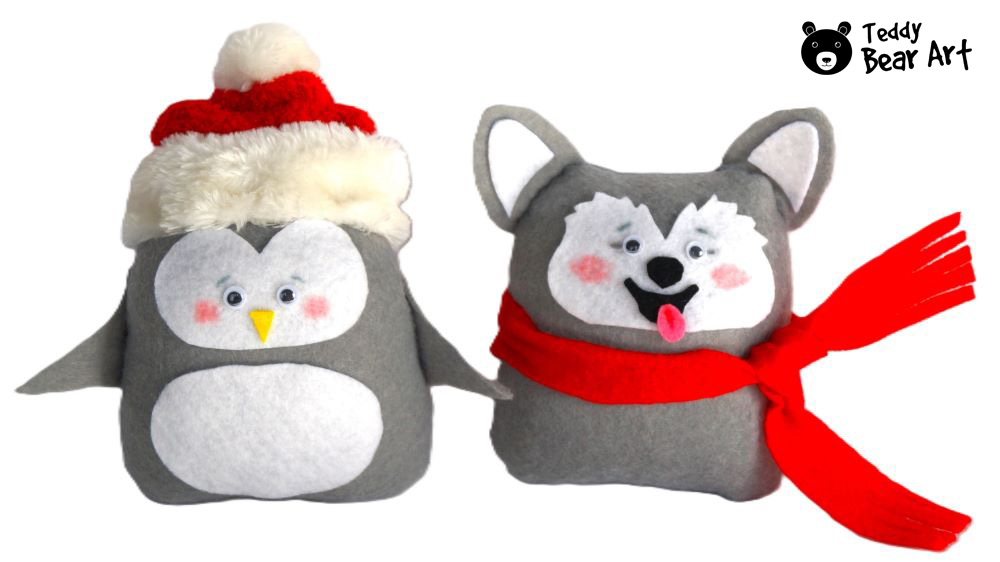
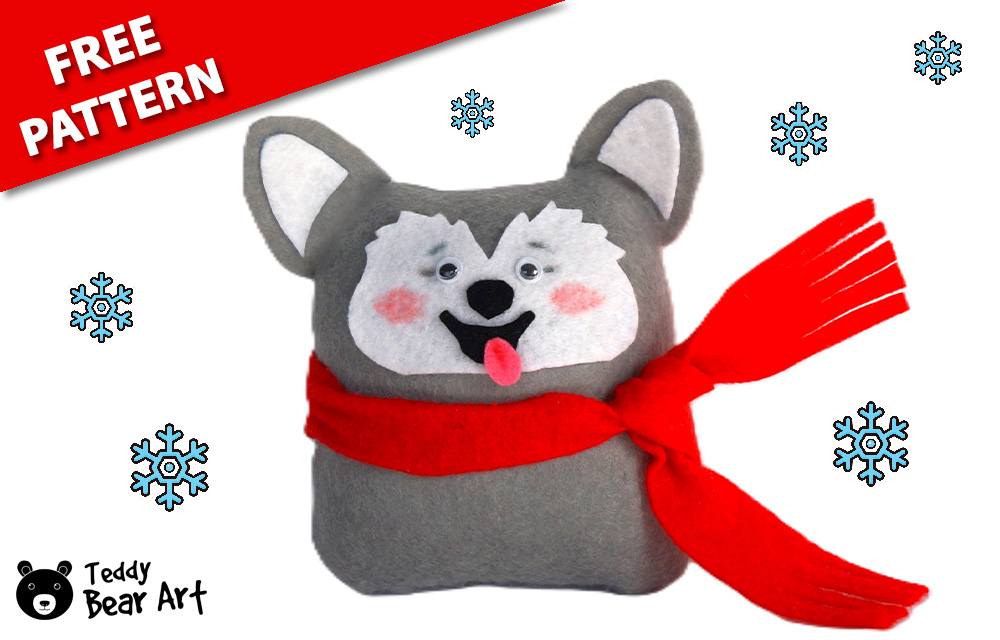
Crafting has never been more exciting! This dog plush pattern is the perfect way to create a charming husky plush at home. This beginner-friendly project is quick, budget-friendly, and requires only basic materials. By the end, you’ll have an adorable husky companion that’s as fun to make as it is to display.
This pattern will bring a touch of winter magic to your crafting. With their strong connection to snowy landscapes and frosty adventures, Huskies make the perfect companions for your winter DIY projects.
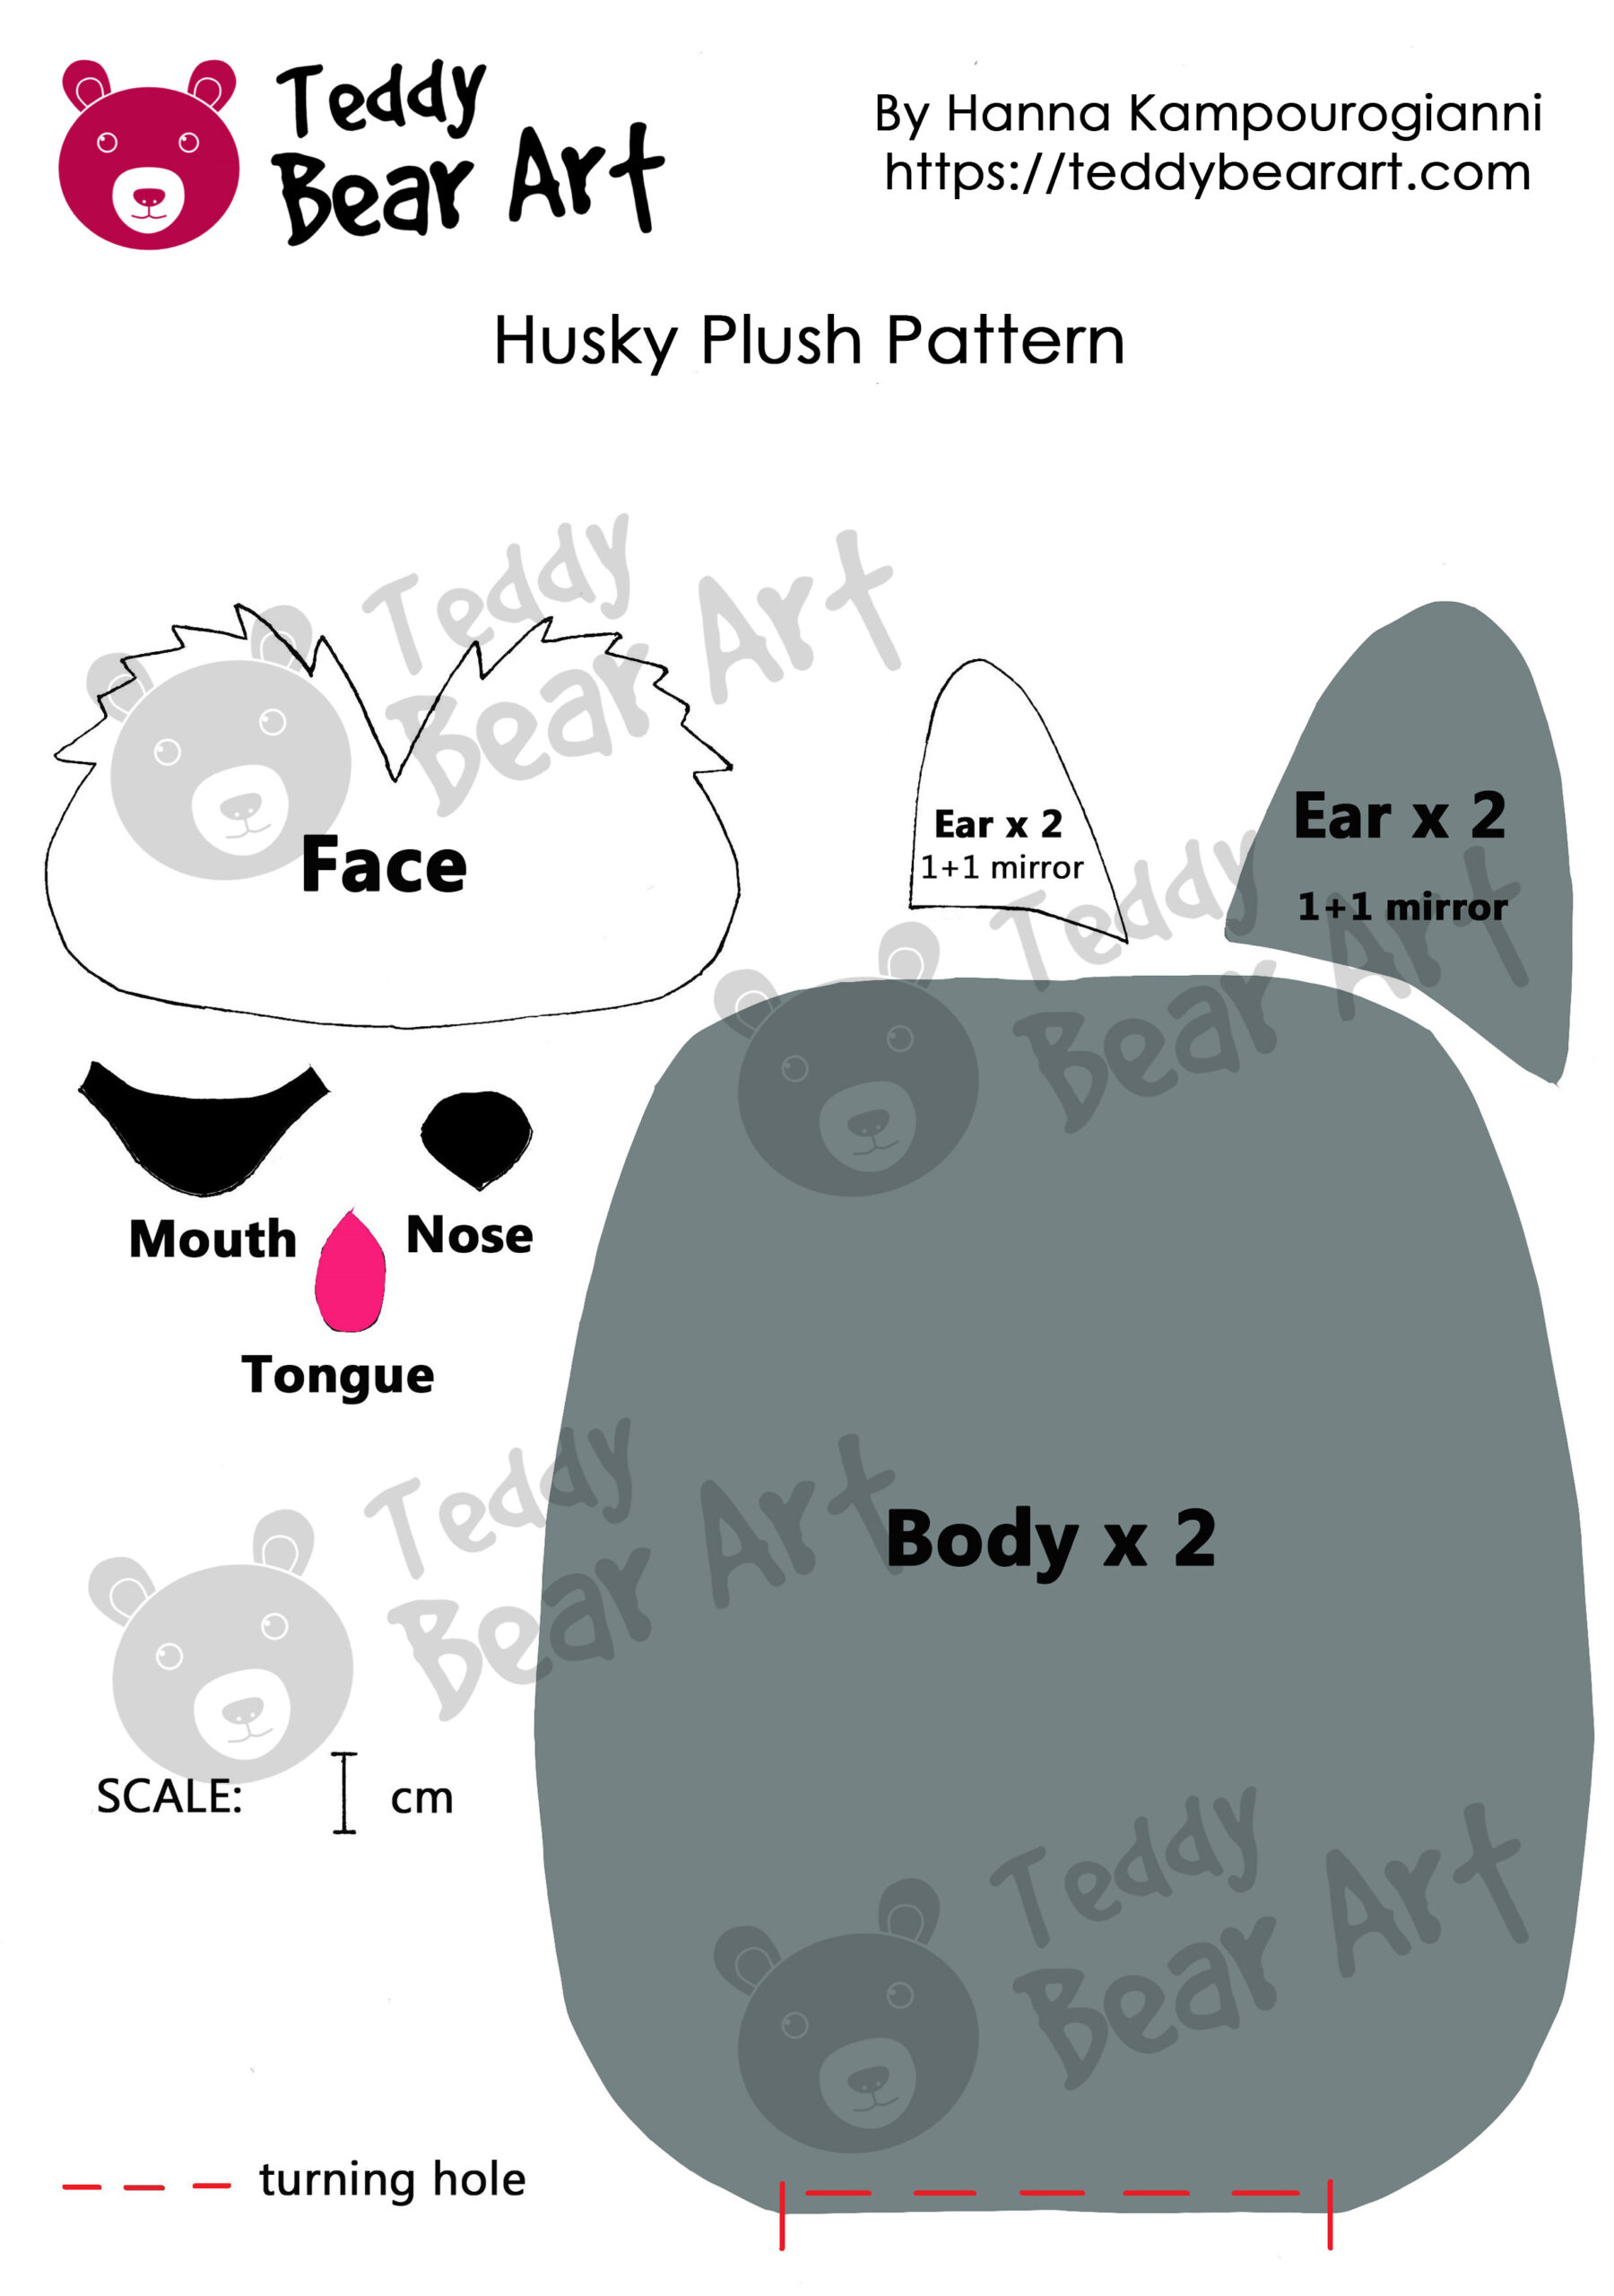
Download the Husky Plush Pattern
Ready to get started? To download the pattern, follow the instructions below:
From a phone or a tablet (Android): There should be something similar for mobile devices with Android or iOS. Click on the image. Save it by holding your finger on the image and selecting the “Save Image” option. Then go to your photo gallery and print it (there is an option).
From a computer (Windows): Click on the photo of the pattern you see below. In the new tab that will open, you press the right mouse button and select the “Save image as …” option. Then, you choose where the image will be saved on your computer.
Materials Needed
- Grey felt for the body
- White felt for the face and ears
- Black felt for the nose and mouth (if unavailable, you can use white felt painted in the required color)
- Pink felt for the tongue (if unavailable, you can use white felt painted in the required color)
- Red felt for the scarf
- Plastic craft eyes (8 mm)
- Synthetic stuffing
- Glue or fabric adhesive
- Sewing needle and thread or sewing machine
- Paints or markers
- Scissors
Step-by-Step Instructions
Step 1: Preparing the Pieces
Start by printing and cutting out your dog plush pattern. Transfer each piece to the corresponding felt color: grey for the body, white for the face and ears. Don’t forget to cut out small pieces for the ears, nose, mouth, and tongue.
Step 2: Assembling the Body
Take the front and back body pieces and sew them together, leaving the bottom edge open. You can use a sewing machine or stitch by hand with a simple backstitch.
Turn the sewn body right side out and stuff it with synthetic filling until it feels soft and plush. Finally, close the opening at the bottom using a ladder stitch for a seamless finish.
Step 3: Adding the Details
Now it’s time to give your husky some personality!
- Attach the white face piece to the front of the body using glue.
- Using glue, attach the white ear pieces to the grey ear pieces. Secure the ears on top of the head with small stitches or glue.
- Place the plastic craft eyes into position.
- Attach the nose, the mouth, and the tongue using glue.
For extra charm, you can draw on blush or add tiny eyebrows using a marker for a playful expression.
Step 4: Making the Red Scarf
The scarf is what transforms this plush into a festive favorite!
- Cut a long strip of red felt.
- Make small cuts along the edges to create a fringe.
- Wrap it around the husky’s neck and either tie it or secure it with glue.
General Tips for Choosing Materials for Simple Toys
Choosing the right materials is key to creating soft beautiful toys. Here are a few tips to help you pick the ideal materials for your cute and simple toys:
- Felt
Felt is one of the most popular materials for making toys. It is soft and pleasant to the touch and does not require additional edge finishing, as it does not fray. You can choose felt in different colors that are easy to cut and sew. Due to its density and availability, felt is perfect for simple toys like dogs or bears. - Synthetic Filling
Synthetic filling, such as hollow fiber, is commonly used to stuff toys. This material is lightweight, hypoallergenic, and keeps its shape well. It adds softness, and volume, and helps toys maintain their form over time. It’s easy to use and ideal for beginners since it doesn’t require special skills. - Eyes for Toys
Eyes give toys expression and personality. Round black beads are perfect for simple toys as they can be easily glued or sewn on. They create a lively, expressive look and give the toy a finished appearance. You can choose beads in various sizes depending on the effect you want to achieve. - Fabrics for Clothing and Accessories
If you want to add clothing or accessories to your toy, choose soft and easy-to-sew fabrics. Cotton or felt are great materials for clothing and accessories like scarves, hats, or shoes. These fabrics are not only attractive but durable, ensuring the clothing will stay on the toy for a long time. - Sewing Threads and Glue
For most toys, regular sewing threads are sufficient. However, for small details or accessories, you can use a glue gun. The glue helps attach tiny elements, such as ribbons or buttons, more neatly and quickly. It also makes the process more convenient. - Decorative Elements
To give your toy uniqueness, use various decorative elements like small buttons, ribbons, bows, or even faux fur. These can be used to create clothes, shoes, or accessories, giving your toy a special look.
Conclusion
This dog plush pattern is the perfect way to bring a touch of winter magic into your crafting. Huskies are synonymous with snowy landscapes and frosty adventures, making this project an ideal addition to your seasonal DIY lineup.
Picture this adorable husky plush as a delightful gift or a charming companion for your cozy winter decor. Have questions about the process or want to share your finished creation? Drop a comment below—we’d love to see your work and hear your thoughts!
More Goodies
If you’re enjoying creating this husky plush, why not try your hand at making another lovable dog? Check out our Westie Terrier Soft Toy Pattern and Guide. This pattern is a bit more advanced, and not recommended for beginners. It includes movable limbs and head, requires more materials, and involves working with fur to create the fluffy texture of a Westie Terrier. It is perfect for those looking to take their crafting to the next level and create a truly detailed and lifelike dog plush.
Additionally, if you’re in the mood for more winter crafting, check out our Easy Stuffed Snowman Pattern: A Quick Craft for All Ages. This fun and simple project is perfect for creating a cheerful snowman companion to bring extra winter magic into your home.
Make an adorable felt penguin with your own hands! This is a perfect project for beginners: it requires minimal materials, has a simple process, and delivers outstanding results. The article includes a detailed tutorial and a free pattern. Try it today — it’s quick and fun! Click Stuffed Penguin Pattern: DIY Cute Penguin Plush with Felt.

Get Free Patterns & Be the First to Know!
Want free teddy bear patterns, exclusive tutorials, and a chance to win craft supplies?
Sign up for our newsletter using the subscribe form in the middle of this article to receive new patterns, insider tips, and the latest news on teddy bear art. You’ll also automatically be entered into our annual giveaway for a chance to win teddy bear crafting materials.
Bonus entry: Save one of our pins on Pinterest to increase your chances of winning!
Let’s create, inspire, and craft beautiful teddy bears together!


What a cute little husky that one can make. The instructions to download and save the pattern is very easy to follow. And i am very pleased that the pattern is beginner friendly, as I will be able to make it with my granddaughter, who is always asking me to do sewing with her.
Do you have a suggestion for the best stuffing to use? Would foam chips work, or rather the stuffing that looks a bit like cottonwool? Thank you for sharing this awesome pattern.
Thank you for your kind words! I’m so glad you’ll be sewing it with your granddaughter—what a wonderful project to work on together!
As for the stuffing, almost any soft filling you have on hand will work for this husky. Foam chips will give it a firmer feel, but if you want it to be soft and cuddly, a filling that resembles cotton wool (like polyester fiberfill) is a great option. Try different types and choose what works best for the look and feel you want. Be sure to share how it turns out!
This husky is just adorable.
I’m not a confident sewer but this looks as though I could it. The penguin is super cute as well. Would you hand sew or use the machine?
I’m a bit dubious about using stick on eyes – in case the fall off. Do you have this issue?
Thanks
I sewed both the husky and the penguin on a sewing machine, but if it’s more convenient, you can sew by hand – the patterns are suitable for that too. As for the eyes, self-adhesive ones work fine for decorative toys, but if you’re concerned they might fall off, it’s better to sew on beads or use plastic safety eyes, which are more secure. Just remember that safety eyes need to be attached before stuffing and sewing the toy. Good luck! Which one are you planning to try?