*We are a reader-supported website. When you buy through links on our site, we may earn a small affiliate commission at no extra cost to you.*
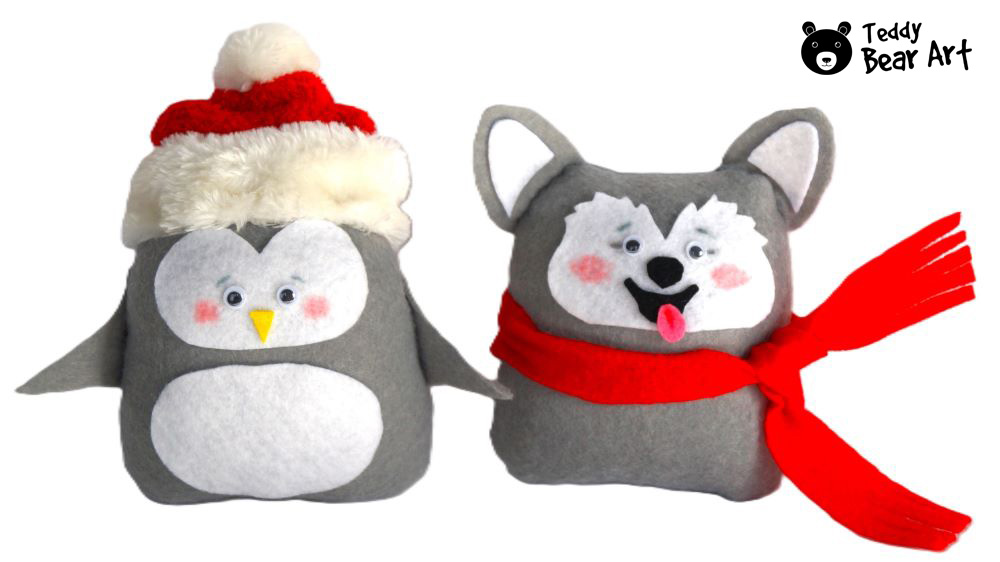
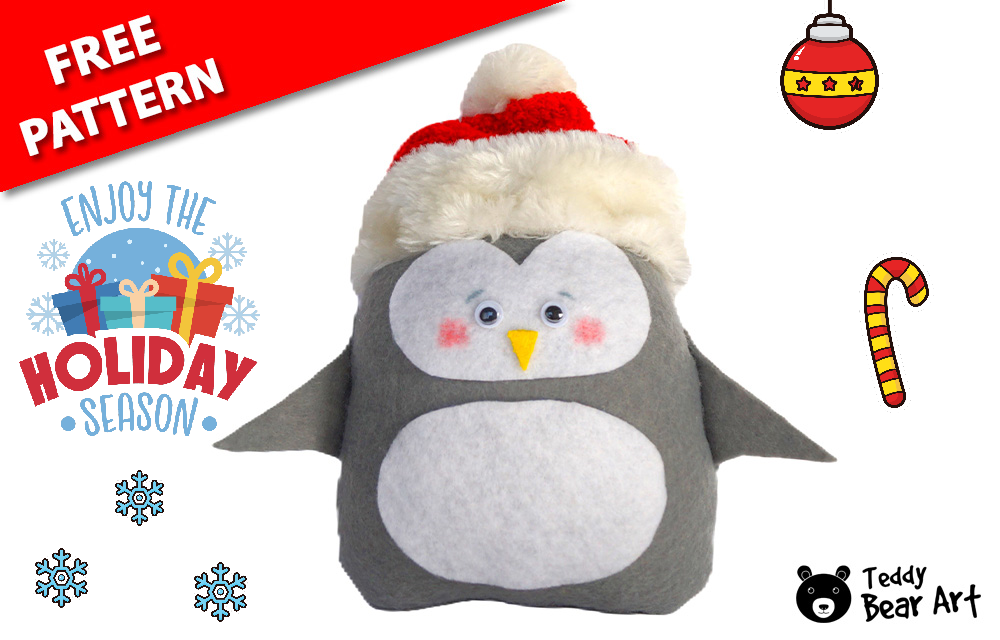
Winter is the perfect time for crafting, and if you’re looking for a simple, quick, and budget-friendly project, this stuffed penguin pattern is the perfect solution. It is easy to make and requires just a few basic materials, making it an excellent choice for beginner crafters or anyone looking to enjoy a cozy DIY project. Plus, you’ll end up with an adorable penguin plush that’s sure to bring a smile to anyone’s face!
Download the Stuffed Penguin Pattern
To download the pattern, follow the instructions below:
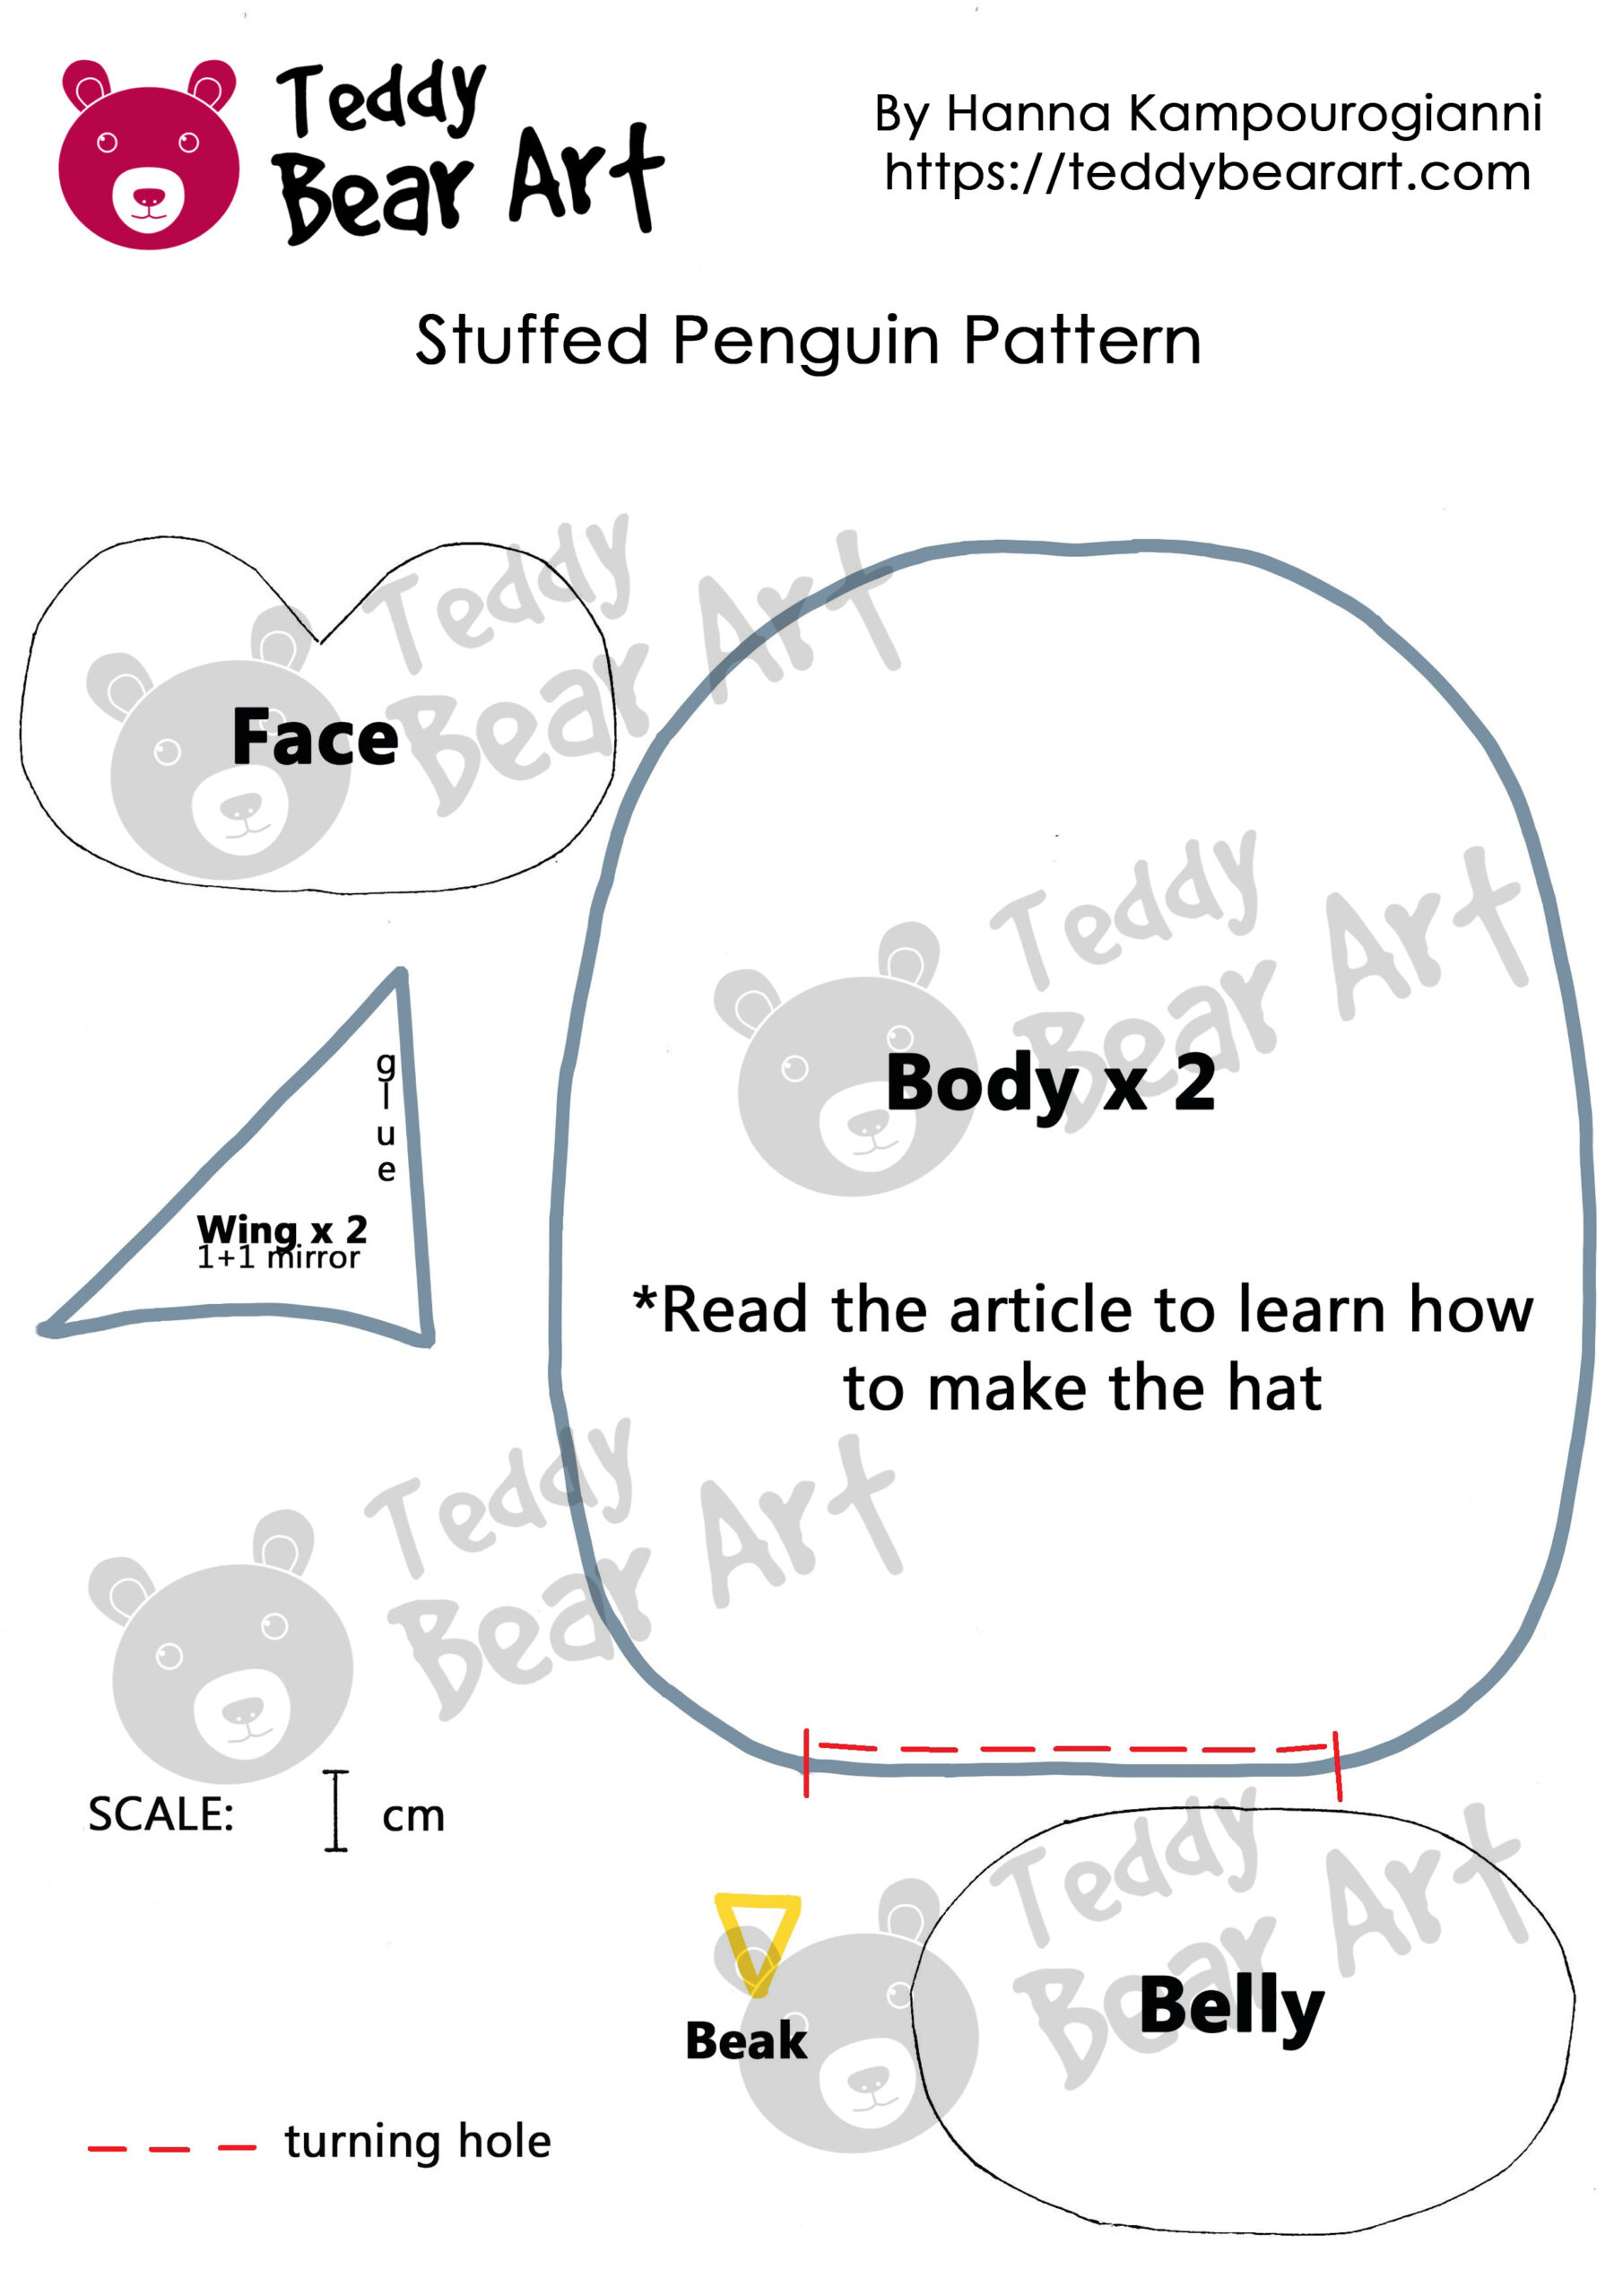
From a phone or a tablet (Android): There should be something similar for mobile devices with Android or iOS. Click on the image. Save it by holding your finger on the image and selecting the “Save Image” option. Then go to your photo gallery and print it (there is an option).
From a computer (Windows): Click on the photo of the pattern you see below. In the new tab that will open, you press the right mouse button and select the “Save image as …” option. Then, you choose where the image will be saved on your computer.
Materials You’ll Need
To create your cute penguin plush, you’ll need just a few materials, most of which are common craft supplies. Here’s a list of what you’ll need:
- Felt in grey and white
- Needle and thread (just a little for sewing the body), or a sewing machine
- Scissors (for cutting the felt)
- Strong Glue UHU (for easy attachment of the facial features and accessories)
- Plastic craft eyes with a diameter of 8 mm for the best result (you can find these at most craft stores or online)
- Paints or markers (for his beak and cheeks)
- Synthetic stuffing (lightweight and perfect for plush toys)
- A small piece of red fabric or felt and a piece of white plush for the Santa hat (optional but adds a cute seasonal touch!)
Creating Cute Penguin Plush
Step 1: Preparing the Stuffed Penguin Pattern
Now that you have your materials, it’s time to prepare your pattern. The stuffed penguin pattern is simple to follow, even if you’re a beginner. Start by cutting out the body pieces from the felt. You’ll need two body pieces—one for the front and one for the back—along with smaller pieces for the penguin’s face and belly.
Don’t forget to cut out the penguin’s beak, and wings. The fun part is that the wings and face features are glued on rather than sewn, making the process fast and easy!
Step 2: Assembling the Penguin’s Body
Once you’ve cut out all the pieces, it’s time to start assembling the penguin’s body. Begin by stitching the front and back body pieces together, either by hand with a backstitch or using a sewing machine. Be sure to leave the bottom open for stuffing later.
After sewing the body, turn it right side out and fill it with synthetic stuffing to give it shape. Once stuffed, close the opening neatly using a ladder stitch.
Next, take the smaller piece of felt for the face and glue it onto the front of the body. Then, take the felt piece for the belly and attach it to the lower part of the body, gluing it in place.
Step 3: Attaching the Wings, Beak, and Eyes
For the wings, simply glue them to either side of the penguin’s body. You can position them a little outward for a playful look, or more closely to the body for a neat finish.
Now for the beak: cut out a small triangle from yellow or orange felt and glue it onto the penguin’s face. If you don’t have colored felt, take a piece of white and paint it.
Then, attach the penguin’s eyes (make sure they’re placed symmetrically to give the plush that adorable, expressive look) and paint his brows.
To add a touch of personality, you can put some paint and a little blush to the penguin’s cheeks – this gives it a charming, rosy effect.
Step 4: Making the Santa Hat
No penguin will be complete without a festive hat! For the Santa hat, cut a small rectangle from red felt, then sew it along one side and gather the top. Secure the gathering by stitching it tightly, and add a pom-pom to the tip for a fun finishing touch. For the hat’s brim, sew or glue a strip of faux fur around the base to give it a classic holiday look! If you don’t have faux fur, simply glue a strip of white felt instead.
You can also make the Santa hat from a Christmas stocking with fur for an extra fun twist. Simply cut off the top part with the fluffy trim, gather the opening at the top, and sew a pom-pom onto the tip for added charm!

Conclusion
And there you have it—the perfect stuffed penguin pattern to create your very own DIY penguin plush! This project is quick, simple, and affordable, making it a wonderful choice for anyone looking to add a handmade touch to their winter decor or give a thoughtful gift.
Remember, with just a few materials and some creativity, you can create a cute penguin plush that will bring warmth and joy to any room. Happy crafting!
More Penguin Patterns and a Husky Plush Design
If you enjoyed making this adorable stuffed penguin, why not try creating even more penguin-themed projects? Here are two fantastic patterns that offer a bit more of a challenge, perfect for those looking to expand their crafting skills:
- Easy Dog Plush Pattern: Create Your Own Husky
This simple and budget-friendly project is perfect for beginners! Follow our guide to craft an adorable husky plush without breaking the bank. - Handmade Penguin Teddy: A Gift Idea Using Our Free Pattern and Guide
Take your penguin-making to the next level with this cute penguin teddy! This free pattern and guide will help you create a charming penguin with a teddy bear twist, perfect for gifting. - Adorable Penguin Sewing Pattern: A Step-by-Step Guide for Beginners
For those ready to dive into a slightly more advanced project, this adorable penguin sewing pattern is ideal. This step-by-step guide is designed for beginners but offers a fun challenge with easy-to-follow instructions. Create a penguin that’s both cute and cuddly with this simple yet rewarding pattern!
These penguin patterns are perfect for expanding your collection or making thoughtful gifts. Get creative and have fun with these projects!
Get Free Patterns & Be the First to Know!
Want free teddy bear patterns, exclusive tutorials, and a chance to win craft supplies?
Sign up for our newsletter using the subscribe form in the middle of this article to receive new patterns, insider tips, and the latest news on teddy bear art. You’ll also automatically be entered into our annual giveaway for a chance to win teddy bear crafting materials.
Bonus entry: Save one of our pins on Pinterest to increase your chances of winning!
Let’s create, inspire, and craft beautiful teddy bears together!


This stuffed penguin pattern is a delightful crafting project for winter that truly stands out. The detailed instructions ensure that even beginners can achieve great results, while experienced crafters can experiment with unique touches like custom colors or accessories. Adding a Santa hat gives the penguin a festive personality, making it a perfect holiday gift or decoration. I’d love to know if you have more tips on how to personalize the design or adapt it for other occasions.
Thank you for your thoughtful comment! I’m so glad you enjoyed the pattern. Personalizing the penguin is a great idea — you can use different fabrics for a unique texture or try embroidery to add details like snowflakes or a name. The Santa hat can also be customized with festive touches like sparkly fabric or a different color scheme. I’d love to hear how you decide to make yours special!
My little daughter and I made this penguin together, and she absolutely loved it! She was so excited to help cut out the felt pieces and pick the eyes. It was so much fun to see the penguin come to life in our hands, and my daughter even decided it would be her new playmate.
Felt turned out to be a perfect material for this project—soft, pleasant to the touch, and easy to work with. We even came up with the idea to add a little scarf to the penguin to make it look even cozier.
It’s wonderful that you made the penguin together with your daughter! Projects like this not only bring joy but also create warm memories. The idea of adding a scarf is amazing—it must have made the penguin even cozier and more charming. Have you already decided what toys you’ll make together next?