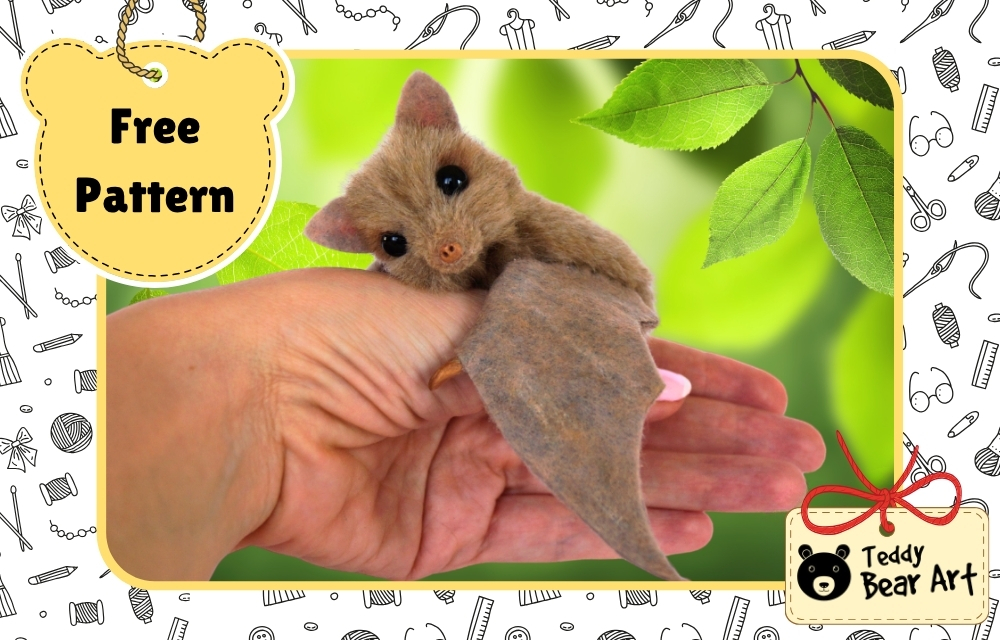
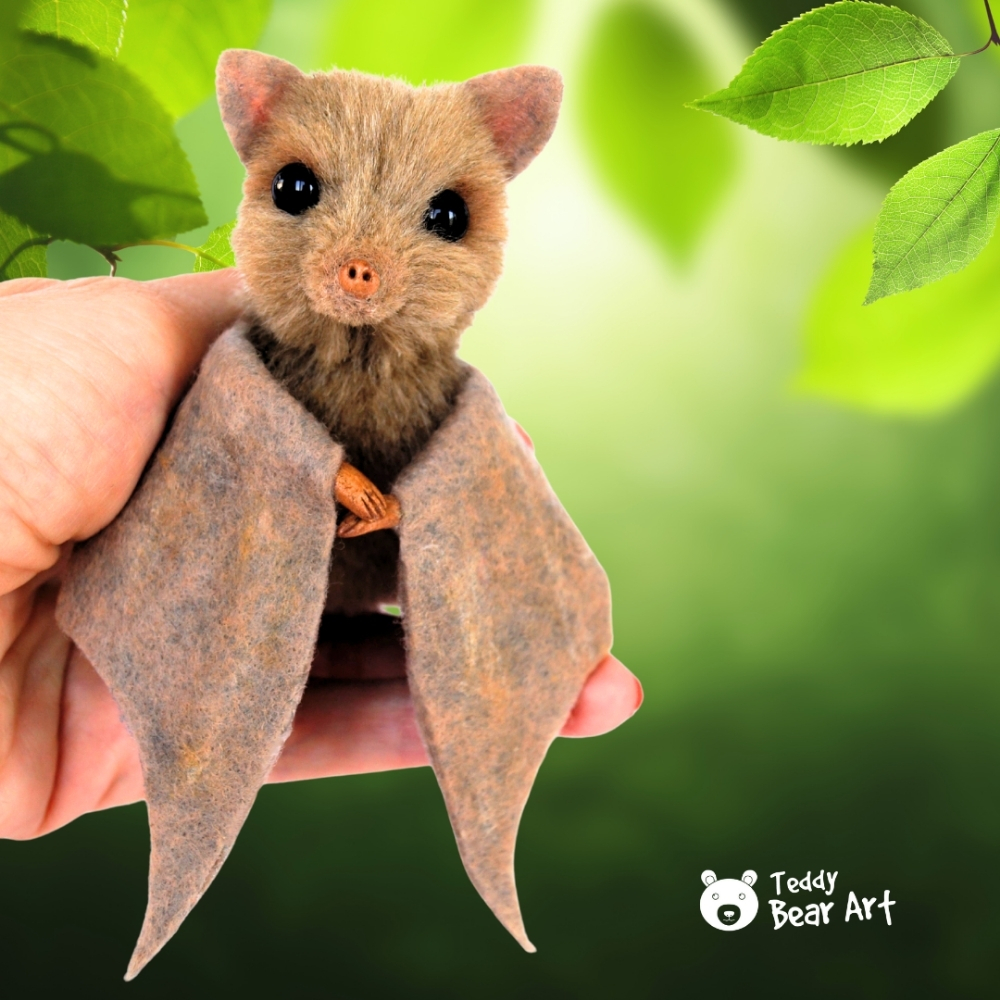
Looking for a sewing project that’s whimsical, soft, and just a little different from your typical teddy bear? This free bat plush sewing pattern brings a delightful twist to your crafting table. With floppy wings, a rounded body, and sweet little ears, this bat plushie is perfect for handmade gift lovers, cozy décor, or soft toy collectors. Best of all, the sewing pattern is completely free and ready to print.

Why You’ll Love This Free Bat Plush Sewing Pattern
Bats have their special charm — they’re curious, cozy-looking, and surprisingly endearing when made from soft fabrics. Unlike traditional soft toys, a bat plush offers more freedom with shape, texture, and personality. This project is fun for seasoned crafters but simple enough for beginners ready to try their first plush bat DIY. It’s also a wonderful way to reuse plush fabric scraps and get creative with color.
Download Free Bat Plush Sewing Pattern
To download the pattern, follow the instructions below:
From a phone or tablet: There should be a similar option for mobile devices with Android or iOS. Click on the image. Save it by holding your finger on the image and selecting the “Save Image” option. Then, go to your photo gallery and print it (an option available).
From a computer: Click on the photo of the pattern you see below. In the new tab that will open, you press the right mouse button and select the “Save image as …” option. Then, you choose where the image will be saved on your computer.
Materials and Tools You’ll Need
- Faux fur fabric with short pile (5–8 mm)
- Felt fabric for the wings
- Chenille wire
- Black beads for eyes or glass eyes on a 7 mm loop
- Discs in diameter approximately 6 mm – 2 pieces
- Cotter pin 1.6×20 size
- Instant UHU glue
- Matching thread and sewing needles
- Polymer clay for small details
- Synthetic or other stuffing
- Chalks or pastels for shading
- Extras (optional, for a rotating head): an awl and pliers. This is not necessary — you can sew the head to the body.
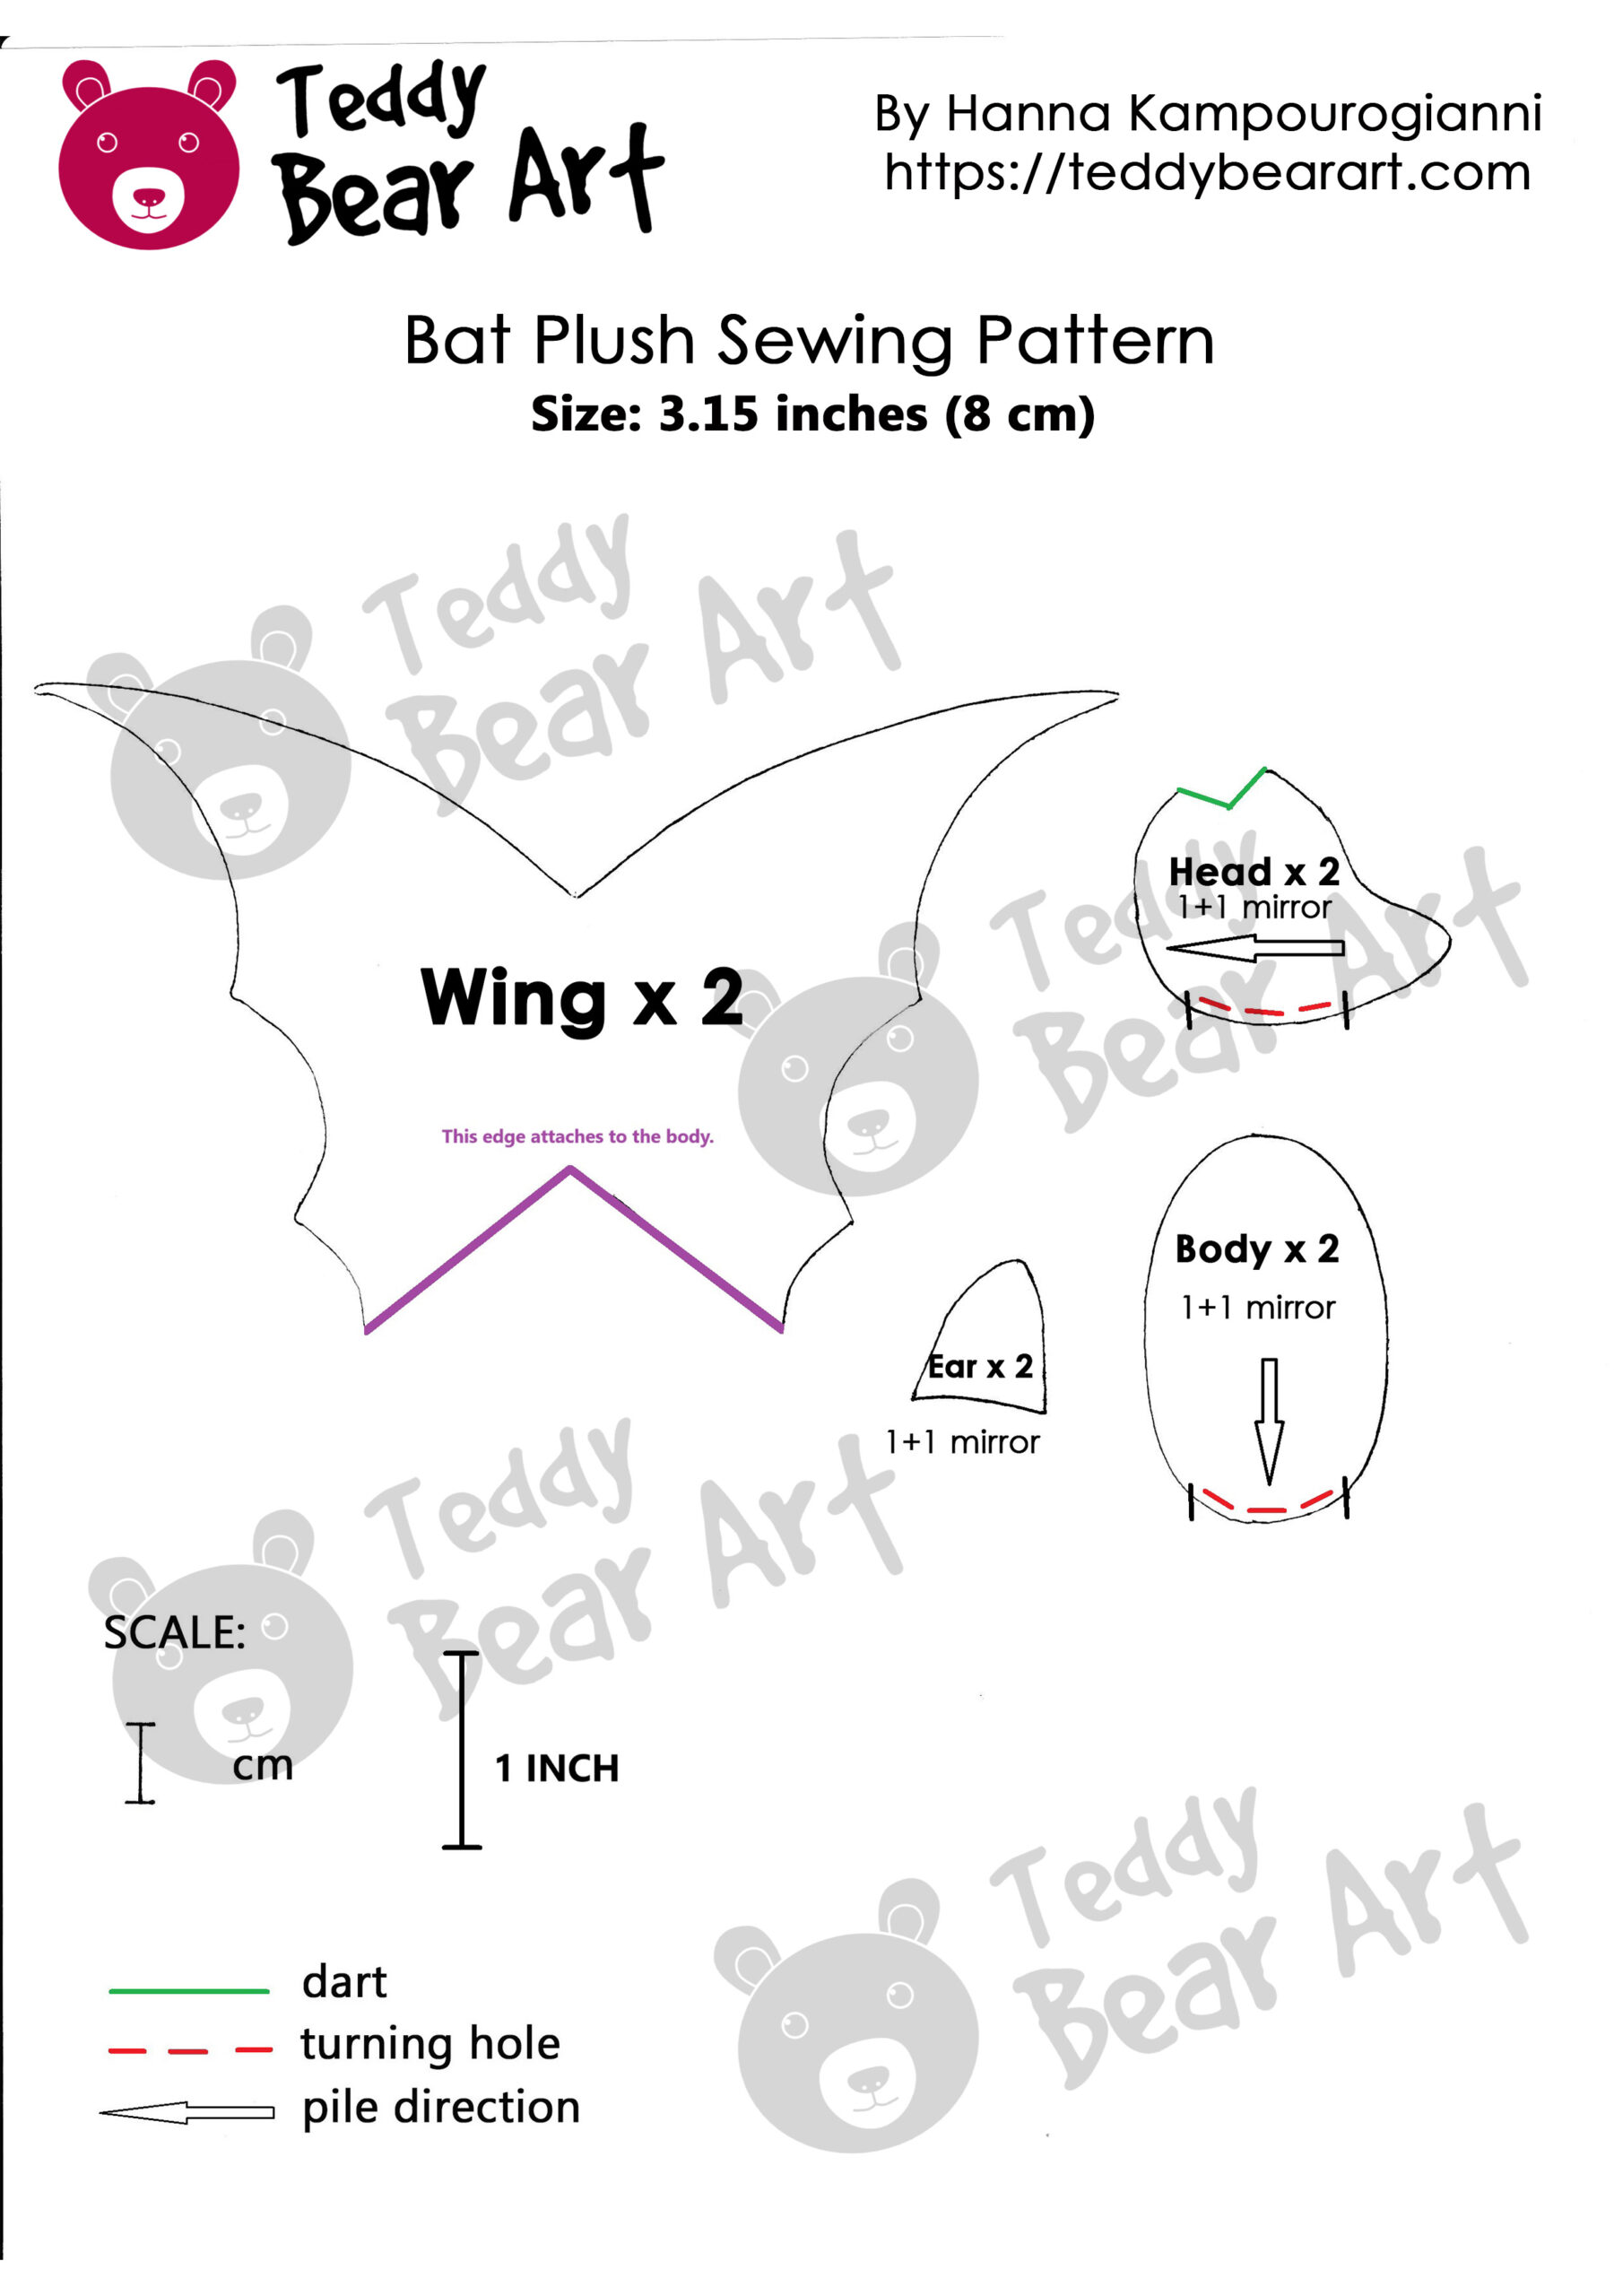
Step-by-Step Bat Sewing Tutorial
Sewing the Head
Start with the head. Cut two mirrored pieces from plush fabric. First, sew the darts to shape the face, then stitch the two halves together and turn the head right side out. Stuff it firmly. If you don’t have fiberfill, cotton balls, yarn scraps, or fabric leftovers work well.
Close the opening used for stuffing and, if desired, insert a cotter pin with a small disc at the base to allow the head to turn (you can find detailed instructions in our guide).
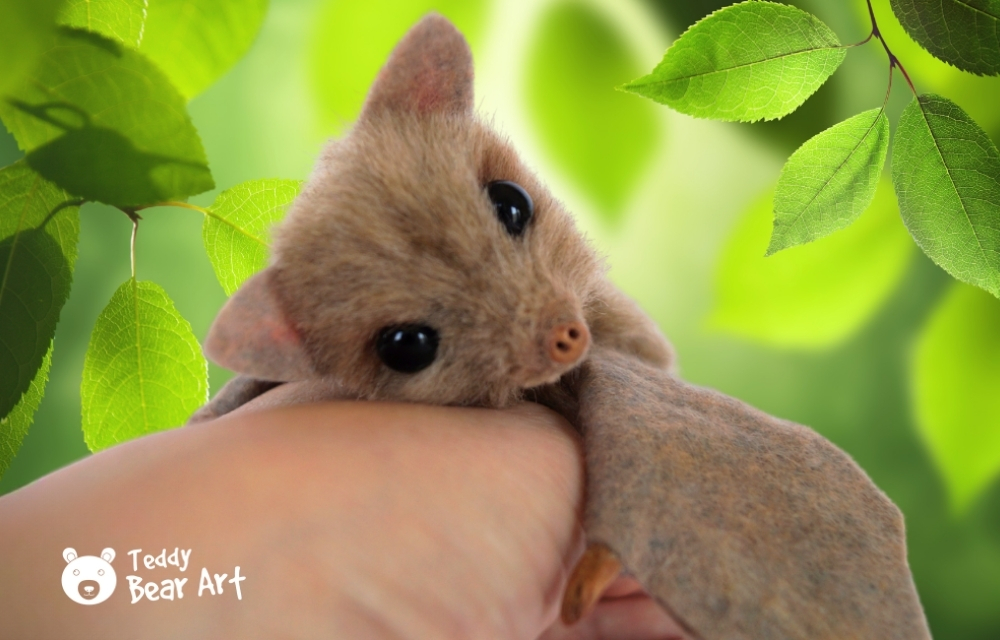
Cut two ears from felt and sew them onto the head. Trim the pile on the muzzle, especially where the nose will be attached.
Glue on a tiny polymer clay nose and add a bit of wool around it to blend naturally into the face.

Sewing the Body
Sew the body pieces together and turn them right side out. Stuff the body firmly. As you sew the opening closed, glue in polymer clay feet for a clean, finished look.

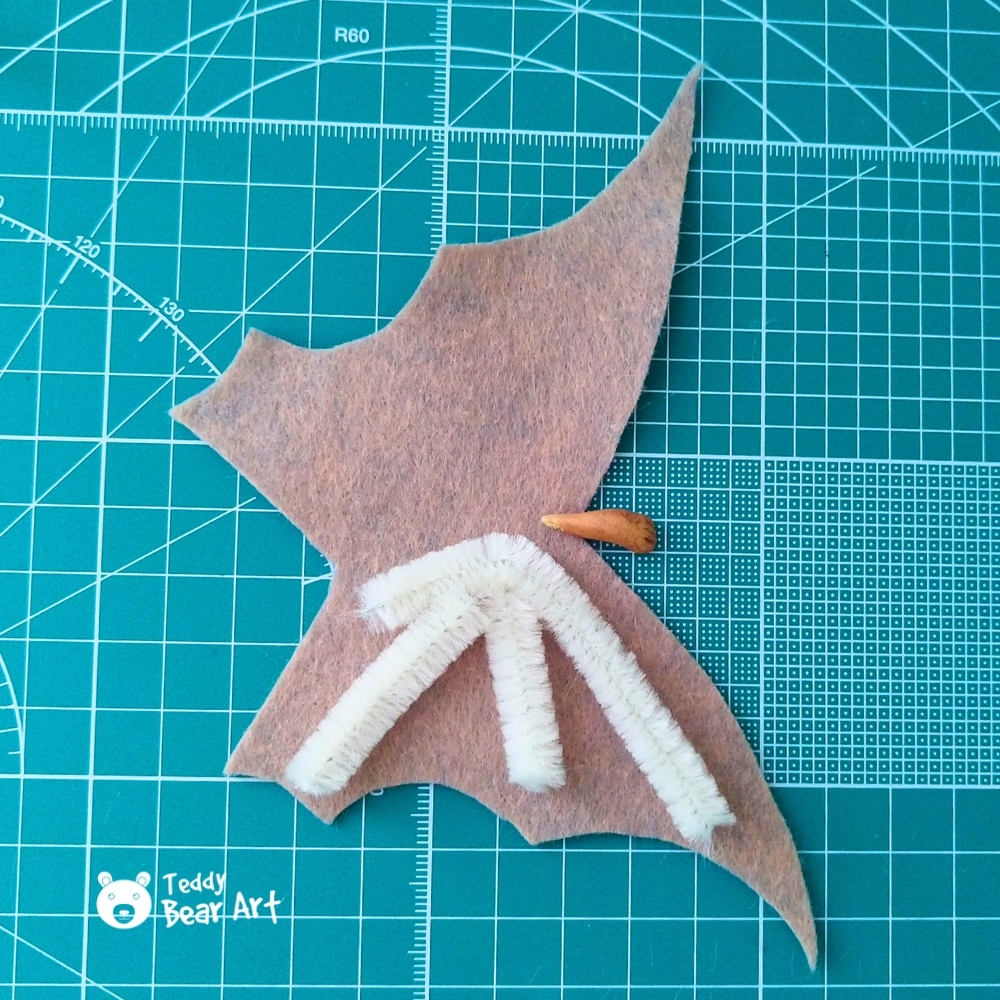
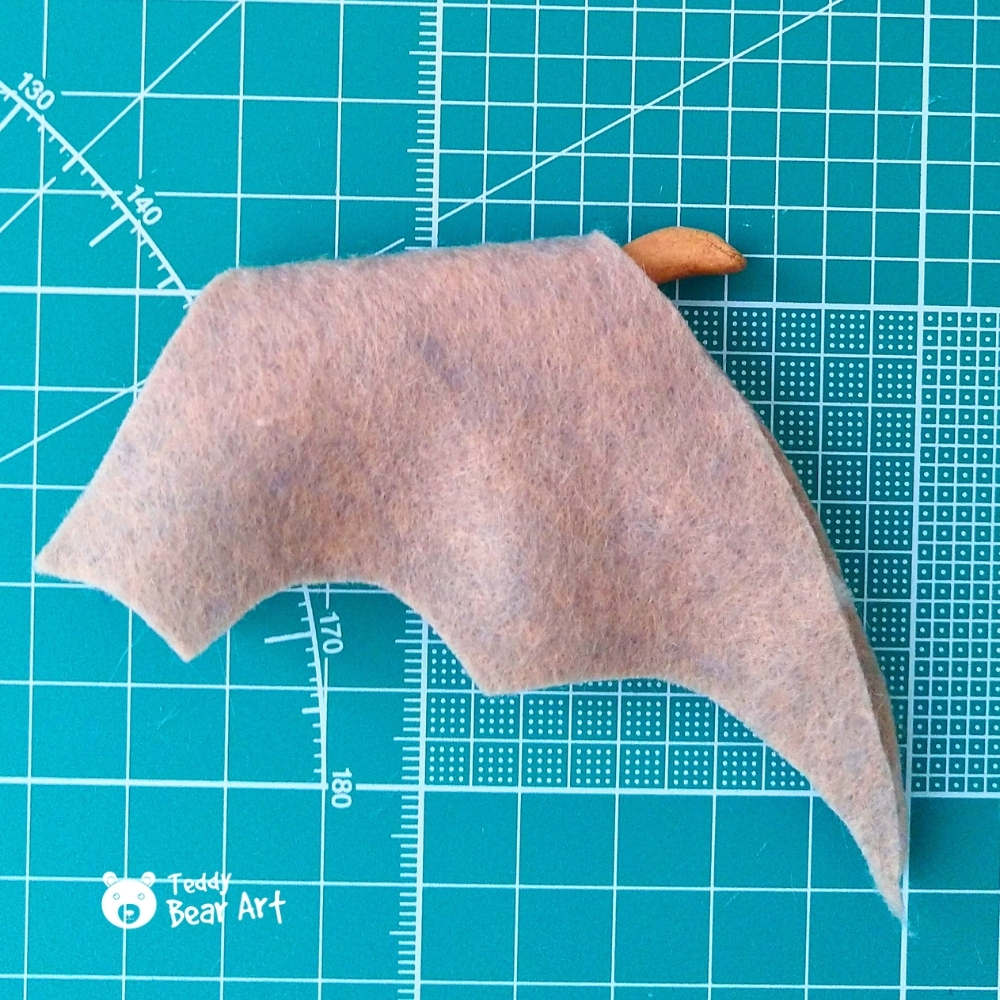
How to Make the Bat Wings
Cut two wings out of felt. Glue chenille wire inside, and when dry, carefully fold the wing in half and glue it together. Glue in the little molded feet at the same time. Repeat with the second wing.
Final Assembly
Place the wings on the sides of the body. Experiment with angles – wings folded on the stomach look cozy, and spread out – more dynamic. Sew them.
Slightly shade the inside of the ears with pink pastel. Around the eyes and wings, slightly shade with brown.
FAQ: Common Questions About Free Bat Plush Sewing Pattern
Can I sell plush bats made with this pattern?
Yes, as long as it’s not mass production or large-scale factory manufacturing, you’re free to sell the plush bats you make by hand using this pattern. Handmade creations made in small quantities are perfectly fine for sale.
Can I resize the pattern?
Yes, you can print the pattern at a different scale to make your bat bigger or smaller — just keep in mind that you’ll also need to adjust other elements, like the size of the eyes and the length of the plush fur. That means your finished bat will have a different look from the one shown in the photos in this article. But if you’re excited to create something new and unique, go for it!
Can I use different fabrics?
Absolutely! Feel free to experiment with greys, browns, pastels, or any fabric you like. Just keep in mind that using different materials means your plush bat might look quite different from the one in the photos. If you’re open to surprises and unique results, go ahead and try other fabrics!
What if I don’t have fiberfill?
You can stuff your plush bat with cotton balls, fabric scraps, yarn bits, or even leftover batting from other sewing projects.
Do the wings move?
They can bend slightly if you insert chenille wire. Just don’t expect full flexibility.
Do I have to use chenille wire?
Nope! They’re optional. The wings will still look cute without it — just less poseable.
Final Thoughts on This Free Bat Plush Sewing Pattern
Sewing your own plush bat is a joyful, hands-on experience. With its simple shapes, soft lines, and expressive wings, this project is ideal for anyone who wants to slow down and create something charming by hand. Download the free bat plush sewing pattern, gather your scraps and tools, and bring your own little bat to life.
Get Free Patterns & Be the First to Know!
Want free teddy bear patterns, exclusive tutorials, and a chance to win craft supplies?
Sign up for our newsletter using the subscribe form in the middle of this article to receive new patterns, insider tips, and the latest news on teddy bear art. You’ll also automatically be entered into our annual giveaway for a chance to win teddy bear crafting materials.
Bonus entry: Save one of our pins on Pinterest to increase your chances of winning!
Let’s create, inspire, and craft beautiful teddy bears together!
I absolutely love this free bat plush sewing pattern! It’s such a charming and whimsical alternative to the typical teddy bear plush, and those floppy wings and sweet little ears give it so much personality. I really appreciate how it’s beginner-friendly but still fun enough for more experienced crafters to enjoy. Plus, it’s a fantastic way to use up leftover fabric scraps and get creative with colors and textures. The step-by-step instructions and clear download tips make it super easy to follow. This is definitely going on my list of sewing projects—I can already picture how adorable these bats would look as gifts or cozy décor. Thanks so much for sharing such a thoughtful and creative pattern for free!
Thank you so much! I’m so happy you loved the pattern. It’s such a fun little project, and yes—perfect for scraps! Can’t wait to see your cute bat if you make one.
I really appreciate this free bat plush sewing pattern. It feels like such a gentle and unique alternative to the usual teddy bear plush, with those soft floppy wings and delicate little ears giving it a lot of character. I’m grateful that it’s designed to be beginner-friendly. The clear, step-by-step instructions make it reassuring and easy to follow. This pattern truly means a lot to me, and I can already imagine how comforting and special these bats would be as thoughtful gifts or cozy decorations. Thank you so much for sharing such a kind and creative pattern with everyone.
Thank you so much for the kind feedback! I’m really glad you liked the pattern and found the instructions easy to follow. Hope these cute little bats bring you lots of joy and coziness!