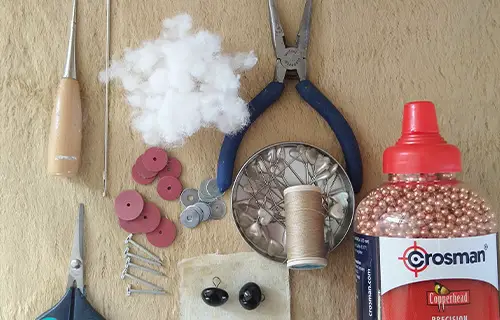
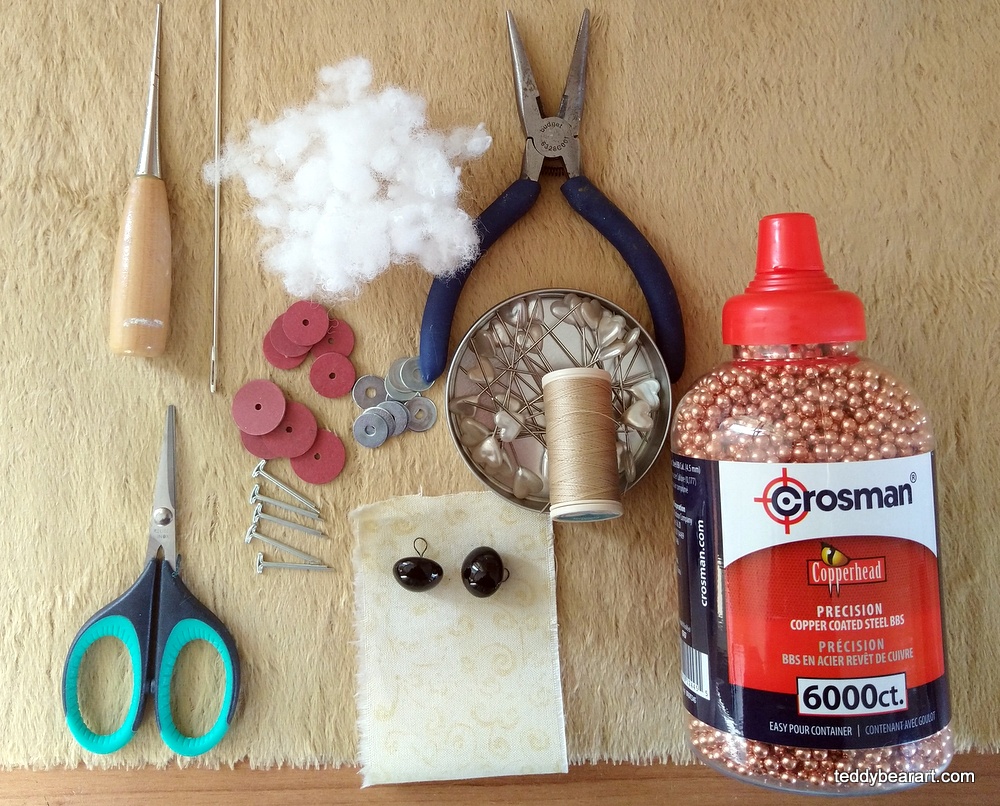
Explore how to make a teddy bear – part 2 (step-by-step tutorial). In our case, it will be a teddy elephant from a previous post. Well, let’s prepare all the materials for making our teddy elephant. Here you can see my teddy elephant kit.
Transferring the Pattern to the Fabric and Stitching the Details
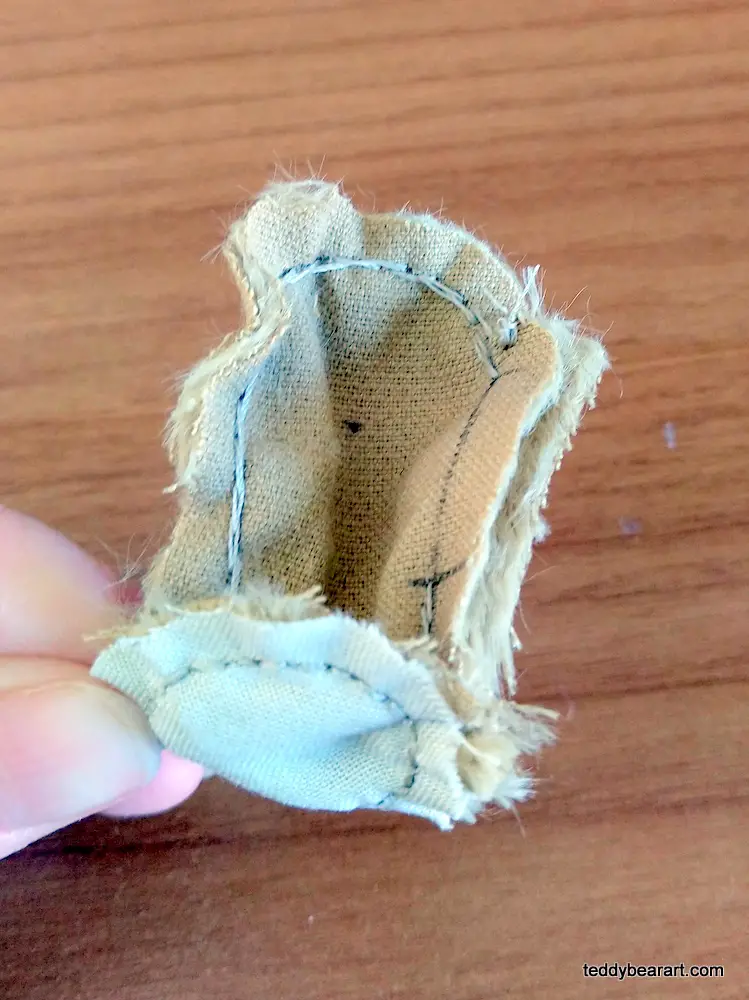
If you have no opportunity to print the pattern, just put a piece of baking paper on your screen and circle the image carefully, including all arrows and marks.
Our fabric has a fur direction. On the pattern, you can see the arrows, which indicate the direction of the fur we need. Arrange the parts of the pattern to the back side of the fabric so that the arrows coincide with the direction of the fur.
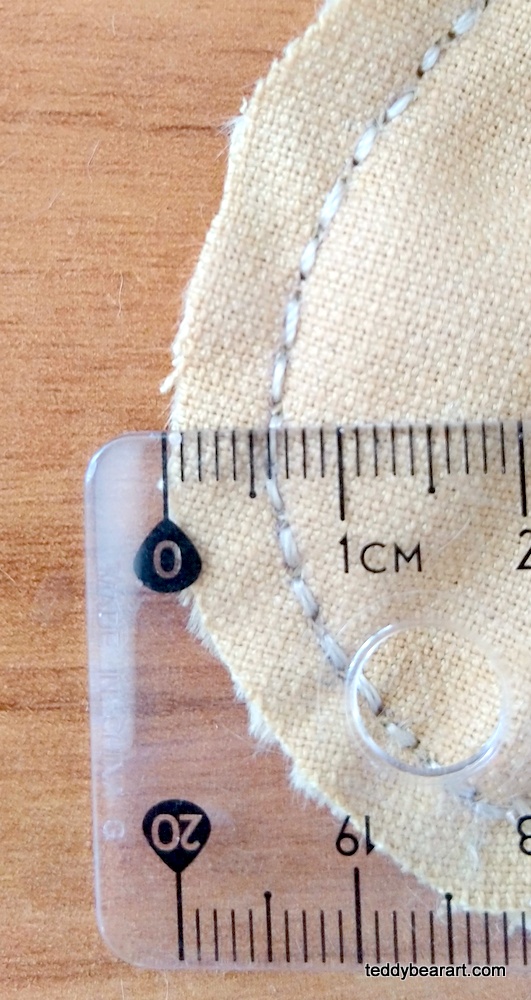
Trace the pattern with a pen or pencil. Cut out the details, remembering to step back 5-7 mm from the edge. The inner parts of the elephant’s ears and feet do not need to be transferred to this fabric, because we will be sewing them from a different fabric.
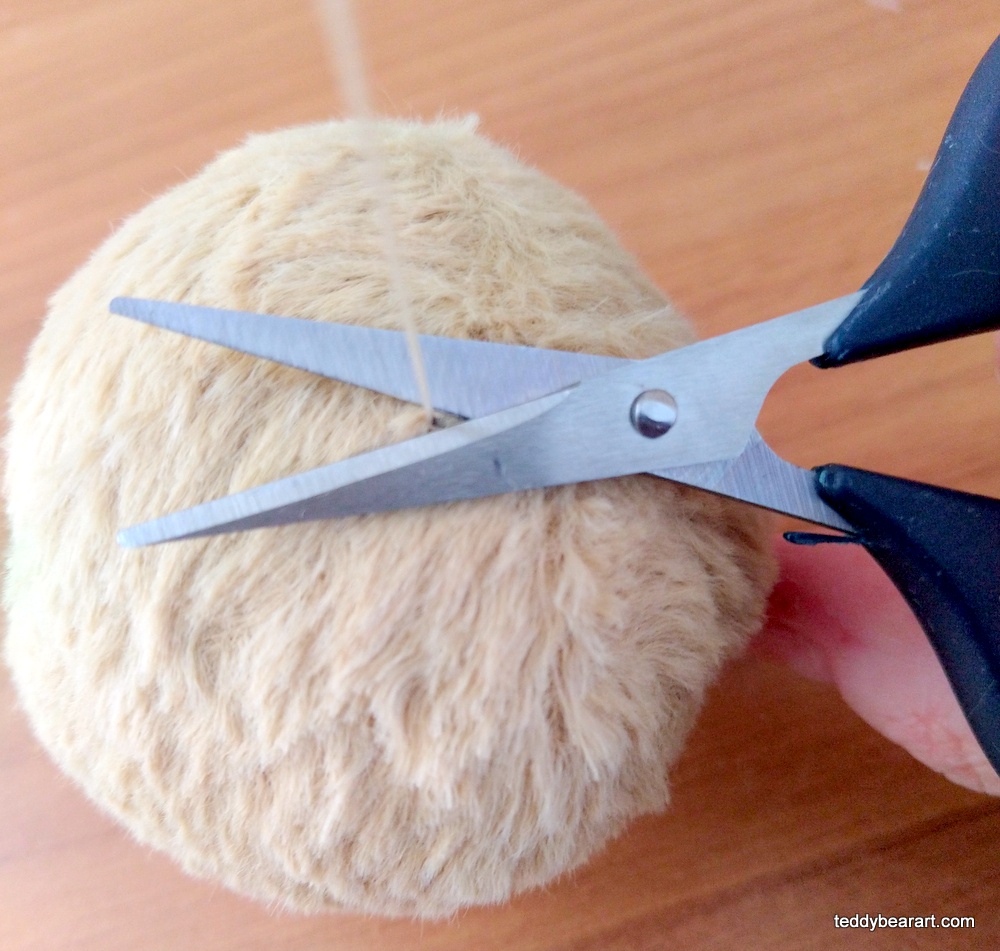
When cutting out details, try to bring the scissors as if under the fur to cut only the base of the fabric and not cut off the fur. This is necessary so that when we turn the sewn parts inside out, the fur lies evenly and beautifully on the seams.
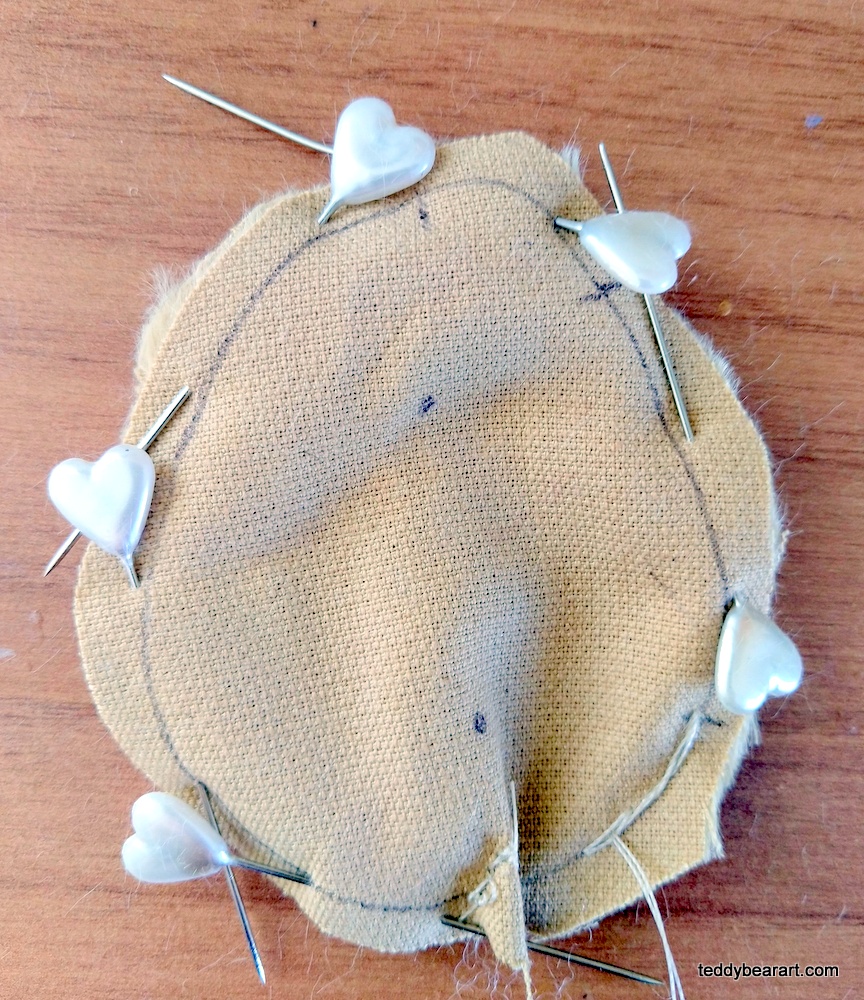
So, we carefully cut out all parts of the pattern. We apply to each other the mirror and normal sides with fur inward. With the help of pins, we fasten the details of the fabric so that it does not slip and sew with a back-needle seam. First, we sew the tucks, and then we sew the two parts of the body together, leaving a hole for stuffing.
Stuffing and Making Joints
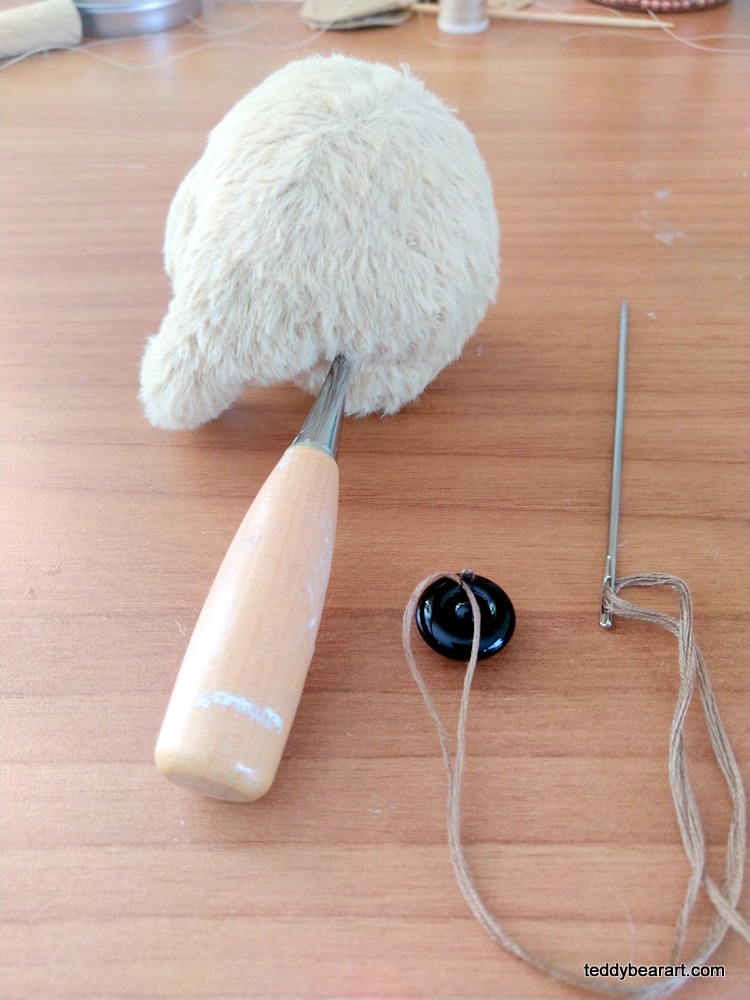
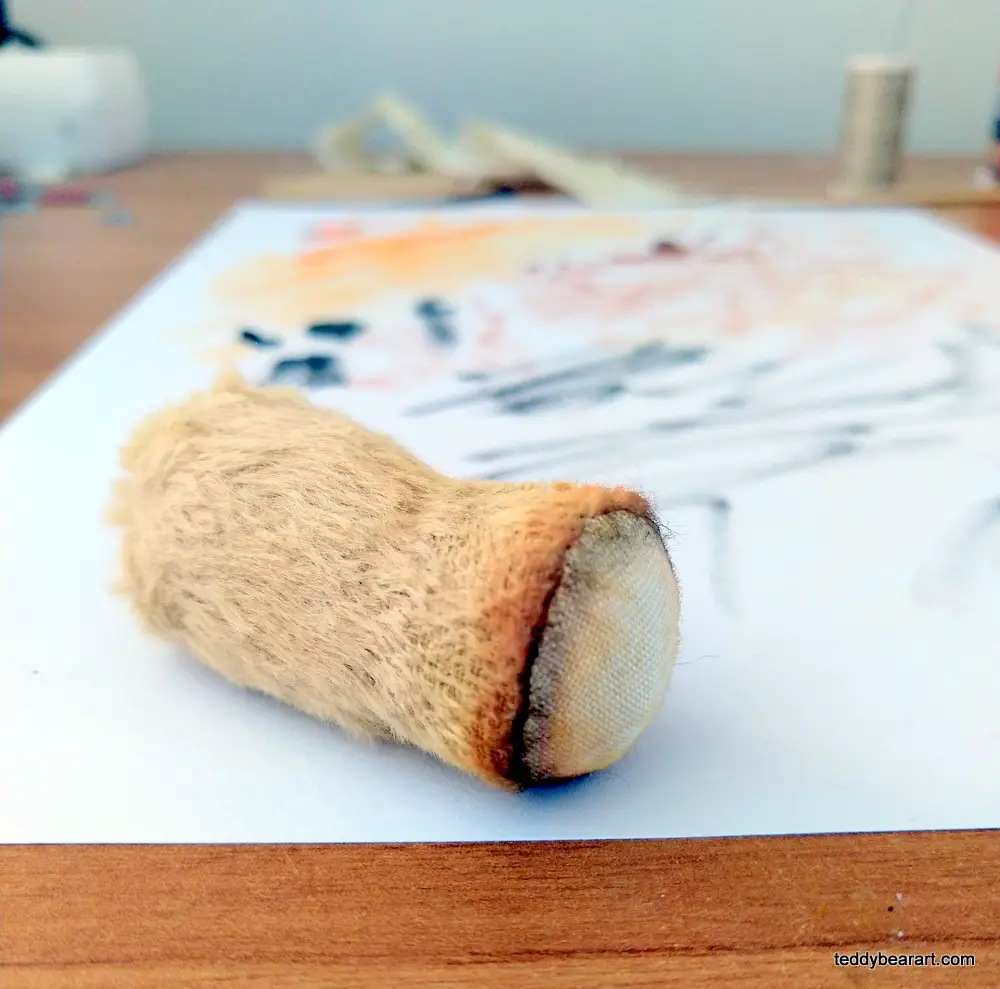
We turned out the finished parts of our elephant using a wooden stick with a blunt end.
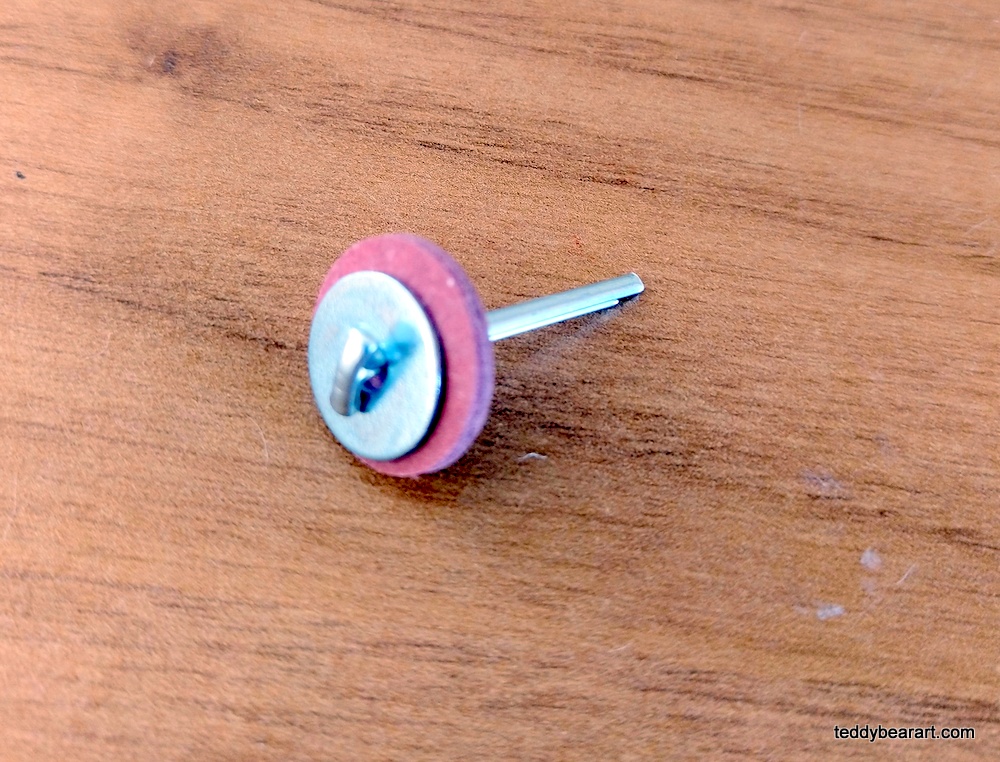
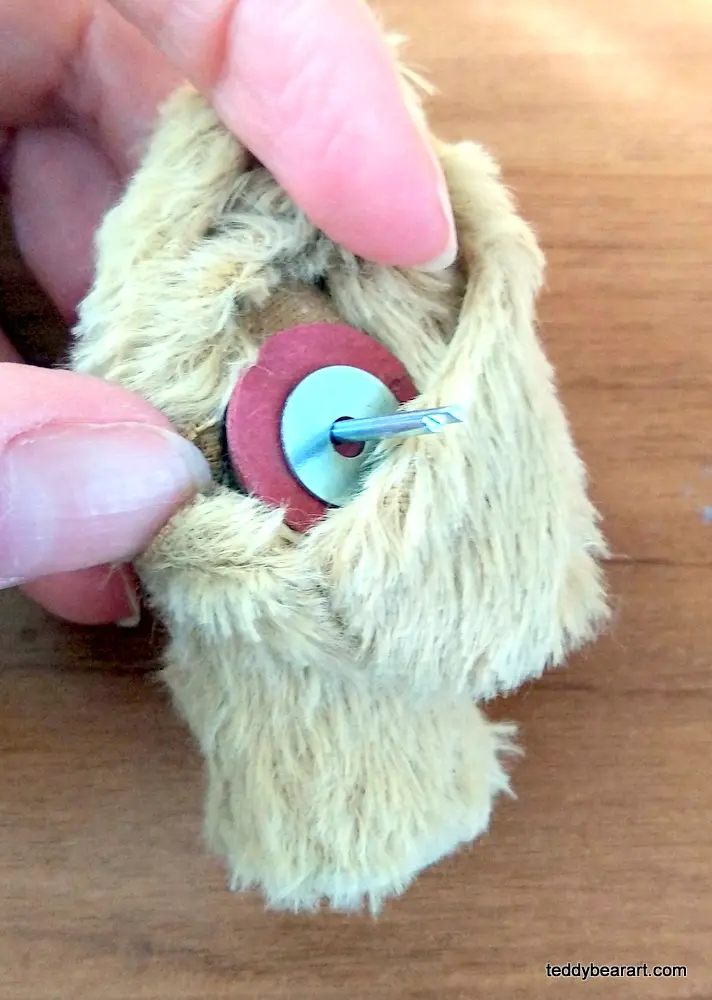
We take together discs and washers (metal disks) and then insert cotter pins into them. In our case, smaller discs will be for hands. With an awl, we make small holes in the marked places on the arms and legs of the elephant (inside).
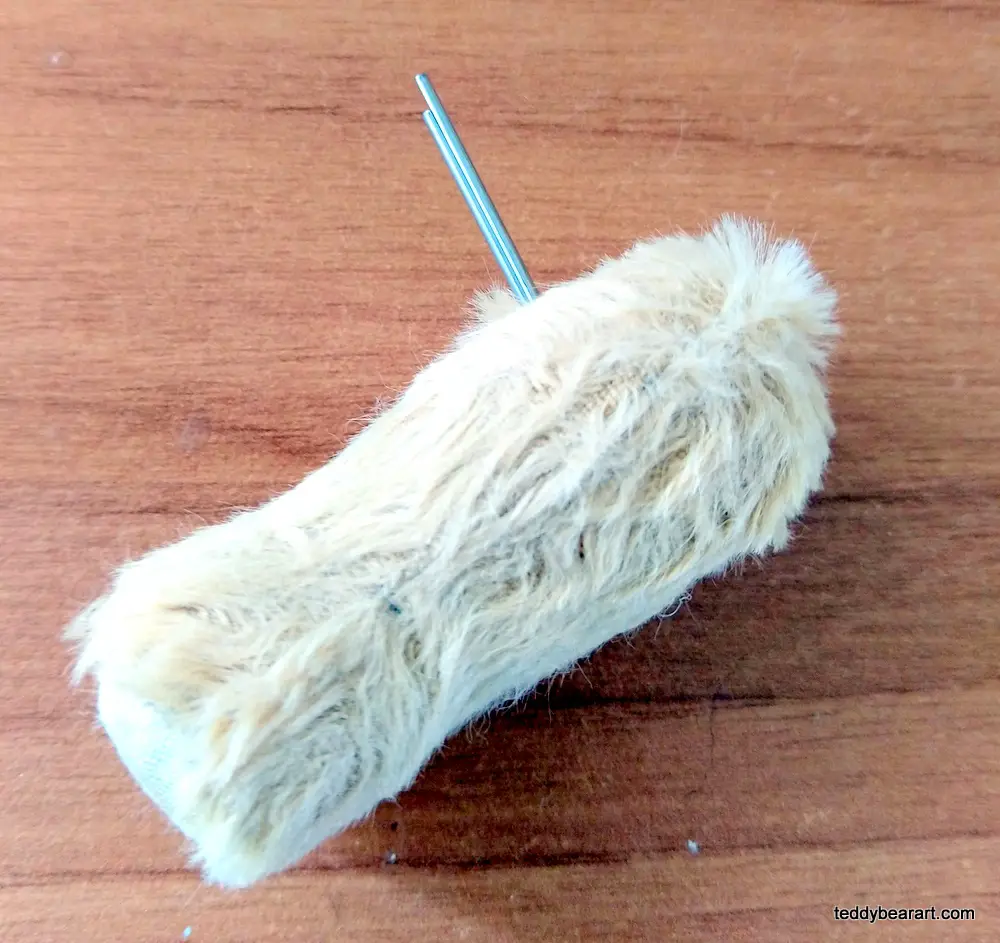
Try not to tear the fabric at the same time, but gently push the threads apart. Insert all the discs and cotter pins into the arms and legs of the elephant. Now fill them with synthetic filler quite tightly. Tamp down with a wooden stick. Sew up the opening with a blind stitch.
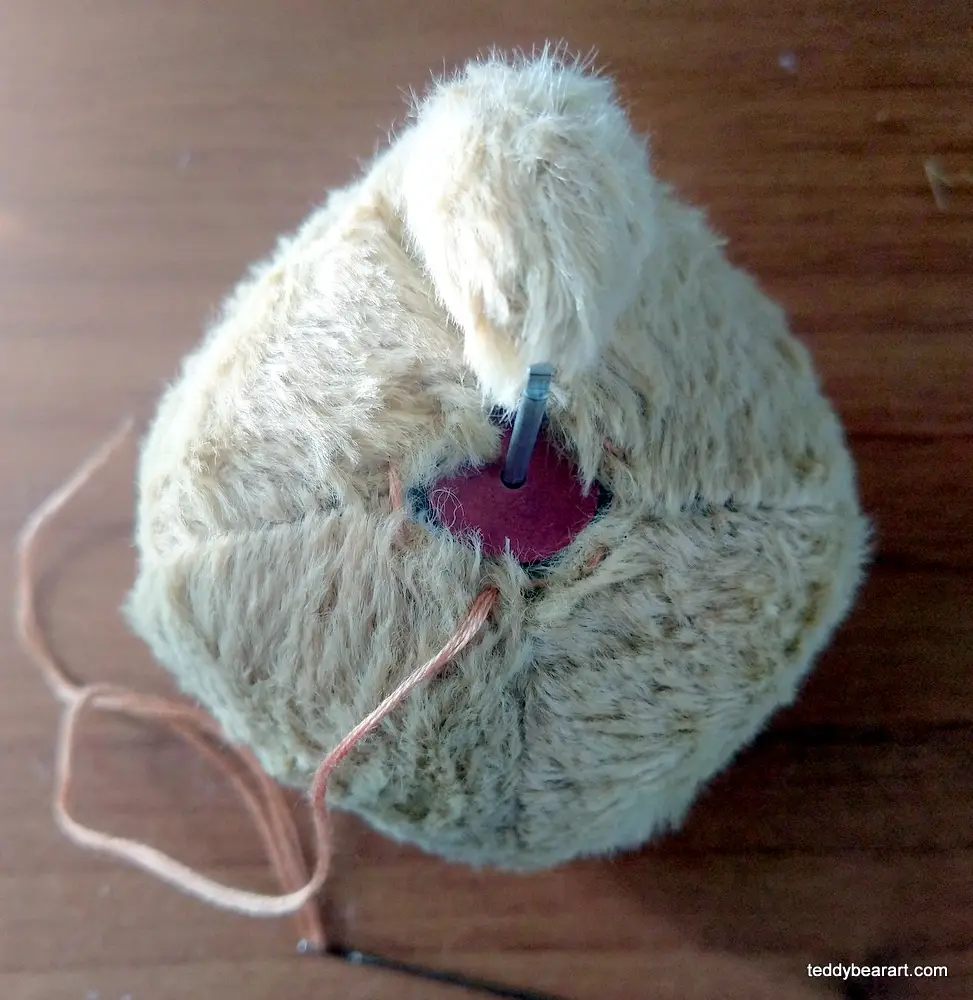
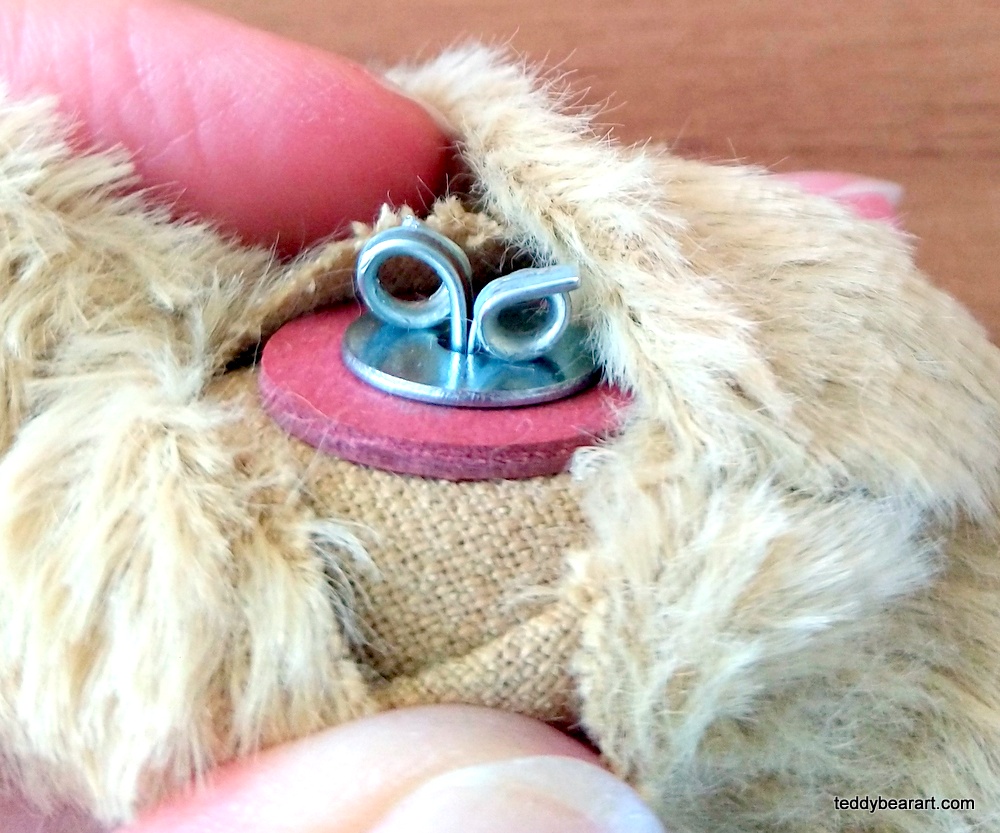
Now let’s move on to the head. Stuff it very tightly, making sure that there are no soft parts left. Insert the disc with the cotter pin into the hole. Pull the waxed thread around the edge of the open hole and tighten. Make sure the back side of the fabric is not visible. Fasten the thread several times.
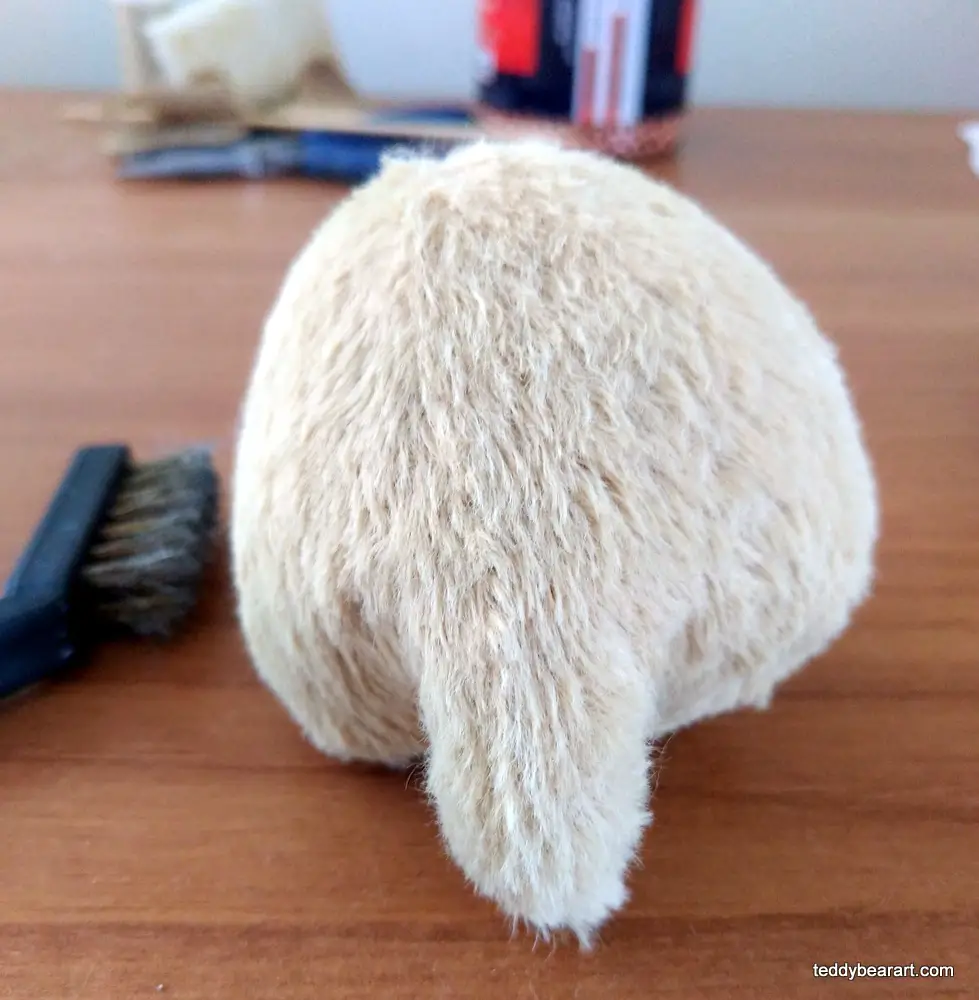
Then insert the needle into the head and out from the opposite side, pull the thread, and cut as close to the head as possible. Thus, we hid the thread. Use an awl or needle to release the fur stuck in the seams. Comb the pile with a special metal brush so that the seams are not visible.
The head looks just perfect after this, doesn’t it? The metal brush I have bought from a craft shop. Also, you can find it in the kitchen department.

Setting the Eyes, Attaching the Head and the Limbs to the Body
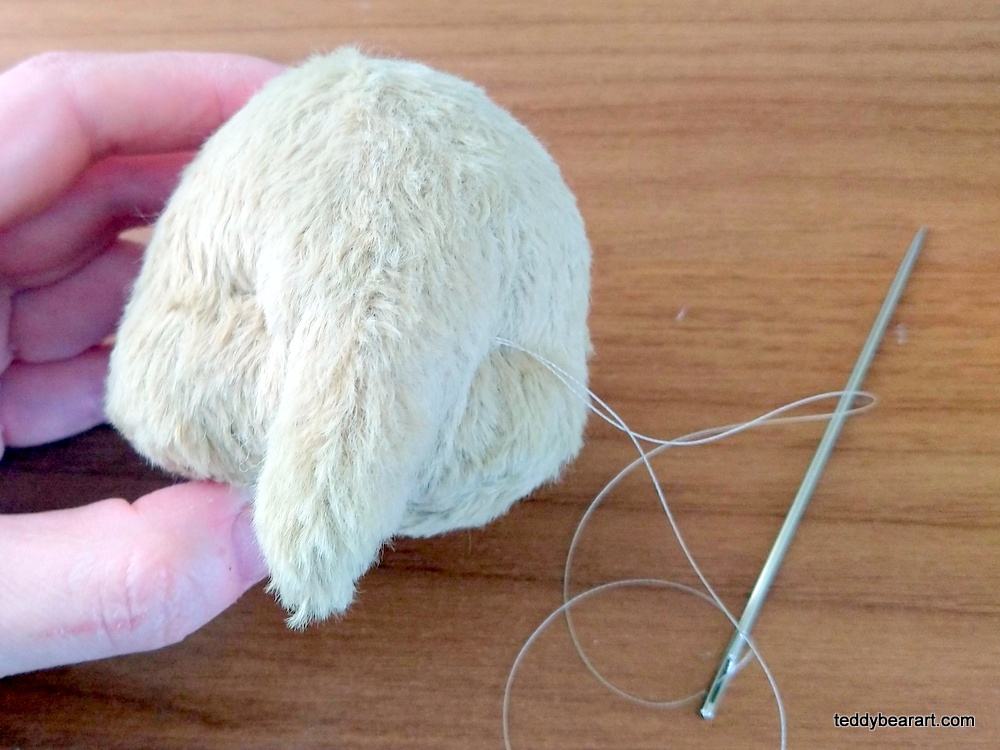
With the help of pins (and if you have a compass), we determine and outline the middle of the head and the location of the eyes of the elephant. With the help of a long needle and waxed thread, we slightly tighten the places for the eyes (eye sockets). This is called sculpting and is necessary for the elephant’s face to look anatomically correct.
How to properly tighten? Fasten the thread to the point where the eye will be located. Then insert a long needle and pull it out from the bottom of the head, as close to the cotter pin as possible. Pull well to make a small indentation in the eye socket area, and fasten the thread. Do the same with the second eye socket.
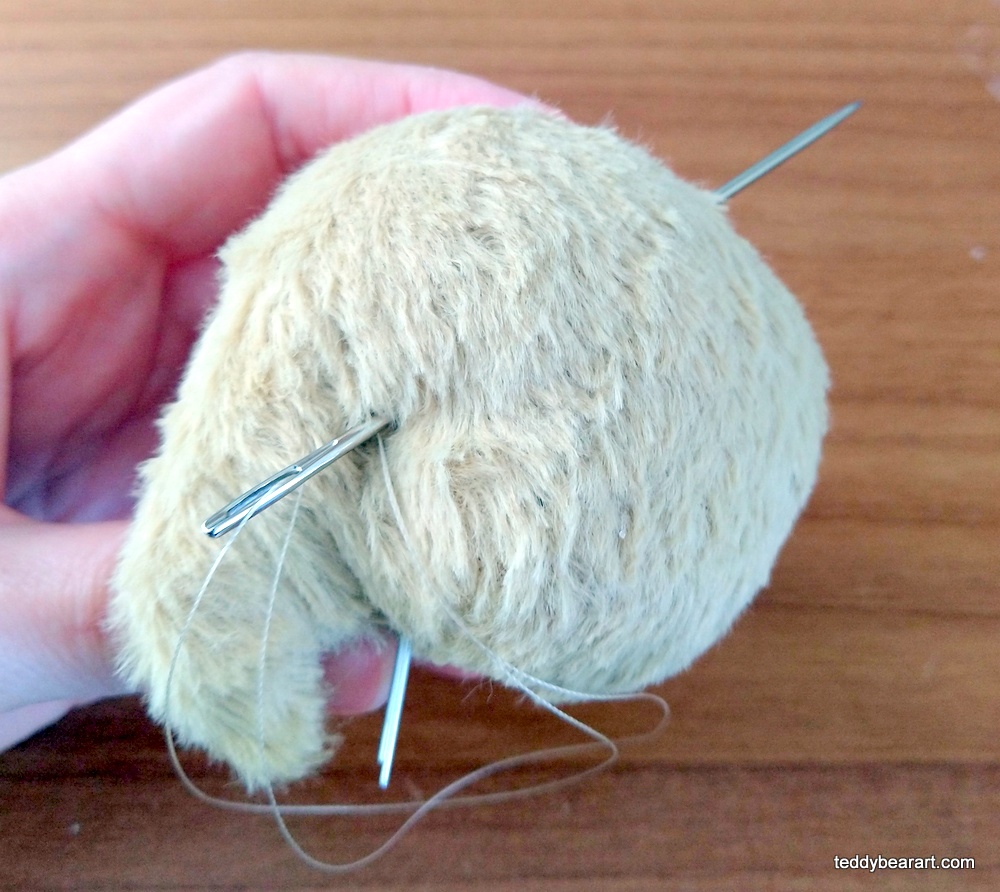
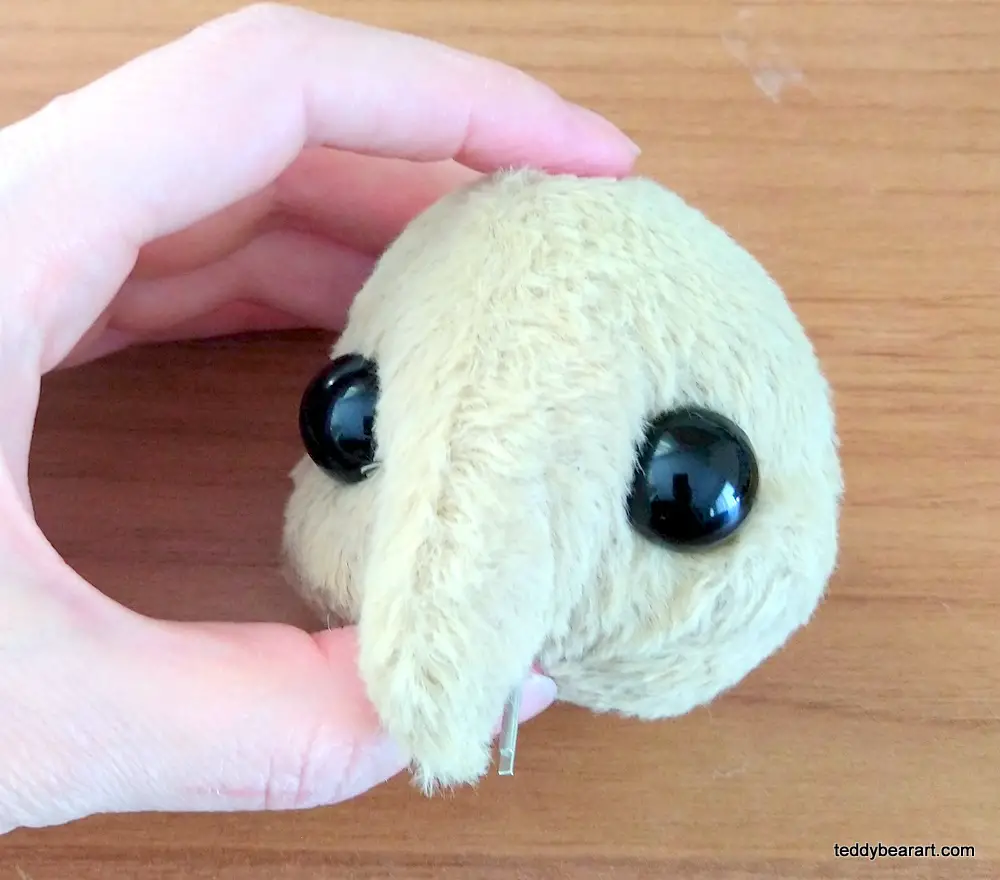
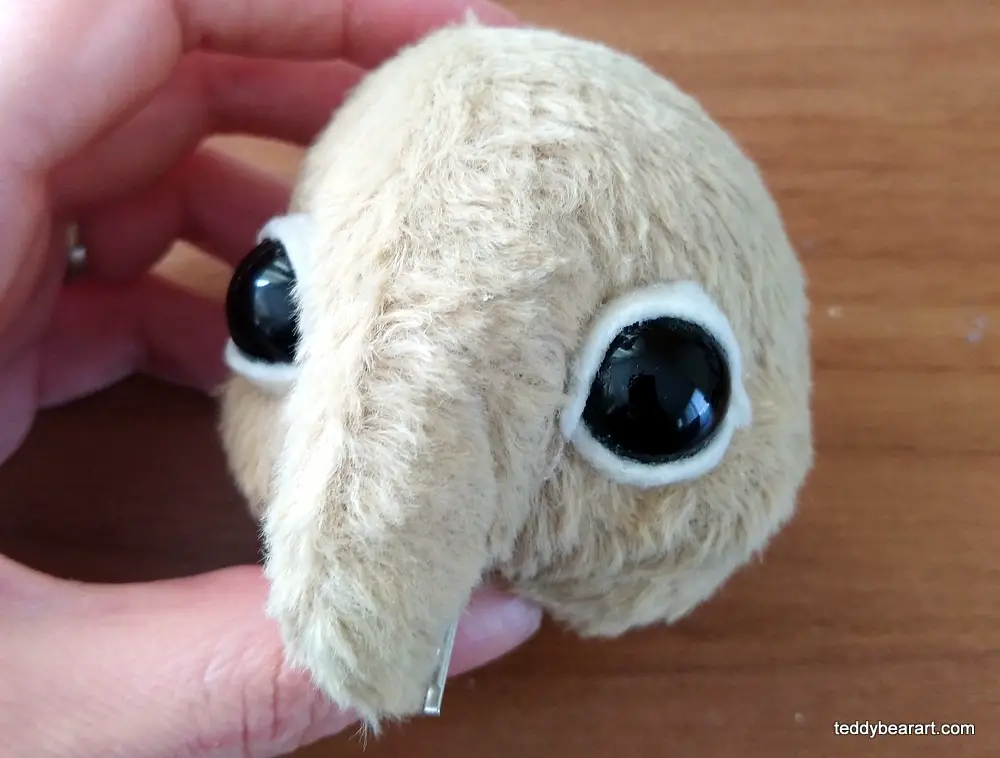
And now we will insert the eyes. Use an awl to make holes for the eyes. Pass the waxed thread through the metal loop over the eye. Pass both ends of the thread through the eye of a long needle. Use the pliers to lightly squeeze the loop.
Do not use force, otherwise, the glass eye may crack. Insert a long needle with thread and an eye into the hole you made with the awl. Bring the needle from the bottom of the head near the cotter pin and secure it. Do the same with the second eye. All your threads should be hidden.
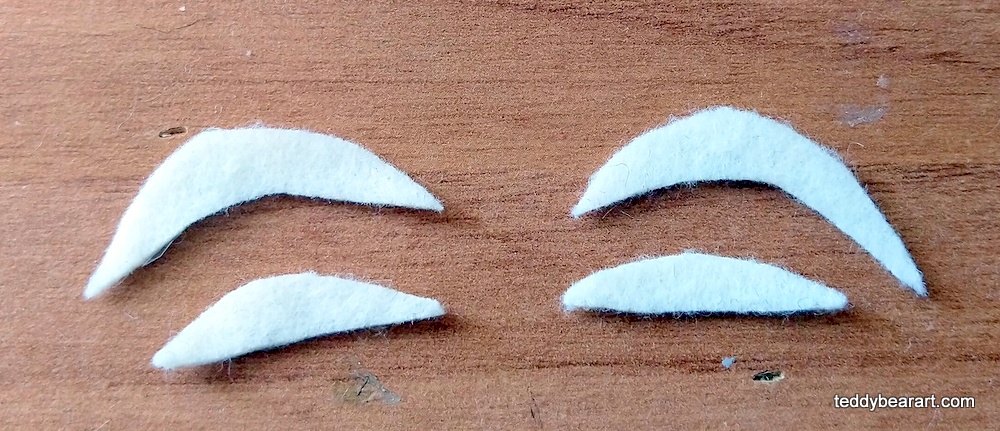
I decided to add the eyelids, so the eyes will look more natural and sweet. You can compare the photos without and with the eyelids. The eyelids are made from pieces of felt and glued.
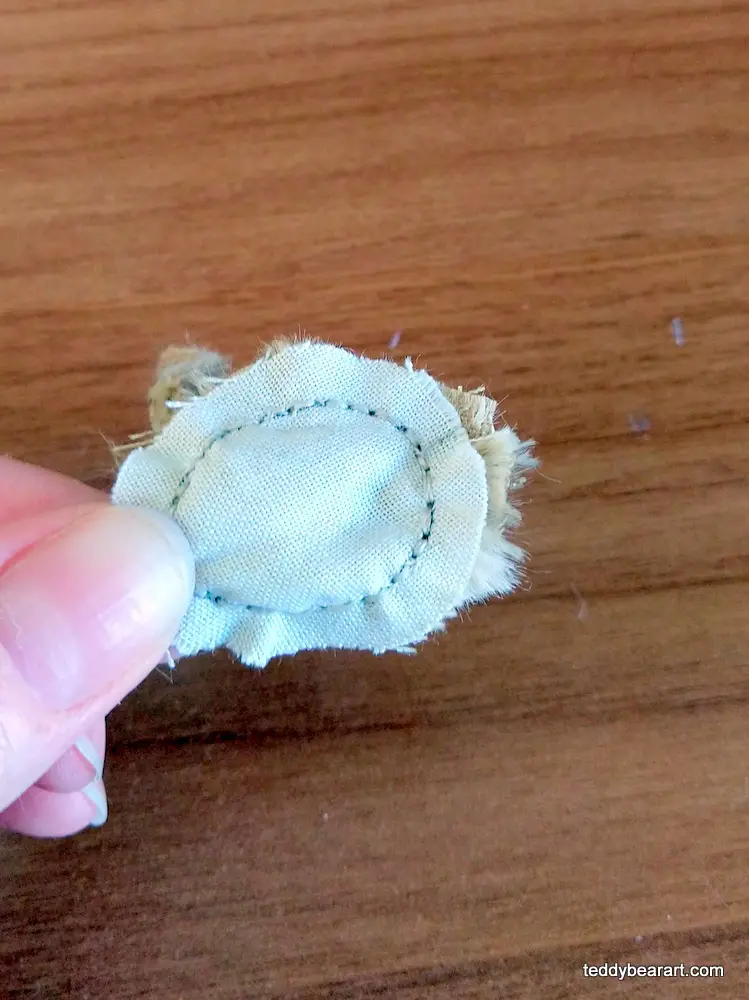
Let’s move on to the ears. Sew the fur parts with cotton, turn them inside out, and pull the fur out of the seams, then iron it. Attach the ears to the head with a hidden seam, and hide the ends of the threads inside of the head.
Before connecting all parts of the body, I prefer to cut the pile at the ends of the arms, legs, and trunk. Thus, the limbs look neater and take on a certain shape.
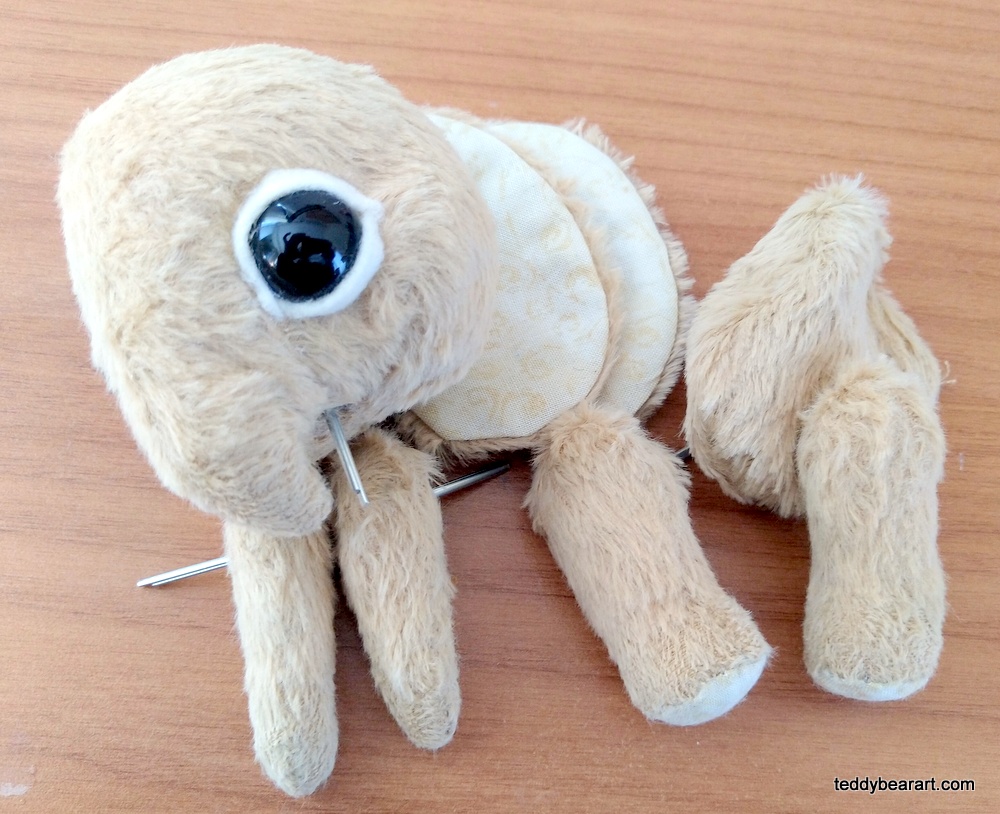
Let’s start connecting the parts of the body. With the help of an awl, gently push the fabric apart in a place where the head will be attached. We put the head in there.
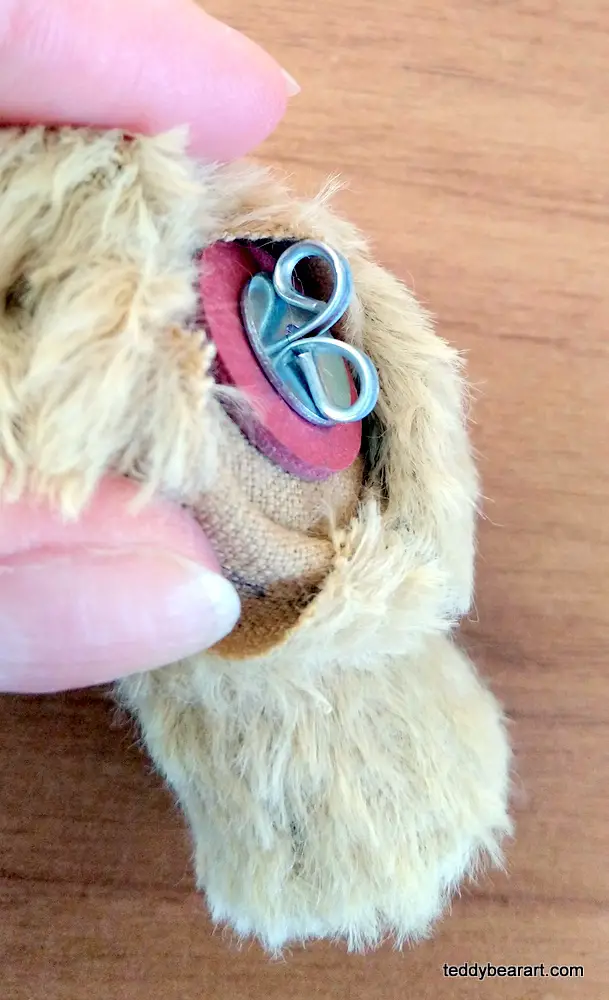
Now inside the body, we put on a cotter pin a disk and a metal disk. Using pliers, twist each part of the cotter pin so that they look like a ram’s horns. They should rest against a metal disk. The head is attached!
We do the same with arms and legs. Find the marks inside the body, make holes with an awl, and insert the limbs there. Twist the ends of the cotter pin in such a way, that it would not be very, very tight or very light.
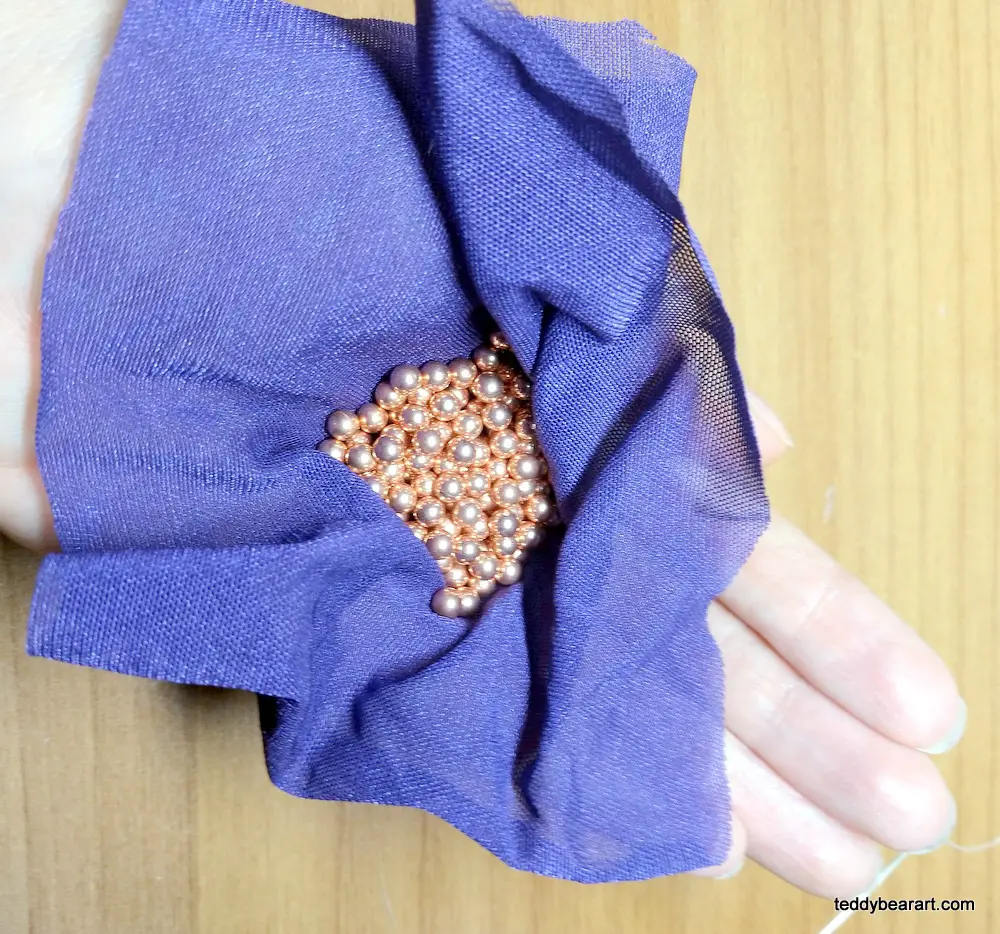
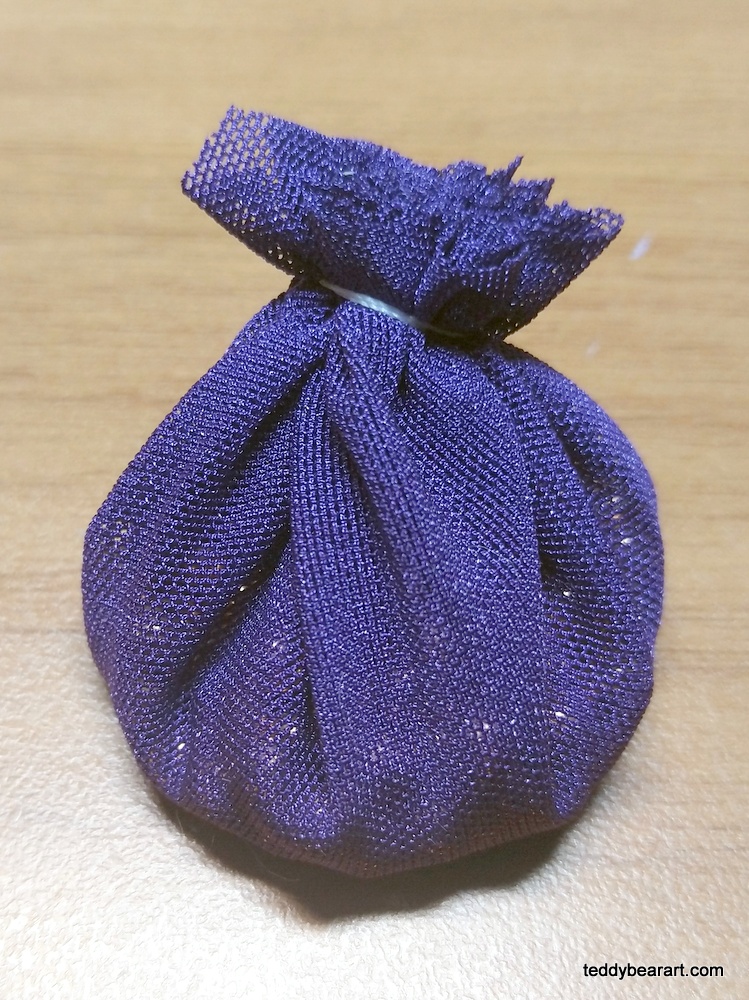
Now fill the body with synthetic filler. Don’t forget about the weight. Your teddy bear should have a pleasant weight. To do this, place metal or glass granules in a small bag. Place this bag in the lower part of the body of the toy (in the buttock area).
Sew up the opening on the body with a blind seam. Don’t forget to attach the tail. I have made it from a piece of viscose. Voila, our elephant is almost ready!
Final Touches
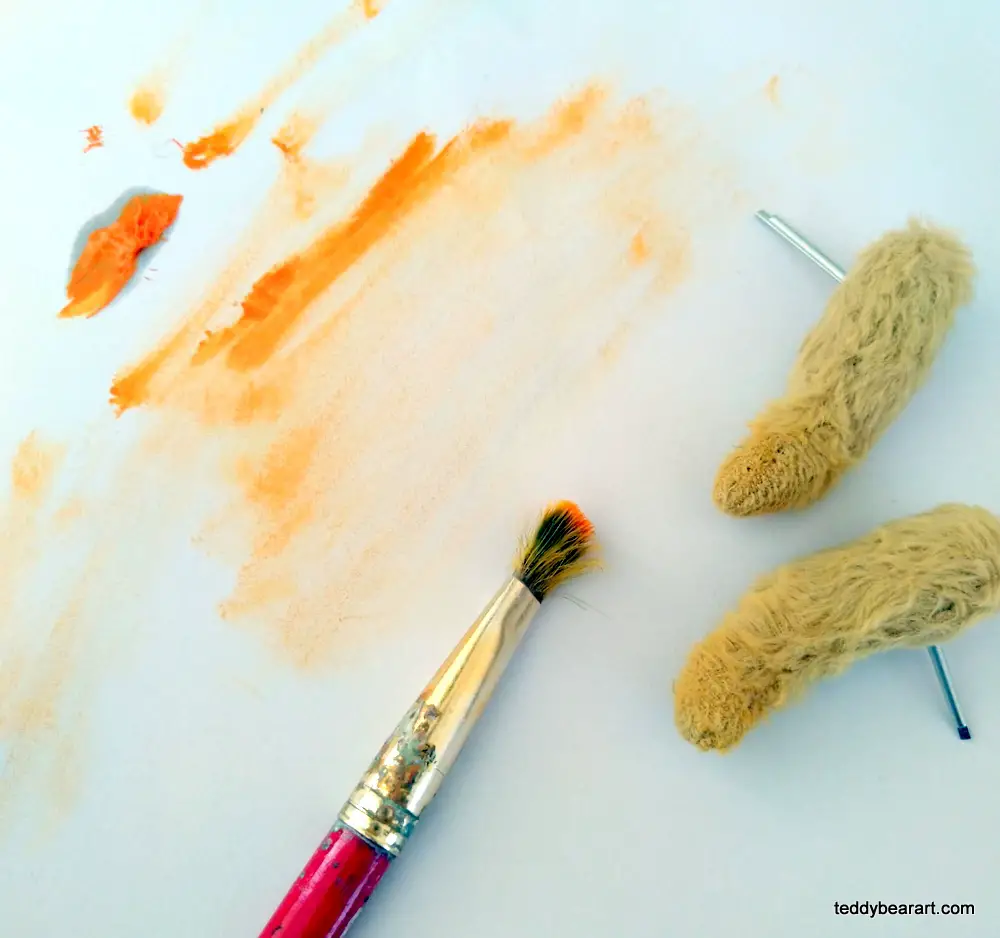
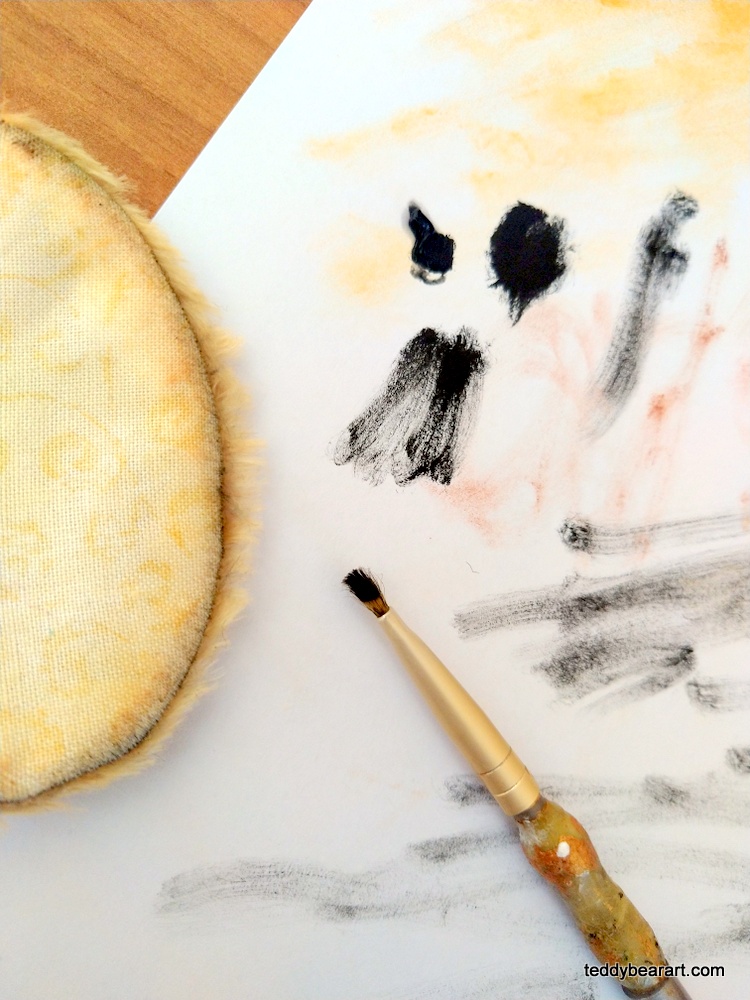
Pick up some beige or light brown oil paint on the brush (I use an orange color). Then carefully wipe off the paint on a sheet of paper. Wipe until there is almost no paint left on the brush. Don’t be afraid the paint will come off. It will remain on the brush.
After that, make a few strokes around the eyes, at the end of the elephant’s trunk, and on his limbs. You can also touch his ears.
Remember that you are making soft, subtle shadows; you are not painting.
After that, take a dark brown color and add some shadow to the same places. It should look like the eye is rounded with the dark shadow turning into a light tone. The same is at the end of the trunk, limbs, and along the contour of the ears.
Then make the same with a black color. Put shadows around the eyes, the ends of the limbs, and the trunk of our elephant.


Also, you can create whites under your critter’s eyes with the white color. Or to paint the fingers at his legs as I have done.
I added fake eyelashes with glue for fabrics, which become transparent when dry.
Besides, I drew the eyebrows and blush on the cheeks of the elephant.
Since our elephant is made in vintage style, I added a few stitches to its body, trunk, and leg. These seams/patches give it an old, slightly worn look. But at the same time, they are harmonious and give the elephant a warm, cozy image.
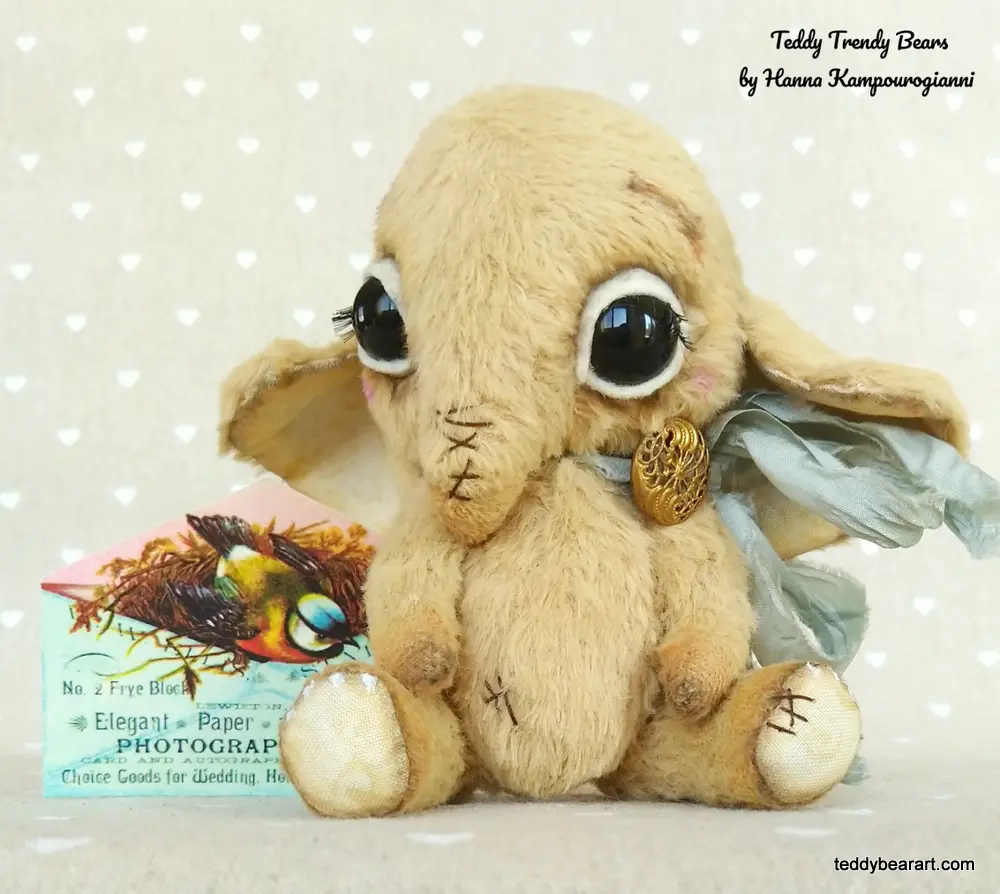
It seems like our teddy elephant is almost ready. Let’s leave it to dry for a few days. And then add some accessories to it to your taste. For example, a ribbon around the neck, a pendant, or a flower.
Conclusion
Now you have to be proud of yourself. You have done a great job. Now you know sewing, stuffing, and jointing a teddy bear. You have learned about setting the eyes and toning/painting a teddy bear.
If you ever need a hand or have any questions, feel free to leave them in the comments below and I will be more than happy to help you out.
Get Free Patterns & Be the First to Know!
Want free teddy bear patterns, exclusive tutorials, and a chance to win craft supplies?
Sign up for our newsletter using the subscribe form in the middle of this article to receive new patterns, insider tips, and the latest news on teddy bear art. You’ll also automatically be entered into our annual giveaway for a chance to win teddy bear crafting materials.
Bonus entry: Save one of our pins on Pinterest to increase your chances of winning!
Let’s create, inspire, and craft beautiful teddy bears together!