
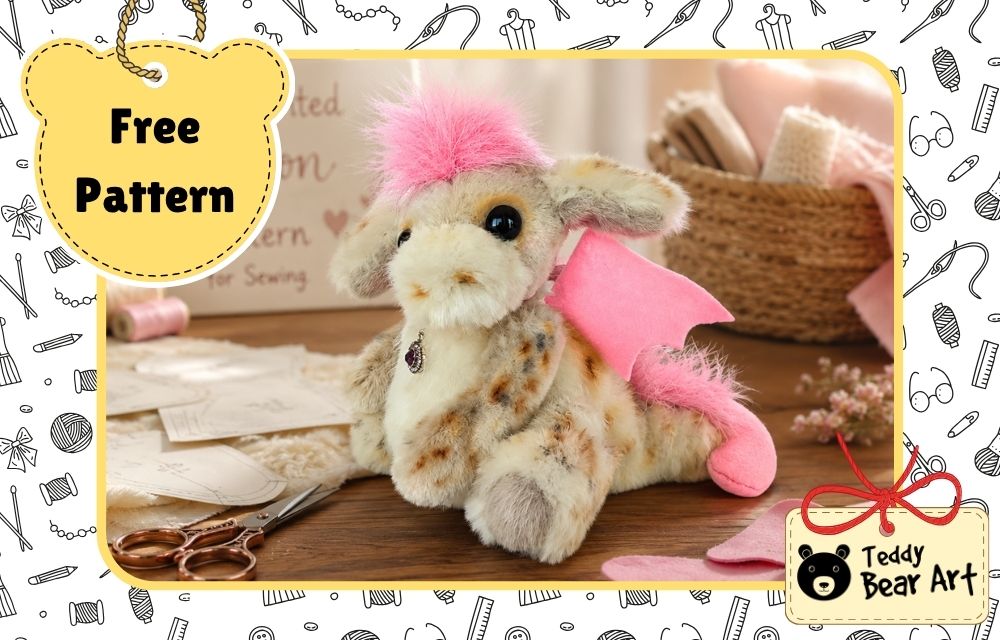

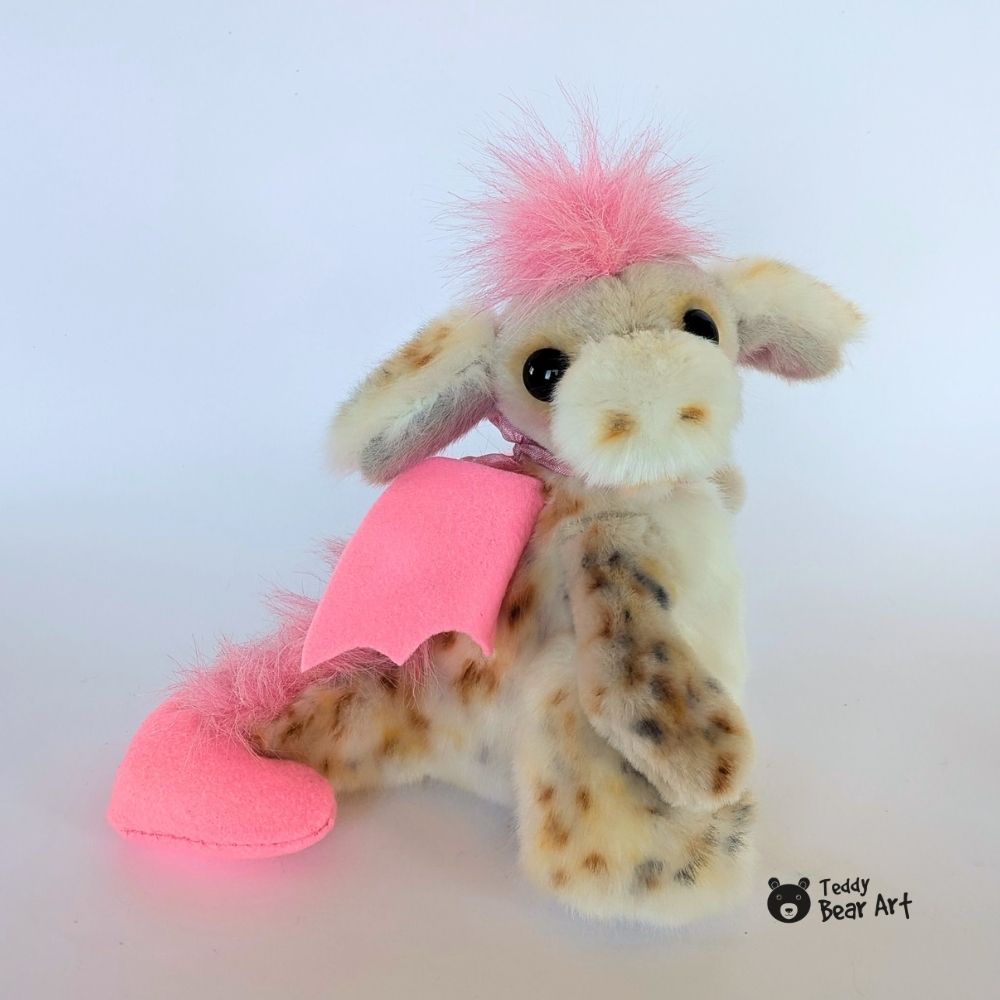
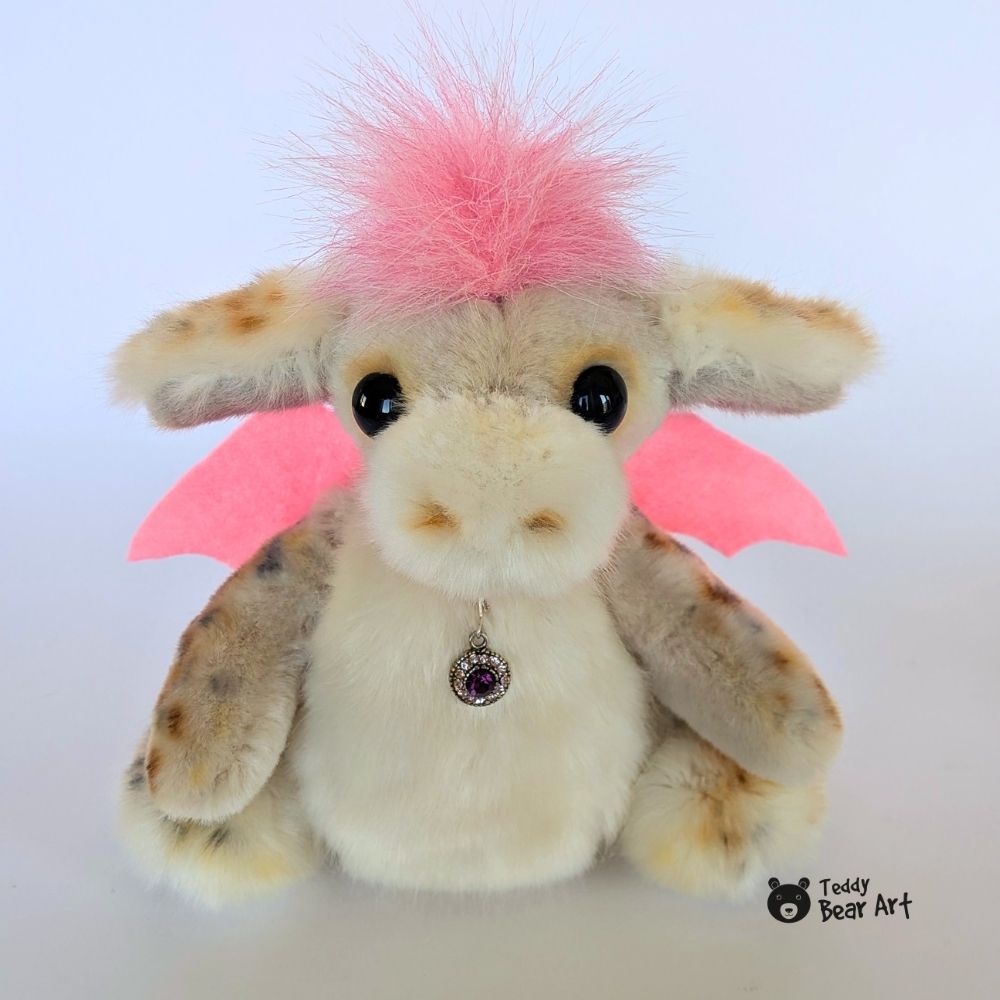
This jointed dragon pattern is based on Nessa, my small handmade dragon created with traditional teddy bear-making techniques. Her head, arms, and legs are movable, allowing her to sit and change her pose.
Download the Pattern
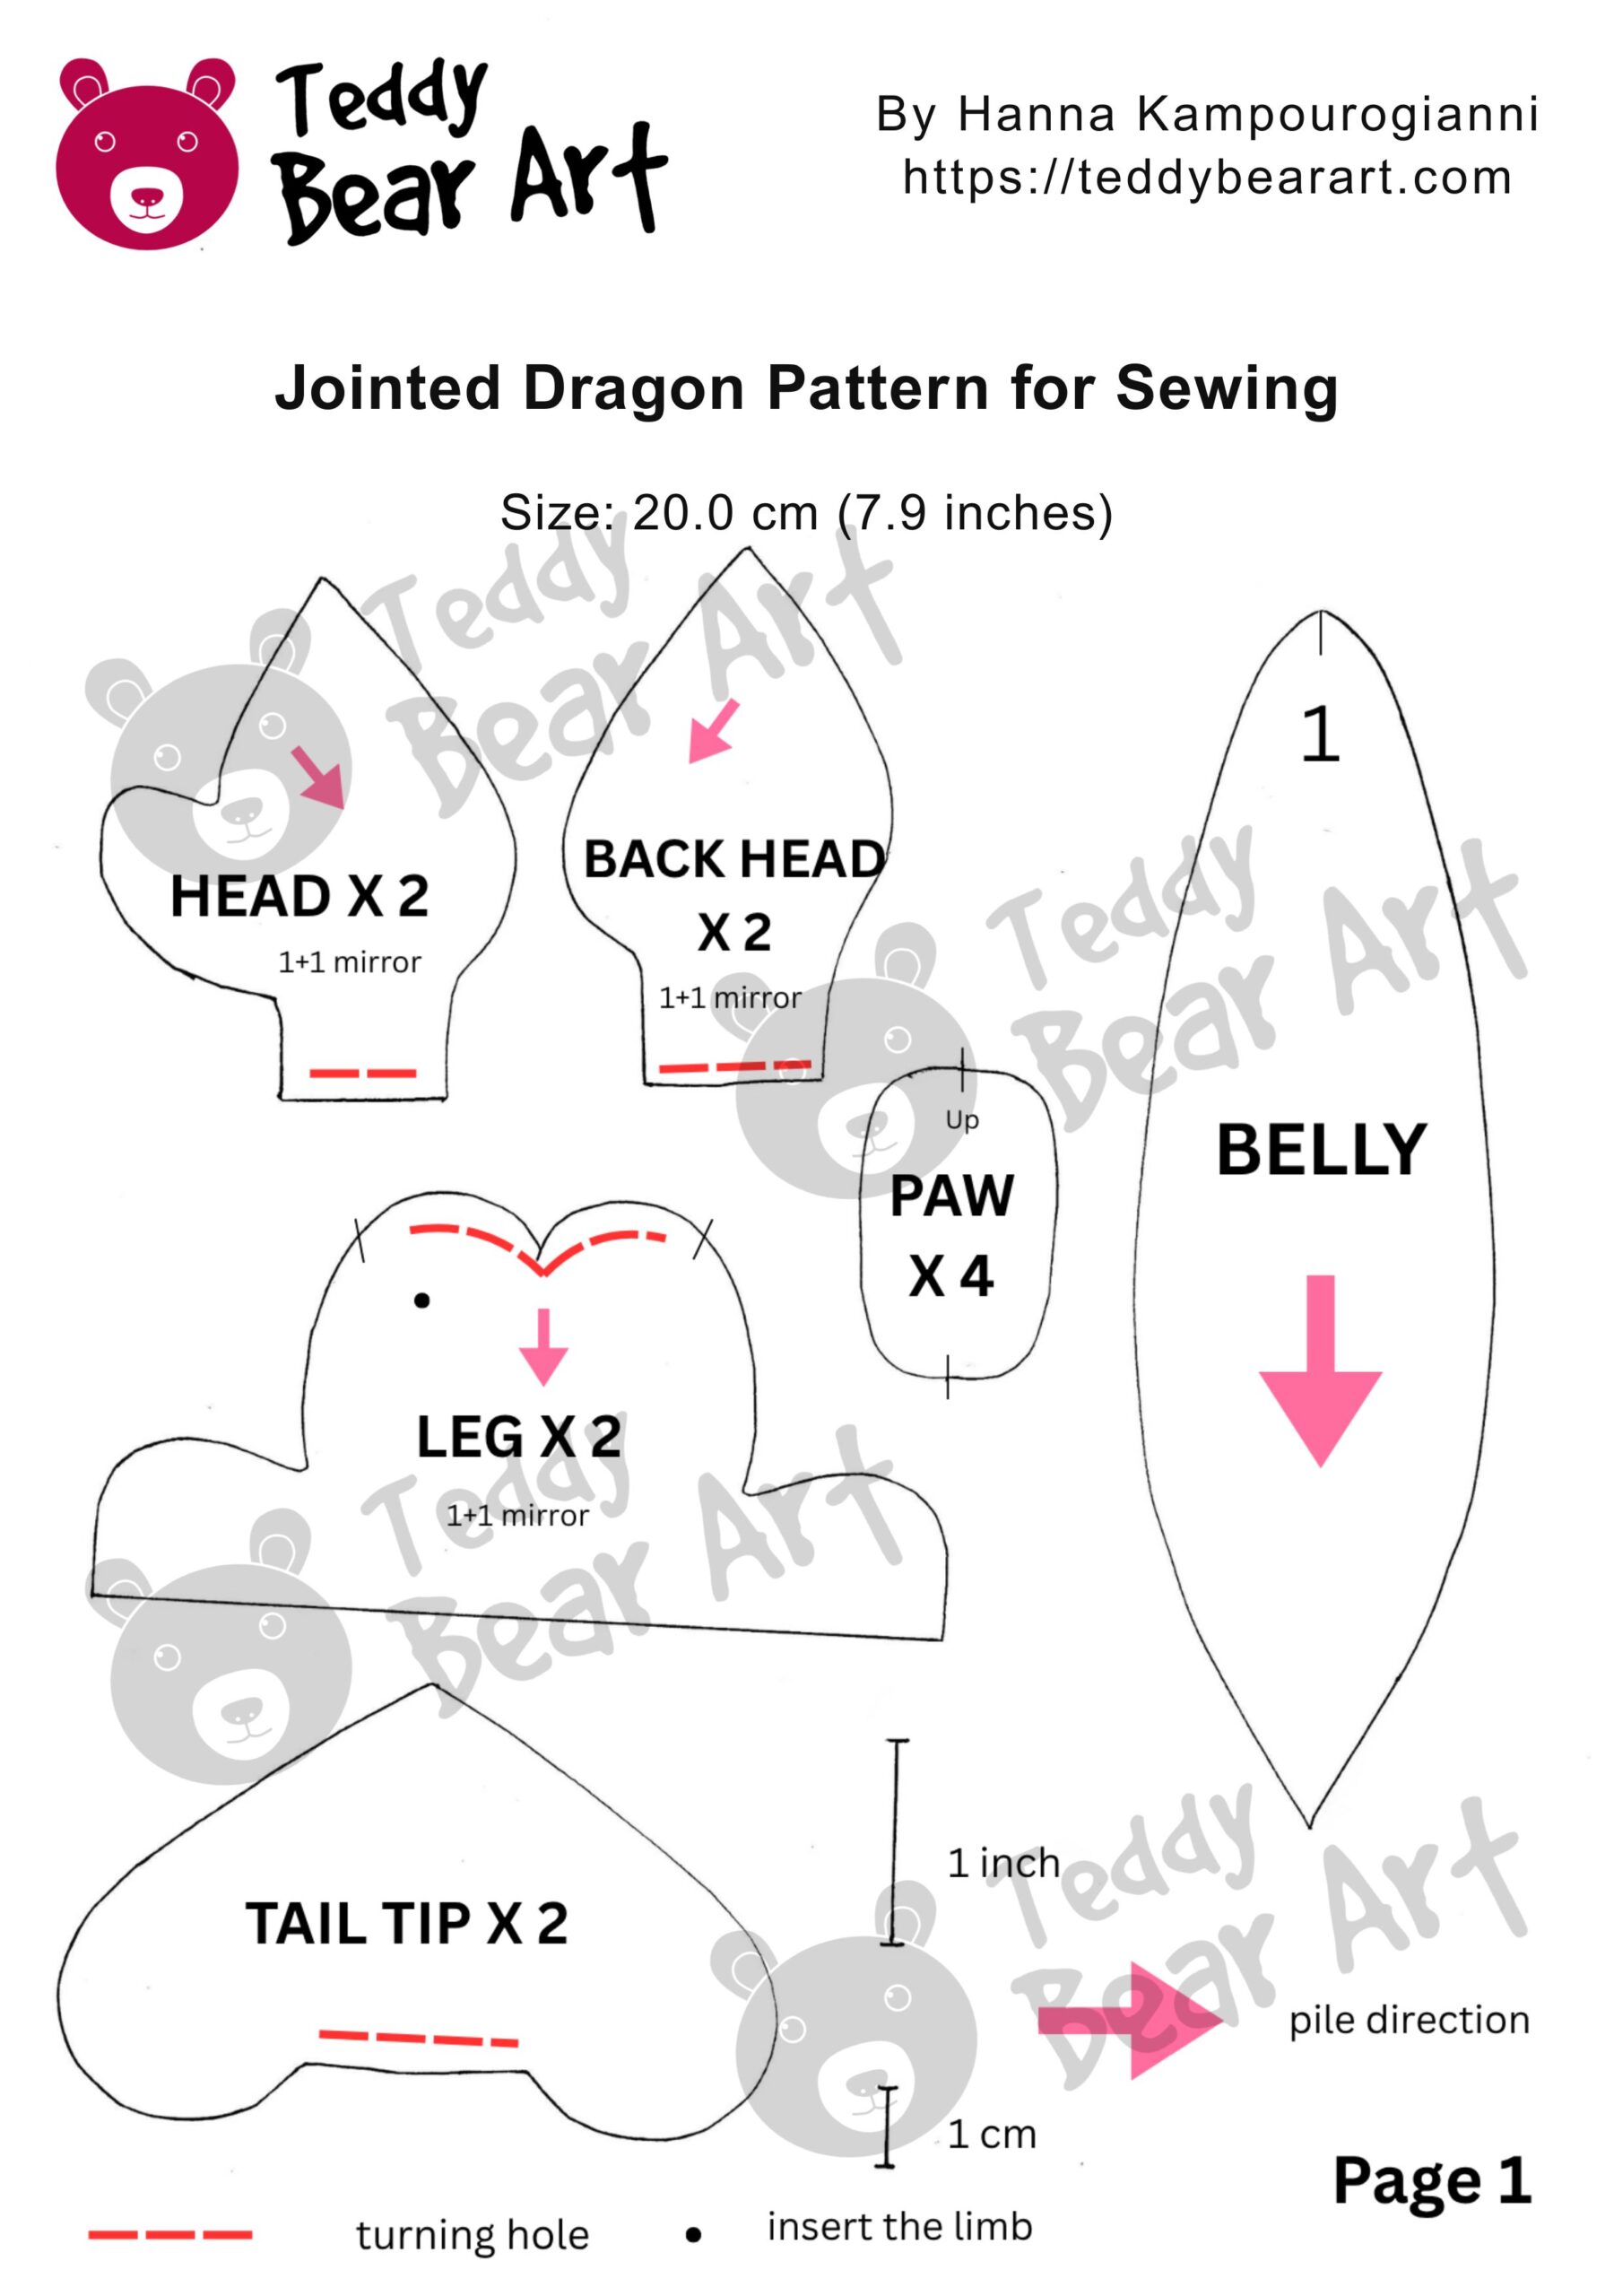
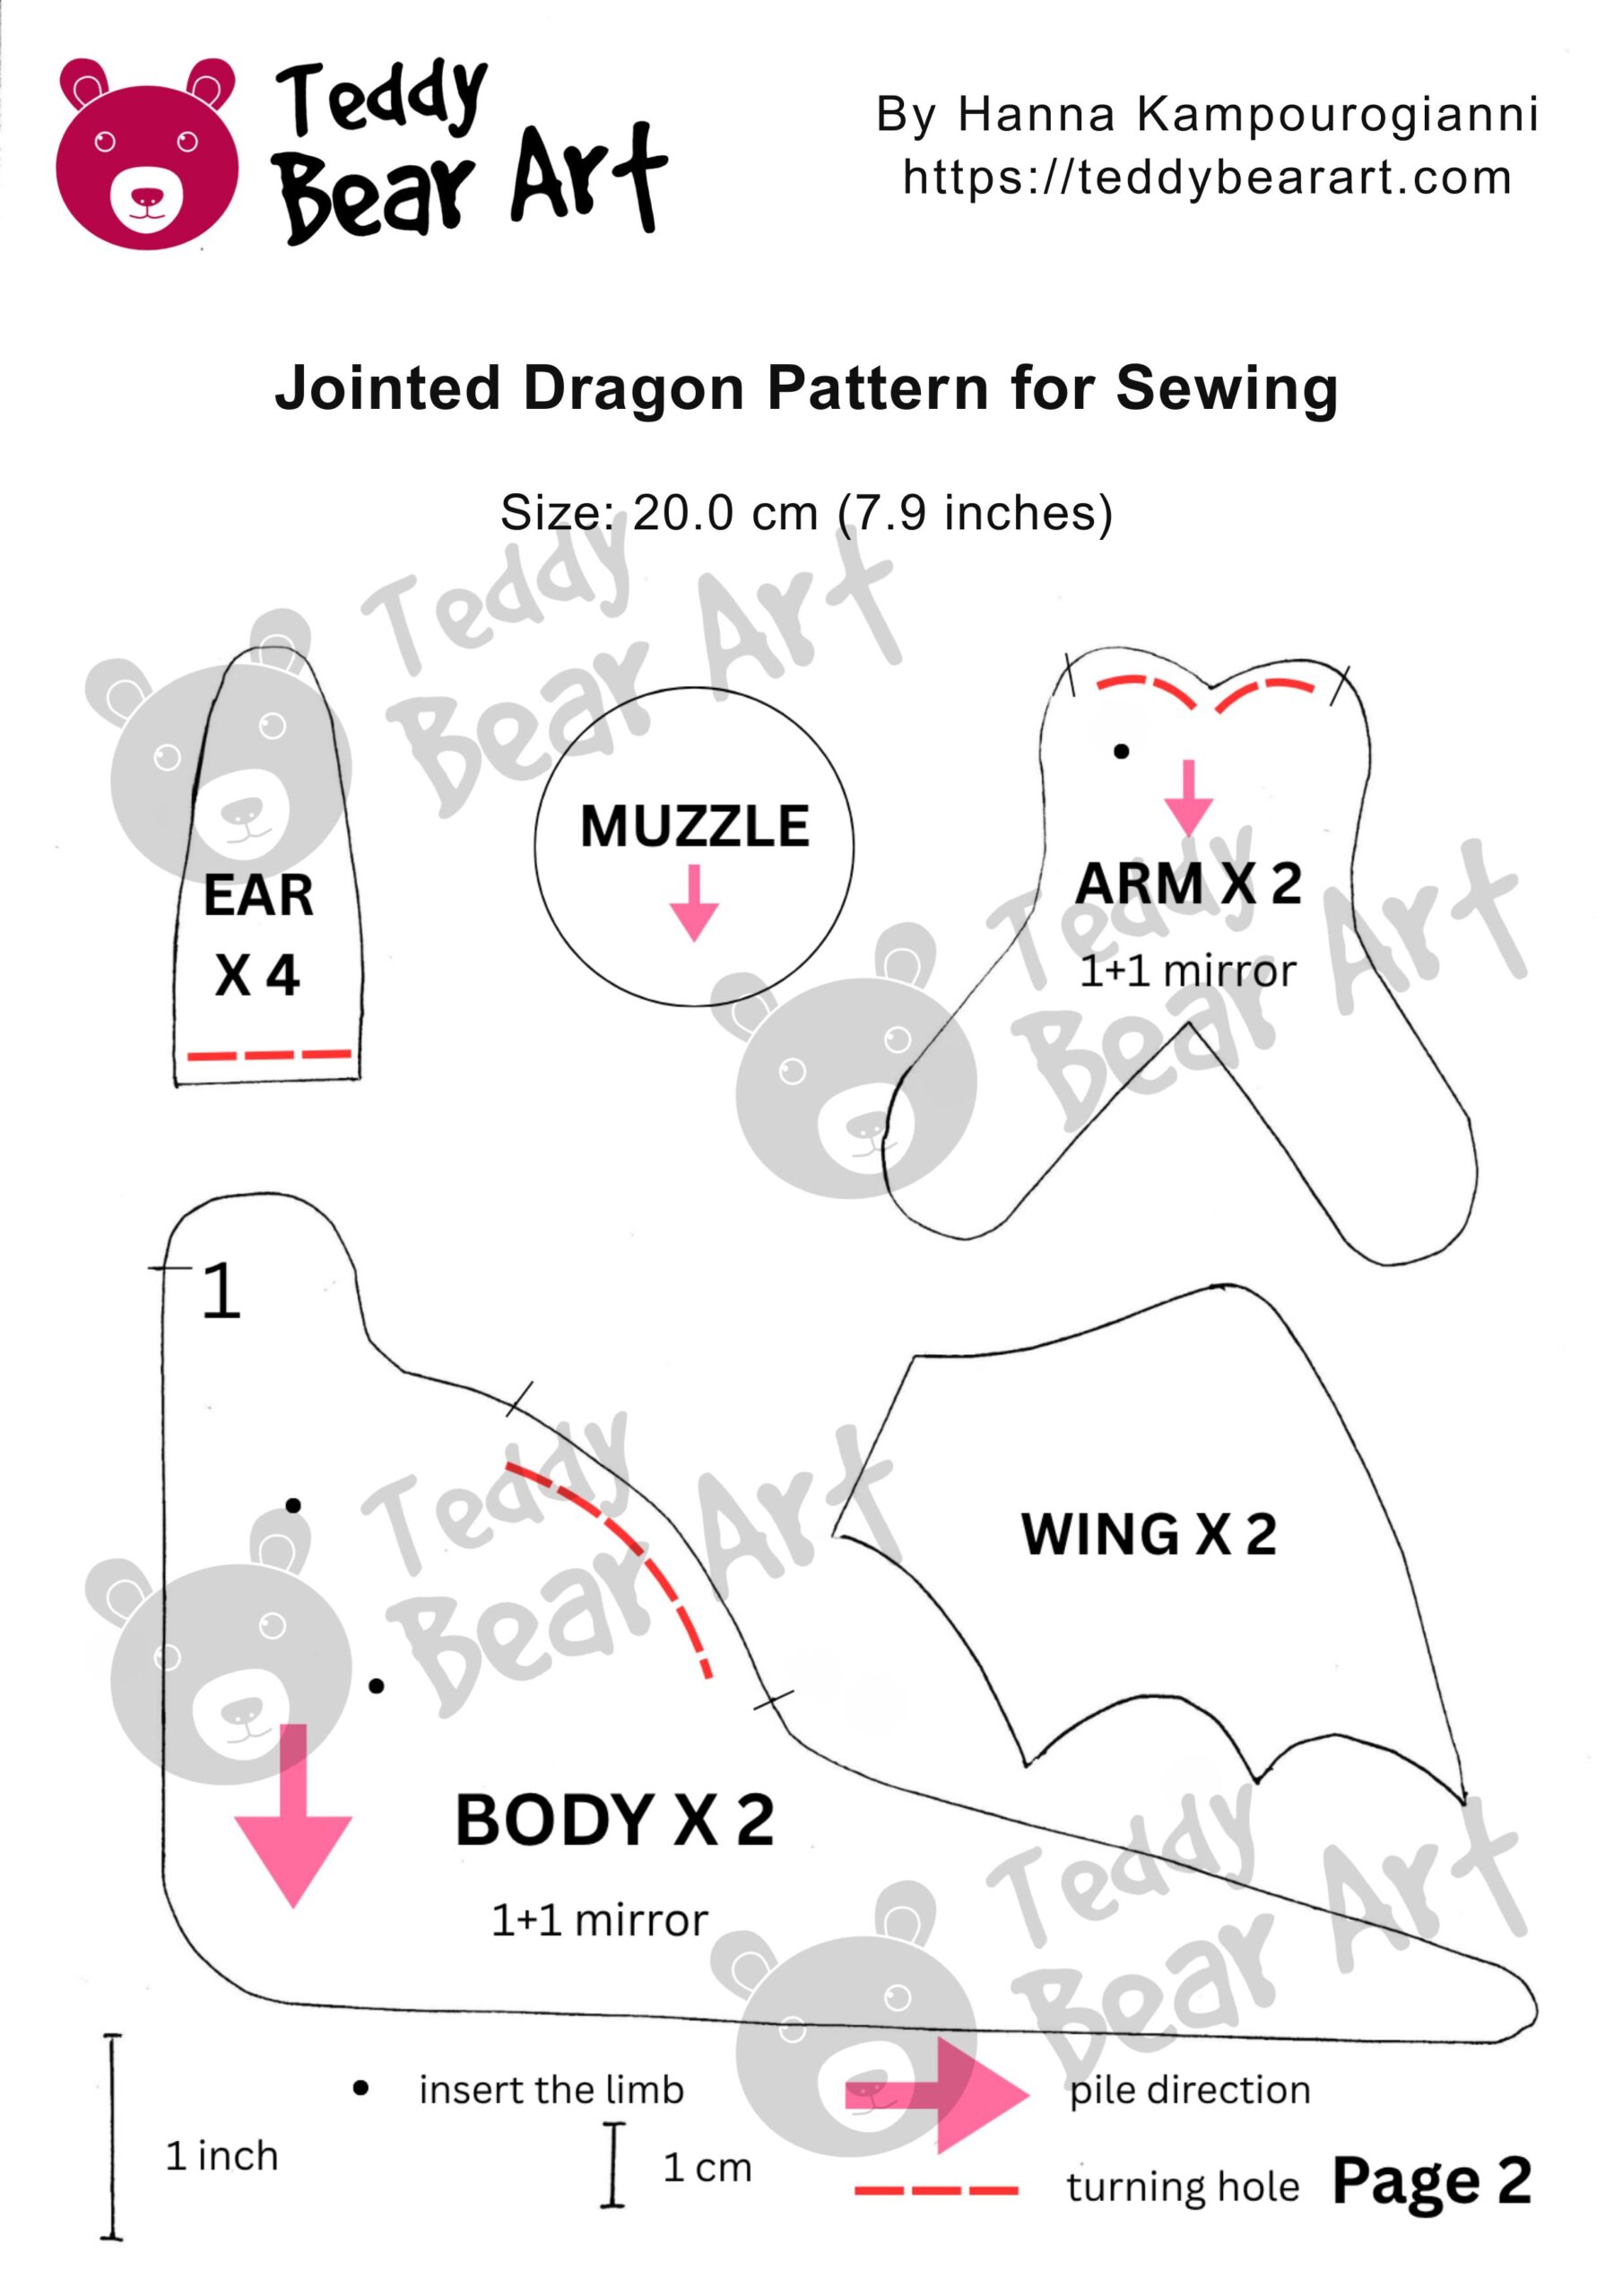
Notice that seam allowances are not included.
To download the pattern, follow the instructions below:
From a phone or tablet: There should be a similar option for mobile devices with Android or iOS. Click on the image. Save it by holding your finger on the image and selecting the “Save Image” option. Then, go to your photo gallery and print it (an option available).
From a computer: Click on the photo of the pattern you see below. In the new tab that will open, you press the right mouse button and select the “Save image as …” option. Then, you choose where the image will be saved on your computer.
Materials and Tools
- Medium-pile plush, approximately 1–1.5 cm pile length, for the body, legs, outer ears, and muzzle
- Short-pile plush for the head and arms
- Miniature teddy bear plush for the paw pads and inner ears
- Felt for the wings and tail tip
- A small piece of contrasting long-pile fur for the head and back
- Two 14 mm glass eyes with metal wire loops
- Ten 15 mm joint discs
- Ten metal washers
- Five cotter pins
- Polyester fiberfill
- Strong thread for attaching the eyes
- Matching sewing thread
- Sewing needles
- Pins or sewing clips
- Scissors
- Pliers
- An awl
Sewing Instructions
Sew each front head piece to a matching back head piece. Join the two sides of the head, leaving the marked opening unsewn.
Sew the belly panel into the two body pieces, starting at the point marked 1 on the pattern.
Sew the ears, arms, and legs. Insert the paw pads into the openings at the bottom of the legs and sew them in place. Leave all marked turning openings unsewn.
Turn the sewn pieces right side out. Cut two wings directly from felt.
Stuff the head and insert one 15 mm joint disc with a cotter pin. Sew the muzzle onto the front of the face. Carefully trim the pile on the muzzle to shape and define the nostrils and mouth. Attach the glass eyes securely.
Insert the joint discs and cotter pins into the arms and legs. Stuff the limbs and close their openings by hand.
Attach the head, arms, and legs to the body using the washers and cotter pins. Stuff the body and close the remaining opening.
Cut two tail-tip pieces from felt and sew them together, leaving a small opening. Turn the tail tip right side out, stuff it, close the opening, and sew it to the end of the tail.
Sew the ears and felt wings in place. Finally, attach a narrow piece of contrasting long-pile fur along the top of the head and down the dragon’s back.
FAQ
Is this jointed dragon pattern suitable for beginners?
No. This pattern is intended for makers who have already made teddy bears and are familiar with traditional teddy bear jointing techniques.
Can I use the same plush for the entire dragon?
No. The smaller head, arm, paw, and inner ear pieces require shorter-pile plush so they can be turned and shaped properly. Medium-pile plush is better suited to the larger body, leg, outer ear, and muzzle pieces.
Before You Go
For another dragon made with traditional teddy bear techniques, take a look at my Baby Dragon Plush Pattern. It has a completely different shape and personality, so you can choose your favorite or make both.
Get Free Patterns & Be the First to Know!
Want free teddy bear patterns, exclusive tutorials, and a chance to win craft supplies?
Sign up for our newsletter using the subscribe form in the middle of this article to receive new patterns, insider tips, and the latest news on teddy bear art. You’ll also automatically be entered into our annual giveaway for a chance to win teddy bear crafting materials.
Bonus entry: Save one of our pins on Pinterest to increase your chances of winning!
Let’s create, inspire, and craft beautiful teddy bears together!
I have to admit I’ve never thought about teddy bears like this before, but I as an adult still love hugging a teddy bear. So I’m glad there is someone doing this. The method to make this cute one is way over my head but I can see that a seasoned teddy bear maker would definitely enjoy making this one. And then giving it to someone beloved, kids would love it. Thanks for the pattern, maybe one day I’ll venture out and make a teddy bear. Is there an easy beginner handsewn method? I would try it that way then I could take it with me and over time actually make one.
Thank you so much! This teddy dragon is definitely a more advanced project, so I completely understand why it may feel a little overwhelming as a first make.
For a beginner hand-sewn project, I would recommend starting with a small felt plushie. Felt does not fray, and you can sew it entirely by hand using a simple blanket stitch. It is also perfect to take with you and work on little by little.
You might enjoy this easy felt monster pattern: https://teddybearart.com/easy-diy-felt-monster-stuffie-free-sewing-pattern/
After trying a simpler plushie, projects like this dragon will feel much less intimidating. And I completely agree that teddy bear hugs are not only for children!
This jointed dragon is absolutely gorgeous! I love how the traditional teddy bear jointing gives her such a fun, poseable stance, it’s such a clever way to bring some real personality and movement into a plush. Also really appreciate the detail of the contrasting long-pile fur running down her back, small touches like that make such a big difference. I’ll admit this is a bit beyond my current skill level, but I’m definitely bookmarking this for when I’ve built up more advanced sewing chops. Thanks for such a thorough and inspiring pattern!
Thank you so much! I’m really happy you noticed the little details. I wanted this dragon to still feel connected to traditional teddy bear making, but with much more movement and personality. And yes, it is definitely a more advanced project, so bookmarking it for later sounds like a perfect plan. I hope when you feel ready to try it, you’ll have lots of fun bringing your own dragon to life!