
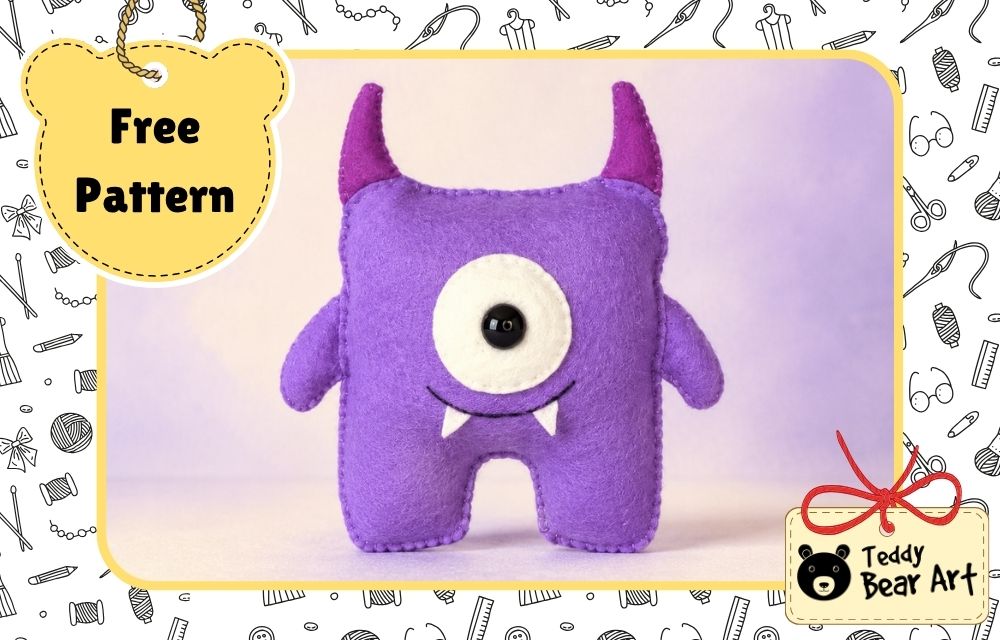

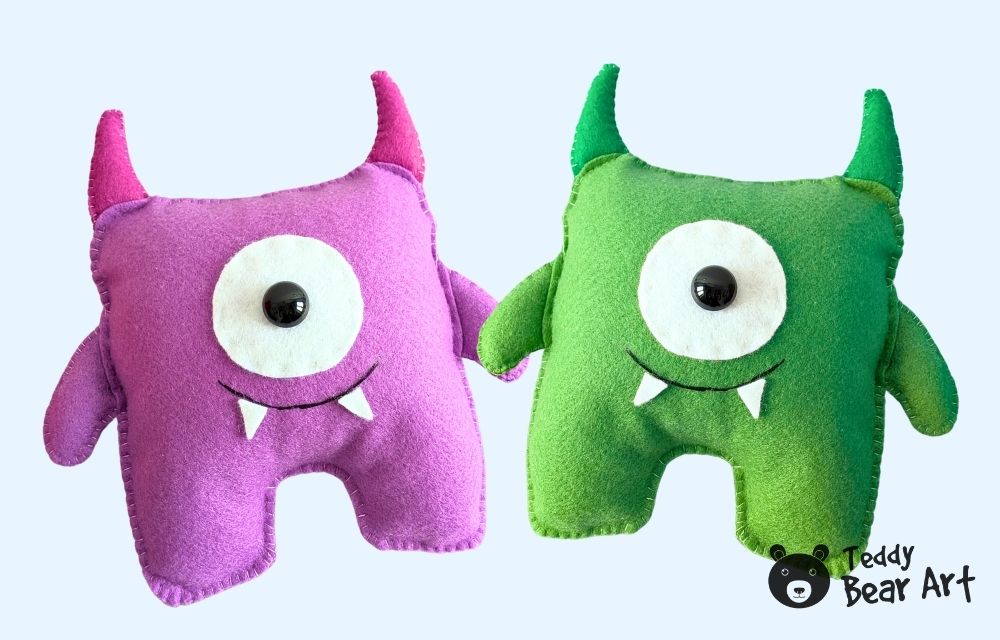
This DIY felt monster stuffie is cheerful, slightly mischievous, and wonderfully easy to sew by hand. I intentionally designed the pattern with separate horn and arm pieces instead of making the monster from only two body pieces. This lets you use contrasting felt colors and create a more playful, colorful character.

The project is especially suitable for beginners. All the pieces are sewn from felt with visible stitches, so there is no need to turn narrow arms or horns right side out. You can finish the entire toy with a needle and thread, making it a relaxing project.
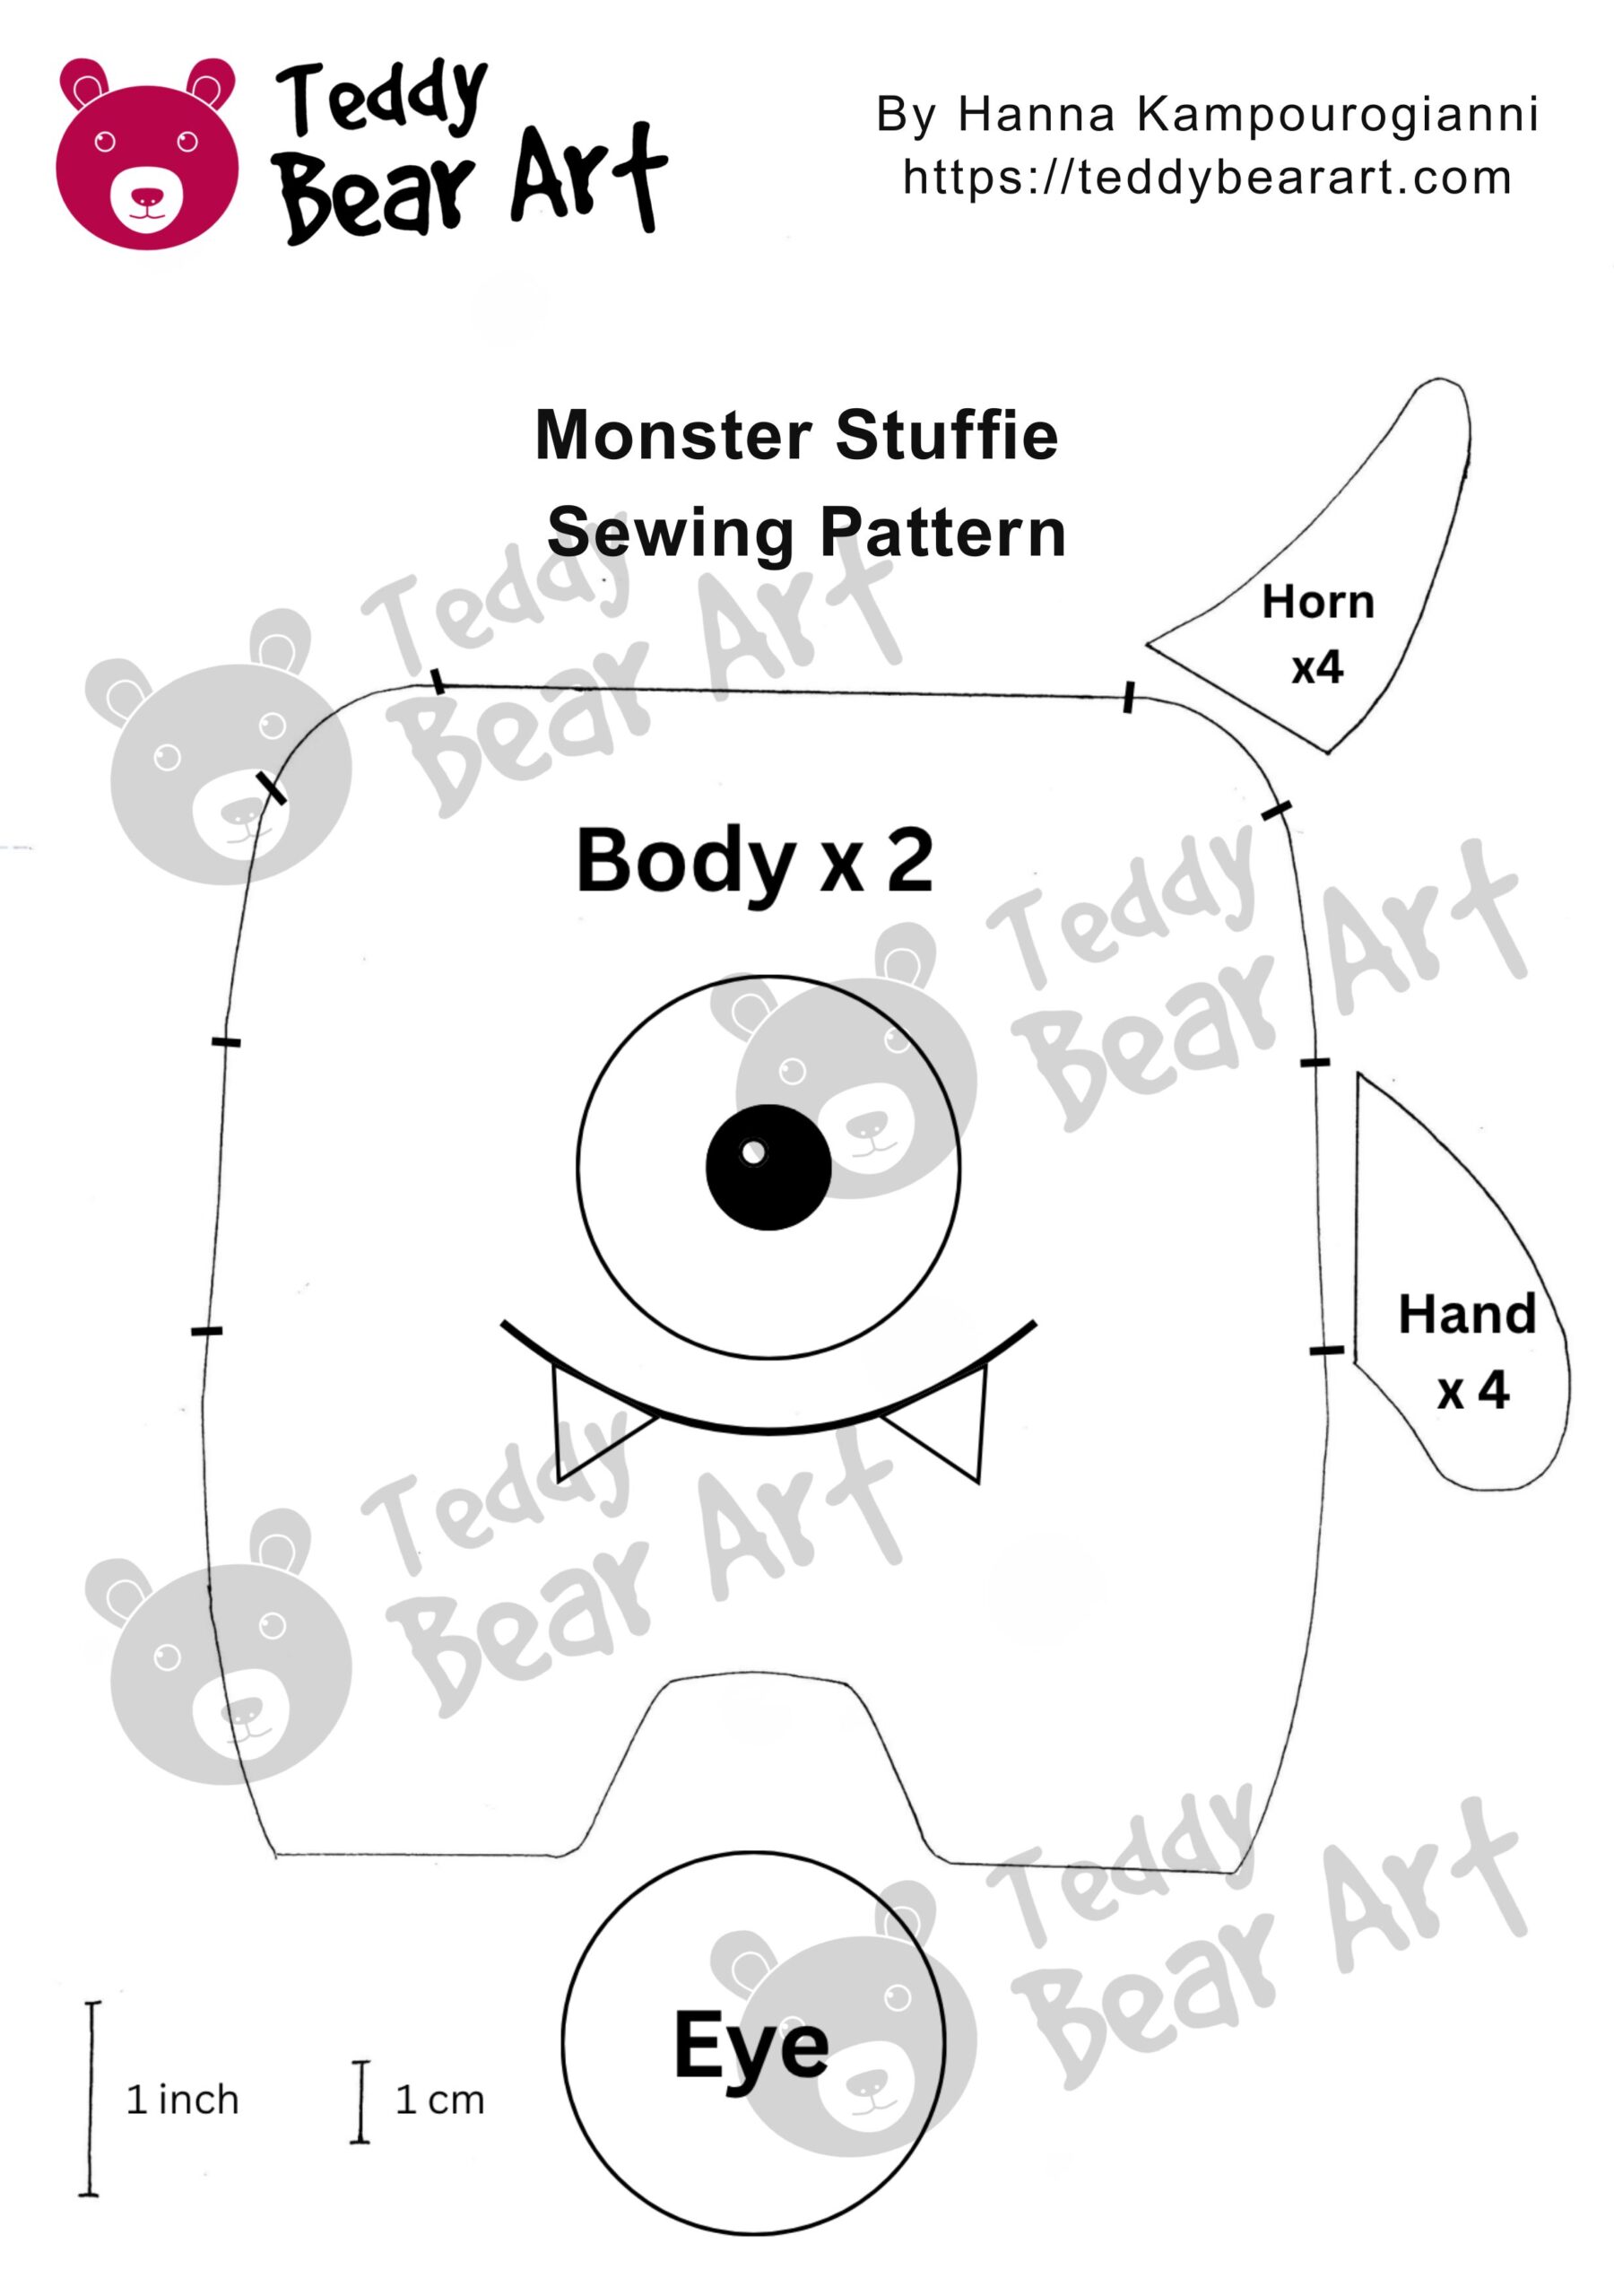
Download The Pattern
Notice: No additional seam allowance is needed. Cut directly along the pattern lines.
To download the pattern, follow the instructions below:
From a phone or tablet: There should be a similar option for mobile devices with Android or iOS. Click on the image. Save it by holding your finger on the image and selecting the “Save Image” option. Then, go to your photo gallery and print it (an option available).
From a computer: Click on the photo of the pattern you see below. In the new tab that will open, you press the right mouse button and select the “Save image as …” option. Then, you choose where the image will be saved on your computer.
What You Need
- Felt fabric
- One black glass eye, or a bead, or a craft eye
- Polyester stuffing
- Threads
- Scissors
For a version without a glass eye, cut a smaller circle from black felt and sew or glue it over the white eye. Add a tiny white felt circle to the black pupil as a highlight. This small detail makes the eye look brighter and more lively.
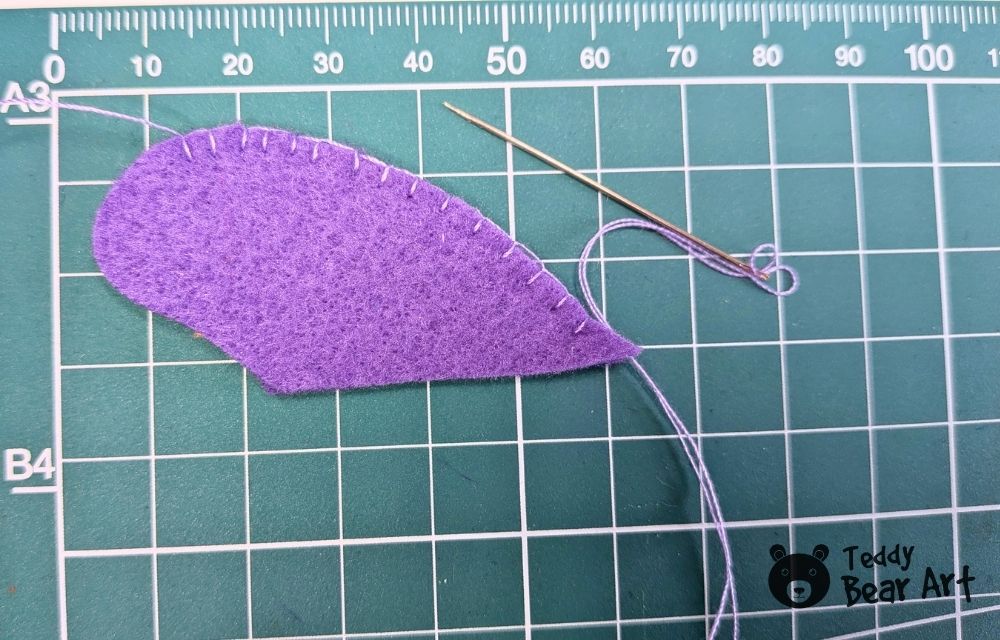
I used blanket stitch around the outside edges. The visible stitches suit the playful handmade style of this toy and help define its simple shape.
If you are new to this stitch, watch my short video tutorial below to see how to start, keep the stitches even, and securely finish the thread.
You will use this stitch to sew the horns, arms, and body of the monster in the steps below.
How to Sew a DIY Felt Monster Stuffie
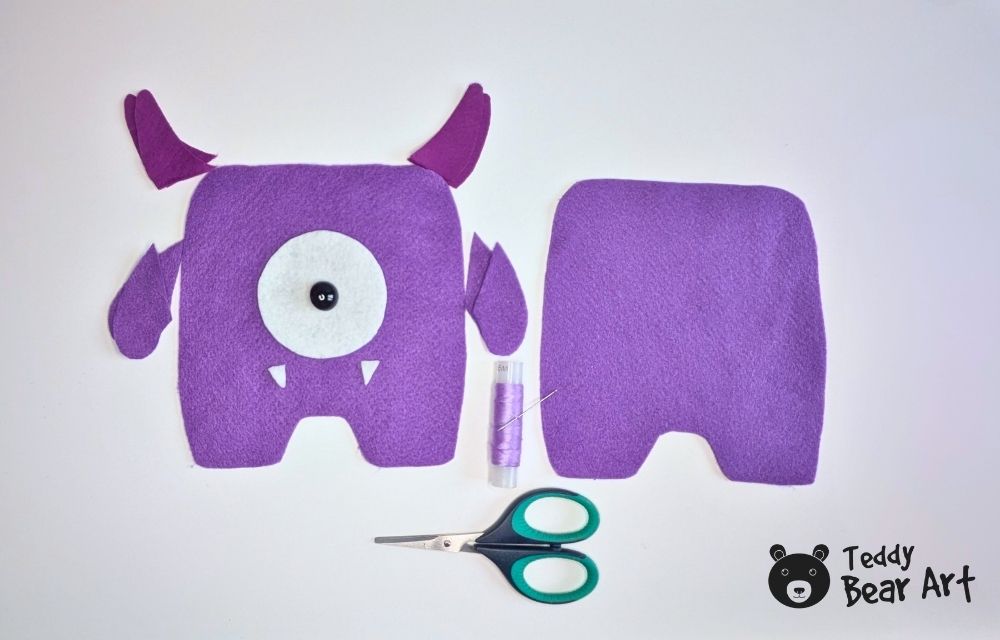
Cut the Felt Pieces
Transfer all pattern pieces onto the felt.
Cut out two body pieces, four horn pieces, four arm pieces, one white eye, and two white teeth.
No additional seam allowance is needed. Cut directly along the pattern lines.
Transfer the small marks onto the body pieces. They show where the horns and arms will be attached.
Sew the Horns and Arms
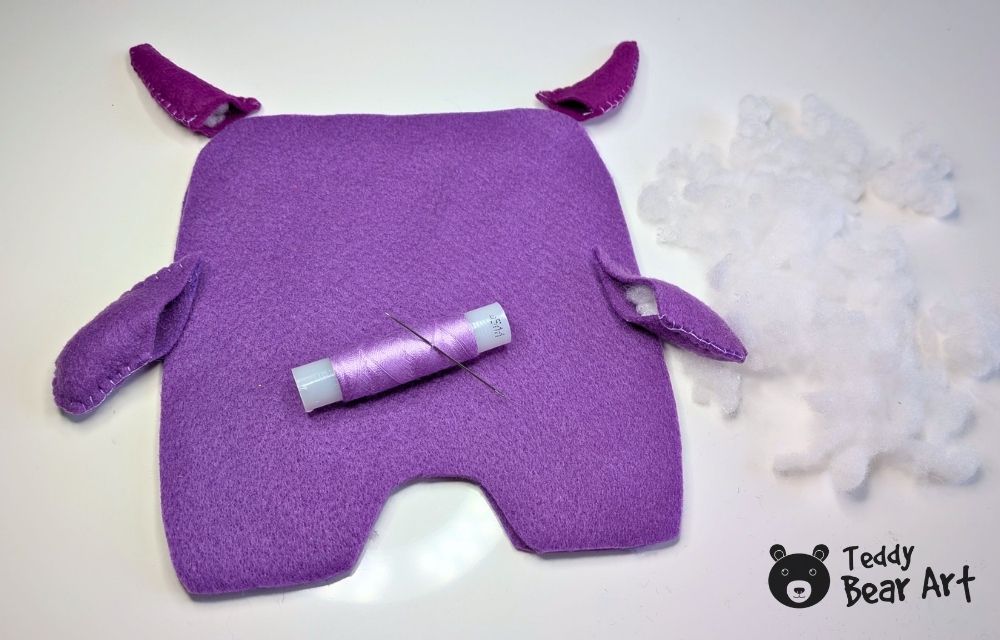
Place the horn pieces together in pairs.
Sew around the curved edges with blanket stitch. Leave the straight ends open.
Repeat with the arm pieces.
Add a small amount of stuffing to each horn and arm. Do not overfill them.
Keep the open ends flat. This will make them easier to attach to the body.
Attach the Horns and Arms
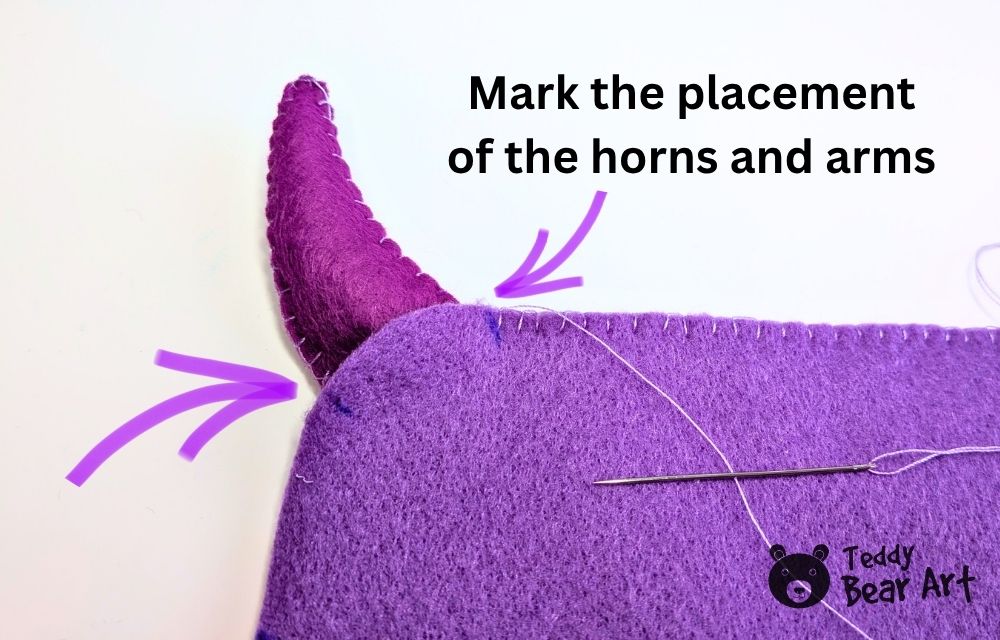
Place the two body pieces together.
Position the horns and arms at the marks. Insert their open ends between the body pieces.
Make sure all the parts point in the correct direction.
Sew and Stuff the Body
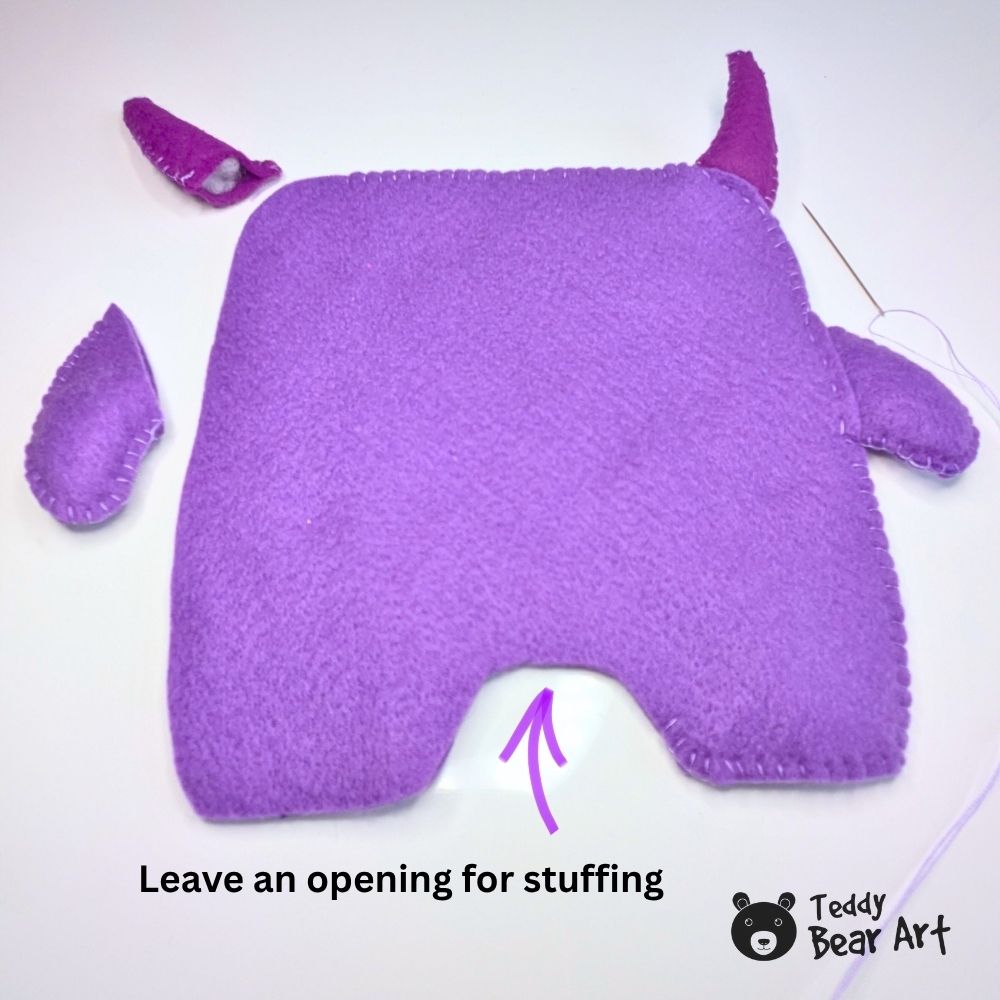
Sew around the body with a blanket stitch.
Secure the horns and arms as you reach them.
Leave an opening between the legs for stuffing.
Fill the monster with small pieces of stuffing.
Push the stuffing into the legs and corners. Keep the body soft and evenly shaped.
Close the opening with a blanket stitch.

Finish the Face
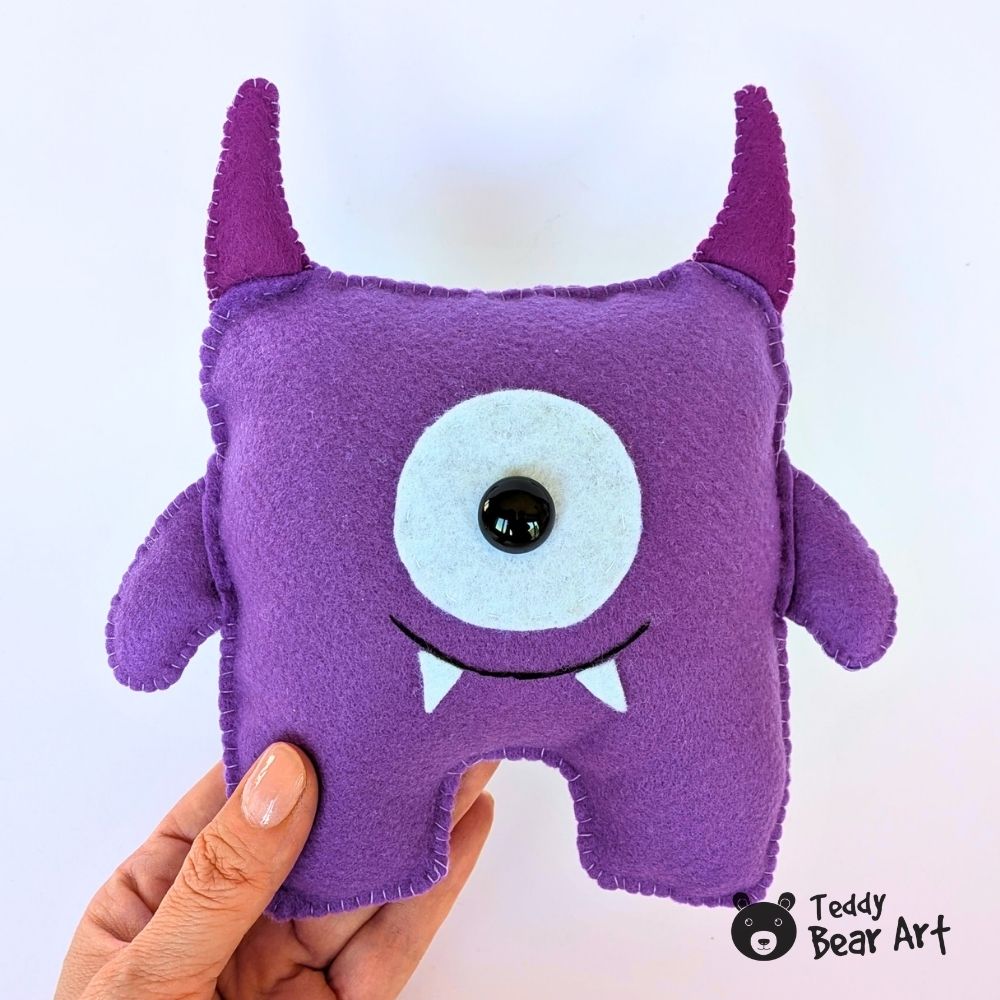
Sew the white felt circle onto the fully stuffed and closed body.
Attach the black glass eye in the centre of the white circle.
Embroider a curved smile with black thread.
Glue the two white felt teeth directly onto the embroidered smile.
Ways to Customize Your Felt Monster
The uncomplicated pattern leaves plenty of room for creativity. You can change the mood of the monster without altering the main body shape.
Try combining a pale body with darker horns, or use two completely contrasting colors. A blue monster with purple horns will look playful, while green and pink create a brighter, more whimsical character.
Change the eye position to give the monster a curious or sleepy expression. You can also replace the single eye with two uneven white felt circles and black felt pupils.
Other simple variations include:
- One tooth instead of two
- A pink felt tongue
- Short rounded horns
- Longer curved horns
- Striped or spotted felt details
- A small bow or party hat
- Different embroidered smiles
- Longer or shorter arms
You could also make several monsters in different colors and join their hands for a funny group photograph. The same free pattern can become a complete collection while every finished stuffie still has its own character.
FAQ
Is this felt monster suitable for beginners?
Yes. The pattern uses simple shapes and basic hand sewing.
Can I sew the monster on a sewing machine?
You can sew it by machine. Hand sewing makes it easier to attach the stuffed horns and arms neatly.
What can I use instead of polyester stuffing?
Small, clean felt scraps can be used inside the body, particularly in the centre. Cut them into small pieces so they do not create hard or uneven areas. Soft polyester filling will give the smoothest result.
Before You Go
This easy felt monster is a lovely introduction to hand-sewn stuffed toys. The shape is forgiving, the details are simple, and the visible stitching becomes part of the finished design instead of something that needs to be hidden.
Save the pattern and experiment with the felt colors you already have. Small differences in the horns, eye, teeth, and smile can turn the same basic pattern into a completely new little creature.
Ready to sew another funny creature? Take a look at these 5 free monster sewing patterns and choose your next project.
Get Free Patterns & Be the First to Know!
Want free teddy bear patterns, exclusive tutorials, and a chance to win craft supplies?
Sign up for our newsletter using the subscribe form in the middle of this article to receive new patterns, insider tips, and the latest news on teddy bear art. You’ll also automatically be entered into our annual giveaway for a chance to win teddy bear crafting materials.
Bonus entry: Save one of our pins on Pinterest to increase your chances of winning!
Let’s create, inspire, and craft beautiful teddy bears together!
Wait til my granddaughter gets a load of our next Christmas vacation activity. DIY activities are our favorite and this is different and I love the idea. Could I make them in different sizes by just cutting the pattern bigger? Would The process be affected or just a matter of more material? I’ve done a lot of t shirts and diy woodcraft projects so this would be new. Can a fabric mix be used out do you recommend just using felt? Thanks for sharing this beautiful project to try easy enough for a beginner.
Thank you so much! Yes, you can enlarge the pattern to make a bigger version. Felt is the easiest choice, but you can also use other stable, non-stretch fabrics. I hope you and your granddaughter have fun making it!
I’m so happy I found your website! Until now, I had been buying sewing patterns, and honestly, I haven’t even tried making most of them yet.
What a fun and creative project! I really like the idea of making a felt monster stuffie, especially because it gives you so much freedom to choose different colors and add your own personality to the design.
Thank you for sharing the free pattern and instructions. This is such a cute project!
You are welcome! Happy sewing!