
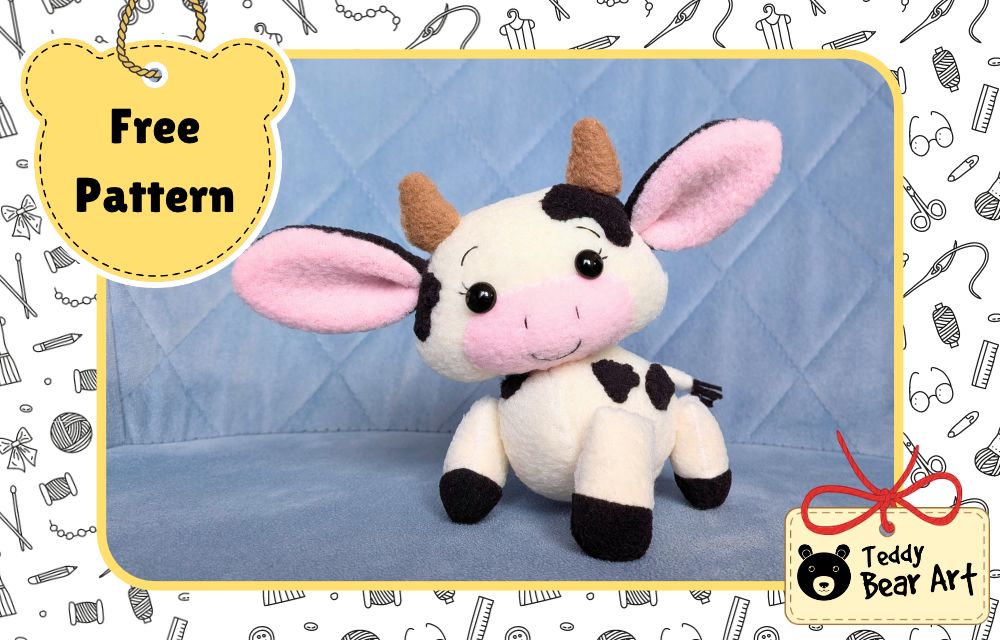

Looking for a cow stuffed animal pattern to make something adorable from fleece? Meet my little handmade cow with oversized pink ears, a sweet smiling face, tiny horns, and playful black spots! I wanted her to look especially cute and a little funny, so I gave her a large head, a small rounded body, and short, chubby legs.
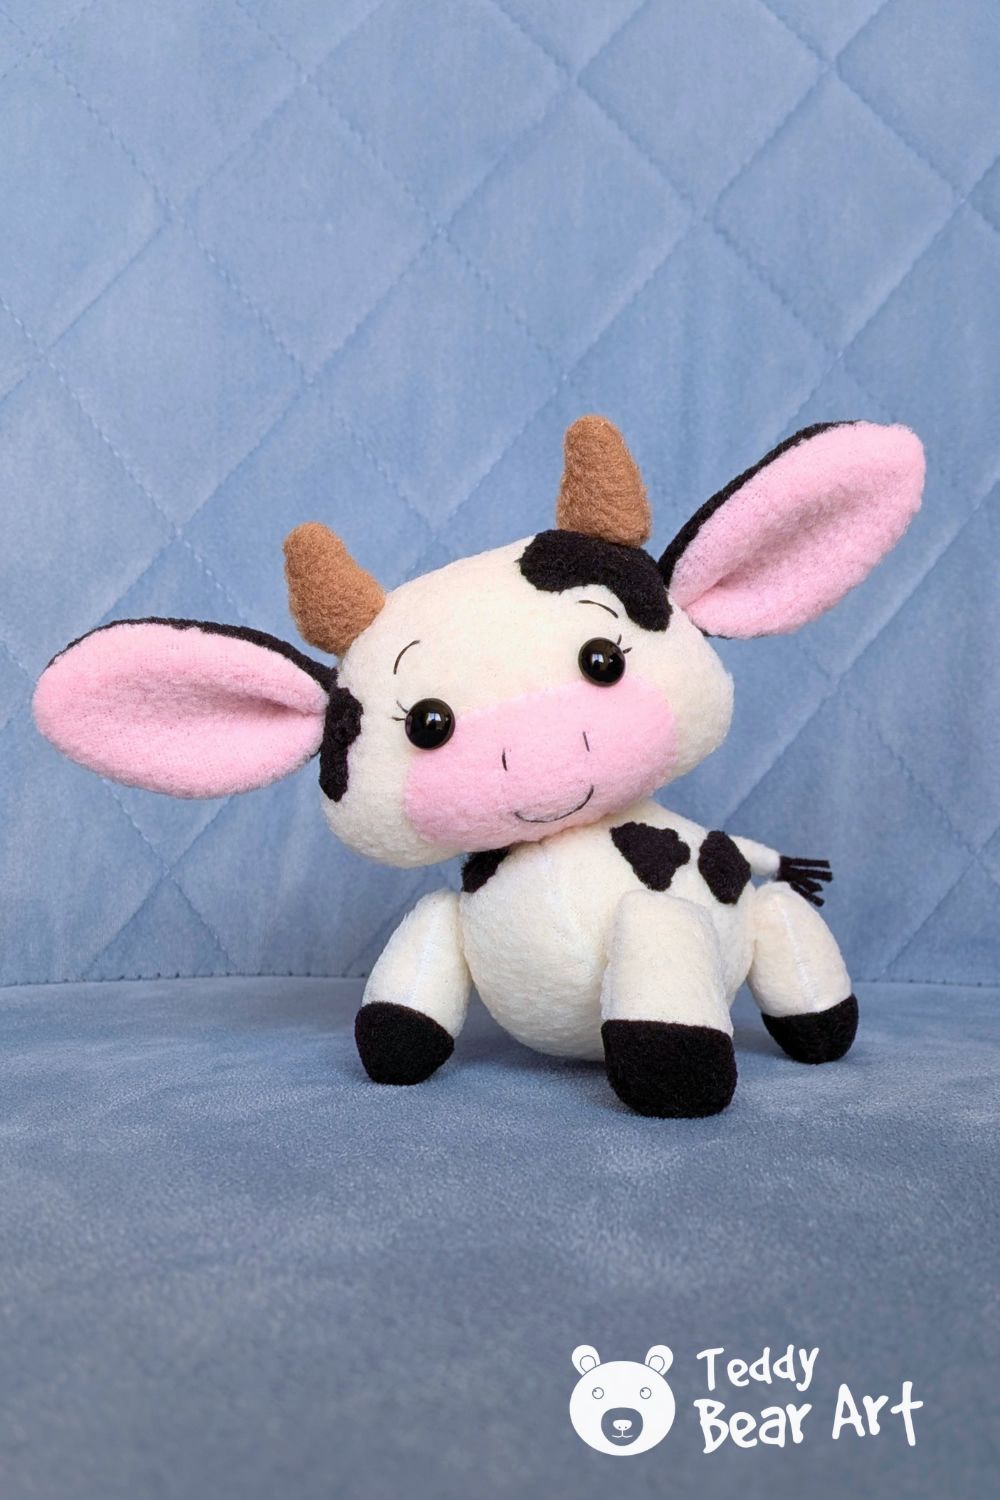
This free sewing project is surprisingly simple. The pattern has no darts, and a separate belly piece gives the body its lovely rounded shape. I also love that you can arrange the legs in different positions and tilt the head slightly to give your cow her own personality.
Grab some soft fleece, and I’ll show you how I made mine!
Download the Pattern
The pattern is free and ready to print. Click on the image below to open it in full size.
Please note: Seam allowances are not included. Add approximately 5 mm (¼ inch) around the pattern pieces, except for the muzzle, tail, and black spots. Cut these three pieces exactly as shown.
Pay attention to the fleece stretch direction and the marked openings for turning the pieces right side out.
From a phone or tablet: There should be a similar option for mobile devices with Android or iOS. Click on the image. Save it by holding your finger on the image and selecting the “Save Image” option. Then, go to your photo gallery and print it (an option available).
From a computer: Click on the photo of the pattern you see below. In the new tab that will open, you press the right mouse button and select the “Save image as …” option. Then, you choose where the image will be saved on your computer.

Materials and Tools
- White or cream fleece for the head, body, and legs
- Pink fleece for the muzzle and inner ears
- Black fleece for the spots, hooves, and outer ears
- Light brown fleece for the horns
- Black threads or embroidery floss for the tail tuft
- Polyester stuffing
- Two eyes
- Sewing thread in matching colors
- Hand sewing needle and pins
- Scissors
- Sewing machine, optional
You can sew most parts on a sewing machine and finish the small details by hand. That’s the method I used for my cow.
How to Sew a Cow Stuffed Animal Step by Step
Sew and Stuff the Head
Fold the white fleece in half, right sides together. Transfer the head pattern onto the fabric and sew along the marked outline, leaving the opening at the bottom unstitched.
Cut out the head, leaving approximately 5 mm seam allowance around the stitching. Turn it right side out.
Fill the head with polyester stuffing, adding small amounts at a time. Gently shape the cheeks with your fingers to give the face a smooth, rounded appearance.
Make the Pink Muzzle and Add the Facial Details
Cut the oval muzzle piece from pink fleece without adding a seam allowance.
Position it on the front of the stuffed head and sew it around the edges by hand. Before closing the seam completely, add a little stuffing underneath the muzzle to make it slightly raised and soft.
Attach the eyes above the pink muzzle. To hide the thread ends, bring them out at the neck or in places that will later be covered by the black spots or ears.
Embroider two little nostrils, a smiling mouth, delicate eyebrows, and eyelashes using black thread.
Attach the Black Spots
Cut the black spots directly along their pattern outlines, without seam allowances.
I used the two largest spots on the head and saved the smaller ones for the body.
Position the spots on the stuffed head and sew them around the edges using black thread and small whip stitches. There’s no need to fold the edges underneath because fleece doesn’t fray.

If you’re new to this hand sewing technique, watch my short video below. I’ll show you how to make a simple whip stitch that works beautifully for attaching fabric appliqués to stuffed animals.
Make the Ears and Horns
Sew the ear pieces together in pairs, placing the right sides of the fabric together. Leave the straight edges open, and turn the ears right side out.
Don’t stuff the ears. Their soft, flat shape gives them a lovely natural look.
Sew the horn pieces together in pairs, turn them right side out, and add a little stuffing to help them keep their shape.
Arrange the ears and horns on the head before attaching them. I placed the large ears slightly outward and the little brown horns on top.
Sew everything securely by hand.
Sew the Legs and Hooves
Here’s a little trick that makes sewing the four legs much easier!
First, join a strip of white fleece to a strip of black fleece. The black section will become the hooves.
Fold the prepared fabric with the right sides facing each other, making sure the color boundaries match.
Transfer all four leg patterns onto the fabric and sew along the drawn outlines, leaving the marked openings unstitched.
Only cut out the legs after sewing them! This makes it much easier to handle the small pieces and keep their shapes neat.
Turn all four legs right side out, fill them with stuffing, and close the openings with a ladder stitch.
The ladder stitch is one of my favorite ways to close openings in stuffed toys because the stitches almost disappear into the fabric.
In this video, I’ll show you how to make a neat, nearly invisible seam.
Sew and Stuff the Body
Cut two mirrored body pieces and one belly piece from white fleece, adding the seam allowances.
Place the belly piece between the two body pieces, carefully matching the corresponding marks 1 and 2 on the pattern.
Sew the belly into place, then join the remaining body edges, leaving the marked turning opening.
Turn the body right side out and fill it with polyester stuffing. The belly insert helps create a nice rounded shape instead of a flat body.
Close the opening with a ladder stitch.
Now arrange the smaller black spots on the stuffed body. I placed mine along the back and sides, keeping the shapes slightly irregular.
Sew them in place with black thread using the same whip stitch as for the head.
Make the Tail
Cut the rectangular tail piece directly from the pattern, without adding a seam allowance.
Fold all the edges inward to hide the raw edges. Cut several short strands of black thread for the little tail tuft and insert them into one end of the folded fabric.
Sew the tail closed using a ladder stitch, securing the black strands inside.
Attach the finished tail to the back of the cow.

Assemble Your Little Cow
Now comes my favorite part, giving the cow her personality!
Before sewing anything permanently, place the head and legs against the body and experiment with their positions.
You can arrange the legs so your cow stands on all fours or make her sit.
I tried different positions before choosing the one I liked best.
Sew the legs securely to the body using strong hand stitches. Then attach the head.
I deliberately positioned my cow’s head slightly to one side instead of sewing it perfectly straight. That little tilt makes her look curious and playful!
Your handmade fleece cow is ready!
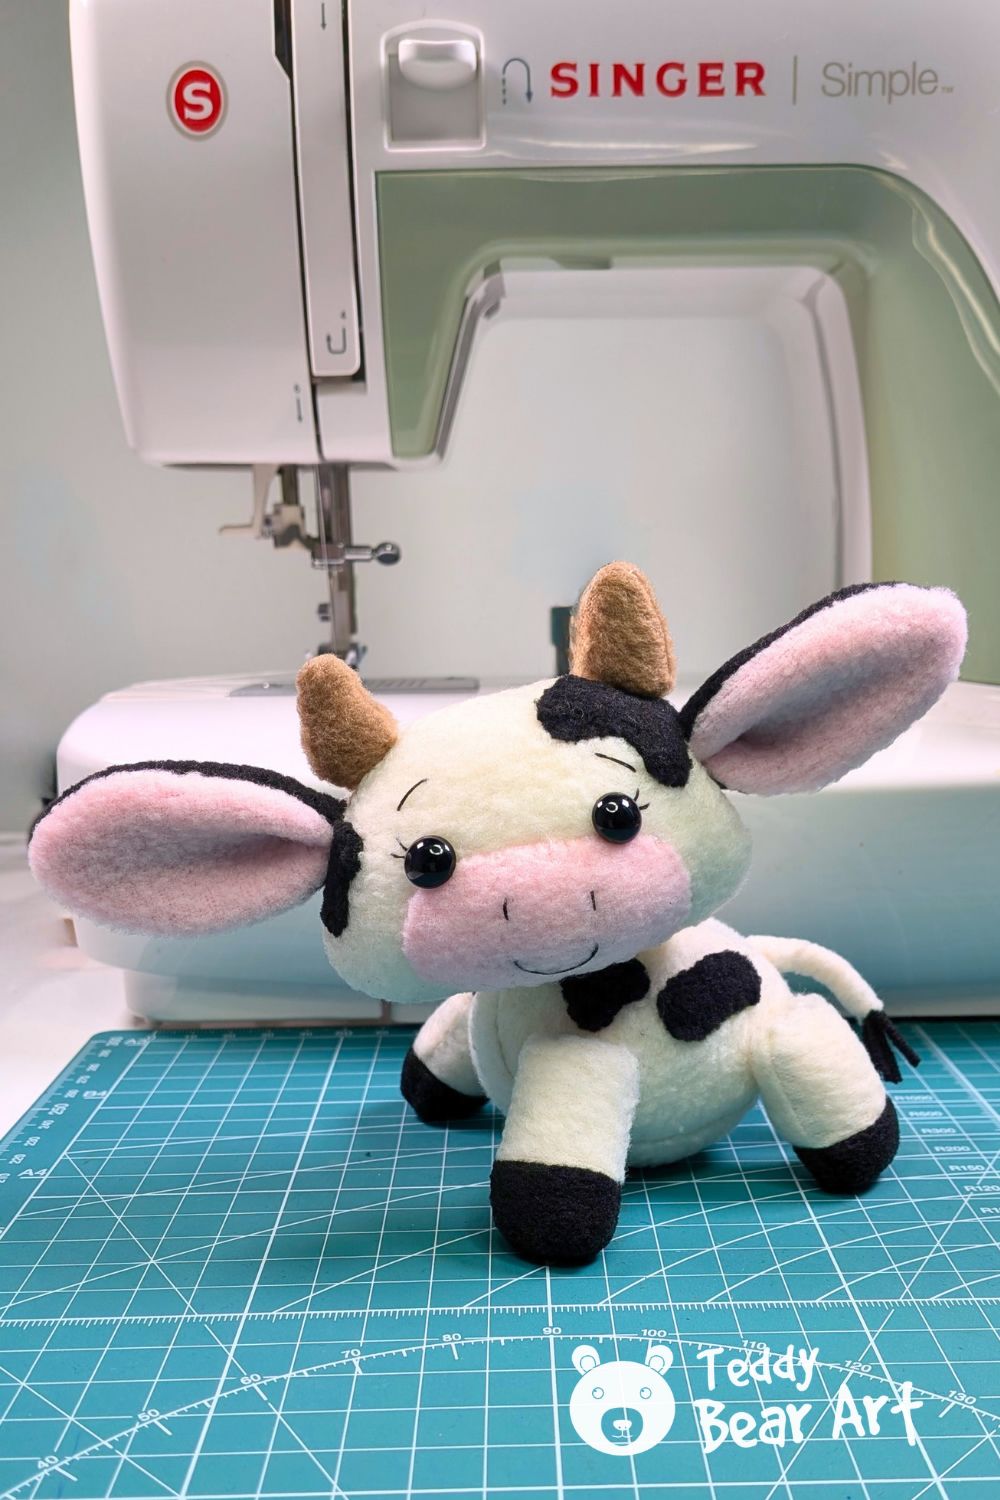
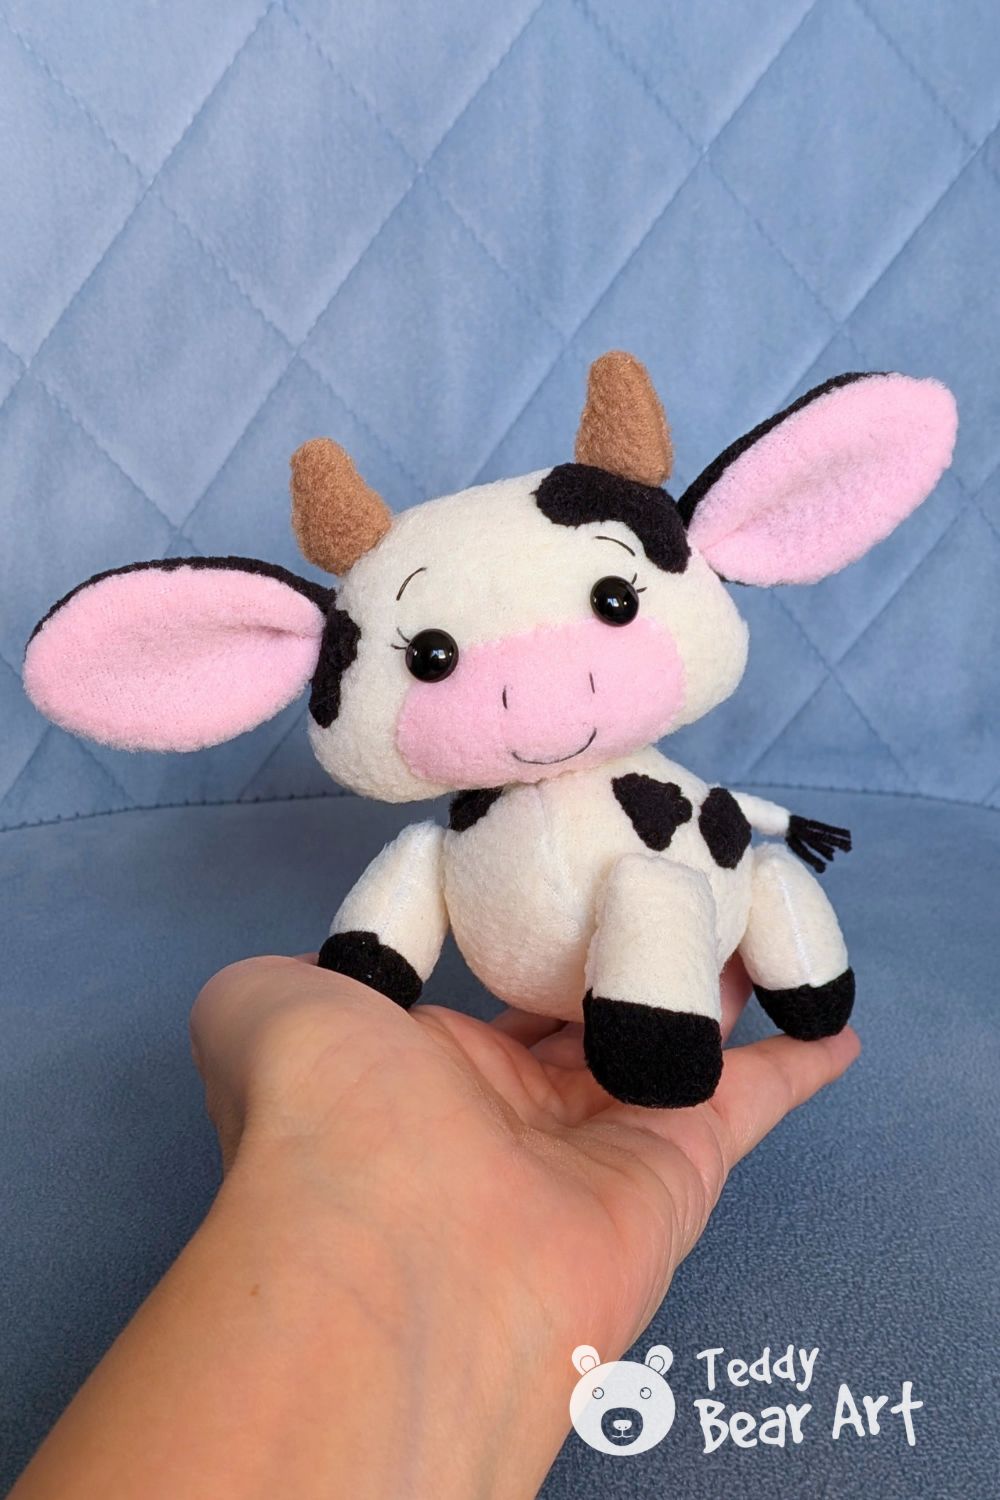
I especially love her oversized pink ears, smiling face, and tiny brown horns. She’s small enough to fit comfortably in my hand, and the combination of her big head and chubby little body makes her so adorable.
Try changing the arrangement of the spots or the position of the legs to create a cow with a completely different character.
FAQ
Is this cow stuffed animal pattern suitable for beginners?
Yes! The pattern has no darts, and the main pieces are simple to sew. Attaching the small details by hand takes a little patience, but the steps are easy to follow.
Can I sew this cow entirely by hand?
Absolutely! You can use a backstitch for the main seams, a whip stitch for the spots, and a ladder stitch to close the openings and attach the finishing details.
Can I use different colors for my cow?
Of course! Classic black and white looks lovely with the pink muzzle, but brown spots, cream-colored fleece, or even pastel colors can give your cow a completely different look.
Before You Go
I hope this cow stuffed animal pattern inspires you to make your own adorable little farm friend! I had so much fun bringing this cow to life, especially adding her playful black spots, big pink ears, and slightly tilted head. Feel free to experiment with colors and poses to give yours a personality all its own!
And if you’d like to add another cute animal to your handmade farm, try my Free Stuffed Horse Pattern: Step-by-Step Sewing Tutorial. With its soft fleece body, lovely mane, and flowing tail, this little horse would make a wonderful companion for your cow!
Get Free Patterns & Be the First to Know!
Want free teddy bear patterns, exclusive tutorials, and a chance to win craft supplies?
Sign up for our newsletter using the subscribe form in the middle of this article to receive new patterns, insider tips, and the latest news on teddy bear art. You’ll also automatically be entered into our annual giveaway for a chance to win teddy bear crafting materials.
Bonus entry: Save one of our pins on Pinterest to increase your chances of winning!
Let’s create, inspire, and craft beautiful teddy bears together!