


Looking for a stuffed horse pattern to create your own adorable pony? This free sewing tutorial will help you make a charming fleece horse with a soft body, fluffy mane, and long, flowing tail. I made mine from brown fleece with creamy white faux fur, and I love how much personality such a simple little horse can have!
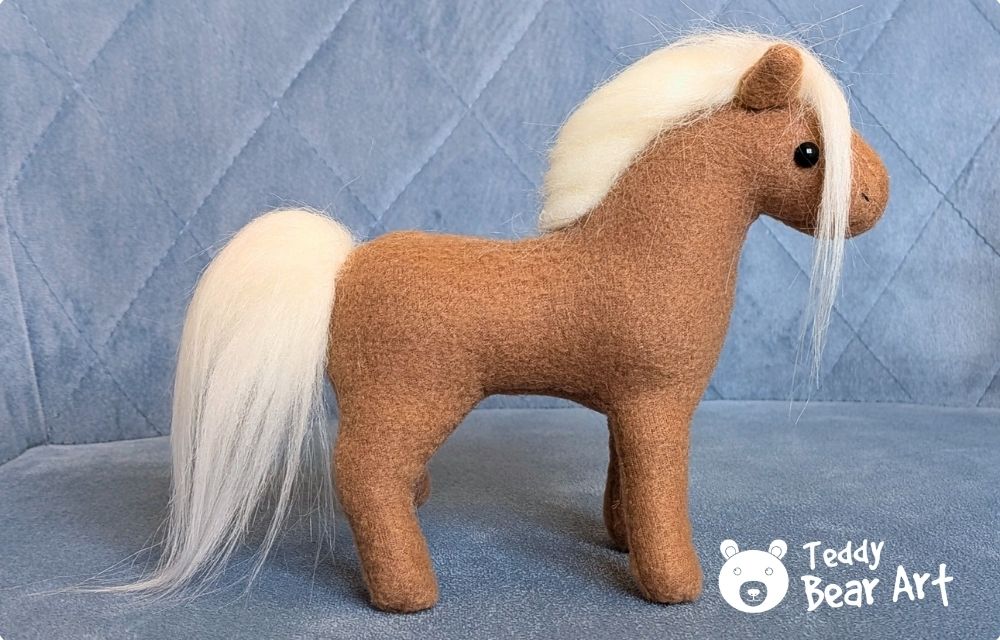
The pattern uses just a few pieces, including a head gusset that gives the muzzle its lovely rounded shape. Follow the steps below, and watch my two short videos for helpful sewing techniques.
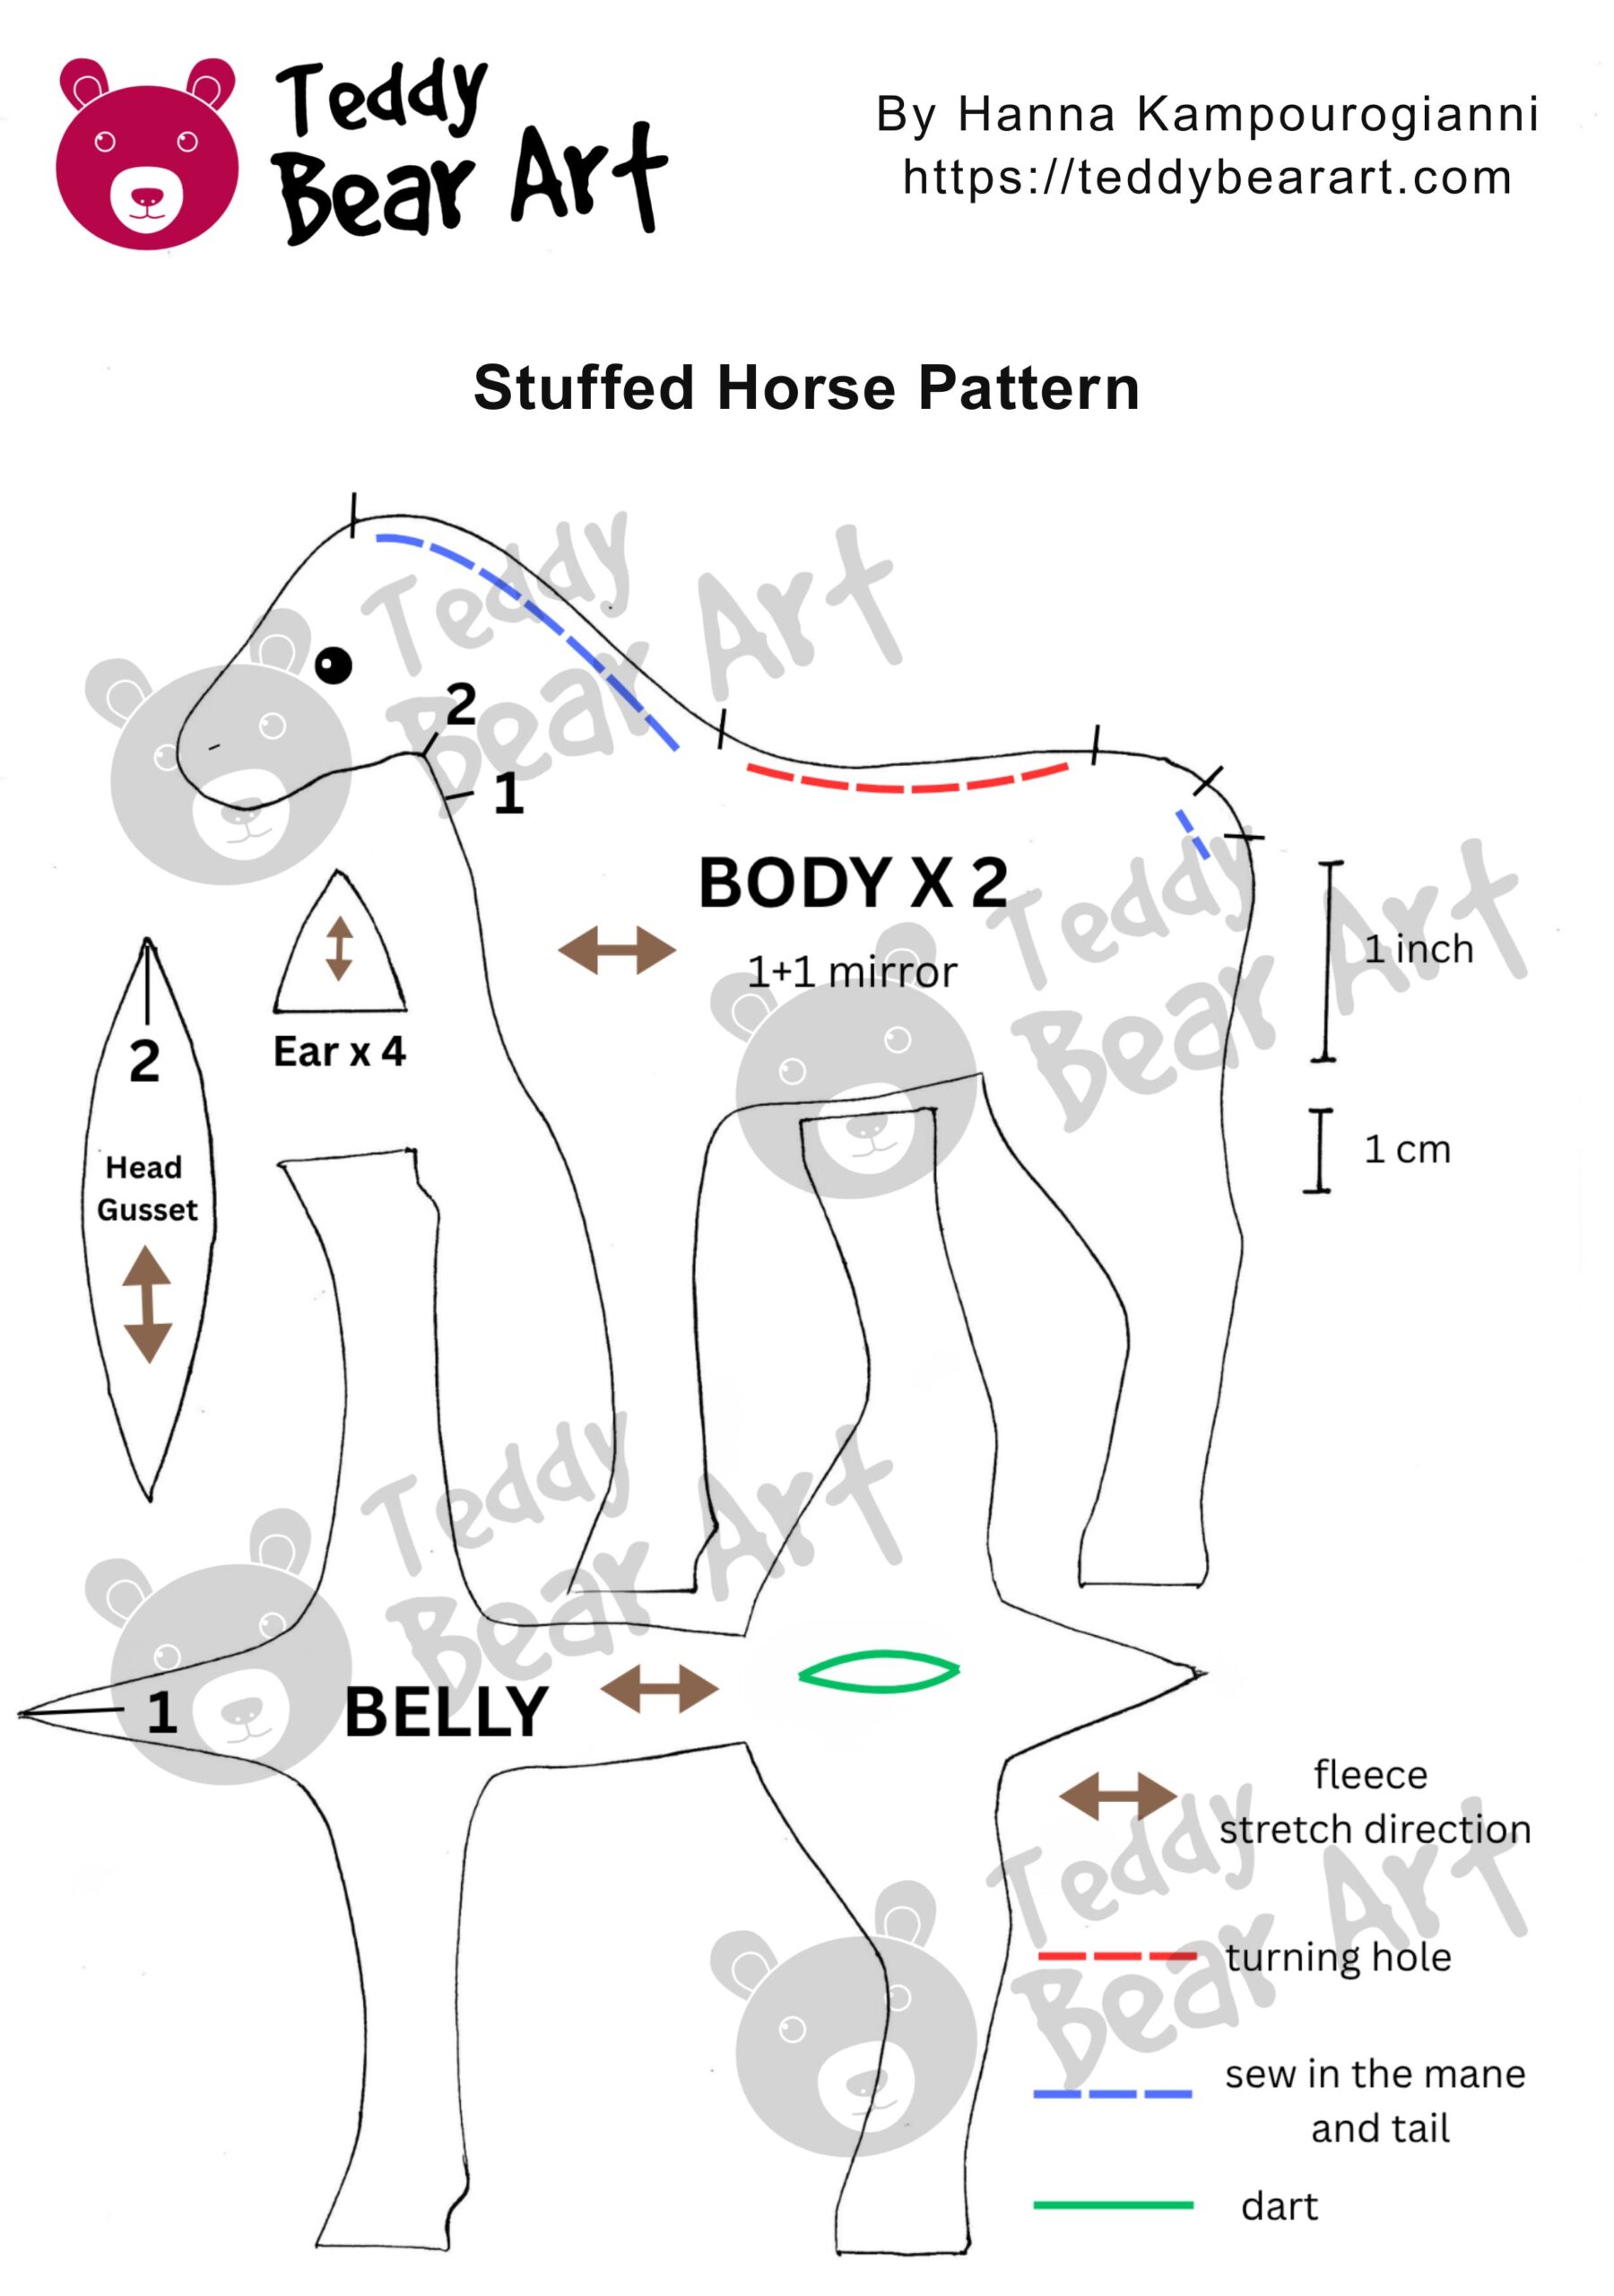
Download the Pattern
Notice that seam allowances are not included.
To download the pattern, follow the instructions below:
From a phone or tablet: There should be a similar option for mobile devices with Android or iOS. Click on the image. Save it by holding your finger on the image and selecting the “Save Image” option. Then, go to your photo gallery and print it (an option available).
From a computer: Click on the photo of the pattern you see below. In the new tab that will open, you press the right mouse button and select the “Save image as …” option. Then, you choose where the image will be saved on your computer.
Materials and Tools
- Fleece
- Faux fur with approximately 8 cm pile length, or yarn, for the mane and tail
- Polyester stuffing
- Glass eyes or black beads
- Matching sewing thread
- Needle and pins
- Scissors
- Wooden stick for turning narrow pieces
How to Sew a Stuffed Horse Step by Step
- Cut out the fabric pieces according to the pattern, remembering to add seam allowances. Transfer all matching marks and the turning opening to the fabric.
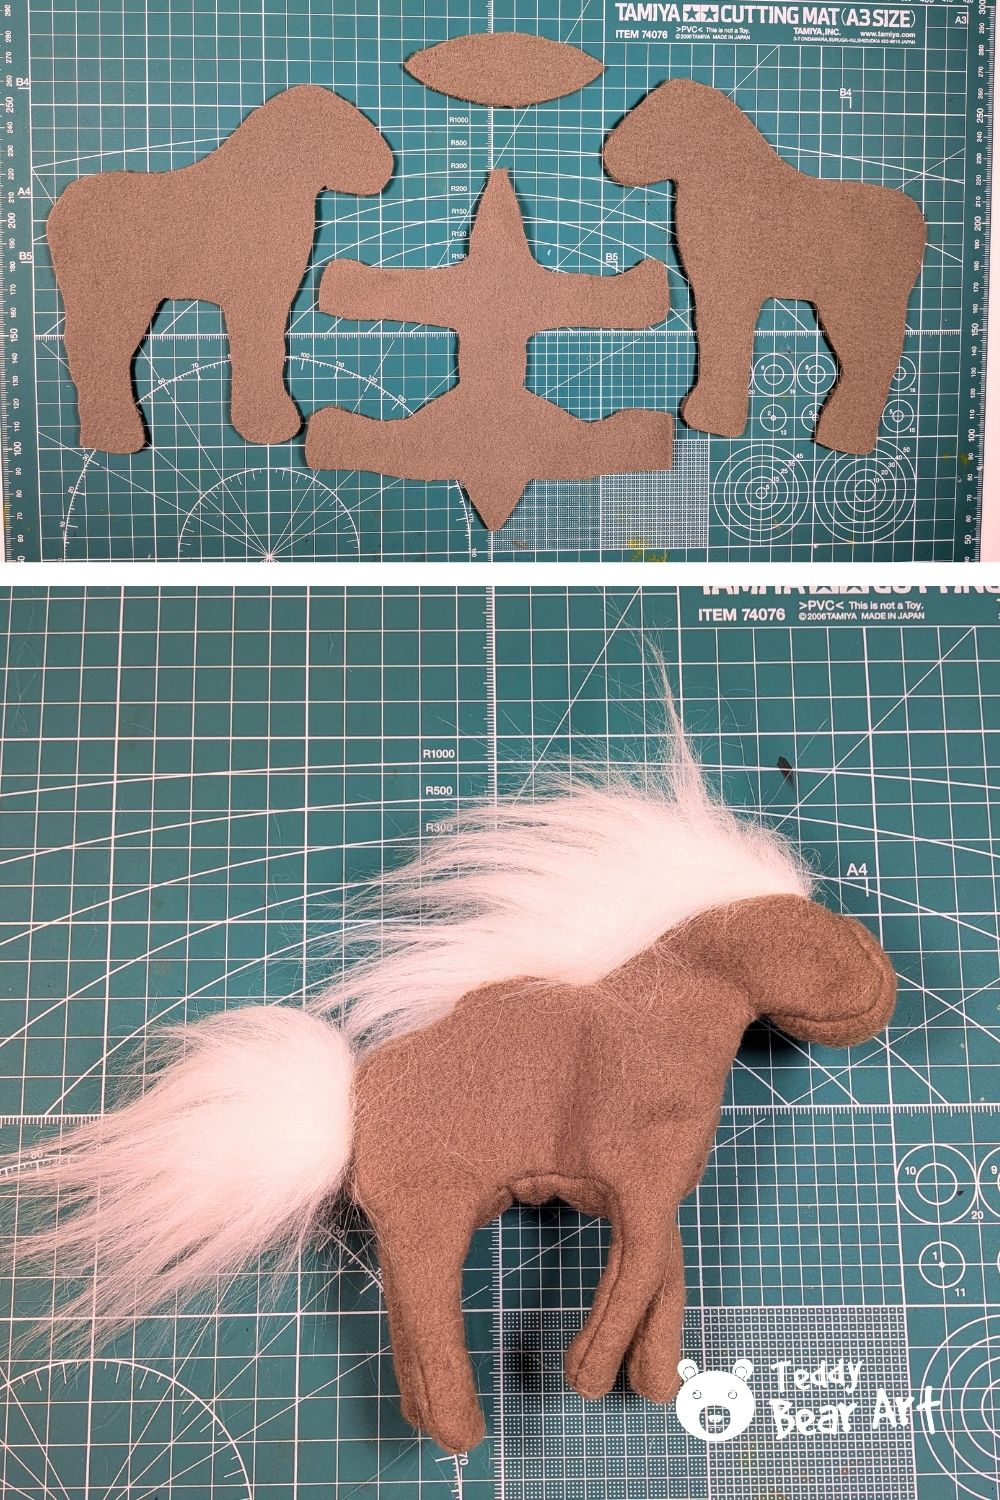
- Start by sewing the dart marked in green on the belly piece. Then attach the belly to the two body pieces, matching points 1 and 1. Sew carefully around the legs. Next, insert the head gusset between the head pieces, matching points 2 and 2.
- Prepare the faux fur for the mane and tail. Position it between the fabric layers along the marked sections, with the fur facing inward. Sew it into the seams, then finish joining the body pieces. Leave the marked opening unstitched.
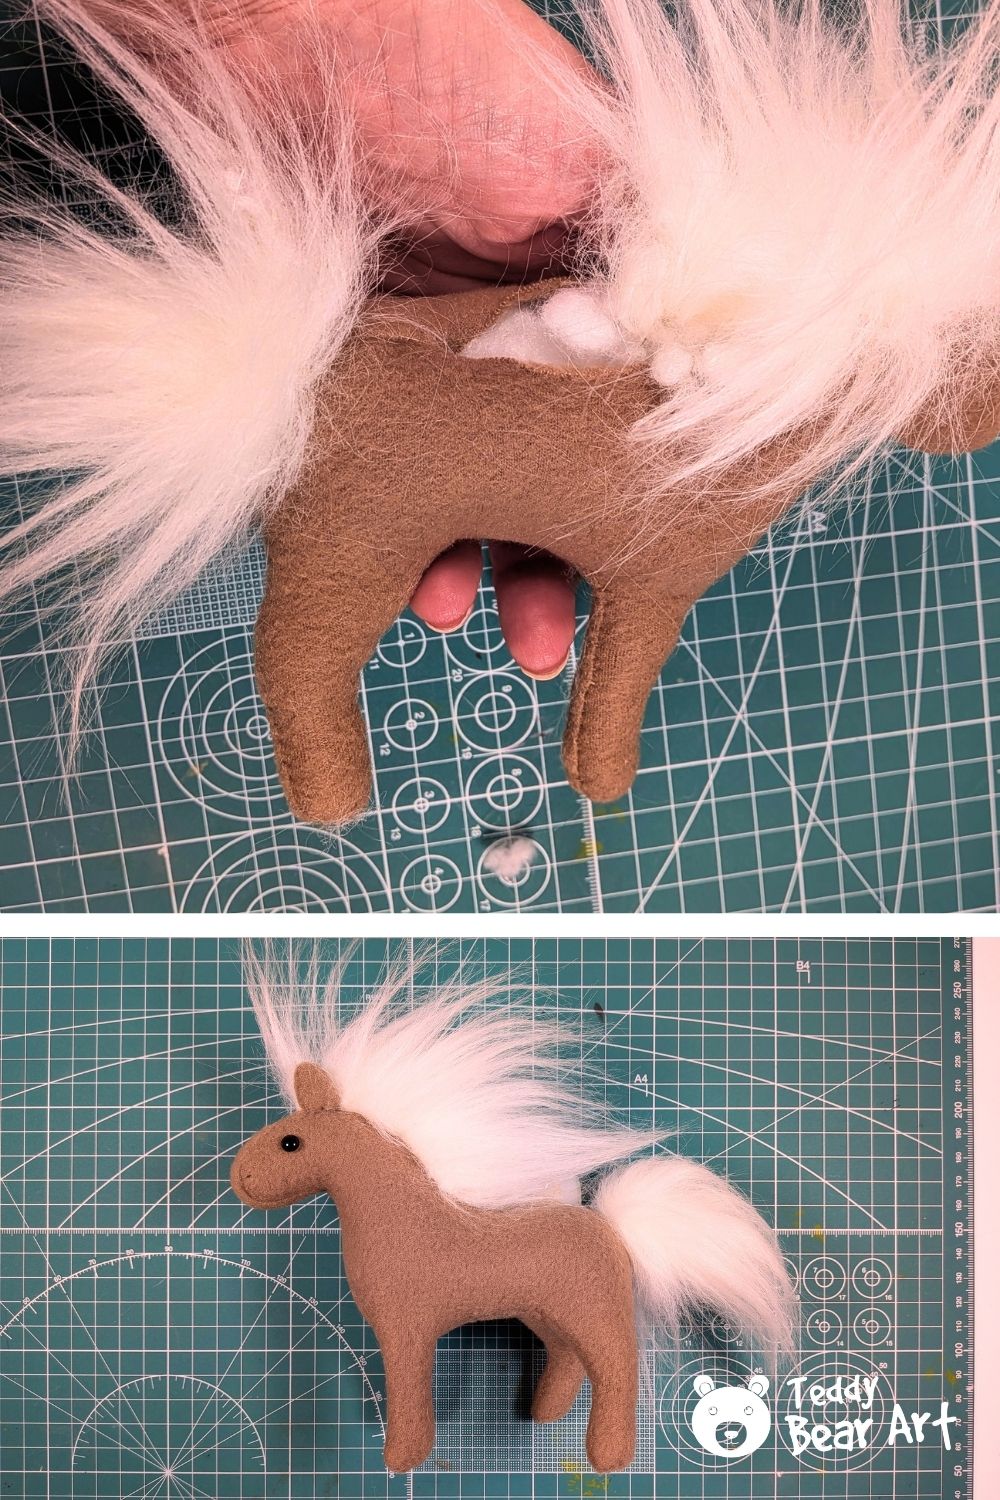
Here’s a short video showing how I sew the mane and tail into the horse’s seams.
- Turn the horse right side out through the opening. The narrow legs can be tricky, so use a wooden stick to push the fabric through gently without damaging the seams.
In this video, I demonstrate an easy way to turn narrow sewn fabric pieces using the horse’s legs.
- Start stuffing the legs, adding small amounts of filling and pushing it firmly toward the hooves. Pack all four legs very tightly so they hold their shape and support the horse when standing. Then stuff the body, neck, and head, distributing the filling evenly. Close the opening with a ladder stitch.
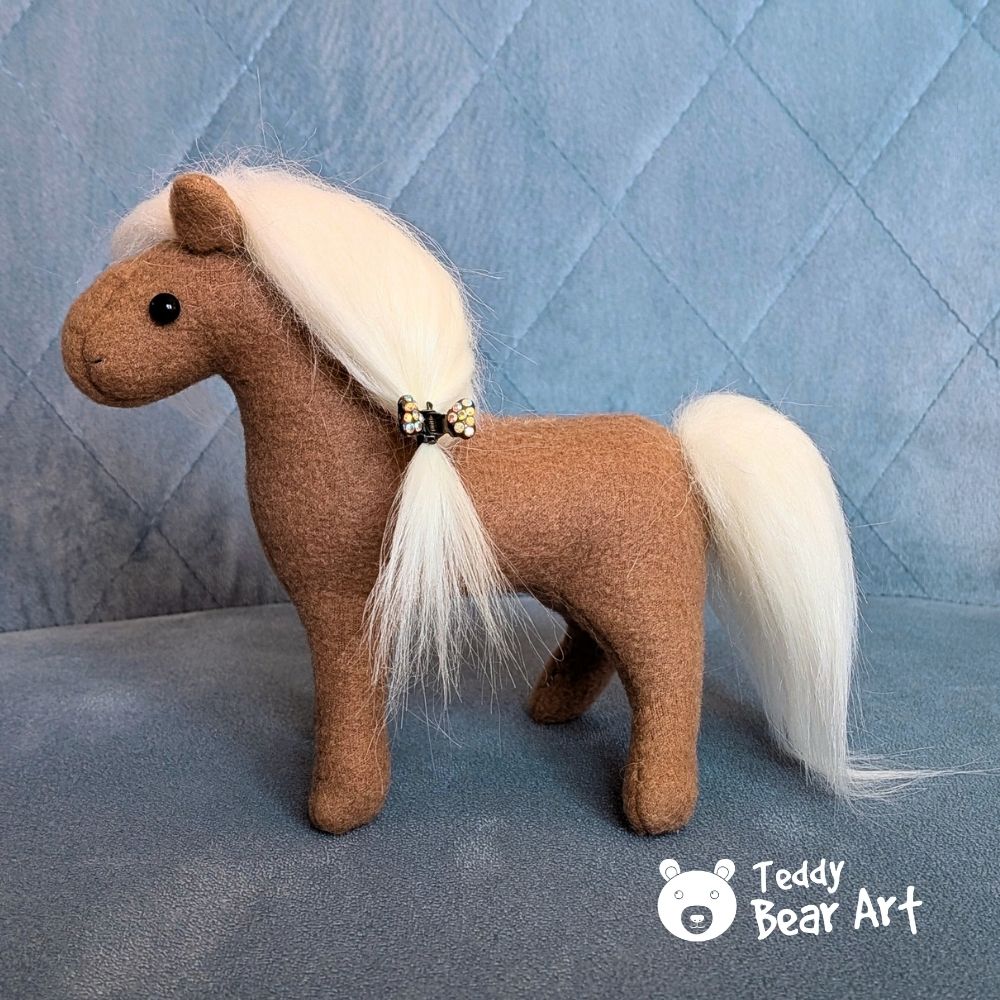
- Sew the ear pieces together in pairs, leaving the bases open. Turn them right side out and attach them to the head. Add the glass eyes or sew on black beads, securing them firmly. Finally, embroider the little nose with a single stitch.
Your handmade horse is ready!
One of my favorite details is the long mane. You can gather it into a little ponytail and add a decorative clip for a sweet, playful look.
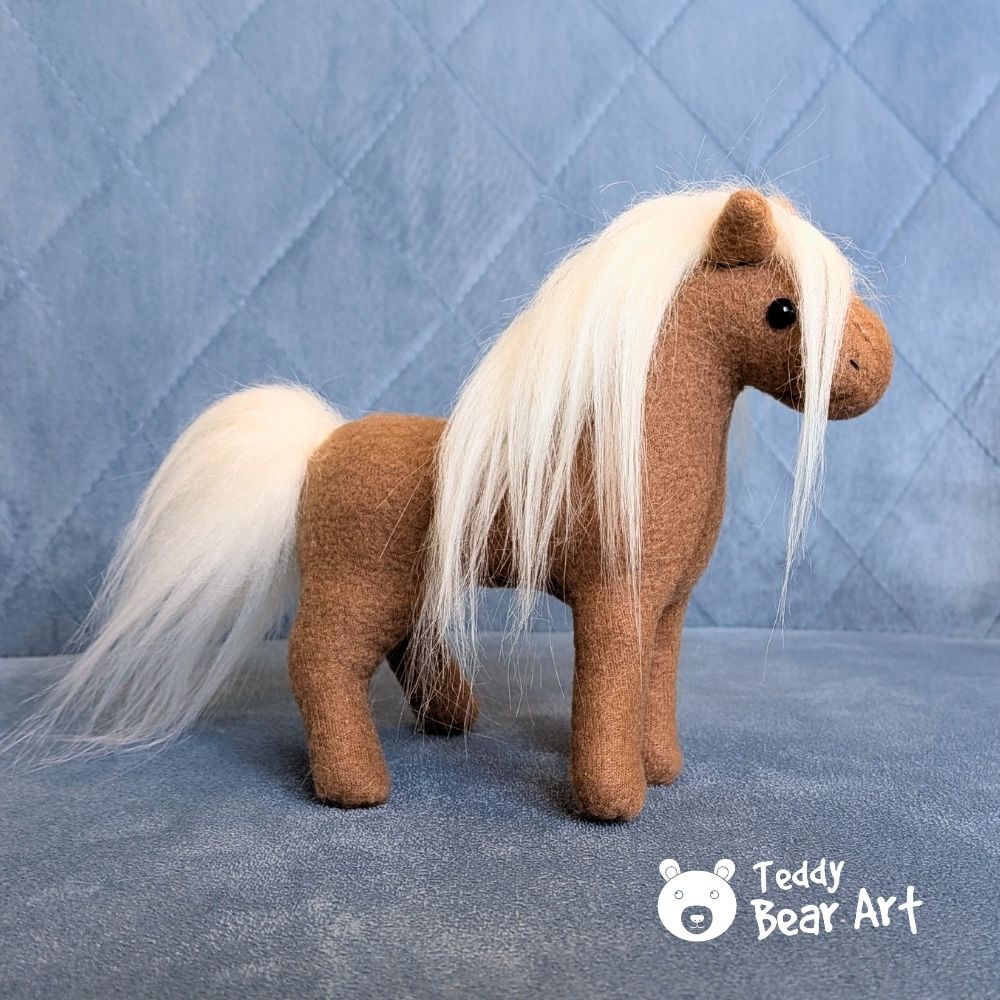
Or leave the mane loose and flowing for a more natural appearance. Both styles give the same stuffed horse a completely different personality!
FAQ
Can beginners make this stuffed horse?
Yes! The pattern has only a few main pieces. The most challenging parts are sewing the belly to the body and turning the narrow legs, but the video tutorial and step-by-step instructions will help.
How can I make the horse stand on its own?
Stuff the legs firmly, especially around the hooves and where they join the body. Distribute the filling evenly and check that all four feet rest properly on a flat surface.
Can I use yarn instead of faux fur?
Absolutely! Cut yarn strands to your preferred length, arrange them into bundles, and sew them into the mane and tail seams. You can even mix several colors.
Before You Go
I hope you enjoy making this little fleece horse! Try different colors, experiment with the mane, and give your pony its own personality.
To learn more useful sewing techniques, visit my guide, How to Sew a Stuffed Animal by Hand: 3 Essential Stitches for Beginners. You’ll find simple instructions and videos to help you finish your handmade plush toys neatly.
Get Free Patterns & Be the First to Know!
Want free teddy bear patterns, exclusive tutorials, and a chance to win craft supplies?
Sign up for our newsletter using the subscribe form in the middle of this article to receive new patterns, insider tips, and the latest news on teddy bear art. You’ll also automatically be entered into our annual giveaway for a chance to win teddy bear crafting materials.
Bonus entry: Save one of our pins on Pinterest to increase your chances of winning!
Let’s create, inspire, and craft beautiful teddy bears together!