
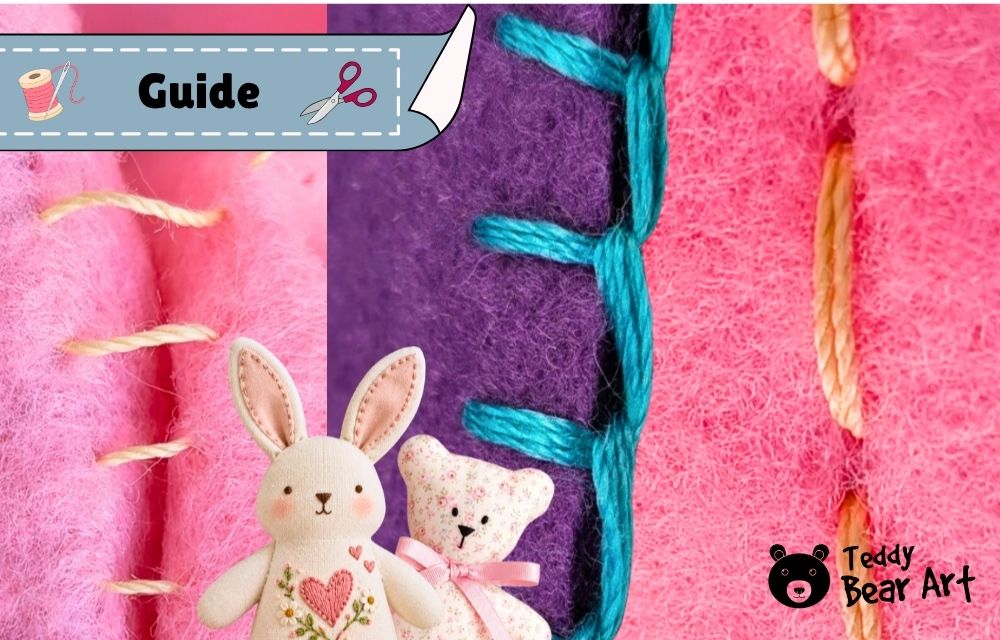

Learning how to sew a stuffed animal by hand becomes much easier once you know which stitches actually do the important jobs. You can hand-sew toys from felt, fleece, cotton, and many other plush fabrics without learning dozens of techniques. For most beginner projects, backstitch, ladder stitch, and blanket stitch are the three stitches worth knowing first.
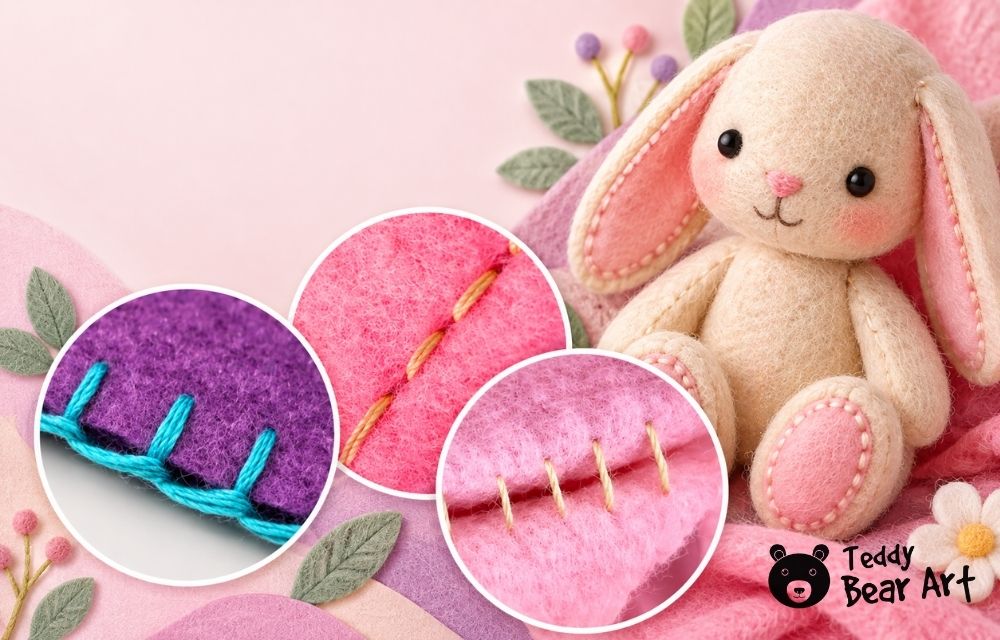
I use each of these stitches for a different purpose. Backstitch creates strong construction seams, ladder stitch closes the final stuffing opening almost invisibly, and blanket stitch lets you sew exposed edges from the outside, which is especially useful for felt and fleece toys that do not need to be turned right side out.
The easiest way to remember them is to match each stitch to its job.
| Sewing Task | Best Hand Stitch |
|---|---|
| Main body, head, arms, and legs | Backstitch |
| Closing the stuffing opening | Ladder stitch |
| Sewing visible outer edges | Blanket stitch |
These three stitches can take you through most of a simple hand-sewn stuffed animal. Other stitches are useful for special details, but they are not necessary for every project.
Backstitch for Strong Plush Toy Seams
I use backstitch for the main construction seams of a stuffed animal. Each new stitch goes back toward the previous stitch, creating a strong, almost continuous seam.
Use it for the body, head, arms, legs, ears, and curved seams that will later be turned right side out. Keep the stitches small and fairly even. Long gaps between stitches may become visible once the toy is firmly stuffed.
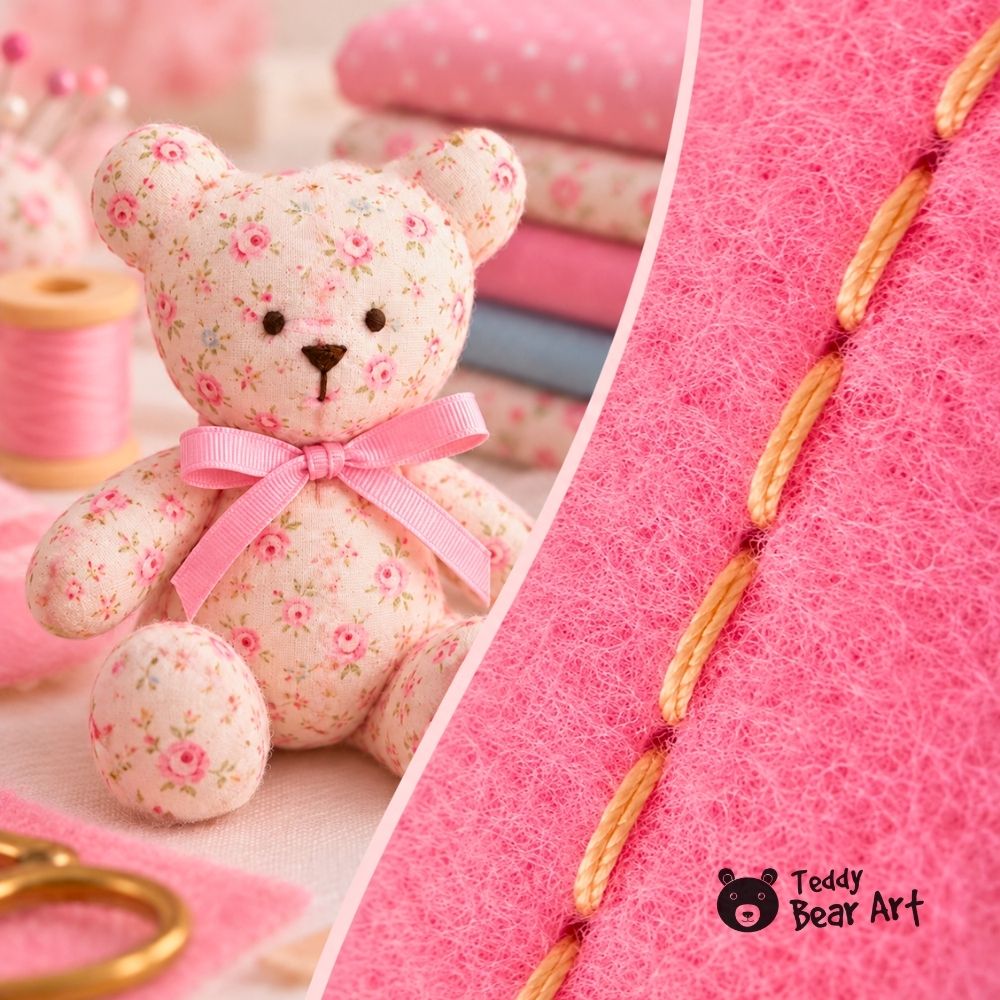
On most plush toys, the backstitch disappears completely inside after turning. Its job is not to look decorative, but to hold the fabric securely when the stuffing pushes against the seam.
Watch the short video below to see exactly how backstitch is sewn by hand and how the needle moves from one stitch to the next.
Ladder Stitch for Closing the Stuffing Opening
After the toy has been turned and stuffed, one opening usually remains. Ladder stitch is the stitch I use to close it neatly from the outside.
It is also called an invisible stitch, slip stitch, or blind stitch. The thread moves back and forth between the folded edges, creating a small ladder. Once the thread is pulled, the edges come together, and most of the stitching disappears inside.
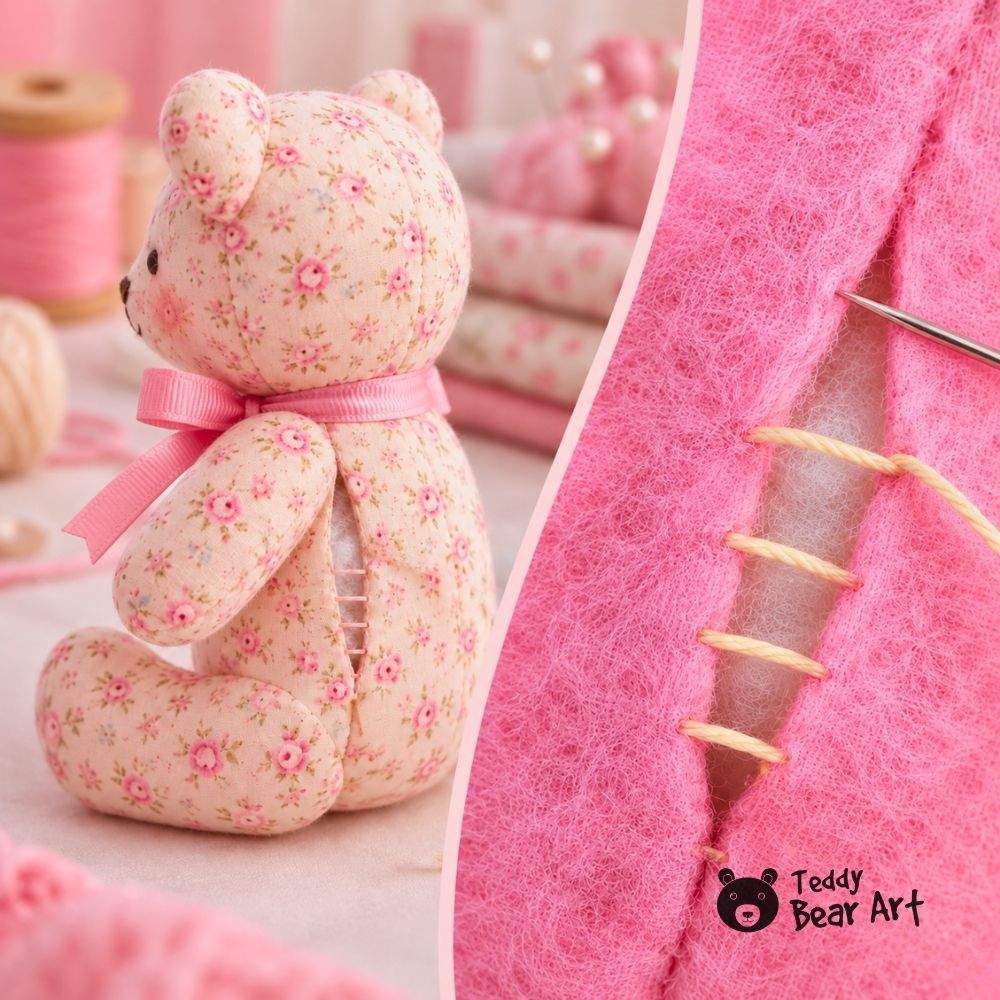
Fold both raw edges inward so they follow the original seam line, then take small stitches alternately from one side to the other.
Watch the video below to see how the ladder shape is formed and how the seam closes when the thread is pulled.
Blanket Stitch for Visible Outer Seams
Blanket stitch is especially useful when you want to sew the toy from the outside instead of sewing it inside out and turning it afterward.
That makes it perfect for many felt toys, but it also works beautifully with fleece and other fabrics that don’t fray easily. Place the two pieces together with the finished sides facing outward, then sew around the edge. Leave a small opening, add the stuffing, and continue the same stitch to close the toy.
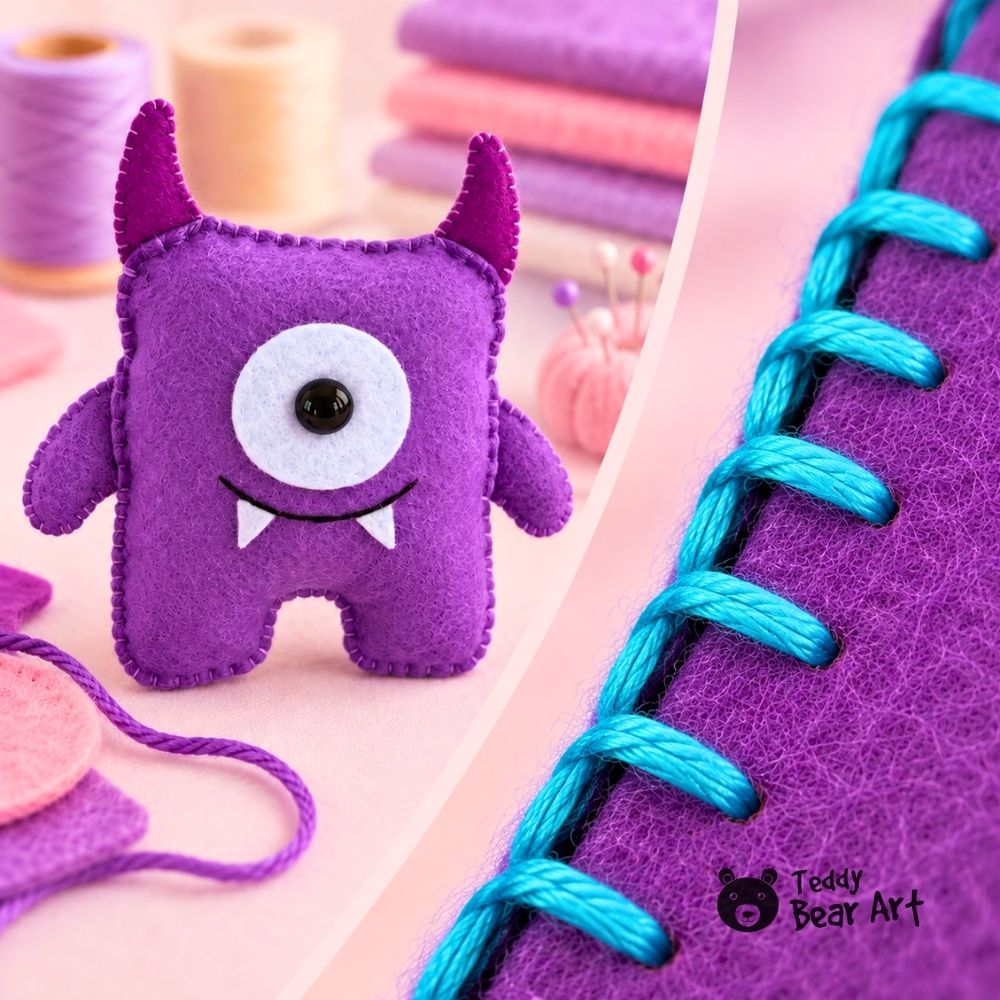
Because the stitching remains visible, try to keep the distance between stitches reasonably even. Matching thread gives a softer finish, while contrasting thread can become part of the design.
Watch the blanket stitch tutorial below to see how the thread forms the little loops along the fabric edge.
Other Useful Hand Stitches for Stuffed Animals
The three stitches above do most of the construction work, but a few other stitches are useful to recognize.
Whip stitch wraps over an edge. It can join two edges, secure small felt pieces, finish certain raw edges, and work well for small repairs or areas where a visible hand-sewn finish is acceptable.
Running stitch is one of the simplest stitches. It is useful for gathering, temporary stitching, marking, and light sewing. I would not use it instead of backstitch for a seam that will be under pressure from firm stuffing.
For the face, satin stitch and simple embroidery stitches are useful for noses, mouths, eyebrows, and other small details. Closely packed satin stitches are especially good for building a smooth embroidered nose.

How to Sew a Stuffed Animal Completely by Hand
A sewing machine is not necessary for a simple stuffed animal. The basic process is straightforward:
- Cut the pattern pieces.
- Place matching pieces together as directed by the pattern.
- Sew the main construction seams with backstitch.
- Leave an opening for turning and stuffing.
- Turn the toy right side out.
- Add the stuffing gradually and shape the toy as you work.
- Fold the opening inward and close it with ladder stitch.
- Add embroidered facial details and any final touches.
For a felt or fleece toy with exposed edges, you can skip the turning step. Place the pieces with the right sides facing outward, sew around them with blanket stitch, stuff the toy through a small opening, then continue stitching until it is completely closed.
Common Beginner Mistakes
One of the most common mistakes is making the stitches too long. Smaller, even stitches usually create a stronger seam and give you better control around curves.
Another is pulling the thread too tightly. A seam should be secure, but excessive tension can wrinkle the fabric or distort the outline of a felt toy.
It is also easy to forget the turning and stuffing opening. Mark it before you begin sewing, especially on a long body seam.
Finally, do not expect one stitch to work perfectly for every part of the toy. Backstitch, ladder stitch, and blanket stitch solve different sewing problems, which is exactly why all three are so useful.
FAQ
Can I hand sew fleece or plush fabric, not only felt?
Yes. Fleece, cotton, many plush fabrics, and even some faux fur projects can be sewn by hand. For seams that will be turned inside out, backstitch is a strong choice. The thicker or stretchier the fabric, the more important it is to keep the stitches small and secure.
How small should hand stitches be on a stuffed animal?
There is no single measurement for every fabric, but small, even stitches are usually safest. On many small and medium plush toys, backstitches around 2 to 3 mm work well. Make them slightly smaller around tight curves or areas that will be firmly stuffed.
Can blanket stitch be used on fleece as well as felt?
Yes. Fleece does not fray much, so blanket stitch can be used to join the outer edges just as it is used on felt. The result is soft and slightly more dimensional because fleece is thicker.
Before You Go
If you want to practise these stitches on a real project, start with something simple.
My Easy DIY Felt Monster Stuffie is a good project for practising blanket stitch because the pieces are sewn from the outside and do not need to be turned.
For practising strong hand-sewn construction seams, try my Teddy Bear Sewing Pattern for Beginners. The simple shape makes it easier to concentrate on neat stitching instead of complicated construction.
Once backstitch, ladder stitch, and blanket stitch feel familiar, you already have the hand-sewing skills needed for a surprisingly wide range of handmade stuffed animals.
Get Free Patterns & Be the First to Know!
Want free teddy bear patterns, exclusive tutorials, and a chance to win craft supplies?
Sign up for our newsletter using the subscribe form in the middle of this article to receive new patterns, insider tips, and the latest news on teddy bear art. You’ll also automatically be entered into our annual giveaway for a chance to win teddy bear crafting materials.
Bonus entry: Save one of our pins on Pinterest to increase your chances of winning!
Let’s create, inspire, and craft beautiful teddy bears together!