
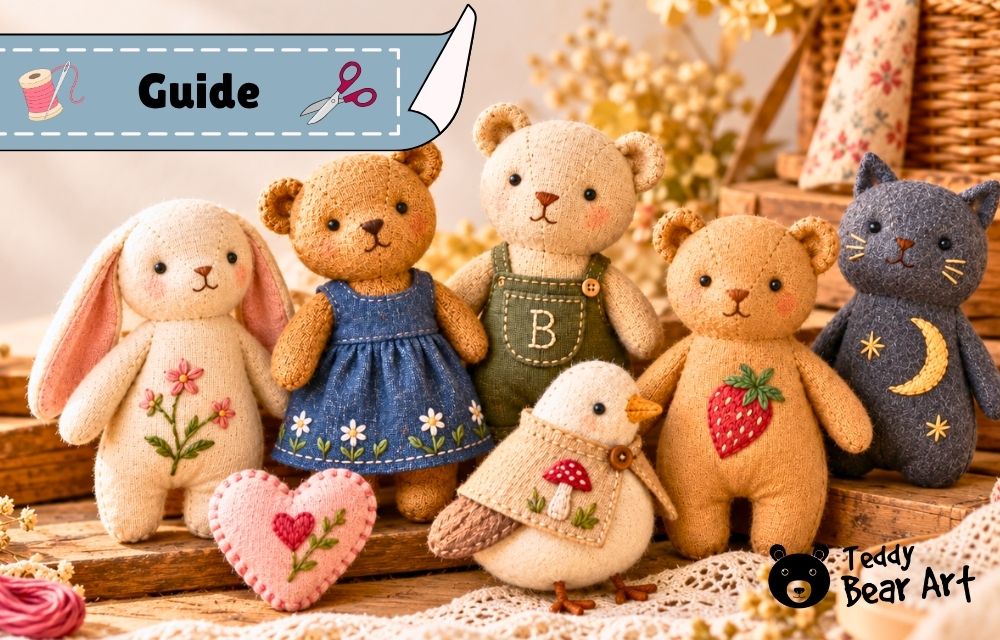

A few embroidered stitches can completely change the character of a simple handmade toy. These embroidery ideas for plush toys are meant for beginners, so the focus is on small motifs that are easy to understand, easy to place, and realistic to recreate. You do not need an elaborate embroidery pattern. A flower, an initial, a tiny mushroom, or a few little stars can be enough to make a plush toy feel much more personal.
Embroidery Ideas for Plush Toys That Are Easy to Recreate
Flowers are a natural place to begin. On this little bunny, a small floral arrangement becomes the main decorative feature. The design is concentrated in one area, so it catches the eye without covering the whole toy. A few petals, leaves, and tiny accent stitches are enough to create something much more interesting than a plain surface. For a first attempt, I would keep the flowers fairly large and use only two or three thread colors.
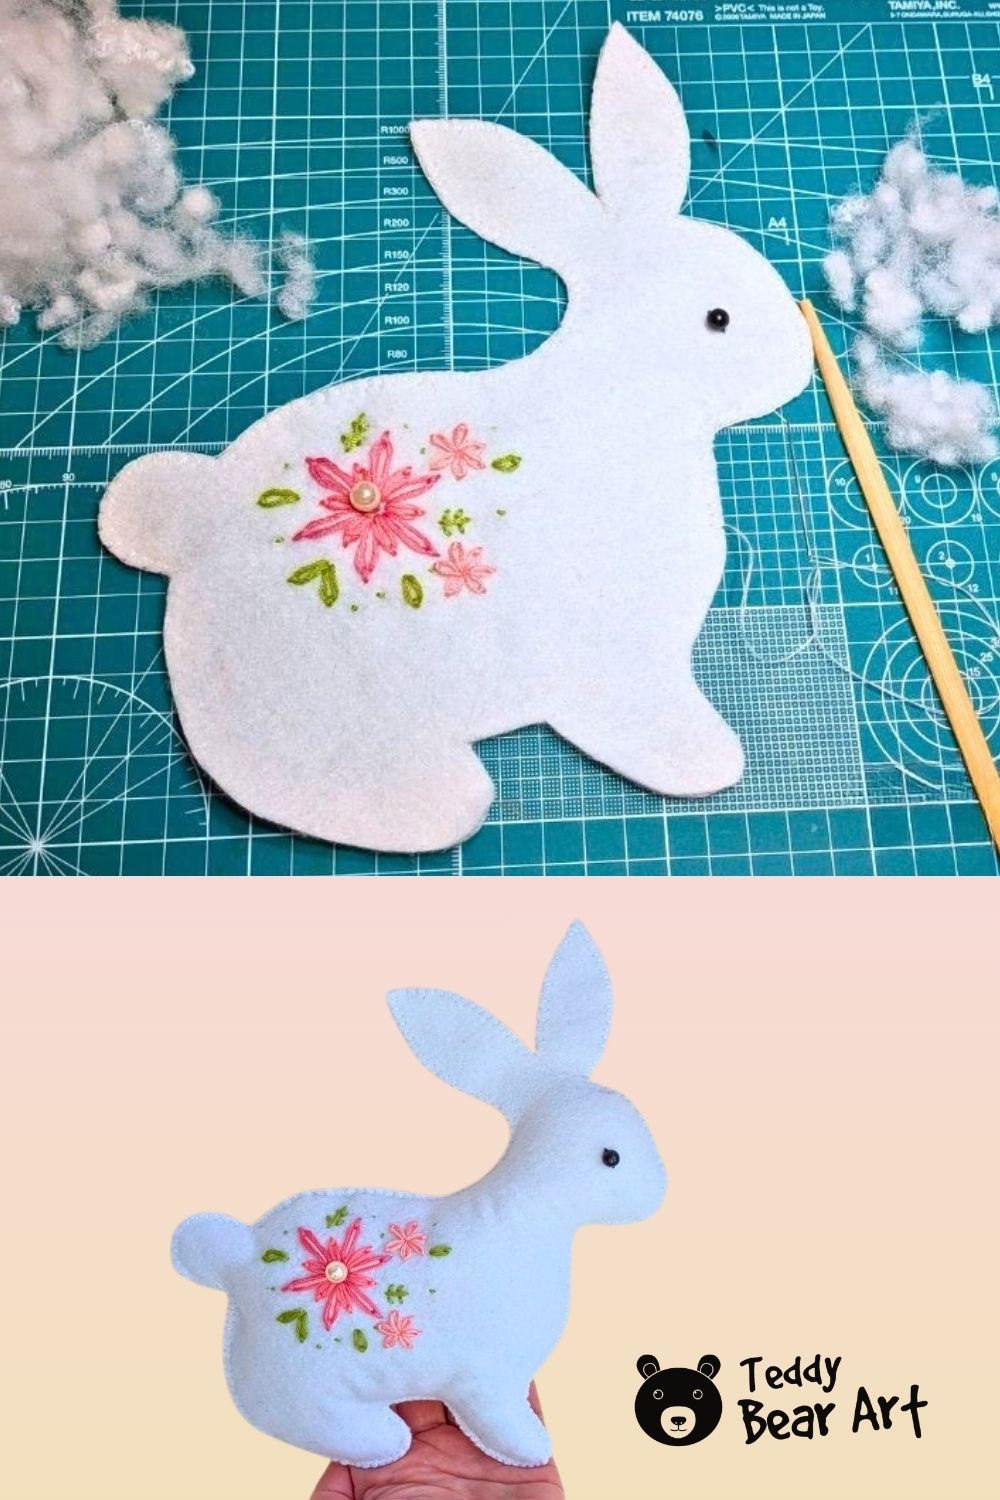
Embroidery can also decorate the clothes instead of the body of the plush. I like this idea because the toy itself can stay very simple while the outfit carries the decorative detail.
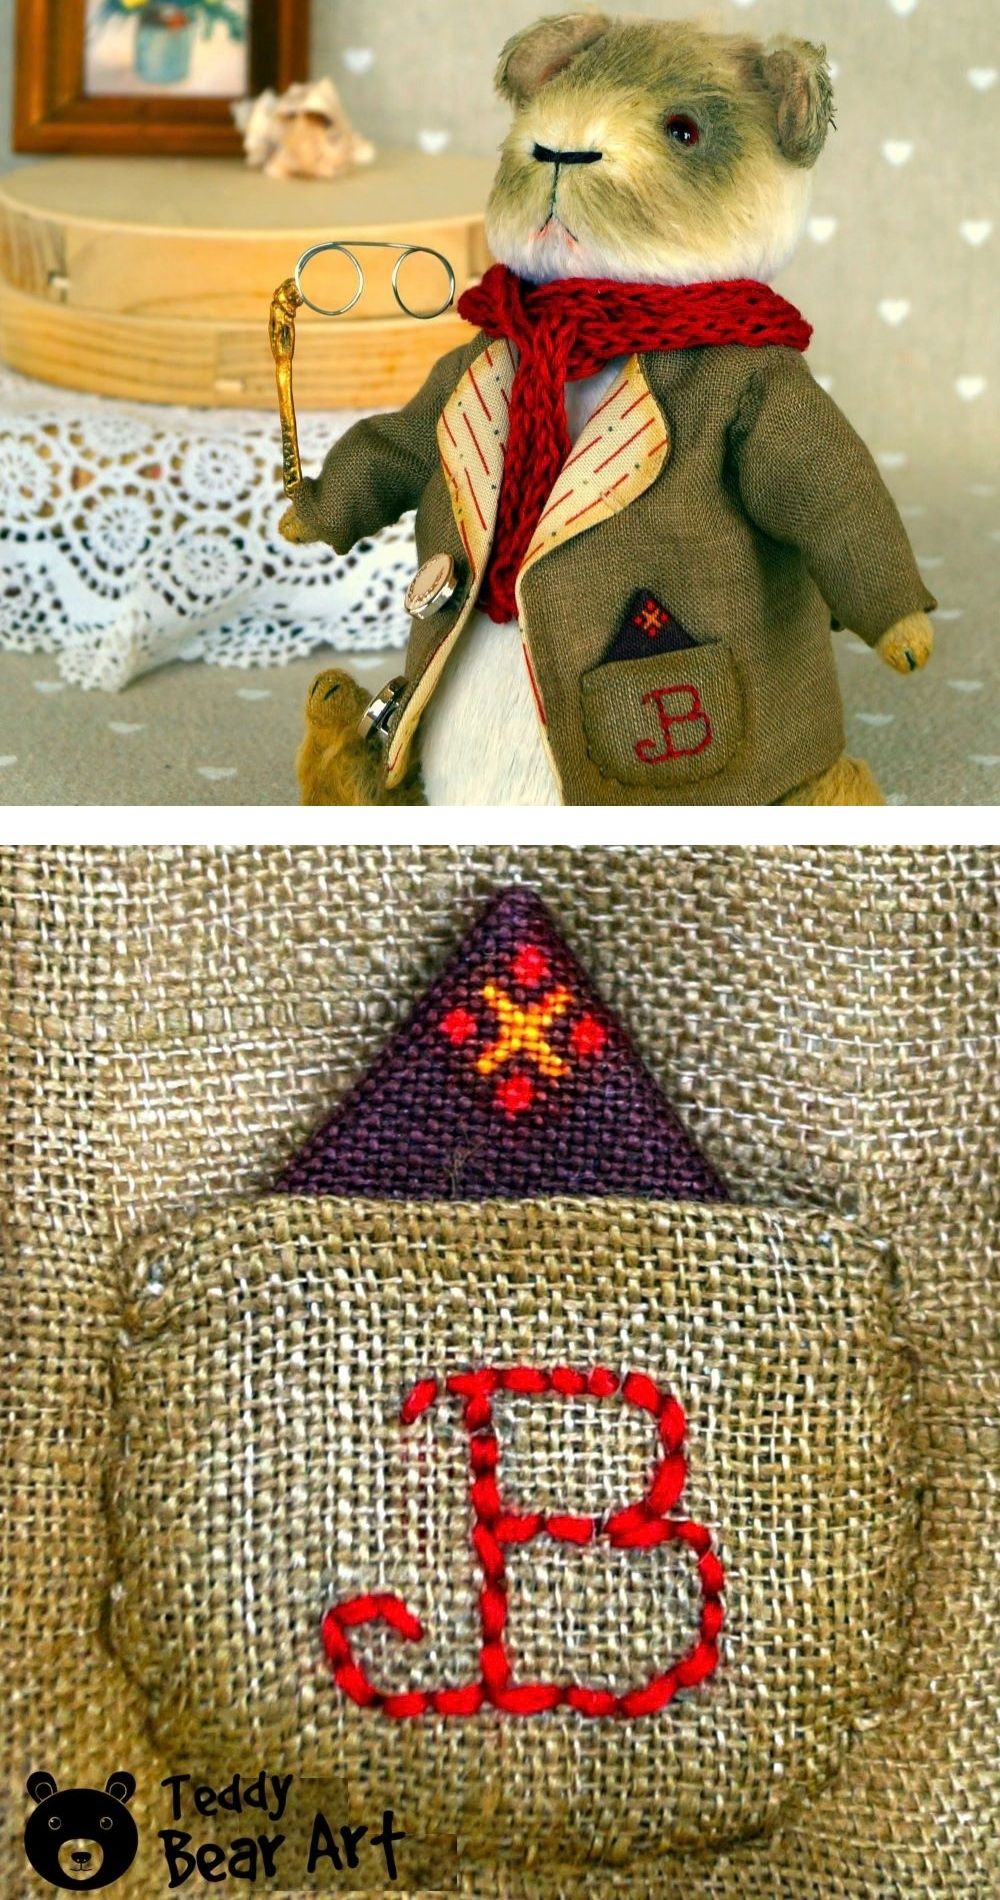
Personalized embroidery is another easy direction. A single initial can turn an ordinary pocket, jacket, heart, or fabric patch into a detail made specifically for one toy. The embroidered letter B on this teddy bear pocket is simple enough to copy without advanced lettering skills. For a first project, I would choose a clear capital letter and avoid complicated curls or decorative fonts. Backstitch or another simple outline stitch is usually enough.
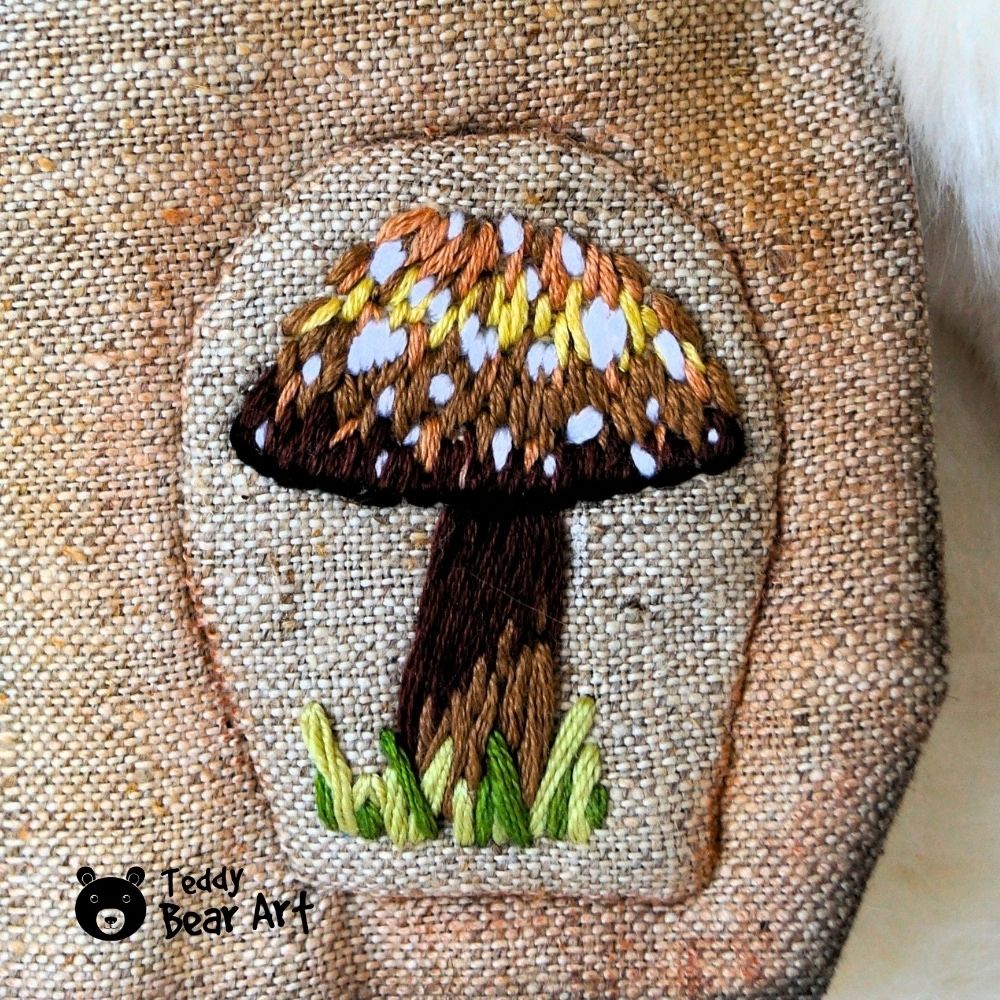
Woodland motifs work especially well on handmade plush toys because they add a little story without requiring a large design. A mushroom can sit on a pocket, patch, tummy, cape, or another small fabric area. Here, the embroidered mushroom decorates the little cape worn by the bird and gives the whole character a cozy forest feel. The motif is small, but it immediately changes the look of the accessory.
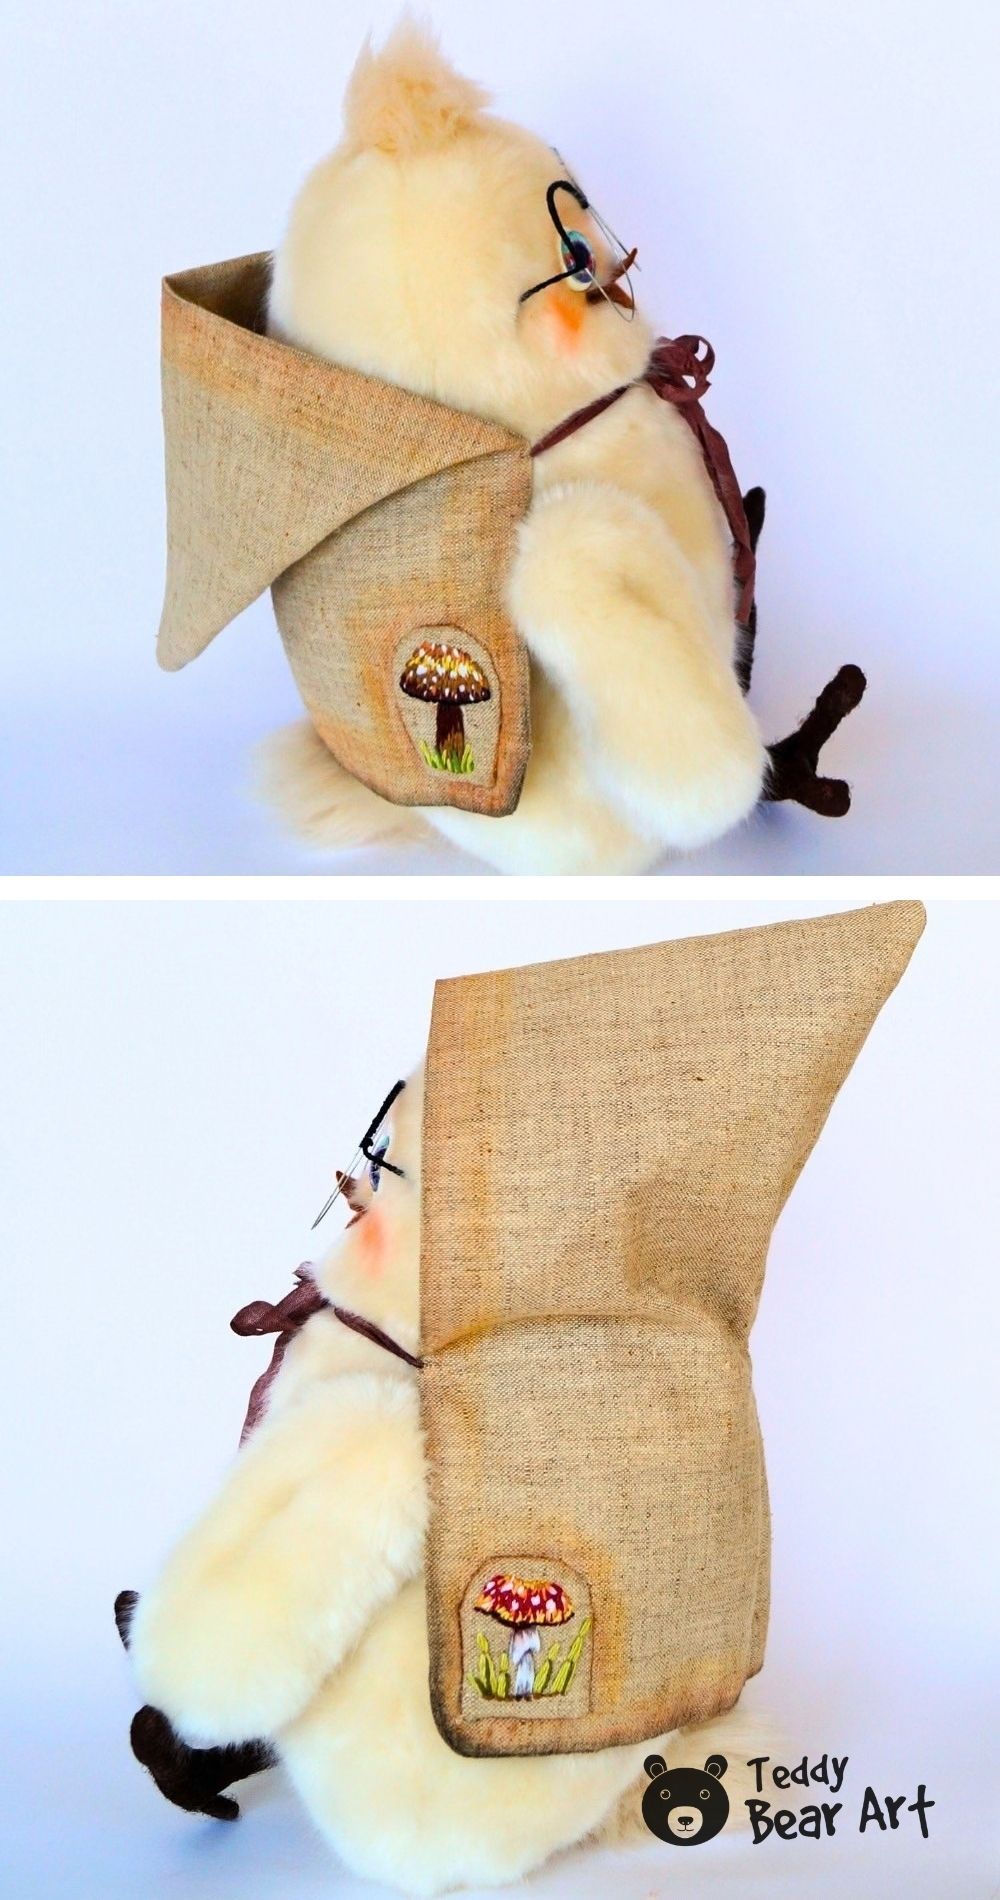
A close-up shows how much can be done with a very simple shape. The mushroom is built from a rounded cap, a stem, a few contrasting stitches, and some grass underneath. Beginners do not need to reproduce every color or every stitch. A simpler version with one cap color, one stem color, and two or three grass stitches would still look charming. Looking closely at a motif like this is often the easiest way to understand how to build your own embroidery.
Hearts are even simpler. One medium heart on the chest can become the main feature, while two or three tiny hearts can be added nearby for a softer decorative effect. The outline can be stitched first and left open, or the center can be filled for a bolder look. A single heart is already enough to make a plain cotton or felt toy feel more personal.

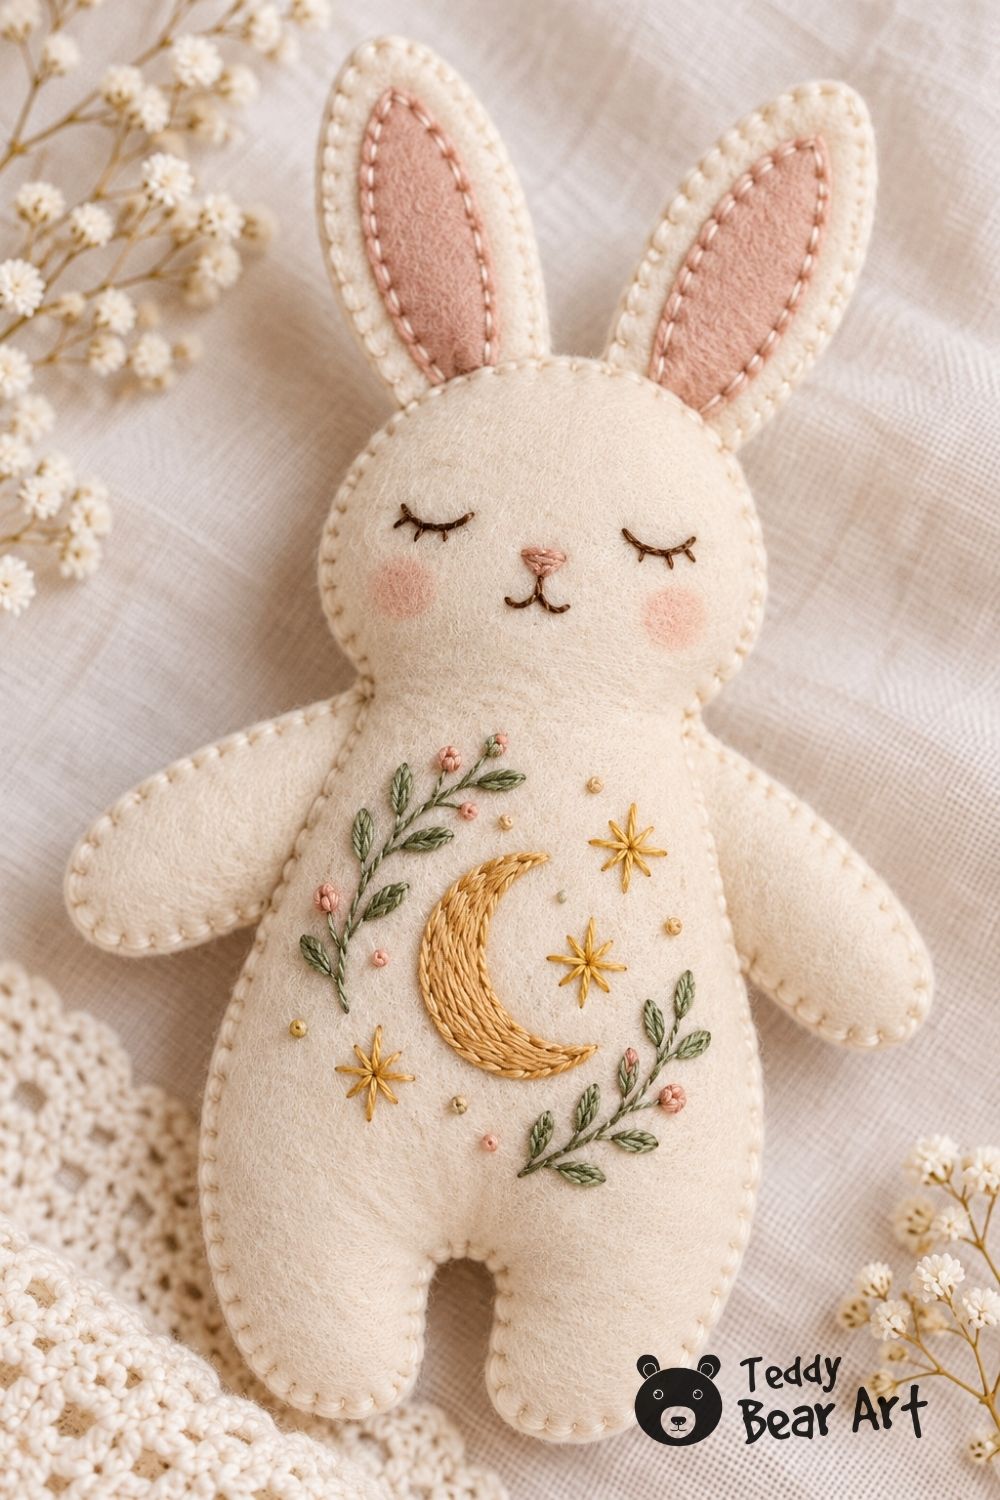
A moon and stars create a completely different mood. This idea works beautifully for a sleepy bunny, cat, bear, or another soft character with a dreamy look. A crescent moon with just two or three stars is enough. There is no need to create a complicated night sky. Pale gold, soft yellow, cream, or muted blue thread can keep the embroidery gentle and easy to see.
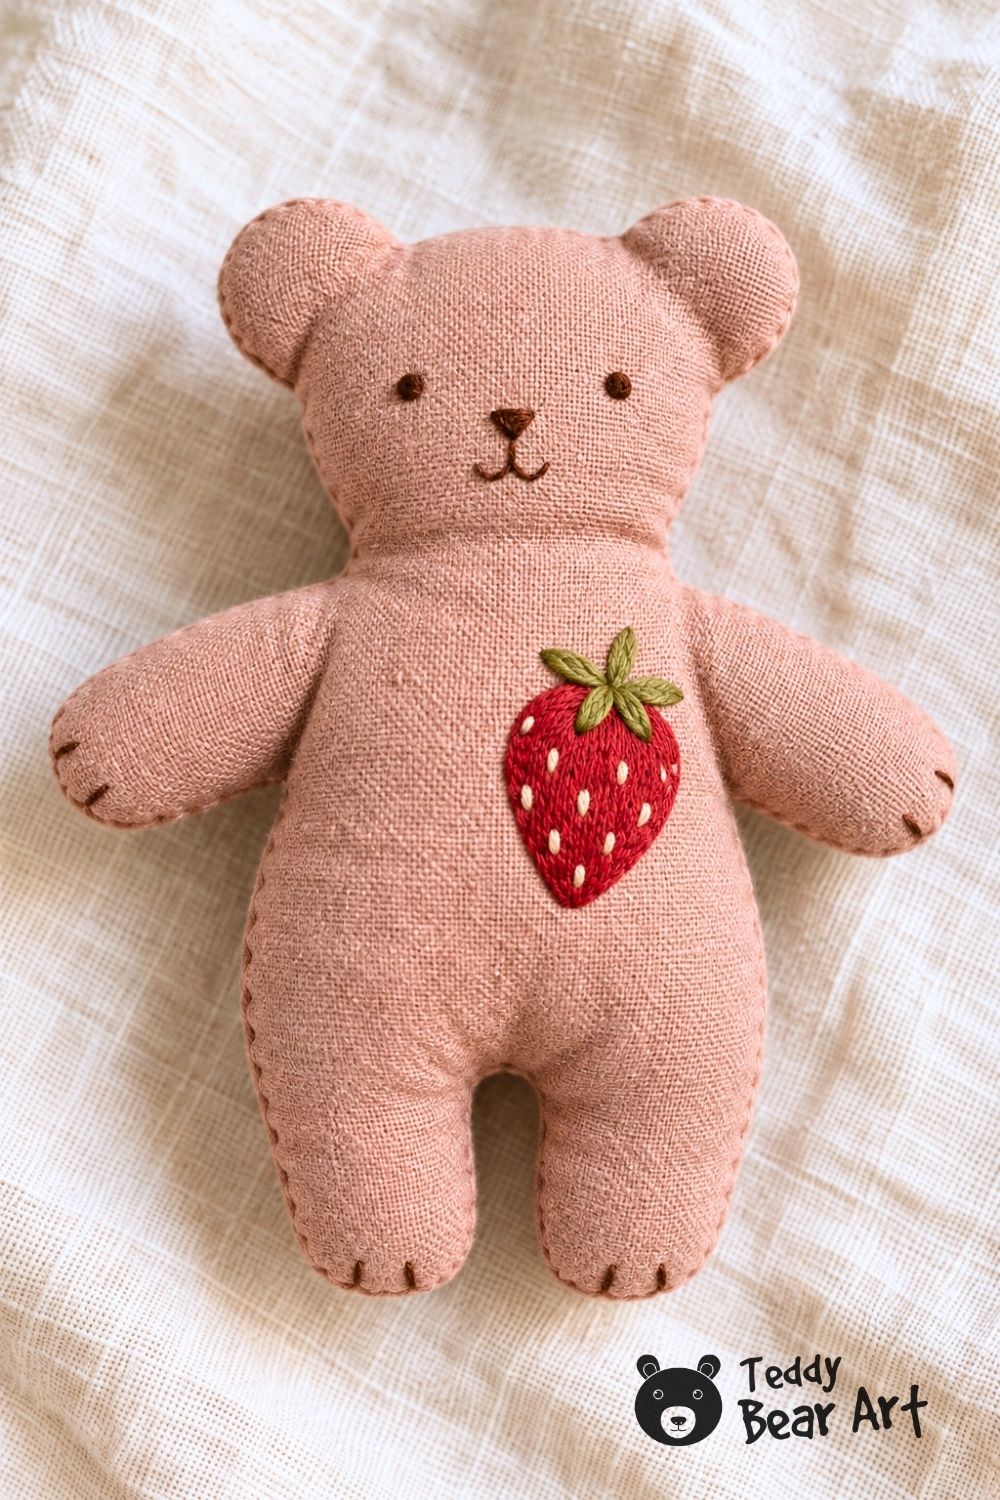
Berries and small fruits are another beginner-friendly choice. Strawberries and cherries have clear shapes and naturally introduce brighter colors. A single strawberry on the tummy can become the whole decorative idea for the toy. Keeping the leaves small and the fruit shape simple makes the motif much easier to follow and recreate.
How to Keep Beginner Embroidery Simple and Clear
The easiest way to make embroidery look good is to resist adding too much. I prefer one main motif rather than several unrelated decorations on the same toy. If the character already has flowers, it probably does not also need mushrooms, hearts, stars, and berries.
I often embroider before assembling the toy because a flat fabric piece is easier to hold and stitch. But I also add embroidery after the toy is finished when the motif is small, and the chosen area is easy to reach. Both methods work, and I use both depending on the project.
Before stitching, the motif can be lightly drawn with a removable fabric marker or a simple pencil. Keep the lines very light, just enough to guide the stitches.
For small motifs, I would start with only two or three thread colors. Too many colors can make a tiny design look busy. A little contrast between the fabric and thread helps each stitch stay visible.
Cotton is one of the easiest fabrics for this type of work. Linen can also be beautiful, especially for rustic or woodland-style toys. Very fluffy fabric is more difficult because small stitches can disappear into the pile.
The scale of the embroidery matters too. If the motif is too tiny, it may be difficult for a beginner to control the stitches. A slightly larger flower, strawberry, heart, or mushroom is often easier to sew and easier to see on the finished toy.
FAQ
What is the easiest embroidery motif for a plush toy?
Hearts, simple flowers, initials, stars, and small mushrooms are good beginner choices because the shapes are easy to recognize and do not require many stitches.
What fabric is easiest for embroidery on plush toys?
Smooth cotton is one of the easiest choices for beginners. The stitches remain visible, and the fabric is easy to handle. Felt and linen can also work very well.
Do I have to embroider before sewing the plush toy together?
No. I embroider both before assembly and on finished toys. Flat pieces are usually easier for larger or more detailed motifs, while small decorations can also be added later if the area is easy to reach.
Before You Go
Start with one small motif rather than trying to decorate the whole toy. A single flower, mushroom, heart, initial, or strawberry can be enough to give a simple handmade plush its own character.
If you would like to practice simple embroidery on an actual toy project, take a look at my Easy Felt Rabbit Sewing Pattern Tutorial. It includes step-by-step embroidery examples together with the rabbit pattern, so you can see how small decorative details are added in practice.
Get Free Patterns & Be the First to Know!
Want free teddy bear patterns, exclusive tutorials, and a chance to win craft supplies?
Sign up for our newsletter using the subscribe form in the middle of this article to receive new patterns, insider tips, and the latest news on teddy bear art. You’ll also automatically be entered into our annual giveaway for a chance to win teddy bear crafting materials.
Bonus entry: Save one of our pins on Pinterest to increase your chances of winning!
Let’s create, inspire, and craft beautiful teddy bears together!