
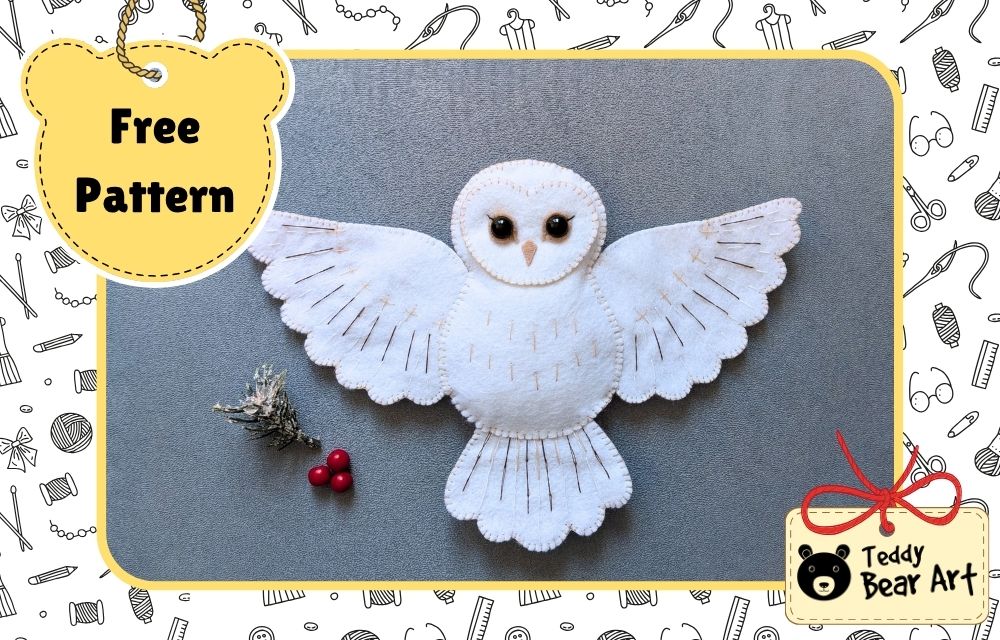

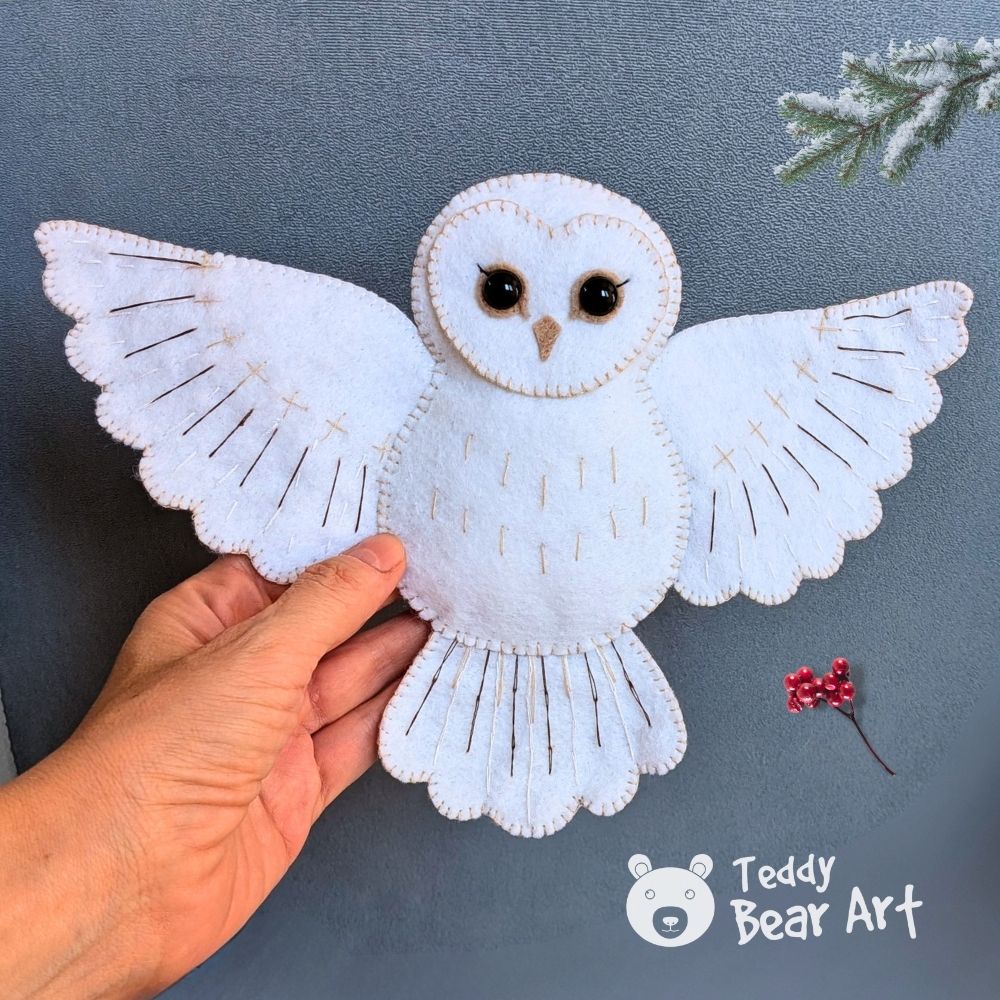
This felt owl sewing pattern tutorial for beginners shows how to make a soft white owl with wide-open wings, simple embroidery, and a lightly stuffed body. The design looks detailed, but the construction is quite simple, and most of the character comes from small hand-stitched details.
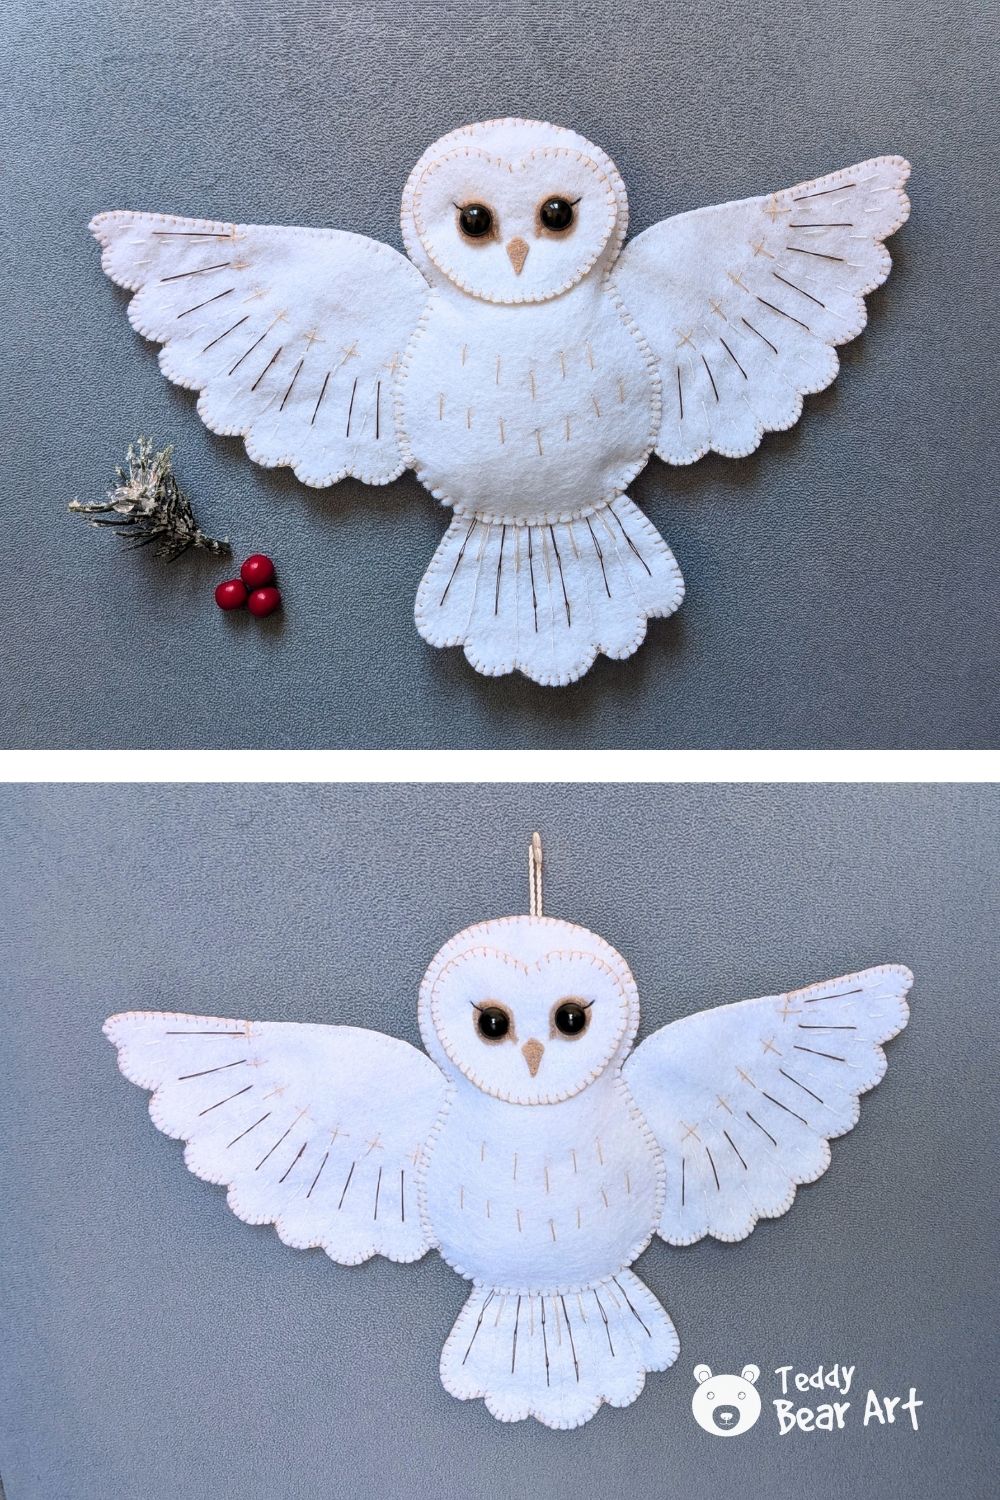
You can keep the owl as a soft felt toy or finish it with a small loop at the top for hanging. We will also show an optional way to add soft felted eyelids around the glass eyes for a more expressive face.
Download The Pattern
Notice: No additional seam allowance is needed. Cut directly along the pattern lines.
To download the pattern, follow the instructions below:
From a phone or tablet: There should be a similar option for mobile devices with Android or iOS. Click on the image. Save it by holding your finger on the image and selecting the “Save Image” option. Then, go to your photo gallery and print it (an option available).
From a computer: Click on the photo of the pattern you see below. In the new tab that will open, press the right mouse button and select the “Save image as …” option. Then, choose where the image will be saved on your computer.

What You’ll Need
- White felt
- A small piece of beige felt for the beak
- White, beige, brown, and black thread
- Eyes
- Sewing needle
- Polyester stuffing
- Scissors
- Marker or pencil for transferring embroidery lines
- Glue
- Beige wool or felt fibers for the optional eyelids (optional)
- Felting needle (optional)
- Ribbon or cord if you want to add a hanging loop (optional)
Most of the sewing is done with blanket stitch. If this stitch is new to you, you can watch our blanket stitch video tutorial first and then return to the project.
Sewing Step-by-Step Tutorial
Cut the Felt and Add the Embroidery
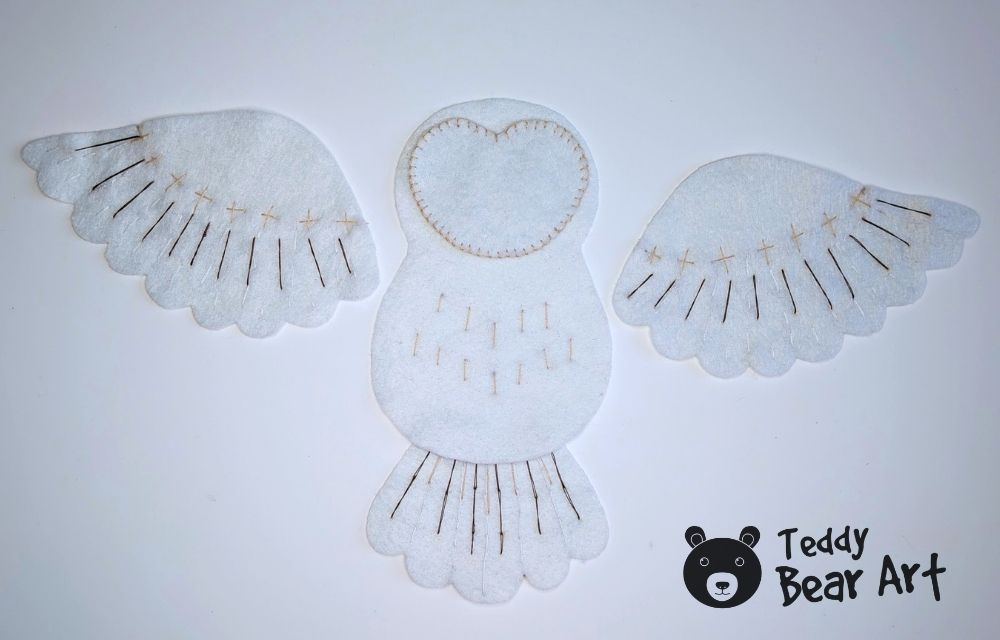
Cut all the pieces from felt. Transfer the embroidery lines onto the front body piece, two front wing pieces, and one tail piece.
Start with the wings and tail. Embroider the feather lines following the pattern. The embroidery does not need to be perfectly identical on both wings. Slight differences make the finished owl look more handmade and natural.
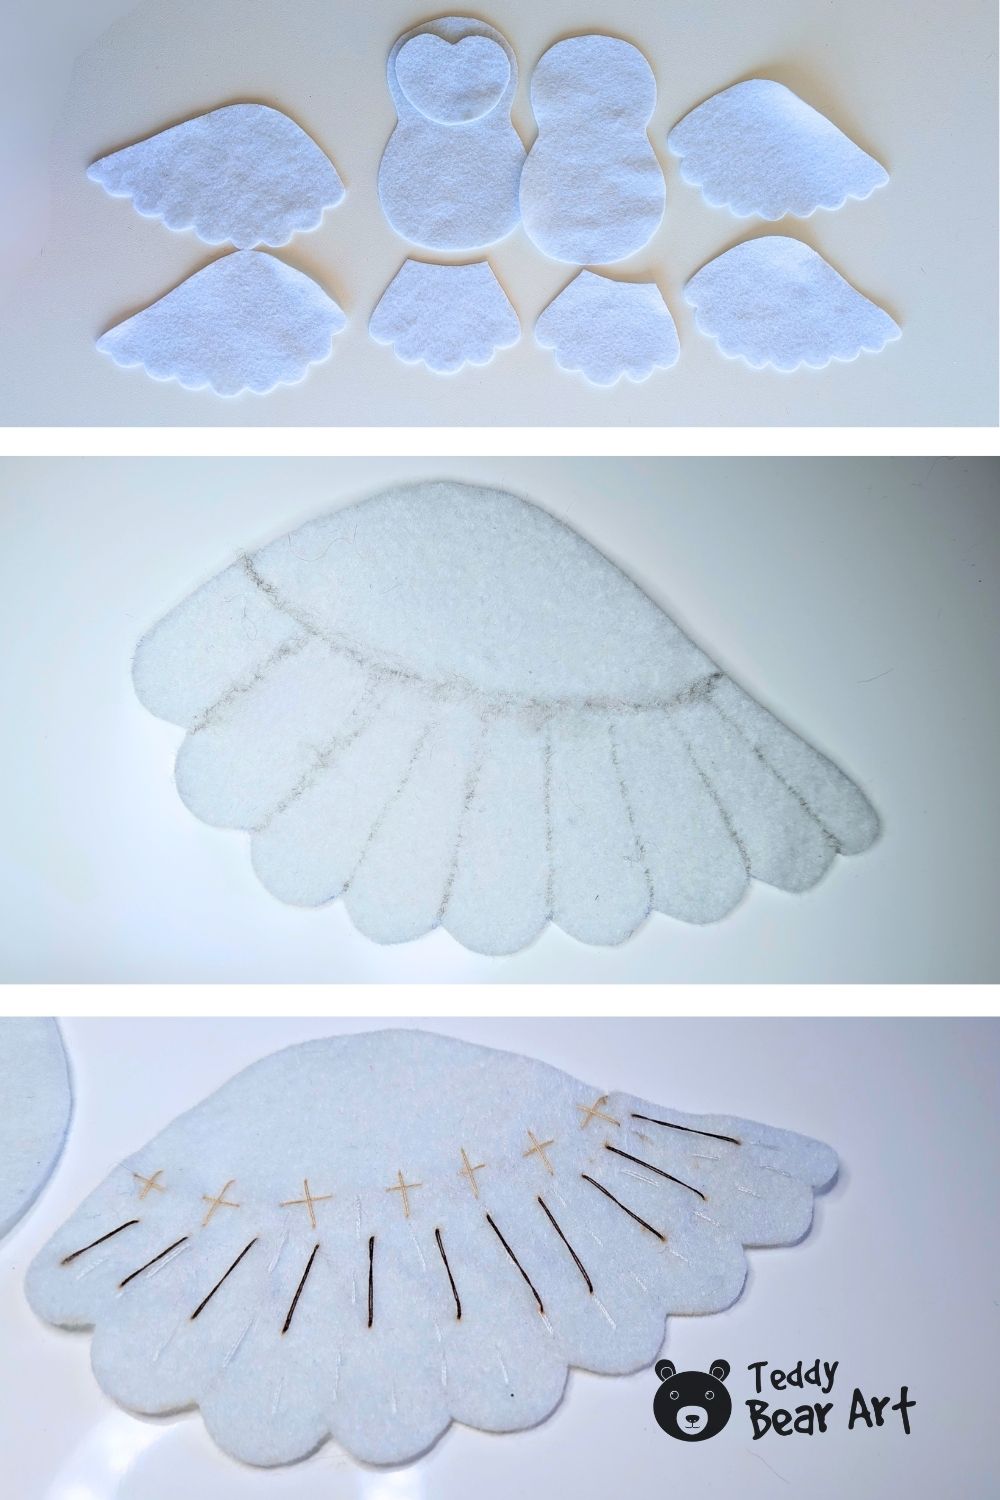
Next, embroider the small feather marks on the front body piece.
Take the face piece and work blanket stitch all around its edge using beige thread. The stitching becomes part of the decoration, so try to keep the stitches fairly even.
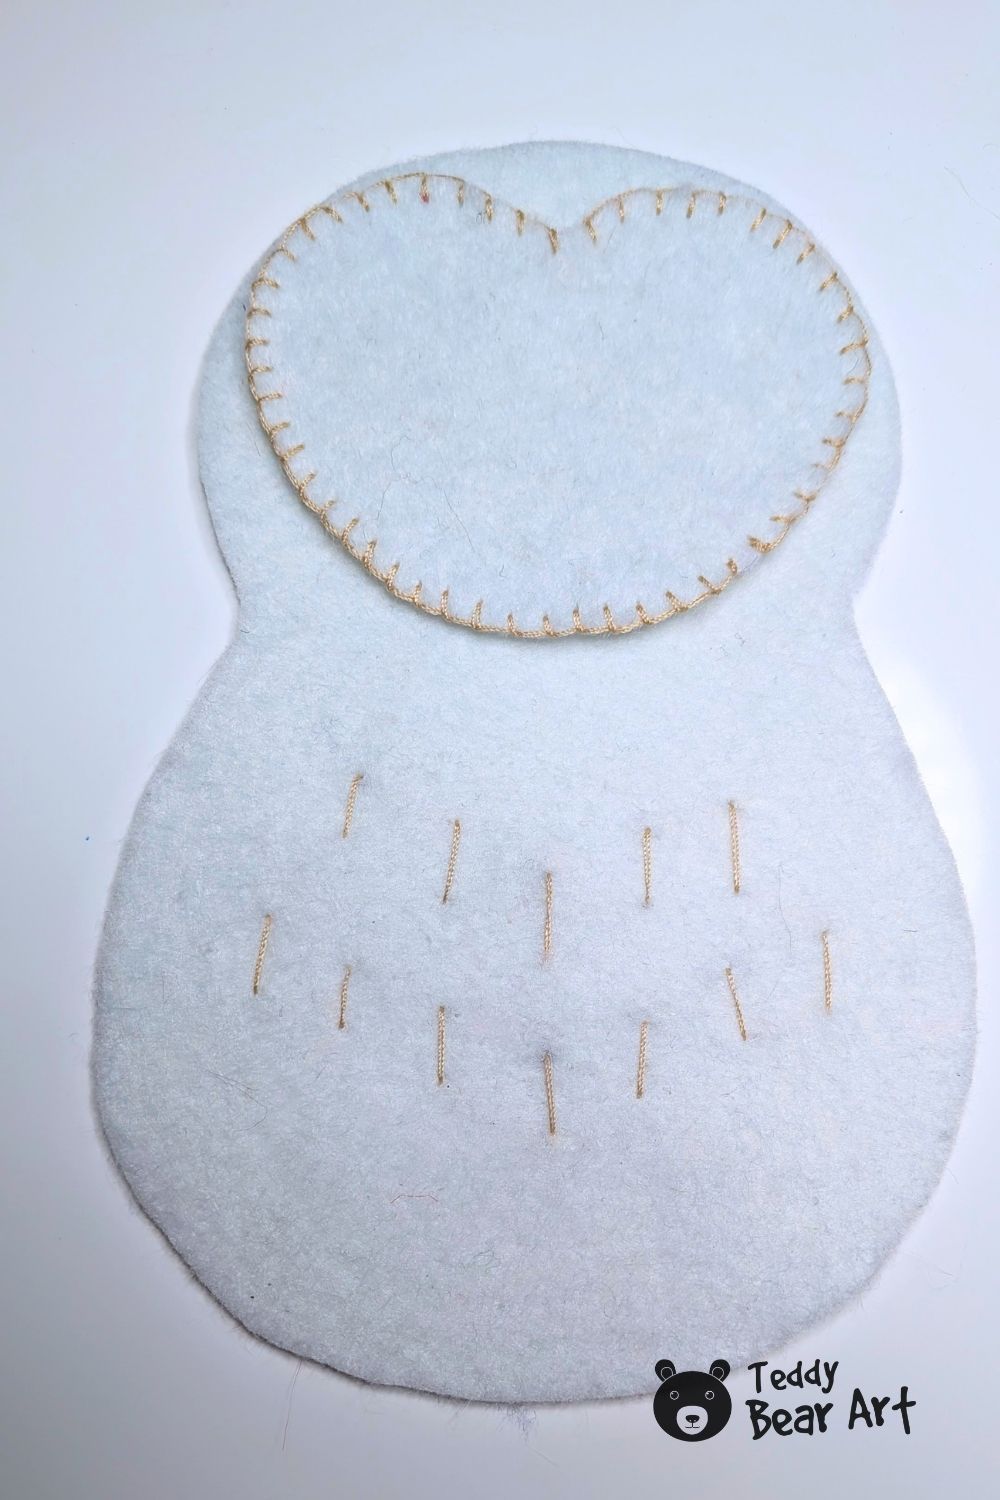
At this stage, the body, face, wings, and tail should all have their decorative embroidery finished.
Finish the Wings and Tail
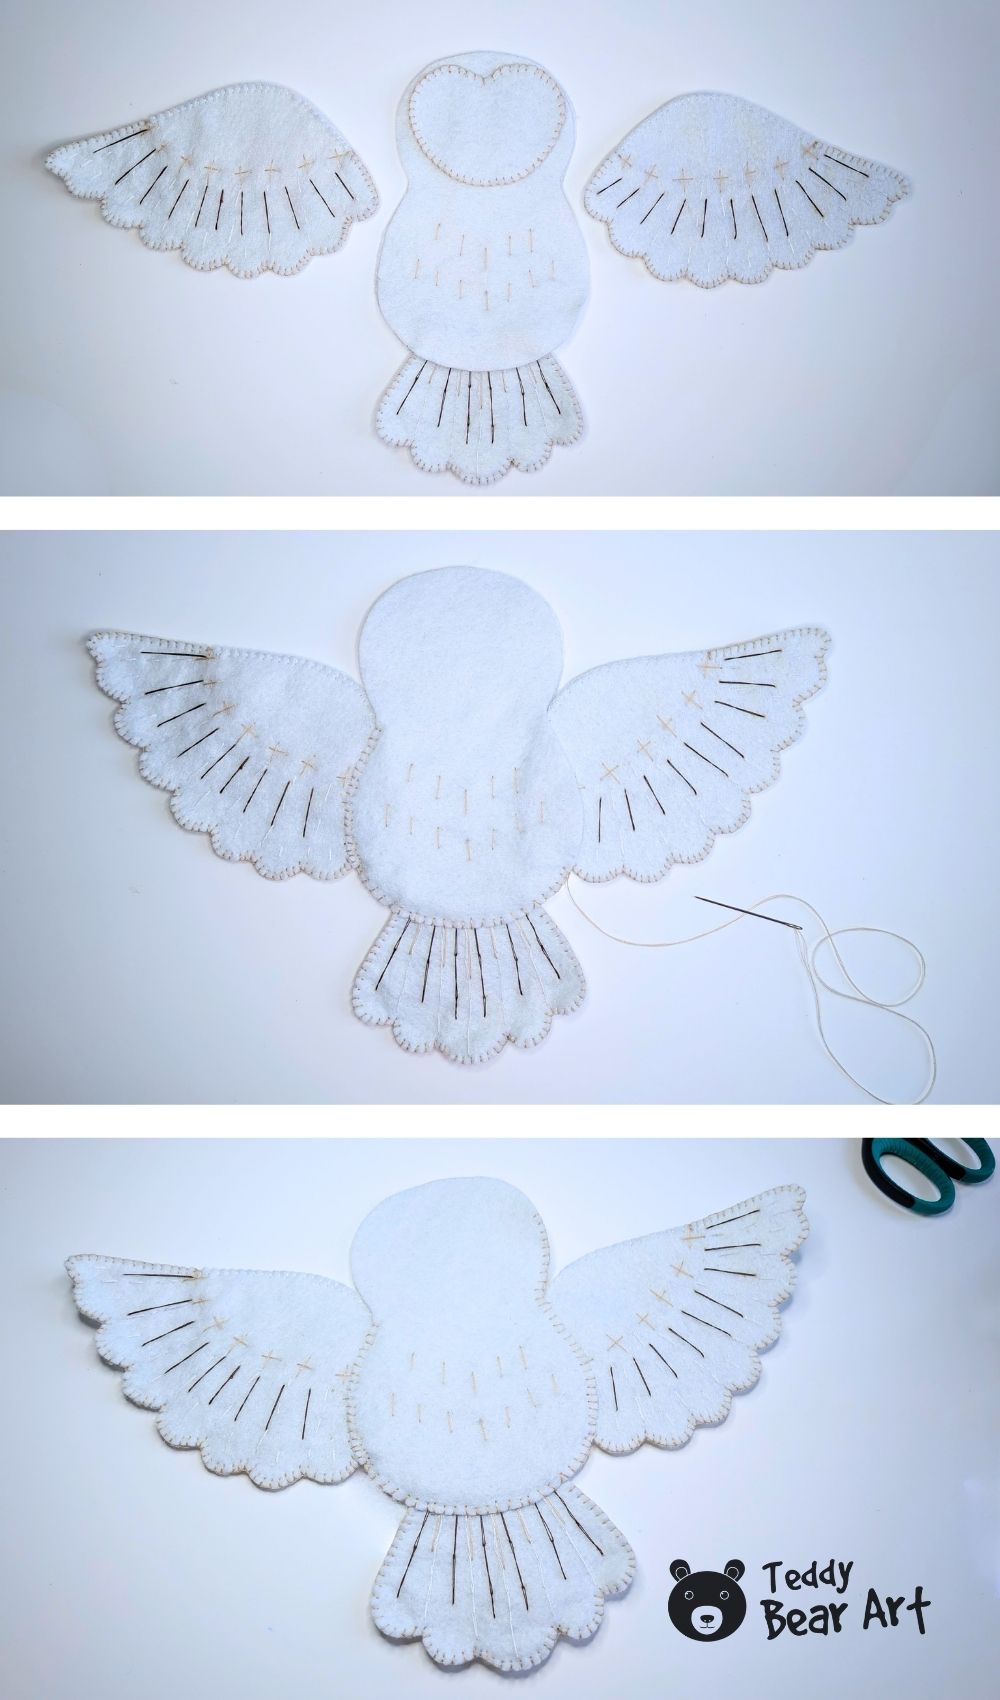
Place each embroidered wing piece on top of a plain matching wing piece.
Join the two layers with blanket stitch. For our owl, I used two thread colors. White thread was used along the upper part of the wing, and beige thread was used around the rounded feather edge.
You can make this step simpler and use only one thread color. I used two because we wanted a little more detail.
Prepare the tail in the same way, placing the embroidered piece over the plain backing and sewing the layers together.

Assemble and Stuff the Owl
Place the finished wings and tail in their correct positions against the front body piece. The raw attachment edges should sit between the front and back body pieces.
Place the back body piece over everything and begin sewing around the body with blanket stitch. As you sew, the bases of the wings and tail are caught securely inside the body seam.
Continue around the owl, but leave a small opening for stuffing on the top of the head.
Add a small amount of stuffing. The owl should have a soft shape, but it does not need to become very thick. The slightly flat shape works especially well with the wide open wings.
Finish sewing the opening closed.
Make the Owl’s Face
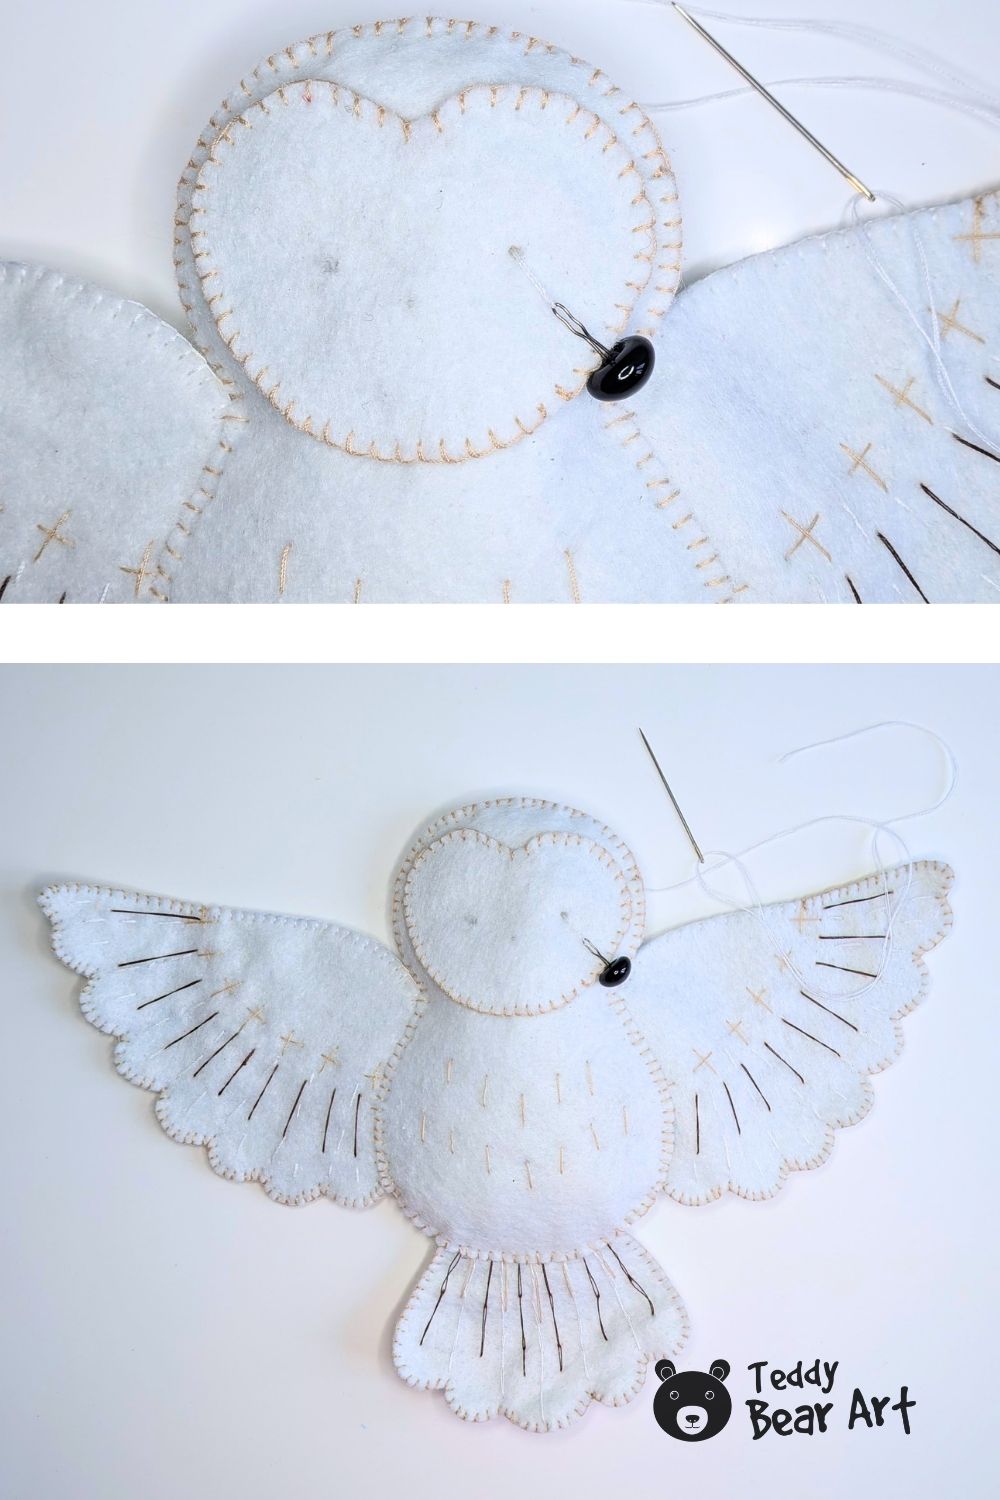
Attach the face to the body using glue.
Now we can add the glass eyes.
The center of the face should be left unglued, because we need the felt to stay soft enough to work with. Position the eyes, sew them securely through their loops, and gently tighten the thread so the eyes sit slightly recessed into the face. This creates the look of small eye sockets instead of having the eyes simply sitting on top of the felt.
Once the eyes are secure, add small decorative stitches around them. At this point, you can stop if you like this simpler look. The owl already has a finished expression.
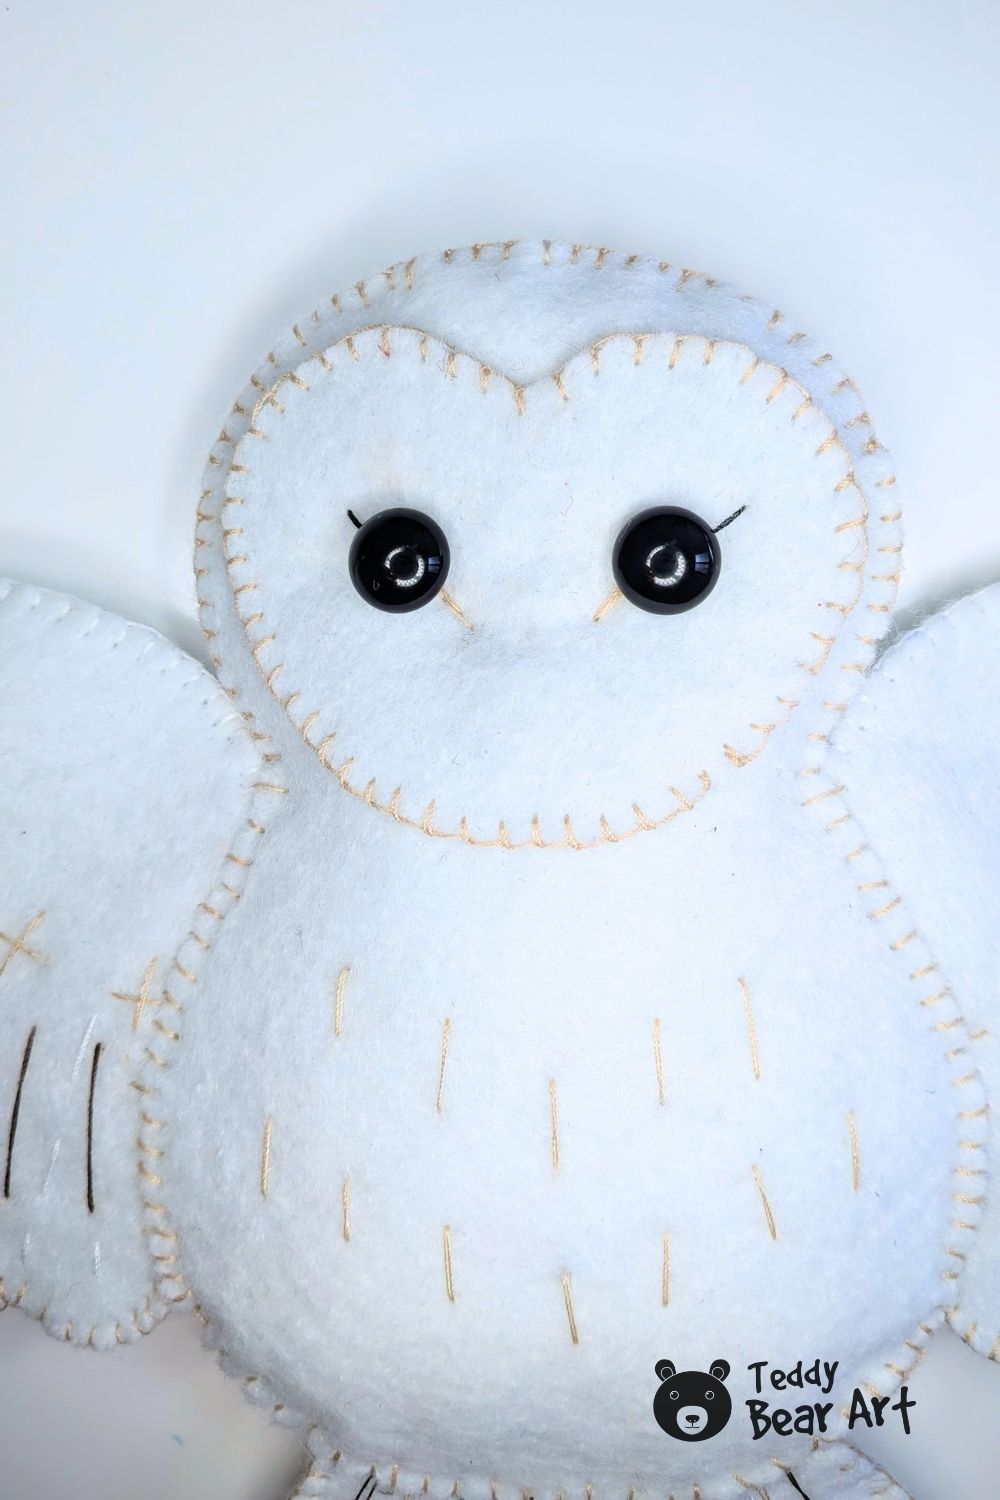
For our owl, I added another detail.
Take very small pieces of beige wool or felt fibers and needle-felt them around the eyes to form soft eyelids. The felted fibers will cover some of the decorative stitches made earlier.
Because those stitches became less visible, we added one black stitch across the upper part of each eye, directly over the felted eyelid. This gives the eyes more definition.

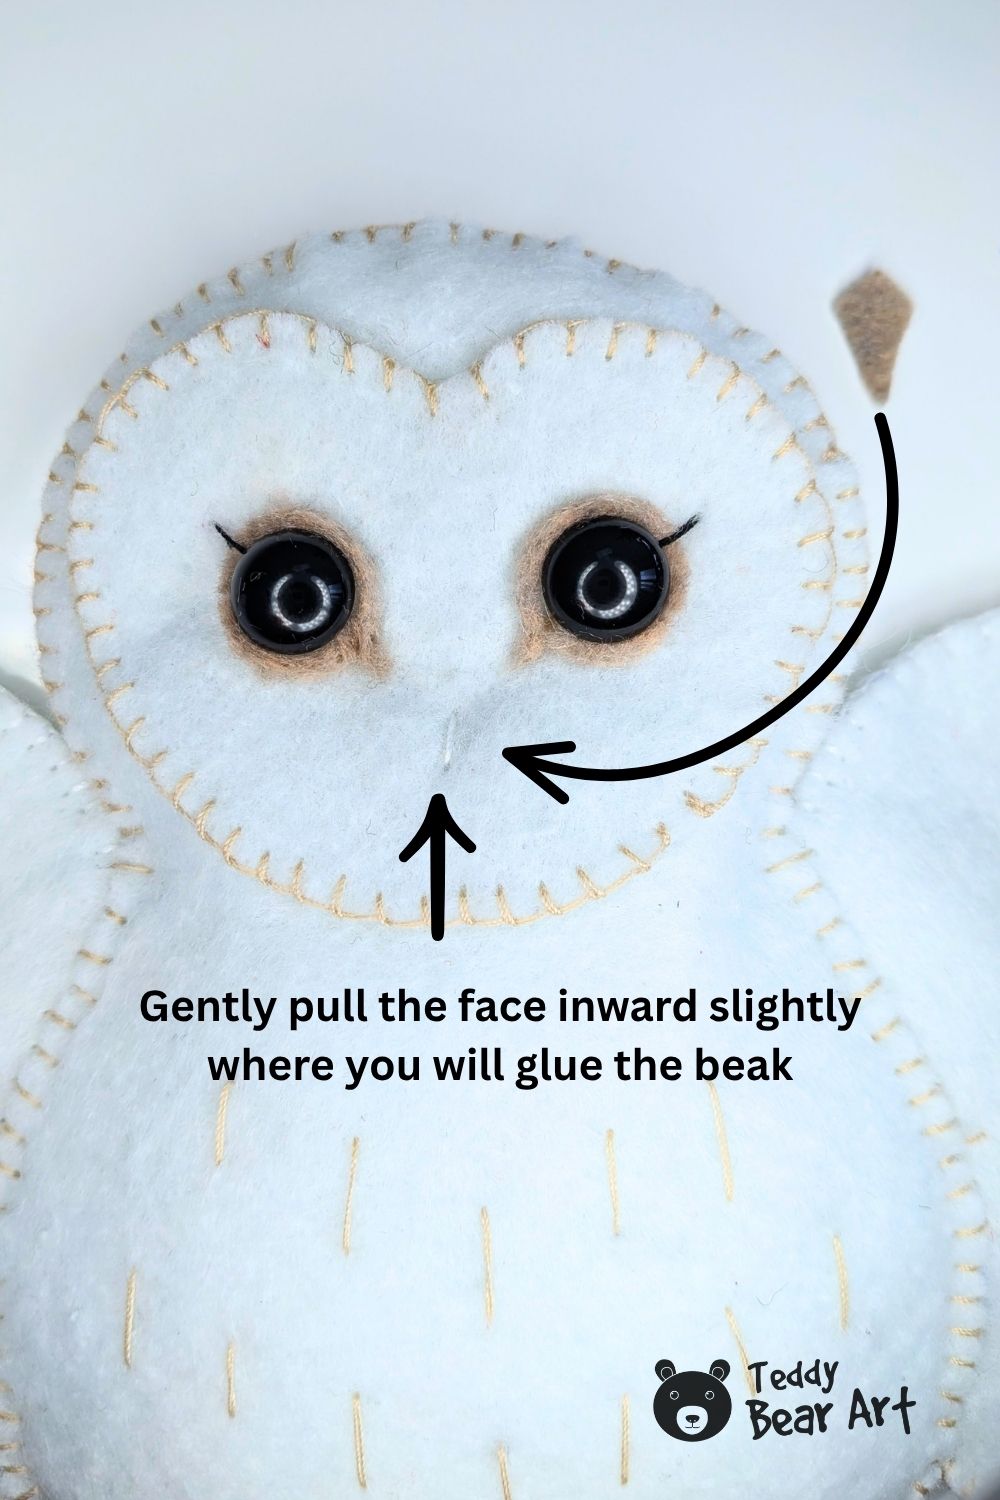
The eyes are slightly pulled inward, so the beak looks better if the center of the face has a little depth too.
Gently pull the face inward slightly where you will glue the beak. Do not pull too tightly. We only want a small indentation so the beak sits naturally between the eyes.
Cut the beak from beige felt and glue it into place.
Now check the owl from the front and gently adjust the stuffing with your fingers if necessary. If you would like to hang the owl, add a small ribbon or cord loop at the top.
FAQ
Can I make this felt owl without glass eyes?
Yes. You can replace the glass eyes with embroidered eyes, small felt circles, or securely sewn buttons. Embroidered eyes are a good option if you want to keep the project especially simple.
Do I have to add the felted eyelids?
No. They are completely optional. After inserting the glass eyes and adding the decorative stitches, the face already looks finished. The felted eyelids simply give the owl a little more depth and expression.
Can I simplify the embroidery?
Absolutely. The dark feather lines and small cross stitches are decorative. You can use fewer lines, one thread color, or leave some of the embroidery out. The basic owl shape will still work.
Before You Go
This felt owl is a good project for practicing blanket stitch, simple embroidery, and basic felt construction without working with lots of tiny pattern pieces. The wide wings make the finished toy especially eye-catching, while the lightly stuffed body keeps it easy to sew.
Download the free pattern, choose your thread colors, and make the details as simple or elaborate as you like.
If you enjoyed making this felt owl, try our free Moon Cat Sewing Pattern next for another cute felt toy project.
Get Free Patterns & Be the First to Know!
Want free teddy bear patterns, exclusive tutorials, and a chance to win craft supplies?
Sign up for our newsletter using the subscribe form in the middle of this article to receive new patterns, insider tips, and the latest news on teddy bear art. You’ll also automatically be entered into our annual giveaway for a chance to win teddy bear crafting materials.
Bonus entry: Save one of our pins on Pinterest to increase your chances of winning!
Let’s create, inspire, and craft beautiful teddy bears together!