
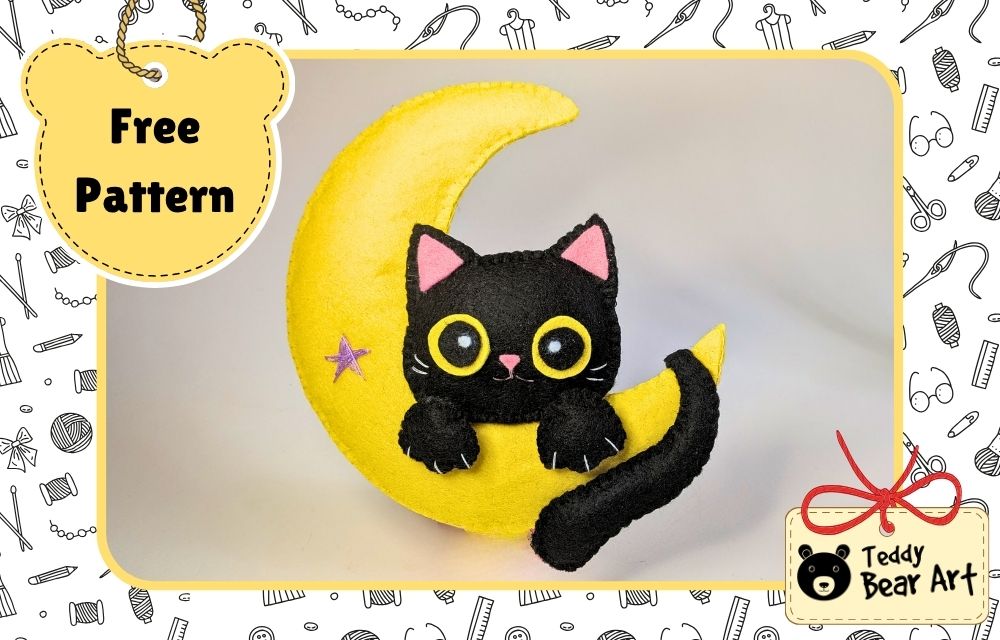

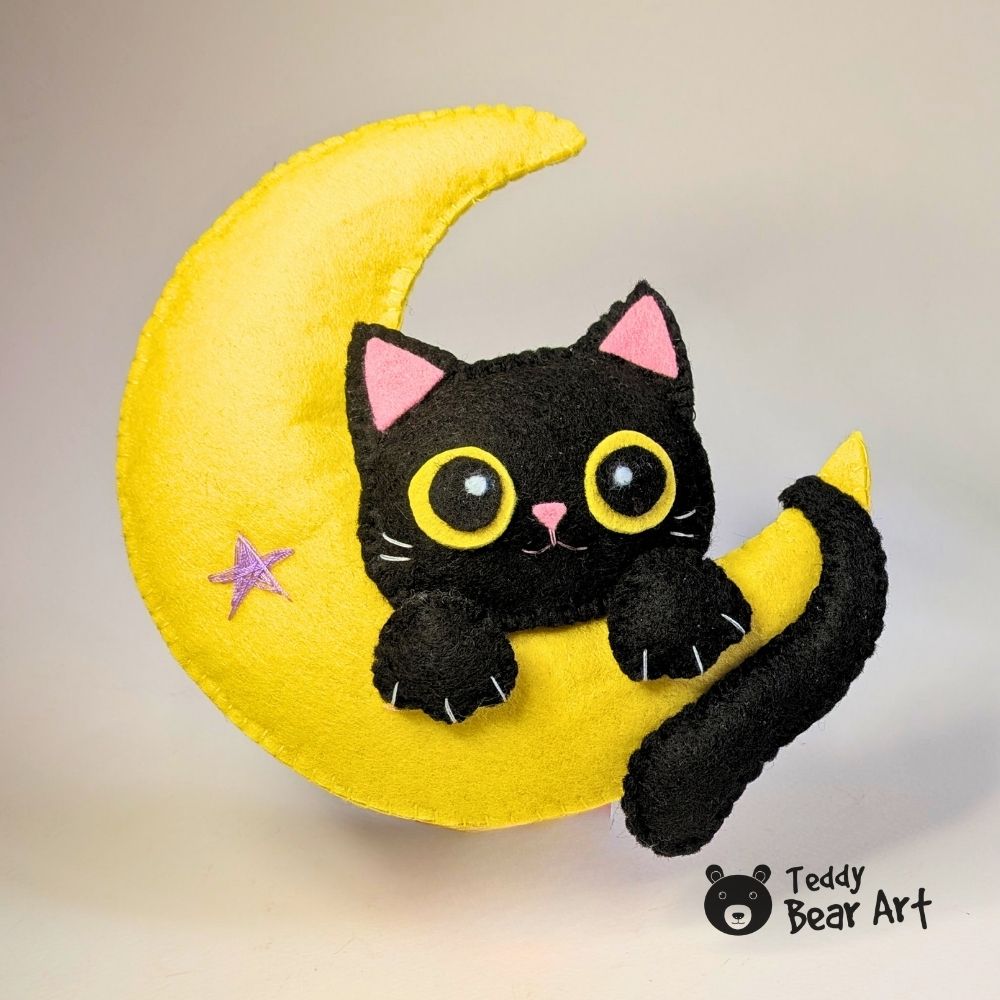
This moon cat sewing pattern is a fun hand-sewn project for anyone who loves small felt toys. I wanted the cat to look as if it had climbed right into the crescent moon, with its paws resting on the edge and its long tail curling around the lower tip. The finished toy is about 15 x 15 cm.
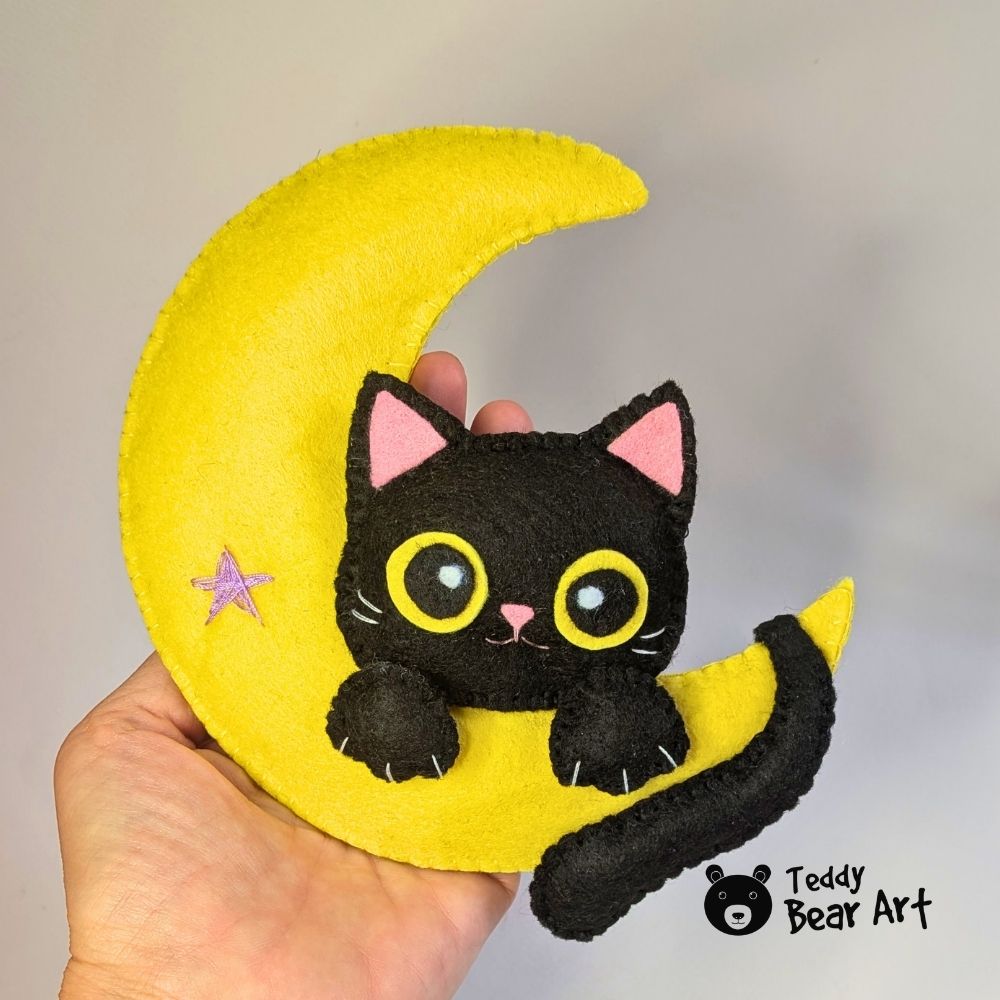
I made mine with a bright yellow moon and a black cat with huge yellow eyes. The contrast gives the little cat lots of personality, but you can easily change the colors and create your own version. The shapes are simple, and the project is sewn by hand with basic stitches.
Download The Pattern
Notice: No additional seam allowance is needed. Cut directly along the pattern lines.
To download the pattern, follow the instructions below:
From a phone or tablet: There should be a similar option for mobile devices with Android or iOS. Click on the image. Save it by holding your finger on the image and selecting the “Save Image” option. Then, go to your photo gallery and print it (an option available).
From a computer: Click on the photo of the pattern you see below. In the new tab that will open, you press the right mouse button and select the “Save image as …” option. Then, you choose where the image will be saved on your computer.

What You’ll Need
- Yellow felt for the moon and eye circles
- Black felt for the cat, paws, tail, and pupils
- Pink felt for the inner ears and nose
- White felt for the eye highlights
- Polyester stuffing
- Sewing and embroidery thread
- White thread for whiskers and claws
- Purple thread for the star, or another color you like
- Hand-sewing needle
- Scissors
- Glue
Moon Cat Sewing Pattern Tutorial
Cut Out the Felt Pieces
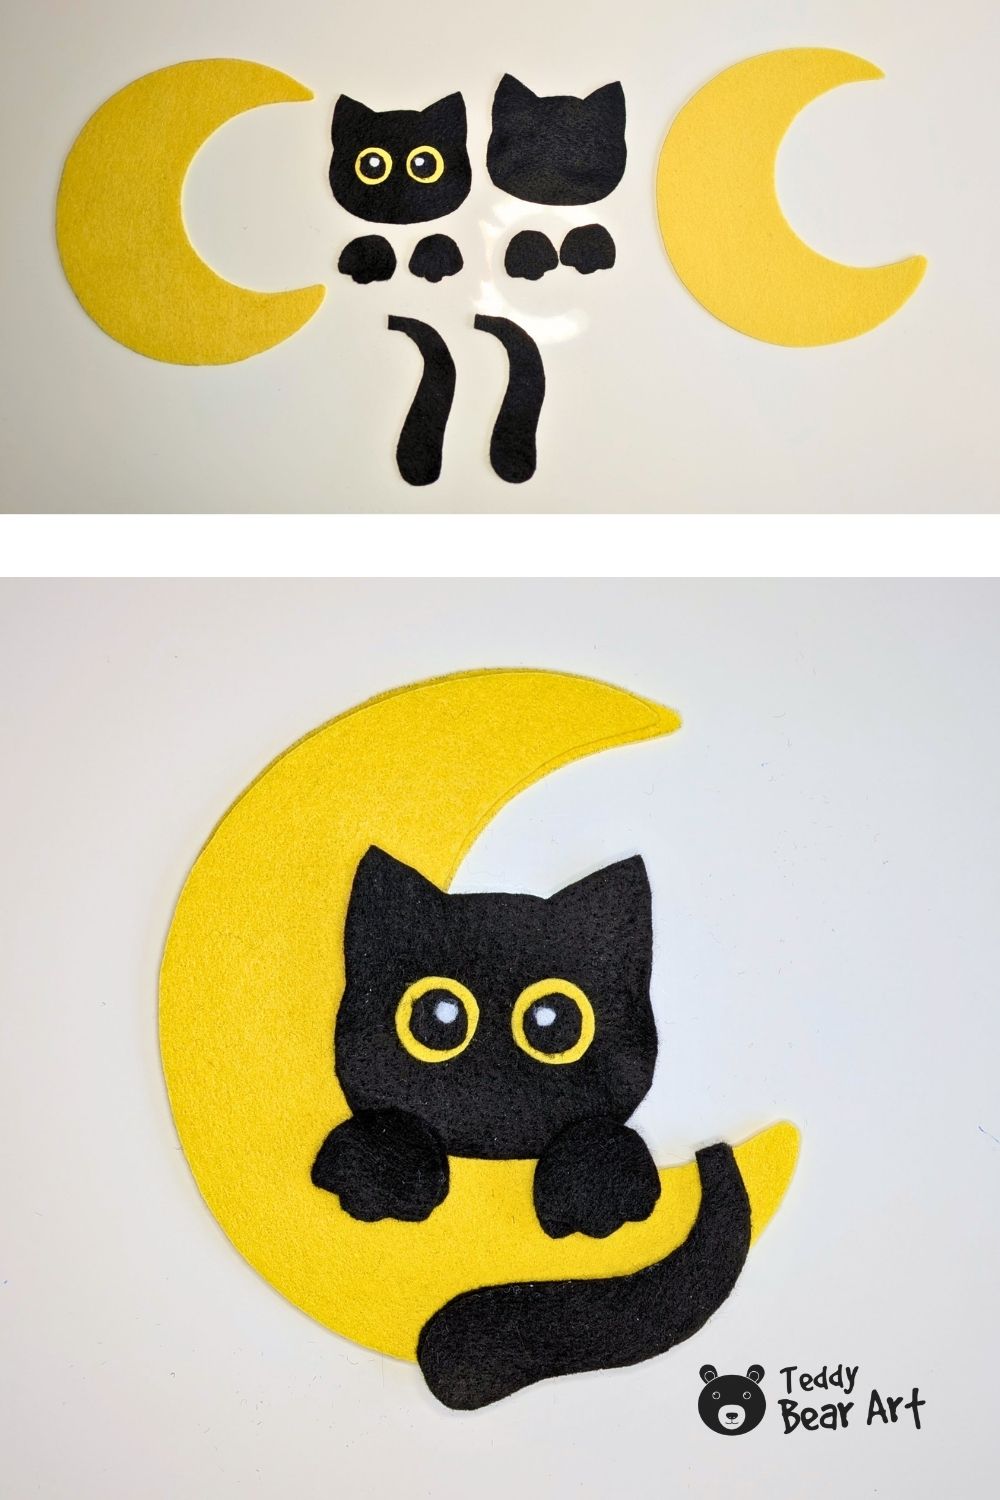
Using the pattern, cut two moon pieces, two head pieces, four paw pieces, and two tail pieces. Cut the eye pieces and two pink triangles for the inner ears too.
I like to lay all the pieces out before sewing. It takes only a moment and makes it easy to check that everything is there and that the cat fits nicely into the moon.
Sew and Stuff the Cat
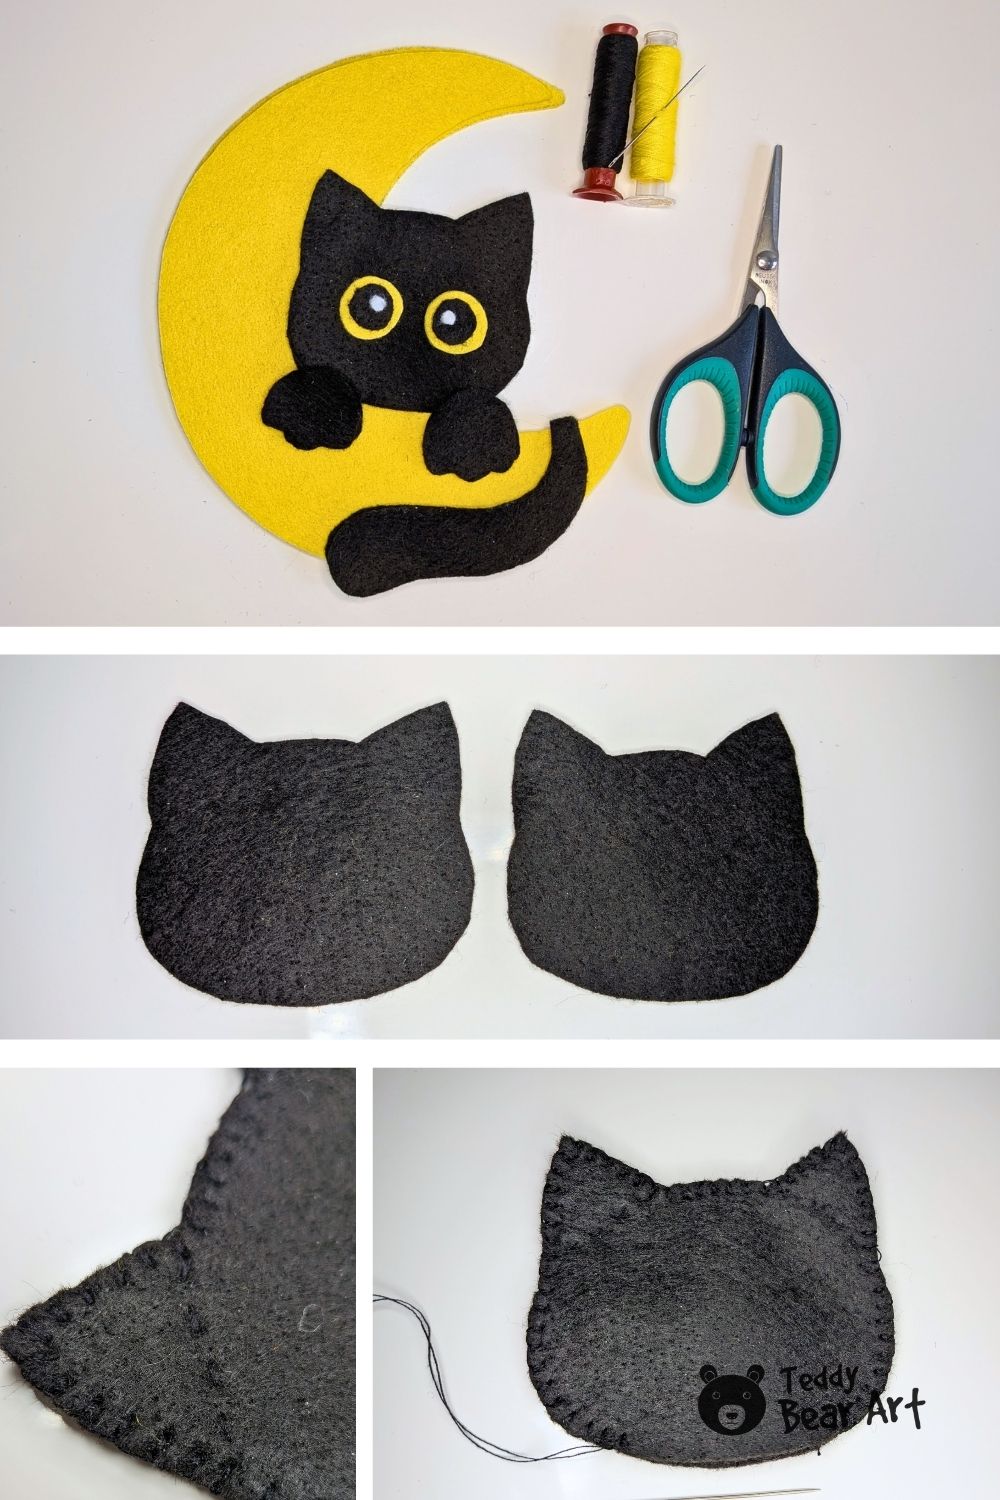
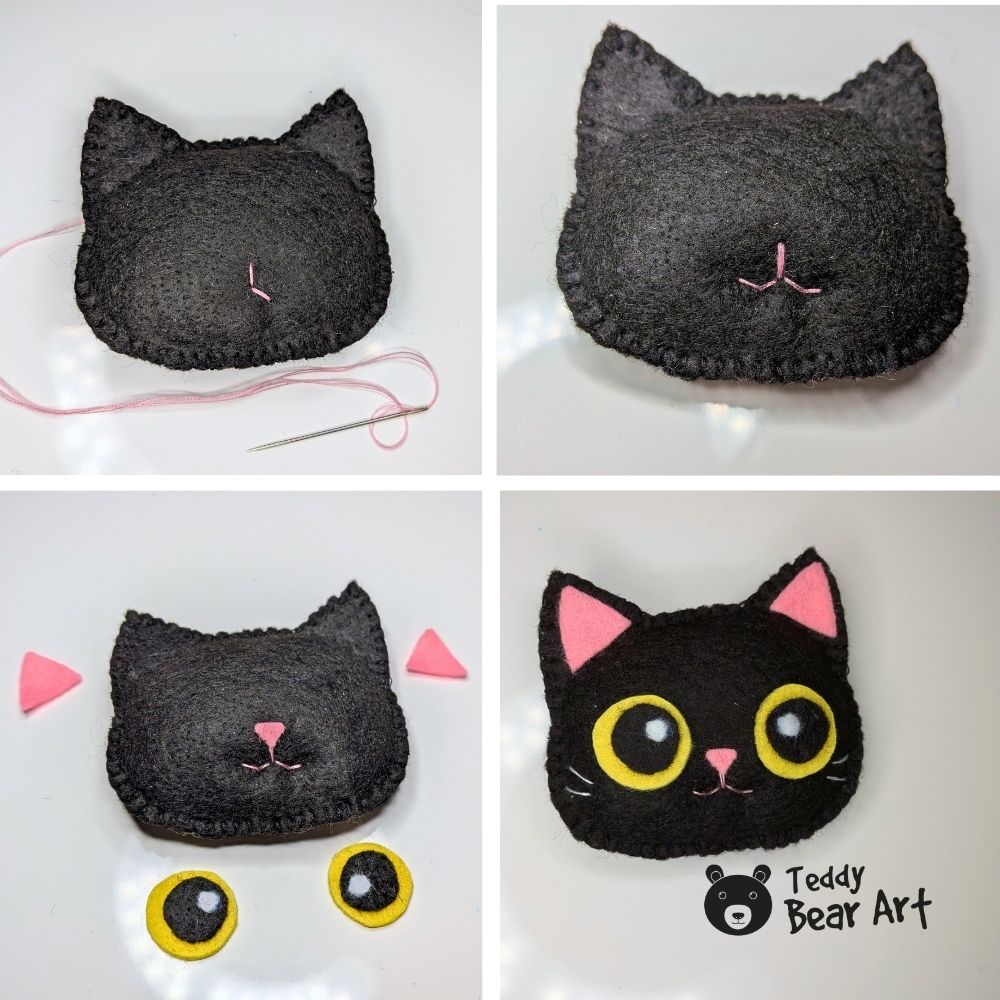
Place the two head pieces together and sew around the edge with blanket stitch. Before stuffing the head, sew a simple straight line across the base of each ear. This keeps the stuffing out of the ears, so they stay flat and pointed.
If this stitch is new to you, watch my blanket stitch tutorial video to see exactly how I sew around felt pieces.
Leave a small opening in any convenient place, add stuffing, then close the opening with blanket stitch.
Make each paw from two matching pieces. Sew around them with blanket stitch, add a little stuffing, and close the openings.
Sew the two tail pieces together in the same way. Stuff the wider part of the tail, but leave the narrow section unstuffed. This makes it much easier to bend the tail around the tip of the moon.
Make the Cat’s Face
I embroidered the mouth first with pink thread, then glued a tiny pink felt triangle above it to make the nose. Next, glue on the yellow eye circles, black pupils, and small white highlights.
Then glue the pink felt pieces inside the ears and embroider the whiskers. Those large round eyes are what give this little cat its curious expression. You can slightly change the position of the pupils if you want your cat to have a different look.
Sew the Moon and Add the Details
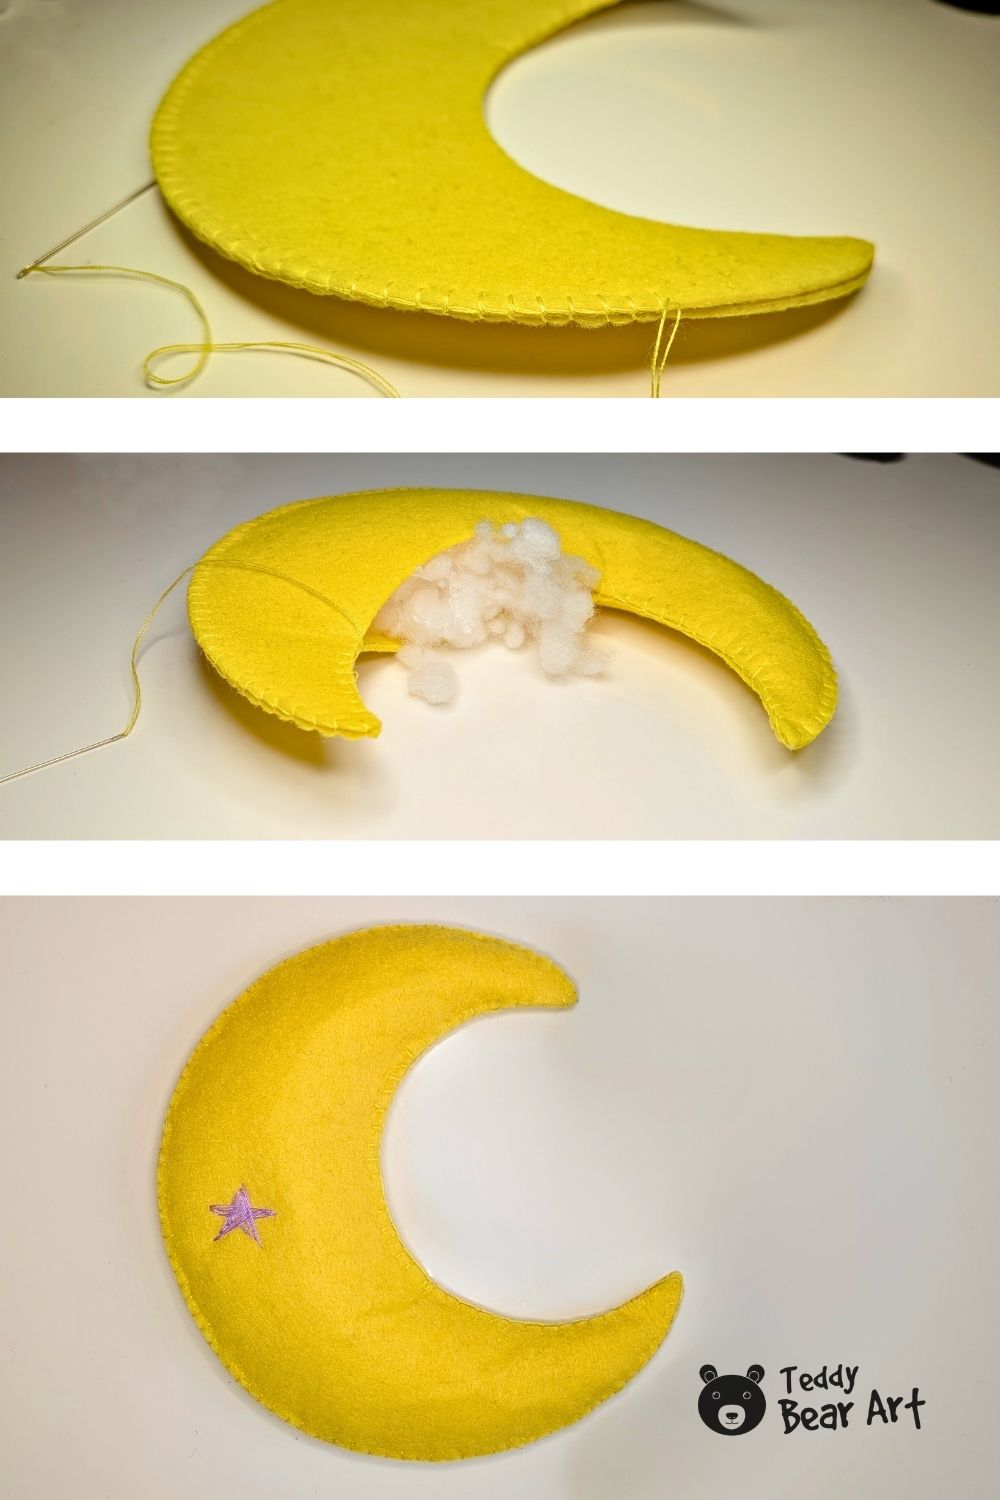
Place the two yellow moon pieces together and sew around the edge with blanket stitch. Leave an opening wherever it is easiest for you, fill the moon with stuffing, then sew the opening closed.
Add the stuffing gradually so the crescent stays smooth and rounded, especially around the narrow tips.
I embroidered a small purple star directly onto the moon. You can do the same, choose another color, or cut a tiny star from felt and sew or glue it in place instead.
Embroider three small claw lines on each paw before assembling the toy.
Assemble the Moon Cat
First sew the paws to the lower part of the cat’s head. Place the head inside the curve of the moon and move it around until the position looks balanced. The paws should appear to rest naturally on the lower edge of the crescent.
Sew the head securely to the moon. Then curve the tail around the lower point and sew it to the moon along its length. Because the narrow section of the tail is not stuffed, it bends easily around the crescent.
If you prefer, some of the pieces can also be attached with glue instead of sewing.
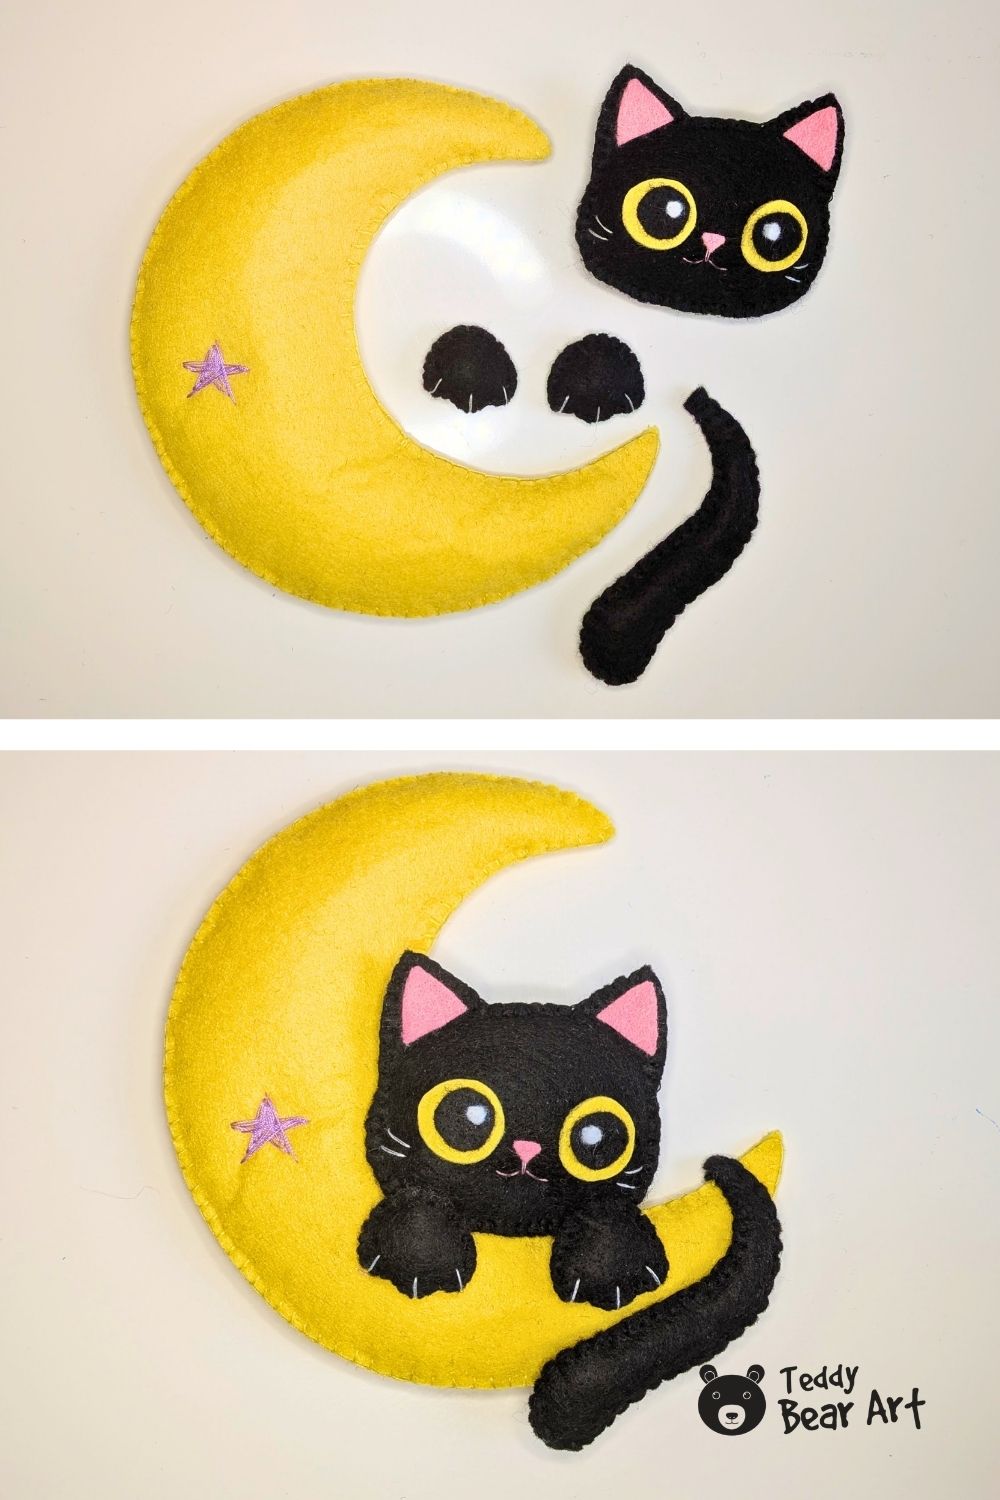
Take one last look at the face, paws, and tail, and your moon cat is ready.
FAQ
Is this pattern suitable for beginners?
Yes. The shapes are simple, and most of the project uses blanket stitch. You can take your time with the stuffing and arrange the pieces before sewing everything together.
What can I use to trace the pattern onto black felt?
A white pen works very well on black felt because the lines are much easier to see while cutting.
Can I make the moon cat into a hanging decoration?
Yes. Add a small ribbon or cord loop at the top of the moon before you finish sewing it closed. I made mine as a stuffed felt toy, but adding a loop is an easy way to turn it into a hanging decoration.
Before You Go
I hope this moon cat sewing pattern inspires you to make your own little cat sitting in a crescent moon. Try a gray, white, ginger, or dark blue cat, change the color of the moon, or add your own tiny embroidered details.
Small changes can give the same pattern a completely different personality, which is one of my favorite things about making felt toys by hand.
If you enjoyed this project, explore my other free felt toy patterns and sewing tutorials for more simple handmade characters to make next.
Get Free Patterns & Be the First to Know!
Want free teddy bear patterns, exclusive tutorials, and a chance to win craft supplies?
Sign up for our newsletter using the subscribe form in the middle of this article to receive new patterns, insider tips, and the latest news on teddy bear art. You’ll also automatically be entered into our annual giveaway for a chance to win teddy bear crafting materials.
Bonus entry: Save one of our pins on Pinterest to increase your chances of winning!
Let’s create, inspire, and craft beautiful teddy bears together!