
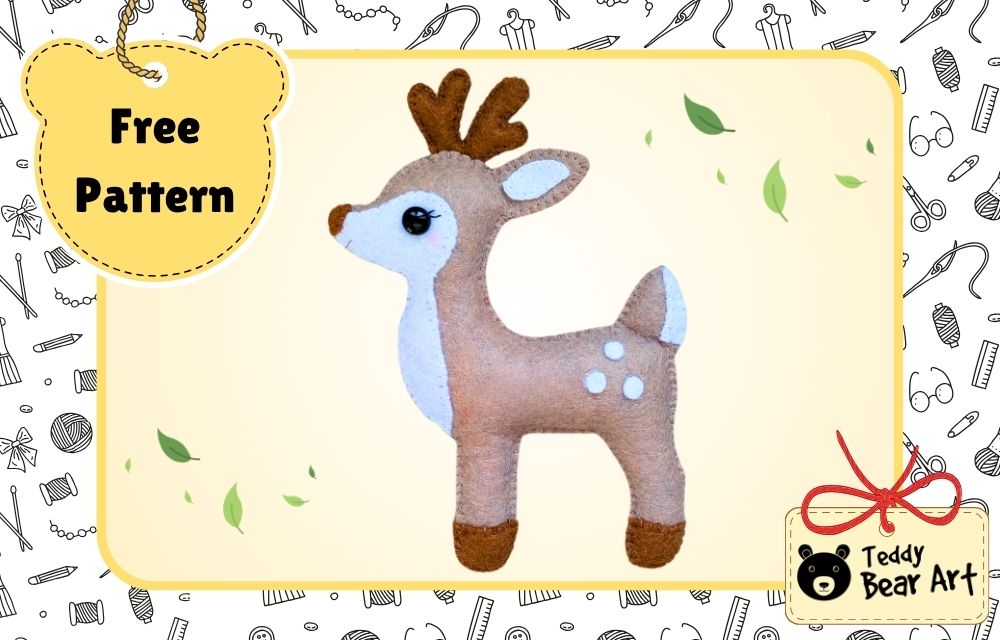

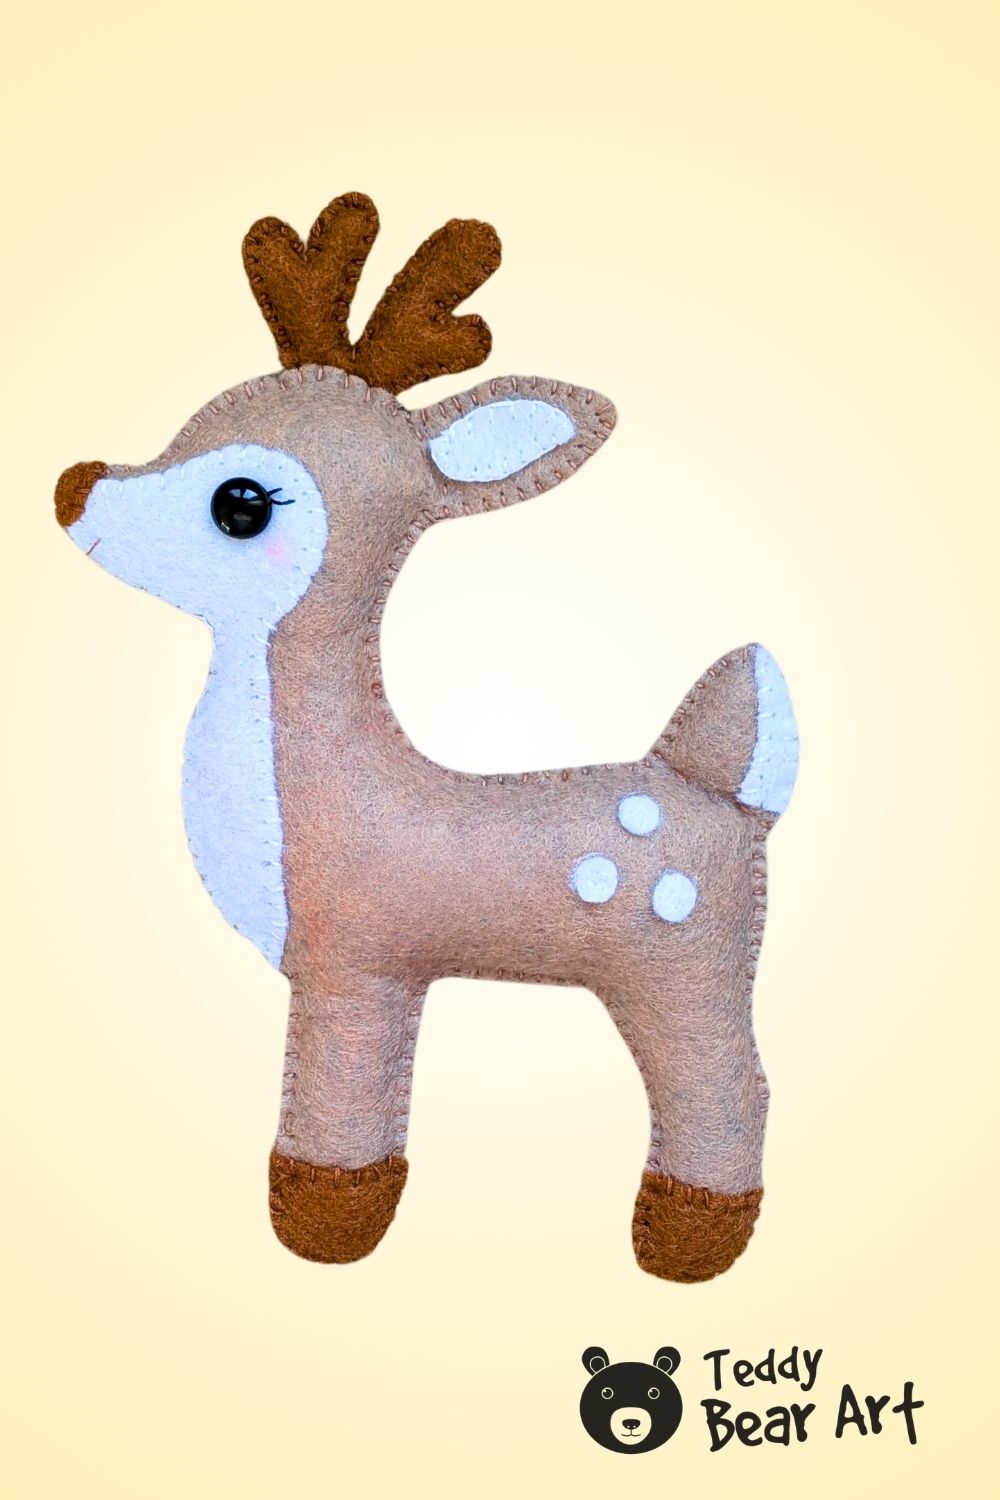
This cute felt deer sewing pattern is a simple hand-sewing project with a soft woodland look. I designed the deer in profile with a rounded body, two visible legs, small antlers, white felt details, and delicate spots. The finished deer looks lovely on its own, so it can be displayed throughout the year, while a removable red scarf quickly turns it into a winter or Christmas decoration.
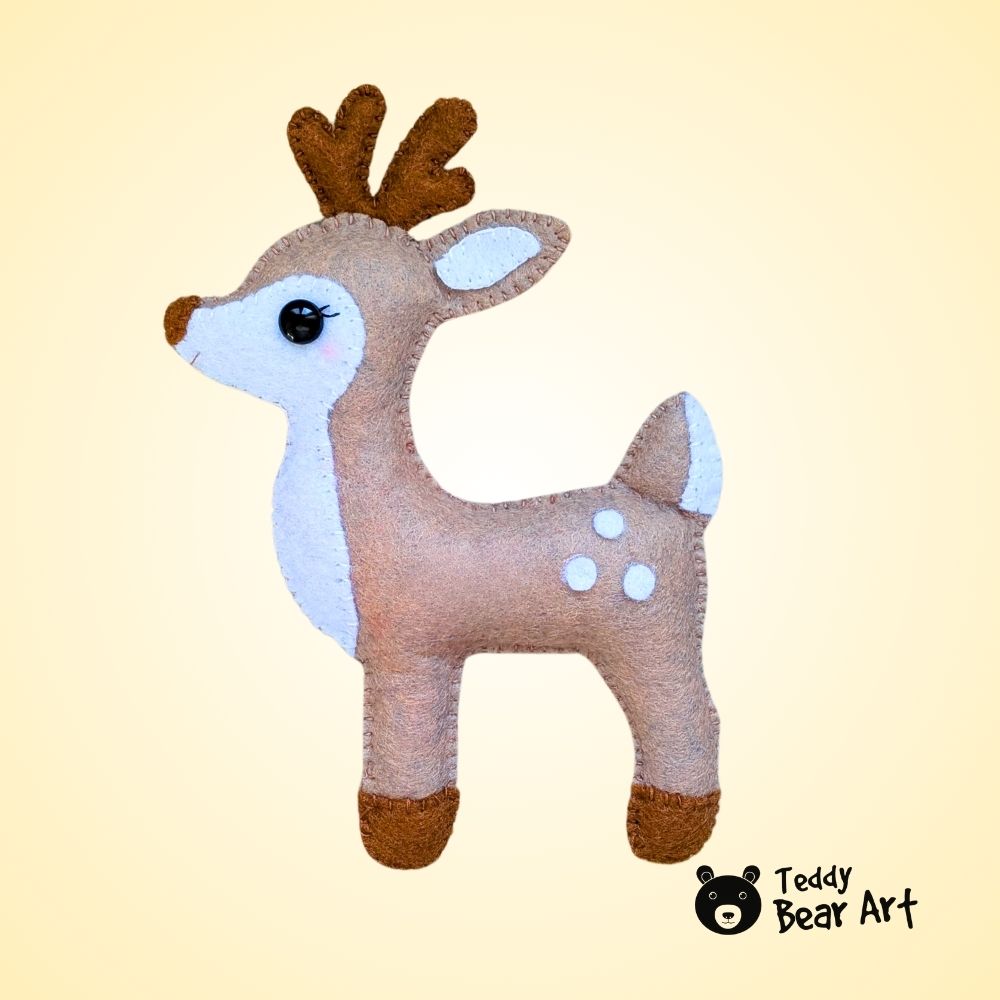
The construction is quite simple, but a few small details give the deer its character. The chest, hooves, and tail are sewn between the two body layers, the antlers are lightly stuffed, and decorative blanket stitching adds a neat handmade finish.
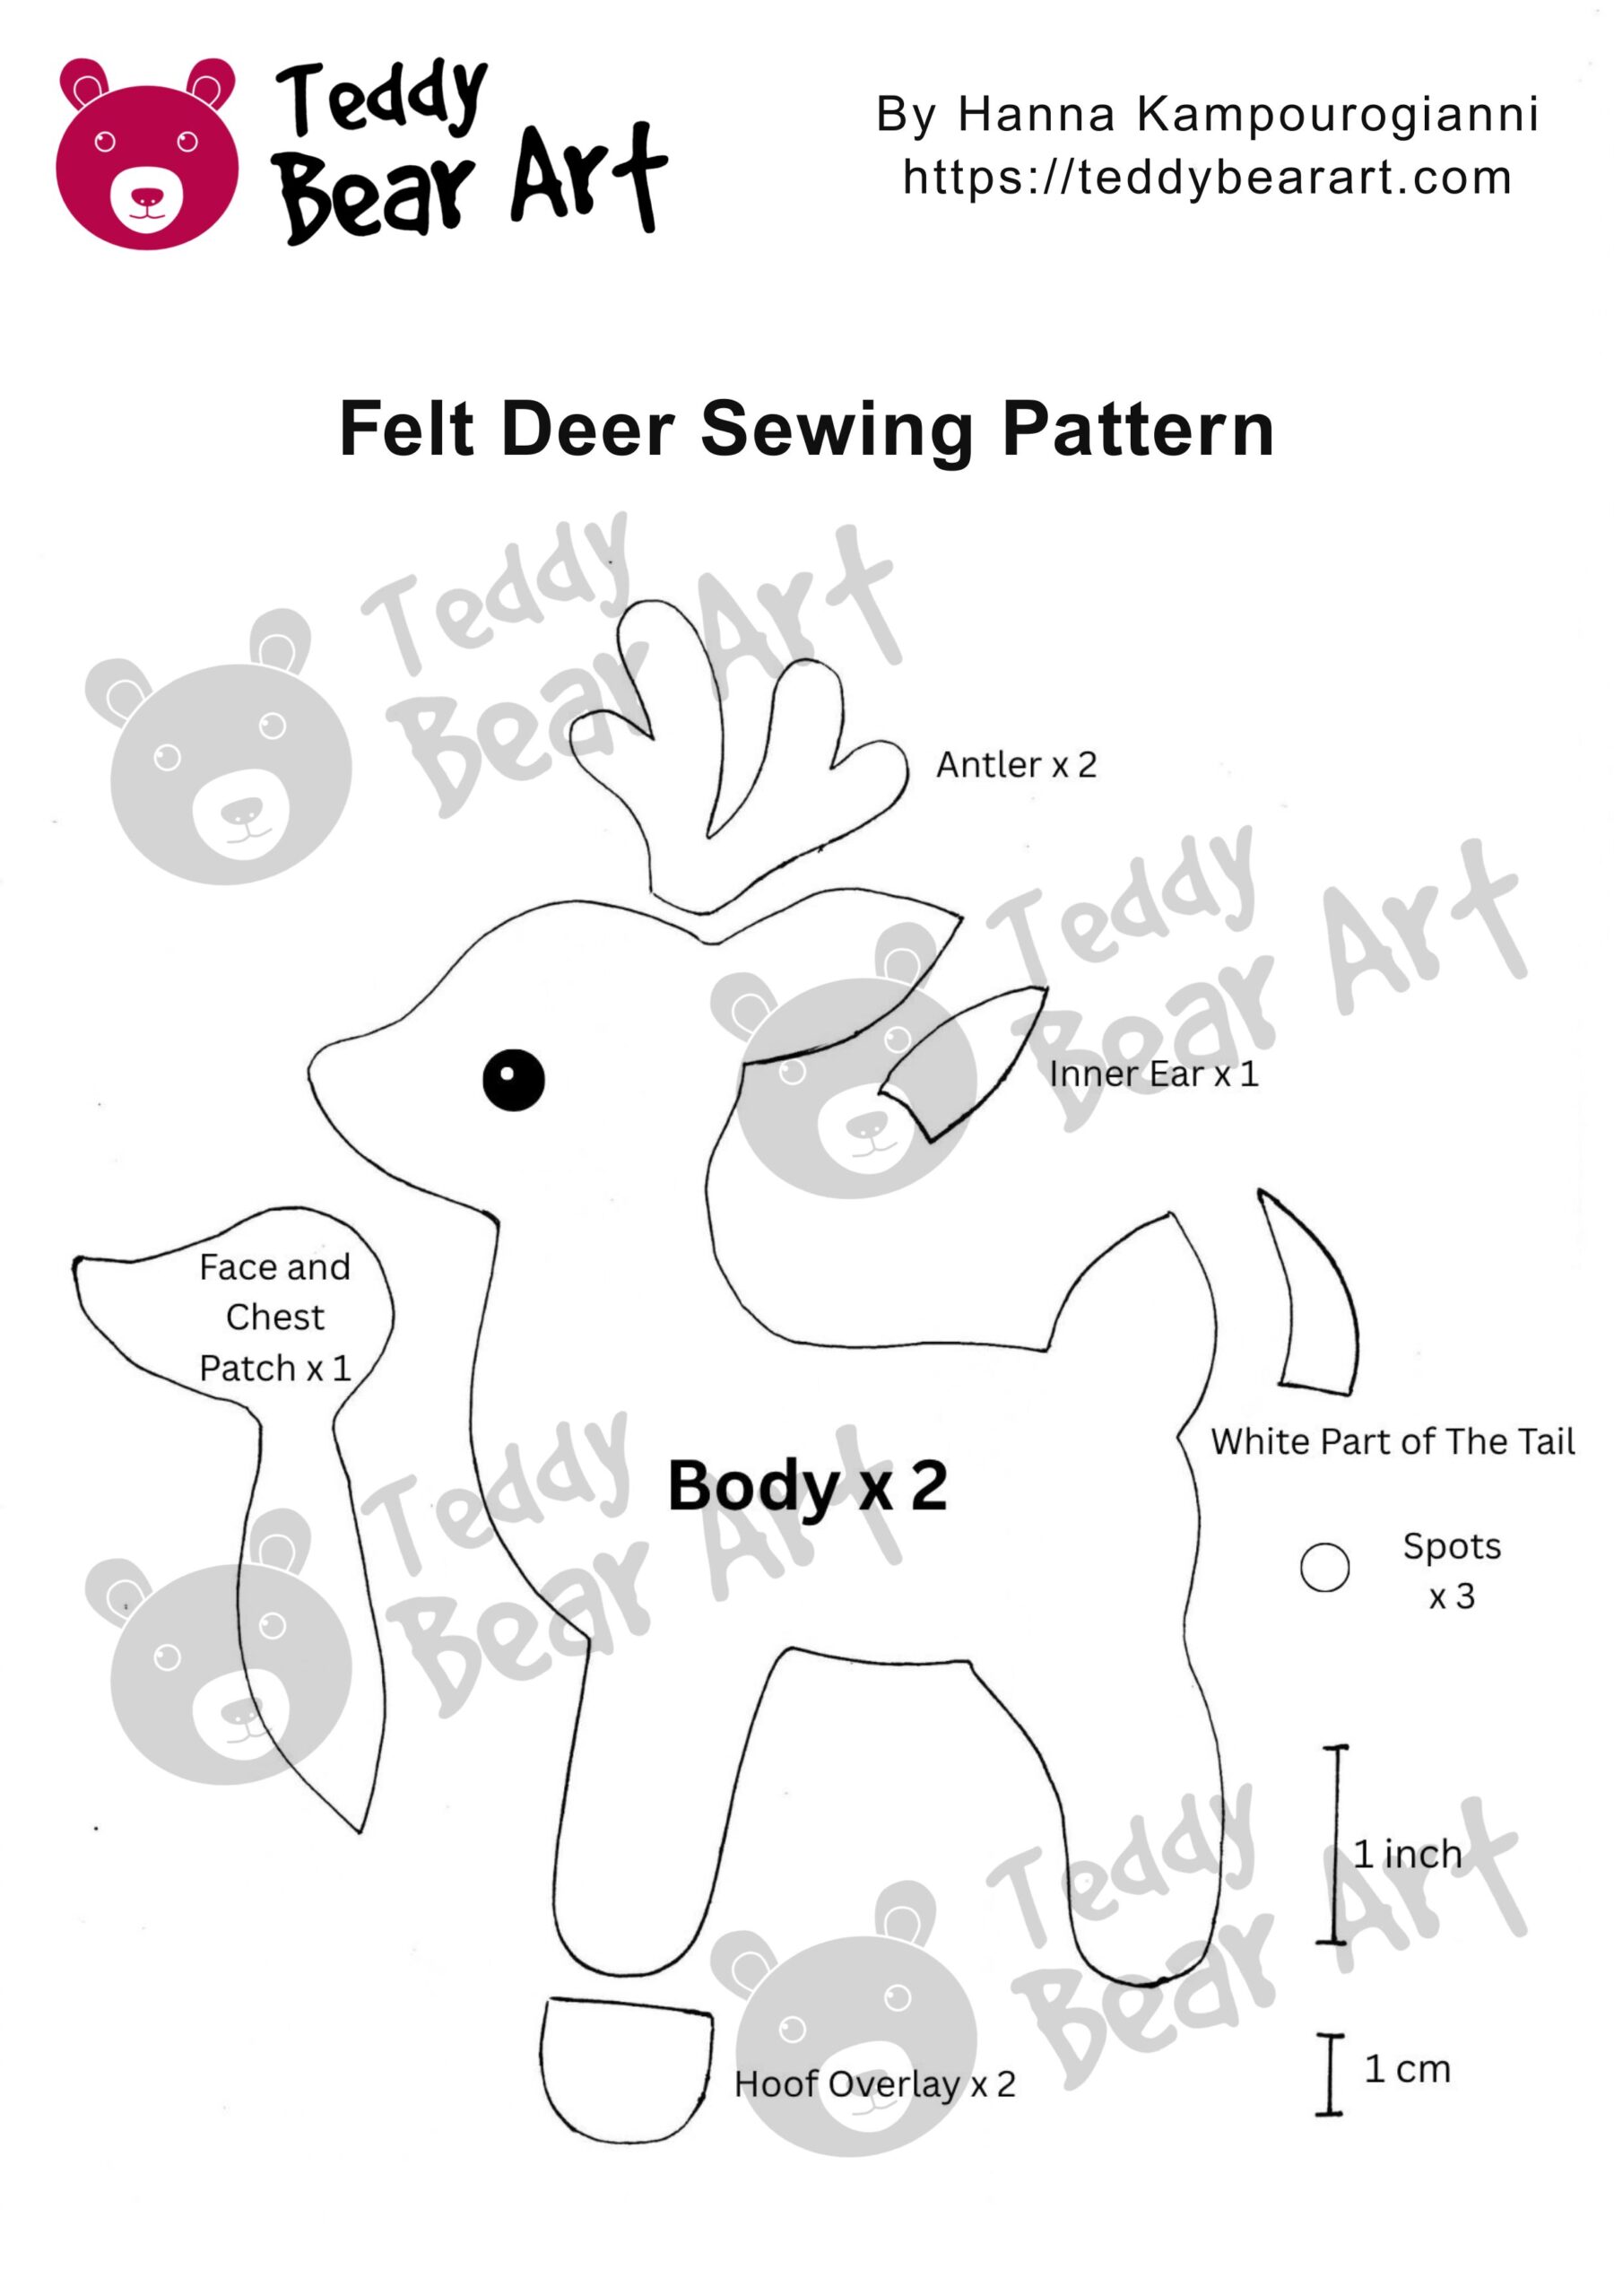
Download the Pattern
Notice: No additional seam allowance is needed. Cut directly along the pattern lines.
To download the pattern, follow the instructions below:
From a phone or tablet: There should be a similar option for mobile devices with Android or iOS. Click on the image. Save it by holding your finger on the image and selecting the “Save Image” option. Then, go to your photo gallery and print it (an option available).
From a computer: Click on the photo of the pattern you see below. In the new tab that will open, press the right mouse button and select the “Save image as …” option. Then, choose where the image will be saved on your computer.
What You’ll Need
- Brown felt
- White felt
- Dark brown felt for the antlers
- Polyester stuffing
- Threads
- Sewing needle
- Scissors
- Glass eye or black bead
- Glue
- Red felt for the removable scarf, optional
Most of the deer is sewn by hand with blanket stitch. If you have not used this stitch before, my Blanket Stitch Video Tutorial shows how to make it step by step. It is especially useful for felt because the stitch joins the layers and creates a decorative edge at the same time.
How to Sew This Deer
Cut Out the Felt Pieces
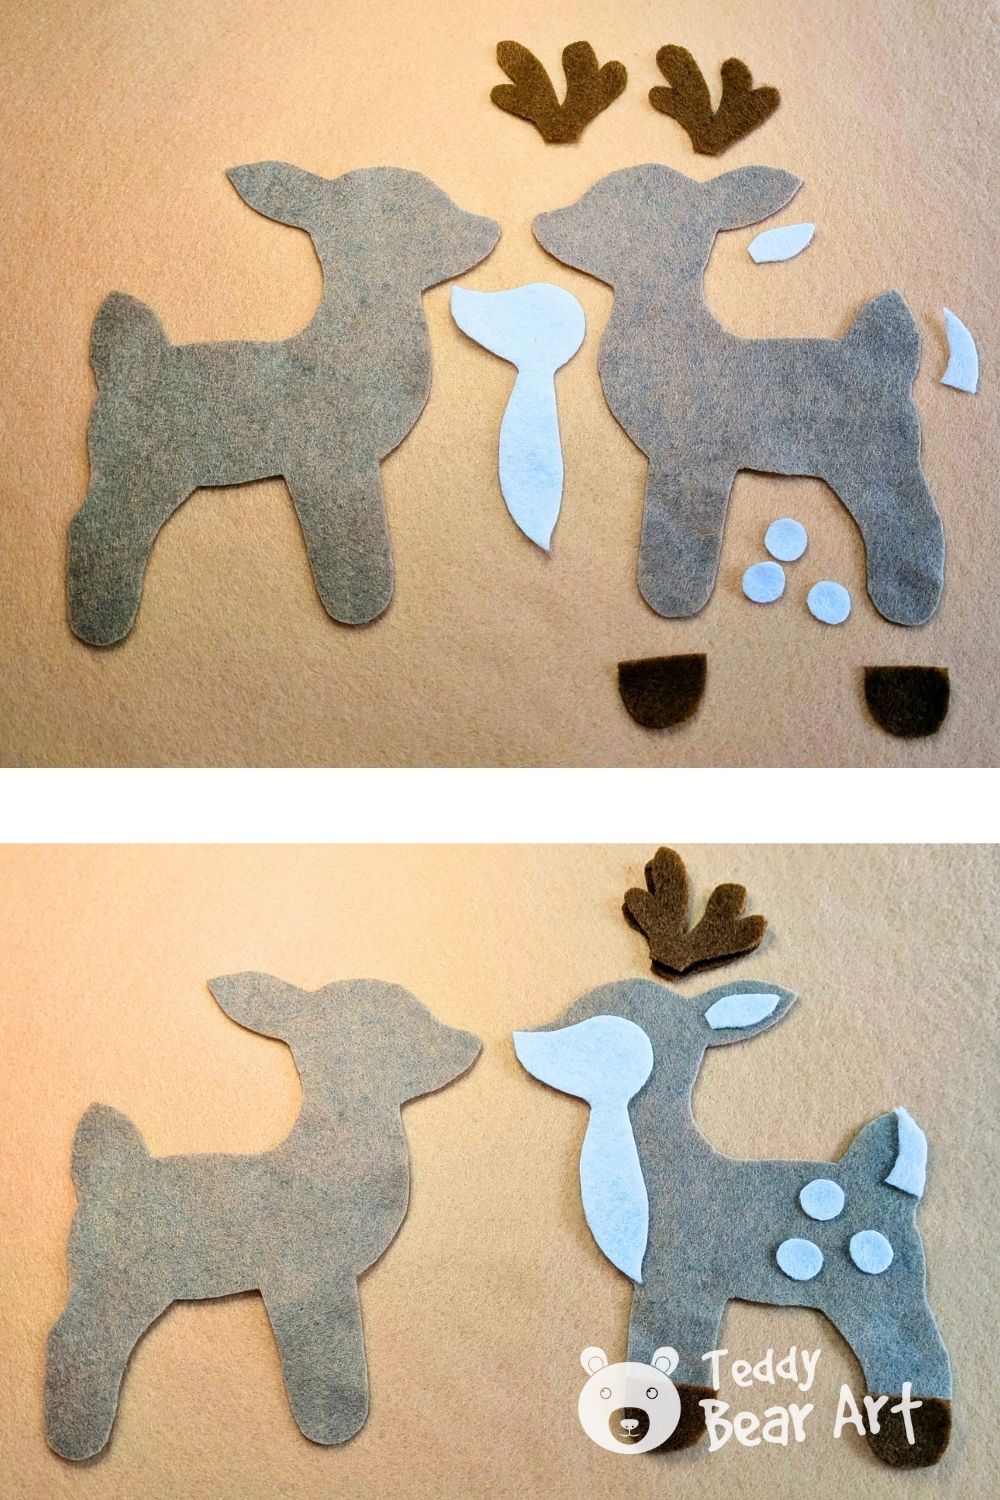
Transfer the pattern pieces onto the corresponding felt colors and cut them out carefully. You will need two matching body pieces, along with the smaller decorative pieces for the chest, hooves, tail, ear, antlers, and spots.
Lay everything over one body piece before sewing. This makes it much easier to check the position and adjust any small details while they are still loose.
Sew the Body
Place the two brown body pieces together. Lay the white chest, hoof pieces, and tail details on top, then sew through all three layers of felt together.
Start joining the body with blanket stitch. Continue around the outline, keeping the layers aligned, but leave an opening large enough for stuffing the deer and inserting the antlers later.

Add the stuffing gradually. The deer should feel softly filled rather than very firm. Pay particular attention to the neck, legs, and rounded back so the stuffing stays evenly distributed.
Finish the Tail and Add the Antlers
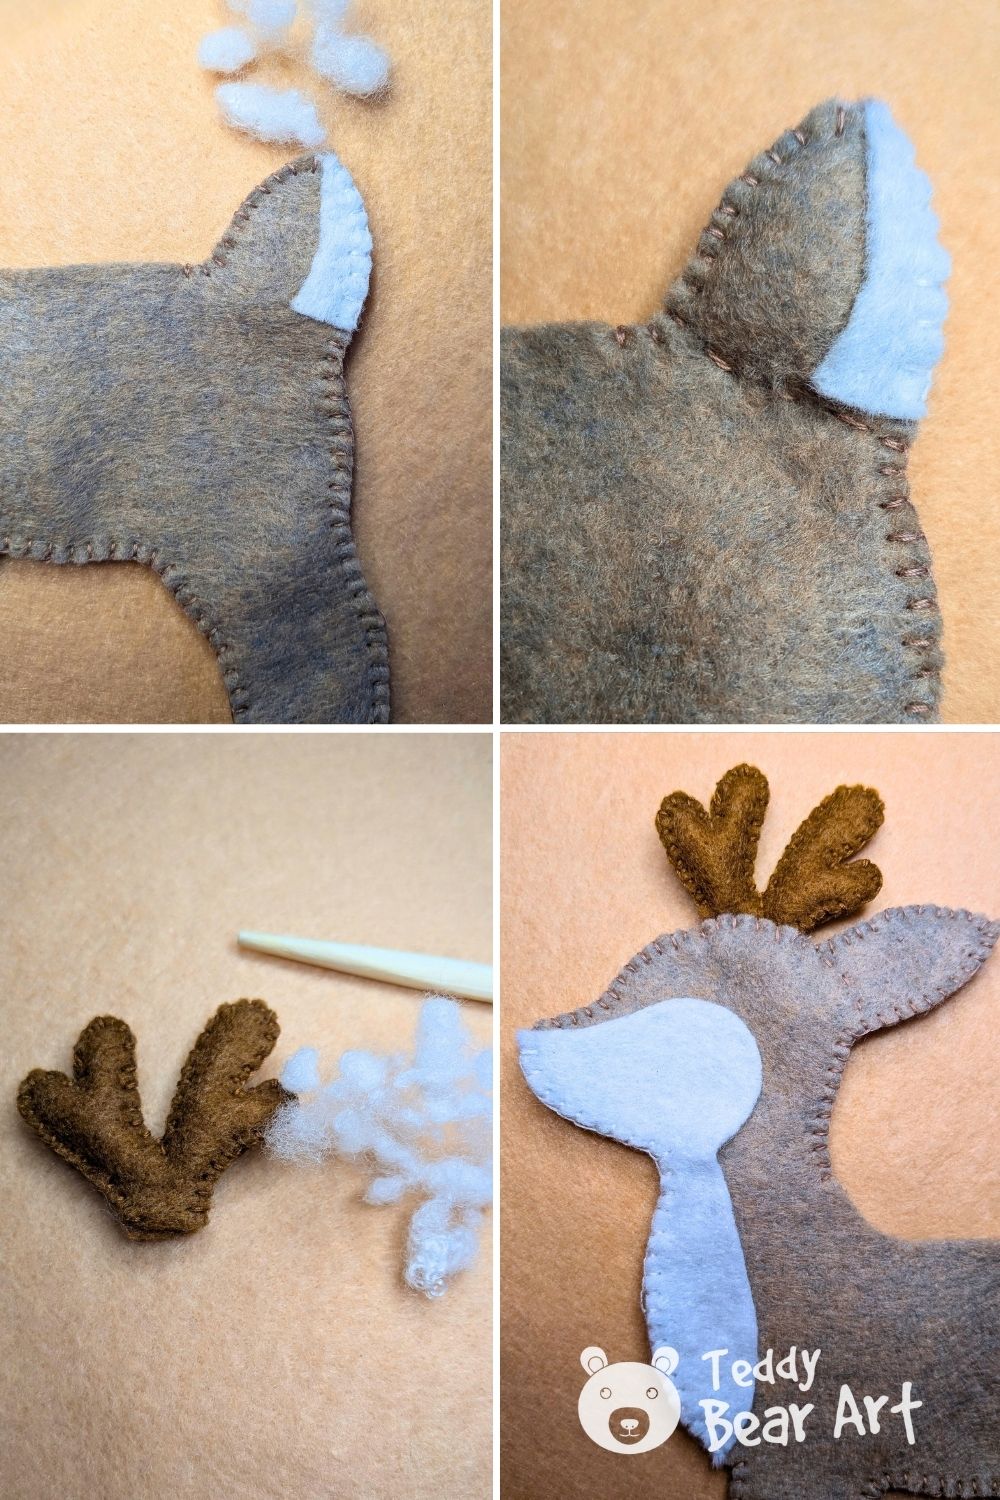
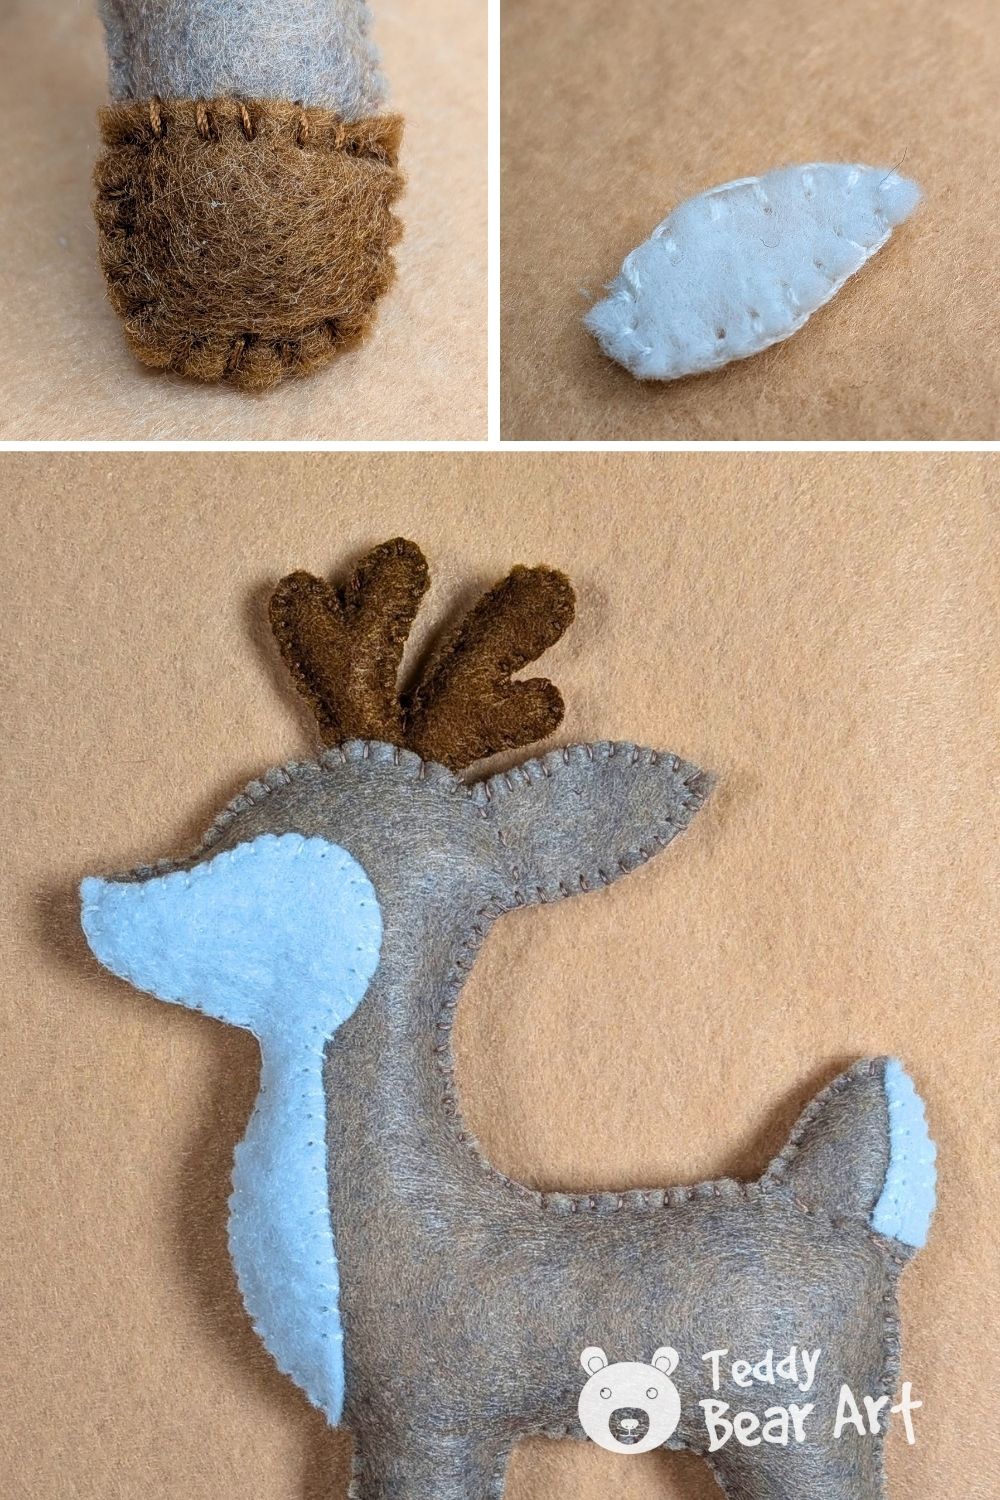
Add a small amount of stuffing to the tail. Once you are happy with its shape, sew a simple line across the base of the tail. This separates it visually from the body and helps it keep its rounded shape.
Lightly stuff the antlers as well. Insert them into the opening at the top of the head, adjust their position, and sew them securely between the two body layers. Then finish closing the remaining opening.
Add the Decorative Stitching
Before attaching the inner ear piece, work a decorative blanket stitch around its edge. Since this piece will be glued onto the deer, the stitching is mainly decorative and gives the small detail a more finished appearance.
Add the decorative stitching to the white chest, hooves, and tail tip. These little stitched edges help connect all the white details visually and make the finished deer look more polished.
Make the Face
Embroider the eyelashes with black thread. I kept them simple, with just a few small stitches, because the deer already has a gentle profile and does not need a lot of facial detail.
Insert the glass eye and secure it properly. A small black bead can also be used if you do not have a glass eye.
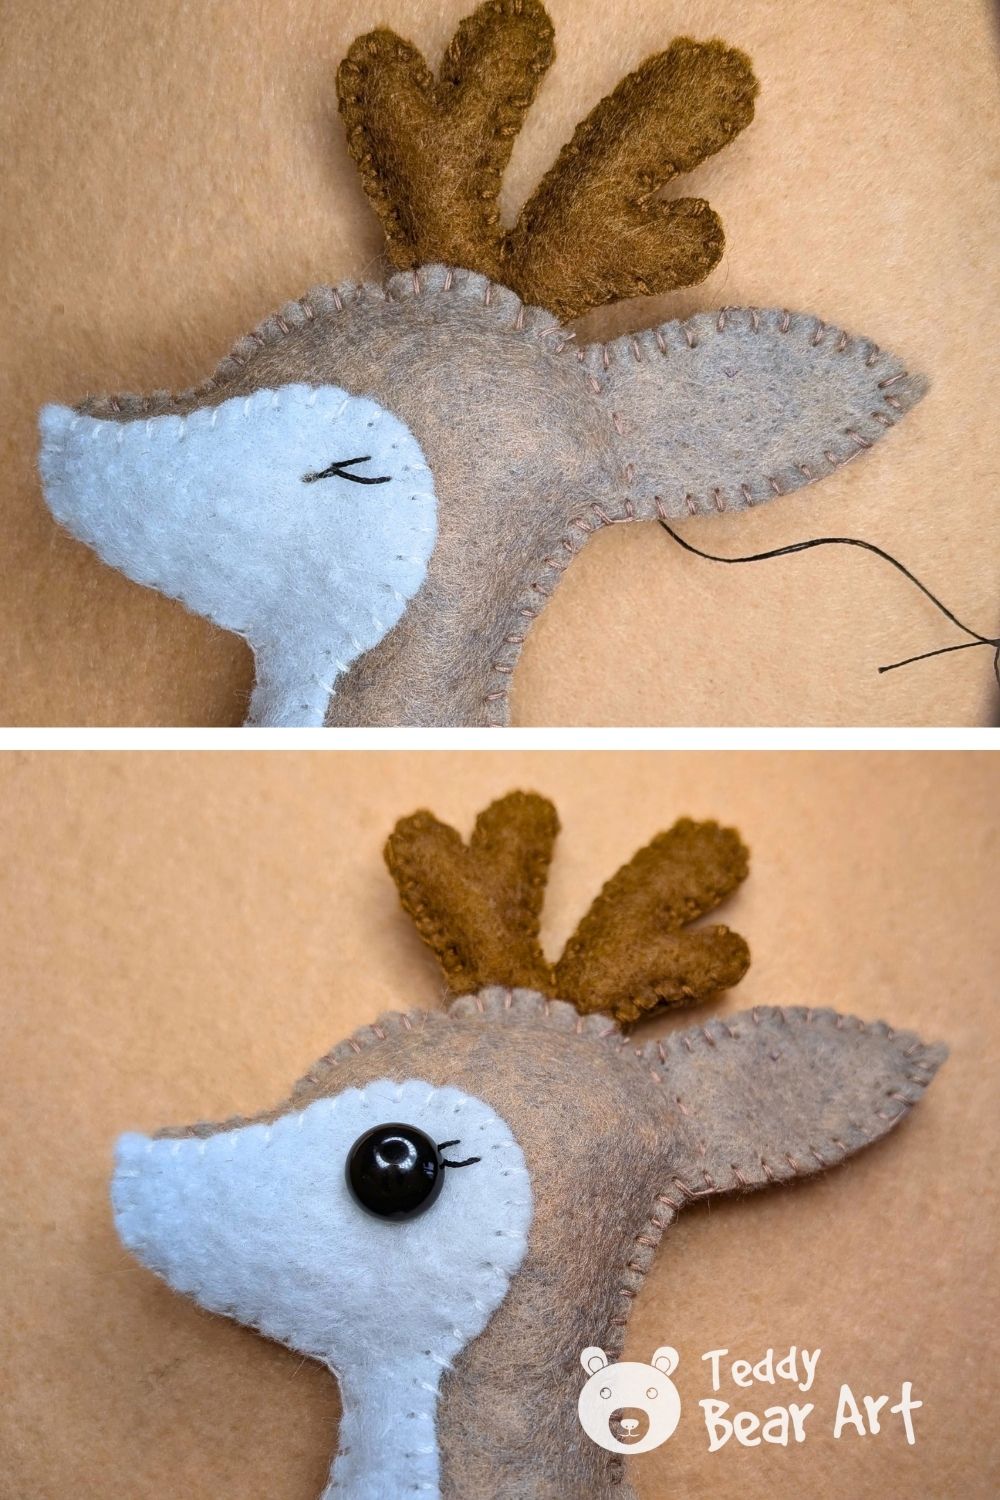
The mouth can be added with just a tiny curved stitch near the end of the muzzle. Keep it small and delicate so it complements the eye instead of becoming the main feature of the face.
Glue the Final Details
Glue the white inner ear piece into position. Arrange the white felt spots over the body before gluing them so you can check the spacing first.
I prefer slightly irregular spacing rather than lining the spots up too neatly. It gives the deer a softer, more natural appearance.
Sew on a small piece of brown felt for the nose.
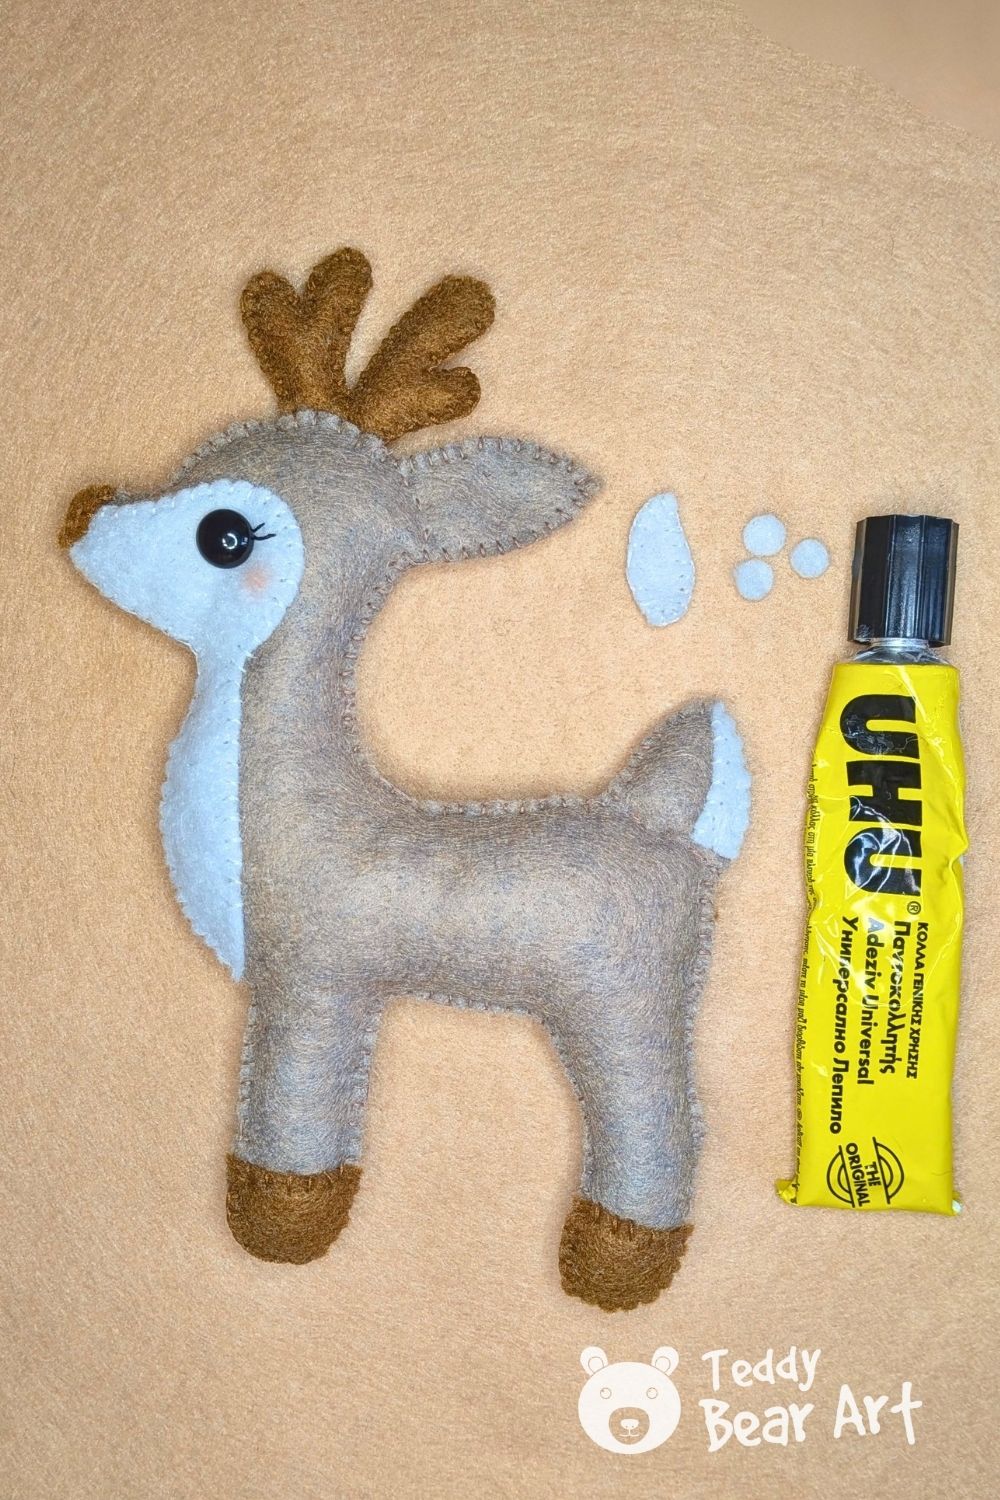
Once the glue is dry, gently adjust the stuffing with your fingers and check the shape from both sides. The rounded back, belly, neck, and legs should all look smooth without any very firm areas.
Add an Optional Removable Felt Scarf
The deer is finished at this point and can be left exactly as it is. Without the scarf, it works as an evergreen woodland felt animal rather than a specifically Christmas project.
For a winter or holiday version, add a simple red felt scarf. I made mine removable, so the same deer can easily change from an everyday woodland decoration to a Christmas one.
A real knot can become bulky when made from felt, and the ends often stick out instead of lying neatly against the body. Instead, I arrange the scarf to look tied without making an actual knot. The result stays flatter and sits much more naturally around the deer’s neck.
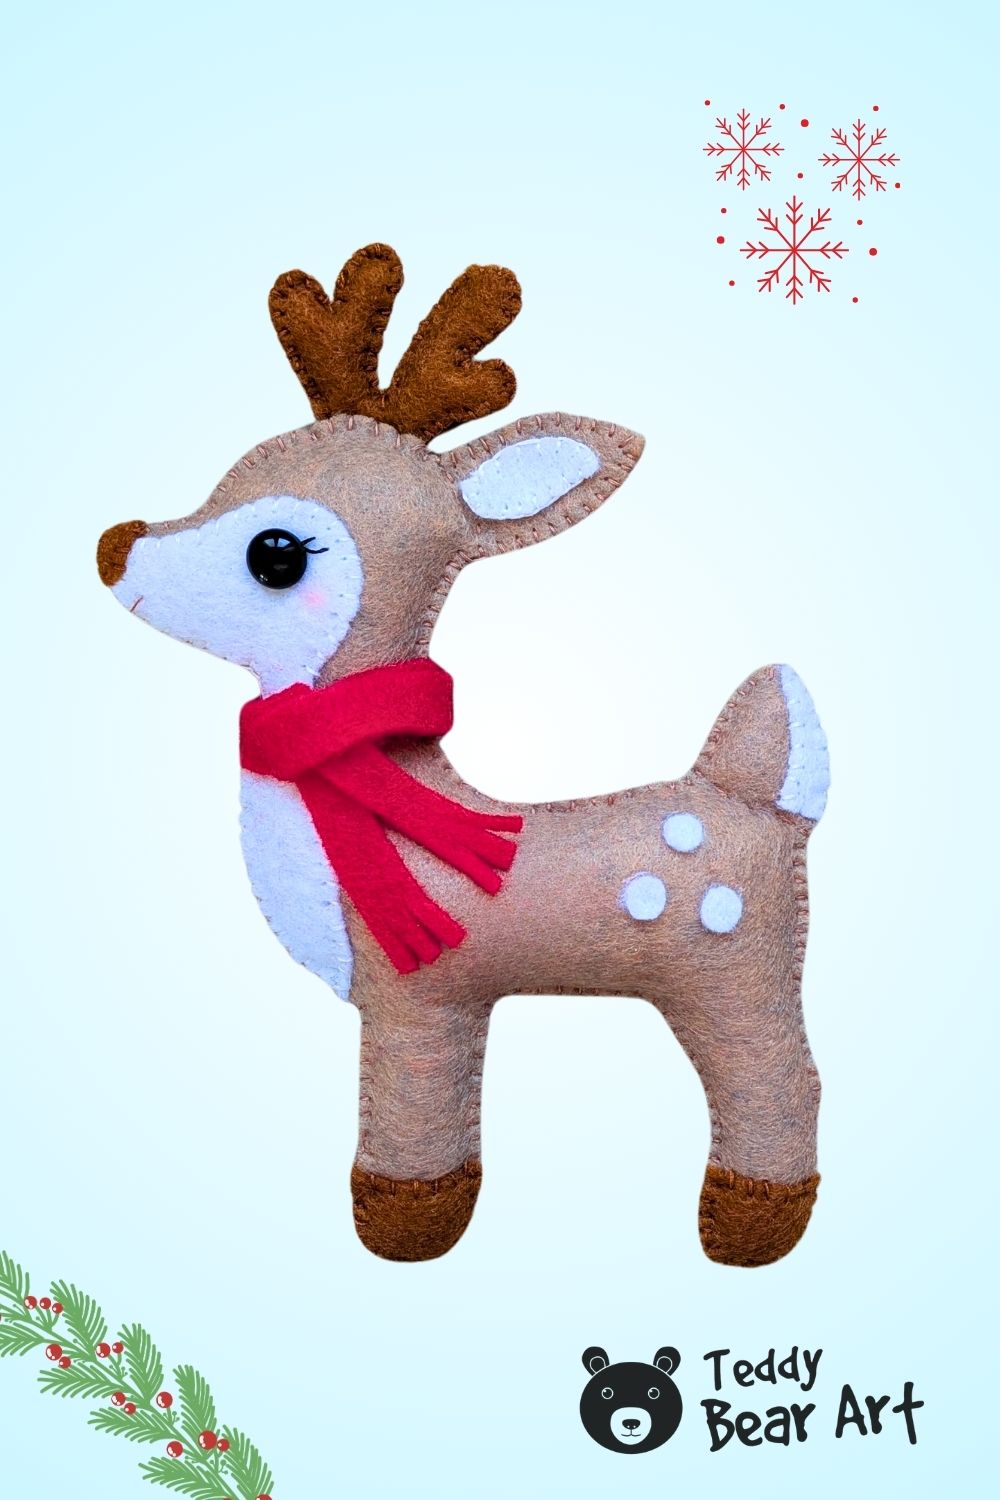
I show the exact method in my short video, How to Make a Felt Scarf Look Tied Without a Knot. This simple trick works especially well for this felt deer and keeps the removable scarf neat without adding a bulky knot.
FAQ
What type of felt is best for this deer?
I recommend soft felt about 2 mm thick. It is easy to sew by hand, holds its shape well, and still allows the small details to look neat.
How can I make the eye without a glass eye or bead?
Cut a small eye from black felt and add a tiny white highlight. If you do not have black felt, you can color a small piece of white felt with a marker or paint.
Can I change the size of the deer?
Yes. You can enlarge or reduce the pattern when printing. Just keep in mind that very small versions can make the antlers, hooves, and other tiny details harder to sew neatly.
Before You Go
This cute felt deer sewing pattern combines a very simple construction with enough small details to make the finished animal feel special. The rounded body, tiny antlers, decorative blanket stitching, white spots, and gentle face all add character without making the sewing difficult.
You can also personalize the deer easily. Try changing the felt colors, move the spots around, embroider the eye, or make removable scarves in different colors. Keeping the scarf separate also means the same little deer can move from an evergreen woodland display into your Christmas decorations whenever the season arrives.
If you enjoy sewing small felt animals, this is also a lovely project for practicing blanket stitch and experimenting with simple decorative details before moving on to more detailed felt designs.
If you enjoyed making this felt deer, try my Easy Felt Rabbit Sewing Pattern next. This running bunny is another simple hand-sewn felt project with a free printable pattern.
Get Free Patterns & Be the First to Know!
Want free teddy bear patterns, exclusive tutorials, and a chance to win craft supplies?
Sign up for our newsletter using the subscribe form in the middle of this article to receive new patterns, insider tips, and the latest news on teddy bear art. You’ll also automatically be entered into our annual giveaway for a chance to win teddy bear crafting materials.
Bonus entry: Save one of our pins on Pinterest to increase your chances of winning!
Let’s create, inspire, and craft beautiful teddy bears together!