
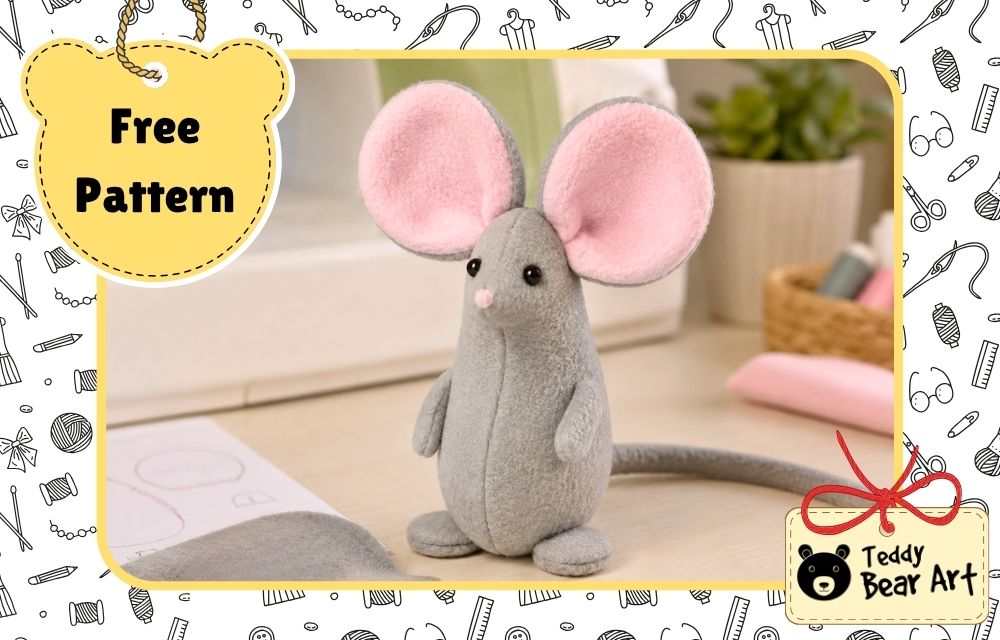

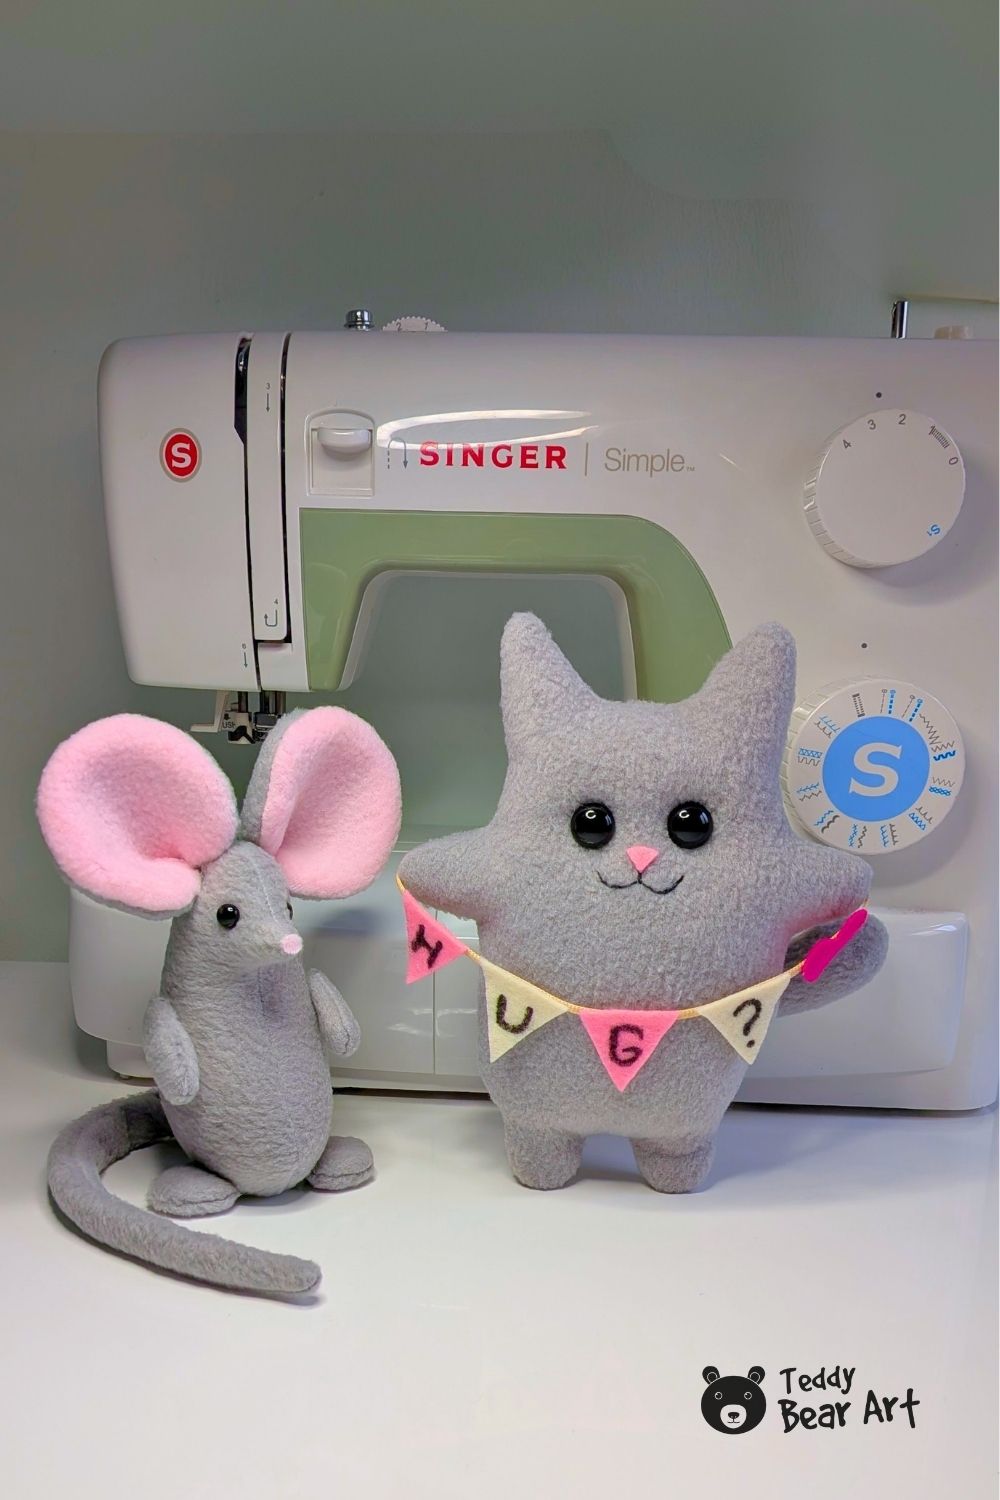
This fleece mouse sewing pattern will help you make a sweet gray mouse with large pink ears and a long soft tail. The body has a simple shape. Separate feet help the finished mouse stand on its own.

I used gray fleece for the body and pink fleece for the inner ears and nose. You can sew the project by machine or by hand.
Materials and Tools
- Fleece fabric
- Polyester fiberfill
- Small black glass eyes or black beads
- Thread
- A hand sewing needle or a sewing machine
- Scissors
- A wooden stick
- Small pliers
- Glue
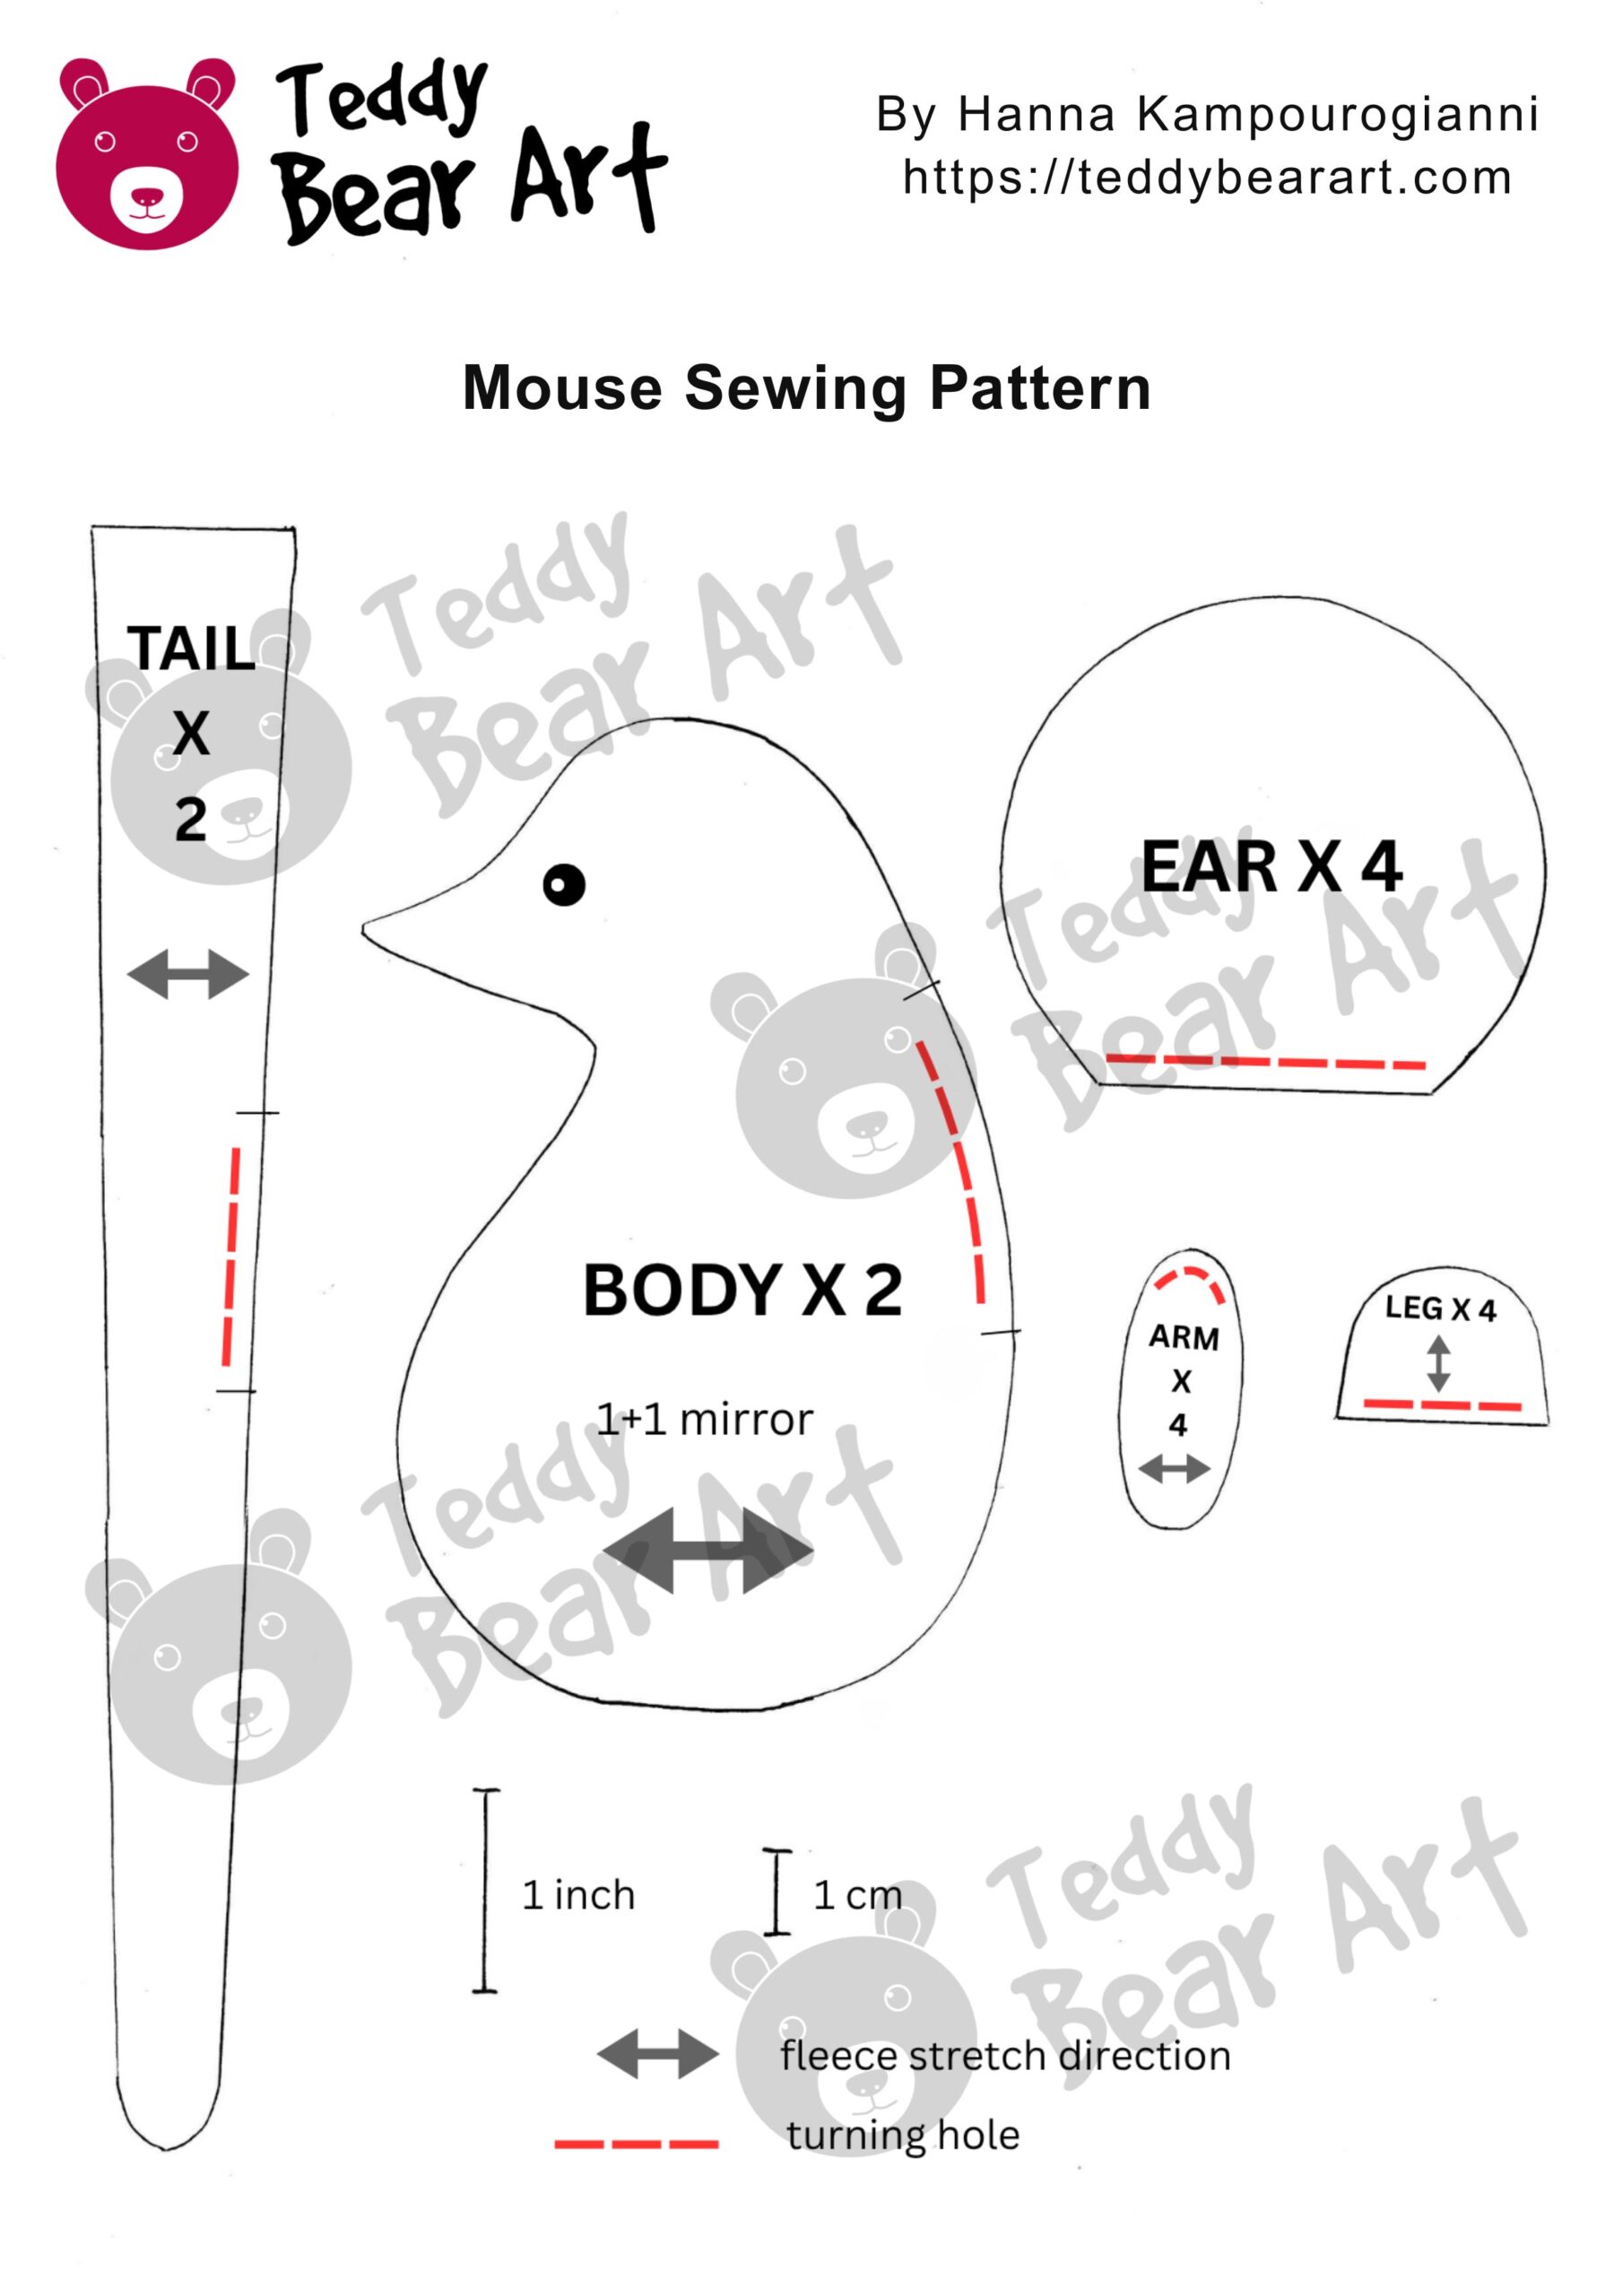
Download the Pattern
Notice that seam allowances are not included.
To download the pattern, follow the instructions below:
From a phone or tablet: There should be a similar option for mobile devices with Android or iOS. Click on the image. Save it by holding your finger on the image and selecting the “Save Image” option. Then, go to your photo gallery and print it (an option available).
From a computer: Click on the photo of the pattern you see below. In the new tab that will open, you press the right mouse button and select the “Save image as …” option. Then, you choose where the image will be saved on your computer.
Would you like to make this fleece mouse bigger or smaller? Learn how to resize a plush sewing pattern and adjust it to the size you want.
How to Sew the Fleece Mouse
Trace and Sew the Pieces
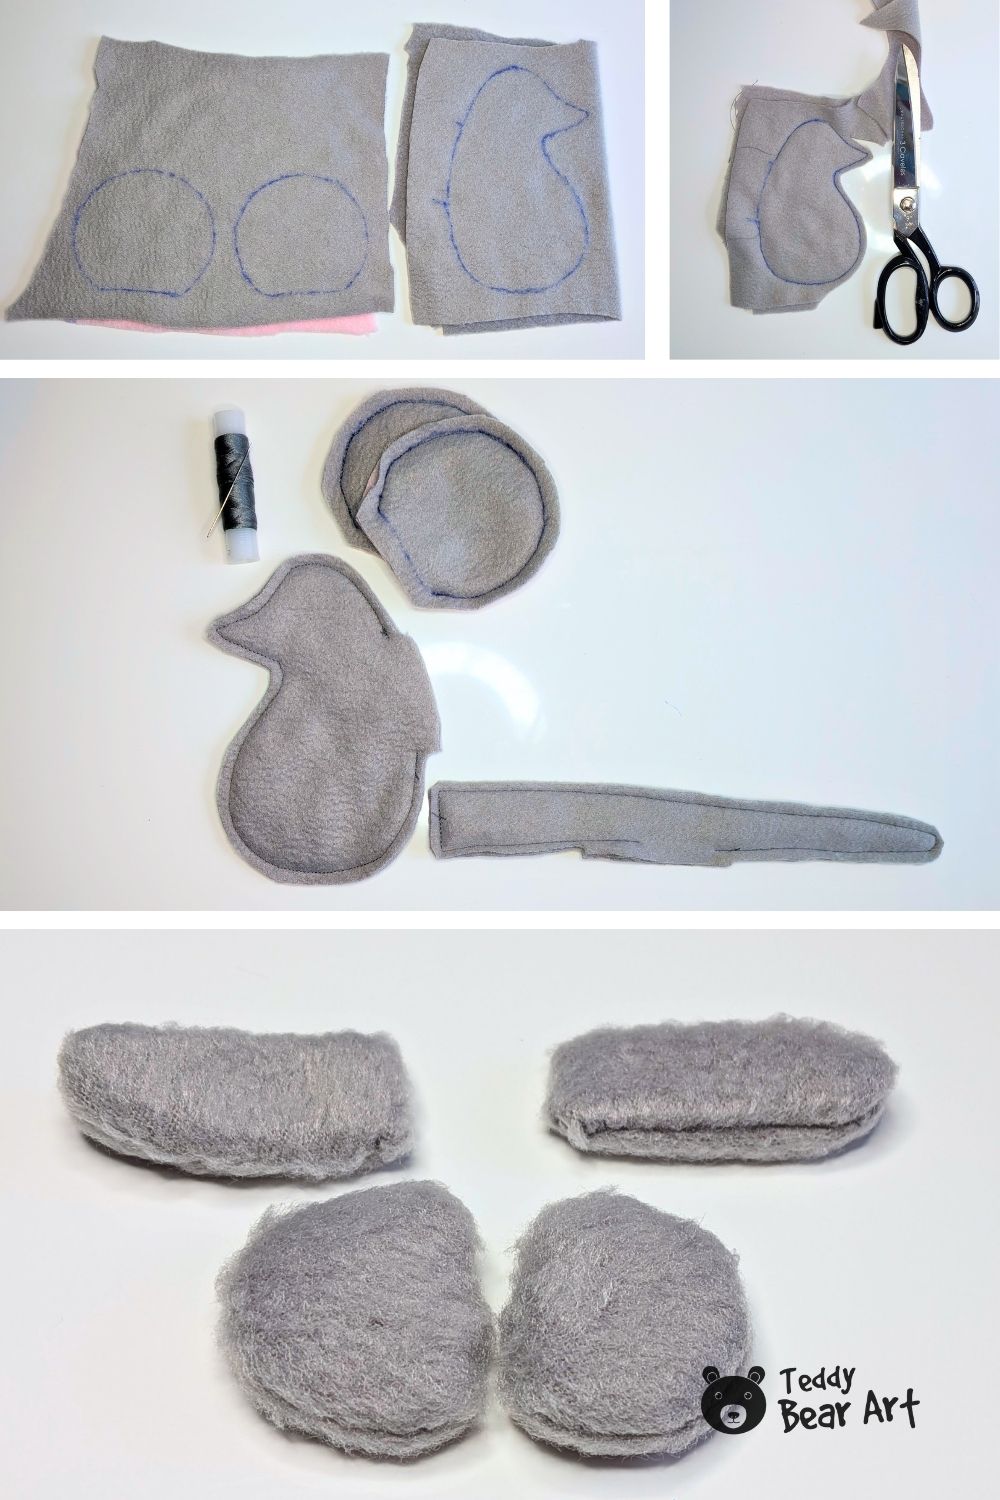
Fold the fleece with the right sides facing each other.
Trace the body, ears, tail, arms, and feet onto the wrong side of the fabric. Pin the layers together.
Sew directly along the marked lines. Leave the turning openings unstitched.
Use a short stitch around the pointed nose and curved areas. Cut out the sewn pieces with a small seam allowance.
Trim the seam allowance carefully near the tip of the nose. Do not cut through the stitching.
Turn the Tail
Start turning the wide end of the tail inward.
Use small pliers to hold the fabric. Push the turned section forward with a wooden stick.
Work slowly. Do not press the sharp end of the stick directly against the seam.
Continue until the entire tail is right side out. Smooth the tail and close its turning opening by hand.

A ladder stitch will keep the closing seam neat. You can follow my ladder stitch video tutorial.
Turn and Stuff the Body
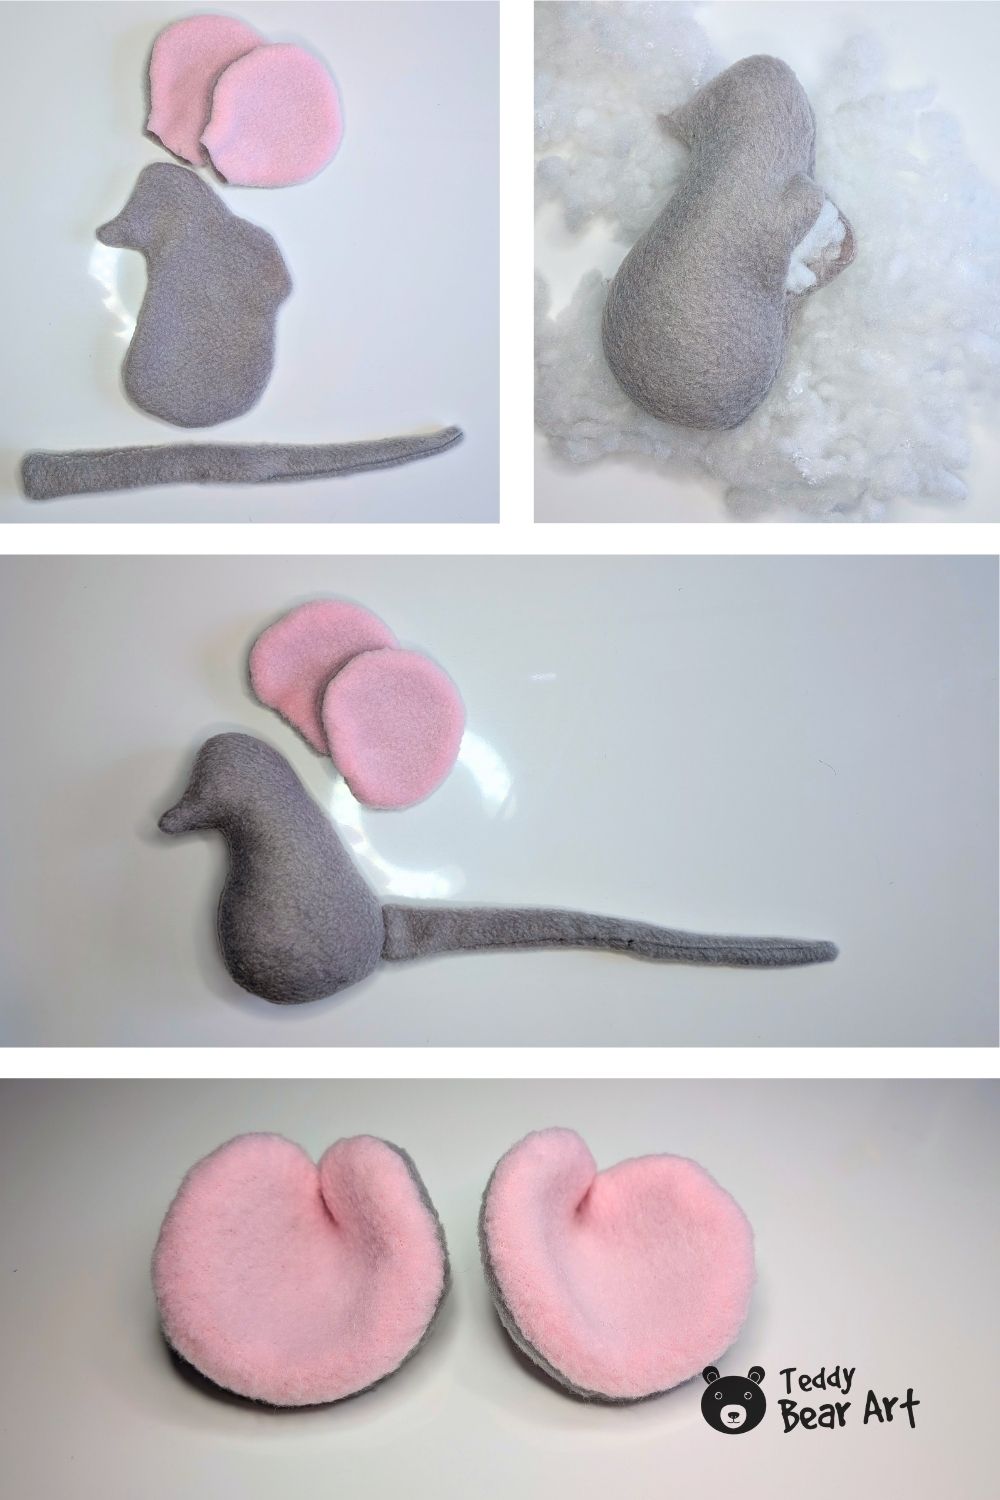
Turn the body right side out through the opening.
Use the wooden stick to shape the pointed nose. Add the stuffing in small pieces.
Fill the nose and head first. Then fill the wider part of the body.
Keep the mouse firm enough to hold its shape, but do not overstuff it. Check the front seam as you work.
Close the opening with a ladder stitch.
Place the wide end of the tail against the back of the body. Pin it in place and sew it on by hand.
Add the Eyes
Mark the eye positions.
Check the mouse from the front and both sides. The eyes should sit at the same height.
Sew on the glass eyes or black beads with strong thread. Pull the thread firmly, but do not create deep dents in the fleece.
Shape and Attach the Ears
Turn both ears right side out.
Use the wooden stick to smooth the curved edges. Do not add any stuffing to the ears.
Pinch the lower edge of each ear to create a soft cup shape. Hold the fold with a few hand stitches.
Pin the ears to the head. Check their position from the front.
Sew around the base of each ear with small hand stitches.

Choose the Nose Shape
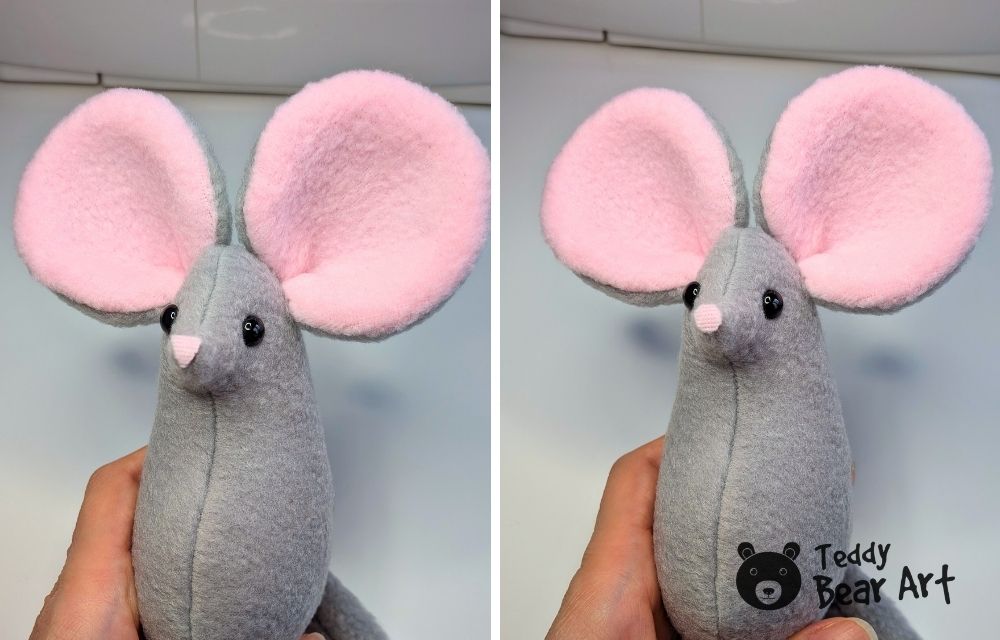
I cut two small noses from pink fleece for comparison. One was triangular and the other was round.
The triangular nose looked sharper. The round nose looked softer, so I chose the round one.
Glue the round fleece nose to the tip of the muzzle.
Sew the Arms and Feet
Place the arm pieces together with the right sides facing. Sew around each pair and leave the turning openings unstitched.
Repeat the same steps for the feet.
Cut out the pieces with a small seam allowance. Turn them right side out with the wooden stick.
Add only a small amount of stuffing. Keep the arms and feet fairly flat.
I also liked the mouse without separate arms and feet. The simple body looked cute on its own. I added the limbs because the feet help the mouse stand.
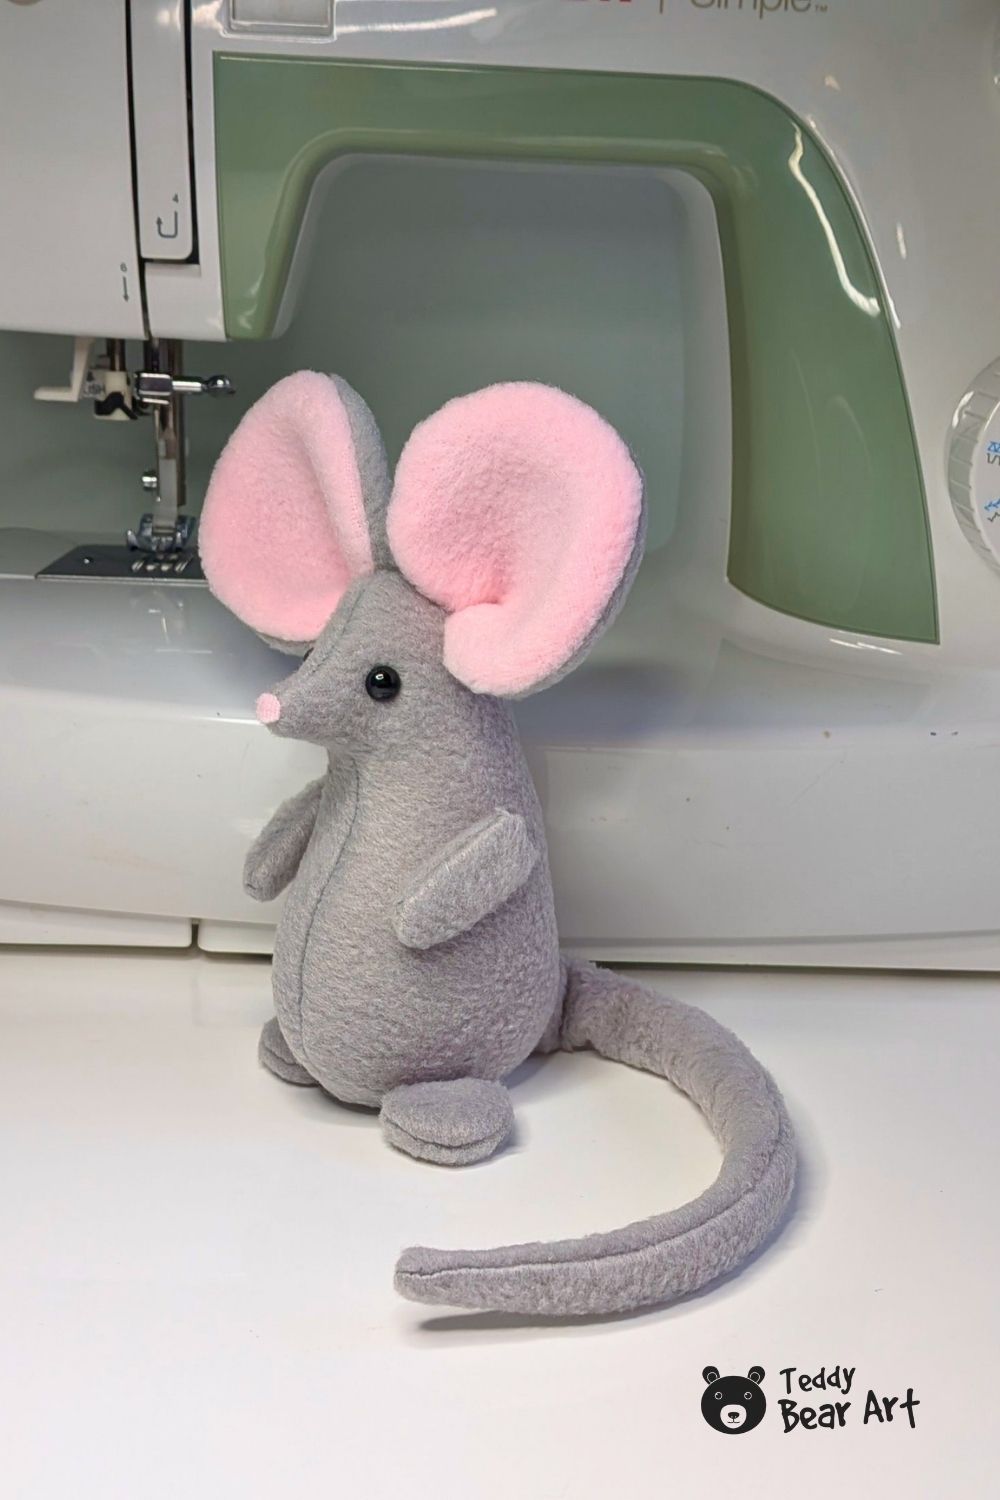
Pin the arms to the sides of the body. Check that they sit at the same height. Sew them on by hand.
Pin both feet under the body. Place the mouse on a flat surface and adjust their position until it stands steadily.
Sew the feet firmly to the body.
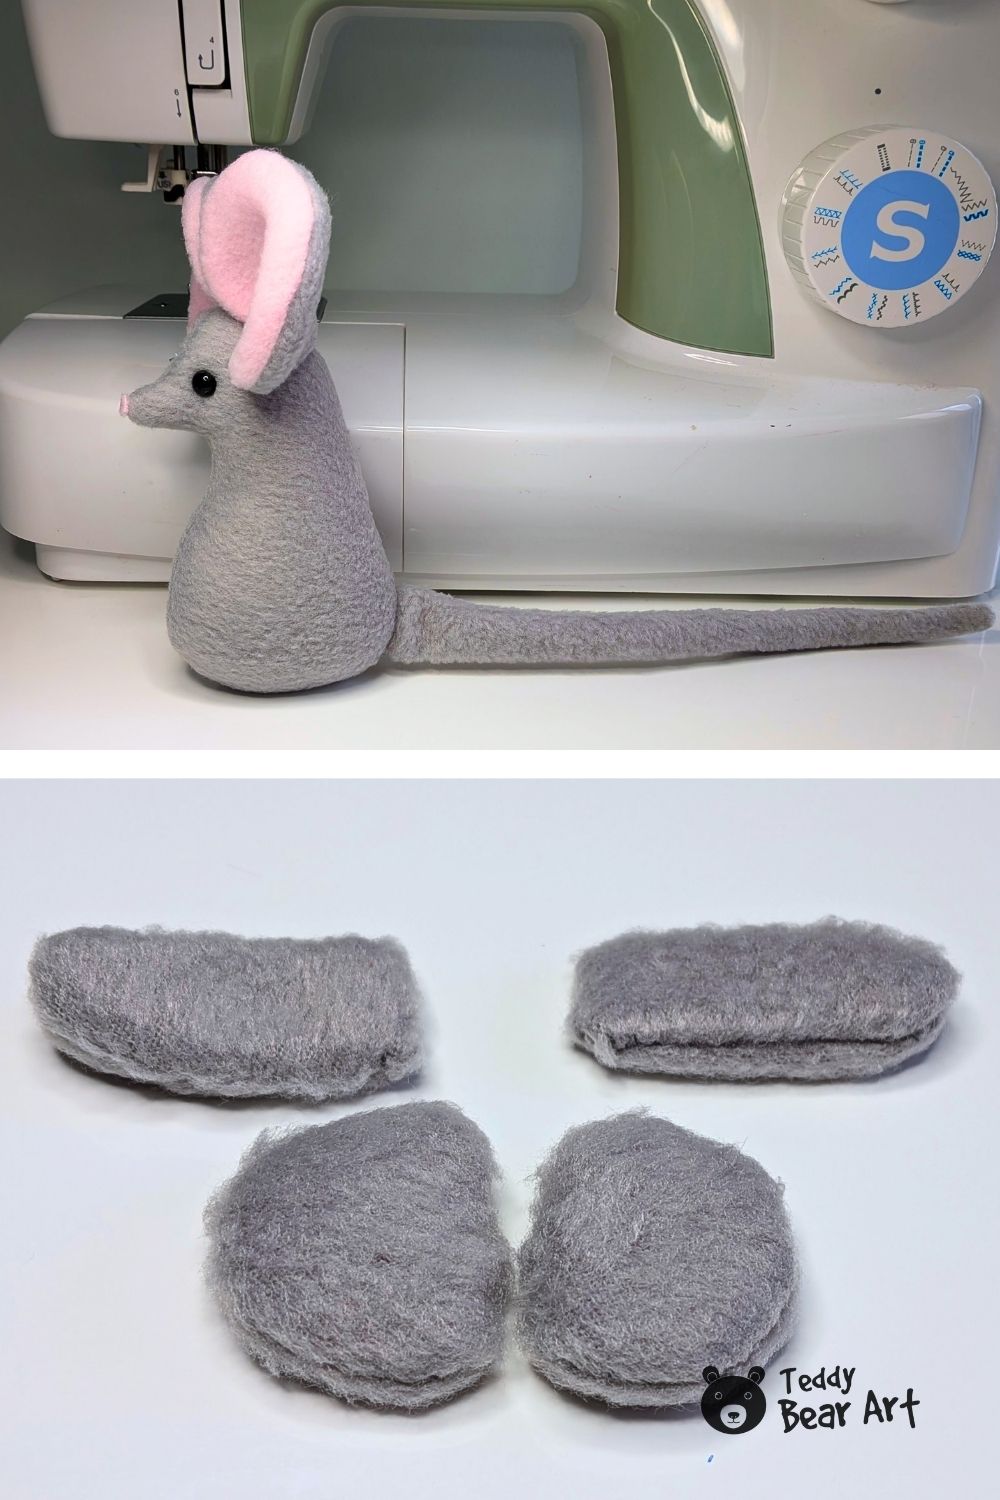
Check the finished mouse from every side. Adjust the ears, feet, and tail if needed.
The tail can curve around the mouse or extend behind it. Its position can also help with balance.
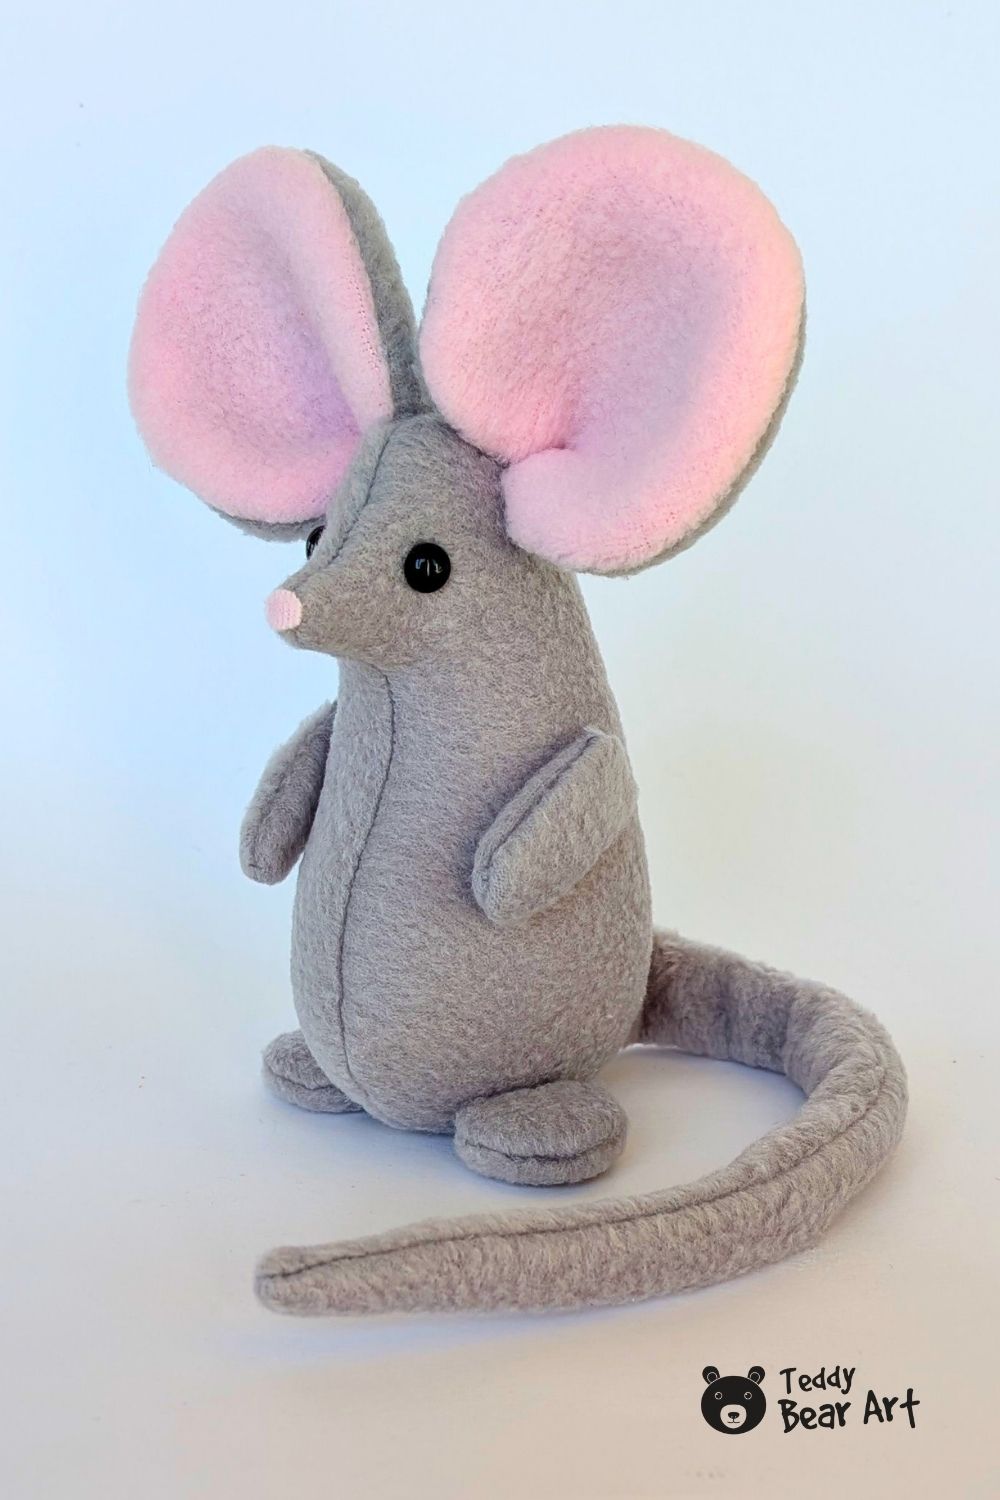
The large pink ears give this simple mouse plenty of character. You can also use another color for the body, inner ears, or nose.
FAQ
Can I use another fabric?
Fleece is the easiest option for this pattern. It is soft, slightly stretchy, and does not fray. You can also try short pile plush or minky. These fabrics may be more slippery while sewing.
Can I make the mouse larger or smaller?
Yes. Print all pattern pieces at the same reduced or enlarged percentage. Keep in mind that the tail and feet will be harder to turn if you make the mouse much smaller.
Before You Go
Save this fleece mouse sewing pattern so you can return to it later. Try different fleece colors or another nose shape to give your mouse its own character.
And every little mouse needs a friend. Sew my Free Fleece Cat Sewing Pattern Tutorial next and make a cute handmade cat and mouse pair.
Get Free Patterns & Be the First to Know!
Want free teddy bear patterns, exclusive tutorials, and a chance to win craft supplies?
Sign up for our newsletter using the subscribe form in the middle of this article to receive new patterns, insider tips, and the latest news on teddy bear art. You’ll also automatically be entered into our annual giveaway for a chance to win teddy bear crafting materials.
Bonus entry: Save one of our pins on Pinterest to increase your chances of winning!
Let’s create, inspire, and craft beautiful teddy bears together!
Now this is the only kind of mouse I actually want to see running around my house! He is absolutely darling, and I love that I won’t need to chase him out with a broom. Thank you for sharing such an easy, precious pattern. My pincushion is already getting nervous for crafting time!
Your comment made me smile! Thank you so much. I hope you enjoy making this little mouse.
What an absolutely adorable little mouse! Those huge ears give it so much character, and I honestly don’t think I’ve ever seen a plush mouse quite like this one before. It’s such a charming and original design. And that round little tummy is just too cute! I love how every detail gives this mouse its own personality and makes it look so lovable. How do you come up with all these wonderful ideas for creating such unique little plushies?
Thank you so much! I’m really happy you noticed the ears and the little round tummy because those were some of my favorite details too. Most of my ideas usually start with a simple shape or a funny feature that suddenly gives the toy its own personality. Sometimes I sketch first, and sometimes the character develops while I’m sewing. I love experimenting and seeing how a small detail can completely change the final look of a plushie.