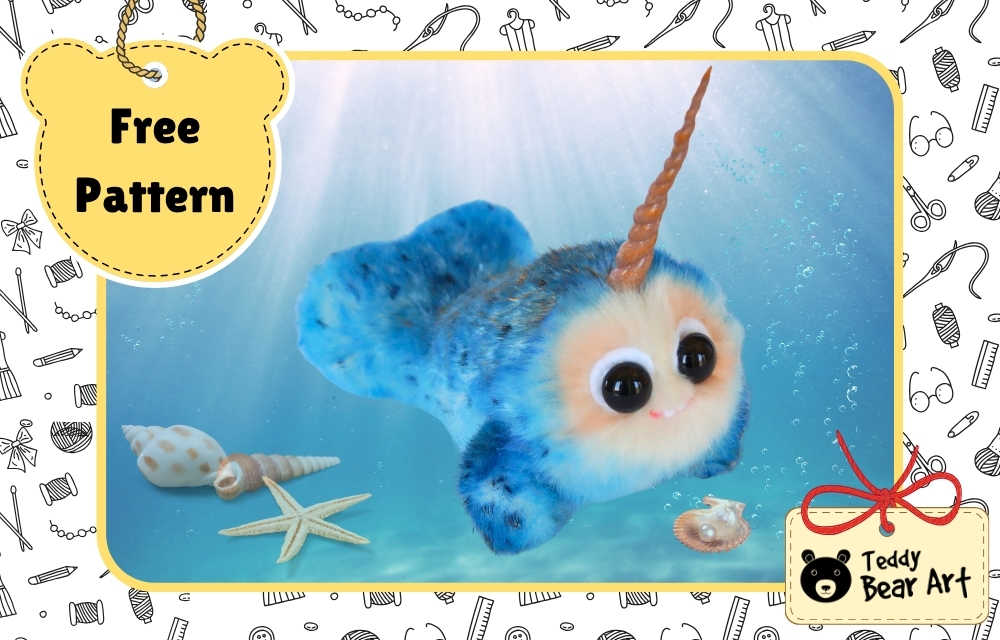
If you’ve ever dreamed of crafting your very own cuddly sea friend, this narwhal plush pattern is the perfect place to start. Narwhals, with their enchanting unicorn-like tusks and gentle nature, make for delightful plush toys that are both whimsical and charming. In this post, we’ll guide you through creating your very own narwhal plush toy using an easy-to-follow narwhal sewing pattern — no advanced skills required, just your creativity and a bit of patience.
Meet your new favorite project: a soft, squeezable narwhal plushie that’s ideal for gifting, decorating, or simply adding to your stuffed animal collection. This narwhal plush pattern provides the template and instructions you need, along with tips to personalize your creation and bring it to life.
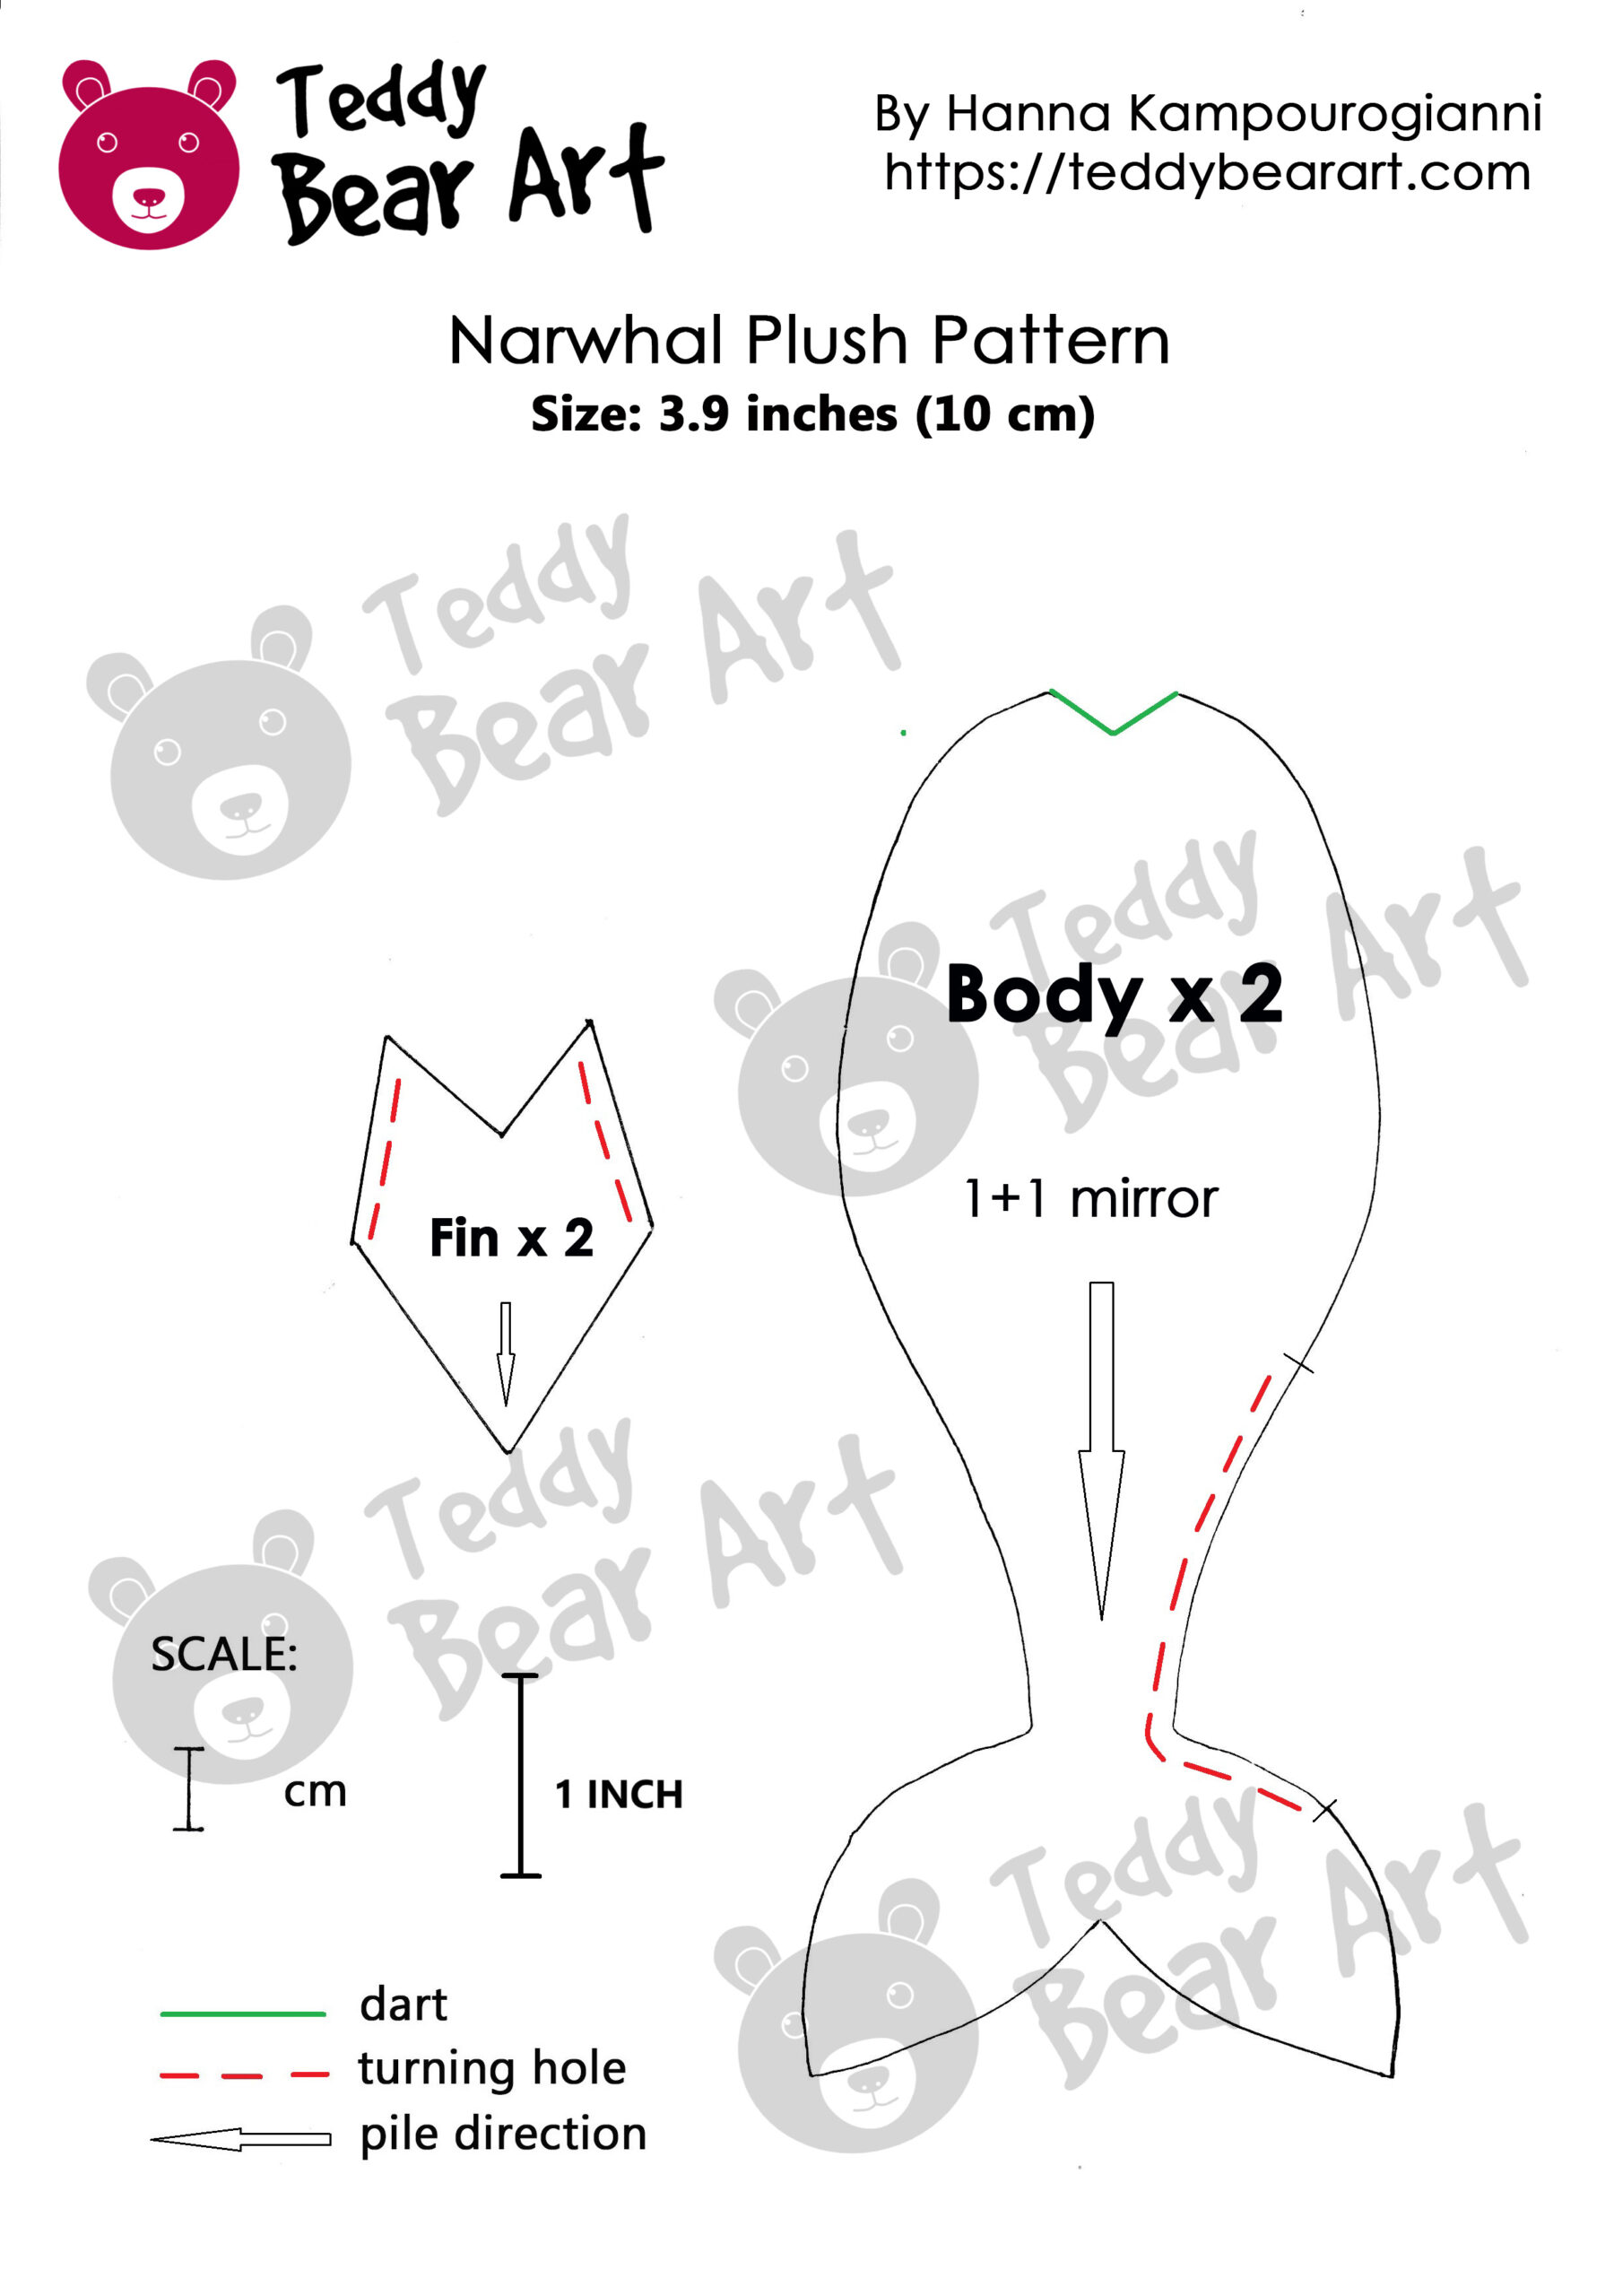
Downloading Your Free Narwhal Plush Pattern
To download the pattern, follow the instructions below:
From a phone or a tablet: There should be something similar for mobile devices with Android or iOS. Click on the image. Save it by holding your finger on the image and selecting the “Save Image” option. Then go to your photo gallery and print it (there is an option).
From a computer: Click on the photo of the pattern you see below. In the new tab that will open, you press the right mouse button and select the “Save image as …” option. Then, you choose where the image will be saved on your computer.
Materials You’ll Need for Your Narwhal Plush
- White or blue faux fur with a 1.5–2 cm pile (this will be painted)
- A small piece of faux fur with a short pile for the fins
- Glass eyes on metal loops, 14 mm diameter (black)
- Oil paints
- Flat, wide paintbrushes
- Polyester stuffing (regular plush toy filling)
- Small bag of weighting pellets (optional, but adds a nice heft)
- White felt (for eyelids and cute little teeth)
- Clay for the tusk
- Strong thread, regular sewing thread, and a long needle (especially helpful for inserting the eyes)
- Awl (to help place features)
- Strong glue
Narwhal Sewing Instructions: Step-by-Step Guide
Let’s create your very own narwhal using this free pattern and a detailed sewing guide. The seam allowance is approximately 1 cm.
Start with the body. Begin by sewing the darts — these help shape the plush. Then, place the two body pieces right sides together and stitch around the edges, leaving a small opening on the side for turning and stuffing. If you’re a beginner, it’s a good idea to pin everything in place first and sew slowly around the curves. Once stitched, gently turn the body right side out.
Next, stuff the narwhal evenly with polyester fiberfill to give it a soft, huggable shape. You can also add a bit of stuffing pellets to give it a nice weight and balance. Once stuffed, close the opening with an invisible ladder stitch. To give your seams a smooth, clean look, lift the fur around them with an awl or the tip of a needle.
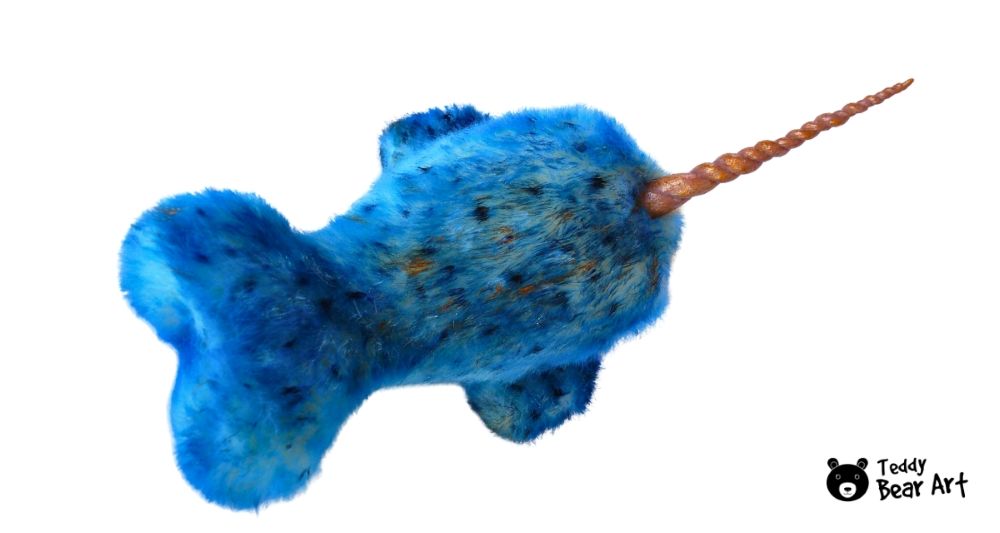
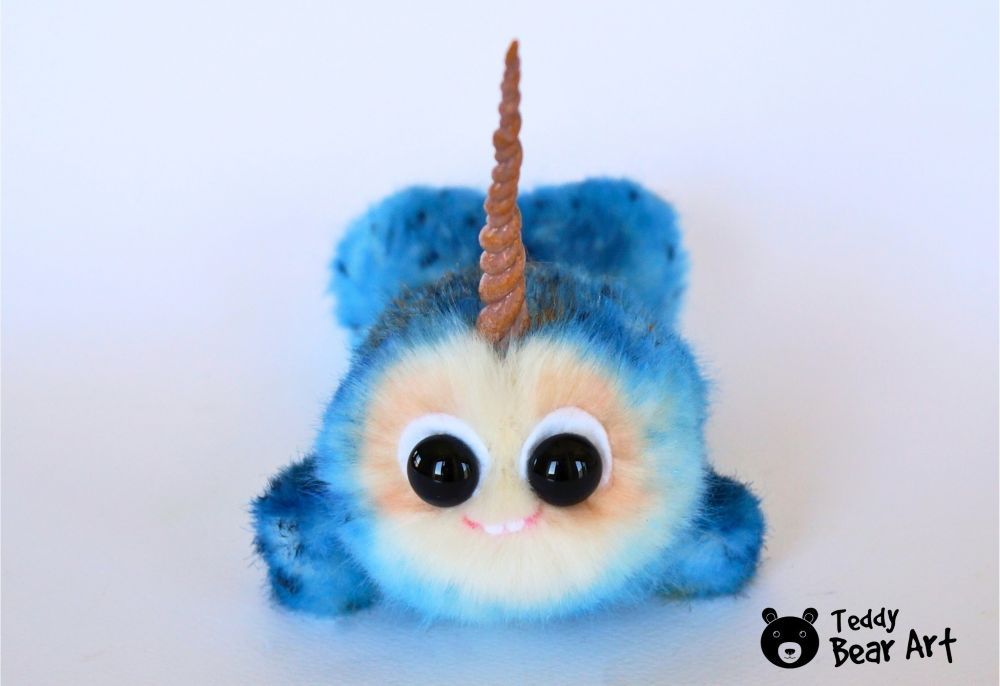
Now for the coloring step. The back should be a deeper, vintage-style blue, and the belly a lighter shade. Use oil paint and the dry-brush technique: dip a flat brush in the paint, wipe off most of it on paper, then gently brush it onto the fur. After the first layer is dry, add some accents — darker spots, light patches, maybe even hints of gold, depending on your taste. Let everything dry completely. Use the same technique for the fins: base color first, then decorative accents.
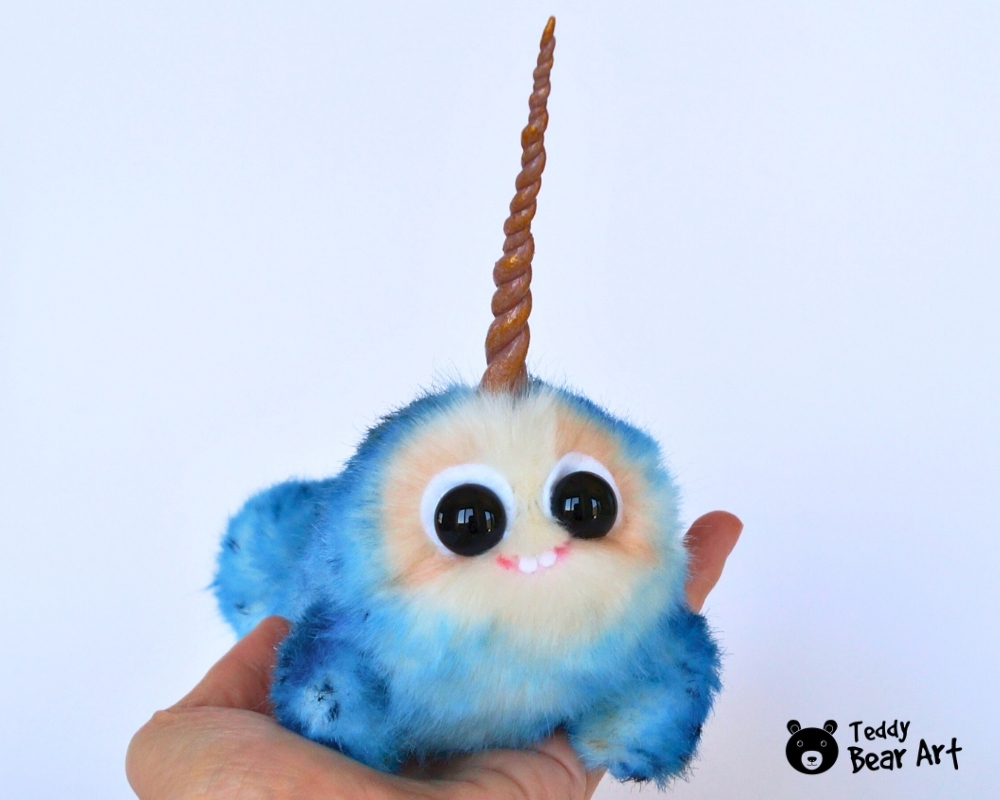
Let’s move on to the face. Use glass eyes on wire loops and insert them into small holes made with an awl. Secure them from the inside with a strong thread. Here’s a helpful visual guide on how to do it.
Trim the pile to create a smile, and add some pink color. For the eyelids and teeth, cut small pieces from white felt and either glue them in place or needle-felt them gently if you prefer wool work.
The narwhal’s horn is a special feature. Make it from polymer or air-dry clay. Once it’s fully dry, poke a hole in the head with an awl and glue the horn securely in place.
Now for the fins. Once dry, sew the fins onto the body, adjusting their angle to create a dynamic, lifelike pose.
Your narwhal is finished! This magical sea creature is now ready to become a beloved plush companion or a unique handmade gift.
Tips for Making Your DIY Narwhal a Success
If you want your plush narwhal to look just as magical as the one in the photos, it’s important to choose the right materials. One of the main tips for this DIY project is to use plush fabric with a soft pile. Avoid replacing it with felt or thin cotton — even though they’re easier to work with, the final plush won’t look as cozy or visually appealing.
We recommend high-quality faux fur or plush in cool shades like blue, dusty turquoise, or light grey. Use sharp scissors for cutting the pieces — this ensures clean, neat edges.
As for the eyes, although the pattern uses glass eyes, you can try plastic safety eyes instead. Test out different positions before attaching them — sometimes, placing them slightly wider or higher gives the narwhal a cuter, more expressive look.
If you prefer a fabric horn instead of a clay one, cut a triangle, roll it into a cone, lightly stuff it, and sew it closed neatly. You can also wrap a thread or thin cord around it in a spiral to give it a textured, realistic effect similar to a real narwhal horn.
These small touches will make your DIY narwhal truly unique and give your plush a warm, handmade character.
If you are a fan of sea and ocean animals, try our Manatee Plush Pattern!

Why This Narwhal Stuffed Animal Pattern Stands Out
This free narwhal stuffed animal pattern offers a balance of simplicity and charm. Its clear instructions make it approachable for beginners, while the creative possibilities allow more experienced plush makers to add their signature touches. Plus, it’s a fantastic way to expand your collection of sea creature plushies with something truly magical.
Get Free Patterns & Be the First to Know!
Want free teddy bear patterns, exclusive tutorials, and a chance to win craft supplies?
Sign up for our newsletter using the subscribe form in the middle of this article to receive new patterns, insider tips, and the latest news on teddy bear art. You’ll also automatically be entered into our annual giveaway for a chance to win teddy bear crafting materials.
Bonus entry: Save one of our pins on Pinterest to increase your chances of winning!
Let’s create, inspire, and craft beautiful teddy bears together!
Another great choice for me to put together with my grand daughter! She is going to be delighted and I love the fact that we can reuse some of the supplies for each project we do. You have got all the informaiton as far as how to put together, tips, and supples. I am just curious (maybe you can include) the average time to make this and if there is a bottom age group that would be able to make this on their own?
Thank you so much for such a kind comment. I’m really happy that you’re making this toy together with your granddaughter — it’s a wonderful shared activity.
It took me about three days to make it, though two of those days were just waiting for the paint to dry.
As for the age, it really depends on the child. I think some teenagers could handle this project on their own, especially if they have a bit of crafting experience. But in any case, it’s always more fun to do things together.
What a wonderfully detailed and inspiring narwhal plush tutorial!
I love how clear the sewing steps are—even beginners like me can follow along—and the tips for choosing the right faux fur and experimenting with safety eyes are super helpful. The suggestion to use oil paint with a dry-brush technique to add depth and personality is such a creative touch!
I’m especially drawn to the clay tusk method, but I also appreciate the alternative idea of a fabric horn wrapped in cord—that would make it lighter and cuddly-friendly. I’m planning to make this with my little one this weekend and might even add lavender sachet inside for a calming bedtime companion. Have you ever tried scenting your plushies?
Thank you for making this pattern accessible yet full of charming details. Can’t wait to share our finished narwhal!
Thank you so much!) I usually don’t scent my plushies because they’re meant for collectors. But if you’d like to adapt the pattern for a child’s toy or for yourself — with safety eyes and a fabric tusk — then adding a scent is absolutely fine!