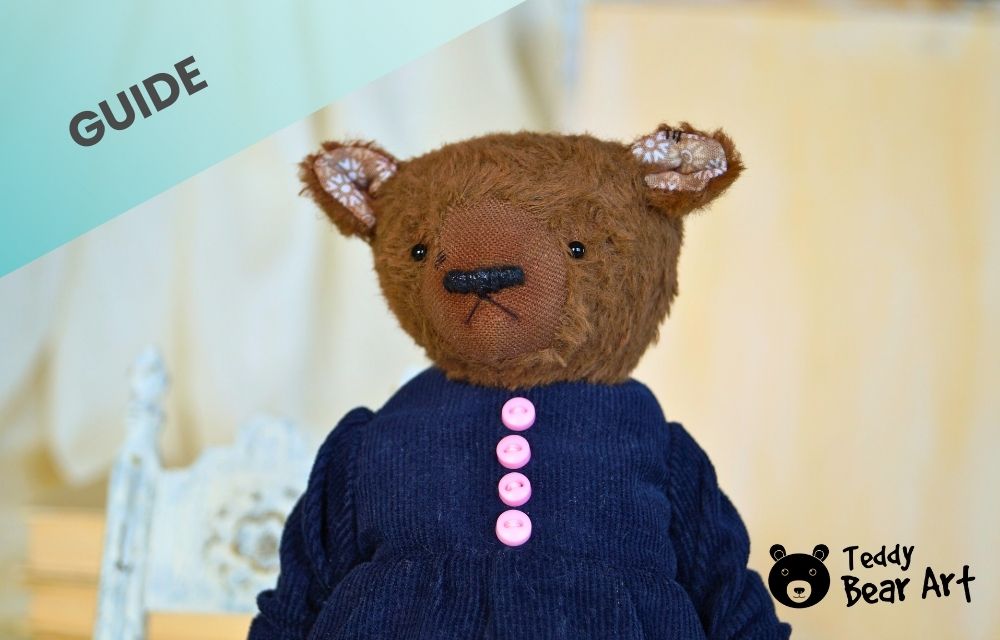
Learning how to make teddy bears is exciting, but mistakes are part of the process. I made many of them myself at the beginning. Knowing how to fix common teddy bear making mistakes helps avoid frustration and saves hours of work. In this guide, I share real examples from my early teddy bears and simple, practical tips that help improve shape, durability, and overall appearance while building confidence at the work table.
Common Issues with Seams and Shape
Uneven seams and distorted shapes are among the first challenges beginners face. Poor cutting or inconsistent seam allowances can lead to mismatched pieces and a crooked body. To fix this, carefully unpick problem seams and sew them again with smaller, even stitches.
Following the pattern seam allowances precisely is essential. Marking seam lines with a fabric pen helps maintain uniformity. High-stress areas, such as limb and head attachments, benefit from reinforcement with an extra row of stitching or a tight backstitch.
Curved areas can also cause trouble. If curves appear jagged after turning, clip small V-shaped notches in the seam allowance, avoiding the stitching line. For plush or faux fur fabrics, trapped fibers in the seams make lines visible. Gently brushing them out with a toothbrush or small comb will make seams nearly invisible.

Stuffing: Avoiding Lumps and Floppy Shapes
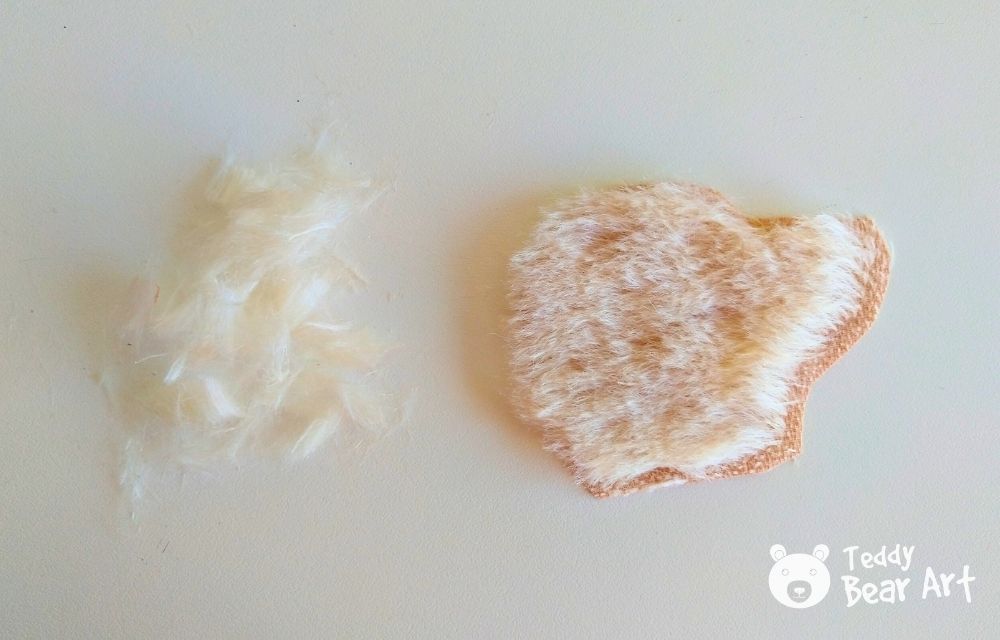
Stuffing directly affects the bear’s shape and character. Overstuffing leads to stiff, lumpy bears, while understuffing results in a flat, lifeless look. The fix usually involves removing some stuffing and redistributing it in small amounts. Always fluff fiberfill before use to prevent clumping.
Tight areas, such as ears, paws, and noses, require small tools. A wooden chopstick or the end of a pencil helps push stuffing evenly into corners. The pinch-and-push method allows smoothing of lumps from the outside by moving stuffing inside the bear.
A simple test determines if stuffing is correct: the bear should feel firm yet soft and squeezable. If seams are straining or the bear feels too hard, removing a little filler restores proper softness.
Joints, Balance, and Sitting Position
Loose joints are a common surprise. Limbs or the head may seem secure during assembly, but become wobbly after stuffing. Tightening joints as much as possible during assembly ensures stability once the bear is filled.
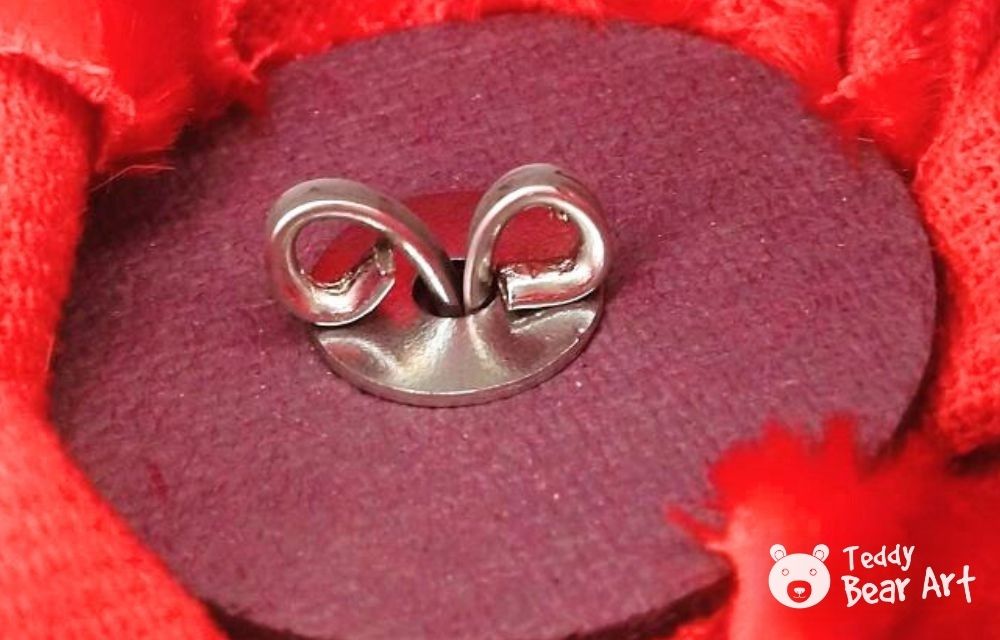
Strong thread (furniture thread), such as polyester or nylon, keeps joints and eyes secure. Pulling threads firmly and tying reliable knots ensures durability.
A teddy bear needs three points of support to sit properly: the bottom of the body and both legs. If the bear is resting only on its legs or only on its body, it simply won’t sit. When a bear keeps tipping over, the problem is usually leg placement or a shifted center of gravity.
Before final assembly, it helps to check the position and angle of the legs and adjust them if needed. Sometimes adding a bit more stuffing or a small weight to the lower body makes a big difference and allows the bear to sit naturally.
Faces, Fabric, and Small Details
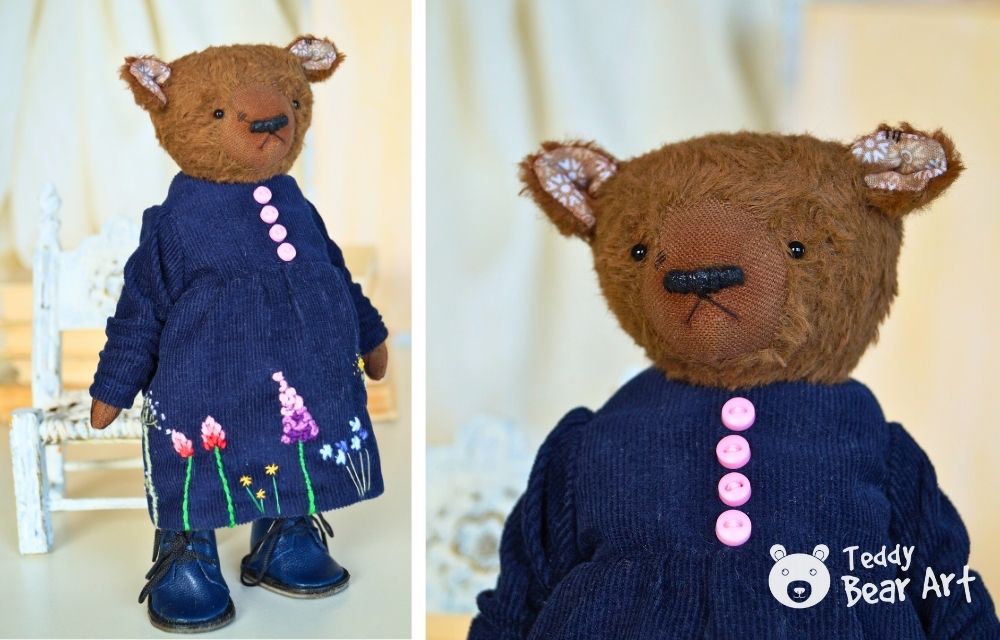
The face gives a bear its personality, so crooked eyes or an uneven nose are immediately noticeable. Before attaching anything permanently, it really helps to mark the center of the face first. A simple thread or a disappearing fabric marker can be used to draw a light center line from the top of the head down to the nose area.
From this center line, measure the same distance to the left and right for eye placement. A small compass works surprisingly well for this. Set the width once and transfer the distance evenly to both sides. The same method can be used for ears, mark the center of the head, then measure equal distances and height before sewing them on.
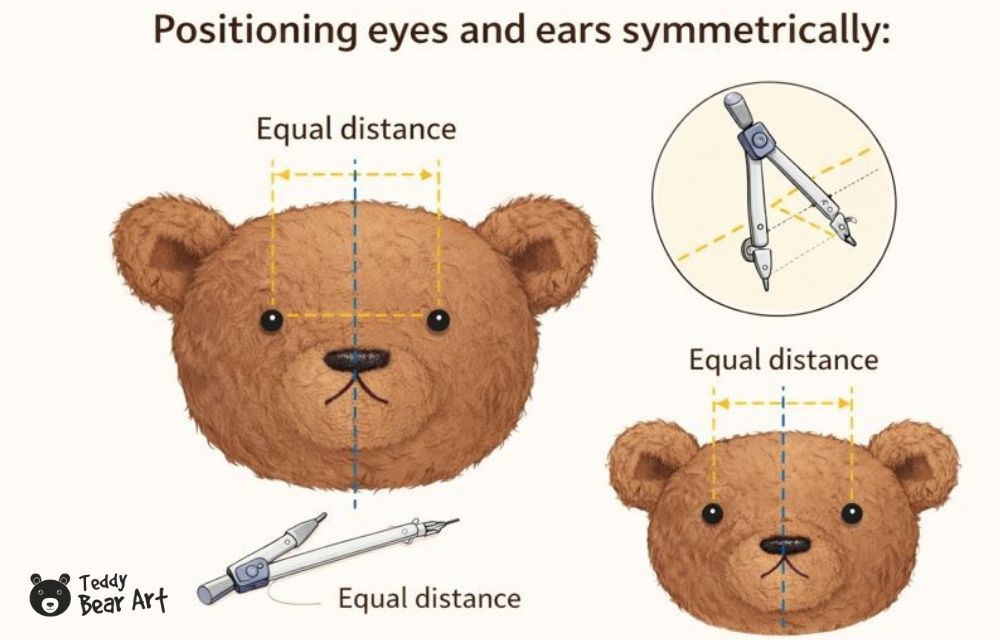
Always test the placement with pins first and step back to look at the expression. Even tiny changes in spacing or height can completely change how the bear looks. If embroidery or placement feels off, unpick it and redo it, it is always worth the extra few minutes.
Fabric choice matters. Beginners should use soft, stable materials like fleece, minky, or cotton, avoiding thick faux fur or expensive mohair at first. If working with stretchy fabrics like jersey, adding a fusible woven interfacing helps prevent the bear from losing shape when stuffed. Read our guide on How to Choose the Perfect Plush for Teddy Bears to make the right choice.
When cutting faux fur, avoid slicing straight through the pile with large scissors. Cut only the fabric backing to prevent the “haircut” effect. Always ensure that all pieces are cut with the nap running in the same direction, usually downward toward the paws, for a consistent look.
If you’re working with mohair, trim some pile from the seams before sewing. This will prevent excess fluff of varying lengths from peeking out from the seams, giving the bear a neater look.
Leave openings for turning and stuffing, marking them clearly before sewing. Closing these openings with a ladder stitch, also called an invisible stitch, provides a professional finish.
For bears intended for toddlers or young children, embroider eyes and noses instead of using buttons to avoid choking hazards. A good reference on the ladder stitch can be found in this short video:
Before You Go
Practicing on inexpensive fabrics is highly recommended for beginners. Careful preparation, precise cutting, consistent sewing, and gradual stuffing are key to avoiding mistakes. Patience is essential, and each project becomes a learning opportunity. Do not hesitate to use a seam ripper or step away from the project and return with fresh eyes if needed.
Mistakes are not failures; they are part of the learning process. Knowing how to fix common teddy bear making mistakes for beginners turns problems into lessons, strengthens skills, and makes every new bear better than the last. Slow, deliberate work and attention to each step create steady progress, and correcting mistakes becomes a natural and stress-free part of the creative process.
Get Free Patterns & Be the First to Know!
Want free teddy bear patterns, exclusive tutorials, and a chance to win craft supplies?
Sign up for our newsletter using the subscribe form in the middle of this article to receive new patterns, insider tips, and the latest news on teddy bear art. You’ll also automatically be entered into our annual giveaway for a chance to win teddy bear crafting materials.
Bonus entry: Save one of our pins on Pinterest to increase your chances of winning!
Let’s create, inspire, and craft beautiful teddy bears together!
Great article! The tips on fixing mistakes with real examples are really helpful. I’ve done some sewing in my free time and know how easy it is to make little errors that can add up. I especially appreciate the practical advice. I’m curious, how often do you recommend replacing the stuffing in old vintage bears to keep them in good shape and ensure they last for years to come?
Thank you for your kind words! For vintage bears, it largely depends on how often they are handled and their overall condition. If a bear is mainly for display, the stuffing can last for many years, but for well-loved bears, checking and possibly replacing the stuffing every few years helps keep them in shape and in good condition. Always handle them gently to avoid stressing old seams.
I really enjoyed trying out the ideas mentioned here and paying more attention to small technical details during the process. I usually slow down at tricky stages and test things step by step, because I’ve noticed that even minor adjustments can completely change the final result once the bear is finished.
One thing I realized I wanted to ask: when something doesn’t look quite right at an early stage, do you prefer to unpick and redo it immediately, or do you sometimes continue and adjust later during stuffing and assembly?
I’m so glad you found the guide helpful! I usually try to fix things as early as possible, because small issues can become much harder to correct later. That said, I sometimes continue to make slight adjustments to see how it will behave once stuffed, especially with joints or curves, and then make minor adjustments before final assembly. It’s really about balancing patience with practicality, and every bear teaches a bit more about timing and technique!