A favorite teddy bear or stuffed bunny can lose its shape over time, get dirty, seams may split, stuffing can flatten, or accessories might go missing. But don’t worry, every soft friend deserves a second chance! In this stuffed animal repair tutorial for beginners, you’ll learn step by step how to restore a stuffed toy carefully: remove the old filling, hand-wash the plush shell, dry it, repair weak seams, refill it with new stuffing, and sew it up again so it looks as good as new. Even if you’ve never repaired a toy before, this simple guide will help you do it with confidence.

Tools and Materials You’ll Need
Before you begin, prepare everything you might need: a needle, thread in matching colors, scissors, a gentle detergent, small pieces of fabric for possible patches, and new stuffing (polyester fiberfill or cotton). Keeping all your materials close by will make the process smoother and easier.

Step-by-Step-Guide
Below, you’ll find an easy-to-follow guide that walks you through every stage of repairing and refreshing your stuffed animal, from cleaning and drying to refilling and stitching. Each step is simple, beginner-friendly, and designed to help you restore your soft friend with care and confidence.
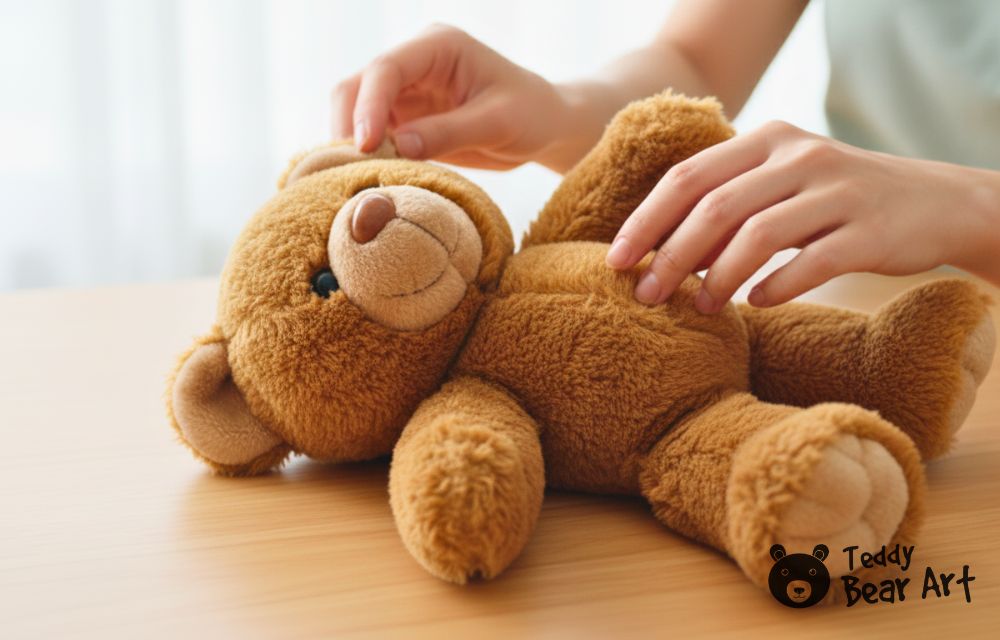
Step 1: Inspect and Prepare the Toy
Start by carefully examining your stuffed animal. Look for worn or dirty spots, loose seams, or tiny holes. Take note of which areas need special attention. At this stage, your teddy might look a little tired and dusty; that’s perfectly fine. We’ll soon bring it back to life!
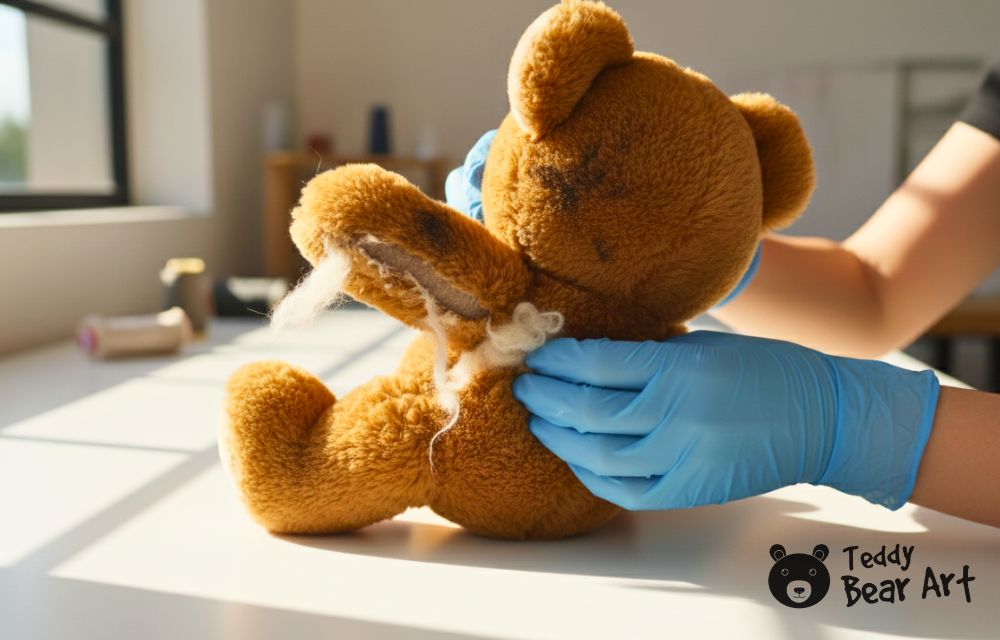
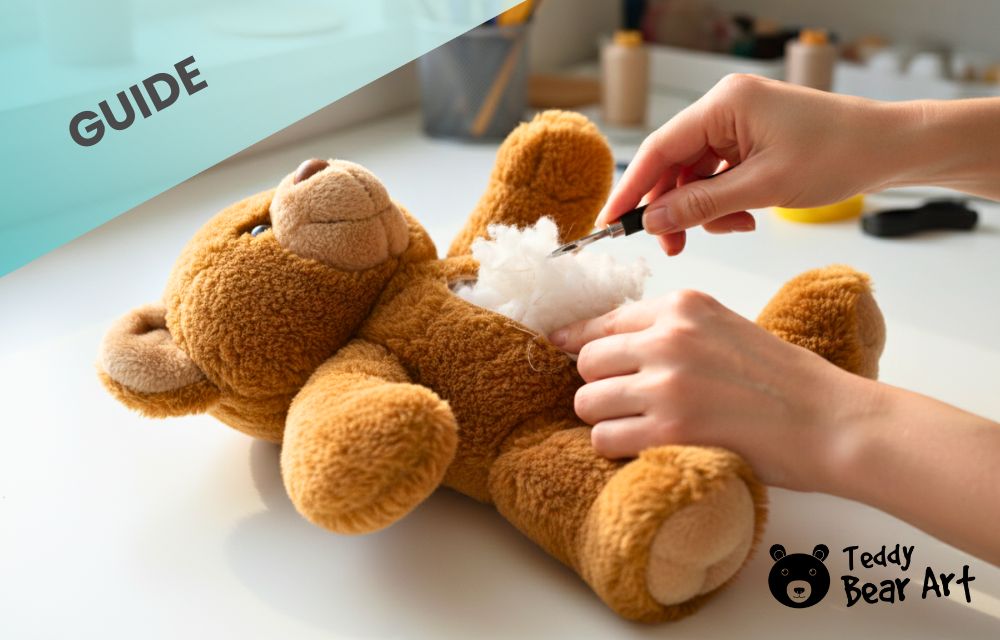
Step 2: Remove the Old Stuffing
Gently open the seams in the most convenient places, usually the back of the body, the back of the head, and sometimes the limbs. Work slowly to avoid tearing the fabric. Take out all of the old stuffing so the toy becomes completely empty and soft like a plush shell. This step is important because old stuffing often traps dust and odors and can make the new shape uneven.
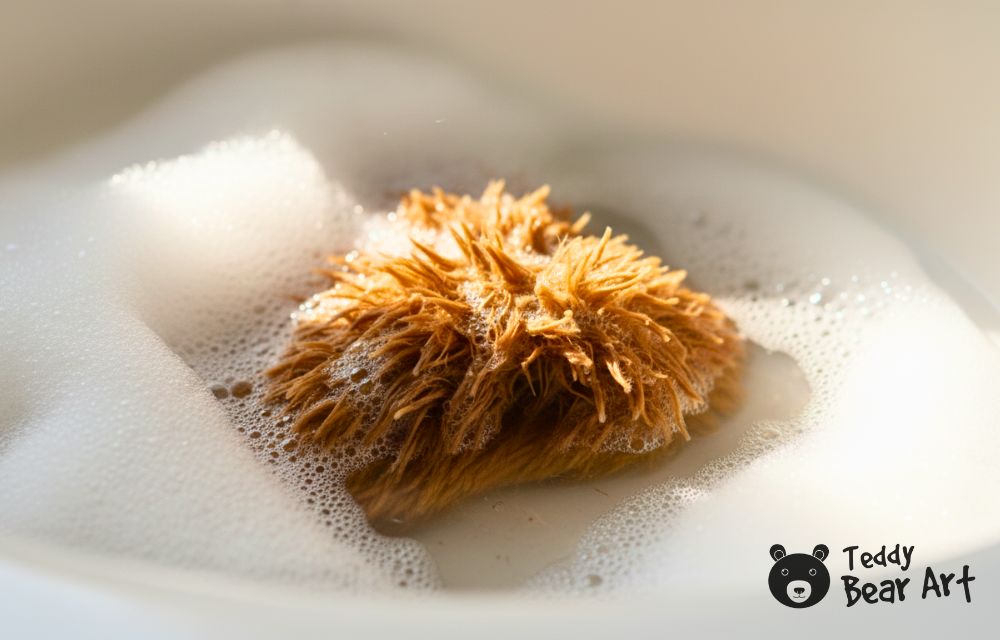
Step 3: Hand Wash the Plush Shell
Fill a clean sink with warm water and add a small amount of mild detergent. Submerge the empty plush shell and let it soak for a few hours to loosen dirt and refresh the fibers. After soaking, gently wash the fabric by hand, pressing and squeezing the plush surface without twisting it too much.
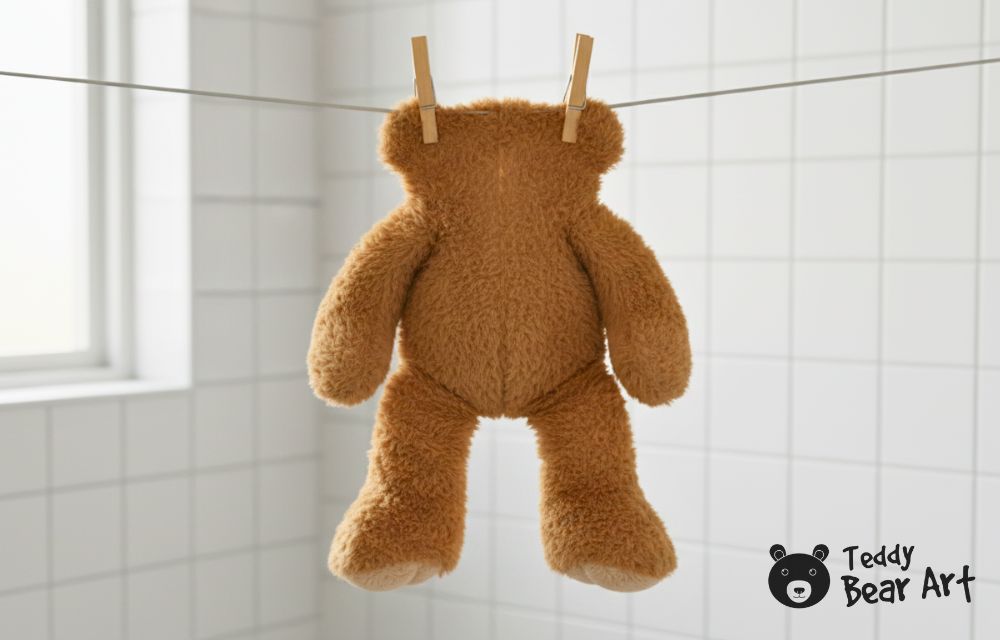
Rinse thoroughly, then carefully press out the water without stretching the fabric. Place the shell in a clean area to dry completely before continuing. Once dry, it should be soft, clean, and ready for repairs.
Step 4: Repair Seams and Prepare for Stuffing
When your teddy is dry, inspect all the seams again. Use a matching thread to repair any small tears or worn areas on the body, head, or limbs. Take your time; neat seams will make the toy both stronger and more attractive. Once everything is secure, your stuffed animal is ready for new filling.
Step 5: Refill with New Stuffing and Sew It Closed
Start by gently adding new stuffing to the body through the opening on the back. Work in small portions, evenly distributing the filling so the shape stays symmetrical.

Then fill the head (through the opening at the back) and finally the limbs. When you’re happy with the shape and softness, sew up the openings carefully using the ladder stitch, which creates an almost invisible seam and gives the toy a neat, professional finish.
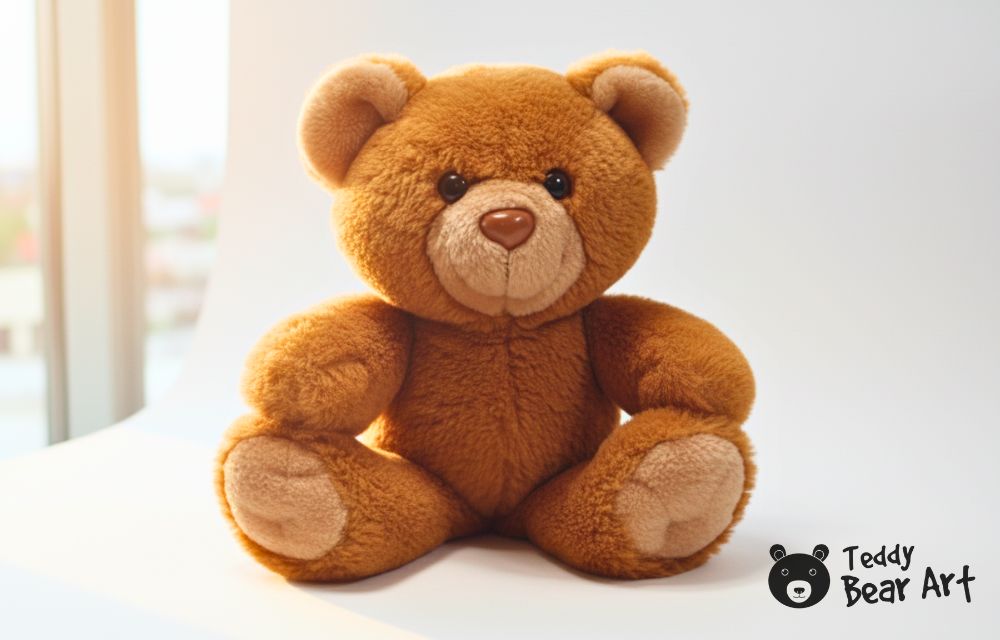
Step 6: Final Touches and Care
Once all the seams are closed, give your teddy a final check. Adjust the shape if needed, smooth the fur, and make sure the toy feels soft and cuddly again. From now on, a bit of gentle care, occasional hand cleaning, and dry storage will help it stay in great shape for years to come.
For extra guidance on common mistakes and useful repair tools, you can also check out this helpful resource: DIY Vintage Teddy Bear Repair: Tips, Tools, Mistakes, and Professional Help.
Before You Go
Restoring a stuffed animal isn’t just about fixing fabric and filling, it’s about reviving memories and love. With this stuffed animal repair tutorial for beginners, you can bring any old plush friend back to life.
For more cleaning and care advice, take a look at our detailed guide:
Get Free Patterns & Be the First to Know!
Want free teddy bear patterns, exclusive tutorials, and a chance to win craft supplies?
Sign up for our newsletter using the subscribe form in the middle of this article to receive new patterns, insider tips, and the latest news on Teddy Bear Art. You’ll also automatically be entered into our annual giveaway for a chance to win teddy bear crafting materials.
Bonus entry: Save one of our pins on Pinterest to increase your chances of winning!
Let’s create, inspire, and craft beautiful teddy bears together!
Great way to introduce the DIY aspect of taking care of your furry collectibles in order to keep them looking just like the first day. Some teddy bears have built up a lot of sentimental value even into adulthood and usually get forgotten then put aside because age and overuse took its toll. You’ve introduced how with a little TLC of age
Thank you! That’s exactly what I wanted to show, that with a little care, your bears can stay looking like new for a long time.
Restoring a stuffed toy isn’t just about fixing it — it’s about preserving the memories behind it. With a bit of patience, gentle cleaning, a few repaired seams, and fresh stuffing, a tired little bear can come back to life. Simple steps and basic tools can make a big difference, especially when you’re working with something meaningful. It’s a great beginner-friendly practice and a very heartwarming process. Keep it up!
Thank you so much for your kind words. I really appreciate it! It means a lot.
Thank you for such an amazing guide!
I have one question: for old or very fragile toys, is there a point when you would recommend turning to a professional instead of trying to repair it at home, especially if the fabric is thin or the seams are close to tearing? It would be helpful to know this boundary so that we don’t accidentally damage a toy that has already survived so much.
Thank you for your kind words. For very old or fragile toys, it’s best to seek a professional repair if the fabric is thin or seams are close to tearing. This way, the toy can be safely restored without risking further damage.
What a lifesaver—this tutorial just rescued the 30-year-old teddy my mom passed down to my daughter! Your photos of re-stuffing through the original seam and the trick of using hemostats to pull the poly-fil into stubborn limbs worked perfectly. Mr. Bear now has his proud belly back and no visible scars. Thank you for giving these childhood friends a second life!
Here’s the question I ran into while closing him up: when the original fur is really worn or pilled (like decades of love have left bald patches on the muzzle and paws), do you ever do a partial “fur transplant” from matching donor fabric before sewing the final seam, or is it safer to leave the vintage wear as-is and just reinforce from the inside? I have some leftover fabric from the same era, but I’m terrified of making him look patched instead of authentically restored.
Would love your advice on where you draw the line between repair and respectful preservation!
Sincerely,
Steve
Oh, what a wonderful story, thank you for sharing! It’s so lovely to hear that Mr. Bear has his round tummy back and no visible “surgery marks” along the way.
Now, about the trickiest part, bald spots and worn areas.
Here’s how I usually decide when to intervene and when to leave the “patina of age”:
If the wear looks natural and doesn’t compromise strength, I leave it.
A softly “well-loved” face often adds charm, and any new additions nearby can look too fresh.
If the fabric is so thin that it might tear, I reinforce it from the inside.
Thin felt, batiste, or even mesh can provide support without changing the outside. This is the safest approach.
Partial “fur transplant” is possible, but only in very small spots.
If you have truly well-matched fabric in color and texture, you can carefully cover tiny areas, like the tip of the nose or a small bald patch on a paw. The key is a micro-insertion, not a chunk. That way it doesn’t stand out.
Large inserts are almost always noticeable.
Even vintage fur from the same era behaves differently, so a big patch looks like a patch, not a restoration. In those cases, I prefer internal reinforcement over replacement.
My personal guideline:
If intervention could change the character of the toy, I would do as little as possible. If it simply saves the fabric and restores strength, I do it confidently.