*We are a reader-supported website. When you buy through links on our site, we may earn a small affiliate commission at no extra cost to you.*
Are you ready to take your teddy bear’s style to the next level? In this fun and creative DIY project, we’re going to show you how to craft a tiny messenger bag for your beloved teddy bear. This accessory adds charm to your bear’s wardrobe and opens up endless possibilities for imaginative play. Best of all, we provide you with a free pattern and an easy guide to make the process a breeze.
If you’re a passionate teddy bear maker or just getting started in teddy bear crafting, this project is perfect for you. Let’s dive in and create a stylish messenger bag that your teddy bear will adore!
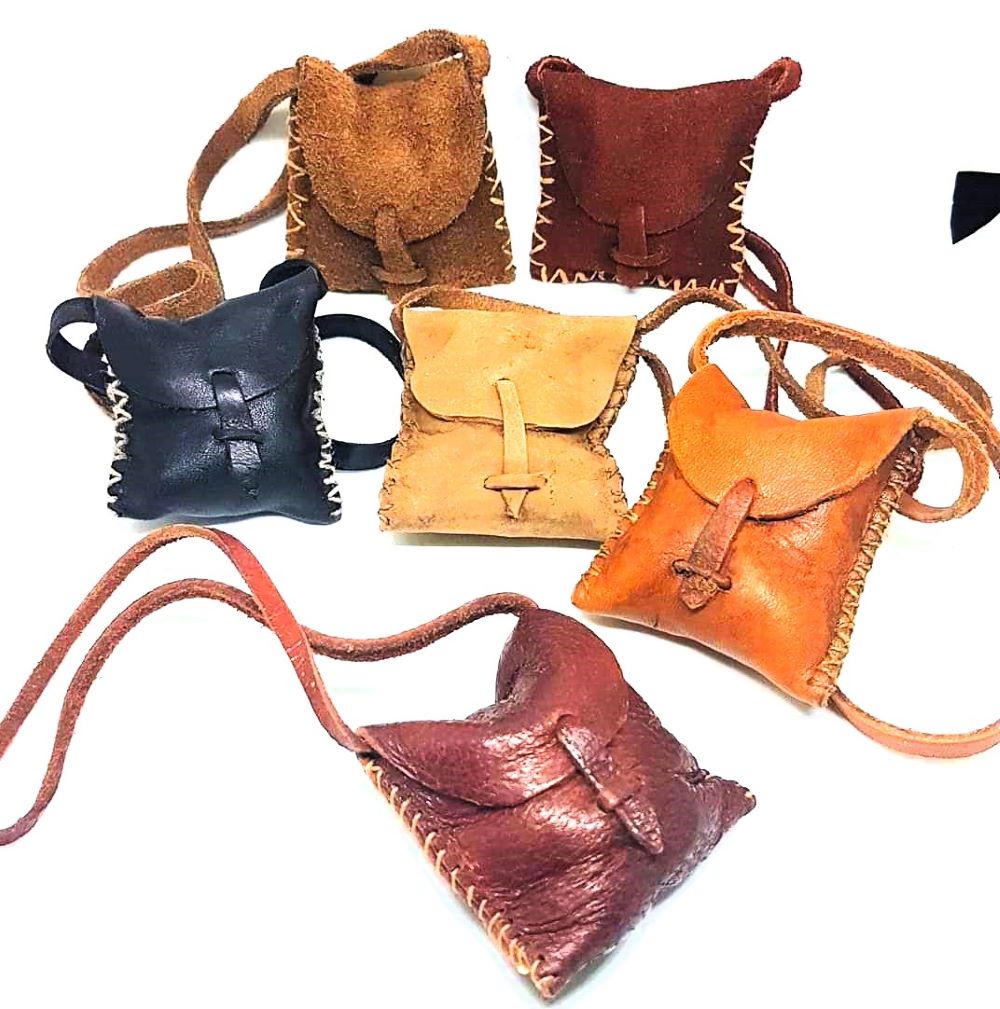
Materials Needed
Before we get started, let’s gather the materials and supplies you’ll need for this project:
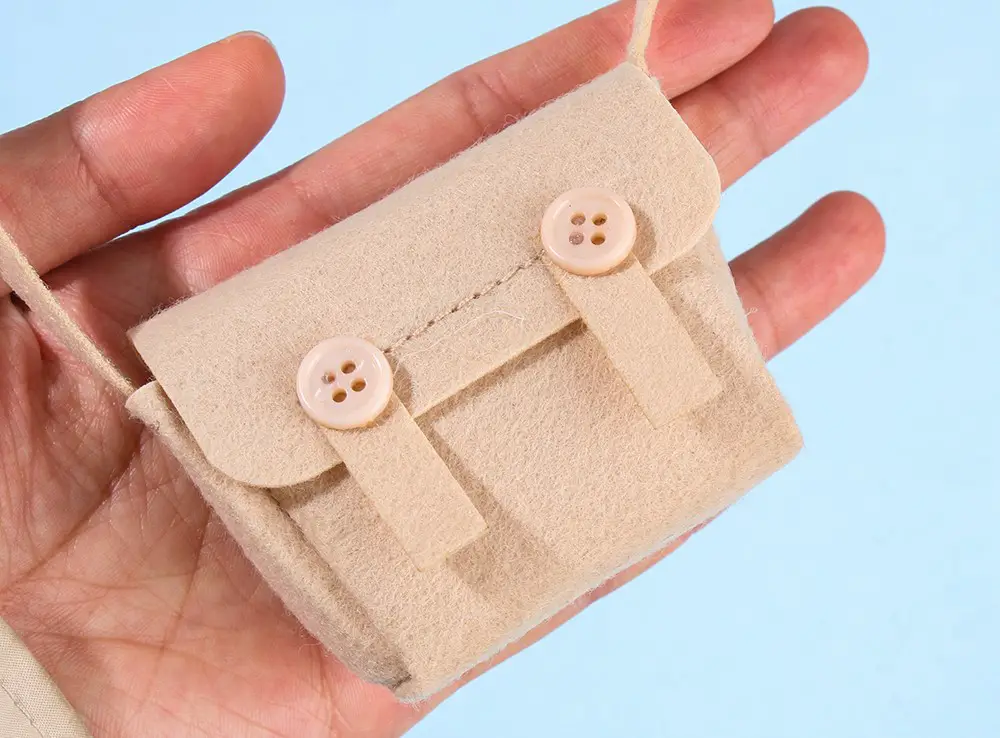
- Fabric: Choose a fabric that matches your teddy bear’s style and personality. I would recommend fabrics such as felt, thin double-sided suede, or leather.
- Sewing Tools: You’ll require basic sewing tools like scissors, threads, needles, and glue UHU.
- Embellishments: Optional embellishments like buttons, ribbons, or patches can add a personal touch to your messenger bag.
Now that we’ve got everything ready, let’s move on to the exciting part – the free pattern!
Free Pattern Download
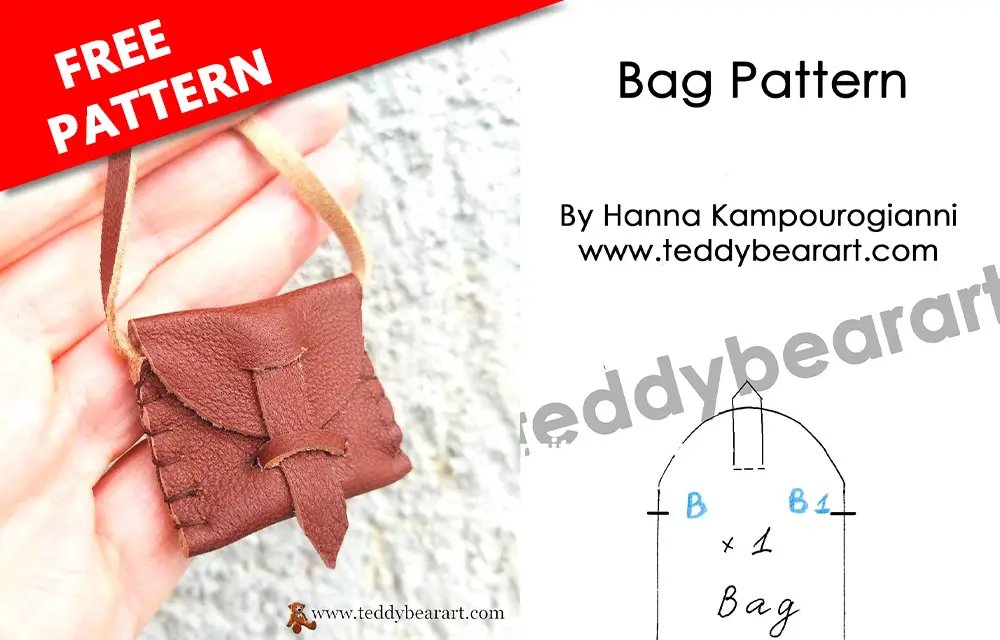
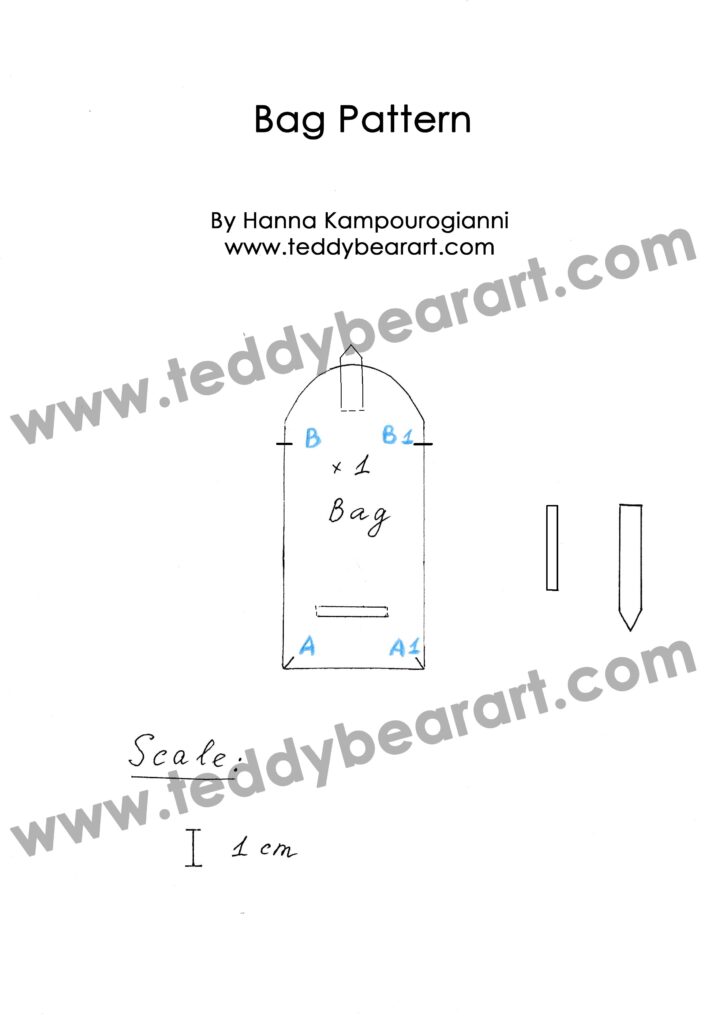
To get started on your tiny messenger bag project, you can download our free pattern. This pattern has been designed with simplicity in mind, making it perfect for both beginners and experienced crafters. In addition, by changing the size of the pattern, you can sew bags for teddy bears of different sizes.
Downloading a Bucket Hat Pattern
- From a computer (Windows).
Click on the photo of the pattern, and select the “Save image as …” option. - From a phone or a tablet (Android). There should be something similar for the iPad.
Click on the image. Save it by holding your finger on the image and selecting the “Save As” option. Then go to your photo gallery and print it (there is an option).
Sewing Guide
- Cut out all the parts.
- On the main part, we make cuts in the places where the fastener will be inserted.
- Insert a small strap and glue it on the wrong side.
- Sew the main piece along marks A to B and A1 to B1 on the front side using a buttonhole stitch.
- Insert the large strap and glue it on the wrong side.
- Measure the required length of the belt that will hang on the bear’s shoulder, cut it out, and glue it to the wrong side of the bag.
- Close the bag. If desired, you can glue the top flap and it will not open.
Personalization of the Messenger Bag
One of the most enchanting aspects of crafting a tiny messenger bag for your teddy bear is the opportunity for personalization. It’s your chance to infuse your unique style and creativity into this miniature accessory. Personalization goes beyond fabric choice; it’s about making the bag an extension of your bear’s personality.
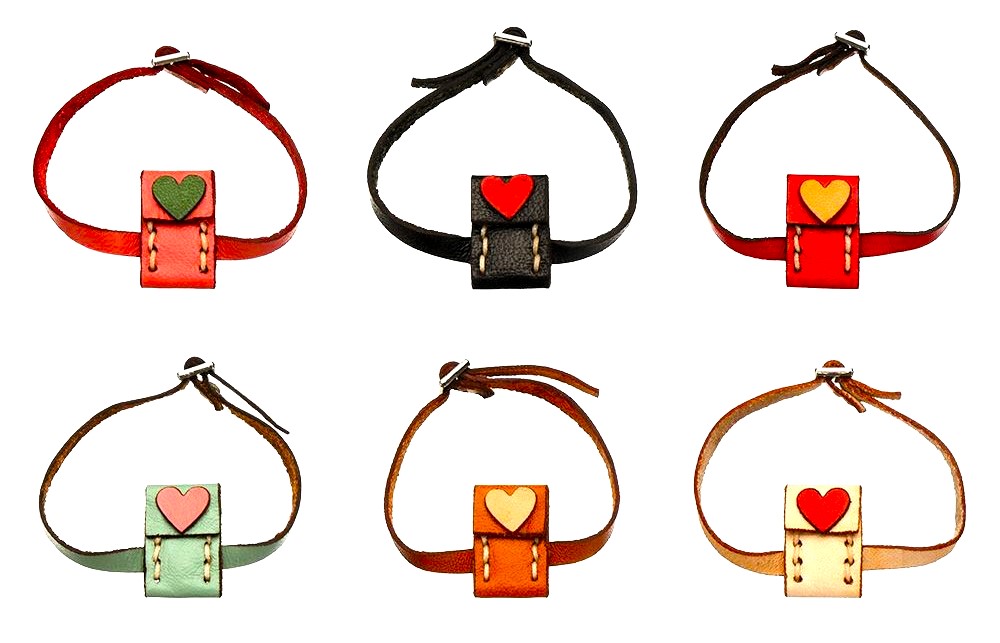
Consider embroidering your teddy’s name or initials on the bag’s flap to give it a distinctive touch. You can also add patches or buttons that reflect your bear’s hobbies or adventures. Whether it’s a whimsical touch or a sentimental detail, personalization makes the messenger bag not just an accessory, but a cherished part of your teddy bear’s story.
Tips for a Professional Finish
Achieving a professional finish on your tiny messenger bag for teddy bears is essential to make your creation stand out. Here are some invaluable tips to ensure your project looks polished and well-crafted:
- Precise Cutting: Take your time when cutting out the fabric pieces. Use sharp scissors and follow the pattern lines accurately. Precise cutting sets the foundation for a clean and neat finish.
- Pressing Matters: Before sewing, iron your fabric pieces (for cotton fabrics). This step removes wrinkles and creases, making your seams and stitches appear smoother. It’s a small effort that makes a big difference.
- Thread Choice: Use a thread that matches the color of your fabric. Matching thread blends seamlessly and hides any minor imperfections in your stitches.
- Stitching Accuracy: Maintain a consistent seam allowance throughout your sewing. Neat and straight stitching lines give your messenger bag a professional look. Consider using a seam guide if needed.
- Clip and Trim: After sewing curved seams or corners, clip the excess fabric and trim seam allowances. This reduces bulk and ensures your bag retains its shape.
- Finishing Edges: If your fabric frays easily, consider finishing the edges with a zigzag stitch, pinking shears, or bias tape. This prevents unraveling and adds a tidy edge.
- Topstitching: For a clean and polished appearance, consider topstitching along seams, edges, or the flap. It not only reinforces the bag but also adds a professional touch.
- Embellishments: If you’re adding embellishments like buttons or patches, sew them securely. Ensure they’re centered and aligned for a balanced look.
- Quality Control: Before finishing your project, carefully inspect it. Check for loose threads, uneven stitching, or any imperfections that can be corrected before declaring it complete.
By incorporating these tips into your crafting process, your tiny messenger bag for teddy bears will have that flawless finish that sets it apart and brings joy to teddy bear enthusiasts of all ages.
Conclusion
You’ve reached the end of your creative journey, and we hope it’s been a rewarding one! Crafting a tiny messenger bag for your teddy bear is not just about fashion; it’s about sparking imagination and bringing smiles.
As you wrap up your project, remember that the possibilities are endless. Personalize your messenger bag, experiment with different fabrics, and explore unique closures to make it uniquely yours.
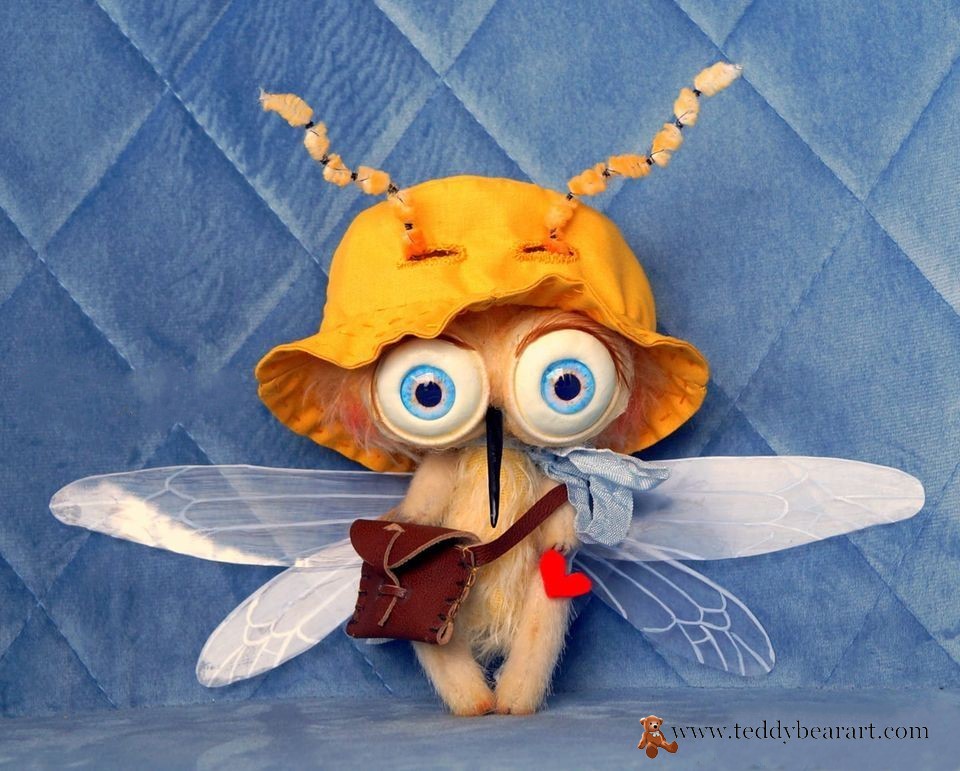
Stay tuned to teddybearart.com/ for more inspiring teddy bear crafting ideas and engage with fellow enthusiasts. Your journey in the world of teddy bear artistry has just begun! Happy crafting!
Additional Resources
Looking for more teddy bear crafting inspiration? Check out these related articles on our website:
- DIY Teddy Bear Bucket Hat: Cozy Accessories for Your Bear
- Teddy Bear Fashion: Dressing Sewing Pattern and Tutorial
- Collection of Teddy Bear Clothes and Accessories Patterns
We want to hear from you! Share your thoughts, questions, and photos of your completed messenger bags in the comments section below.
Get Free Patterns & Be the First to Know!
Want free teddy bear patterns, exclusive tutorials, and a chance to win craft supplies?
Sign up for our newsletter using the subscribe form in the middle of this article to receive new patterns, insider tips, and the latest news on teddy bear art. You’ll also automatically be entered into our annual giveaway for a chance to win teddy bear crafting materials.
Bonus entry: Save one of our pins on Pinterest to increase your chances of winning!
Let’s create, inspire, and craft beautiful teddy bears together!

Thank you so much for sharing. This teddy bear messenger bag is adorable and designed just for our cuddly pals. The free pattern at TeddyBearArt makes it a tempting DIY project. Can you personalize it with colors or patterns to match your teddy’s style? Anyone tried unique fabrics or touches?
You are welcome!
Yes, you can personalize it with any decorative motifs such as buttons, appliques, or embroidery. You can also sew such a bag from faux fur for miniature bears, from velvet, felt, faux leather, etc. You can add straps and buttons. You can change the size and proportions of the bag pattern.
This bag pattern is versatile and easy to use!
Have fun sewing!
Hey, this is my first time hearing about this kind of thing. It’s pretty dope. I love teddy bears but I had no idea you could buy cool accessories for them there’s a affection that can be enhanced this way. I think I am going to check some of these out for myself. Cool post. Have a good one.
Thank you!