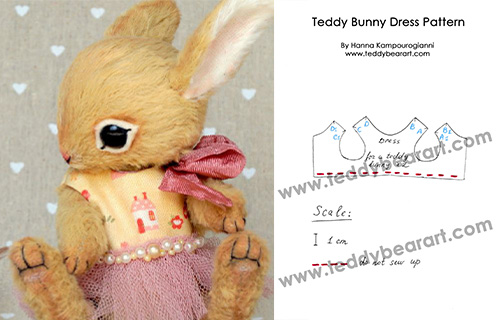
Download a free printable teddy bunny dress sewing pattern and tutorial. Get the list of materials, a short guide for beginners, a guide on how to make a two-sided dress, and embroidery tips.
This dress is designed for a teddy bunny, for which a free pattern you can download here. And a free tutorial for making it is here.
Since this baby bunny is small enough, her dress is also very small. That is why I do not use the method of constructing a dress pattern for a person. My way is much simpler and easier.

Download the Pattern
- From a computer (Windows).
Click on the photo of the pattern, and select the “Save image as …” option. - From a phone or a tablet (Android). There should be something similar for the iPad.
Click on the image. Save it by holding your finger on the image and selecting the “Save As” option. Then go to your photo gallery and print it (there is an option).
Find more free teddy bear clothes patterns – a hat, a jacket, a dress, another jacket, and a knitted hat.
The Materials You Will Need
- Thin cotton fabric for the coquette – the upper part of the dress.
- Thin and very soft tulle for the hem – the bottom of the dress.
- Beads for decoration.
- Ribbon.
- Sewing machine. But you can also make this dress by hand sewing.
- Thread.
- Needle.
- Scissors.
- Pencil or disappearing pattern marker.
Pattern Tutorial
We started sewing the coquette of the dress.
If you are a beginner and need some information about the kinds of seams, you can find it here.
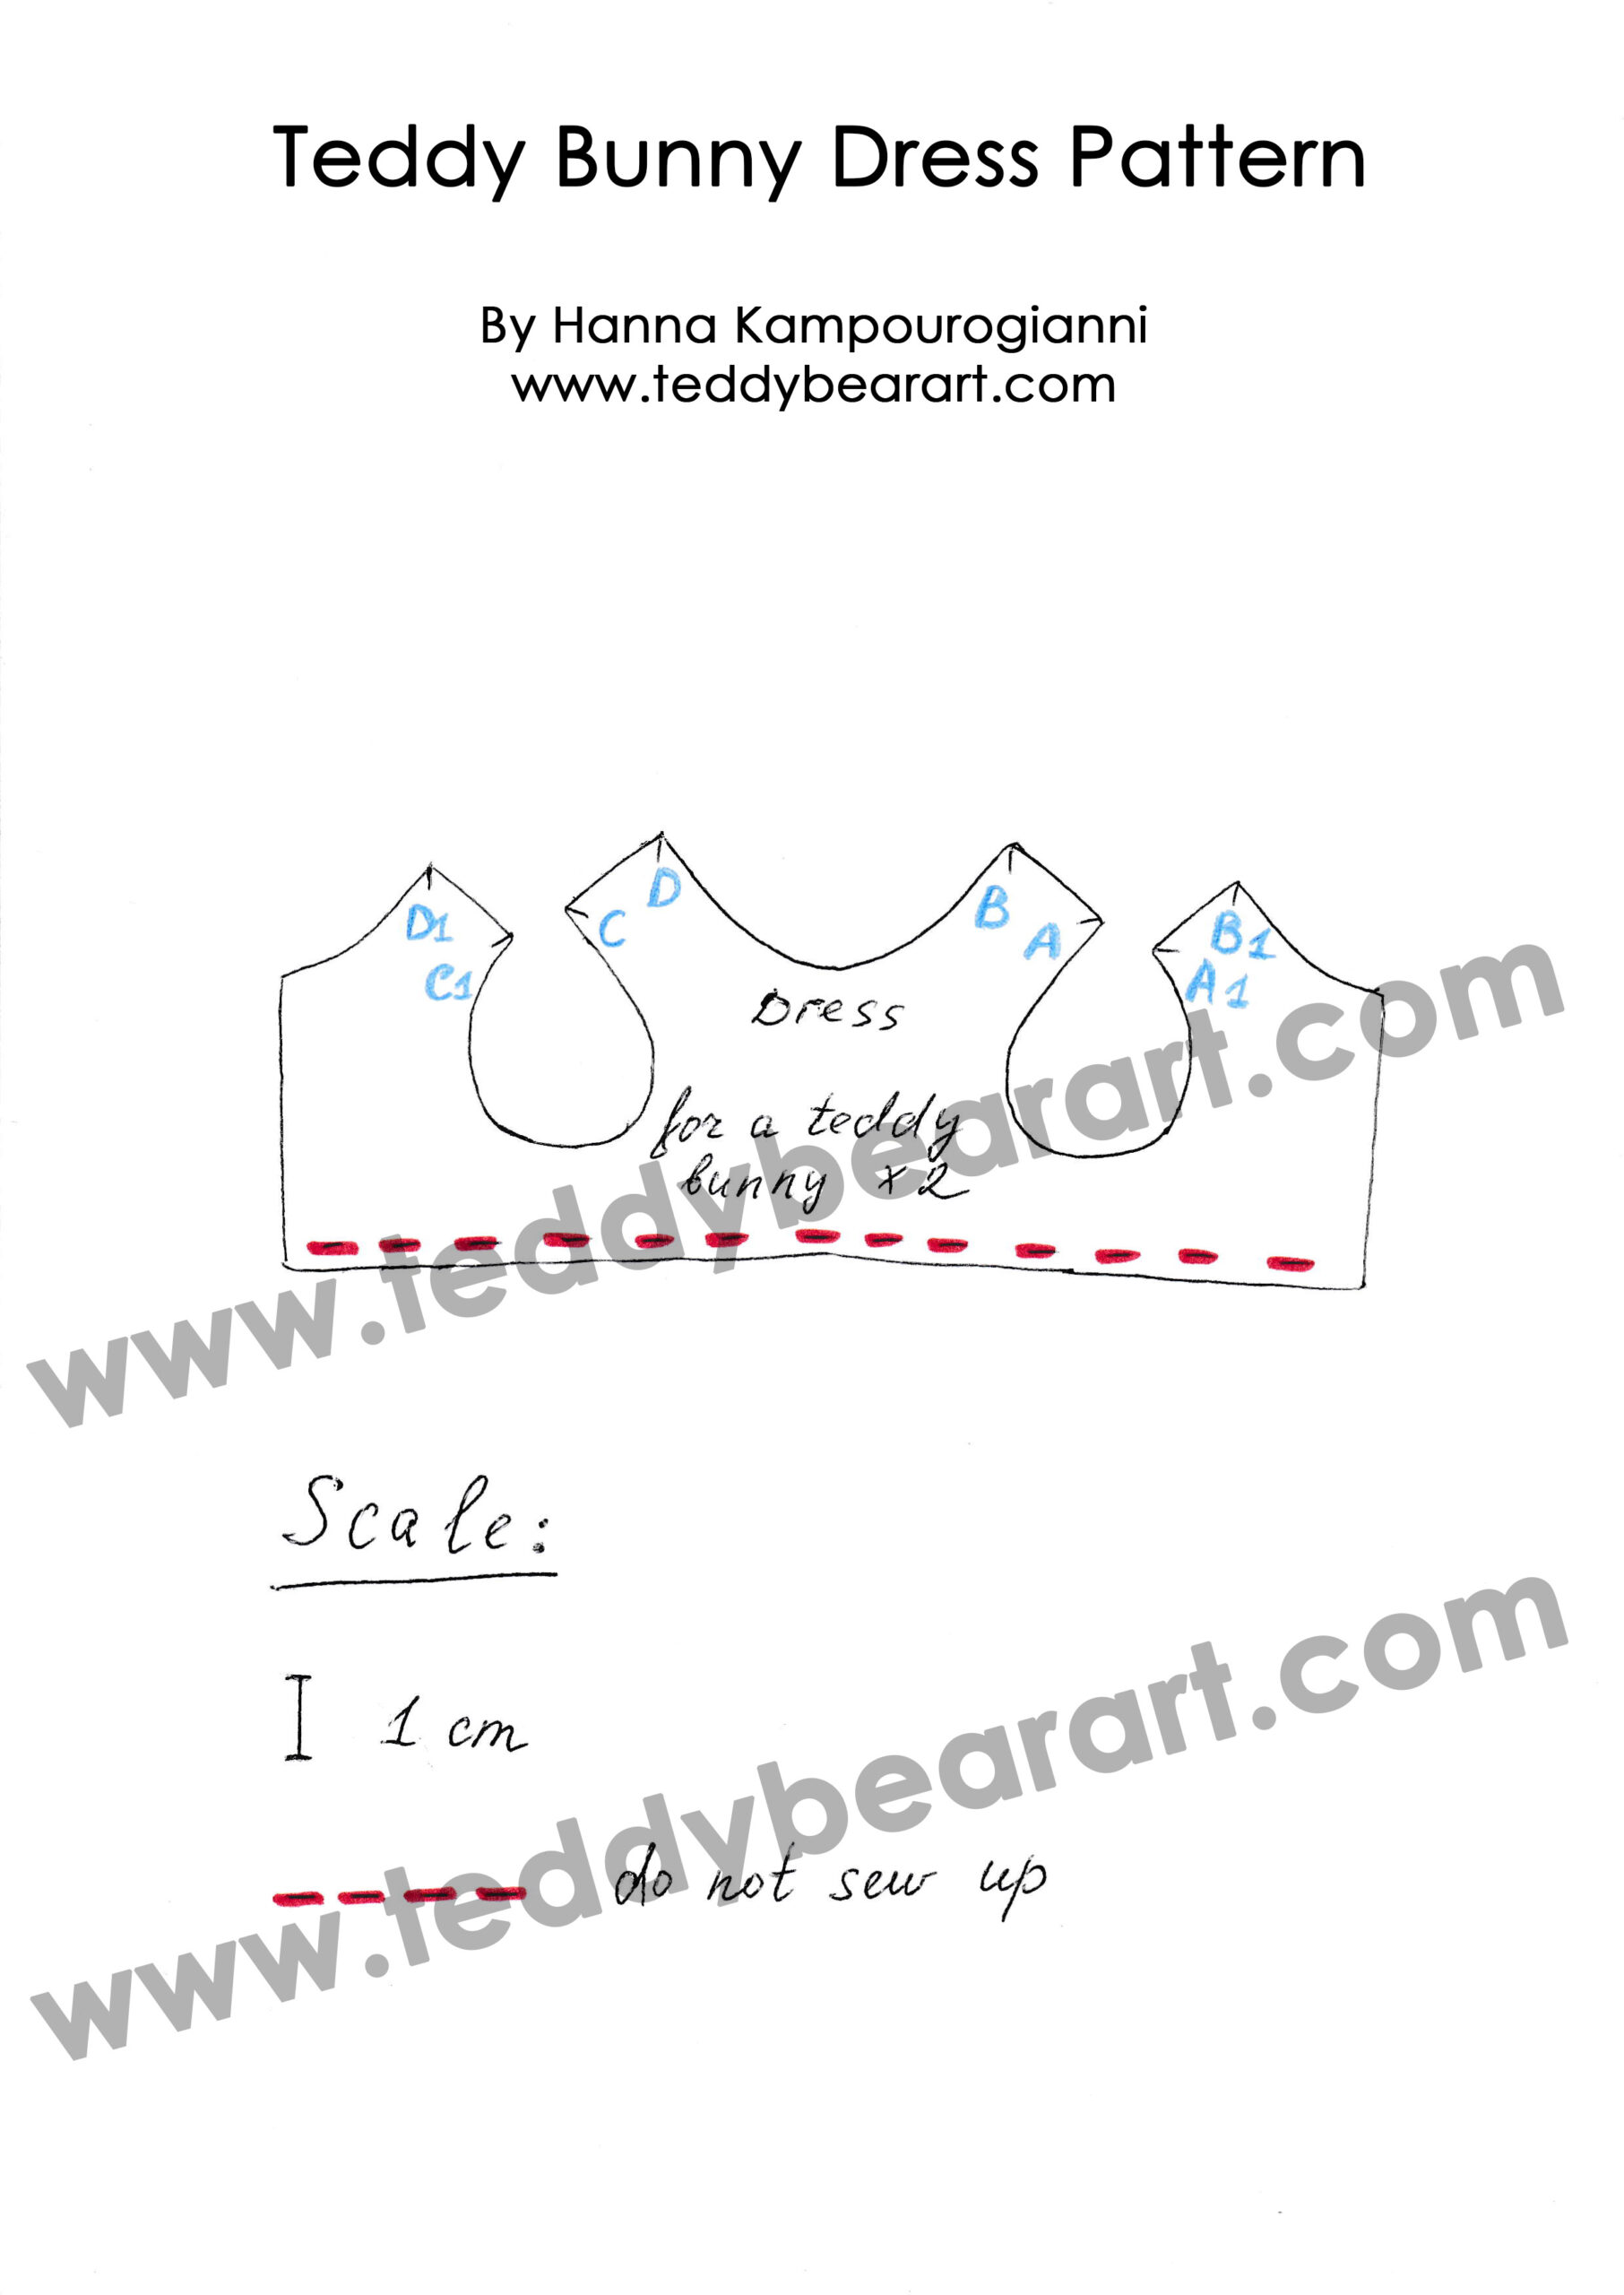
Download and print the pattern, following the scale I indicated (1 cm).
Also, you can transfer the pattern from the screen of your device to baking paper or other thin paper using a soft pencil or pen.
Fold two pieces of fabric right sides together and transfer the pattern to the fabric. Sew with a back stitch by hand or on a sewing machine, leaving an unsewn space for turning inside out (indicated in red).
Cut out the resulting piece, leaving 5 mm of fabric from the seam. If you have zigzag scissors, cut with them. If there are no such scissors, then carefully make small cuts with ordinary scissors around the entire perimeter of the seam.
Try not to cut the seam. These incisions are made so that when everted, the product takes shape and does not bulge.
Iron the coquette and sew up the downhole with a zig-zag seam using a sewing machine. Or sew by hand using an overlock stitch.
I do not recommend bending the fabric inside to make this dress, because of its small size. It could look very thick on the bunny’s belly.
For the hem (the bottom part of the dress), I took a piece of very thin and soft tulle.
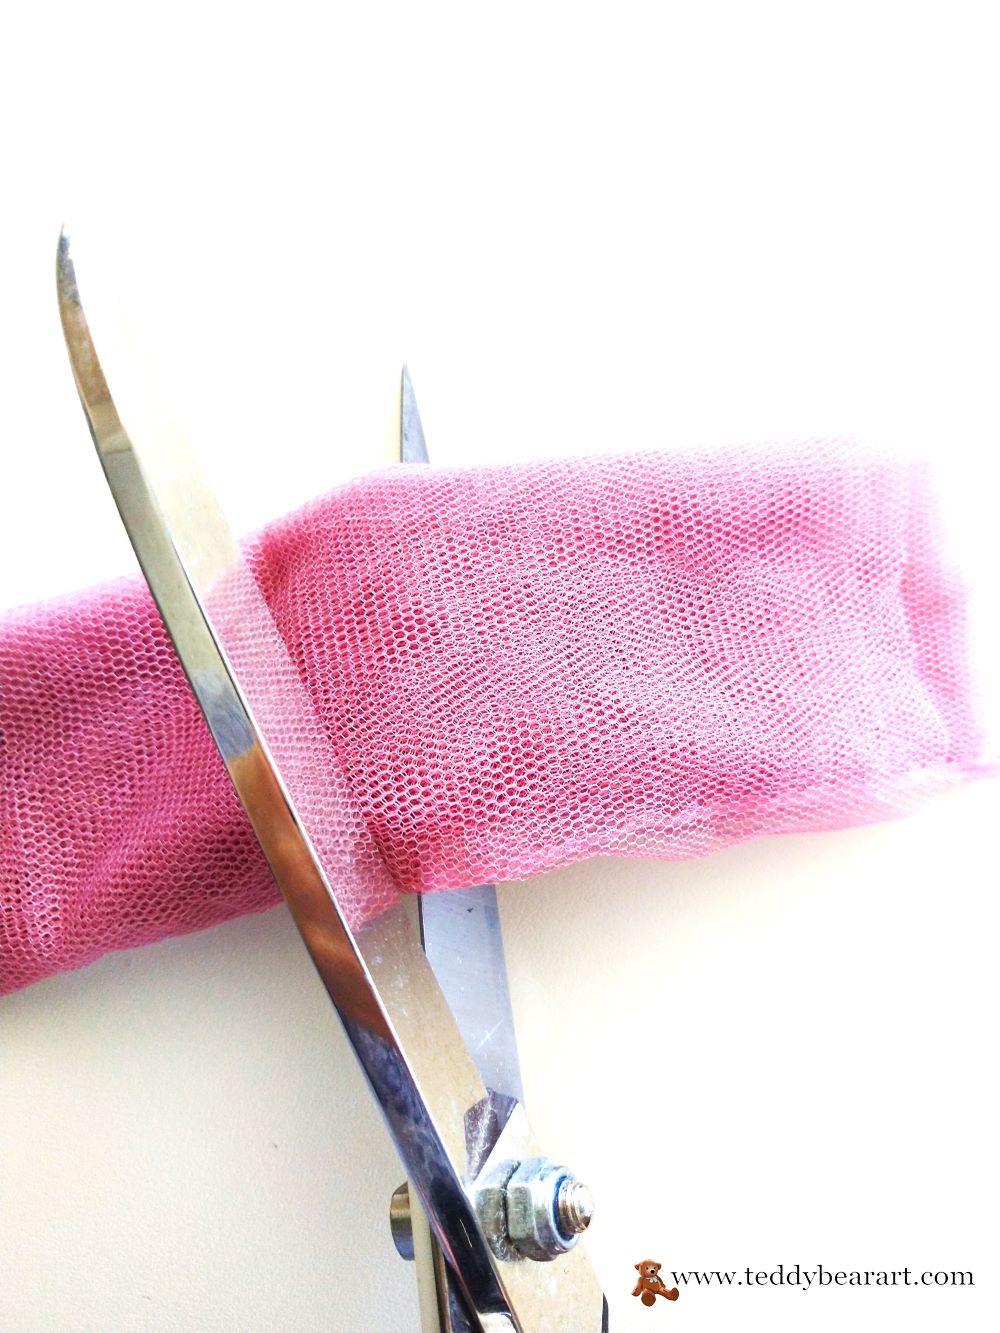
This fabric is very difficult to cut straight. Therefore, fold it several times to get a piece with a width that can be cut with one movement of scissors (for example, about 5 cm) and cut it off.
Determine the height of the hem relative to the height of the bunny.
Choose the width of the hem segment to your taste. The more folds you want to form, the longer the piece of fabric should be.
Form folds and sew to the dress at the same time. I made it by hand because such thin tulle is almost impossible to sew on a sewing machine.
When the hem is ready, decorate its seam with beads.
Sew two ribbons on the back so you can tie the dress. Those who know how can sew on these ribbons at the stage of sewing the coquette of the dress.
And finally sew the dress according to the marks A to A1, B to B1, C to C1, and D to D1 with a hidden seam.
Embroidery
The embroidery I had made with the beads can also be made very easily.
To do this, draw a pattern on the finished dress (a flower or a snowflake, for example) with a self-disappearing marker and sew on beads of different sizes.
After the time has elapsed, the marker will disappear (only do not iron the dress).

If you plan to do embroidery with threads, then in this case it is better to do it at the stage of building a coquette.
That is, after transferring the pattern to the fabric, immediately embroider the front of the dress. And only then do we sew the two parts of the yoke (front and lining).
This dress is very small, so even if you have never made an embroidery, it will be easy to make a miniature one. For example, you can embroider a flower with stitches.
How To Make A Two Sides Dress
This is something that could be a very interesting idea! You will have one dress but two of them.
Choose two beautiful, different fabrics for the coquette of the dress. Both of them will be front sides.
When constructing a coquette pattern, lengthen it by 1 cm. When you sew the coquette, tuck the bottom edges inward and iron.
Form the hem of the dress from the folds, gather them on a thread, and sew them into a coquette. Please note that all fabrics must be very thin; otherwise, with such layering, a small dress will turn out to be ugly.
Machine stitching will look nice. If you don’t have a sewing machine, sew by hand and then decorate the seam on both sides with beads or ribbon.
You’re getting in fact, two dresses. Wanted to dress your teddy bunny on one side, wanted it to be dressed on the other side. Just perfect!
Conclusion
Congratulations! You’ve managed to sew a dress for your teddy bunny. Now you have this pattern that could be changed and modified to your taste.

You know how to design a two-sided dress for teddies. So from now on, you will be able to create beautiful outfits for your bears.
Also, you have basic knowledge about building teddy bear clothes, sewing patterns, and decorating them with embroidery.
Feel free to sew and sell dresses from this pattern. It will be very pleasant for me if you indicate my name.
If you know other easy ways to make a dress for teddy bears and are ready to share them, please do it in the comments below.
You can find more teddy bear clothes patterns on this website.
If you ever need a hand or have any questions, feel free to leave them in the comments below, and I will be more than happy to help you out.
Get Free Patterns & Be the First to Know!
Want free teddy bear patterns, exclusive tutorials, and a chance to win craft supplies?
Sign up for our newsletter using the subscribe form in the middle of this article to receive new patterns, insider tips, and the latest news on teddy bear art. You’ll also automatically be entered into our annual giveaway for a chance to win teddy bear crafting materials.
Bonus entry: Save one of our pins on Pinterest to increase your chances of winning!
Let’s create, inspire, and craft beautiful teddy bears together!