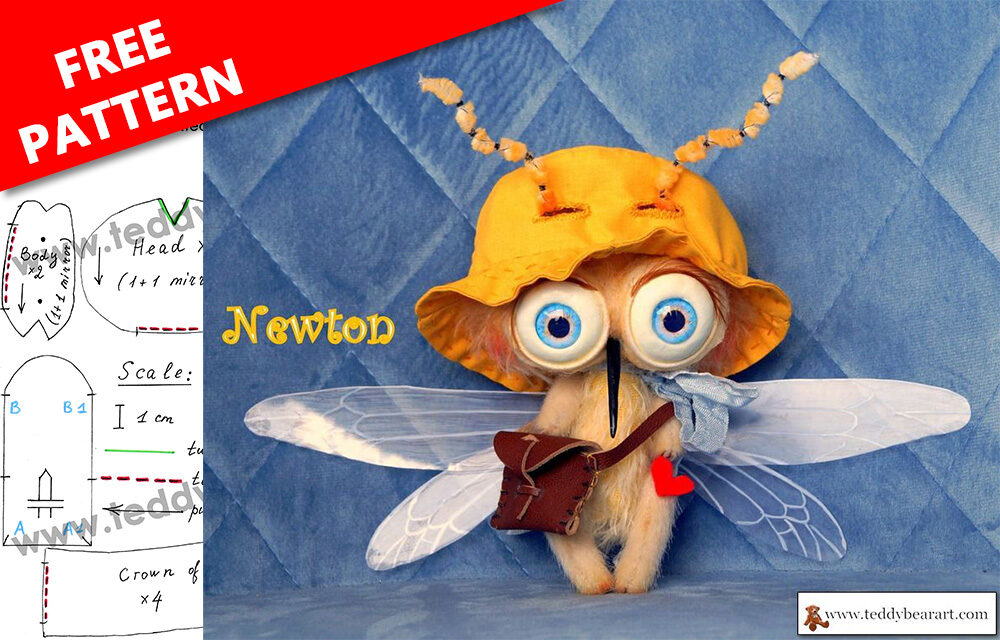
Download a free mosquito plush sewing pattern, hat, and bag pattern. Read the tutorial on how to make a cute and funny teddy mosquito. Get the list of required materials.
I offer two options for creating limbs for a mosquito. And you choose what is better for you.

Download the Pattern
- From a computer (Windows).
Click on the photo of the pattern, and select the “Save image as …” option. - From a phone or a tablet (Android). There should be something similar for the iPad.
Click on the image. Save it by holding your finger on the image and selecting the “Save As” option. Then go to your photo gallery and print it (there is an option).
If you ever need a hand or have any questions, feel free to leave them in the comments below and I will be more than happy to help you out.
Find more free teddy bear clothes patterns – a dress, a jacket, another dress, another jacket, and a knitted hat.
The List of Materials
1. A piece of mohair 17×17 cm with a pile of length 1-1.5 cm for the body and head.
2. A small piece of very thin faux fur for miniature teddies (for the limbs). Since it is hard to find, I will show how to mold the limbs from modeling clay.
3. Strong threads, the same color as your mohair fabric, and a needle for hand sewing.
4. Scissors.
5. Wooden food stick for the nose.
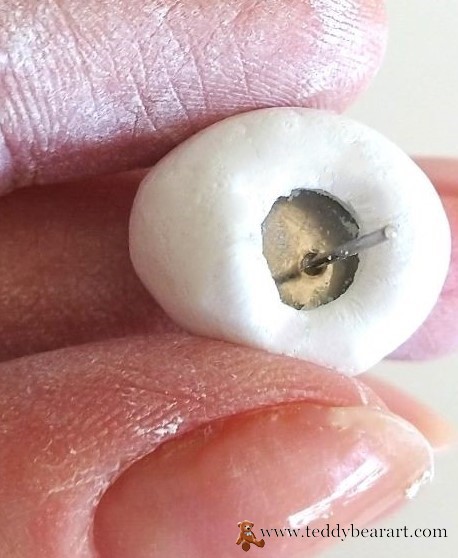
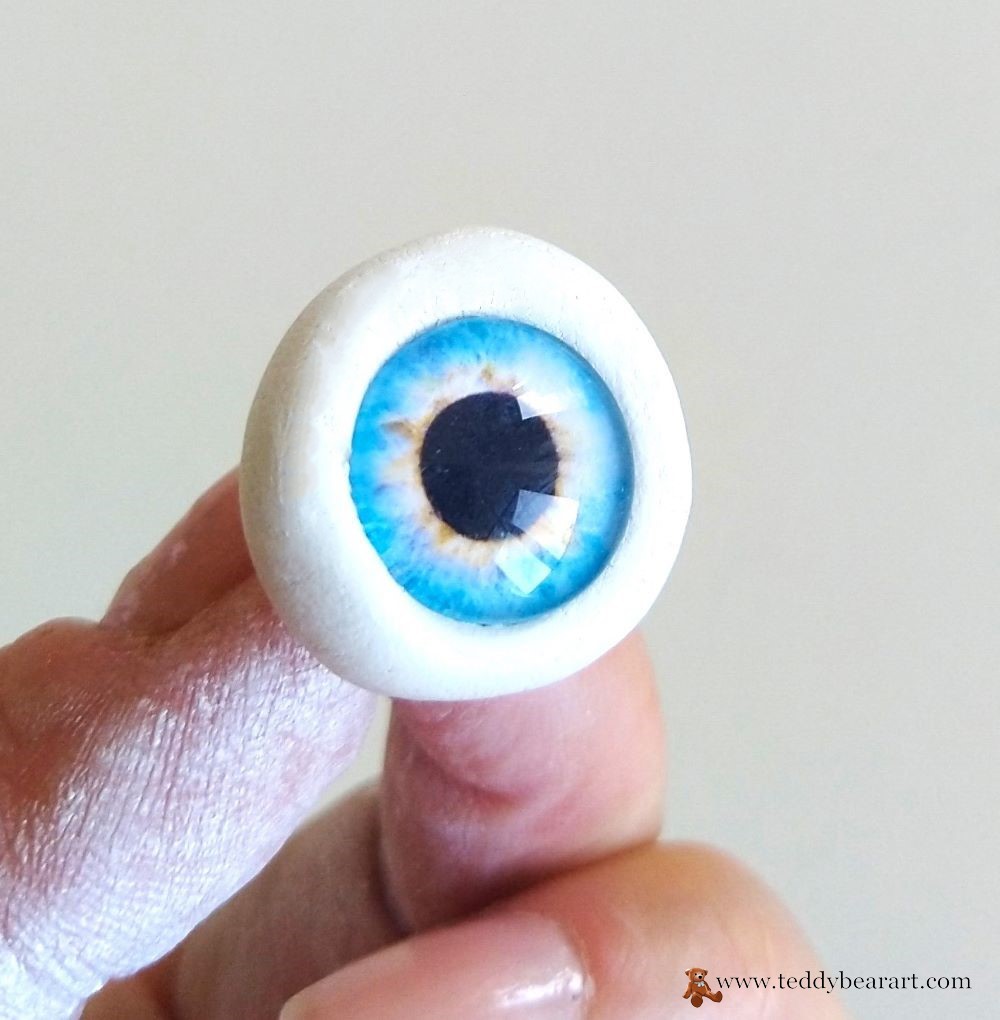
6. A pair of epoxied glass eyes – 14 mm in diameter and a pair of stainless steel stud earring findings. Or any other glass eyes the same size.
7. A small piece of felt for the eyelids.
8. Two feathers for the eyelashes.
9. Waxed thread.
10. An awl.
11. Synthetic filler.
12. Metal or glass pellets for the weight (the smallest diameter).
13. A piece of cotton fabric 30×50 cm for a hat and thread to match the color of the fabric.
14. Oil paints or textile markers (orange, brown) for the eyes and antennae toning.
15. Black acrylic paint for the nose, white acrylic paint for the eyes, and some acrylic colors of your choice for the limbs.
16. Varnish for acrylic paints.
17. Brushes.
18. Pins.
19. Milliput White modeling clay.
20. Pliers.
21. A small piece of leather for the bag.
22. Strong glue UHU.
23. A long needle (10 cm) for setting the eyes.
24. Discs 6 mm in diameter – 4 pieces (to insert inside of the limb, one disc 12-15 mm in diameter to insert inside of the head, and discs 9 mm – 5 pieces (to attach the head and the limbs to the body).
25. Small T-shaped cotter pins 16×20 mm – 5 pieces.
26. A piece of transparent thin plastic for mosquito wings that can be cut out of any package. For example, the packaging of children’s toys.
27. A black cd/dvd/bd marker.
28. Chenille wire for antennae.
29. Black copper craft wire 1 mm in diameter for antennae decoration (optional).
30. A ribbon.
Mosquito Making Guide
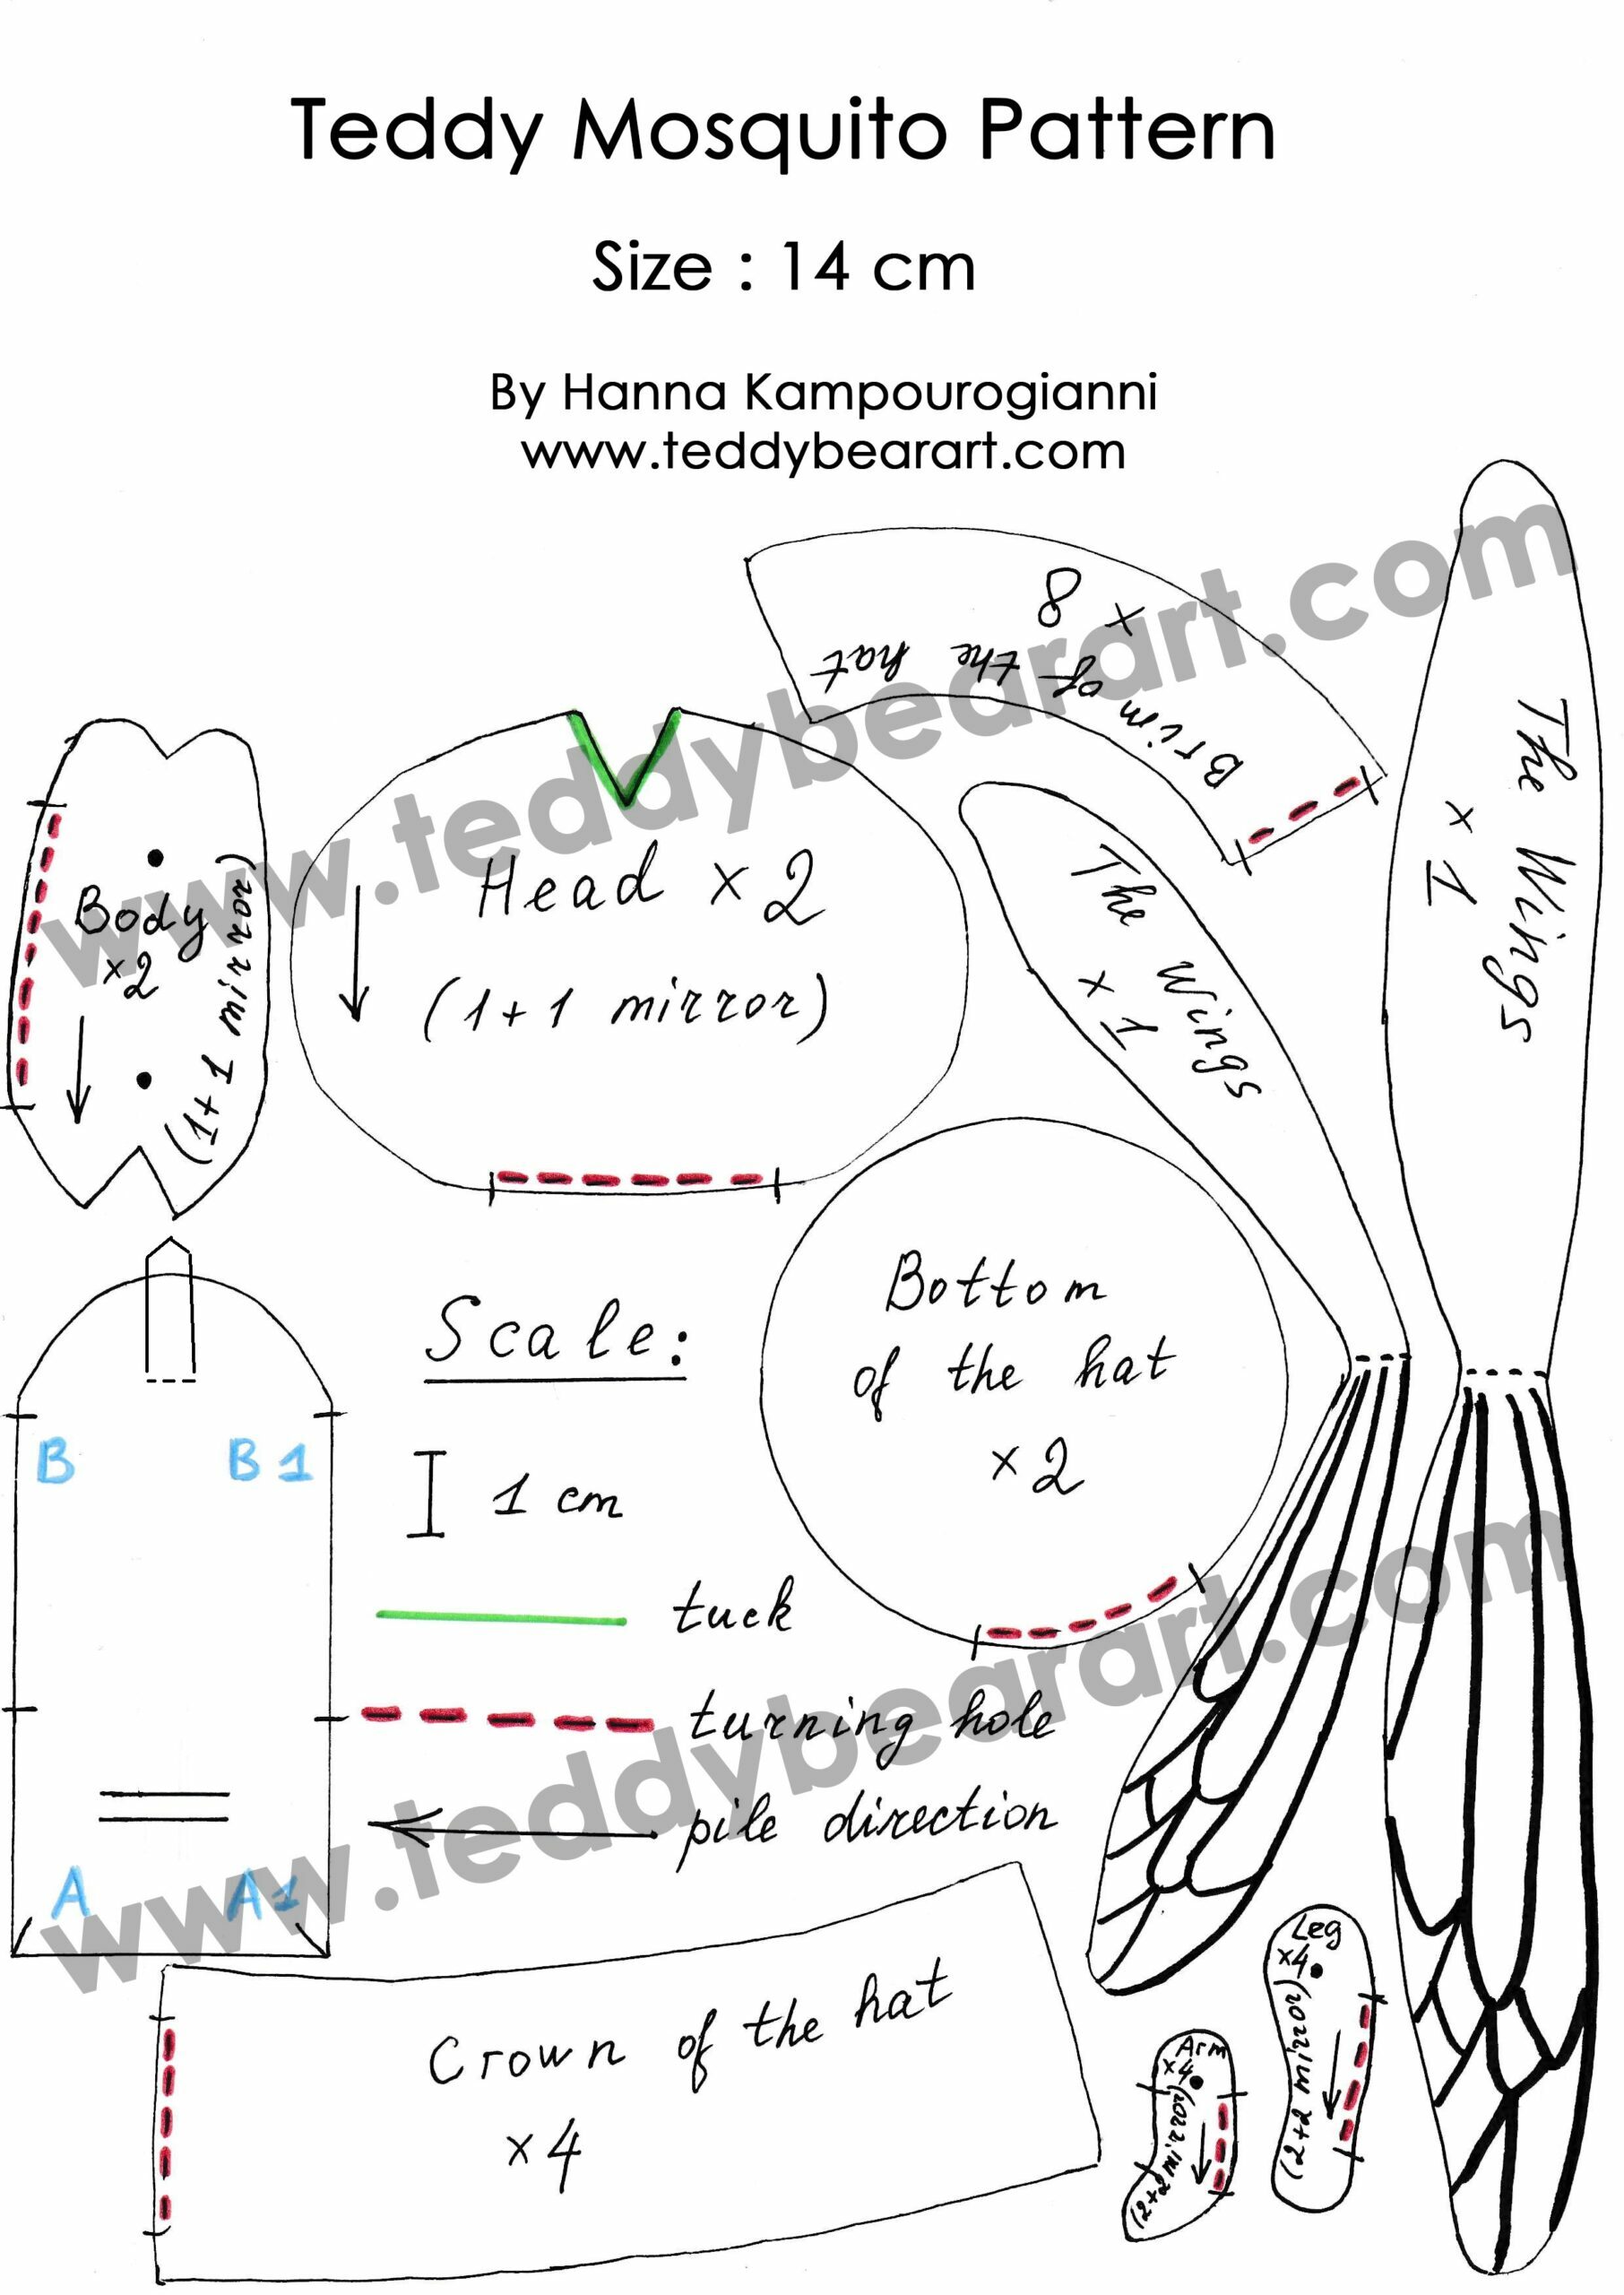
Print the pattern following the scale ( 1 cm). If, for some reason, you cannot print it, just transfer it from the screen of your device to baking fabric or contact me.
Arrange the pattern pieces on the fabric so that the direction of the fur matches the arrows.
Leave 5-7 mm for seam allowances.
Cut out all the details of the pattern, carefully moving the scissors as close to the base of the fabric as possible so as not to accidentally cut the fur along the edges.
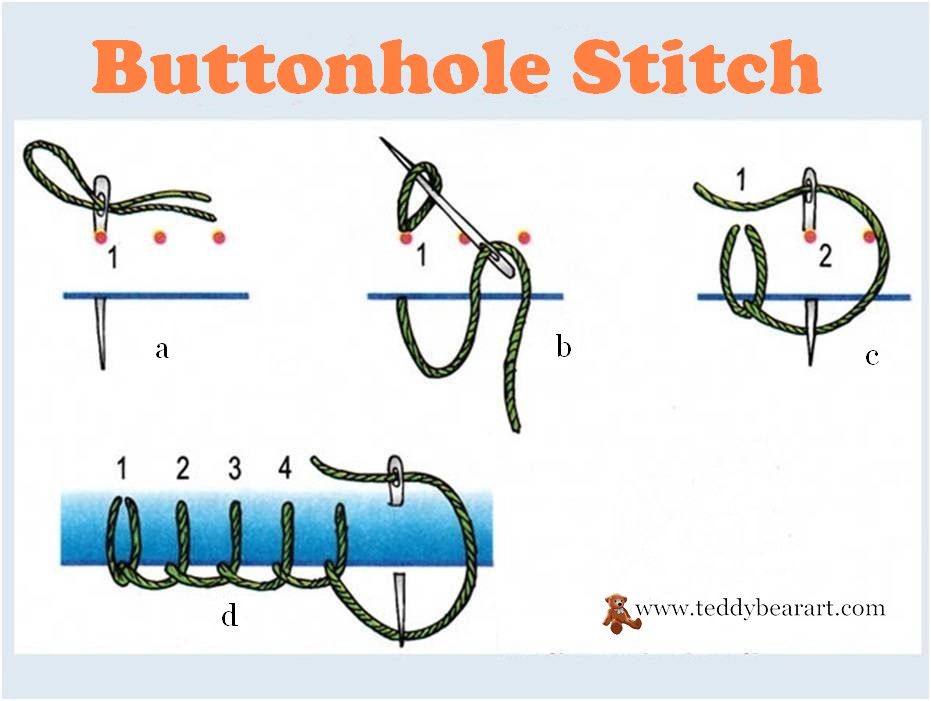
If you are a beginner in sewing, please read how to make hand seams, stitches, and knots.
Sew up all the tucks (marked in green) and then sew the two sides of the head (1+1 mirror) and the two sides of the body (1+1 mirror), leaving the hole for turning out.
Make the same with the limbs if you decide to sew them, but not mold them.
Stuff the head with synthetic filler. Insert the disc with a cotter pin into the hole and sew it up. Pull out the pile from the seams using an awl or a needle and comb it in different directions.
Insert the discs with the cotter pins inside the limbs, stuff them, and sew up the holes. Pull out the pile from the seams.
Now let’s make the eyes.
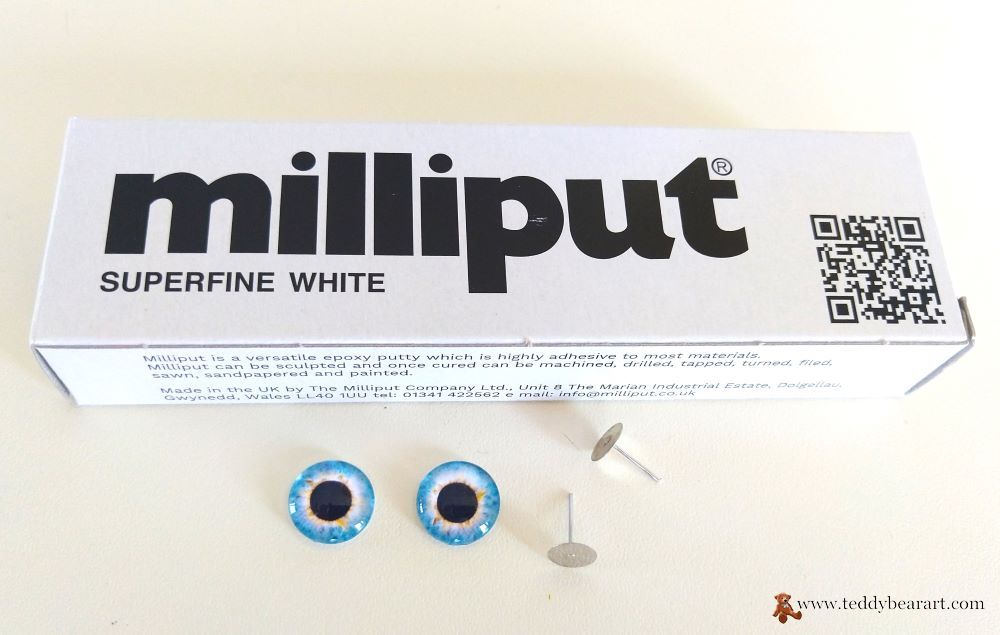
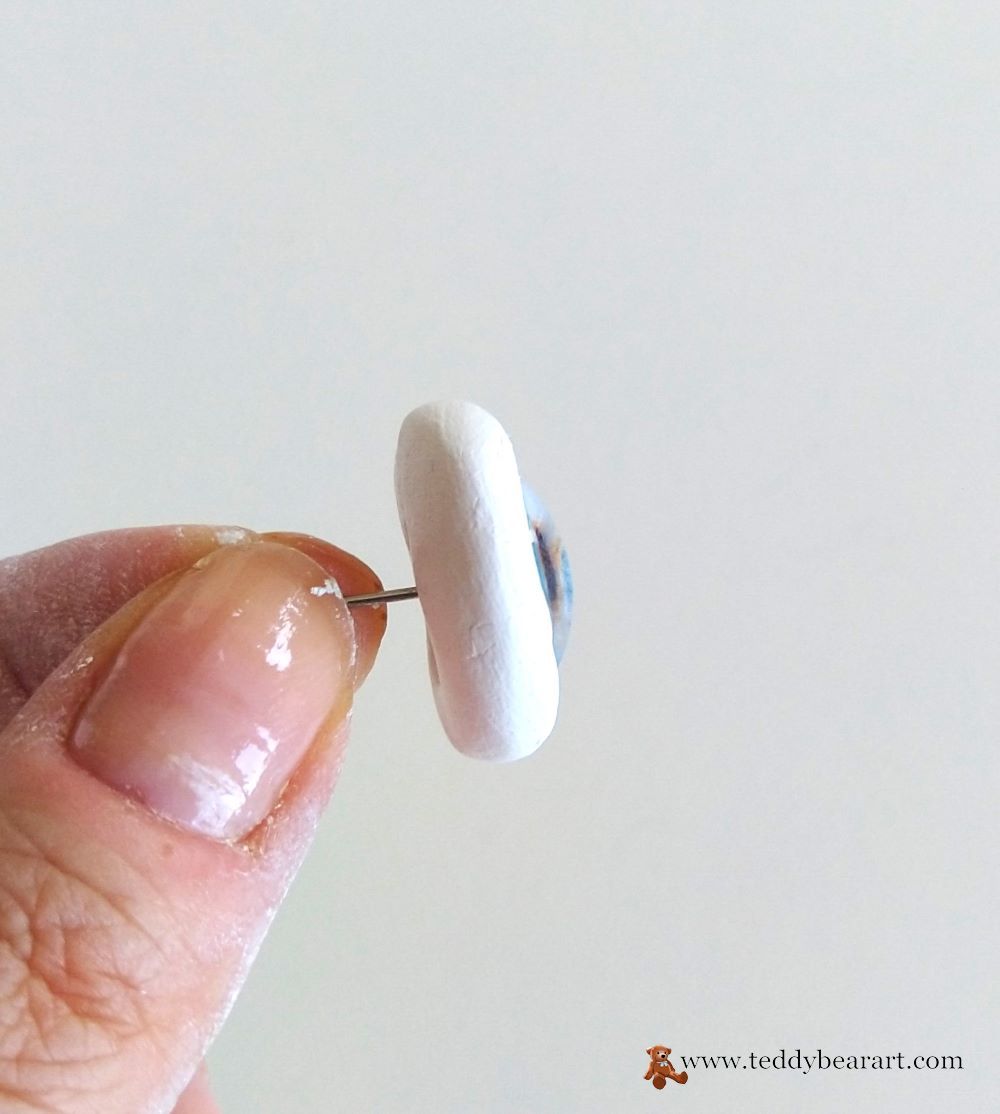
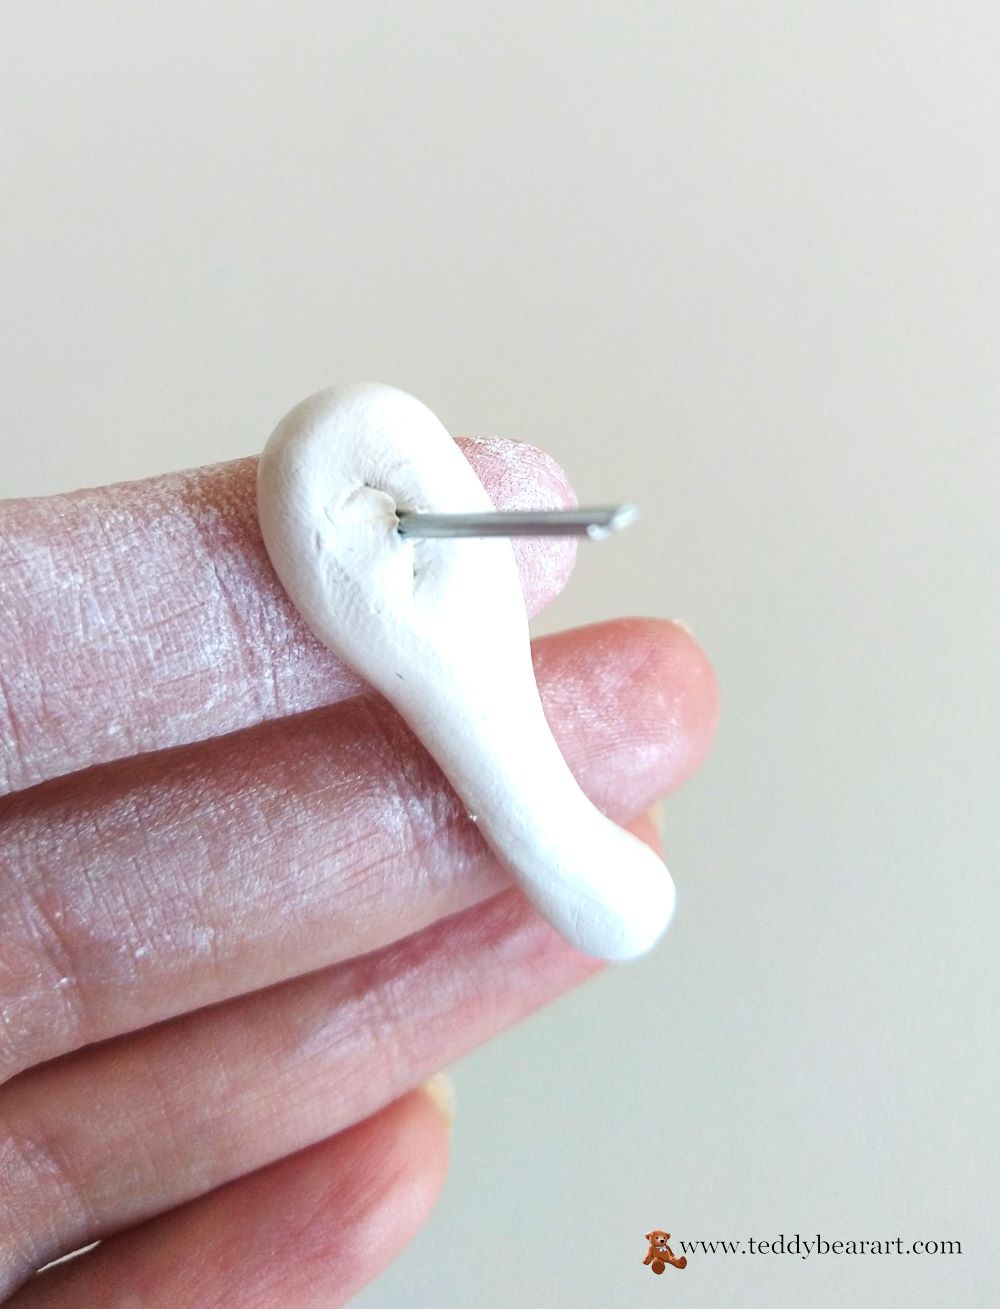
I used Milliput White 2-part self-hardening clay. From each part, take a small piece, combine, and knead for 5 minutes.
Divide the resulting mass into two equal parts and roll it into two balls. Now take the ball in your hand and flatten it a little.
Lifehack! If you need to take your mind off modeling, then wrap the plasticine in cling film and leave it in the freezer for no more than 1 hour. This way it won’t dry, and you can continue working after a break.
How to mold the arms and the legs of a mosquito? Take some clay, roll it out, and give it a cylindrical shape. Focus on the size and the shape of the limbs that I gave on the pattern. Use a needle to make fingers and insert a cotter pin.
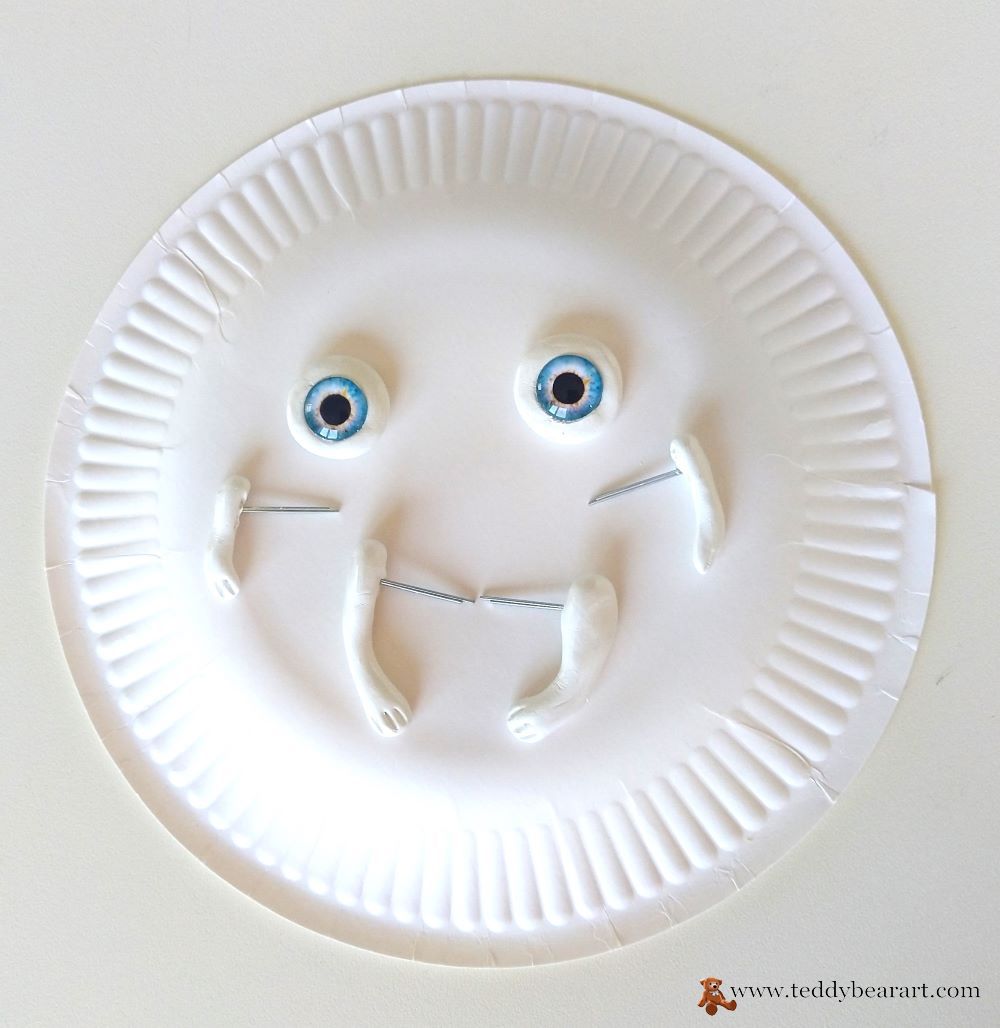
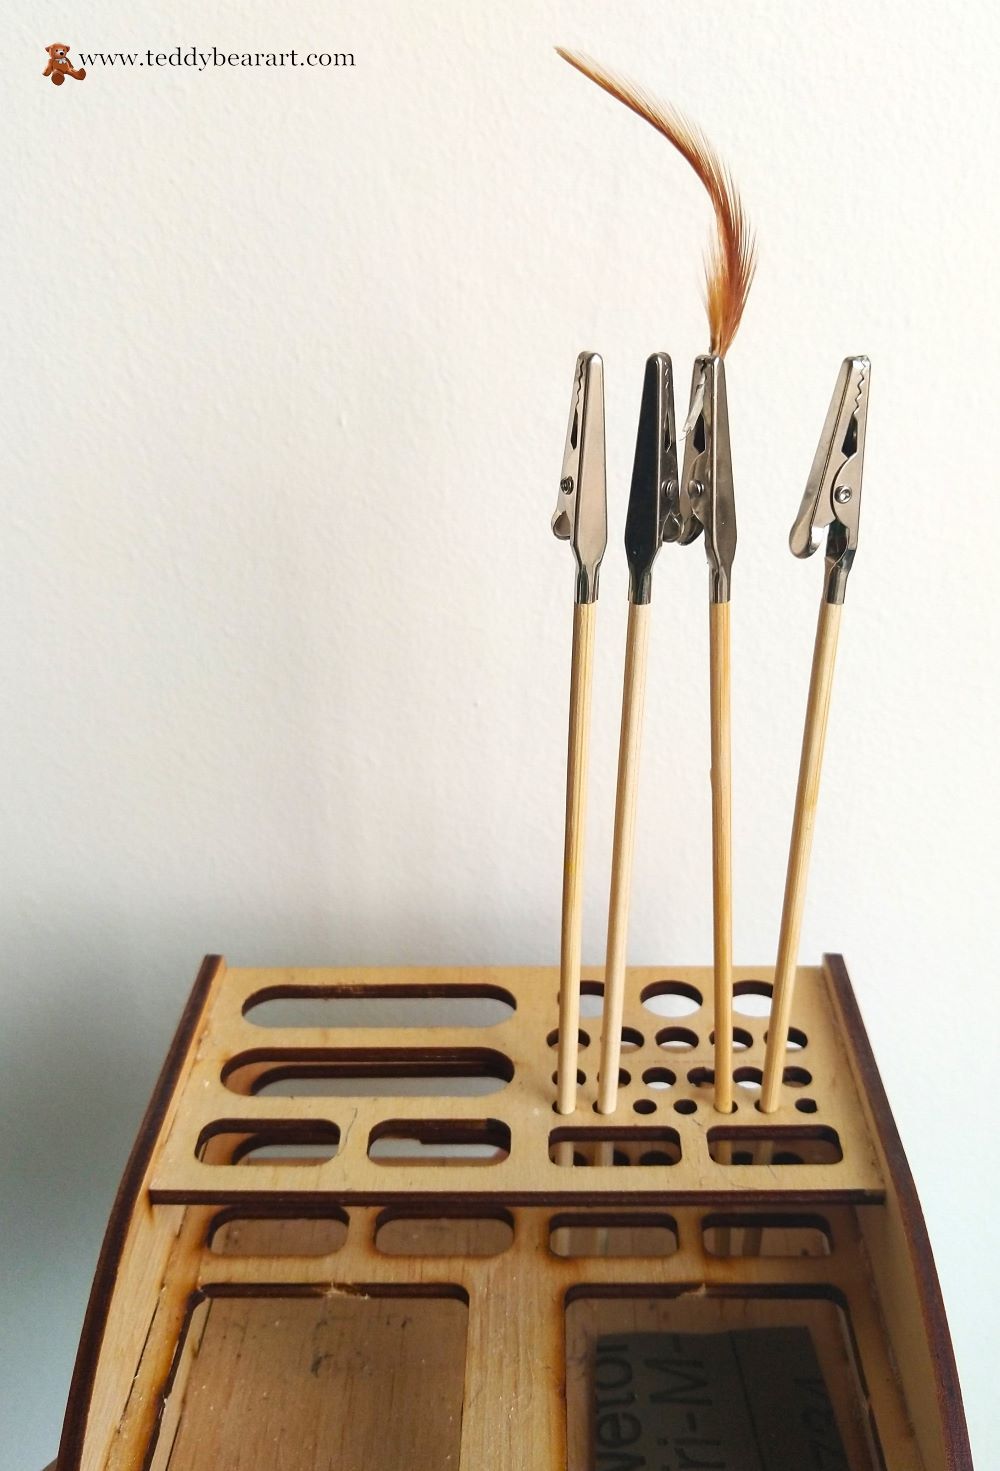
Drying parts of this size in the summer season will take several hours, in the winter – a little more time. After drying, proceed to paint. Paint the whites of the eyes with white acrylic paint. Paint the arms and legs the color you like. I used a light yellow color, highlighting the fingers with black.
For comfortable drying, I use note holder clips.
After the paint is dry, coat the limbs and the whites of the eyes (but not the glass eye) with an acrylic paint finish.
To cover the eyes, I use a glossy finish. This makes the eyes moist and more realistic. For hands and feet, I use a matte finish. It’s better to cover them twice.
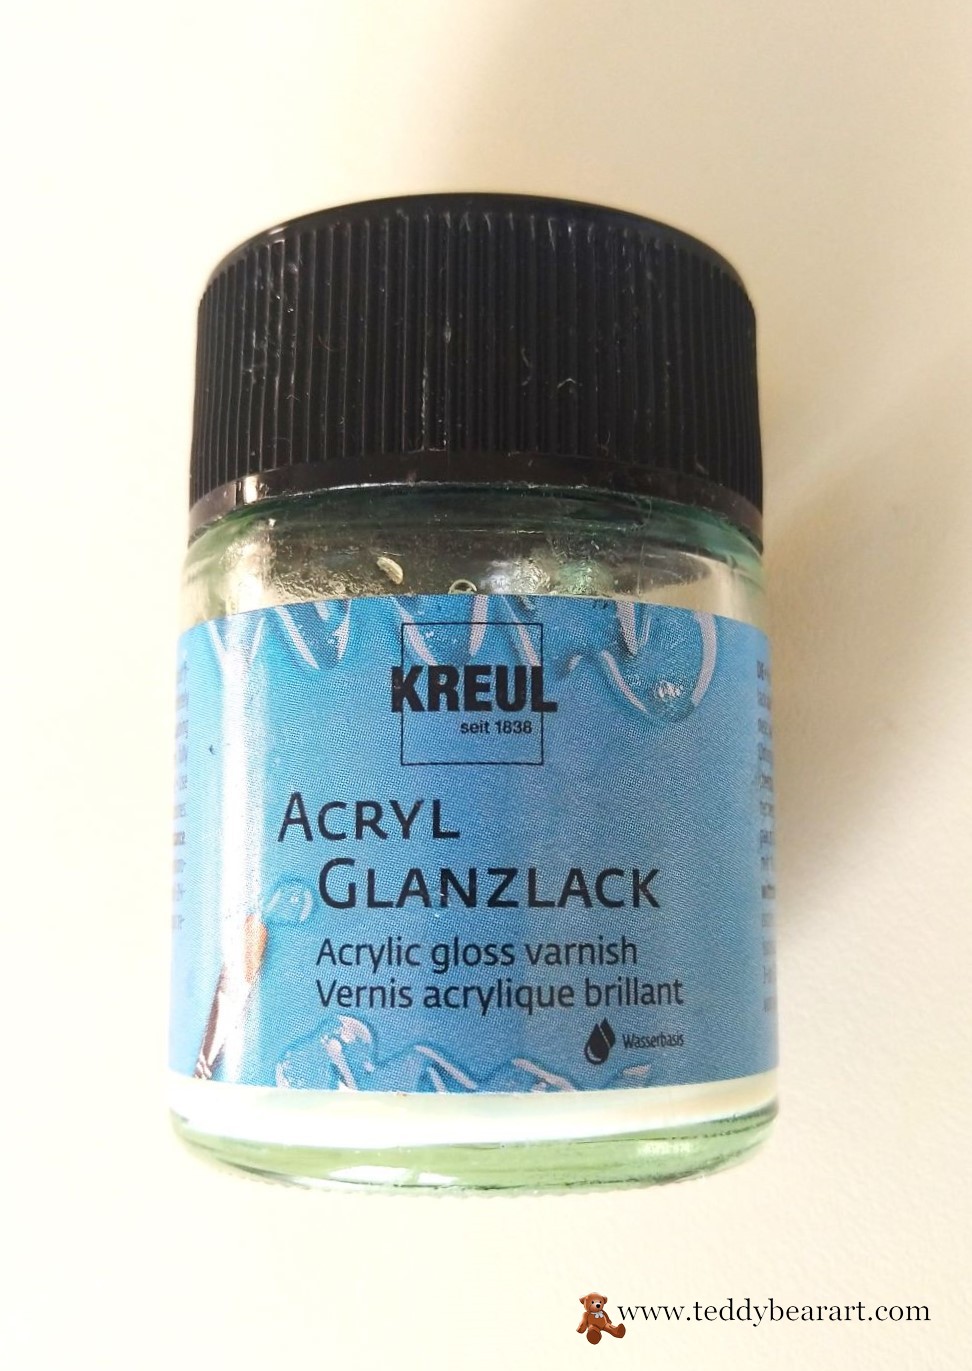
Kreul acrylic gloss varnish is a transparent protective coating in high-gloss, waterproof. Applicable to many substrates. So you can use it for other kinds of crafting.
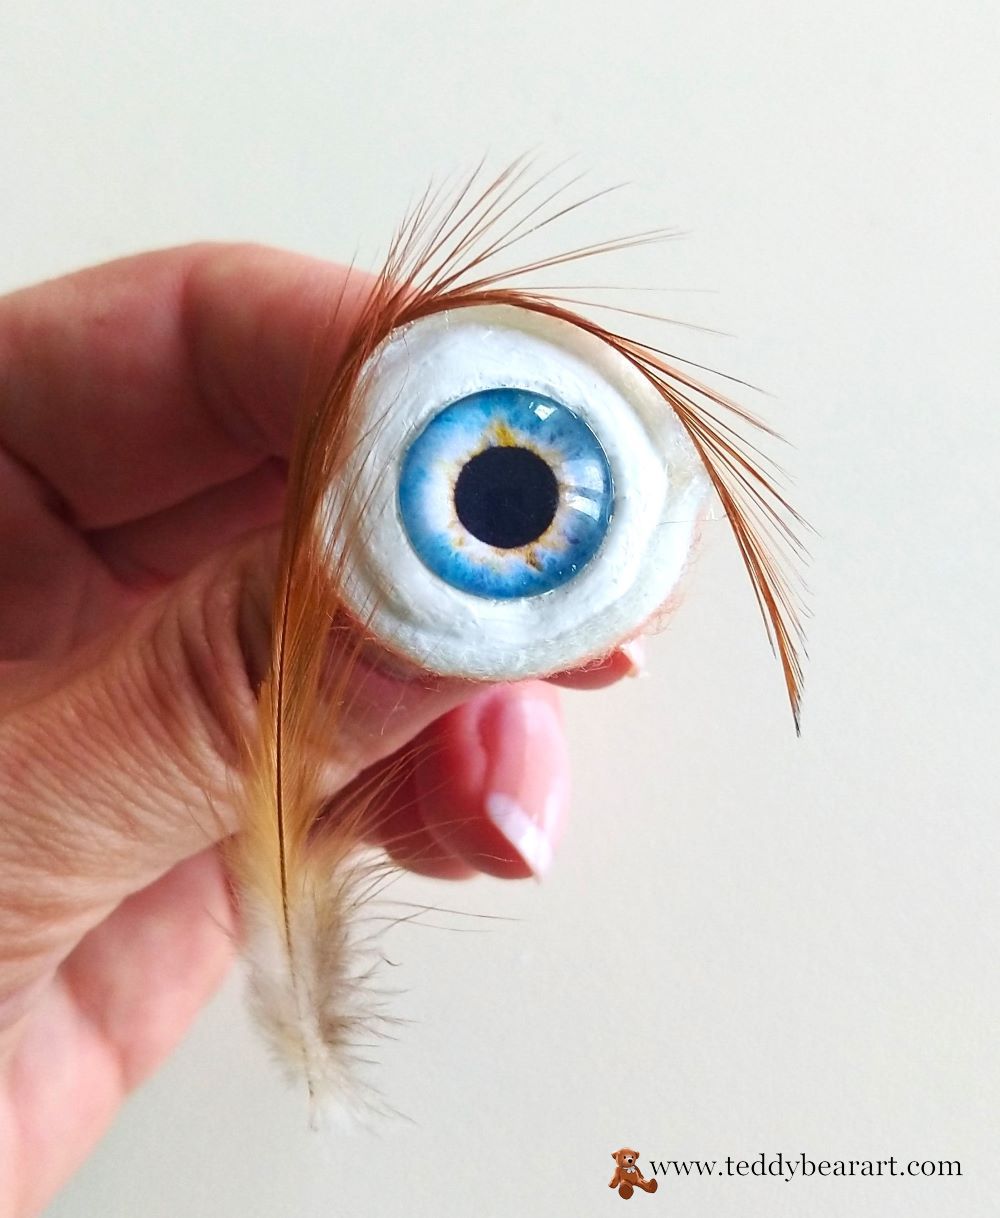
When the eyes are completely dry (after about 1-2 hours), glue a thin strip of felt that will serve as eyelids. And then a feather that will serve as eyelashes. Cut off the excess.
How to make an antenna?
Take chenille wire, paint it, and, if you like, decorate it with thin black wire.
How to make the wings? Cut out two pairs of wings from thin plastic and bend them slightly in half (but not completely). In each pair of wings in the middle, make 2 small holes for sewing. To do this, use a thick needle, awl, or scissors.
Now, paint or attach the wing to the pattern and transfer the wing design with the black marker for the DVD/CD. Let dry and do the same for all wings.
How to make a nose? Paint a wooden food stick with black acrylic paint and dry it. Then top it off with a high gloss acrylic finish. Once dry, cut to the desired length.
Put all the details together.
Read how to insert eyes and antennae.
Using pins, mark where the eyes and antennae of the mosquito will be located. Then, using an awl, gently straighten the threads without tearing the base of the fabric, and insert the eyes first, and then the antennae, adding glue. In the end, insert and glue the nose of the mosquito in the same way.
Read how to attach the head and the limbs.
Now attach the head to the body. Then attach the legs and arms. Add the weighting agent and fill with the synthetic filler. Sew up the hole in the back.
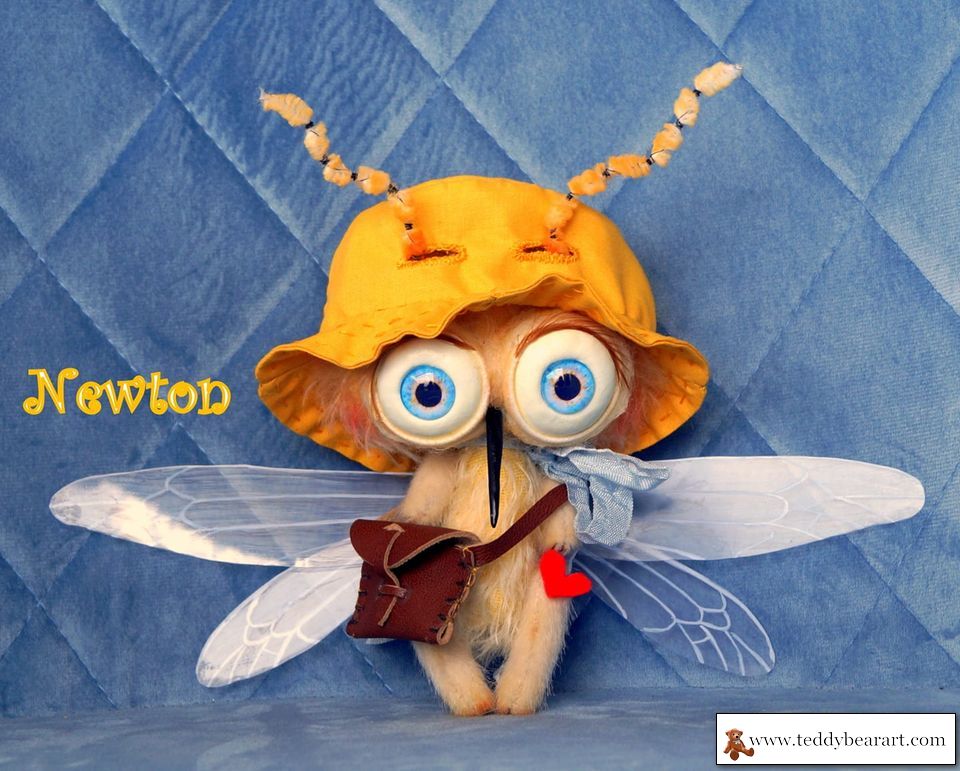
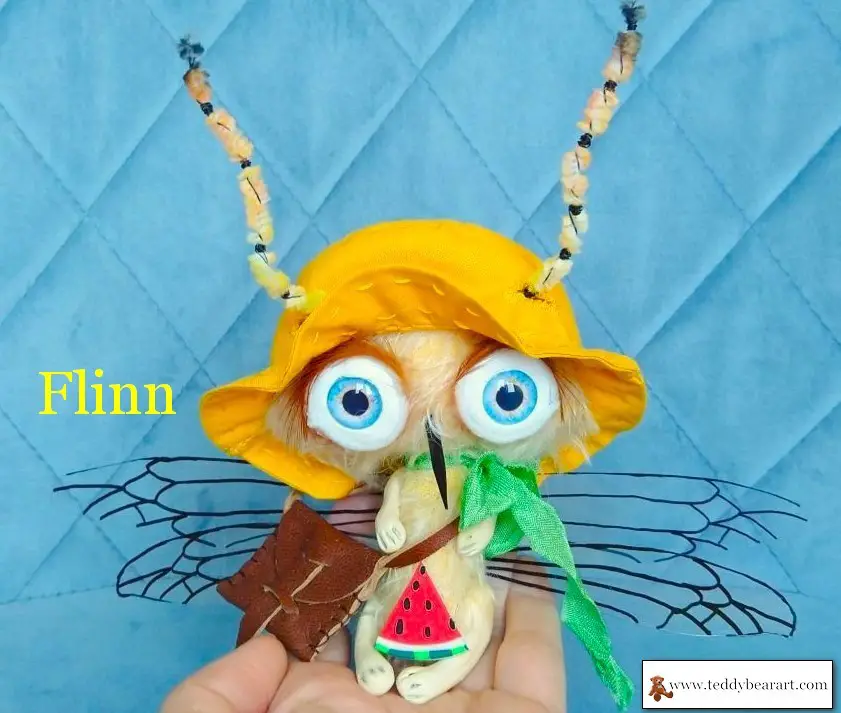
Teddy Mosquito is ready. Let’s start making accessories for him.
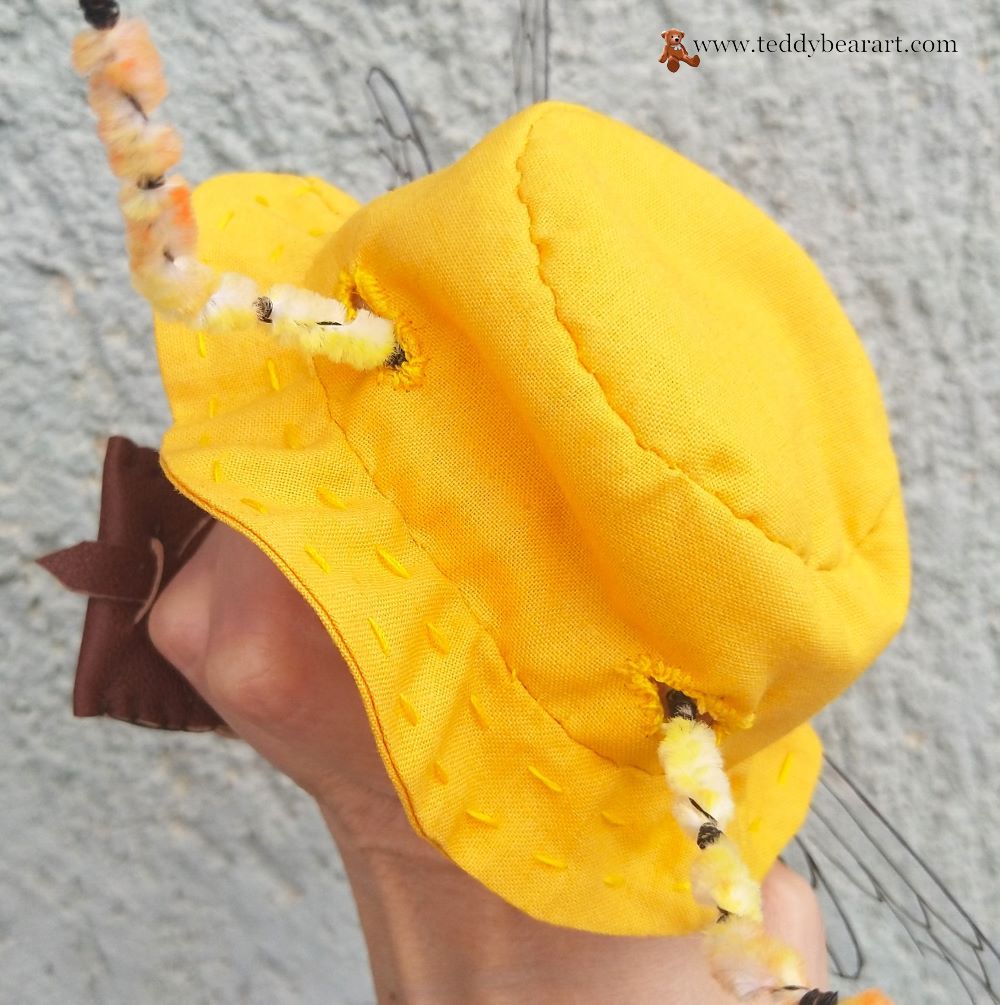
Hat Making Guide
Fold a piece of cotton fabric in half and transfer all the details of the pattern to it. Secure the fabric with pins. Sew all the details, turn the inside out, iron, and sew up the turning holes.
Sew the brim of the hat and sew decorative seams. The brim of the hat can be sewn from two semicircles, instead of four parts. I do this to speed up the process.
Now sew the crowns of the hat to the brim of the hat. And at the end, sew the bottom of the hat. Use a hidden (invisible) seam. Read what a hidden seam is.
After that mark where the holes for the plush mosquito antennae will be located on the hat. Cut out small holes and overcast so that the threads do not fray.
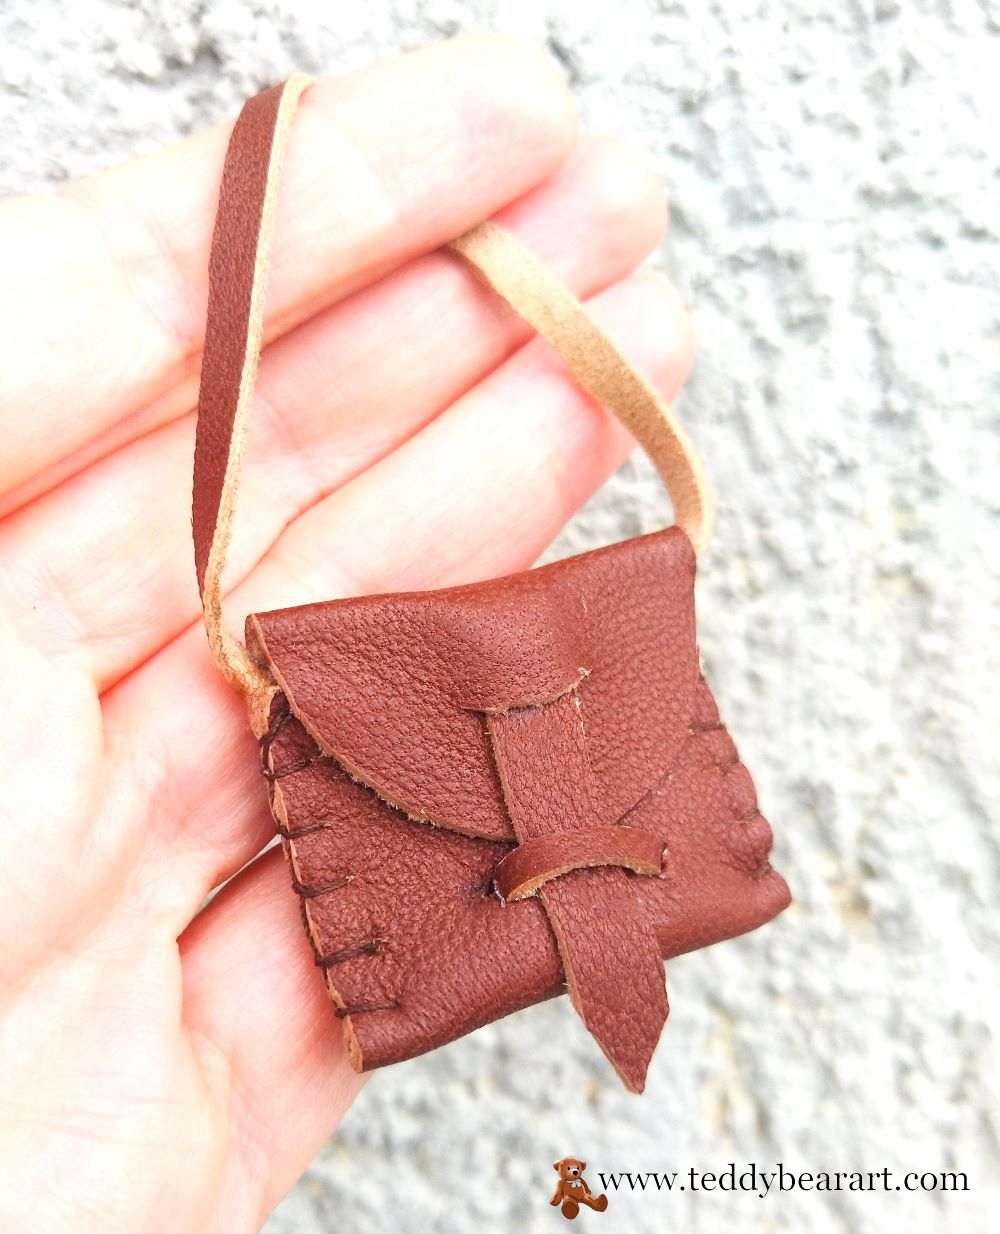
Bag Making Guide
Transfer the pattern to a piece of leather, cut it out, and do not leave seam allowances. Sew with an overlock seam from the right side along points A-B and A1-B1.
I did not give a pattern for the details of the straps for this bag, since the thickness of the leather from which you will sew may differ. Focusing on the thickness of the skin, cut the straps themselves to the length and width you need.
Sew on the longest strap (over the shoulder), and glue the rest. The bag is ready. The bag is put on not over the head, but through the paws of the mosquito.
Conclusion
Congratulations! Now you know which materials you need to create your cute teddy mosquito. You learned how to make his eyes, wings, and antennae, how to mold his small limbs, how to make the limbs, and how to attach them. Also, you know how to make his hat and his bag.
Feel free to sell your cute and funny plush mosquito, it will be very pleasant for me if you will indicate my name or this website.
Get Free Patterns & Be the First to Know!
Want free teddy bear patterns, exclusive tutorials, and a chance to win craft supplies?
Sign up for our newsletter using the subscribe form in the middle of this article to receive new patterns, insider tips, and the latest news on teddy bear art. You’ll also automatically be entered into our annual giveaway for a chance to win teddy bear crafting materials.
Bonus entry: Save one of our pins on Pinterest to increase your chances of winning!
Let’s create, inspire, and craft beautiful teddy bears together!