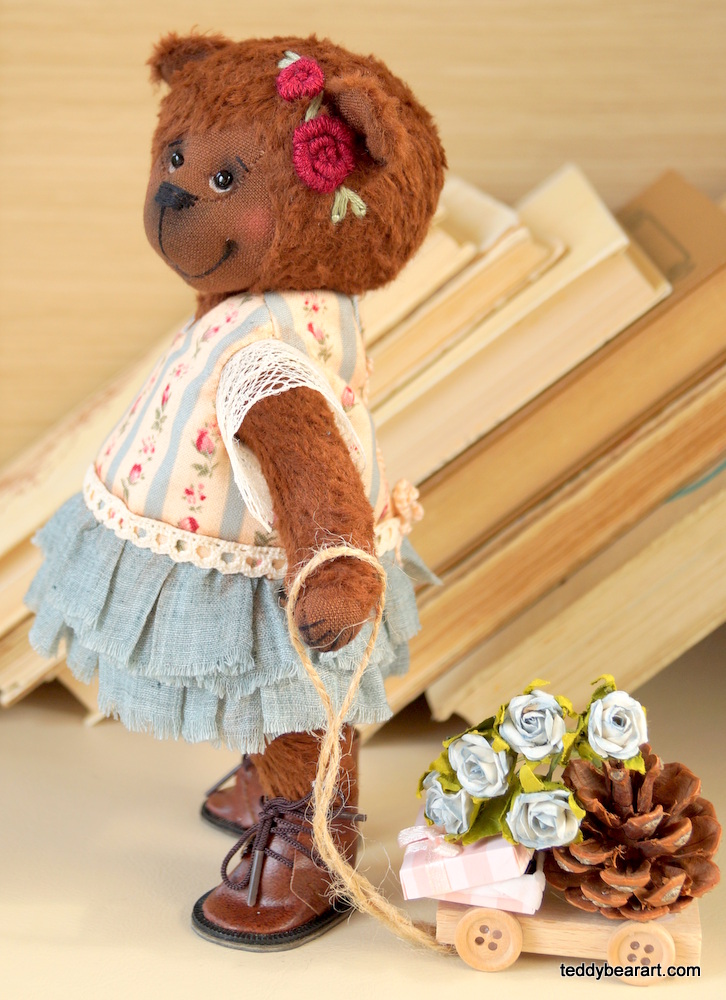
Here you can find a teddy bear clothes sewing pattern – a dress for a teddy bear, which was built by. Plus, I am providing the list of materials, a short pattern tutorial, which is very important for beginners, and extra tips. After reading this article, you will be able to build teddy bear clothes patterns.
The dress pattern is free to download, and you can also use it as a basis to build your own teddy bear clothes patterns. When you learn the principle of building such of pattern, you will understand how to build vests for bears and critters.
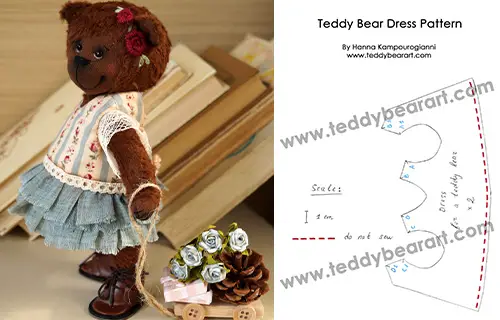
This teddy bear pattern here.
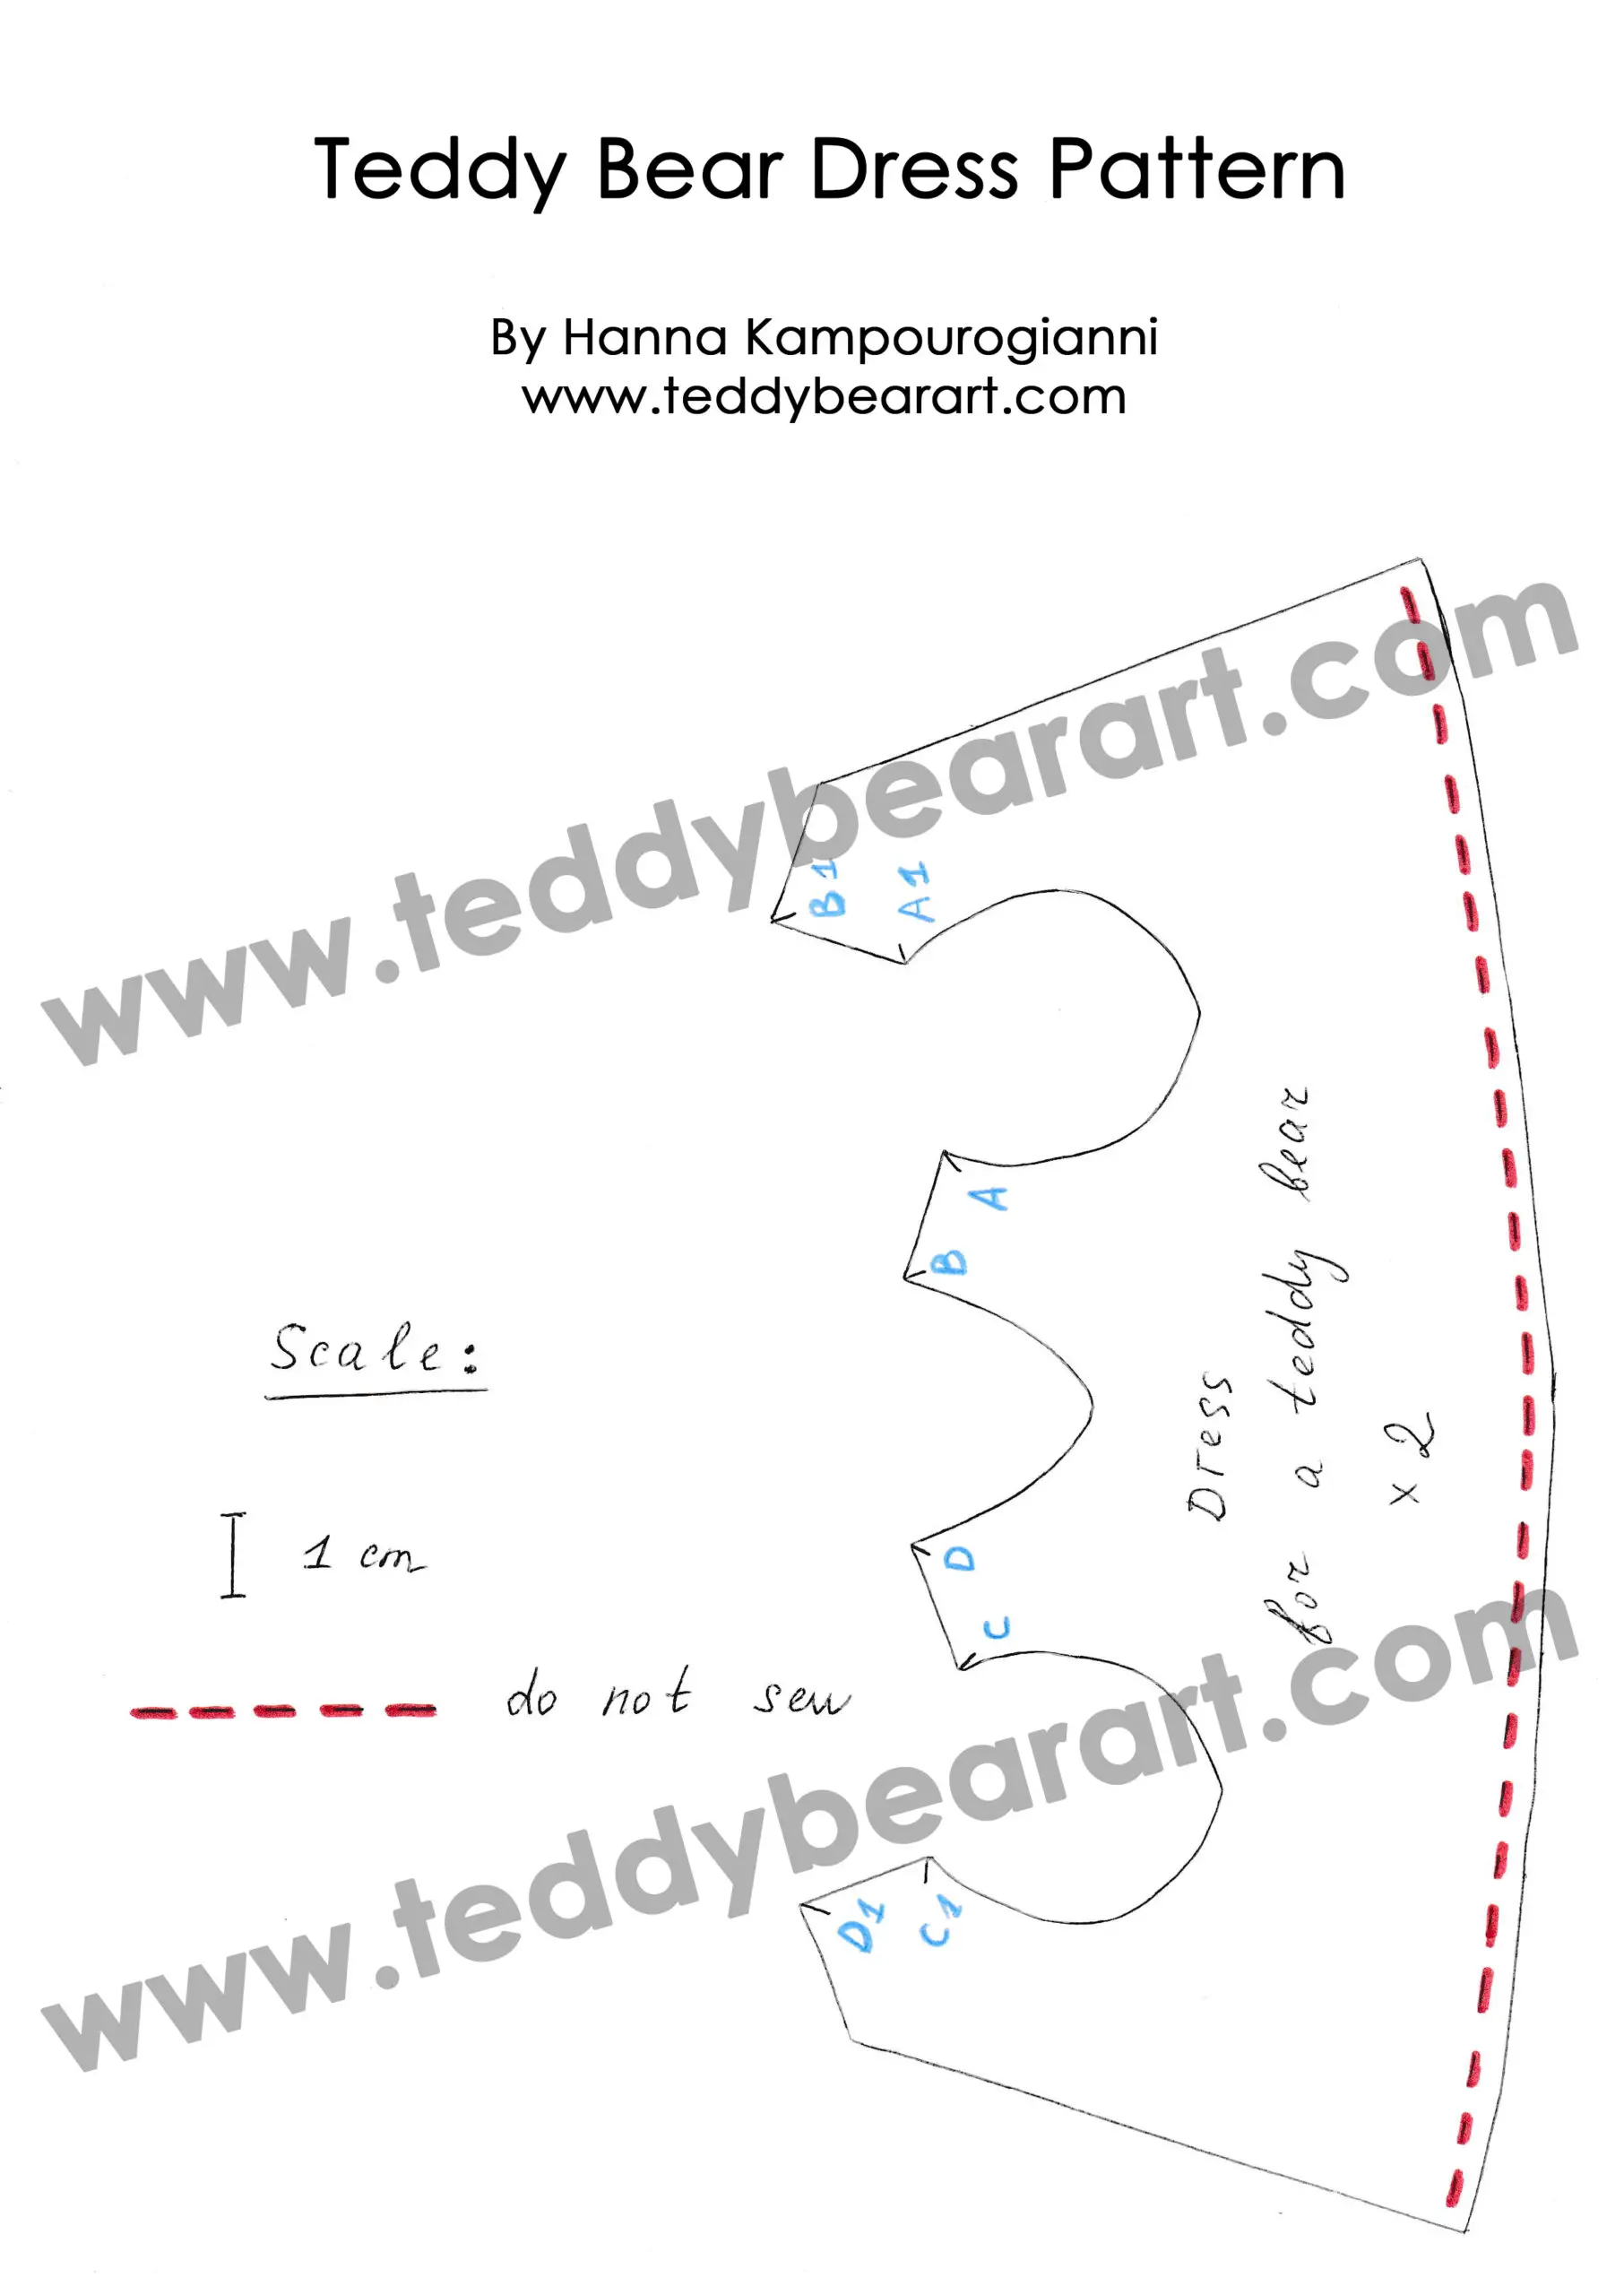
Download the Pattern
- From a computer (Windows).
Click on the photo of the pattern, and select the “Save image as …” option. - From a phone or a tablet (Android). There should be something similar for the iPad.
Click on the image. Save it by holding your finger on the image and selecting the “Save As” option. Then go to your photo gallery and print it (there is an option).
The Materials
- Two kinds of cotton fabric. The first one is for the coquette – the upper part of the dress, and the second one is for the hem – the bottom of the dress.
- Lace for the sleeves.
- Cotton ribbon for decoration.
- Sewing machine. But you can also make this dress by hand sewing.
- Thread.
- Needle.
- Scissors.
- Pencil.
Pattern Tutorial
We are going to sew the coquette of the dress now.
All kinds of seams you will need to learn are here.
Download and print the pattern, following the scale I indicated (1 cm).
If you are unable to print, then transfer the pattern from the screen of your device to baking paper or other thin paper using a soft pencil.
Fold two pieces of fabric right sides together and transfer the pattern to the fabric. Sew with a back stitch by hand or on a sewing machine, leaving an unsewn space for turning inside out (indicated in red).
Cut out the resulting piece, leaving 5 mm of fabric from the seam. If you have zigzag scissors, cut with them. If there are no such scissors, then carefully make small cuts with ordinary scissors around the entire perimeter of the seam.
Try not to cut the seam. These incisions are made so that when everted, the product takes shape and does not bulge.
Iron the coquette and bend the edges inward.
For the hem (the bottom part of the dress), take a rectangular piece of fabric to your taste. I used two rectangular pieces of fabric of the same length but different heights. Therefore, I got a two-tier hem.
Keep in mind that the longer the piece of fabric, the more folds you can make.
Before you start sewing, you need to decide what the bottom of the hem will be. There are several design options. You can tuck it twice and stitch it, you can add lace, or you can simply tear off a piece of fabric, and the edge will remain torn with protruding threads. I did this because I wanted to add some vintage style to my teddy bear.
So, manually gather the folds, secure them with a basting stitch, and sew them into the top of the dress, sew.
Sew the dress according to the marks A to A1, B to B1, C to C1, and D to D1 with a hidden seam.
From above, you can attach a ribbon to which the dress will be tied. Optionally, you can add sleeves from pieces of lace.
An Easy Way To Build Your Own Patterns
I am going to share my own experience, which I got when I had no idea how to build sewing clothes patterns for humans.
So, with the help of a thread and a ruler (if you do not have a soft tape measure), I measured the circumference of the arm, waist, neck, bears, and the length of the top of the dress.
I added about half a centimeter to these figures. And added 1 cm to the length.
Then I folded a sheet of paper in half and drew half of the dress to my liking, following the measurements. I used a thread again so I didn’t miss measurements. Then I cut out the pattern and started trial sewing.
If I didn’t like something, then I redid it, and in the end, I got what I wanted. For example, I redid the neckline from round to V-shaped.
If you want to make a vest, for example, then just round off the edges and swap the front and back when you dress your bear.
Extra Tips
- If you are planning to create a bear in clothes, then sew it from a fabric with a short pile. On too-fluffy bears, clothes look worse.
- If your bear is small in size, up to about 20 cm in full growth, then you can make a one-piece pattern for the upper parts of the dress. If the bear is medium or large in size, then it is better to make a pattern from several parts and sew it in the likeness of clothes for children.
- If your bear does not have a big belly, then my pattern can be changed by lengthening, and you get a finished dress, to which you no longer need to sew a hem.
- In order not to do a lot of test sewing, first draw a pattern on a napkin. The napkin is soft, so you can attach it as tightly as possible to the body of the bear and understand where the correction will be needed. Use pins.
- To transfer the pattern to a white or light-colored thin fabric, use a special fabric marker. Because a pencil or pen can be noticeable. I know of two types of such markers. Some of them are washed off the fabric with cold water. The others disappear over time. The markers that disappear with time seem more convenient to me because there is no need to wet and dry the product. The only rule for disappearing markers is not to iron or heat-treat the fabric until it disappears; otherwise, marks may remain.
Conclusion
Your dress for a teddy bear is ready! Also, you have basic knowledge about building teddy bear clothes and sewing patterns. You have learned about some extra tips, and now you can modify this pattern and create your own dress or vest, for example.
If you ever need a hand or have any questions, feel free to leave them in the comments below, and I will be more than happy to help you out.
Get Free Patterns & Be the First to Know!
Want free teddy bear patterns, exclusive tutorials, and a chance to win craft supplies?
Sign up for our newsletter using the subscribe form in the middle of this article to receive new patterns, insider tips, and the latest news on teddy bear art. You’ll also automatically be entered into our annual giveaway for a chance to win teddy bear crafting materials.
Bonus entry: Save one of our pins on Pinterest to increase your chances of winning!
Let’s create, inspire, and craft beautiful teddy bears together!