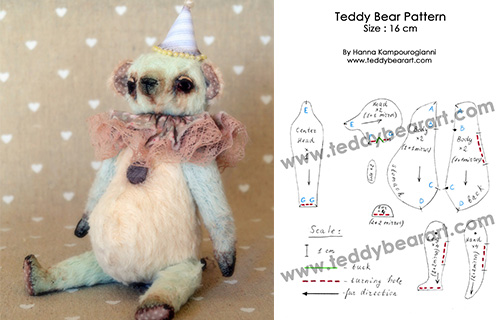
Download a free jointed teddy bear pattern. This pattern is printable and suitable for beginners. Get a list of required materials, a sewing guide, and some tips on making a cute teddy bear muzzle.
Download the Pattern
To download the pattern, follow the instructions below:
From a phone or tablet: There should be a similar option for mobile devices with Android or iOS. Click on the image. Save it by holding your finger on the image and selecting the “Save Image” option. Then, go to your photo gallery and print it (an option available).
From a computer: Click on the photo of the pattern you see below. In the new tab that will open, you press the right mouse button and select the “Save image as …” option. Then, you choose where the image will be saved on your computer.
The List of Materials
- Different colored pieces of viscose fabric (one 1/16 piece – 25×35 cm – with a pile length of 6 mm is enough).
- A pair of glass eyes on a metal loop – 6 mm in diameter (or a little smaller).
- Strong thread in the same color as your fabric, and a hand-sewing needle.
- Scissors.
- Waxed thread.
- An awl.
- Synthetic stuffing.
- Metal or glass pellets for weight.
- A small piece of cotton fabric (for ears and feet).
- Oil paints (brown and black) and brushes.
- Pins.
- 10 discs – 12 mm in diameter.
- 10 washers – 12 mm in diameter.
- 5 T-shaped cotter pins – 1.6×20 mm.
- Pliers.
- Ribbons, lace, and cotton fabric for the outfit.
- Extras: a small piece of felt for the eyelids, and glue.
Sewing Guide
If you’re making your first teddy bear, we recommend reading our post on basic teddy bear sewing — it’s a great place to start.
Step 1: If you’re using viscose fabric, gently pluck some lint from the nose and the ends of the arms and legs with tweezers.
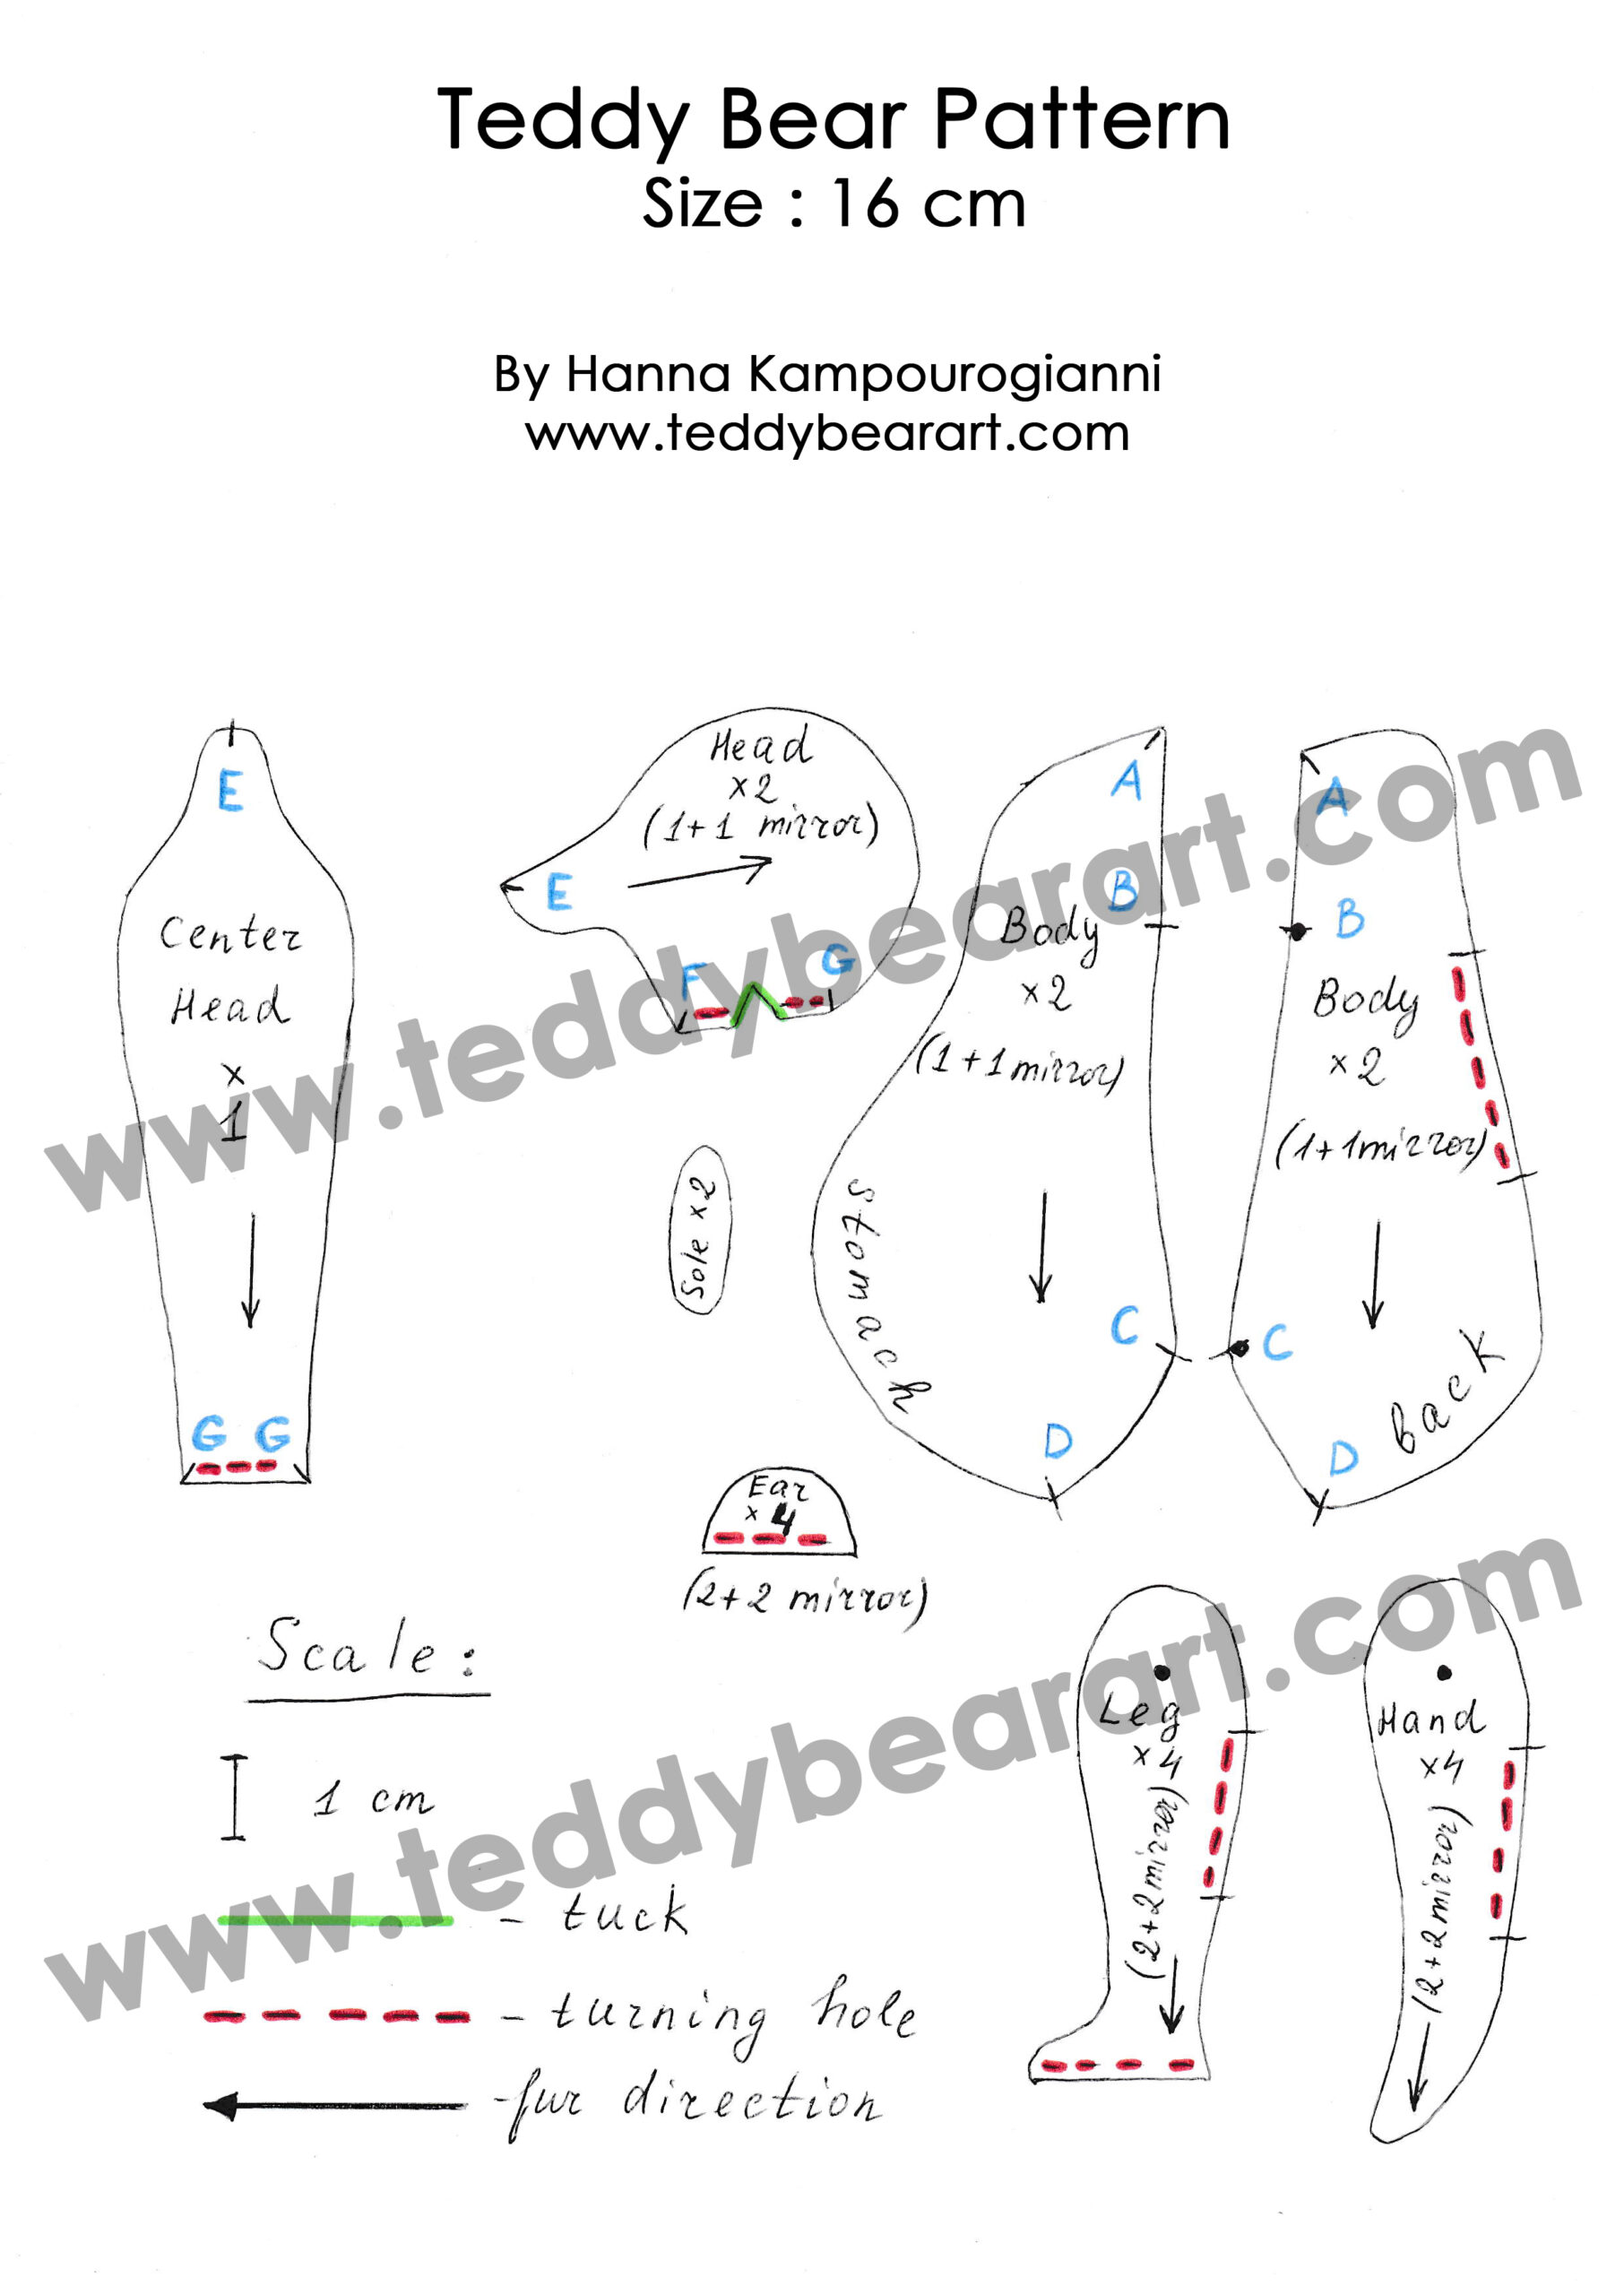
Step 2: Start by sewing all the tucks (marked in green on the pattern).
Step 3: Sew the two sides of the head (1 + 1 mirrored) along the line from E to F.
Step 4: Sew the center part of the head (wedge) to the sides along the line from E to G. Leave the turning opening unsewn (highlighted with a red dotted line).
Step 5: Sew the body parts (stomach and back) together along the lines A to A, B to B, C to C, and D to D. Then sew the body sides together (1 + 1 mirrored). Leave the turning opening unsewn.
Step 6: Sew the arms and legs. Attach the footpads.
Step 7: Sew on the ears.
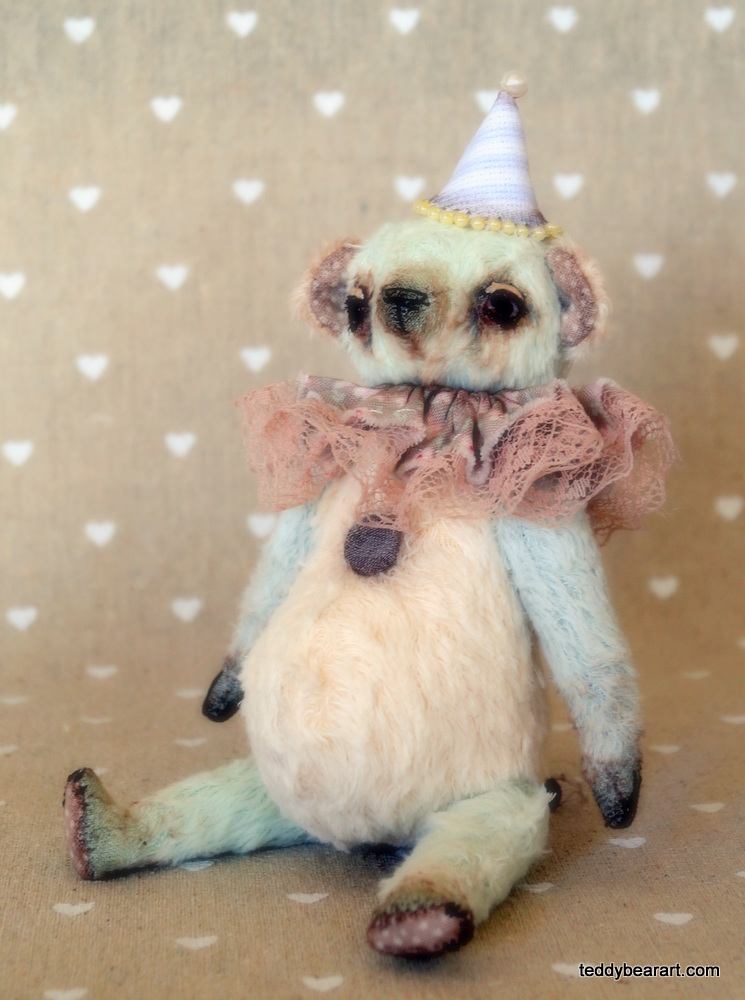
Making a Cute Face
Now let’s talk about giving your teddy bear a lovely face!
We’ll skip over the part where the body is assembled and go straight to creating the muzzle.
First, insert the eyes. To make them symmetrical in relation to the nose:
- Place a pin where the nose will go.
- Place another pin in the center of the forehead.
- Use a compass or ruler to measure and mark the eye positions.
- Insert pins where the eyes will go.
Next, cut out small felt pieces and glue them on the lower and upper eyelids. The upper eyelids should slightly overlap the lower ones — it gives a natural, expressive look.
Then embroider the nose. Don’t stress about perfect symmetry — our teddy has a vintage look, so a slightly uneven or “worn” effect adds charm and personality.
Add some brown shading around the eyes, nose, and paws. Blend in a bit of black over the brown to create a soft gradient.
Let everything dry completely, then embroider the claws.
Finally — get creative! Imagine your bear’s story and give it special details: patches, buttons, vintage ribbons, mini pendants, flowers, or tiny toys.
And don’t forget to take some beautiful photos of your finished bear — we’d love to see what you create!

Frequently Asked Questions (FAQ)
Q: Do I have to use glass eyes?
A: Not at all. You can use black beads. Glass eyes do give a more classic, vintage look.
Q: Where can I buy materials like cotter pins and joints?
A: Many teddy bear-making supplies are available on Etsy, eBay, Amazon, or craft shops, teddy bear-making shops.
Q: How long does it take to make one teddy bear?
A: It depends on your experience and how detailed your bear is. For beginners, plan for 1–2 full days. Once you get the hang of it, you’ll finish faster!
Q: Can I resize the pattern?
A: We don’t recommend making the pattern smaller — it already includes quite tiny details, and downsizing can make sewing much more difficult.
You can enlarge the pattern, but keep in mind that this will turn it into a new design. You’ll need to calculate new positions for attaching the limbs, adjust the size of the eyes, and resize things like footpads. It’s totally doable — just be ready to experiment a bit!
Q: Can I sell teddy bears made with your free pattern?
A: Yes, you can! We’re happy if our patterns help your handmade business.
Get Free Patterns & Be the First to Know!
Want free teddy bear patterns, exclusive tutorials, and a chance to win craft supplies?
Sign up for our newsletter using the subscribe form in the middle of this article to receive new patterns, insider tips, and the latest news on teddy bear art. You’ll also automatically be entered into our annual giveaway for a chance to win teddy bear crafting materials.
Bonus entry: Save one of our pins on Pinterest to increase your chances of winning!
Let’s create, inspire, and craft beautiful teddy bears together!