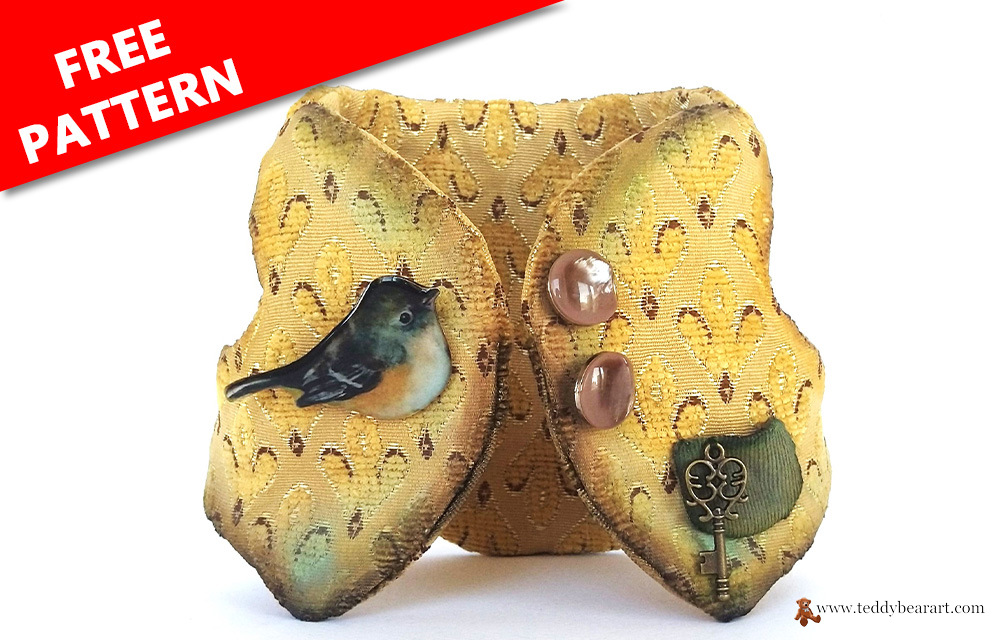
Are you ready to elevate your teddy bear’s fashion game? In this step-by-step guide, we’ll show you how to create a stylish vest for your beloved plush companion. Whether you’re an experienced crafter or just starting, making a vest for your teddy bear is a fun and rewarding project that can be completed in as little as 15 minutes. Plus, we provide a free pattern of the vest suitable for bears around 11.4 inches in size. So, grab your materials, and let’s get started on this exciting teddy bear clothes pattern!
Once you know this easy way to create a teddy bear vest, modify the pattern to accommodate different-sized teddy bears.
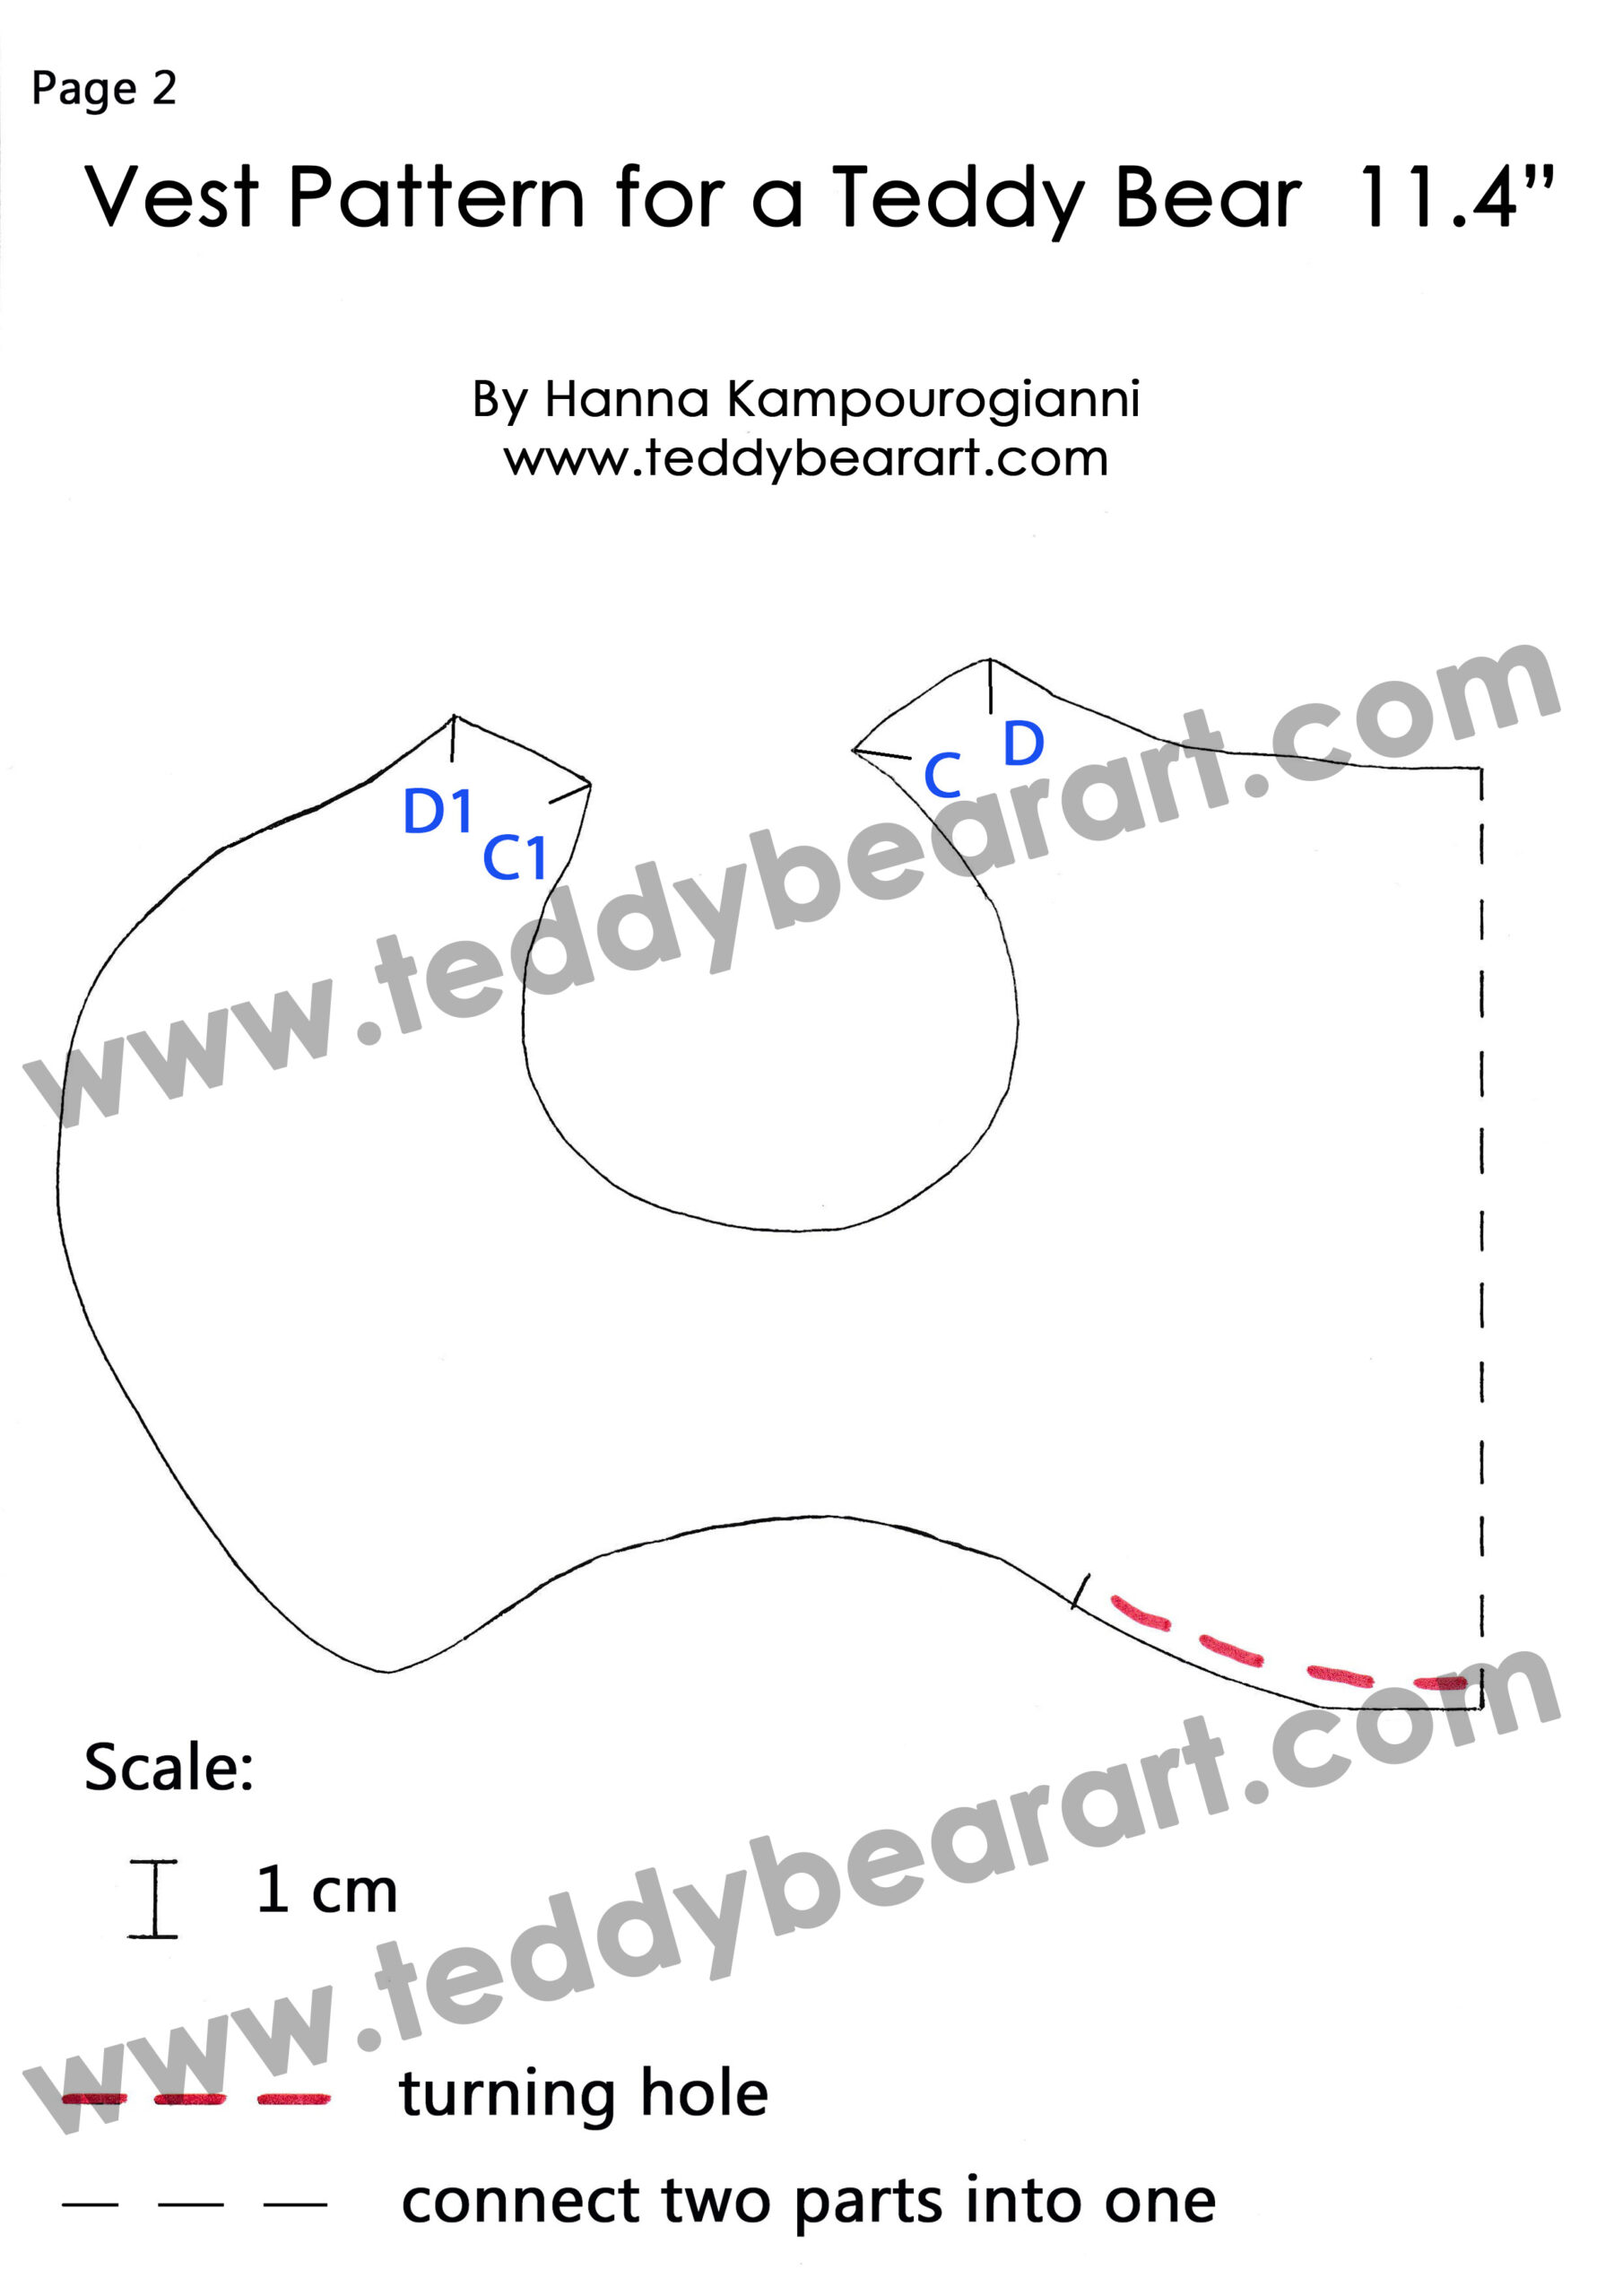
Downloading a Free Vest Pattern
- From a computer (Windows).
Click on the photo of the pattern, and select the “Save image as …” option. - From a phone or a tablet (Android). There should be something similar for the iPad.
Click on the image. Save it by holding your finger on the image and selecting the “Save Image” option. Then go to your photo gallery and print it (there is an option).

Gathering Supplies
Before embarking on your teddy bear vest-making journey, it’s essential to gather all the necessary supplies. With the right materials at your fingertips, you’ll be well-prepared to create a stylish and cozy vest for your beloved plush companion.
Materials: The core materials you’ll need for this project are readily available at most craft stores or online. Here’s a quick rundown:
- Fabric: Choosing the right fabric is critical to the comfort and style of your teddy bear. Choose denser materials for bears of this size. Think about a color and pattern that will highlight your teddy bear’s personality.
- Matching Thread: Ensure you have a thread that complements the fabric’s color. This will help your stitches blend seamlessly, giving the vest a polished appearance.
- Sewing Machine or Needle: Depending on your preference and sewing experience, you can use a sewing machine for faster results or opt for hand-stitching. Both methods work well for this project.
- Scissors: Sharp scissors are essential for precise cutting of the fabric and pattern.
- Pins: Straight pins come in handy for securing fabric layers together during the sewing process.
By ensuring you have all these supplies on hand, you’ll be well-prepared to tackle the next steps in this exciting teddy bear clothes pattern project.
Sewing the Vest
Lay the fabric flat, pin the pattern, and carefully cut along the lines.
Here’s a simplified guide to sewing the vest:
- Place the front and back pieces of the vest together, making sure that their right sides are facing each other. Use pins to secure the edges, ensuring they stay aligned and preventing any fabric from shifting during sewing.
- Cut out the resulting pieces, leaving a 5-7 mm seam allowance. If you have zigzag scissors, it’s great to use them. If not, you can carefully make small cuts with regular scissors around the entire perimeter of the seam.
- Sew the pieces together using a backstitch, either by hand or with a sewing machine. Be sure to leave an unsewn space for turning inside out, which is marked in red.
- Turn the vest inside out, press it with an iron to smooth out any wrinkles, and then sew up the turning hole.
- To finish the vest, sew it according to the marks A to A1, B to B1, C to C1, and D to D1 using a hidden seam.
With these steps, you’re well on your way to completing your teddy bear’s stylish vest. The sewing process not only adds a personalized touch but also ensures your teddy will be the talk of the toy town.
Adding Finishing Touches
The final step in crafting a perfect vest for your teddy bear is adding those extra touches that make it uniquely yours. Here’s how to put the finishing touches on your creation:

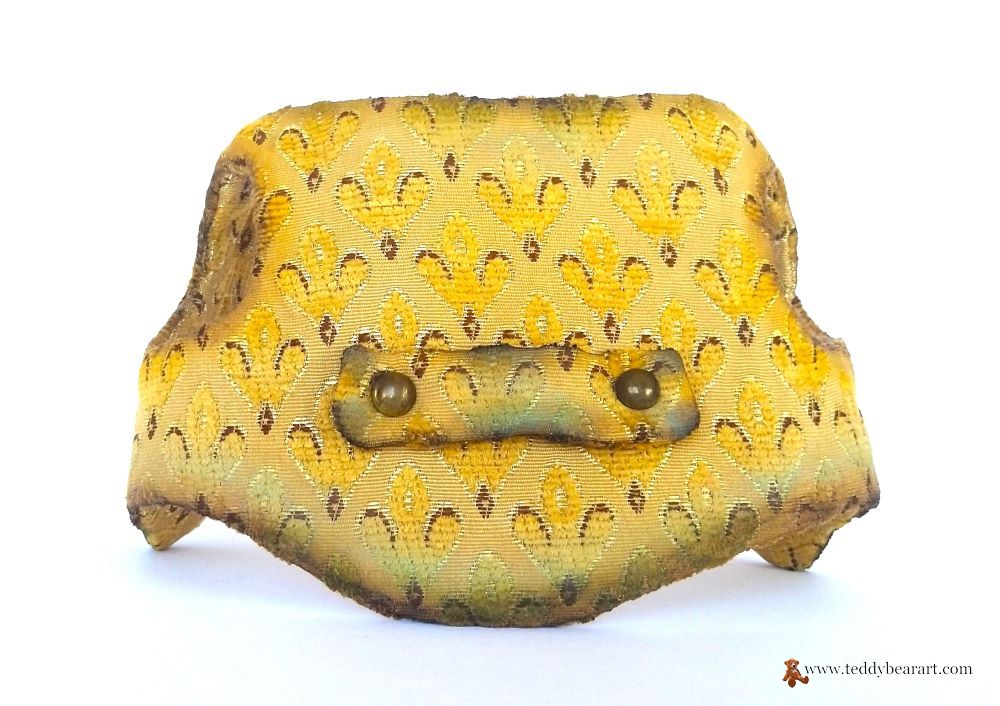
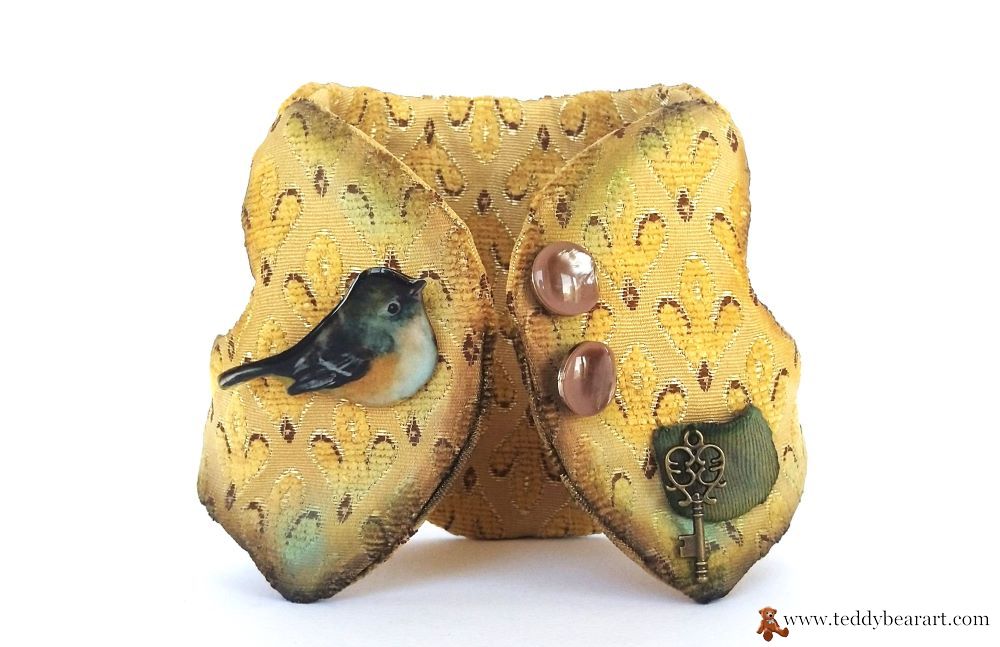
- Buttons or Snaps: Consider adding small buttons or snaps. Buttons do not necessarily have to serve to fasten the vest; they can serve a decorative function.
- Decorations: Get creative with your vest’s appearance by adding appliques, patches, brooches, or even some embroidery. Personalize it to reflect your teddy’s personality or match a special occasion.
- Pockets: Add patch pockets and place cute little things inside, like a key, flower, or pocket watch.
If your bear is made in a vintage style, then the vest for it needs to be artificially aged, tinted with oil paints, put on cute patches, etc.
By completing these finishing touches, you’ll not only have a cozy and stylish vest for your teddy bear but also a work of art that showcases your creativity and craftsmanship. Enjoy dressing up your plush companion!
Conclusion
In just 15 minutes, you’ve not only crafted a stylish vest for your beloved teddy bear but also nurtured your creative spirit. Our free pattern, perfectly tailored for bears around 11.4 inches, makes this sewing project a breeze. As you put the final stitches in place, you’re not just adding clothing to a toy; you’re adding personality and charm.
This hands-on experience is both enjoyable and rewarding, letting you showcase your craftsmanship to the world. Your teddy bear will undoubtedly become the talk of the toy town with this fashionable addition.
Don’t forget to share your delightful creations with us, and keep exploring more enchanting teddy bear clothing patterns on our website. Unleash your inner artist and keep those teddy bears looking fabulous!
Additional Resources
Dive into the world of sewing with confidence and discover new ways to make your teddy bear creations even more special.
- Explore More Clothing Patterns – Find a variety of teddy bear clothing patterns to expand your creative options.
- Sewing Tips and Tutorials for Teddy Bear Clothes – Discover valuable tips and tutorials for creating beautiful clothes and accessories for your teddy bears.
If you ever need a hand or have any questions, feel free to leave them in the comments below and I will be more than happy to help you out.
Get Free Patterns & Be the First to Know!
Want free teddy bear patterns, exclusive tutorials, and a chance to win craft supplies?
Sign up for our newsletter using the subscribe form in the middle of this article to receive new patterns, insider tips, and the latest news on teddy bear art. You’ll also automatically be entered into our annual giveaway for a chance to win teddy bear crafting materials.
Bonus entry: Save one of our pins on Pinterest to increase your chances of winning!
Let’s create, inspire, and craft beautiful teddy bears together!
What a delightful tutorial on making teddy bear clothes! The step-by-step instructions make it seem so accessible, even for someone like me with limited sewing experience. I’m curious, have you experimented with different fabrics for these vests? I wonder if certain materials might give a different look or feel to the final product.
Your emphasis on simplicity and quick results is wonderful. Do you have any other similarly straightforward patterns in mind for future projects? Your expertise in this area is truly appreciated!
Thank you so much for your kind words and enthusiasm! I’m thrilled to hear that you found the teddy bear clothes tutorial accessible. Experimenting with different fabrics can indeed give your creations a unique touch. For vests, you can try cotton for a soft, casual look or perhaps velvet for a more luxurious feel. Faux fur could even give a cozy and adorable appearance.
As for future projects, I’m always working on new, straightforward patterns. I’ll keep your interest in mind and aim to provide more patterns that are easy to follow and yield quick results. Your appreciation means a lot, and I’m here to help you and all fellow teddy bear enthusiasts on their creative journeys. If you have any specific ideas or requests for future patterns, feel free to share them. Happy crafting! 🐻✂️😊
Teddy Bear Art strikes again! You give extremely valuable advice for people who want to make clothes for their teddy bears. It’s so sweet because it reminds me of my own dolls where I wanted them to have an extensive wardrobe, but I was too untalented to create mine. I also like that you explain step by step how to do sit, so it’s easily accessible to anyone. Good job, and have a nice day!
Thank you so much for your lovely comment! I’m thrilled that you find the advice on making clothes for teddy bears valuable. Teddy bears and dolls deserve a stylish wardrobe too, and I’m here to help make that creative process accessible and enjoyable for everyone, regardless of your previous experience. 😊
If you ever decide to give it another try, I’m here with step-by-step guides to assist you along the way. Feel free to explore the free patterns and tutorials on my website. Have a wonderful day, and don’t hesitate to reach out if you have any more questions or ideas! 🐻👗✨