*We are a reader-supported website. When you buy through links on our site, we may earn a small affiliate commission at no extra cost to you.*
Creating a watermelon ship, an imaginative vessel for your cherished teddy bear or cute critter involves a series of artistic steps that transform simple materials into a whimsical masterpiece. This styrofoam watermelon ship crafting guide takes you through each stage of the process, from carving the watermelon base to infusing life into the ship’s sail and mast. To provide you with a more comprehensive understanding, we’ll delve into each step and expand upon the magic of crafting.
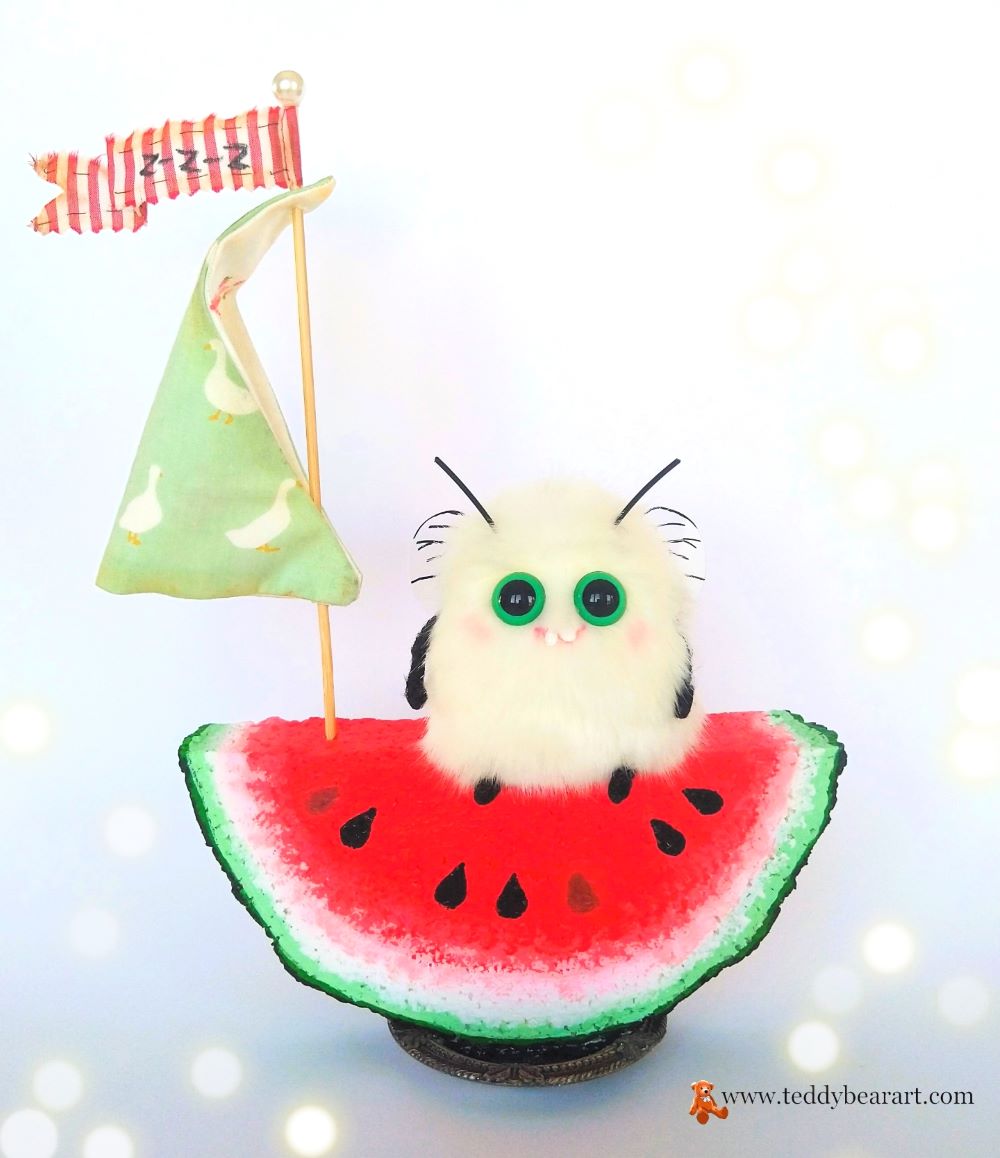
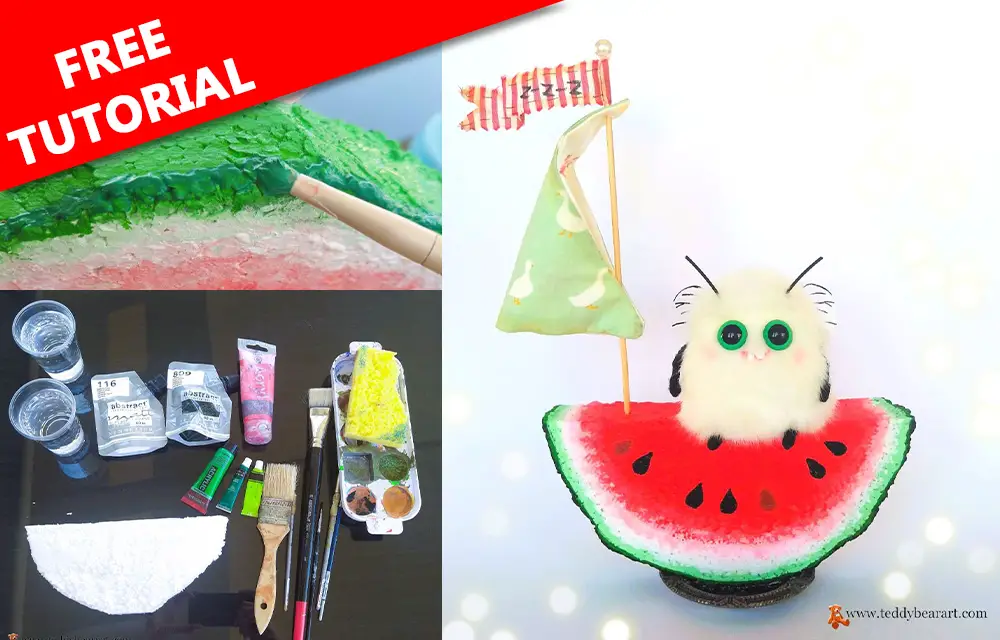
The List of Materials
- Styrofoam (it can be found in the packaging of any electrical goods, for example).
- Red, green, white, and black acrylic paints.
- A glossy varnish for acrylic paints.
- Wooden food stick for the ship mast.
- A piece of cotton fabric for the ship sail.
- A piece of fabric for the flag.
- Black copper craft wire 1 mm in diameter for the flag.
- Brushes.
- Strong glue UHU.
- A small plate or saucer.
- Milliput White modeling clay to attach the watermelon to the plate.
Step 1: Shaping the Watermelon Base
To begin, draw and carve a piece of styrofoam into a watermelon-like shape using a sharp knife.
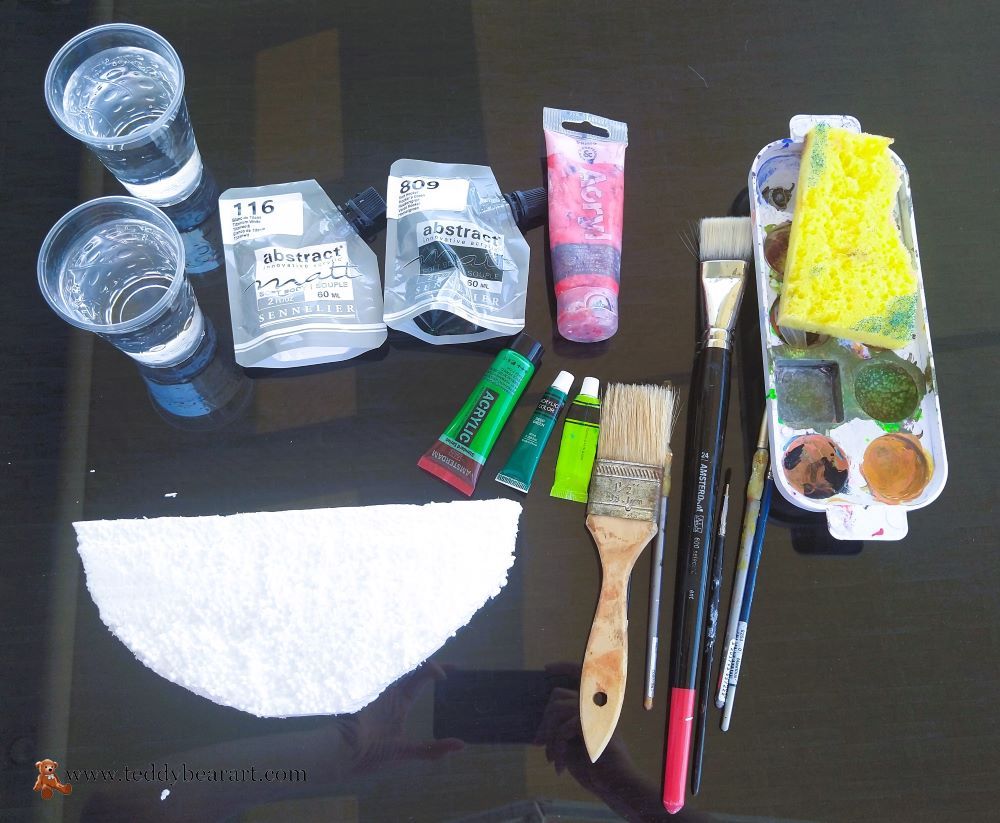
This sculpting phase sets the stage for your artistic voyage. With a range of acrylic paints, progress from light to dark tones to bring vibrancy to your canvas.
Step 2: Painting the Watermelon’s Rind
Start by blending white paint with a hint of green, creating a delicate light green shade. This gentle hue is the foundation of your watermelon’s rind. Gradually introduce more green to the white, allowing the colors to intermingle seamlessly.
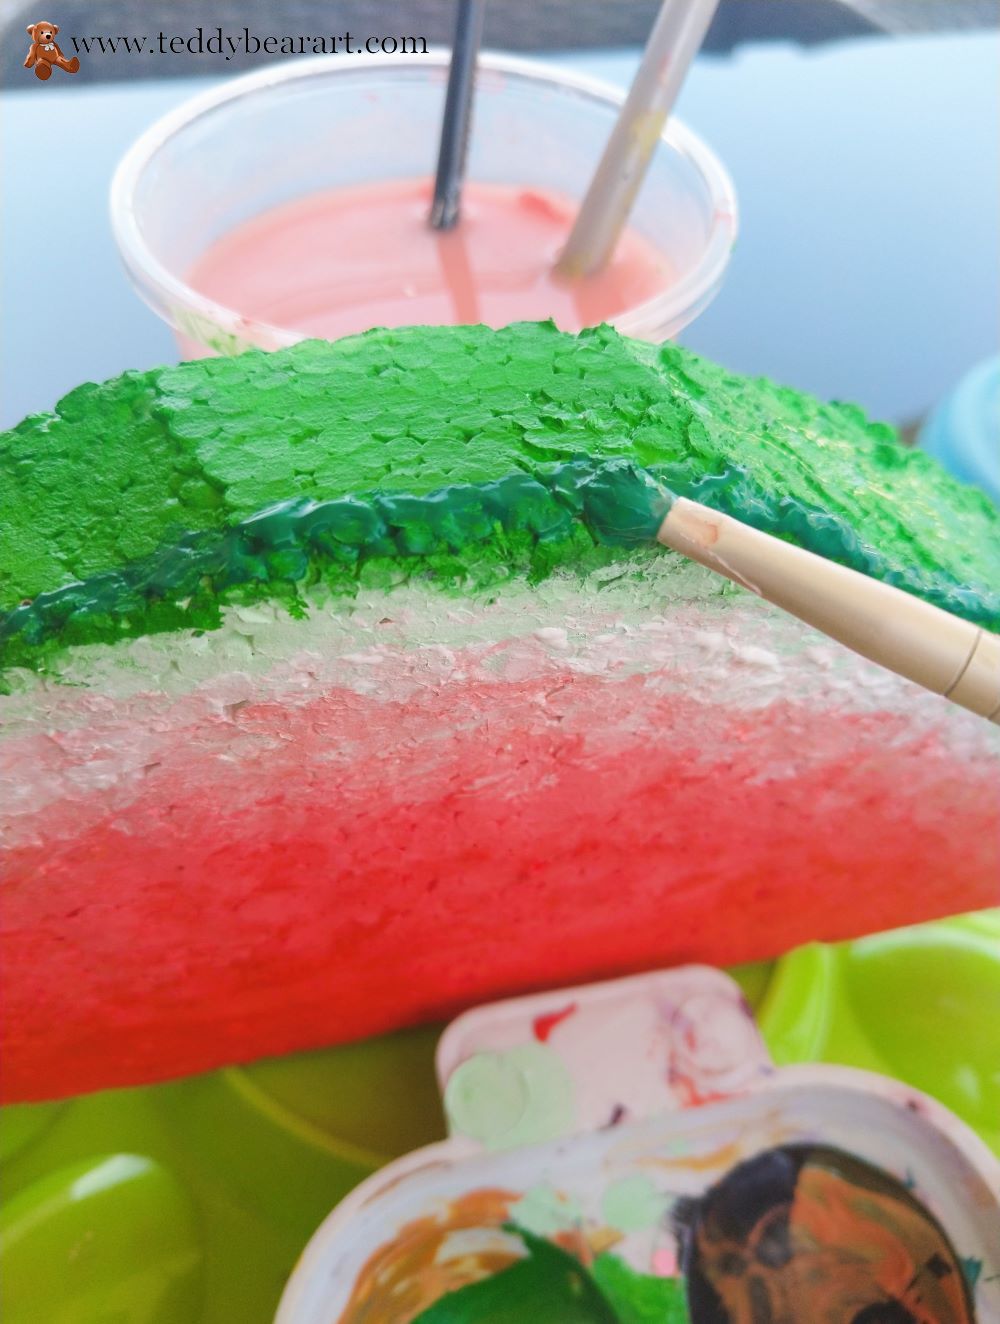
The evolving shades of green form the intricate texture of the rind. To complete the effect, infuse a touch of black into the green mixture and artfully draw stripes along the rind’s surface.
Step 3: Adding Depth to the Watermelon’s Pulp
The transition from the rind to the succulent pulp of the watermelon. Add a red drop into the white paint to produce a soft pink hue.
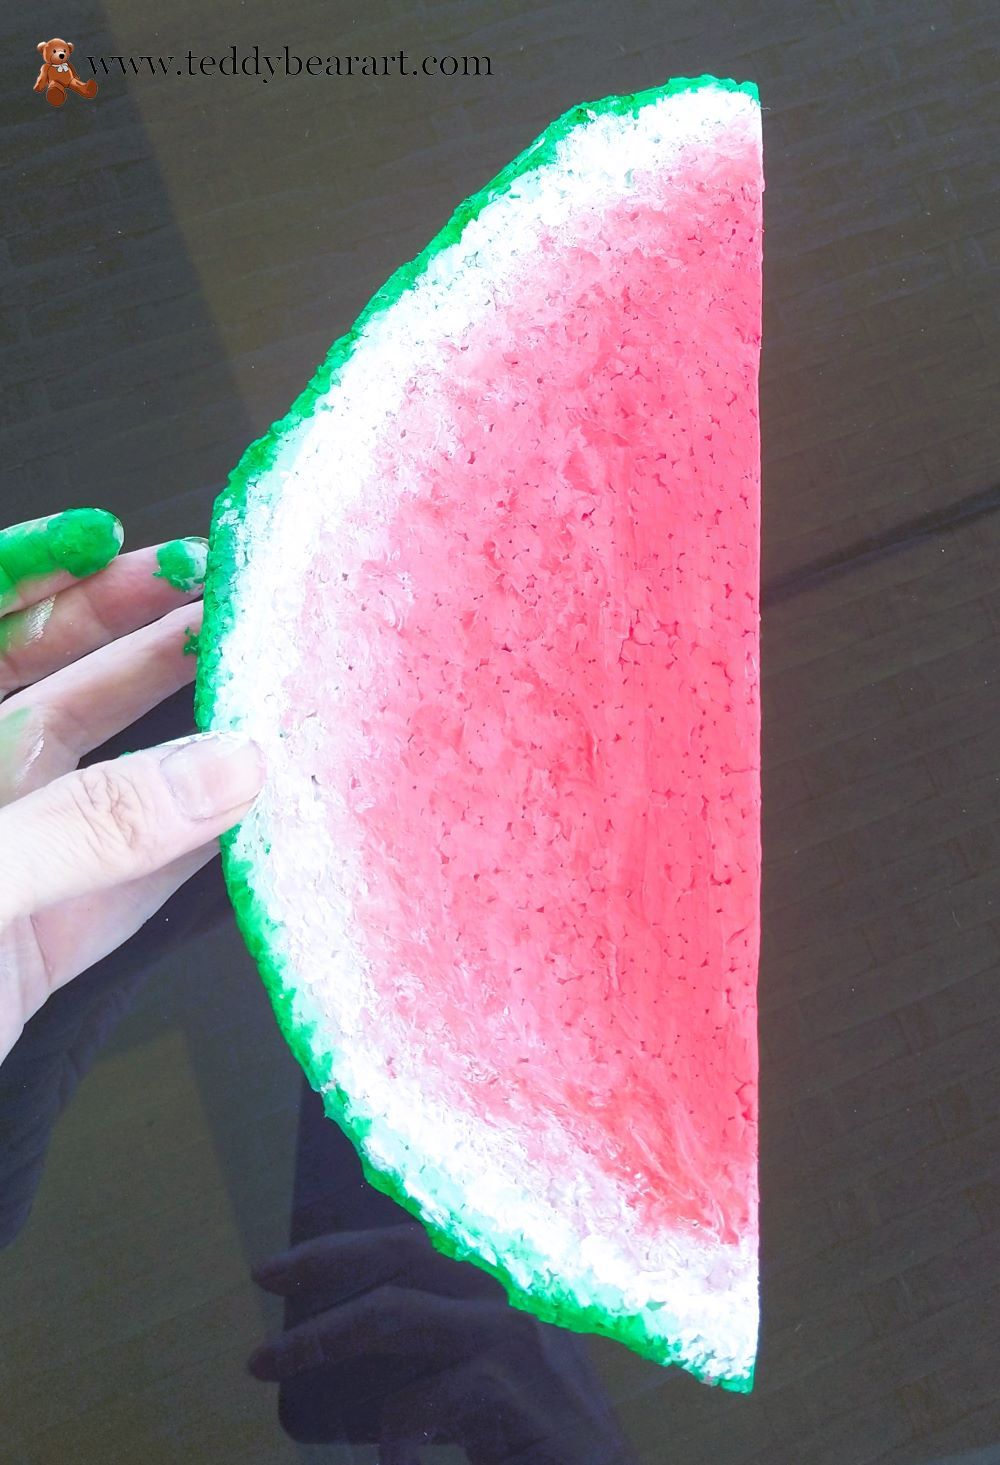
As your brush dances, progress from delicate pink to vivid red and brilliant scarlet, effectively bringing the heart of the watermelon to life.
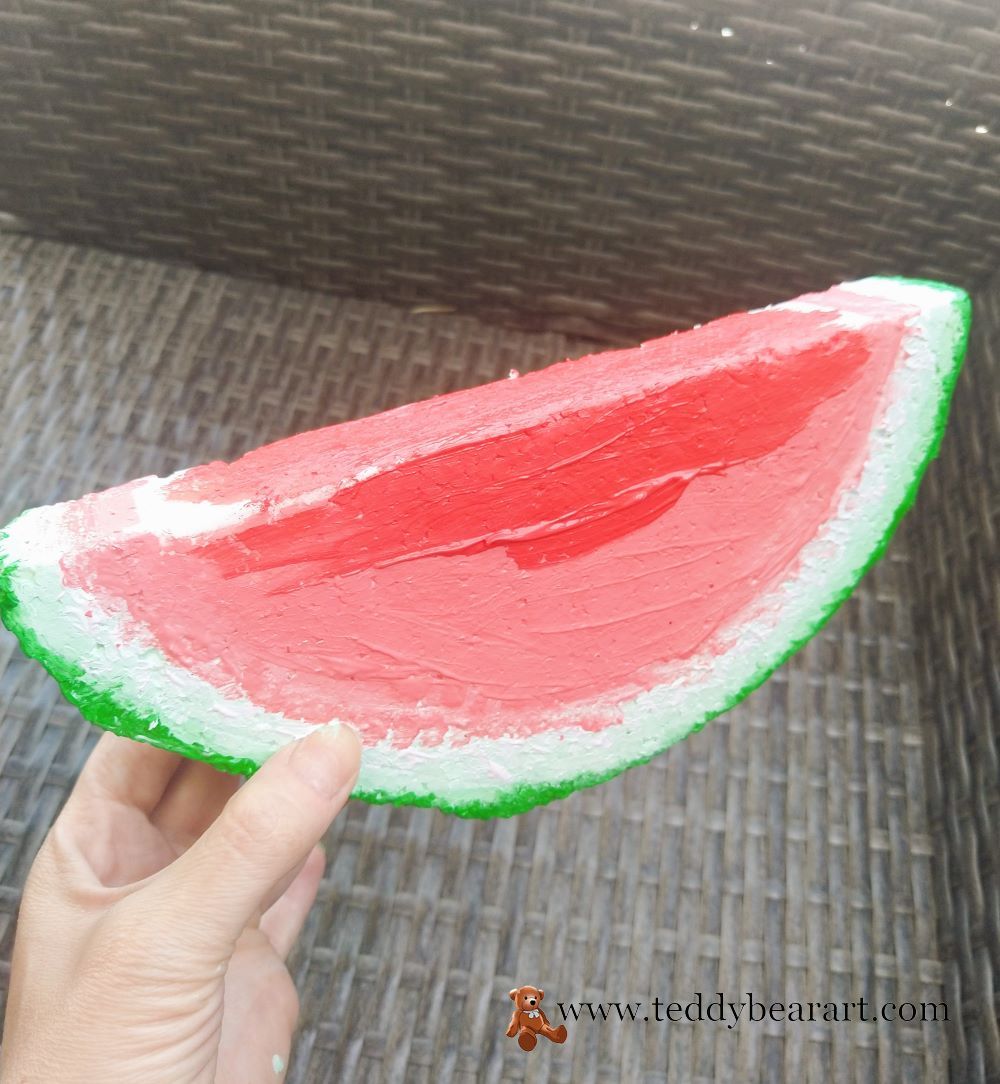
Step 4: Detailing Seeds and Final Touches
When your painted canvas dries, shift your attention to the seeds, the quintessential element of the watermelon. Skillfully paint black seeds onto the surface, creating an illusion of authenticity that mirrors nature’s design.
Once completely dry, coat the watermelon ship with a glossy varnish for acrylic paints. Please note that styrofoam varies in quality and may melt if exposed to coating or adhesive. Therefore, test it first on an unnecessary piece.
Step 5: Crafting the Sail and Mast
Embark on the creation of the ship’s sail, a symbol of adventure. Craft a triangular sail from double cotton fabric, sew it together, and then invert it.
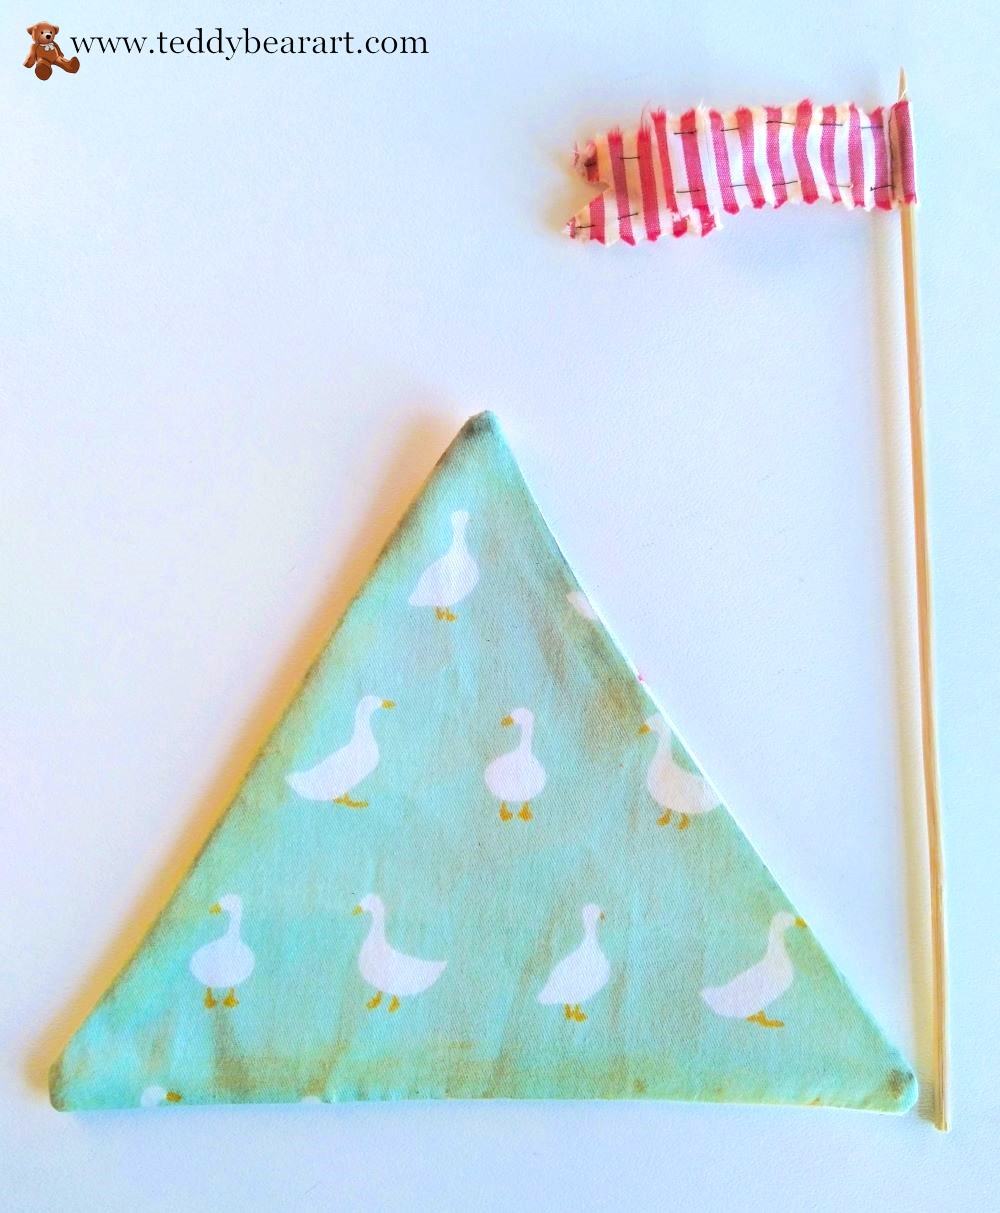
After ironing and sewing up the opening, your sail takes shape. Use glue to affix the sail to a wooden chopstick, securing it at both the top and bottom with adhesive precision.
Step 6: Infusing Motion and Wind
To bring your watermelon ship to life, evoke the sensation of movement. Stitch a thin wire to the flag, resembling the winds that guide the ship.
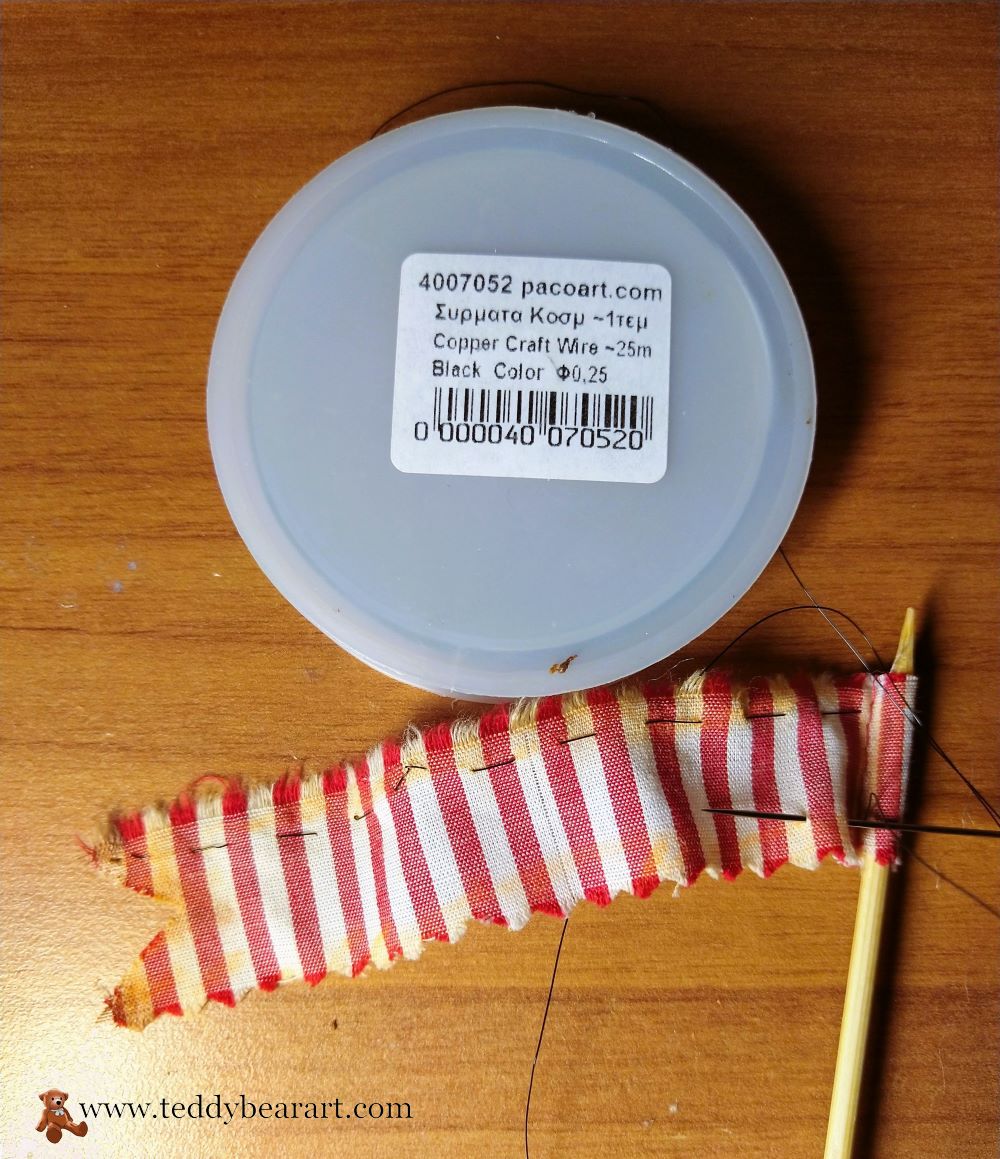
This simple addition allows the flag to flutter as if caught in a breeze. Your watermelon ship, complete with mast and fluttering flag, embodies the allure of maritime exploration.
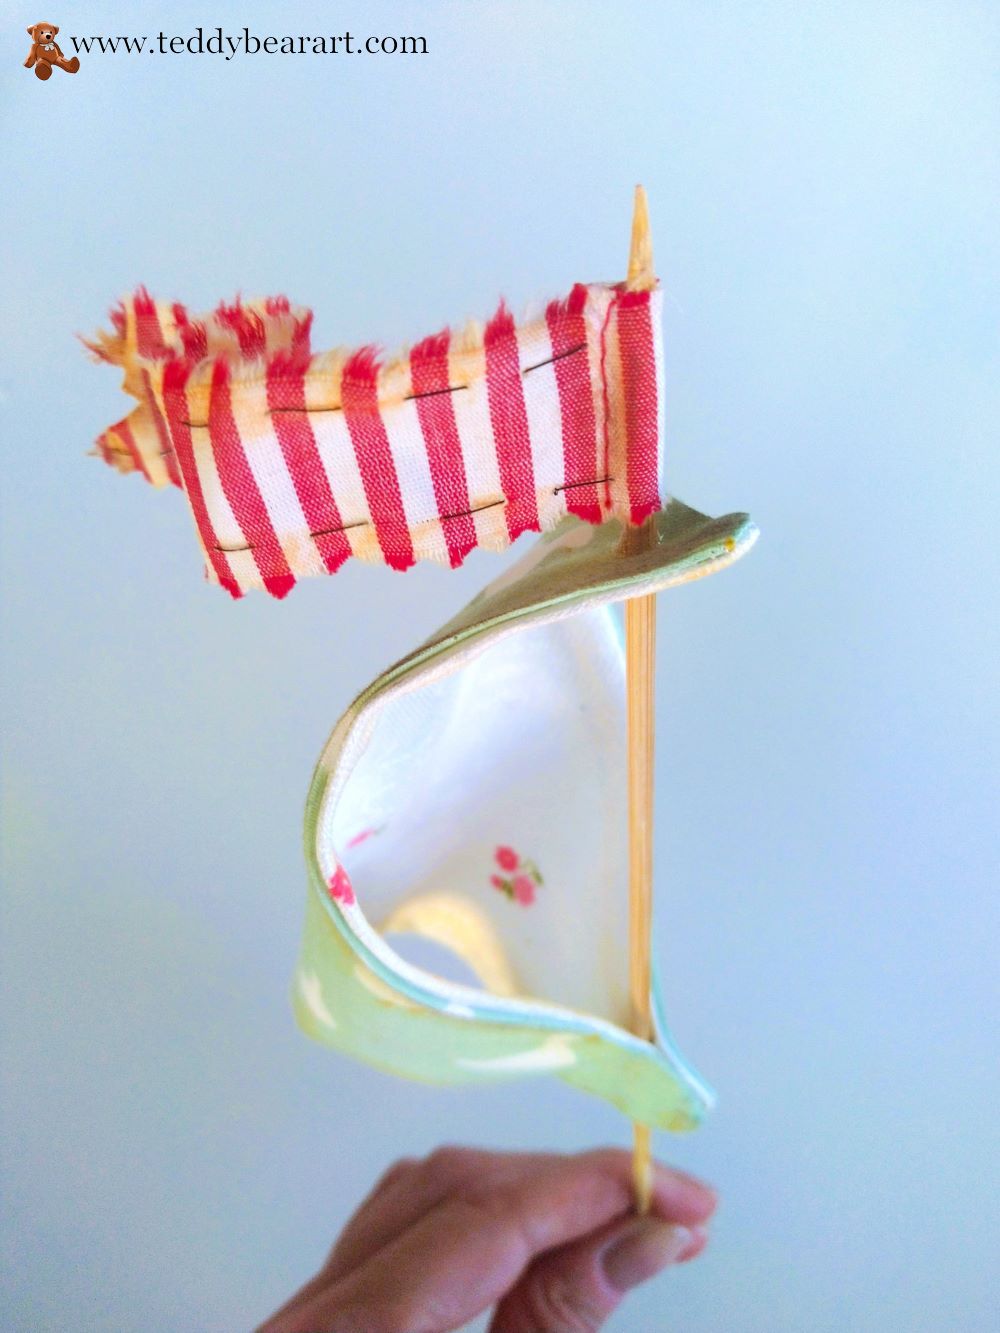
Glue the flag to the mast, dip the mast in glue, and stick it into the ship. By using Milliput White modeling clay attach the watermelon to the plate.
Final Words: Sailing into Imagination
Creating a watermelon ship accessory is a testament to the beauty of merging creativity and craftsmanship. Each stroke of the brush and every adhesive bond transforms ordinary materials into a vessel of whimsy.
With your teddy bear poised to set sail, your crafted ship becomes a conduit to explore uncharted imaginative waters.
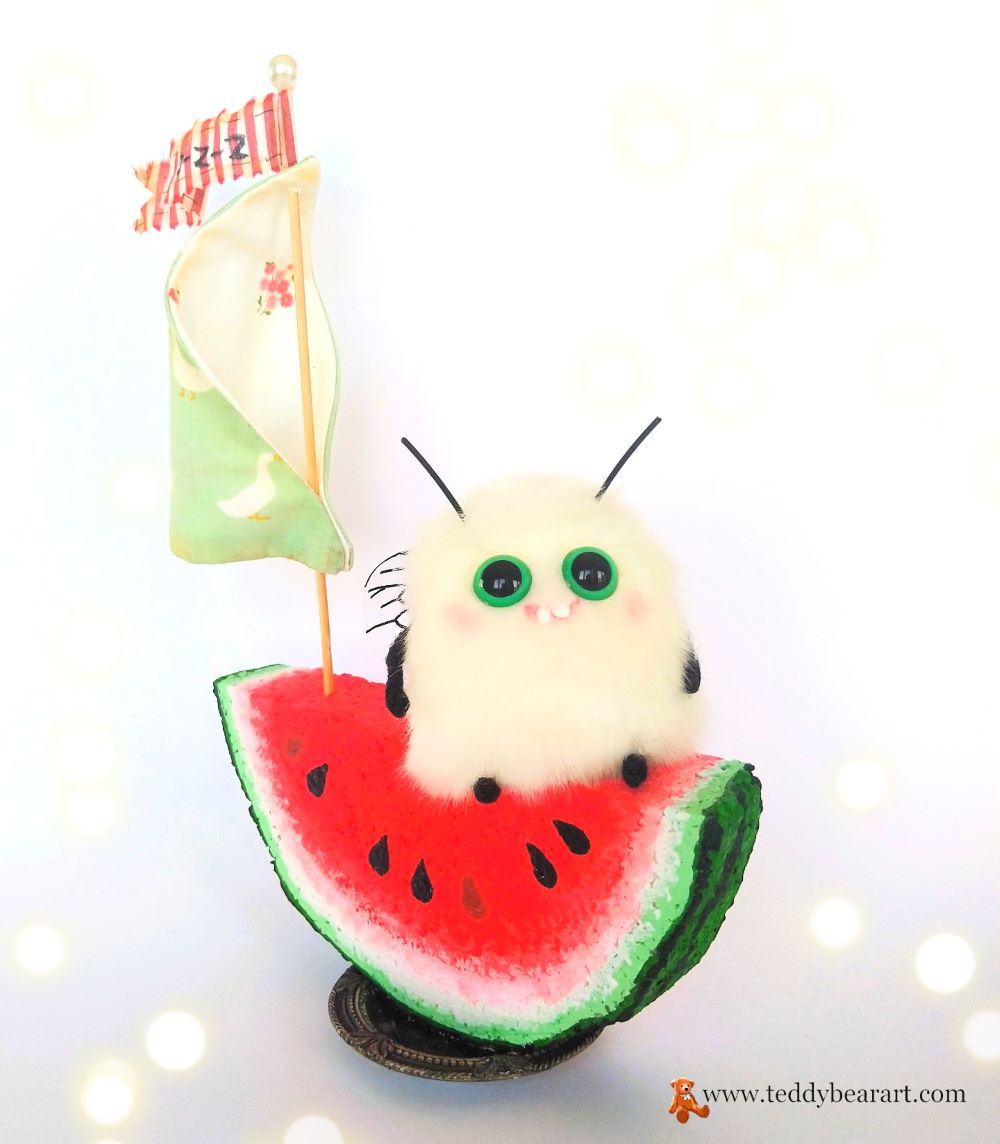
This endeavor is not merely a craft but a journey of artistic expression and discovery, a reminder that the most captivating voyages begin with a spark of imagination and a few carefully chosen materials.
If you like the small white insect from my photo and would like to create the same please read Free Insect Plush Sewing Pattern & Tutorial.
If you ever need a hand or have any questions, feel free to leave them in the comments below and I will be more than happy to help you out.
Get Free Patterns & Be the First to Know!
Want free teddy bear patterns, exclusive tutorials, and a chance to win craft supplies?
Sign up for our newsletter using the subscribe form in the middle of this article to receive new patterns, insider tips, and the latest news on teddy bear art. You’ll also automatically be entered into our annual giveaway for a chance to win teddy bear crafting materials.
Bonus entry: Save one of our pins on Pinterest to increase your chances of winning!
Let’s create, inspire, and craft beautiful teddy bears together!

Thank you for this free tutorial. The step by step guide seems very simple and easy to follow! With it being the summer holidays right now I will definitely be looking to make one of these Styrofoam watermelon ships with my niece. She is very excited to make it for her favourite teddy bear: Theo. Just so I can be prepared, how messy can this activity become?
You are welcome! This activity is not much different from painting with paints, so enjoy it!
You’re welcome for the article. In this guide, we will explore the fascinating process of crafting a watermelon ship using simple materials. The article details each stage of the process step by step. The required materials include acrylic paints, glossy varnish, a piece of fabric, brushes, and more. Creating a watermelon ship serves as a testament to the exquisite blend of creativity and craftsmanship. It’s a gentle reminder that the most captivating voyages are ignited by a spark of imagination and a thoughtful selection of materials.
Thanks for your feedback.