Check out the step-by-step stuffed hippo-making tutorial, where you can learn how to make jointed limbs and its head, create a face design, and arrange the pattern pieces for an economical plush fabric cut.
Download a free teddy hippo pattern to start your work.
The List of Materials
1. A piece of faux fur for miniature teddies, approximately 21×27 cm.
2. Strong threads, the same color as your plush fabric, and a needle for hand sewing.
3. Scissors.
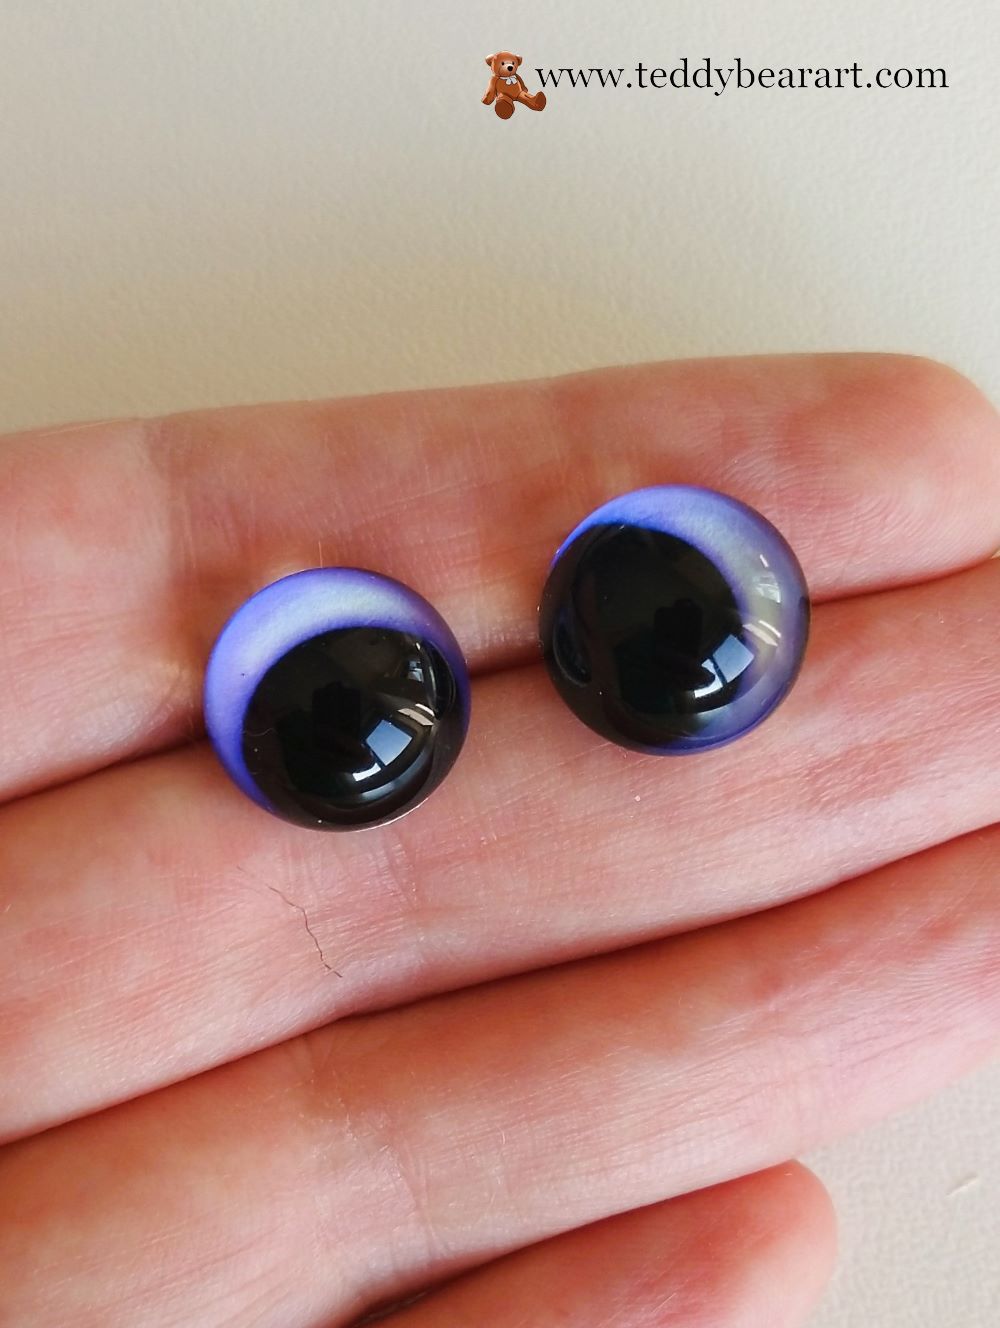
4. A pair of glass eyes – 14 mm in diameter.
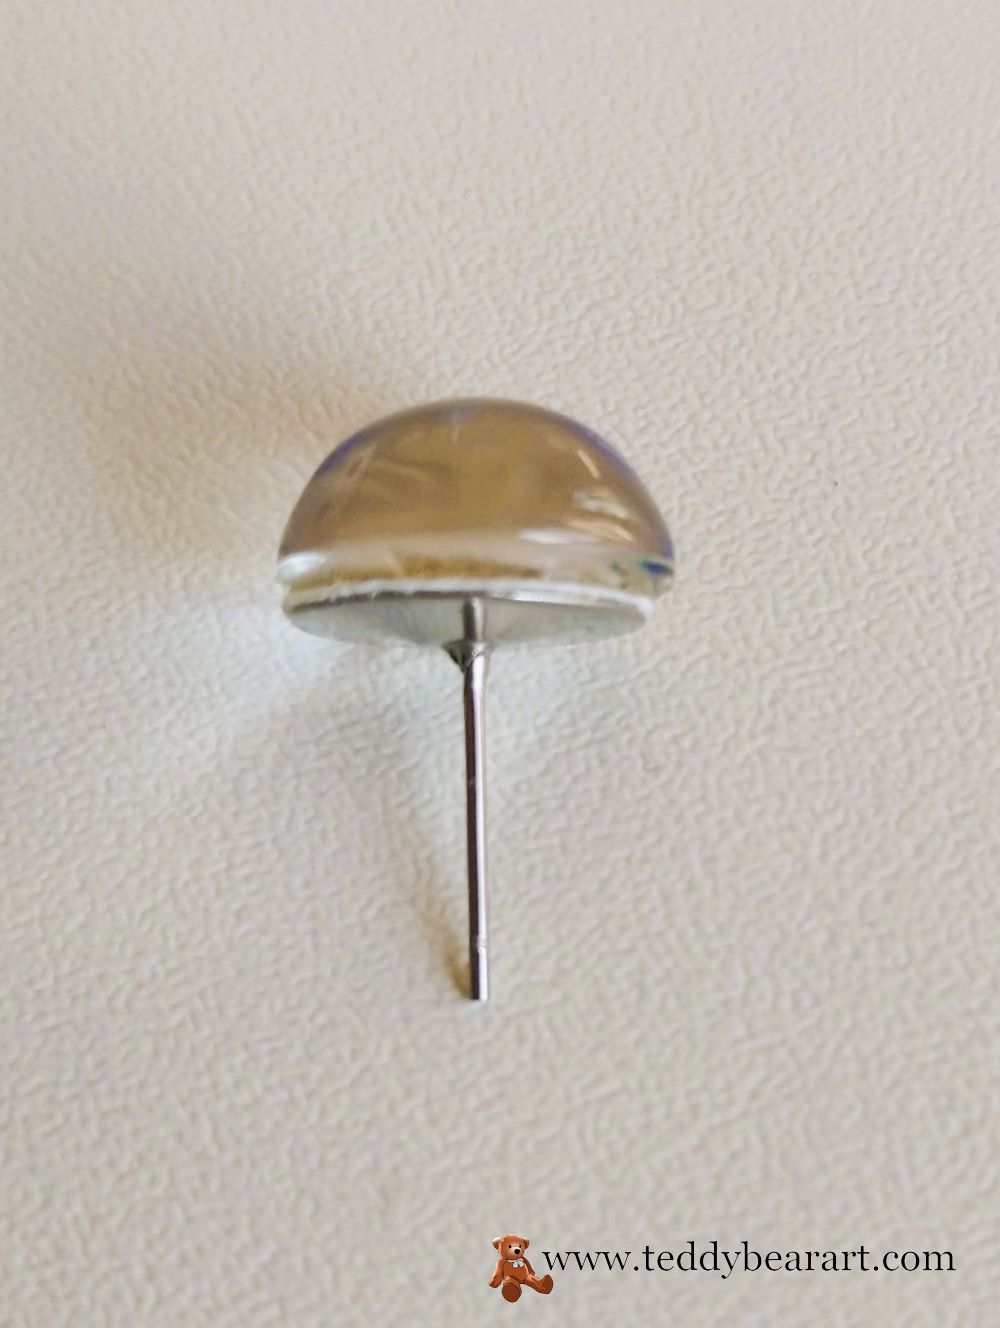
5. Discs: for the head 15 mm – 2 pcs, for the hands 12 mm – 4 pcs, for the legs 18 mm – 4 pcs.
6. Washers – 10 pcs.
7. T-shaped cotter pins – 5 pcs.
8. Synthetic filler.
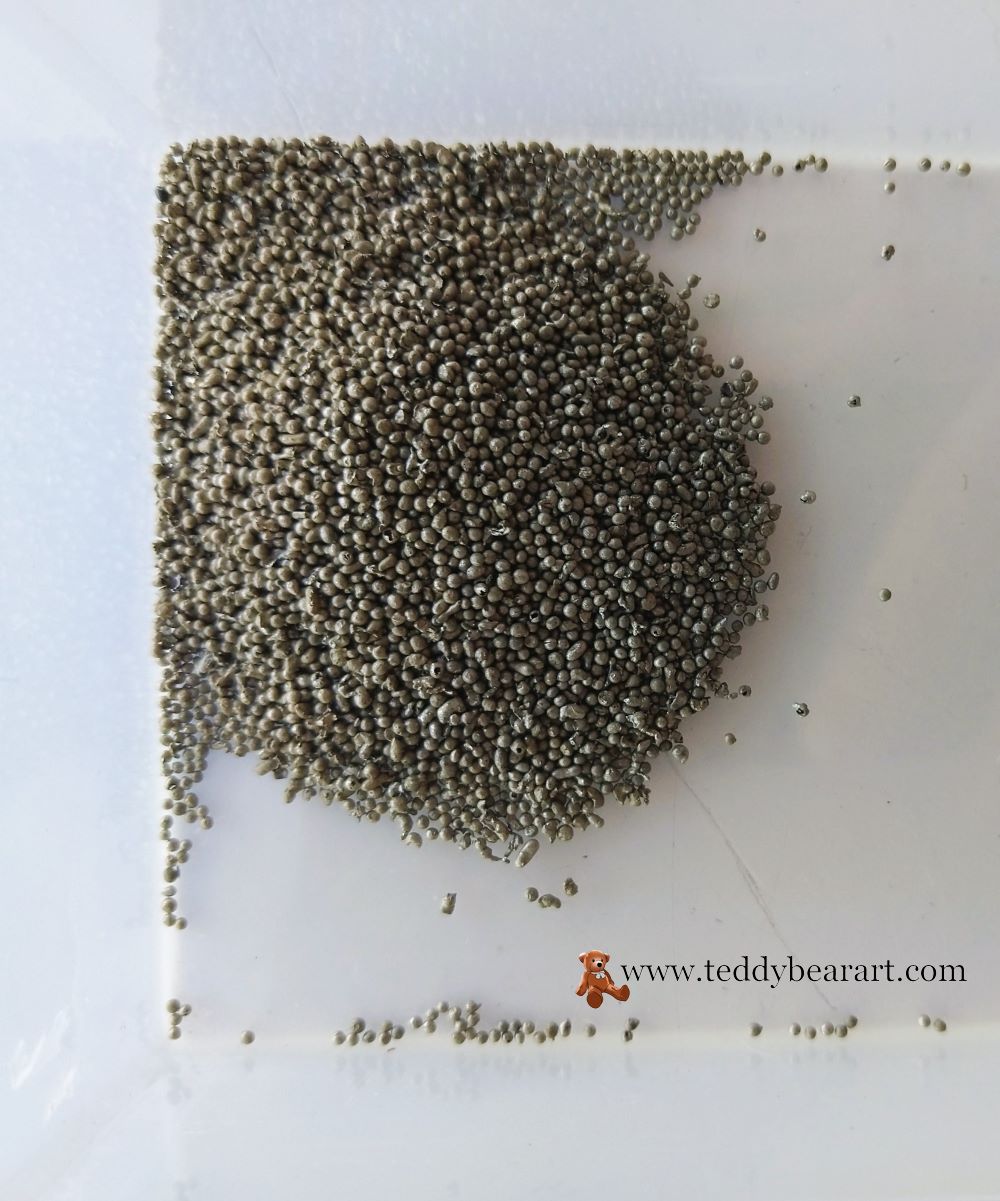
9. Metal or glass pellets for the weight (small diameter).
10. A small piece of fabric for the ears and legs.
11. A small piece of felt for the eyelids.
12. Glue UHU.
13. Orange, pink, brown, and black oil paints.
14. Brushes.
15. A ribbon.
16. A charm.
17. A long needle (10 cm).
18. Pliers.
19. An awl.
Pattern Tutorial
If you will create your first stuffed jointed animal toy please read How To Make A Teddy Bear (Part 1) and How To Make A Teddy Bear (Part 2).
Scale the pattern for printing at a 1 cm scale. If, for any reason, you are unable to print it, you can manually trace it onto a piece of baking fabric from the screen of your device, or you can reach out to me for assistance.
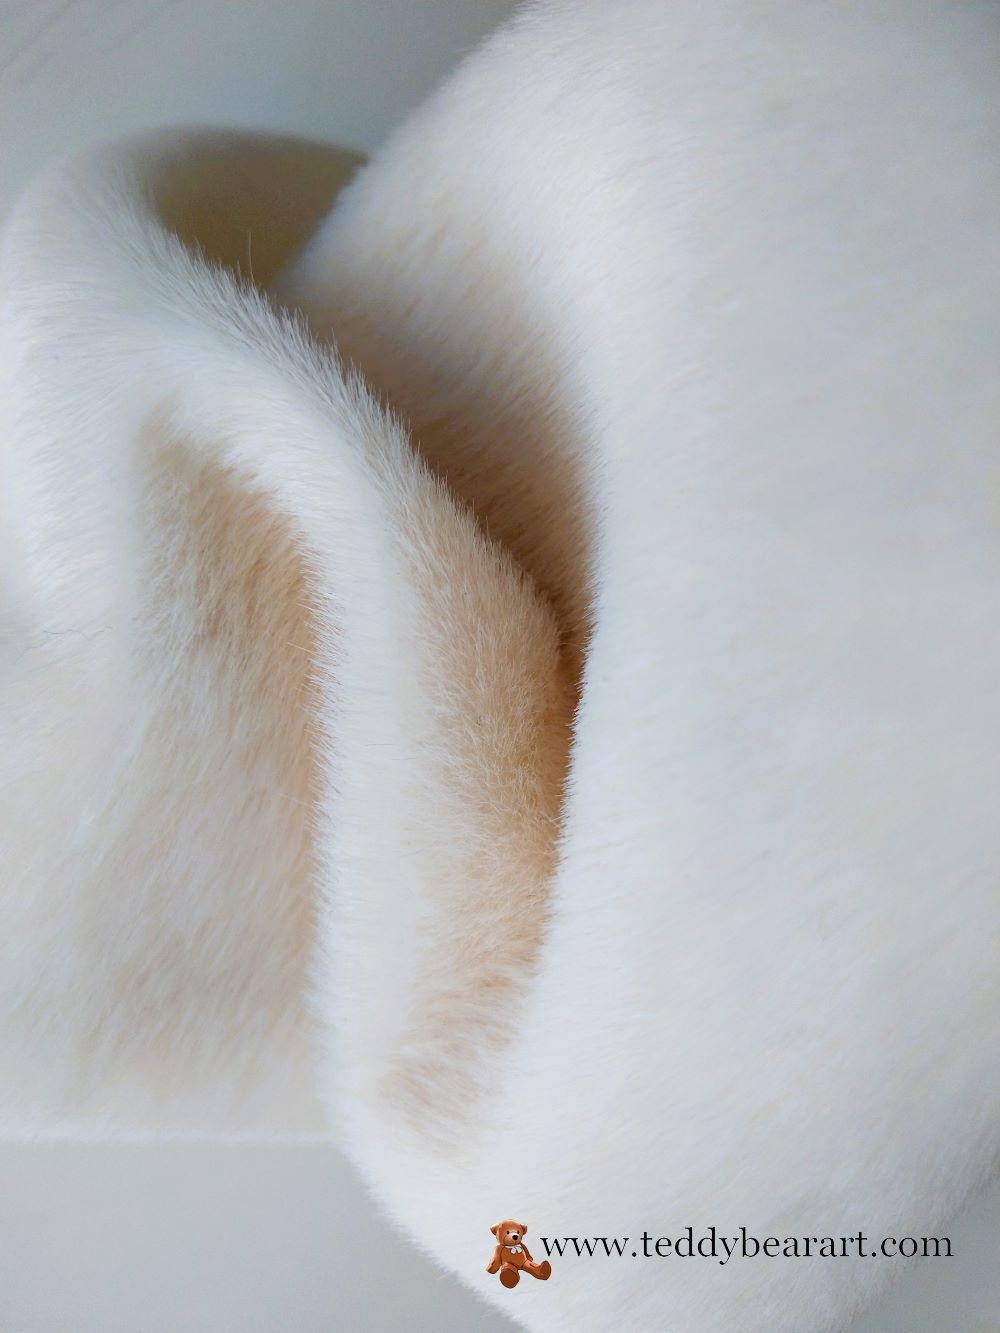
Choose a piece of plush fabric with a short pile. It would be great if the fabric base were a little bit elastic. I have bought a plush fabric for miniature teddies.
A wide variety of glass eyes are available on Etsy.
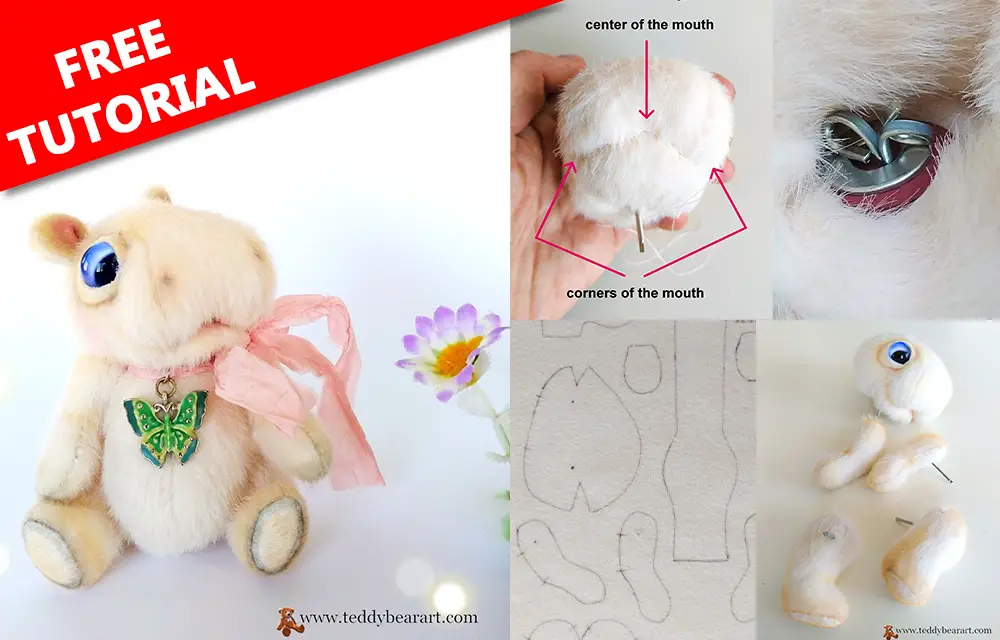
Transfer the pattern to the fabric while aligning it with the direction of the pile (fur). Place the pattern pieces on the fabric in a way that ensures the fur aligns with the indicated arrows. Remember to leave a 5-7 mm margin for seam allowances.
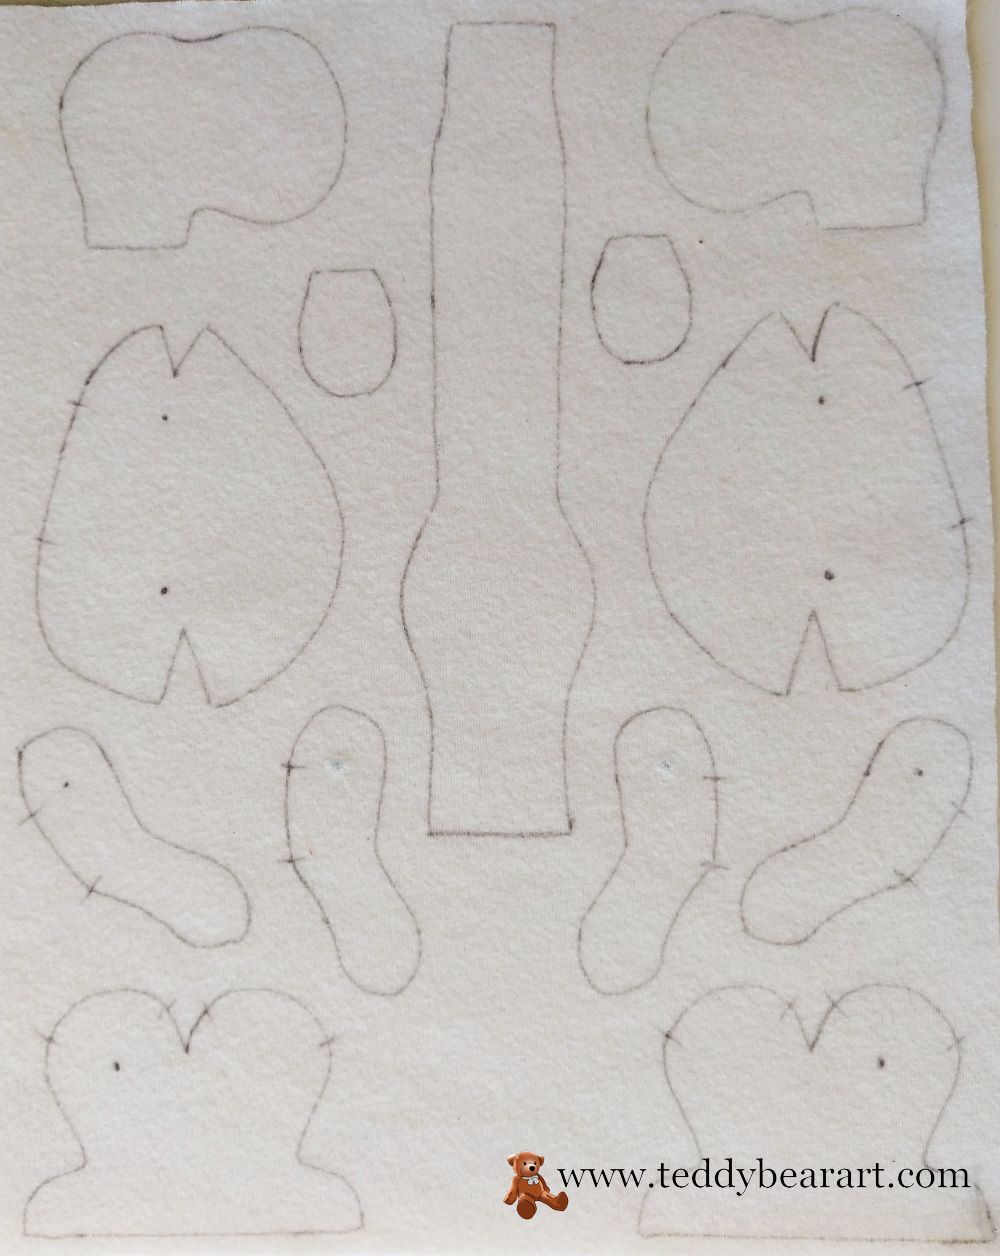
Cut out all the pattern details, being careful to keep the scissors as close to the fabric base as possible to avoid accidentally cutting the fur along the edges.
Here are the steps for sewing the stuffed hippo pattern parts:
- Start by sewing up all the marked tucks (indicated in green).
- Next, sew each side of the head with the center head part along the marks from point A to point B. Leave an opening for eversion (highlighted with a red dotted line).
- Sew together the body parts (1 + 1 as a mirror image), leaving an opening for eversion (highlighted with a red dotted line).
- Similarly, sew the outer and inner parts of the arms (1 + 1 as a mirror image), leaving an opening for eversion (highlighted with a red dotted line).
- Repeat this step for the legs, leaving an opening for eversion (highlighted with a red dotted line).
- Attach the feet (soles) to the hippo.
- Sew the ears, combining one part with the pile and one part with the fabric without the pile.
- Finally, sew the tail.
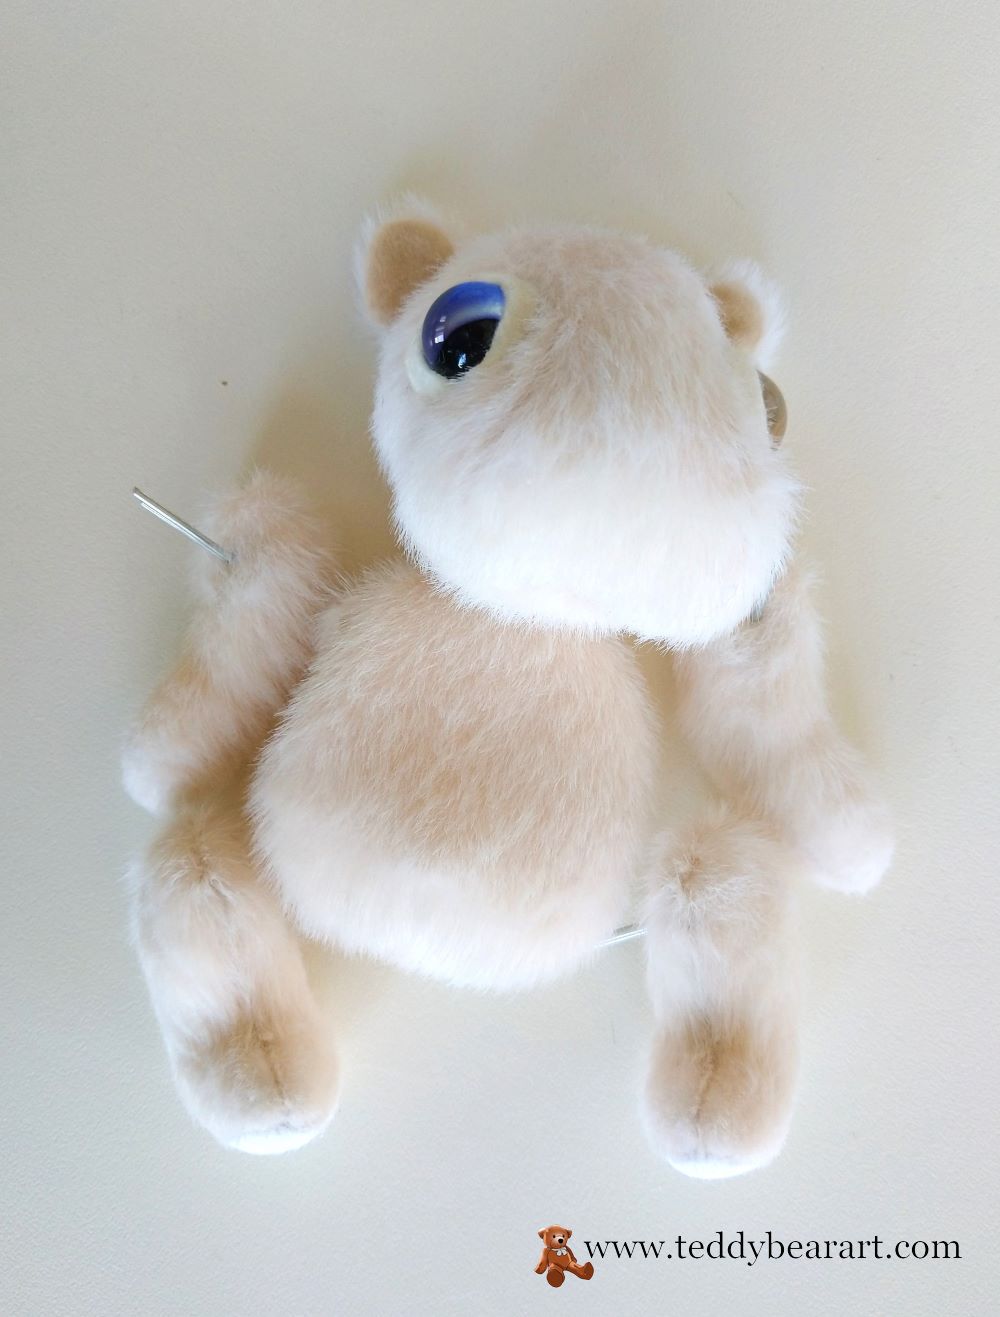
Hippo Making Tutorial
Gently reverse the bear parts using a rounded wooden tool.
Fill the head with synthetic stuffing, making sure it’s evenly spread and packed firmly.
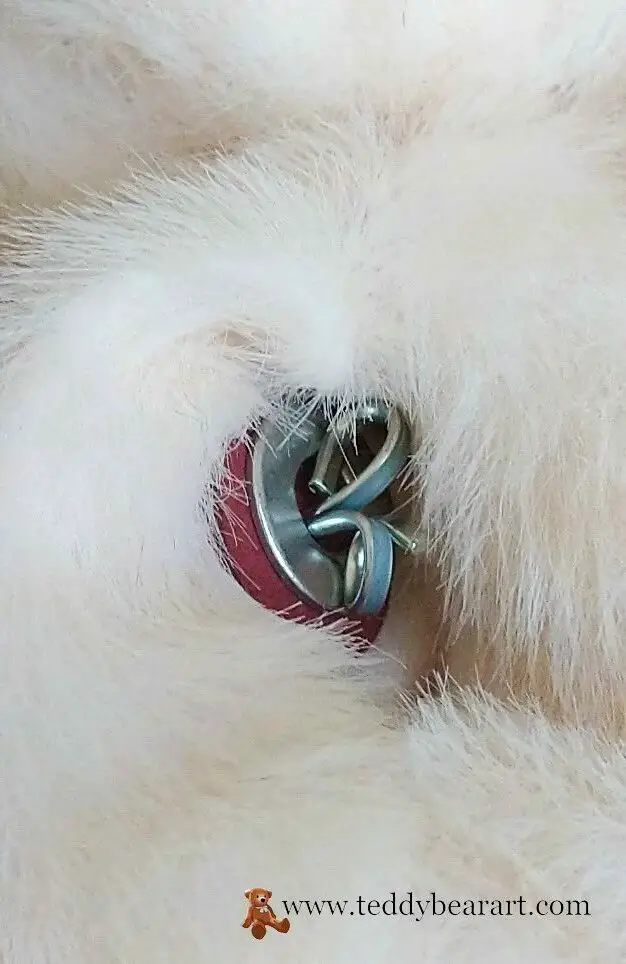
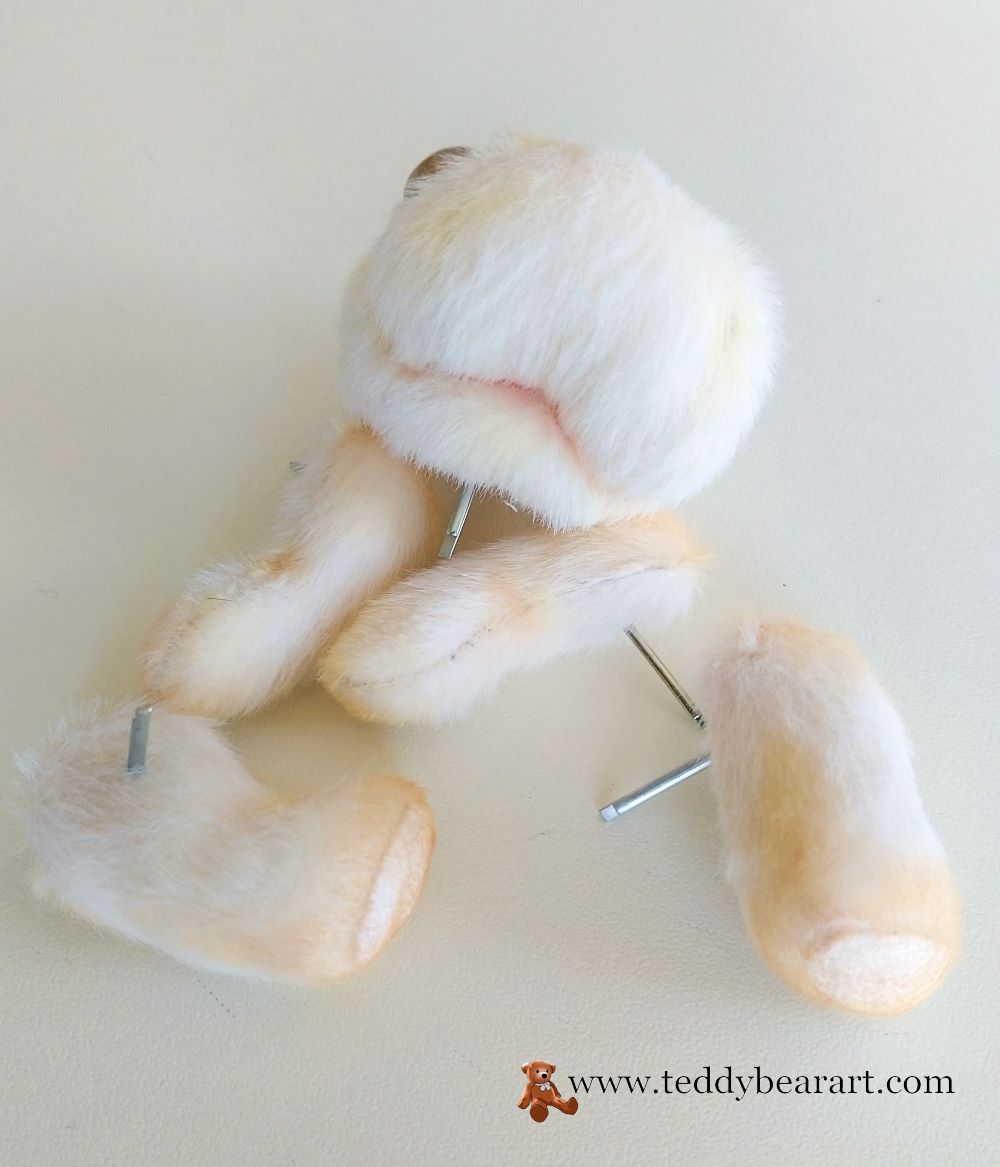
Securely attach the disc and washer within the designated hole using a cotter pin, then tighten it with a waxed thread and a needle.
Repeat this process for the limbs, inserting discs and washers with cotter pins. Fill the limbs with synthetic filler, then close the openings. Ensure the limbs are properly stuffed and securely sewn up the holes.
Use an awl to carefully extract any loose pile from the seams to give the toy a neater appearance.
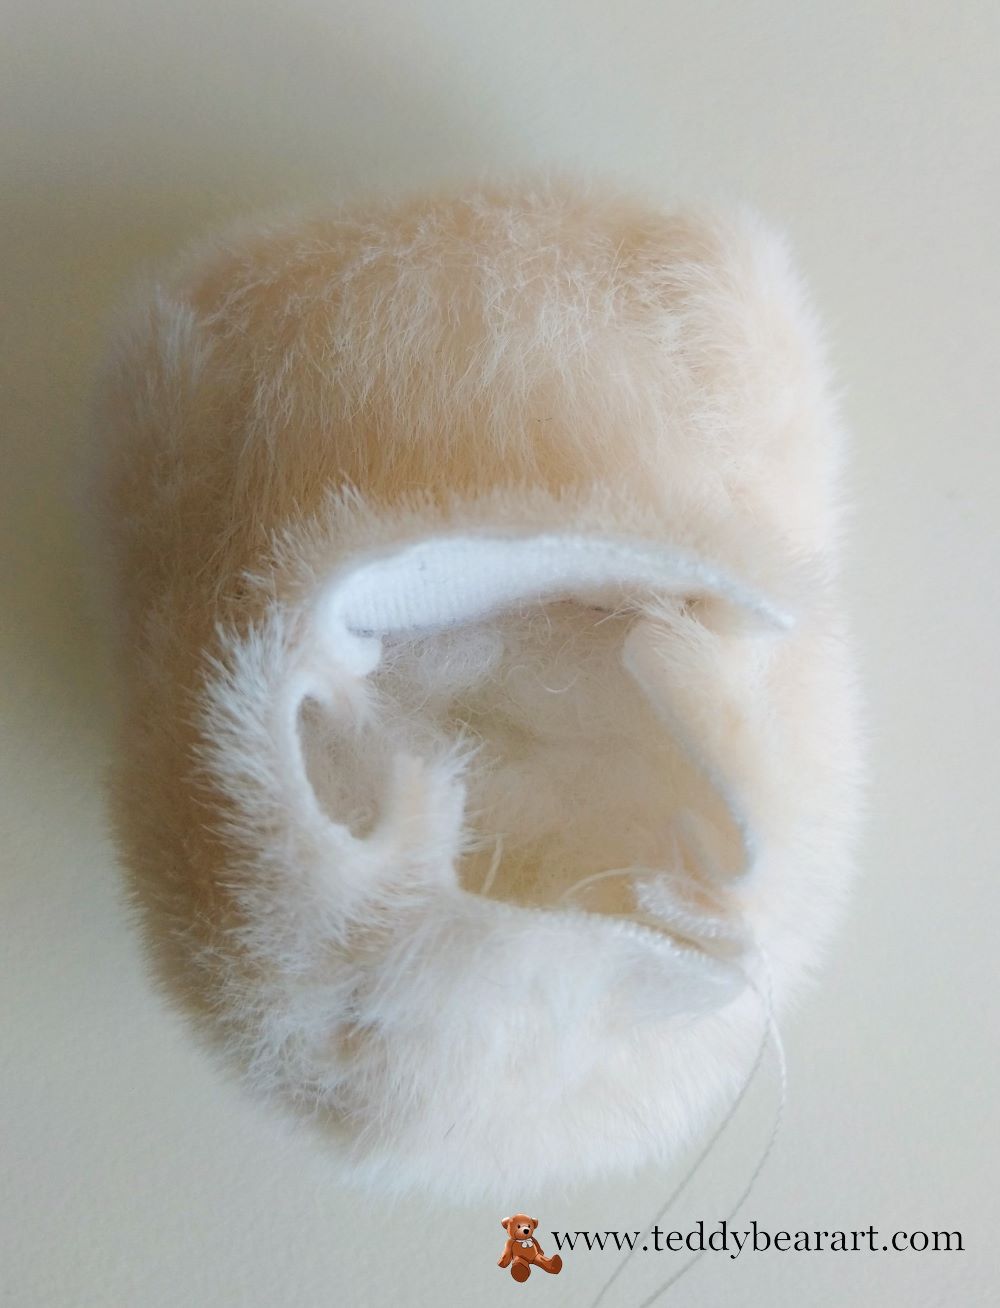
Let’s begin crafting the hippo’s face.
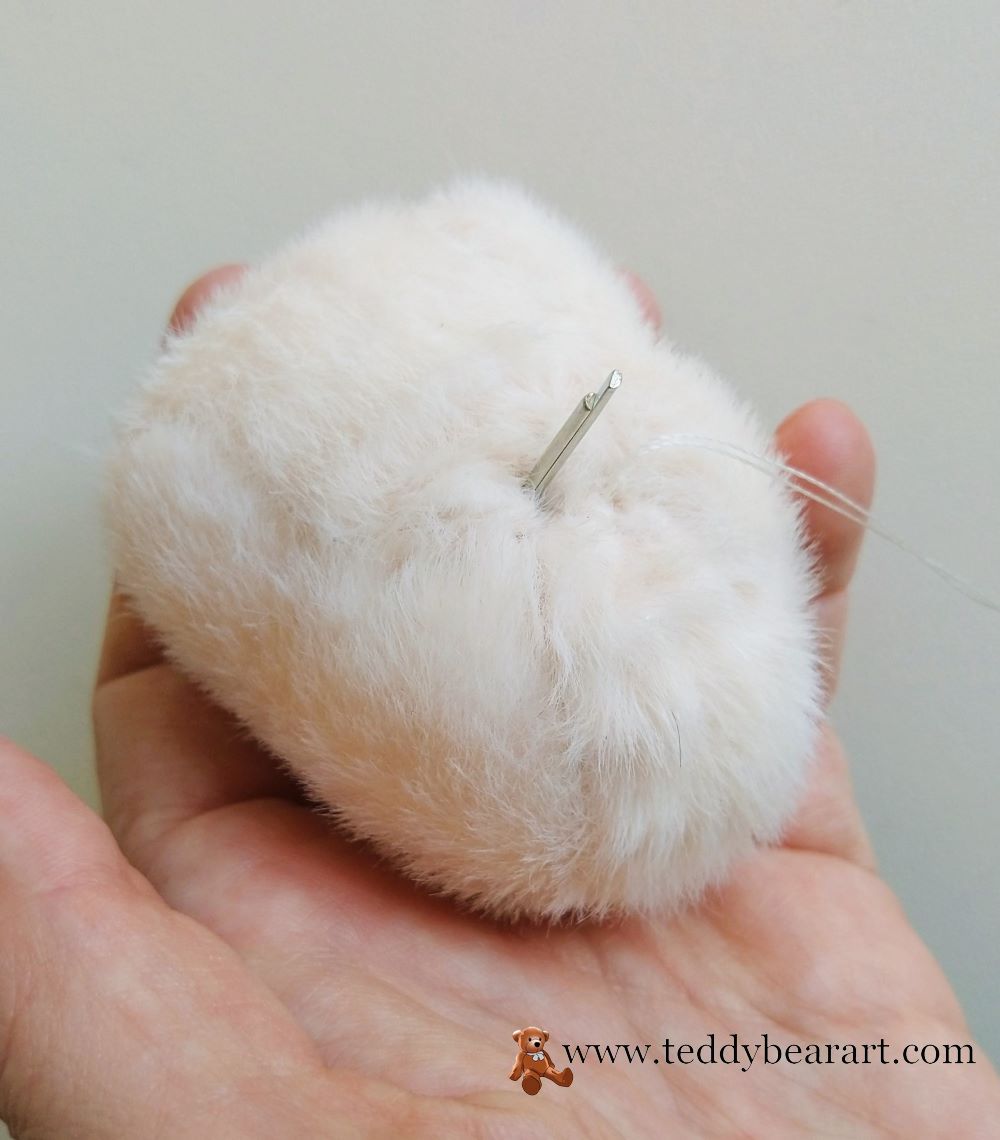
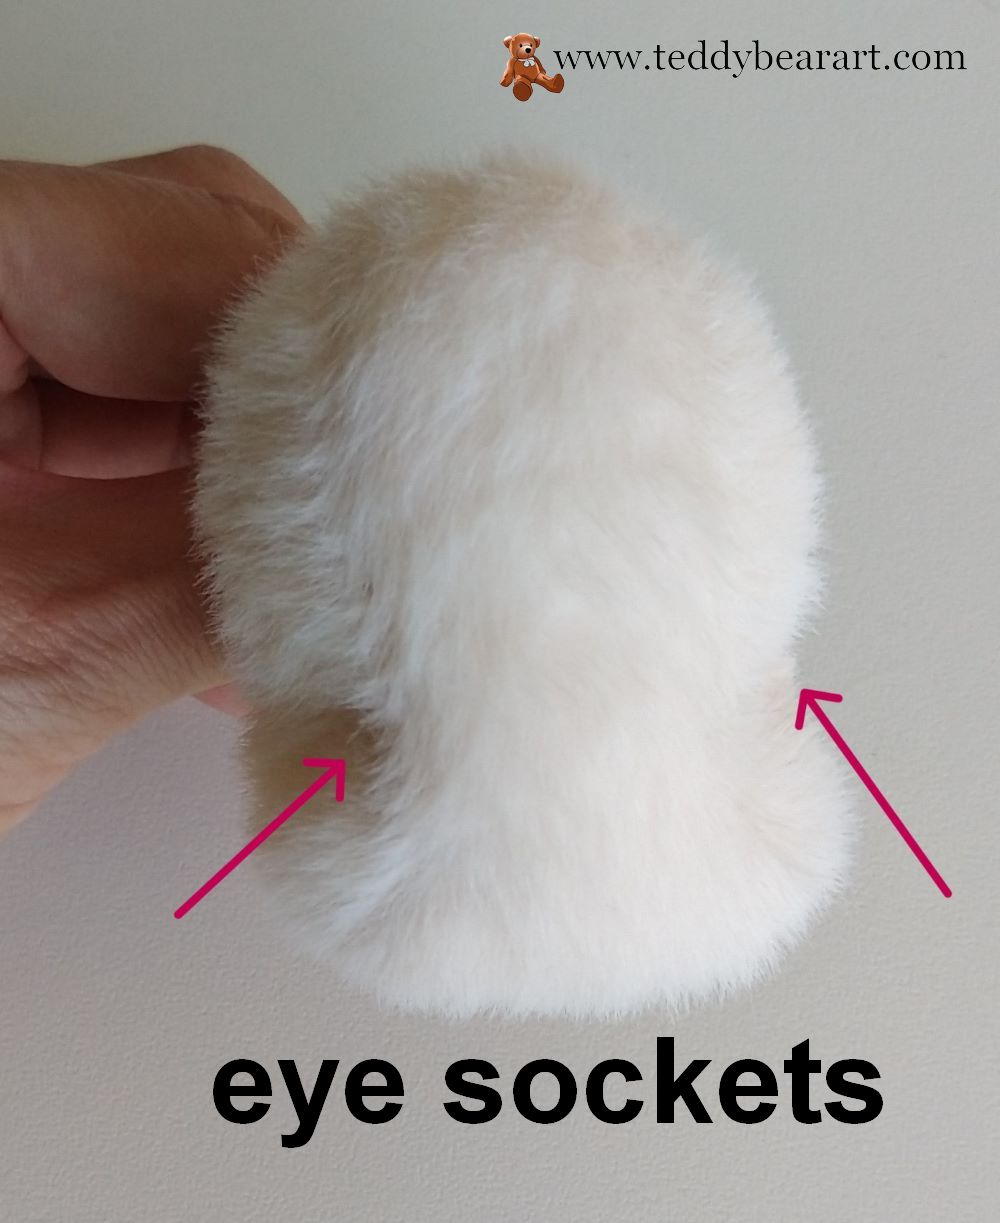
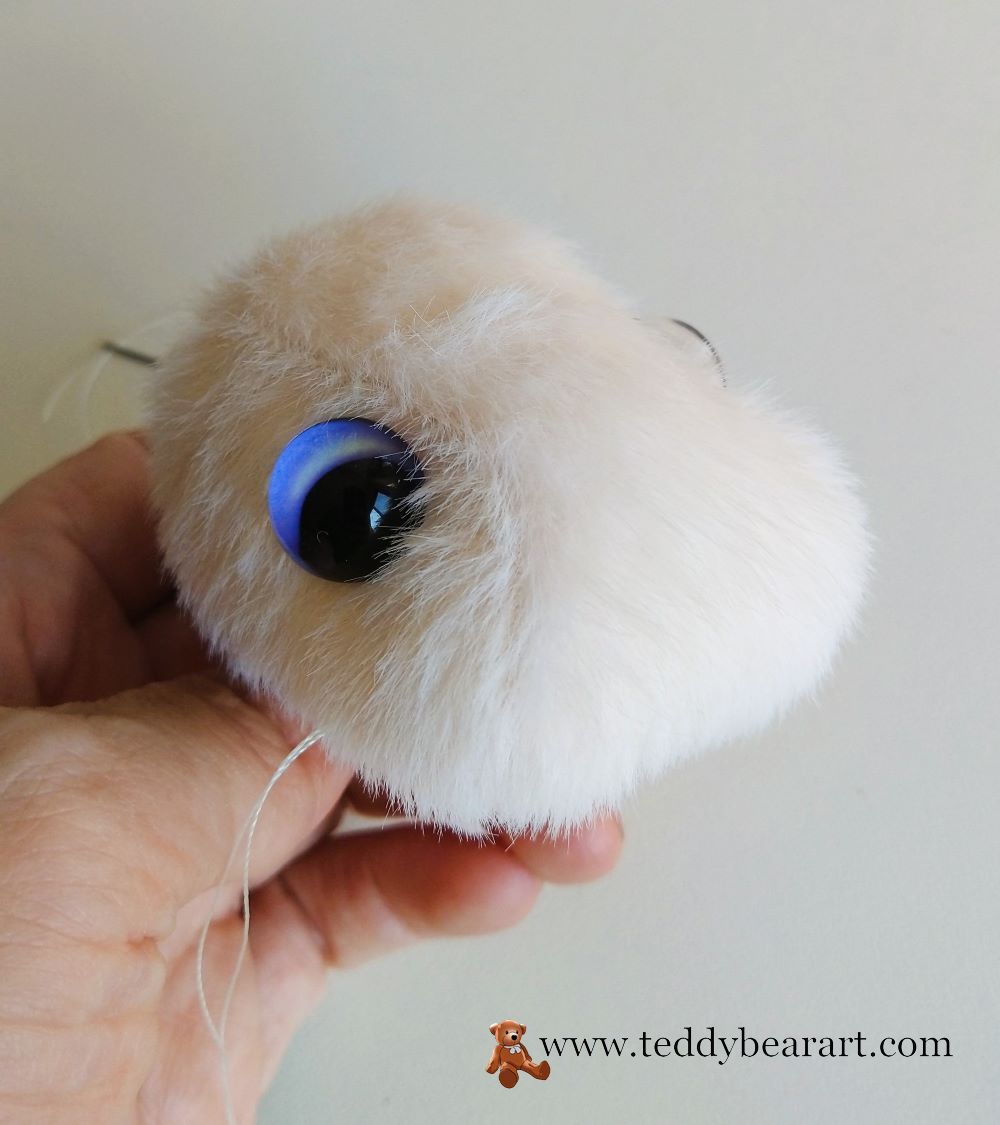
Following symmetry, mark the places for the eyes using pins. Create the eye sockets by tightening strong thread in a fabric-matching color.
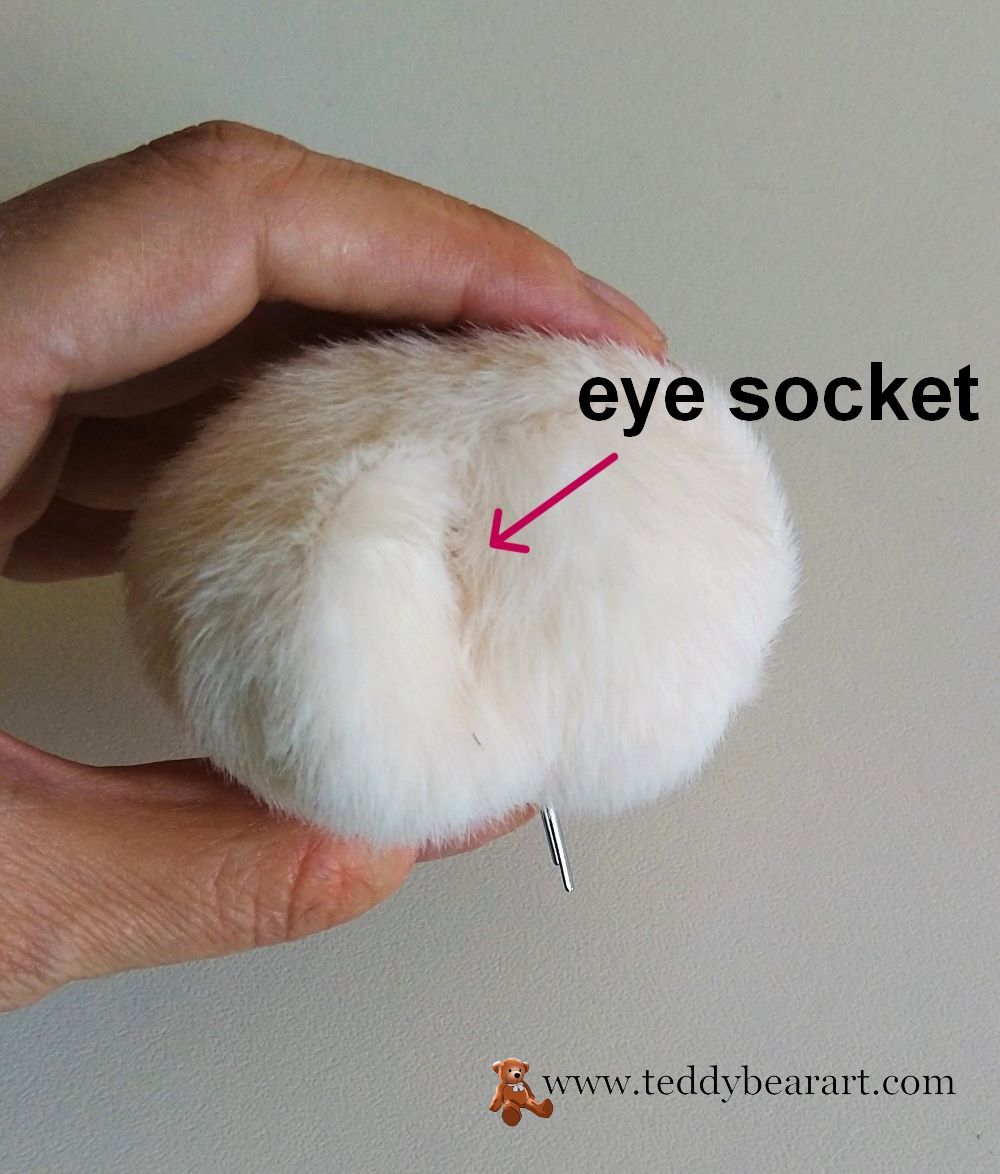
How it’s done: Secure the thread in one eye socket, then thread it through to the other socket, pull it taut, and return to the previous socket. Repeat this process several times, then secure the thread. Adjust the thread tension to achieve the desired depth for the eye sockets.
Now, insert the eyes into the eye sockets. Read how to insert the eyes.
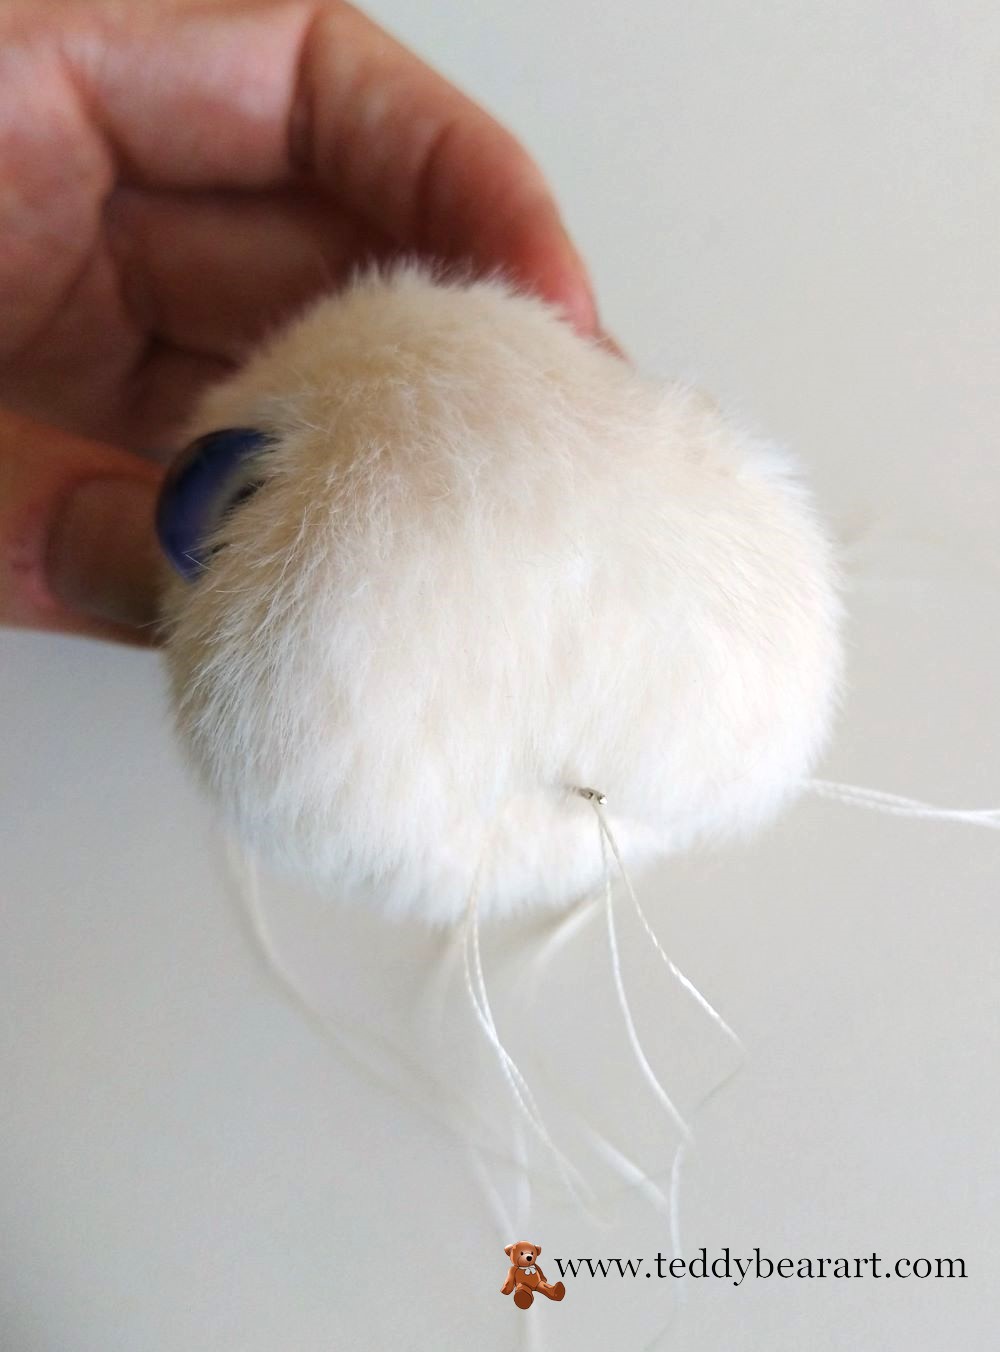
Carefully make holes in the sockets using an awl. Bring the ends of the threads to the neck area of the hippopotamus, where the fastening mechanism is located.
Secure the threads firmly and conceal their ends inside the head of the hippopotamus, bringing the needle out from the opposite side.
Now, let’s proceed with shaping the hippopotamus’s mouth. Begin by marking the center of the mouth using a pin, then secure a strong thread there. Create the shaping in the same way you did with the eyes, bringing the needle to the base of the neck.
Next, mark the corners of the mouth on the right and left sides. Shape the muzzle from the center to each corner of the mouth, one at a time.

Cut out the lower and upper eyelids from felt, then attach them to the eyes using adhesive.

Sew the ears onto the hippo.
Alright, the head is ready. Attach it to the body.
Then, one by one, attach the legs and arms of the hippopotamus.
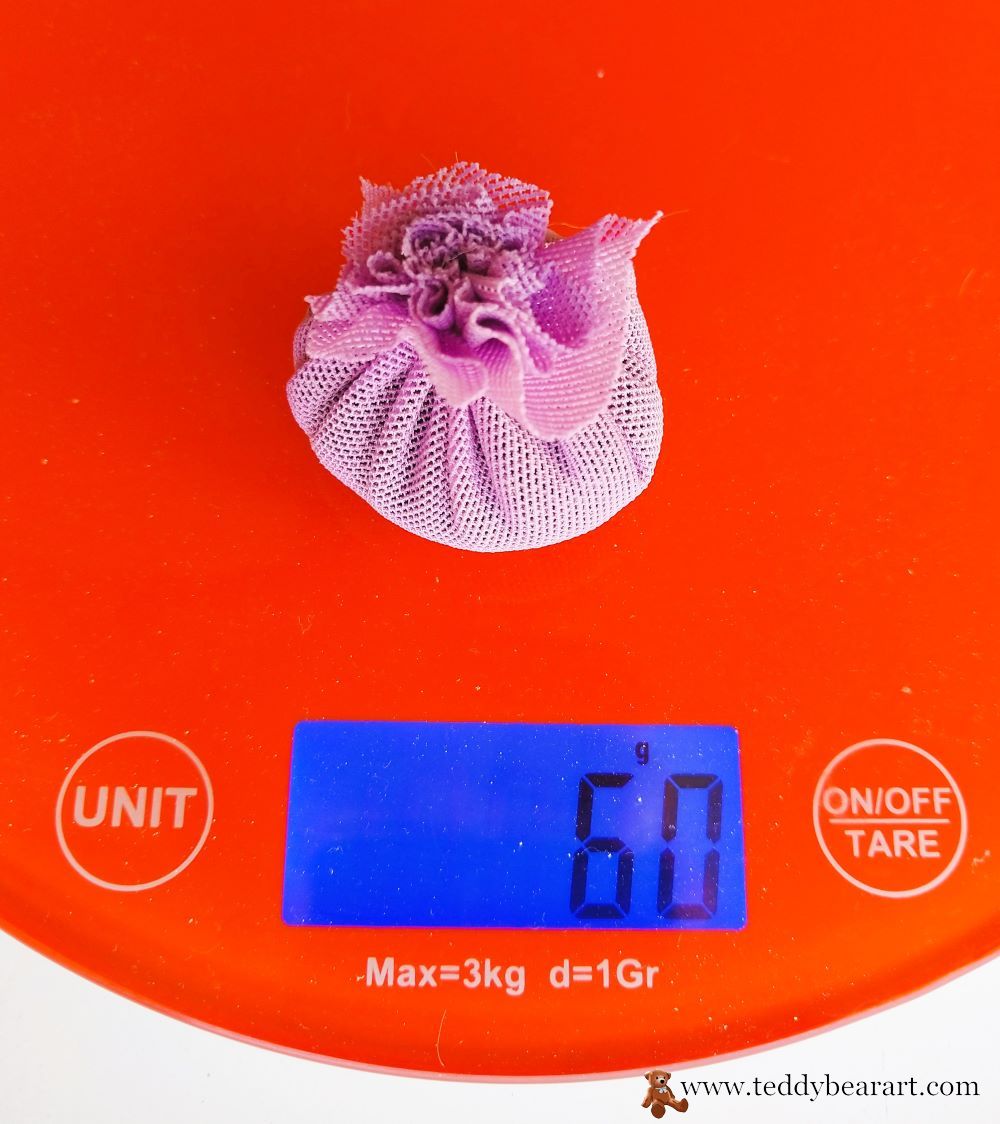
Fill the body with synthetic stuffing, and don’t forget to place the pouch with the weighting material.
Sew up the opening and sew on the tail.
Trim a bit of fur around the hippopotamus’s ankles and the area of its palms.
Toning the Stuffed Hippo
Toning is a crucial step in completing the look of any toy. Always follow two fundamental rules: transition from light to dark colors, not the other way around, and maintain precision in your work.
Dip the brush into the orange oil paint, then carefully wipe it on a sheet of white paper. The paint should leave a very subtle mark, barely visible.
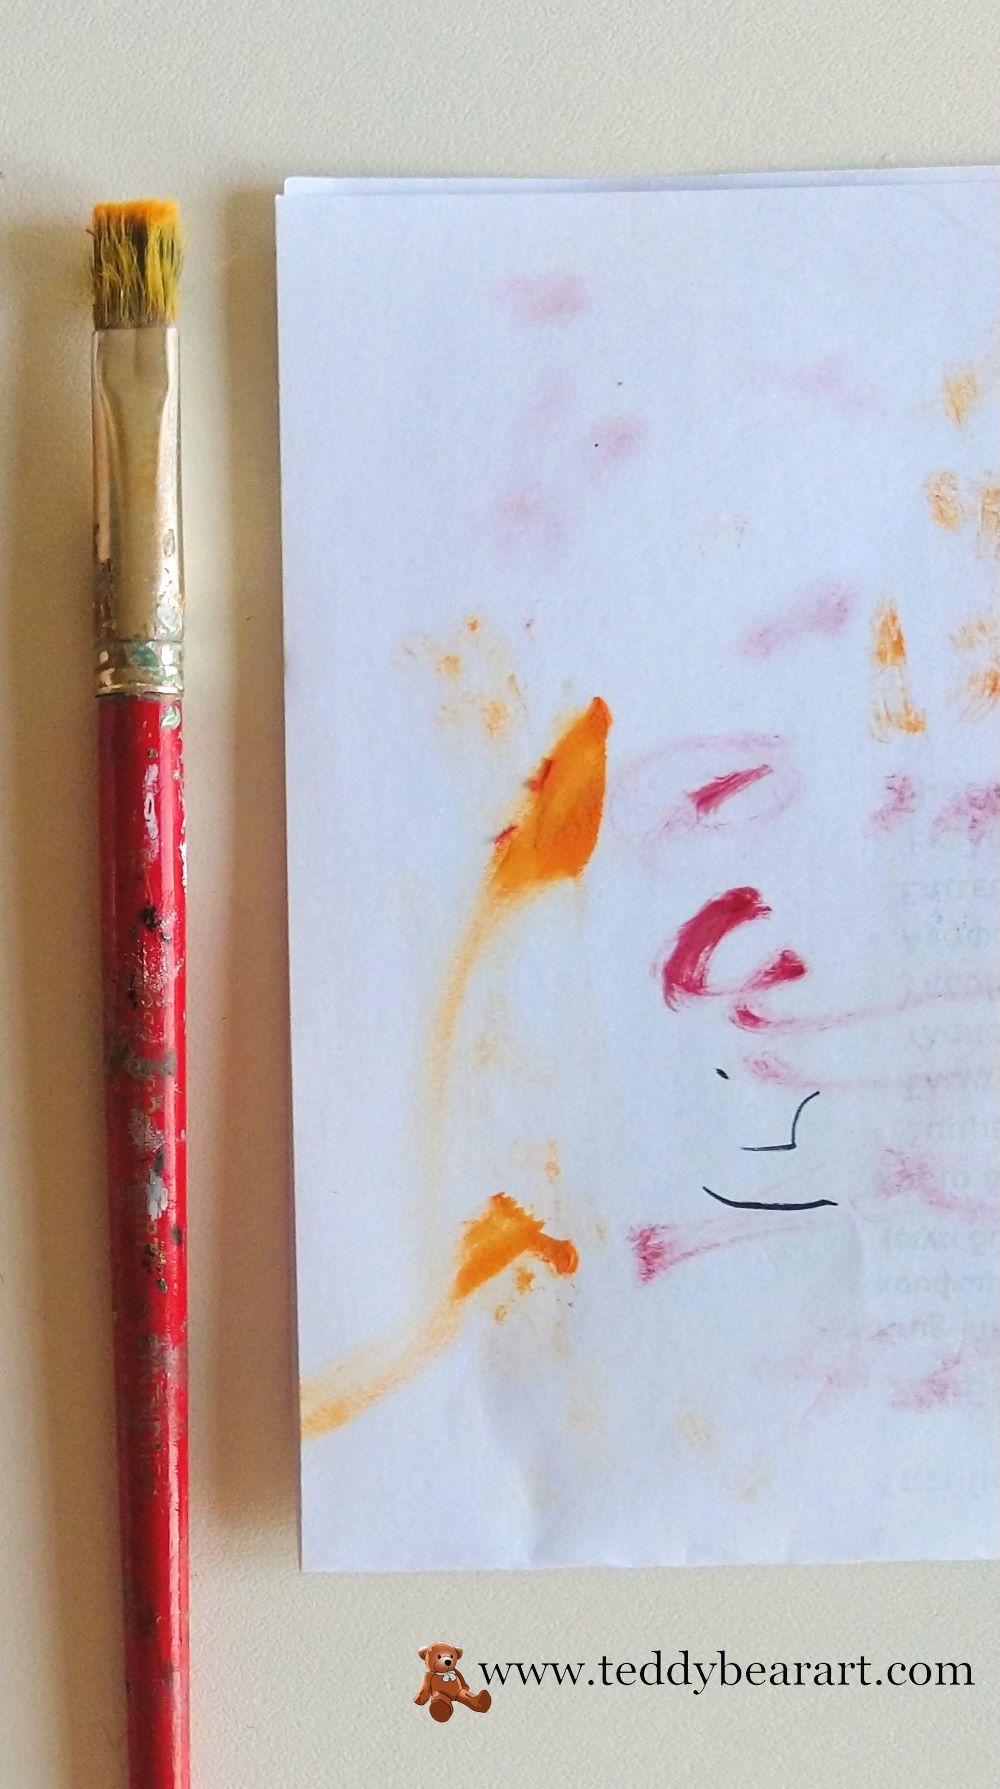
With the brush almost dry, lightly shade the areas around the hippopotamus’s eyes, mouth, nostrils, ears, hands, and legs, as indicated in the photo you provided.

Then, in the same areas, add a touch of brown tone, and finally, a very small amount of black. Inside the hippopotamus’s ears, on its cheeks, and in the middle of the mouth, add a hint of pink shade.
Final Words
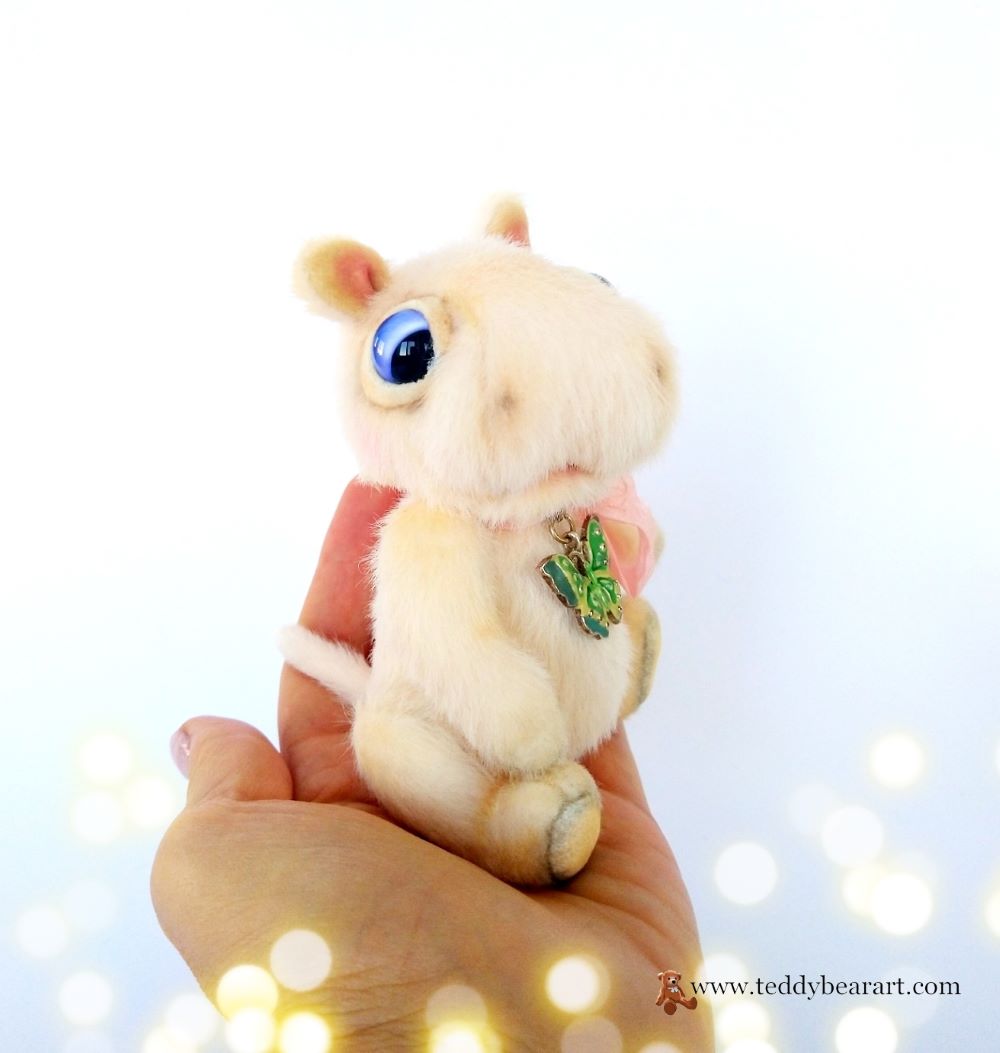
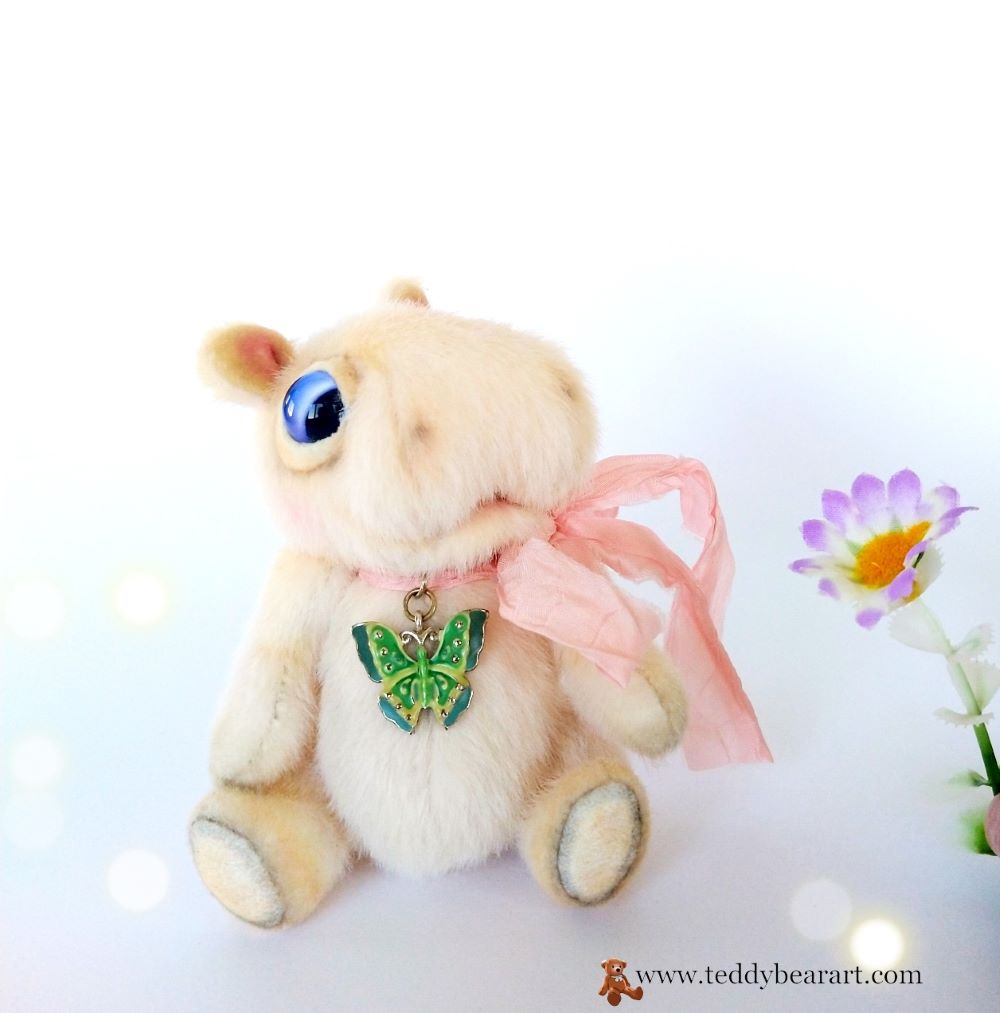
Congratulations! Your stuffed teddy hippo is ready. Add a ribbon with a charm as a finishing touch and take some beautiful photos.
Feel free to sell teddy hippos. I will be pleased if you mention my name.
If you ever need a hand or have any questions, feel free to leave them in the comments below, and I will be more than happy to help you out.
Get Free Patterns & Be the First to Know!
Want free teddy bear patterns, exclusive tutorials, and a chance to win craft supplies?
Sign up for our newsletter using the subscribe form in the middle of this article to receive new patterns, insider tips, and the latest news on teddy bear art. You’ll also automatically be entered into our annual giveaway for a chance to win teddy bear crafting materials.
Bonus entry: Save one of our pins on Pinterest to increase your chances of winning!
Let’s create, inspire, and craft beautiful teddy bears together!