*We are a reader-supported website. When you buy through links on our site, we may earn a small affiliate commission at no extra cost to you.*
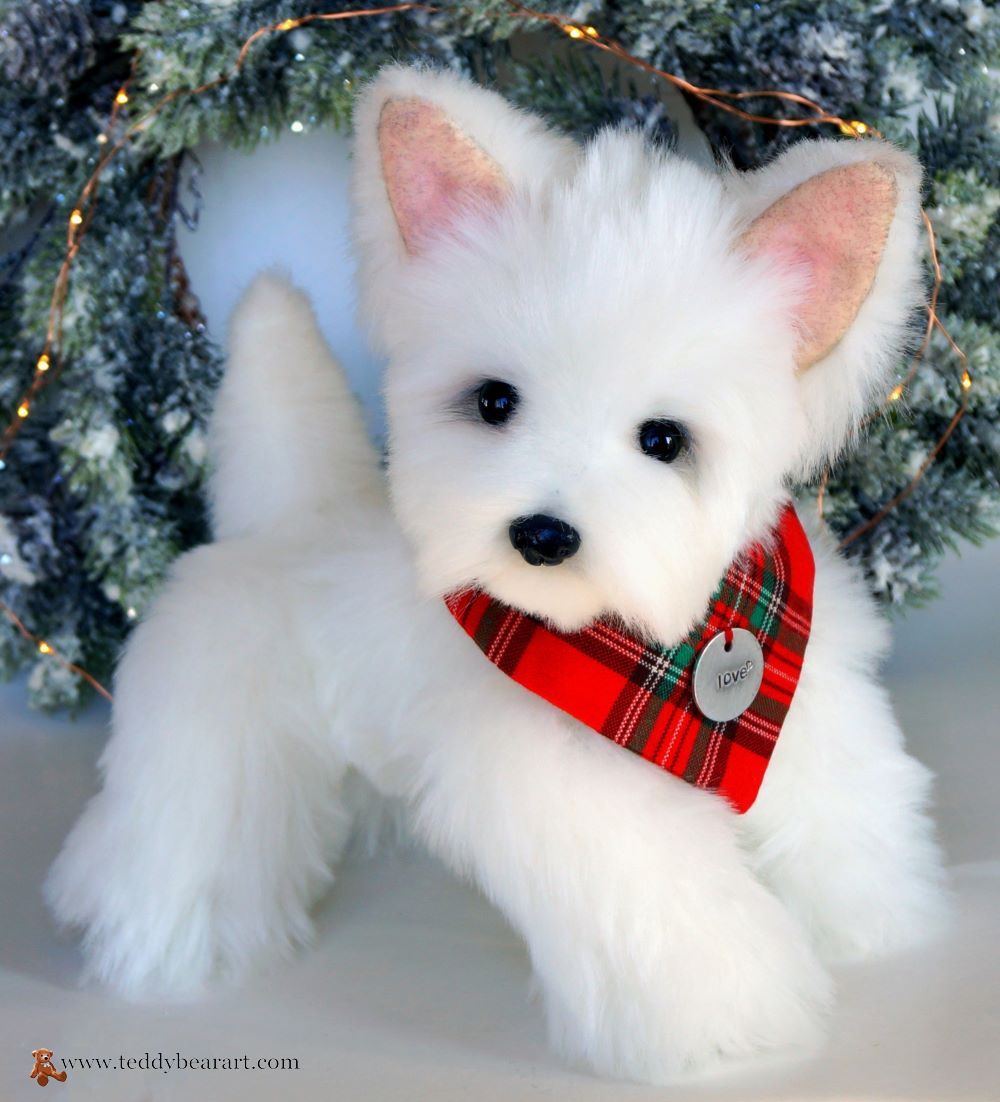
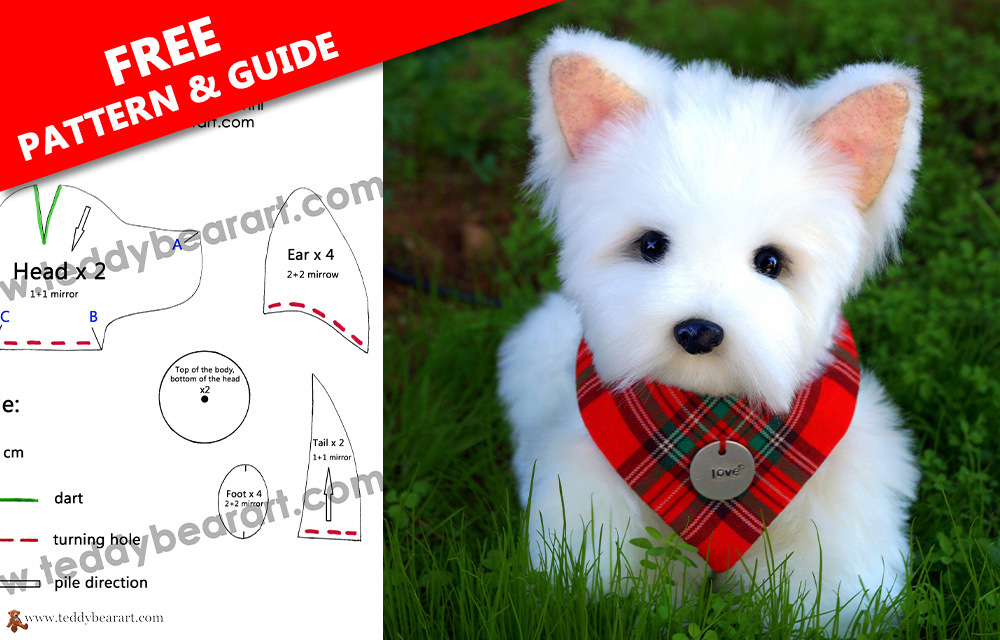
If you’ve ever been captivated by the charm of West Highland White Terriers and the idea of crafting your very own cuddly Westie soft toy, you’re in for a delightful adventure. In this comprehensive guide, we’ll walk you through the process of creating your very own Westie Terrier using our soft toy dog pattern. Whether you’re a seasoned crafter or just starting out, this guide is designed to help you bring this beloved breed to life in a huggable form.
Getting Started
Before we dive into the world of crafting Westie Terriers, let’s talk about what makes this project so special and how to get started on the right paw.
West Highland White Terriers are known for their playful personalities and distinctive appearance, making them a popular choice for soft toy enthusiasts. Crafting your own dog can be a truly rewarding and enjoyable experience, whether you’re a seasoned crafter or just starting out on your creative journey.
Materials and Tools You’ll Need
- Fabric: To capture the iconic Westie look, you’ll need high-quality white plush fabric. Opt for a soft, cuddly fabric that’s both durable and huggable.
- Hand-Sewing Supplies: Instead of a sewing machine, you’ll use traditional hand-sewing techniques. Gather needles, threads, and scissors.
- Stuffing: Your Westie Terrier needs the perfect stuffing to achieve that delightful cuddliness. Look for hypoallergenic stuffing that’s soft to the touch.
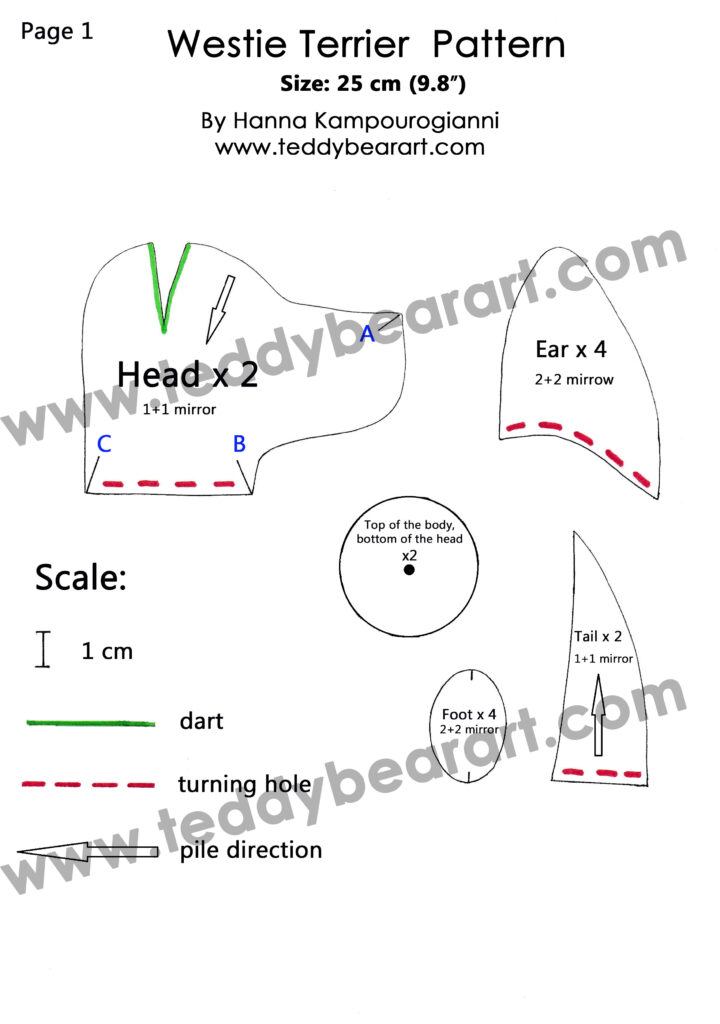
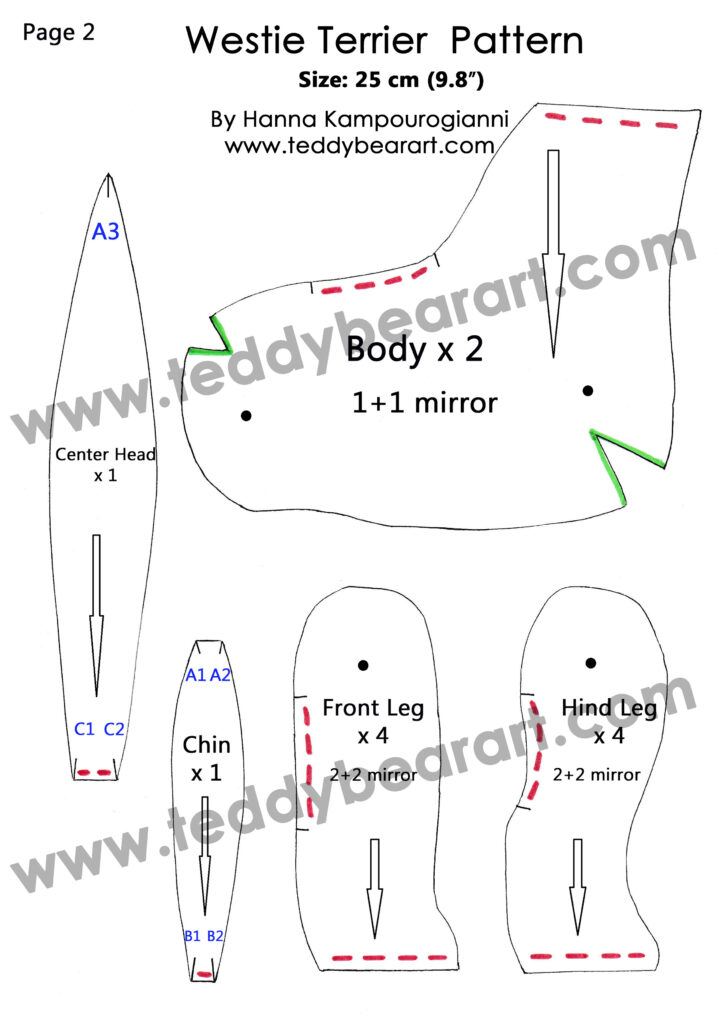
- Westie Terrier Soft Toy Pattern: To ensure your project’s success, you can download our free Westie Terrier soft toy pattern, which you can find below. This pattern is meticulously designed to capture the essence of this beloved breed.
Now, let’s explore the detailed list of materials we need.
- A piece of white faux fur, 55×40 c,m with a pile length of approx. 2.5 cm.
- Strong threads and a needle for hand sewing.
- A pair of black glass eyes on a metal loo,p approx. 12-14 mm in diameter.
- Waxed thread.
- Metal pellets for weight.
- Long needle (10-15 cm).
- Scissors for cutting.
- Scissors for grooming animals (optionally).
- Discs: 30 mm in diameter – 10 pieces.
- Washers – 10 pieces.
- Cotter pins 2,5×28 – 5 pieces.
- A piece of felt.
- Synthetic filler.
- Acrylic and oil colours and paintbrushes.
- Pliers.
- An awl.
- Liquid glue UHU.
- Wool and needles for felting.
- Molding clay Milliput White, or any other one.
Understanding the Westie Terrier Pattern
Our Westie Terrier soft toy pattern is designed with attention to detail, capturing the essence of this beloved breed. The pattern includes all the necessary pieces to create a lifelike Westie Terrier, from the fluffy head to the perky ears. Before you start cutting fabric, take a moment to examine the pattern:
- Size: The pattern is sized to create a Westie Terrier of approximately 9.8 inches.
- Fabric Recommendations: We recommend using a soft, durable fabric with a non-stretch backing that can withstand hugging and cuddling.
Download a Westie Terrier Dog Pattern
- From a computer (Windows).
Click on the photo of the pattern, and select the “Save image as …” option. - From a phone or a tablet (Android). There should be something similar for the iPad.
Click on the image. Save it by holding your finger on the image and selecting the “Save Image” option. Then go to your photo gallery and print it (there is an option).
Step-by-Step Crafting Guide
Now that you’re familiar with the materials and pattern, it’s time to start crafting your Westie Terrier. Follow these step-by-step instructions:
Step 1: Cut the Fabric
- Using the Westie Terrier soft toy pattern, carefully trace and cut out the required pieces from your chosen fabric. Be sure to cut mirrored pieces.
Step 2: Sewing the Pieces Together
- Sew all the darts (highlighted in green).
- Sew the two mirror parts of the head with the Chin from A-A1 to B-B1 and from A-A2 to B-B2.
- Sew the center head from A-A3 to C-C1 and from A-A3 to C-C2.
- Sew the body.
- Sew the limbs.
- Sew the tail.
- Sew the ears using the felt fabric for the inner parts.
Step 3: Stuffing and Jointing Your Westie Terrier
- Gently stuff the head of your Westie Terrier with the hypoallergenic filling until it reaches your desired level of cuddliness.
- Sew on the round bottom part of the head, at the same time insert the disk and the connection, and sew up the hole.
- Insert discs and joins inside of the limbs, stuff them, and sew up the holes.
- Sew up the round top part of the body.
- Attach the head to the body.
- Attach the limbs.
- Add weight, stuff the body, and carefully hand-sew the opening shut using a ladder stitch. This will create an invisible seam for a polished look.
- Sew up the tail.
- Take out all the piles from the seams.
Step 4: Add the Nose, the Eyes, and the Ears
- Insert the eyes of your Westie Terrier.
- Mold the nose, paint it, and glue it.
- Sew the ears.
Step 5: Creating a Realistic Dog Appearance
- Trim the pile around your terrier’s mouth, ears, and tail to make a shape.
- Tint the ears and area around the eyes of the terrier.
- Create the paws using the dry felting technique.
Read how to make joints and attach the head and the limbs to the body.
Personalising Your Westie Terrier
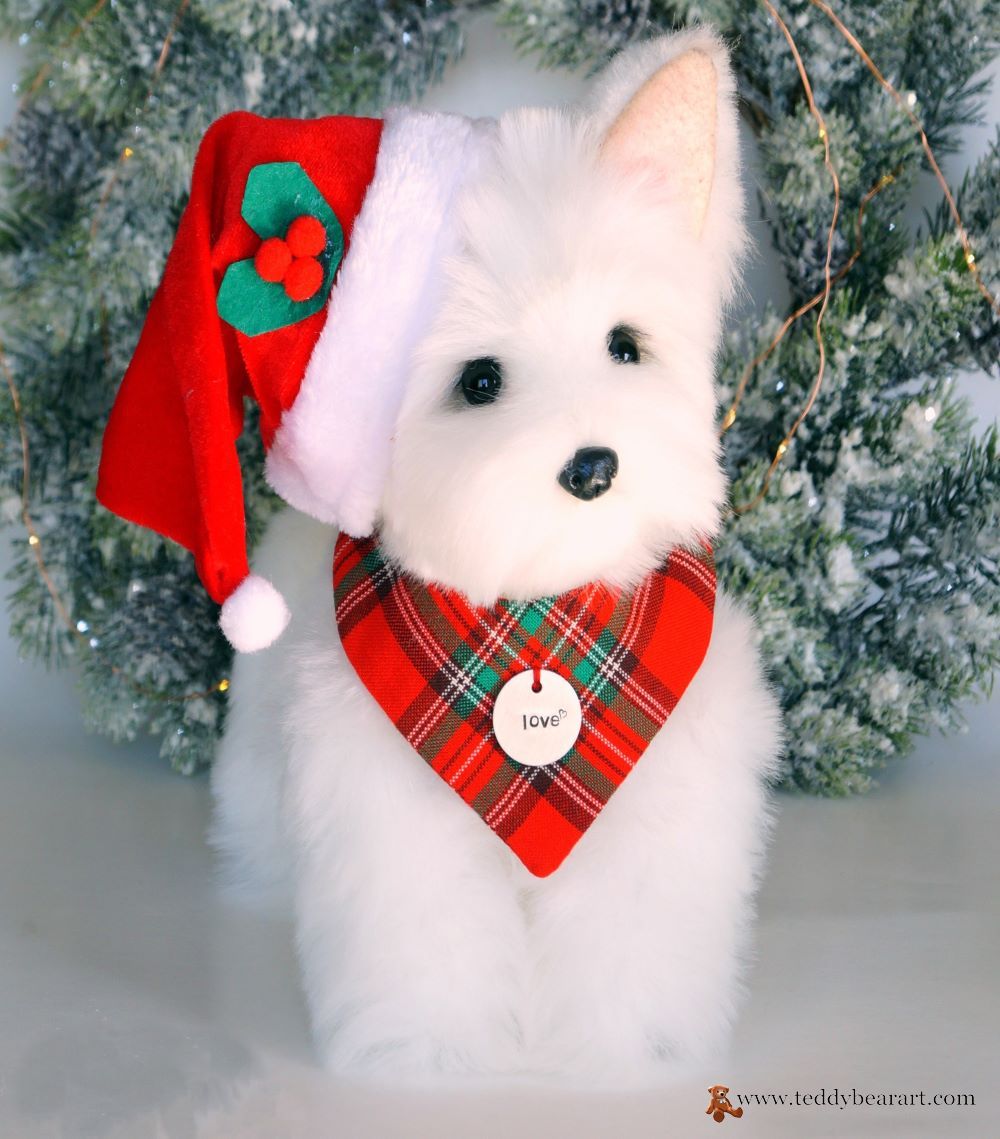
Crafting your Westie Terrier offers a canvas for personalisation. Infuse your unique style and character into your soft toy with these creative touches.
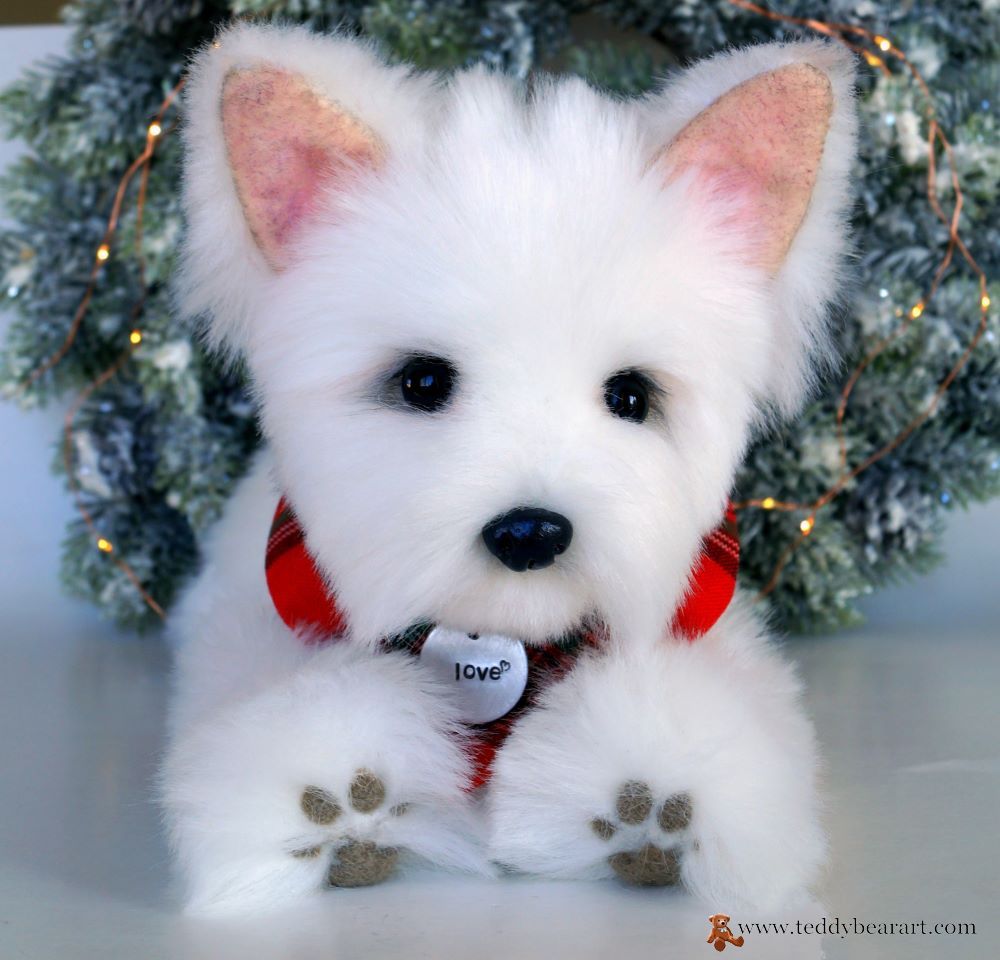
Craft a customised collar using ribbon, adding a tiny tag with your Westie’s name. Consider tiny accessories like bows or bandanas for extra flair.
Your Westie Terrier will not only be a work of art but a reflection of your creativity and affection for this beloved breed.
Additional Resources
- Explore More Patterns: If you’re hungry for more crafting projects, check out our collection of soft toy patterns that include a variety of adorable animals to create.
- Crafting Tips and Tutorials: Explore our blog for a plethora of crafting tips, tutorials, and inspiration to fuel your creative spirit.
Whether you’re seeking more crafting patterns, a supportive community, troubleshooting guidance, or quality supplies, we’ve got you covered with these additional resources. Your crafting journey is about to become even more exciting and rewarding!
Conclusion
Crafting your own Westie Terrier soft toy is a rewarding and creative endeavour. With our soft toy dog pattern and this comprehensive guide, you have all the tools you need to bring your Westie Terrier to life. Enjoy the process, and don’t forget to give your cuddly companion plenty of hugs!
If you ever need a hand or have any questions, feel free to leave them in the comments below and I will be more than happy to help you out.
Get Free Patterns & Be the First to Know!
Want free teddy bear patterns, exclusive tutorials, and a chance to win craft supplies?
Sign up for our newsletter using the subscribe form in the middle of this article to receive new patterns, insider tips, and the latest news on teddy bear art. You’ll also automatically be entered into our annual giveaway for a chance to win teddy bear crafting materials.
Bonus entry: Save one of our pins on Pinterest to increase your chances of winning!
Let’s create, inspire, and craft beautiful teddy bears together!

I think Westies are one of the handsomest of small breeds. I love watching their antics. Your toy captures those qualities. Your post and instructions will be very good for those who enjoy crafting. Your instructions seems simple enough to follow to create a toy dog to be proud of and display!
Thank you so much for your kind words! I’m glad you appreciate the charm of Westies and the toy I’ve created. Crafting can be a rewarding and enjoyable hobby, and I aim to make it as accessible as possible with my instructions. If you ever decide to give it a try, I hope you have a wonderful time crafting your own toy dog to display proudly. If you have any questions or need further guidance, feel free to ask. Happy crafting! 🐻🪡✨
Hello, though I’m not particularly gifted in such crafts, I do command your dedication to teach people how to make these stuffy toys. In particular, I do think that the west terriers are very cute, and can be collected by children and adults. What’s more important is that you must personalize them to follow your own tastes and favorite colors!
Hi there! Thanks for your kind words. I totally agree that West Terriers make adorable teddy toys, and personalizing them with your favorite colors and styles is a wonderful way to make each one unique. Crafting stuffed toys can be a delightful and rewarding experience for both children and adults, and I’m here to help guide and inspire everyone, regardless of their level of expertise. If you ever decide to give it a try, feel free to explore the free patterns and tutorials on my website to get started. It’s a fantastic way to unleash your creativity and create something special! 😊🧸