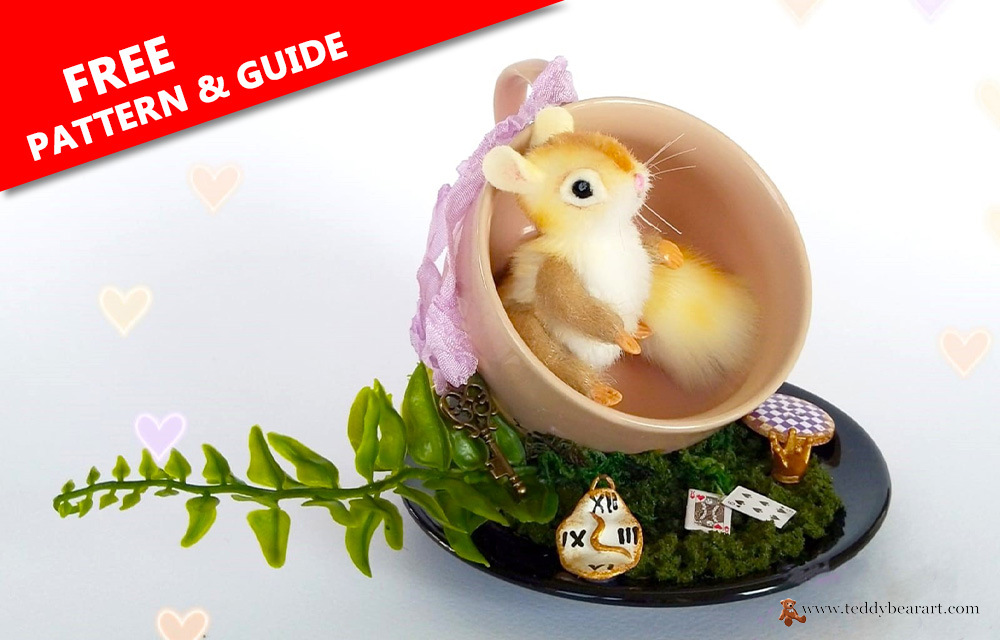
Welcome to the whimsical world of Wonderland, where imagination knows no bounds. Today, we invite you to embark on a creative journey as we bring to life a charming character from Lewis Carroll’s beloved tale—Alice in Wonderland. In this DIY project, we’ll guide you through the enchanting process of crafting your very own miniature jointed mouse, affectionately known as “Dormouse.”

Whether you’re an experienced teddy bear artist or a crafting enthusiast, Dormouse, your stuffed animal pattern muse, will capture your heart and spark your imagination. With the soft click of jointed limbs and a cuddly presence, this miniature mouse will transport you to a world where tea parties with the Mad Hatter are just a stitch away.
Getting Started
Before you dive into the magical world of crafting your own Dormouse, the miniature jointed mouse from Alice in Wonderland, let’s ensure you have everything you need to embark on this enchanting journey.
You’ll require three kinds of high-quality faux fur, synthetic stuffing, jointing hardware (such as cotter pins and discs), and essential sewing tools. These materials lay the foundation for your miniature masterpiece and are crucial to achieving a result that embodies the charm of Wonderland.
Below is a detailed list of everything you need.
Tools and Materials
- A small piece of white faux fur for the head and the body with a pile length approx. 7 mm, a small piece of plush for miniature teddies for the limbs, and a small piece of white faux fur with a pile length of approx. 1.5 cm for the tail.
- Strong threads, the same color as your plush fabric, and a needle for hand sewing.
- Scissors.
- A pair of glass eyes or a pair of black beads approx. 6 mm in diameter.
- Discs: 6 mm in diameter – 4 pieces, 9 mm in diameter – 6 pieces.
- Tiny cotter pins – 5 pieces.
- Synthetic filler.
- A piece of felt.
- Liquid glue UHU.
- Oil and acrylic colors and paintbrushes.
- Pliers.
- An awl.
- Thin fishing line.
- Molding clay.
- Wire.
- Wool and needles for felting (optionally).
Pattern Preparation
Now that you have your materials ready, it’s time to prepare the pattern. You can download a free miniature jointed mouse pattern from our website. Printing the pattern correctly is vital, so double-check the scaling and accuracy. Once you have the pattern in hand, let’s move on to the exciting part: bringing our mouse to life.
Downloading a Miniature Jointed Mouse Pattern
- From a computer (Windows).
Click on the photo of the pattern, and select the “Save image as …” option. - From a phone or a tablet (Android). There should be something similar for the iPad.
Click on the image. Save it by holding your finger on the image and selecting the “Save Image” option. Then go to your photo gallery and print it (there is an option).
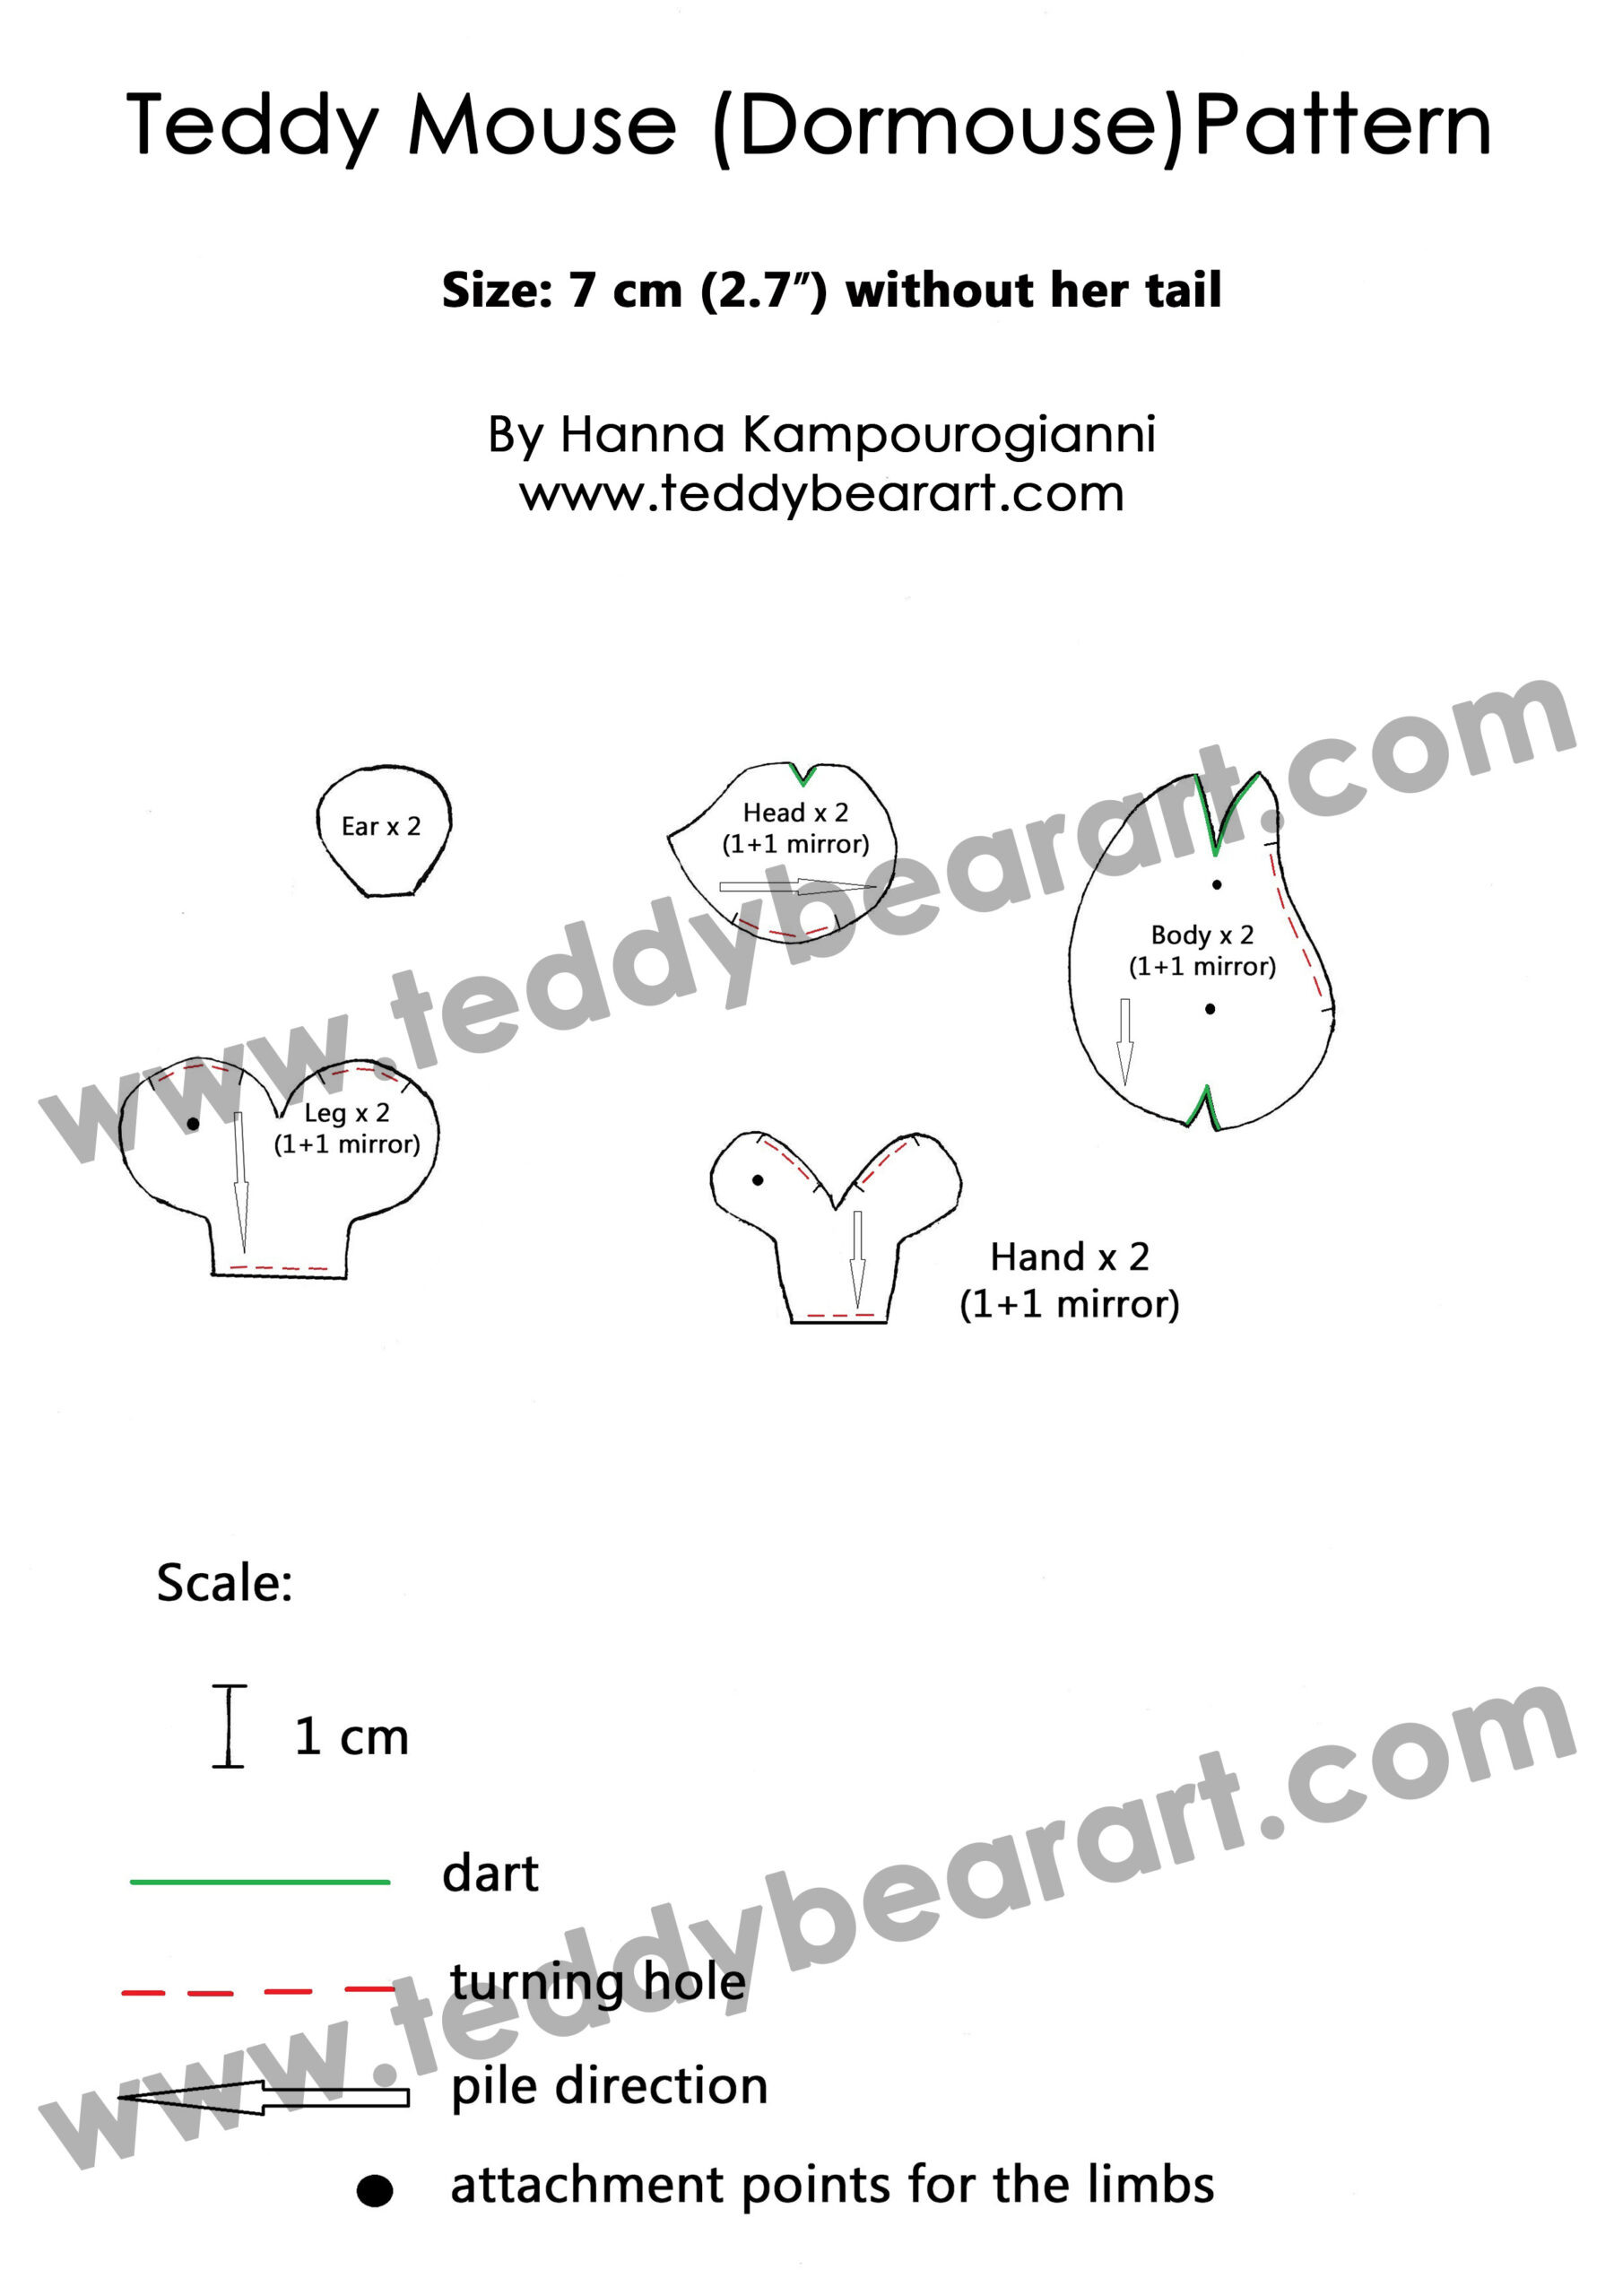
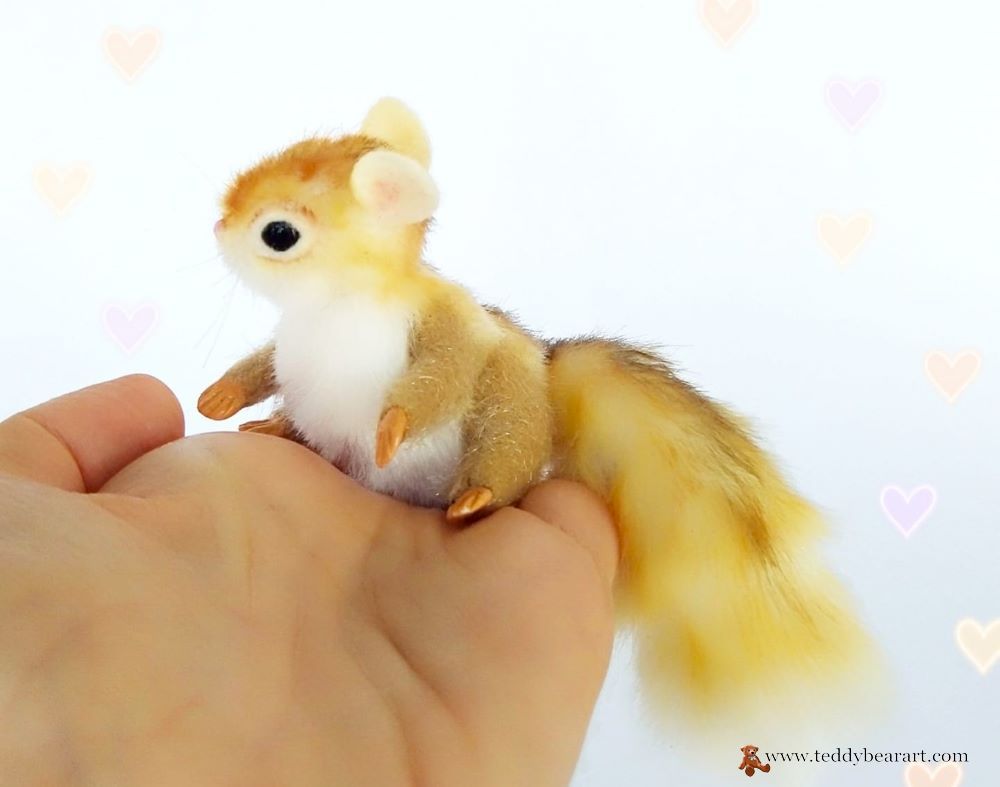
As you can see, no drawing of the tail was provided. This is because you must choose the size of the tail yourself depending on the fur that you have available, namely the length of the pile.
If the pile is too long, then the tail should be made small so that it does not look too fluffy, like, for example, a squirrel. If the pile is shorter, then the size of the tail pattern should be increased so that the size of the tail is proportional to the size of the mouse’s body.
Cutting and Sewing
Now that you’ve assembled your crafting arsenal, it’s time to bring Dormouse, your Stuffed Animal Pattern muse, to life through the art of cutting and sewing. Begin by carefully cutting out the fabric pieces according to your pattern. Precision is key here, as it will greatly influence the final result.
As you stitch together the mouse’s body, limbs, and head, follow the pattern’s guidelines diligently. Pay close attention to seam allowances, ensuring they’re neat and tidy. Remember, a well-sewn Dormouse is a charming Dormouse. The attention you dedicate to this phase will set the stage for a beautifully crafted miniature mouse, ready to enchant anyone who crosses its path.
Adding Features and Details
Now that all the miniature mouse pattern pieces are sewn together, it’s time to add character and personality to your creation by adding intricate and whimsical details.
Start with expressive eyes. When the head is stuffed, arrange them so that the face turns out cute. Cut out felt and glue eyelids. Alternatively, you can make your eyelids felted from wool. The eyes will become windows to Wonderland, so take your time to make sure they convey the perfect expression.
Carefully create a tiny nose out of clay, paint, and glue it on. Alternatively, you can mold it from Fimo clay, which requires heat treatment. The nose should be as attractive as the nose of a storybook character ready to sniff out the adventures of Wonderland.
If desired, you can add felted cheeks.
Next, glue on miniature ears that will add charm to the Dormouse’s silhouette. You can use soft fabric or felt to create these adorable appendages.
If you’re feeling particularly fancy, consider adding a tiny mustache. Just like the Wonderland characters, the mouse can sport a dapper mustache that adds character and quirkiness.
Sculpt tiny paws, paint them, and then glue them into the limbs. Fill the limbs with synthetic filling, sew up the holes, and attach to the body.
Sew the tail, insert the wire into it, secure the ends of the wire inside the body of the mouse, and sew the tail to the body.
These details will give a unique personality to your mouse, making her more than just a stuffed animal; it will be an exciting piece of Wonderland brought to life through your skill and creativity.
Stuffing and Shaping
As you stuff your mouse, be mindful of achieving the right level of firmness. Proper stuffing ensures your creation maintains its shape and cuddly appeal. Distribute the stuffing evenly to avoid lumps and bumps. Soon, you’ll see your miniature mouse taking form and coming to life.
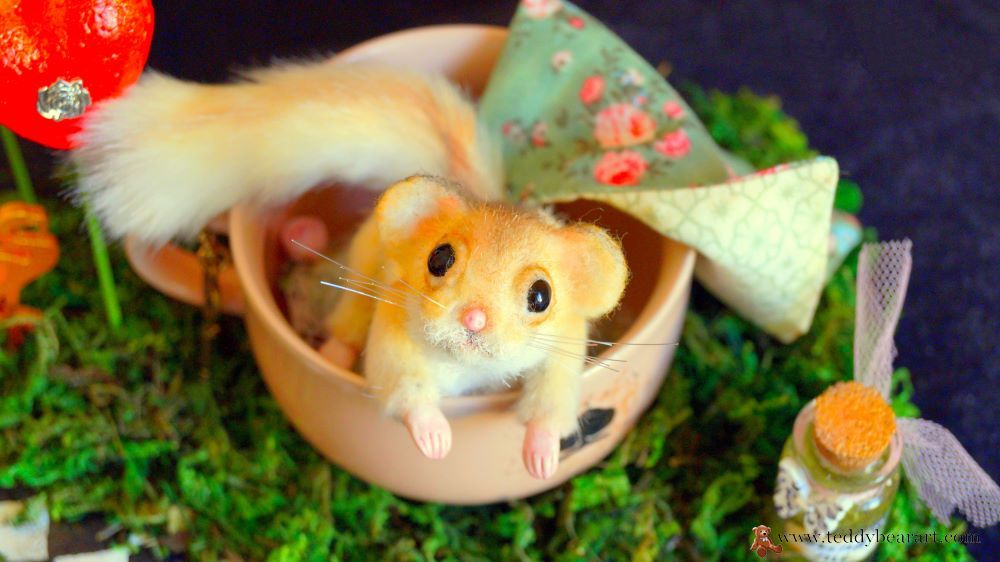
Finishing Touches
To achieve a polished appearance, tidy up any seams and make sure your miniature mouse is picture-perfect.
Following the image of a real mouse, tint yours with oil paints, starting with light tones and ending with dark ones. Brush around the eyes, head, back, and mouse ears. Use light orange, brown, and black colors. Put some pink color on its ears.
You can also consider adding optional embellishments or decorations to enhance its charm and character. This is your chance to make your mouse truly one-of-a-kind.
Additional Resources
Selling Your Creations:
- If you’re considering selling your handmade creations, check out our article on Selling Handmade Teddy Bears Online in 2025: Best Platforms and Pricing for valuable insights and tips.
- Explore the world of online marketplaces and learn about platforms like Etsy, which can help you reach a global audience with your unique teddy bear creations.
Free Patterns and Tutorials:
- Dive into our collection of free teddy bear patterns and tutorials, designed to inspire and guide your crafting journey.
- Discover adorable teddy bear clothes patterns that will add a touch of style to your creations.
These resources are tailored to empower teddy bear makers and crafters like you, providing guidance on both selling your creations and enhancing your skills with our free patterns and tutorials. Happy crafting!
Conclusion
Creating your own miniature jointed mouse stuffed animal pattern is a magical journey that allows you to capture the whimsy of Wonderland in the palm of your hand. Whether you’re an experienced crafter or just starting, this project offers endless possibilities for creativity. Follow our step-by-step guide, and you’ll soon have a charming companion straight out of Alice’s adventures.
If you’ve fallen in love with this project, please comment below. Explore our website for additional resources and tutorials to fuel your crafting passion. Thank you for joining us on this whimsical journey through Wonderland. Your crafting adventure has just begun!
Get Free Patterns & Be the First to Know!
Want free teddy bear patterns, exclusive tutorials, and a chance to win craft supplies?
Sign up for our newsletter using the subscribe form in the middle of this article to receive new patterns, insider tips, and the latest news on teddy bear art. You’ll also automatically be entered into our annual giveaway for a chance to win teddy bear crafting materials.
Bonus entry: Save one of our pins on Pinterest to increase your chances of winning!
Let’s create, inspire, and craft beautiful teddy bears together!
I love this tutorial! Lately my nieces have become so creative and so interested in handicrafts. I think this is something they would really like to do and they’re at the age where it’s no longer unsafe to handle sharp objects. I’m sure they already have some of these tools and can pretty easily get their hands on the rest
I’m thrilled to hear that you loved the tutorial! It’s wonderful to see your nieces taking an interest in handicrafts. It can be a fantastic way to encourage their creativity and keep them engaged in a fun and productive hobby. Since they’re at an age where they can safely handle the tools, it’s a perfect time to introduce them to teddy bear making. If they already have some of the tools, that’s a great start, and they can gradually gather the rest as they go along. Feel free to share more of their creations or ask any questions you may have as they embark on this creative journey. Happy crafting! 🧸🎨
Hi Hanna, What a delightful creation – thank you for sharing. I really enjoyed your article. I was looking for some great crafting ideas for my daughter and this fits the bill nicely. By chance, do you have any Christmas creations in the pipeline for the Christmas season? I would love to find some crafting ideas for making small Christmas teddies. Regardless, thanks again.
Hi there! Thank you so much for your kind words, and I’m thrilled to hear that you enjoyed the article. Crafting with your daughter sounds like a wonderful idea!
I do indeed have some Christmas creations in mind for the upcoming season. I’m planning to share some tutorials on making adorable small Christmas teddies that could be perfect for holiday decorations or gifts. Keep an eye on my blog as we approach the Christmas season, and you’ll find some festive crafting inspiration.
If you have any specific ideas or themes you’d like to see for Christmas teddy bear crafts, feel free to share them, and I’ll do my best to incorporate them into my upcoming content. Thanks again for your support, and happy crafting! 🐻🎄