Creating your own Valentine’s Day teddy bear is a heartfelt way to celebrate the holiday of love. It can be a gift for someone special or a fun project for yourself. This guide will walk you through every step to craft a unique and charming teddy bear. Let’s get started!
A handmade teddy bear is a symbol of care and thoughtfulness. By crafting your own Valentine’s Day teddy bear, you can personalize every detail, from the fabric to the accessories, making it a one-of-a-kind keepsake. Plus, it’s a fun and creative activity that adds a personal touch to your Valentine’s celebration.
Materials You Will Need
Before you begin creating your Valentine’s Day teddy bear, gather the following materials:
- Fabric: Choose soft materials like mohair, faux fur, cotton, or felt depending on the style you want.
- Eyes: Glass eyes, safety eyes, or buttons.
- Stuffing: Polyester fiberfill works great for a plush, huggable bear.
- Sewing needles and thread: Use strong thread that matches your fabric color.
- Scissors: Fabric scissors ensure clean cuts for precise shapes.
- Pins or fabric clips: Keep your pattern pieces aligned while sewing.
- Teddy bear joints (optional): For movable limbs, consider cotter pins or button joints.
- Decorative accents: Ribbons, buttons, or a small heart-shaped accessory can personalize your bear.
Teddy Bear Patterns
For experienced makers:
- 5 Teddy Bear Patterns for a Professional Result
These are ideal if you want to work with mohair, faux fur, or viscose.
Simple patterns for beginners:
- Simple Teddy Bear Pattern: A Guide for Beginners
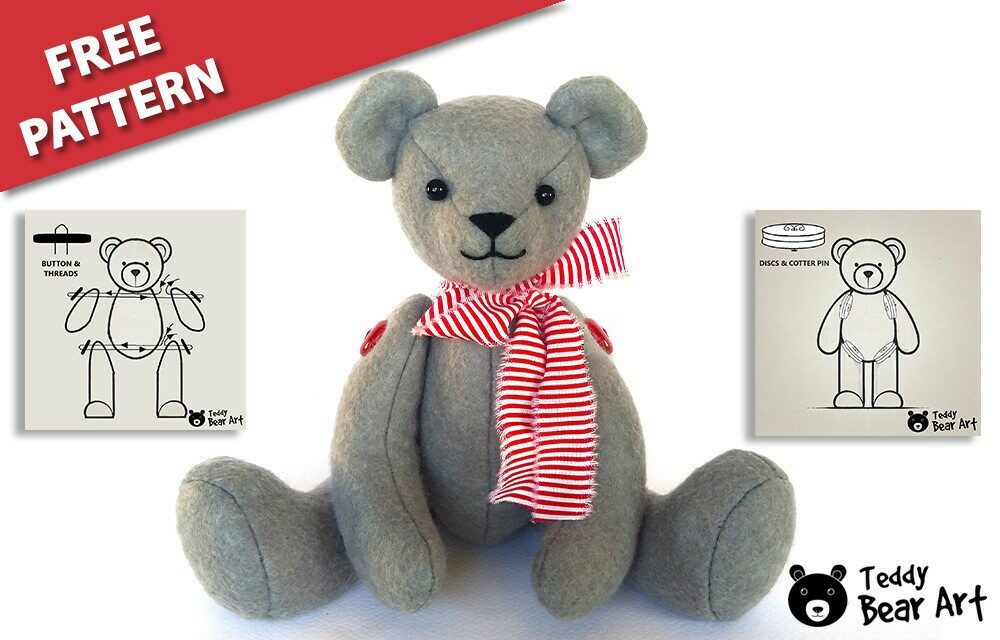
- How to Attach Limbs: Thread and Buttons vs. Cotter Pins
- Teddy Bear Pattern: Step-by-Step Guide for Your First Bear
Create Your Own Pattern:
- How to Create Your Own Teddy Bear Pattern
A detailed post with tips and steps to create a unique pattern.
These links will help you choose and adapt a pattern to suit your style. If you already have a favorite pattern, feel free to use it for this project.

Bear Making Process
Step 1: Prepare the Pattern and Fabric
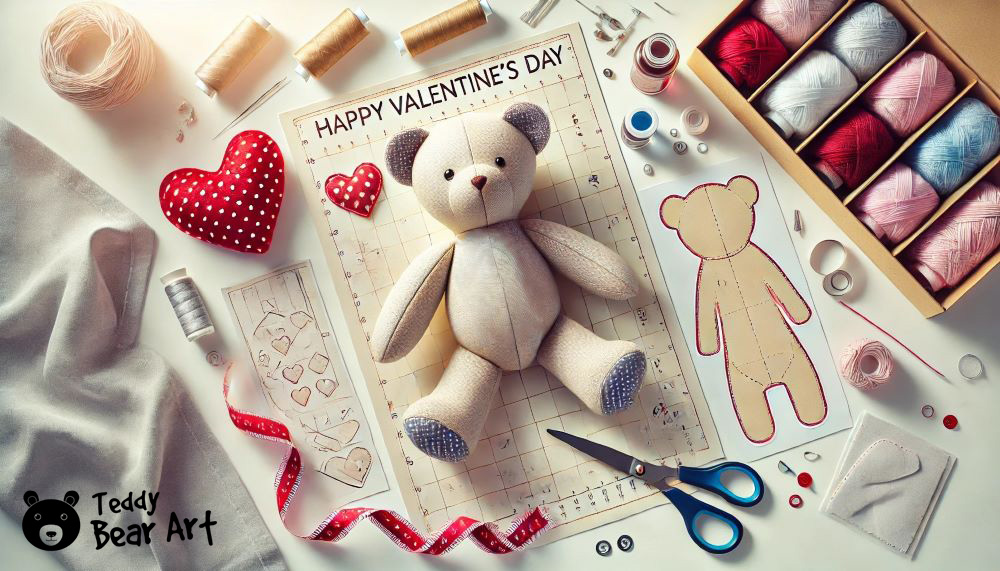
Begin by selecting or creating a teddy bear pattern. Cut the fabric pieces according to the pattern, ensuring precision for a well-proportioned bear. Remember to cut two pieces for each symmetrical part, like the arms and legs.
Step 2: Sew the Pieces Together
- Start by stitching the smaller parts, such as the arms, legs, and ears, leaving openings for stuffing.
- Sew the front and back body pieces together.
- Turn all pieces right-side out to hide the seams.
Step 3: Stuff Your Teddy Bear
Fill each part of the teddy bear with stuffing, ensuring it’s evenly distributed. Avoid overstuffing, as this can make stitching difficult and distort the bear’s shape.
Step 4: Assemble the Bear
Create the face features of your bear and attach the head to the body, ensuring it’s securely fastened. Attach the limbs to the body following your pattern guide.
Step 5: Add Personality
- Sew on safety eyes or buttons for the eyes.
- Embroider a nose and mouth using black or brown embroidery floss.
- Decorate the bear with Valentine’s-themed accessories like a ribbon bow or a small fabric heart. Accessories for your Valentine’s Day teddy bear play a key role in creating its unique look, so think ahead about which love symbols you want to incorporate. These could include plush hearts with messages, red roses, or even heart-shaped candies, pendants, and other cute details made from polymer clay.
Tips for Success
- Take Your Time: Precision in cutting and stitching makes a big difference.
- Use High-Quality Materials: They ensure durability and a professional finish.
- Personalize: Add initials, dates, or a message to make the bear extra special.

Share Your Creation
Your handmade Valentine’s Day teddy bear is ready to spread love! Share photos of your creation on social media using hashtags like #ValentinesDayTeddyBear and #HandmadeWithLove. Don’t forget to tag us with #MyValentinesTeddyBearArt for a chance to be featured on our Facebook business page!
Crafting a Valentine’s Day teddy bear is a rewarding experience that brings joy to both the maker and the recipient. Start your project today and make this Valentine’s Day truly memorable with a unique, handmade gift from the heart.
More Love for Your Teddy Bear Crafting Journey
Looking for more inspiration and stories to enhance your Valentine’s Day teddy bear project? Dive into our special collection of articles that will spark your creativity and help you bring even more love to your craft.
- The Wardrobe of Valentine Teddy Bears: Easy No-Sew Accessories Guide If you’re looking to add adorable and easy-to-make accessories to your Valentine teddy bear, check out our Valentine teddy bear accessories guide. This guide will help you craft the perfect outfits, from simple bows to heart-shaped accessories, all without needing a sewing machine.
- The History Behind the Valentine’s Teddy Bear Gift
Explore the fascinating story of how the teddy bear became a timeless symbol of love and affection. This article will take you through the heartwarming history of the teddy bear as the perfect gift for Valentine’s Day. Read more here.
You can also create your own content like this by adding personal touches and meaningful stories to your teddy bear.
Thank you to DALL·E from OpenAI and Freepik for providing the tools to create the images featured in this post. The images were modified.

Get Free Patterns & Be the First to Know!
Want free teddy bear patterns, exclusive tutorials, and a chance to win craft supplies?
Sign up for our newsletter using the subscribe form in the middle of this article to receive new patterns, insider tips, and the latest news on teddy bear art. You’ll also automatically be entered into our annual giveaway for a chance to win teddy bear crafting materials.
Bonus entry: Save one of our pins on Pinterest to increase your chances of winning!
Let’s create, inspire, and craft beautiful teddy bears together!


Hey thank you for this post!
With valentines near, this is a nice and useful read. I know how it can be much easier to purchase a teddy bear from the shop however it makes it even more special to create your own. It just oozes love and gives the bear a precious value that is irreplaceable.
I really like the step by step guide too that is easy to follow.
Thanks again and a have a great day!
Thank you so much for your kind words! I’m so glad you found the post helpful. You’re absolutely right—making a teddy bear yourself adds such a personal touch, and it’s such a special way to show love. I hope you have a wonderful time creating your own teddy bear for Valentine’s Day! Wishing you a fantastic day as well!
As a seasoned crafter, I’m always on the lookout for well-written tutorials, and this one doesn’t disappoint. I’ve tried countless teddy bear patterns before, and many leave out crucial details. This one is refreshingly clear and concise.
The section on stuffing the bear evenly was very helpful because I’ve had bears come out lopsided in the past due to uneven stuffing. Five stars – highly recommend
Thank you so much for your wonderful feedback! I’m so happy that the tutorial was helpful and that you found the stuffing section useful. It’s great to know it made a difference for you—uneven stuffing can be tricky! I appreciate your kind words and the five-star recommendation. Happy crafting and I hope your next bear turns out perfectly!
Awesome, I’ve been online for a little bit trying to figure out a unique gift for my girlfriend for the upcoming Valentines Day and this seems like a legit option. What’s the material you would recommend most? I think her eyes would light up when getting something like this.
I might be revisiting this site for some other tips for a Valentines teddy. Thanks for the inspiration Hanna
I’m so glad you found this idea inspiring! For a unique gift like this, I’d recommend using a soft fabric like mohair or alpaca for a classic teddy bear look—these materials give a lovely texture and a timeless feel. If you want something more cozy, cotton or minky fabric can be great for a snuggly teddy. I bet your girlfriend will love the personal touch!
Feel free to come back anytime for more tips—I’m happy to help! Best of luck with your Valentine’s Day gift, I’m sure it’ll be amazing!