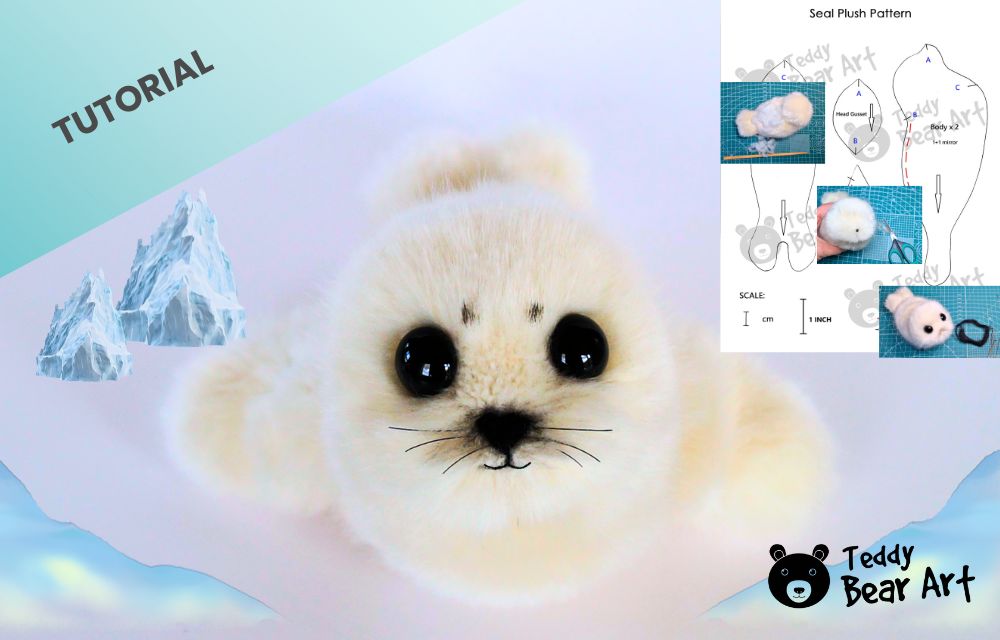
Creating a soft toy by hand is an inspiring and relaxing craft. This step-by-step guide explains how to sew a seal plush with a sweet expression and a soft, realistic body. The detailed instructions and many photos make the process easy to follow, even for beginners.

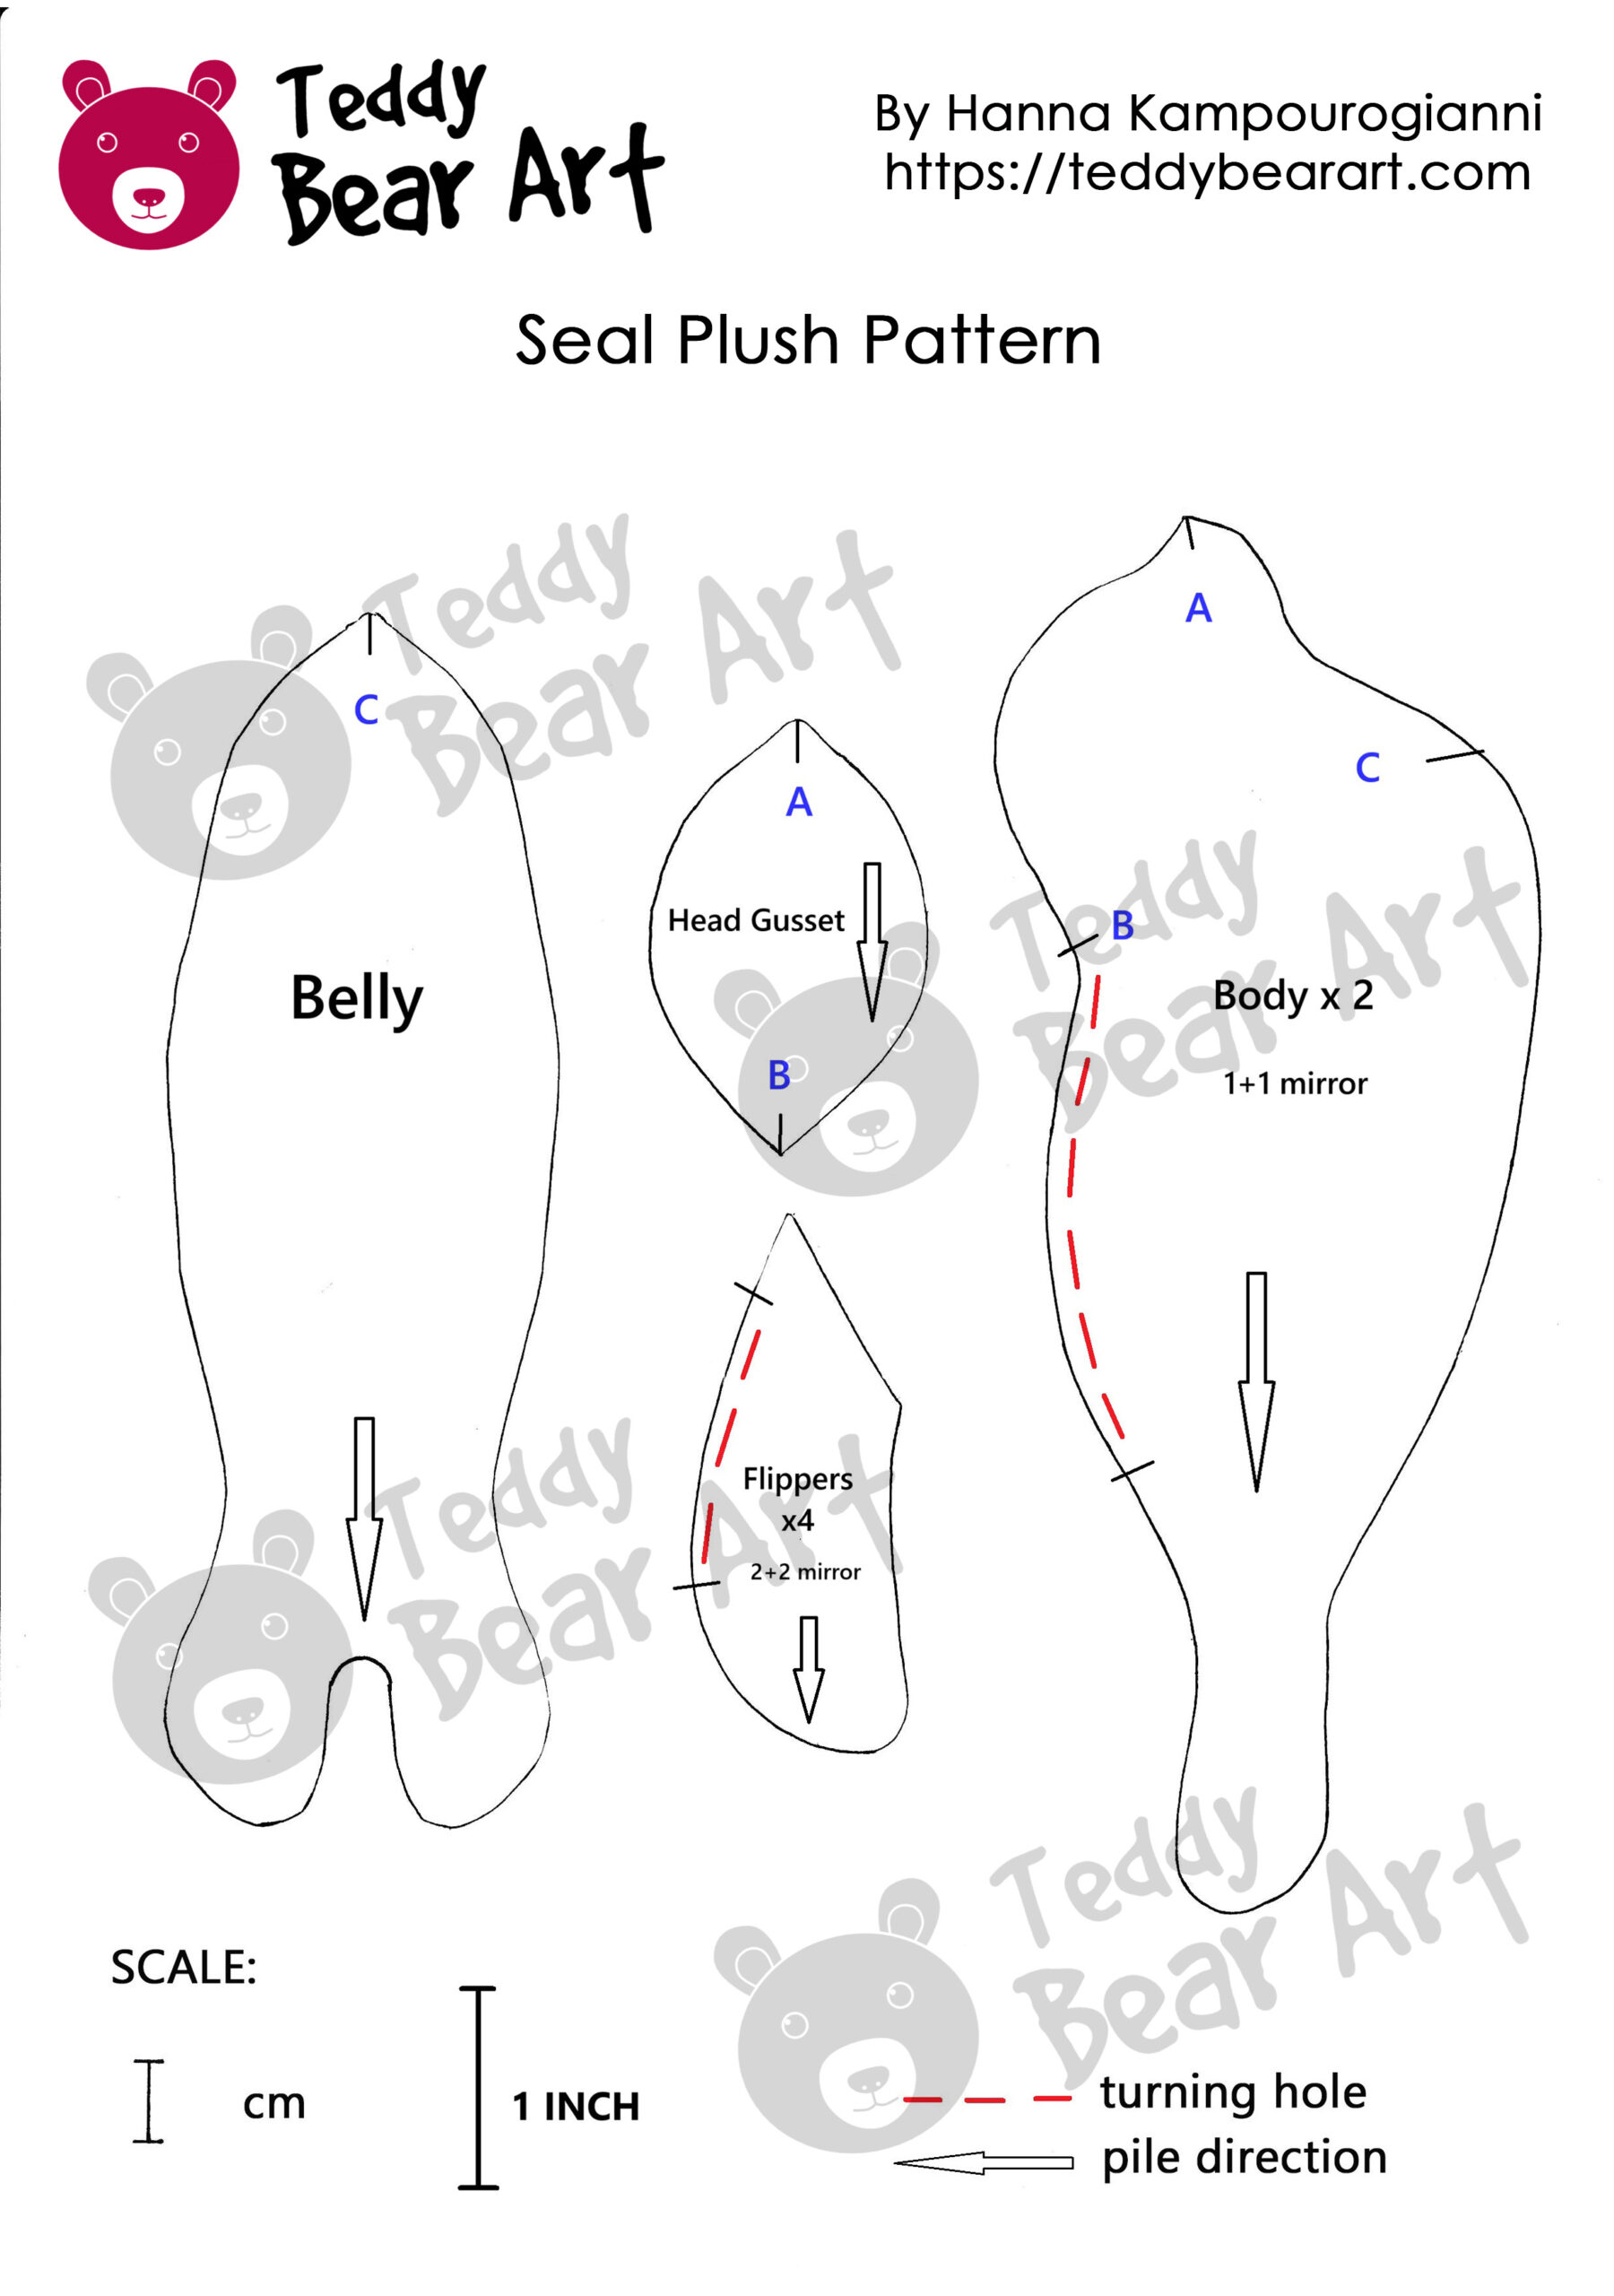
Download the Seal Pattern
Notice that seam allowances are not included.
To download the pattern, follow the instructions below:
From a phone or tablet: There should be a similar option for mobile devices with Android or iOS. Click on the image. Save it by holding your finger on the image and selecting the “Save Image” option. Then, go to your photo gallery and print it (an option available).
From a computer: Click on the photo of the pattern you see below. In the new tab that will open, you press the right mouse button and select the “Save image as …” option. Then, you choose where the image will be saved on your computer.
Materials and Tools
- Faux fur with a pile length of 1.5 cm or shorter, with a not-too-dense backing to make turning small parts easier.
- Black glass eyes on metal loops, about 14 mm in diameter.
- Stuffing material (polyfill, wool, or synthetic fiber).
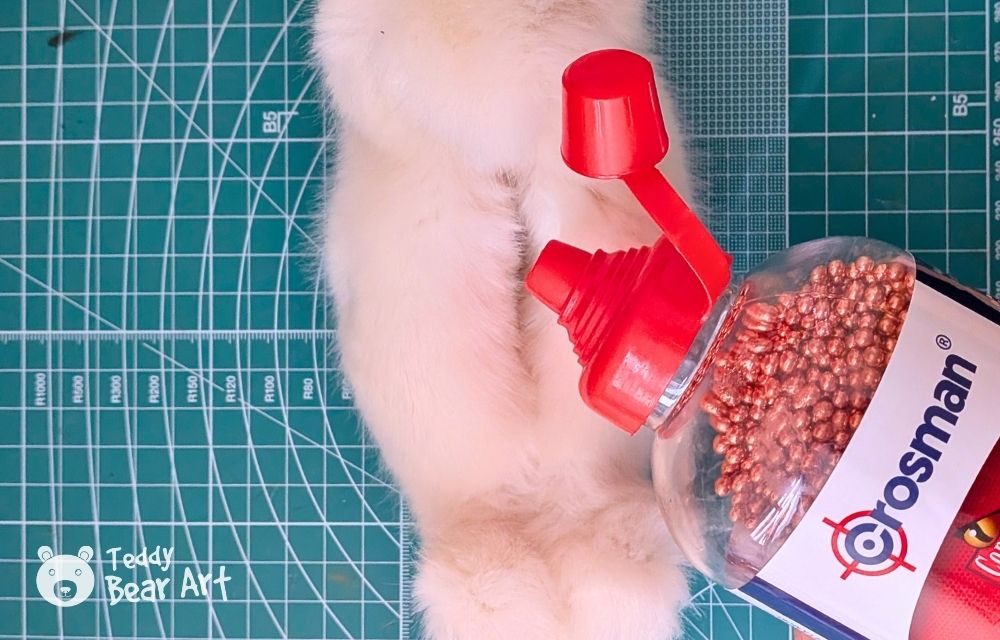
- Small amount of weighting material (plastic pellets, glass beads, or steel shot).
- Strong sewing thread in a color that matches your fur.
- Regular hand-sewing needle and a long doll needle for inserting eyes.
- Black felting wool for shaping the nose.
- Black horsehair for whiskers.
If that’s unavailable, use stiff black embroidery thread (lightly treated with fabric glue) or thin black florist wire, both keep their shape well. - Small scissors, an awl, pins or clips, and a fabric marker or pencil.
Choose a soft, medium-density fur for the best results. Light gray or creamy-white fur gives the toy a natural and gentle look.
Step-by-Step Seal Plush Sewing Tutorial
1. Prepare and Cut the Pattern
Print and cut your pattern.
Place the pieces on the back side of the fur, following the pile direction. Trace carefully and cut only through the backing, not the pile.
2. Sew the Body Pieces
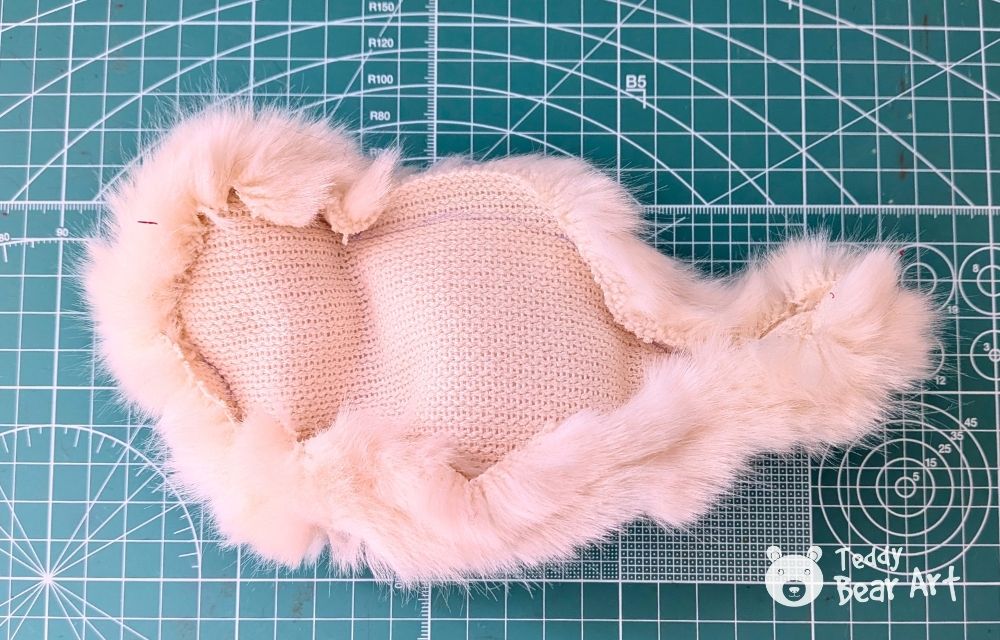
Start by sewing the two body parts together along the markings A–C. Then attach the head gusset between the body pieces, matching the points A–B, to shape the top of the head. After that, sew the belly piece to the body along point C.
Carefully trim away any excess pile from the seam allowance, but be sure not to cut too much. If you are a beginner, it’s better to trim the pile before sewing the pieces together; experienced sewers can trim it after sewing. Once the seams are complete, carefully turn the entire body right side out.
Sew the flippers separately, but do not stuff them, they should stay flat and flexible.

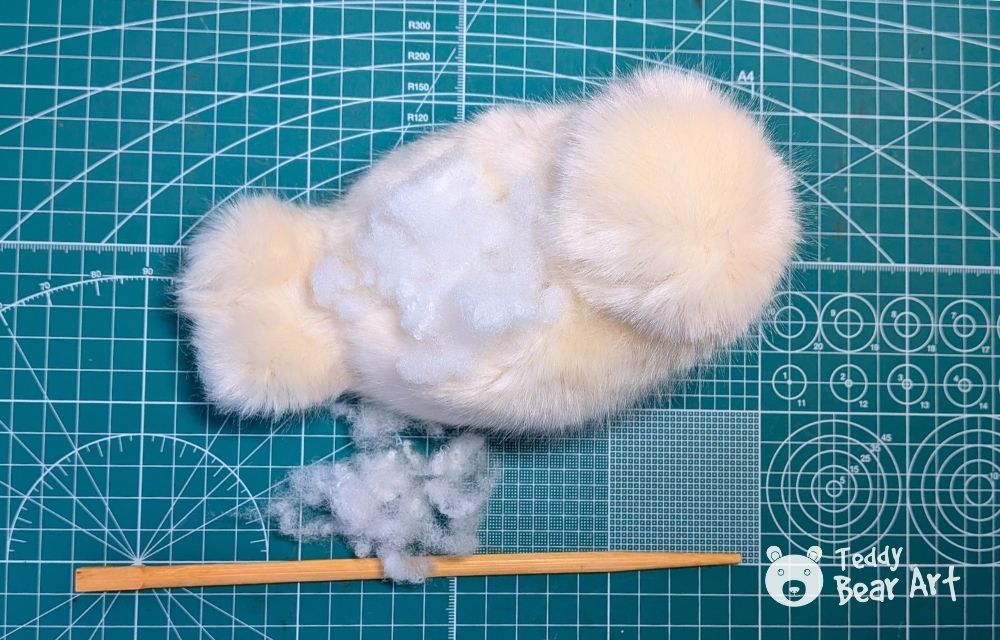
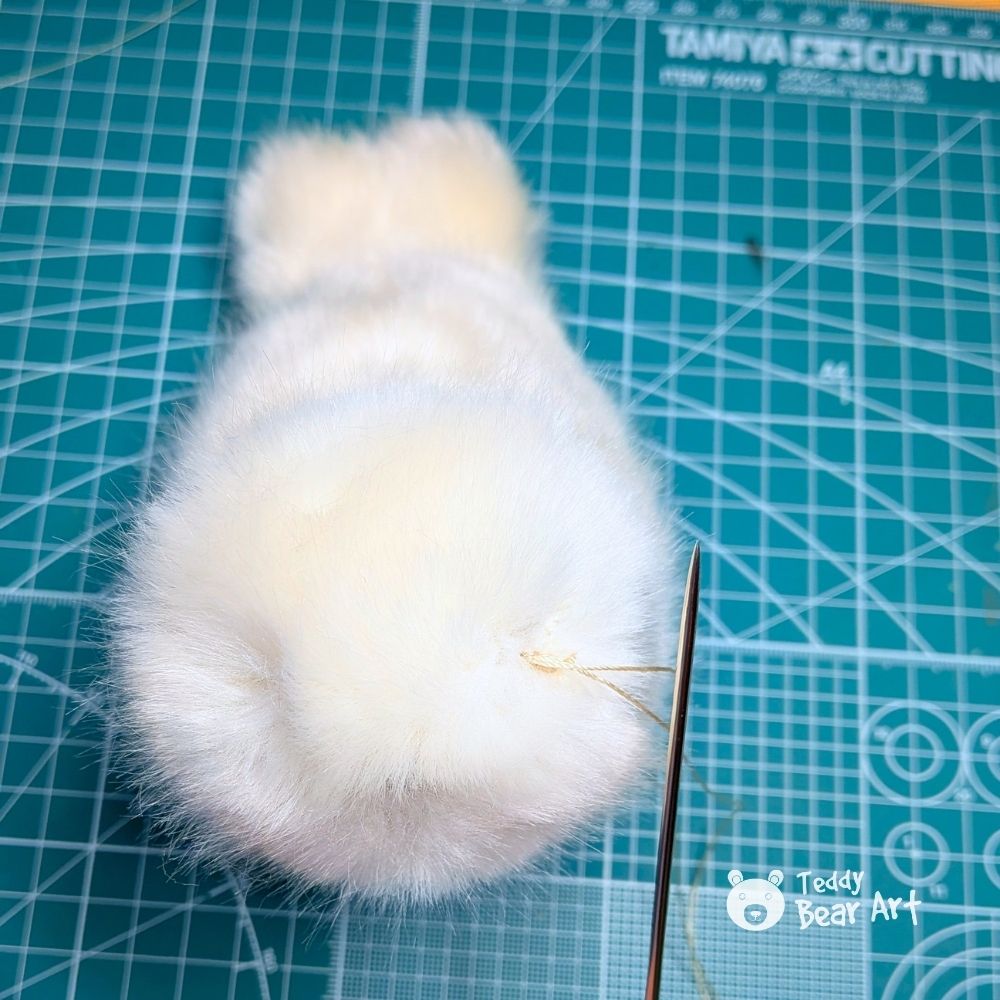
3. Stuff and Add Weight
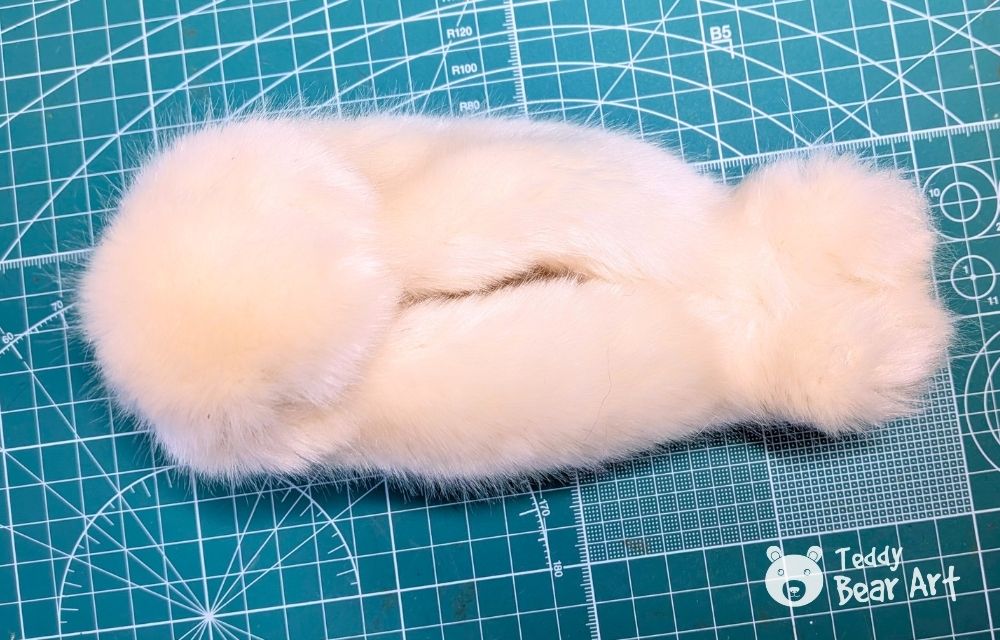
Pour a small amount of weighting material into the body to give the seal balance and help it sit naturally. Then add polyfill in small portions, distributing it evenly through the head, body, and tail. The plush should feel firm but soft to the touch. Close the opening with an invisible ladder stitch.
After sewing, gently pull out any fur caught in the seams using a needle or awl, then brush the surface to make the coat smooth.

4. Add Eyes, Nose, and Whiskers
The next step is shaping the face, this process is shown in the step-by-step photos.
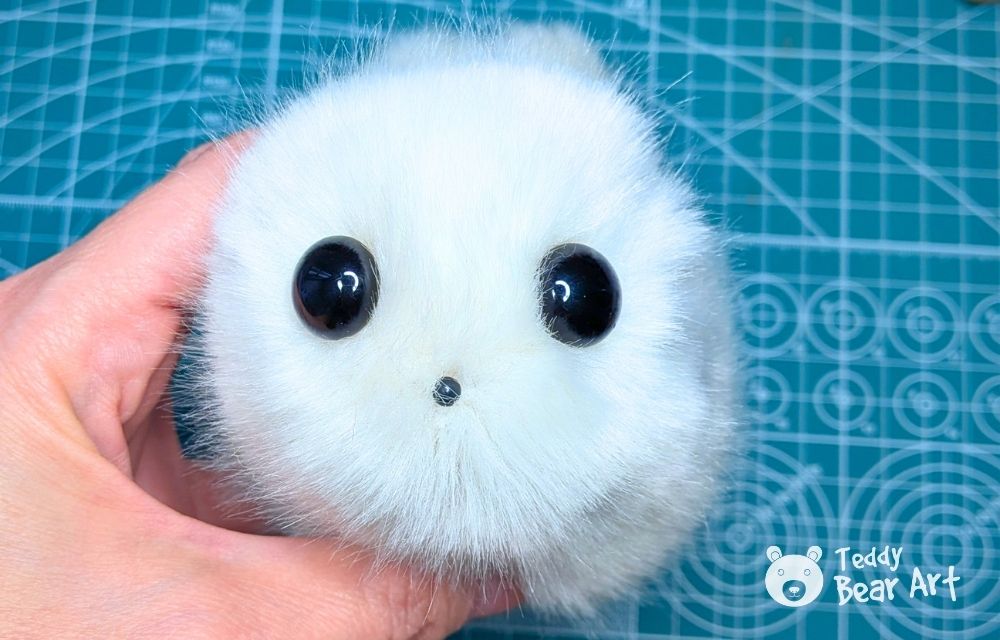
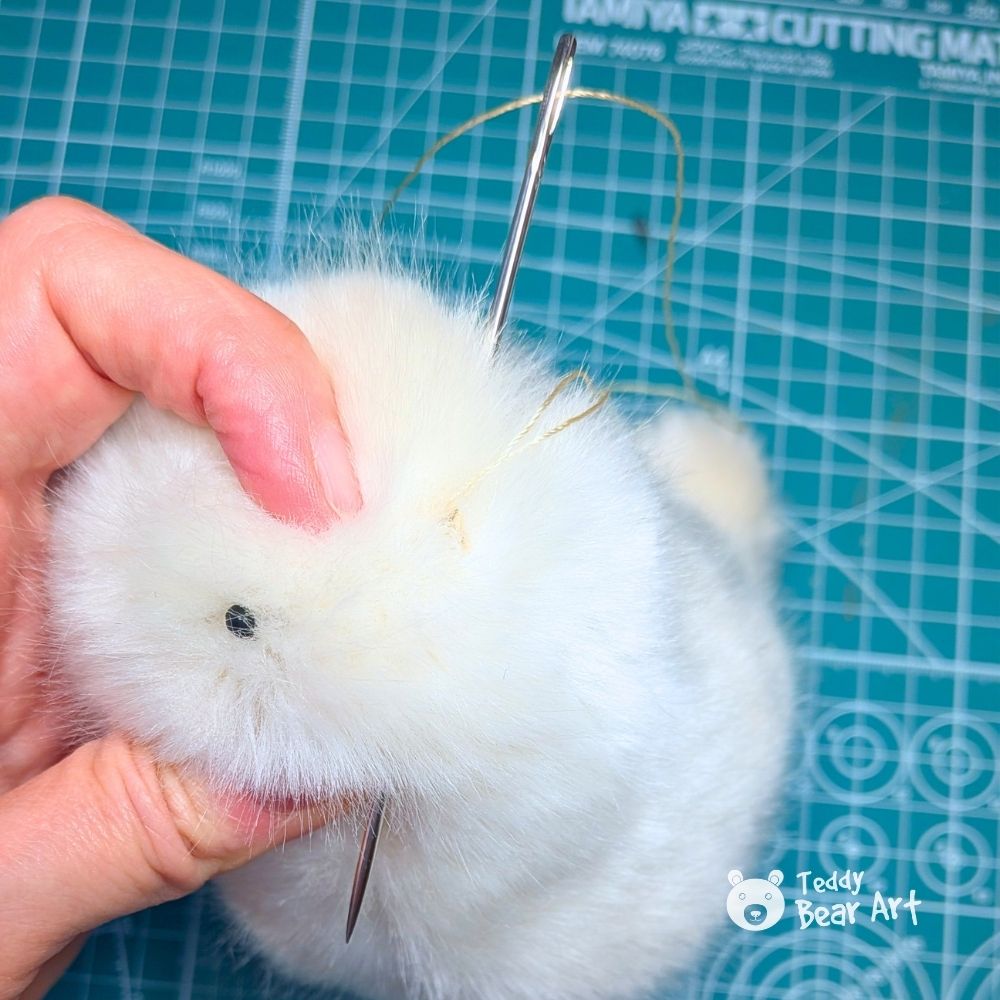
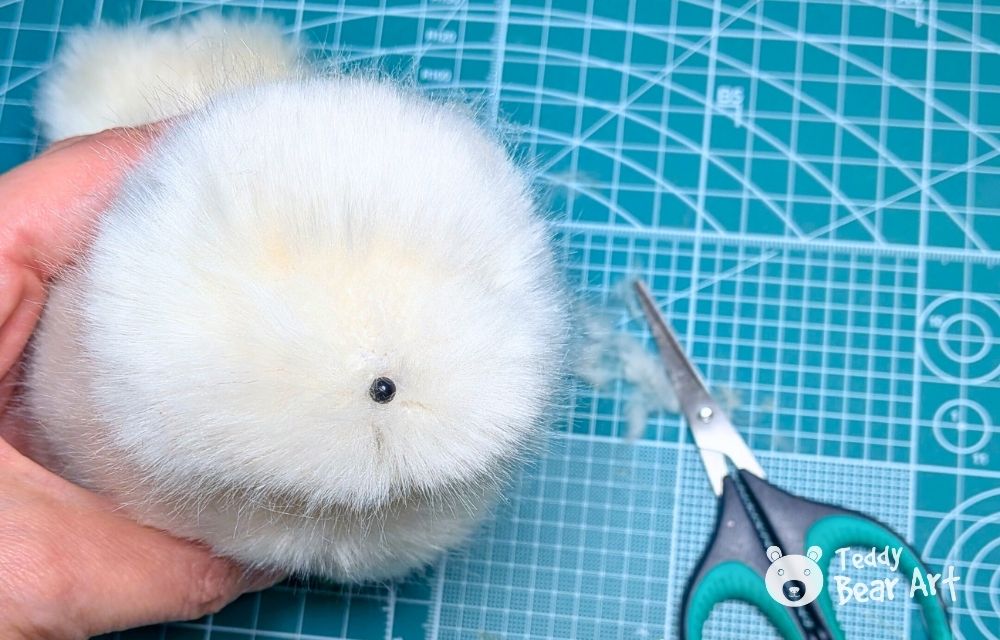
Use a long doll needle to insert the black glass eyes on the metal loops and secure them firmly from the inside.

Before creating the nose, slightly darken the muzzle area with a fabric marker or soft pastel to give depth and natural shading. Then form a small nose from black felting wool or embroider a simple triangle with black thread.

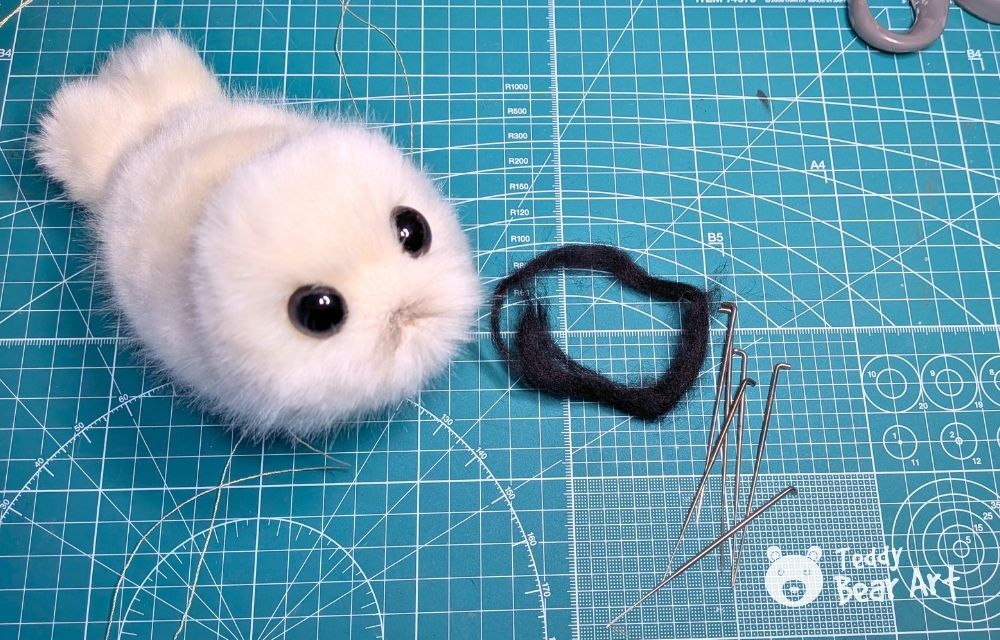
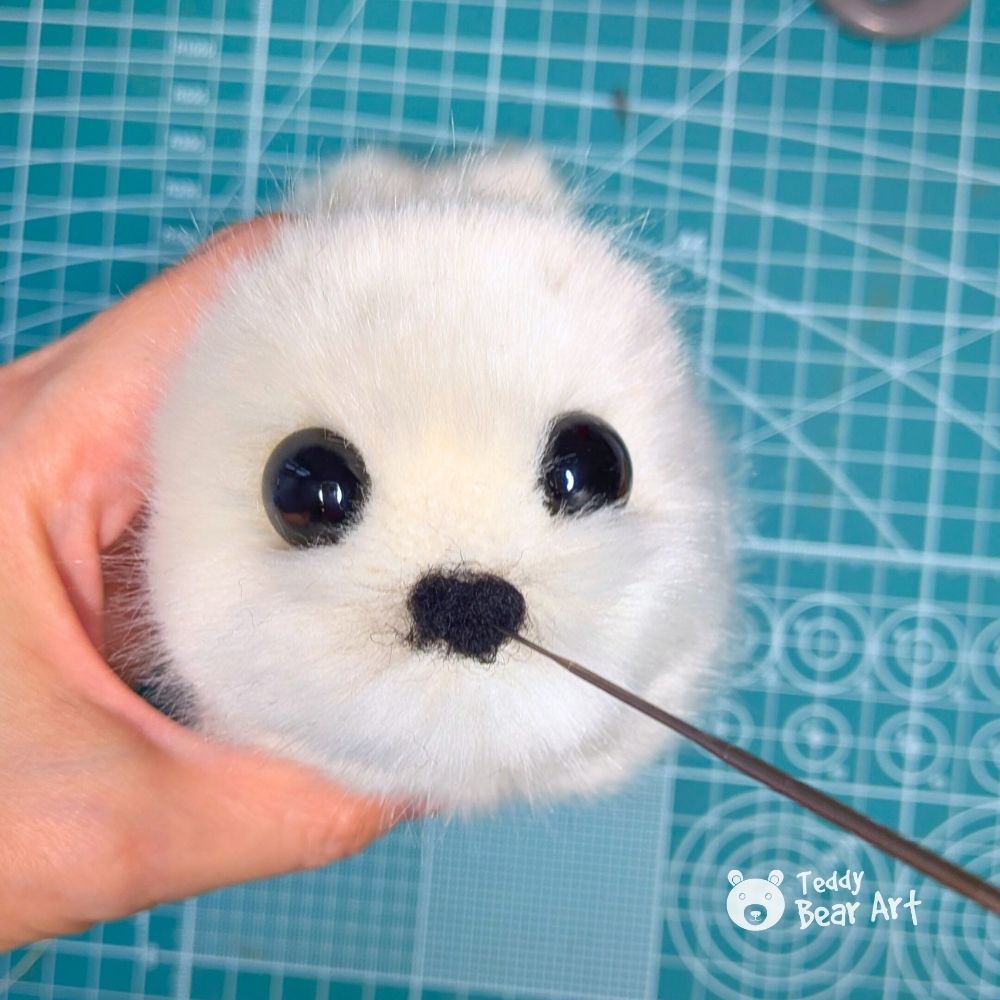
Embroider the seal’s mouth with a black thread. You can do it before or after felting the nose.

Finally, sew the flippers to the body in their correct positions.
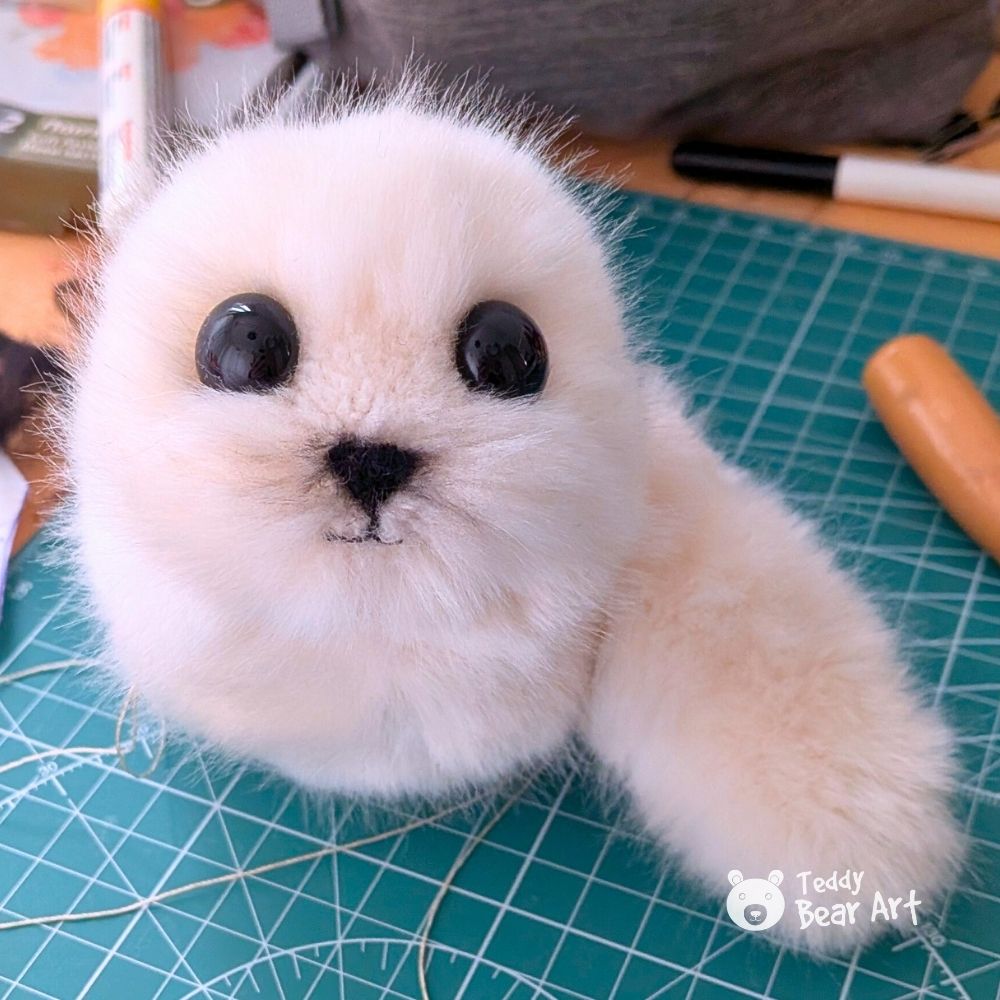
For the whiskers, use short pieces of horsehair, stiff black thread, or thin florist wire. Insert them into the muzzle. The whiskers should stick out slightly and hold their shape. Add two small dots above the eyes.
Frequently Asked Questions
Can I scale the pattern to make a larger or smaller seal?
Yes, you can print the pattern at any scale. Please note that when you change the size, you should also adjust your fabric and materials accordingly. If you make the toy smaller, choose fur with a shorter pile, long fur will make it nearly impossible to turn small parts right side out. If you enlarge the pattern, use longer-pile plush so your seal looks fluffier and more natural. The same rule applies to the eyes, smaller versions need smaller eyes, and bigger toys require larger ones for proper proportions.
Can I sell toys made from this pattern?
Yes, you are free to sell the finished toys made using this pattern. However, the pattern itself cannot be sold, copied, or redistributed in any form, it’s for personal and small business use only.
Is this project suitable for beginners?
Yes, mostly! The entire sewing process is beginner-friendly, except for the face-shaping step, which requires a bit of practice. But don’t worry, it’s quite easy to learn while working on this very seal, and once you master it, you can use the same technique for other plush animals too.
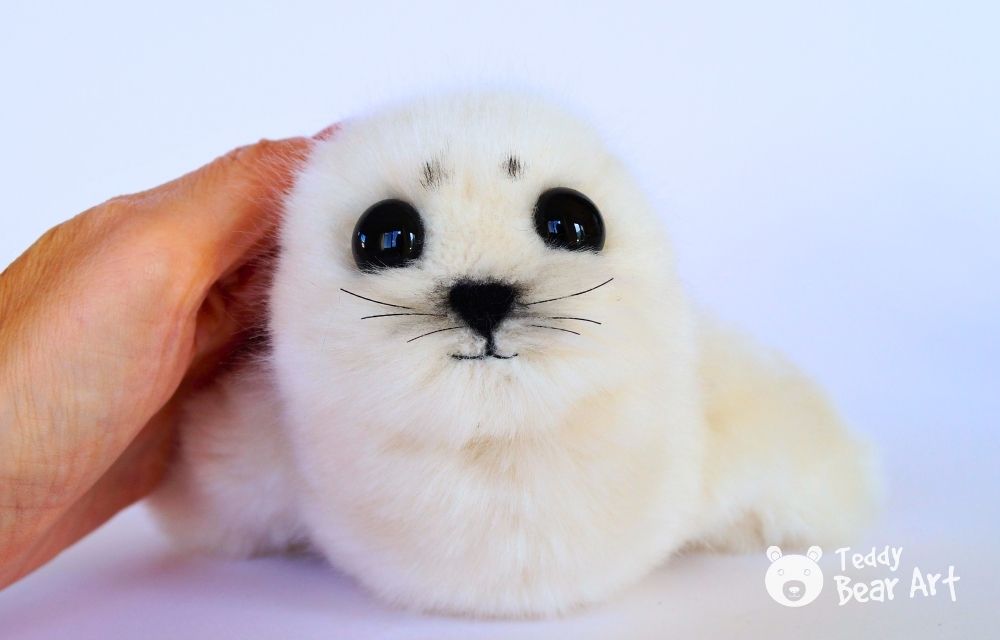
Before You Go
A handmade seal plush turns out soft, cute, and surprisingly realistic. Once you’ve made one, it’s easy to imagine a whole colony, baby seals, sleeping seals, even a cheerful sea lion cousin.
Sewing plush animals combines creativity, calm, and a bit of magic, turning simple fabric into something full of warmth and charm.
Get Free Patterns & Be the First to Know!
Want free teddy bear patterns, exclusive tutorials, and a chance to win craft supplies?
Sign up for our newsletter using the subscribe form in the middle of this article to receive new patterns, insider tips, and the latest news on teddy bear art. You’ll also automatically be entered into our annual giveaway for a chance to win teddy bear crafting materials.
Bonus entry: Save one of our pins on Pinterest to increase your chances of winning!
Let’s create, inspire, and craft beautiful teddy bears together!
What a delightful and beautifully detailed tutorial! I love how you’ve explained every step from choosing the right faux fur to shaping the seal’s gentle expression with such clarity and care. The tips on trimming fur and adding realistic touches like shading and whiskers make this project feel both beginner-friendly and professional. It’s inspiring to see how simple materials can turn into something so full of character and warmth. I’m curious have you tried creating other sea animals, like penguins or otters?
Thank you so much! Yes, I’ve tried — I have two different penguin patterns and a manatee:
https://teddybearart.com/gift-idea-handmade-penguin-teddy-using-our-free-pattern-and-guide/
https://teddybearart.com/adorable-penguin-sewing-pattern-a-step-by-step-guide-for-beginners/
https://teddybearart.com/making-waves-plush-manatee-sewing-pattern/
What an absolutely fantastic and thorough tutorial! As someone who’s always wanted to try making a plushie but found it a bit intimidating, this guide is a dream come true. The sheer number of photos for each step is so incredibly helpful, it makes the entire process feel clear and achievable. I especially appreciate the tips on working with faux fur and creating those perfect facial expressions. You’ve not only provided the “how-to” but also built the confidence to give it a try. Thank you for sharing such a wonderful, well-crafted project! I can’t wait to start sewing my own adorable seal.
Thank you so much for your kind words! I’m really glad to hear that the tutorial was clear and inspiring. I tried to show each step in detail so that working with plushies feels approachable and fun. I’m happy the tips on working with fur and creating the facial expression were helpful! Wishing you lots of success and joy sewing your adorable seal — I’m sure it will turn out wonderful!