*We are a reader-supported website. When you buy through links on our site, we may earn a small affiliate commission at no extra cost to you.*
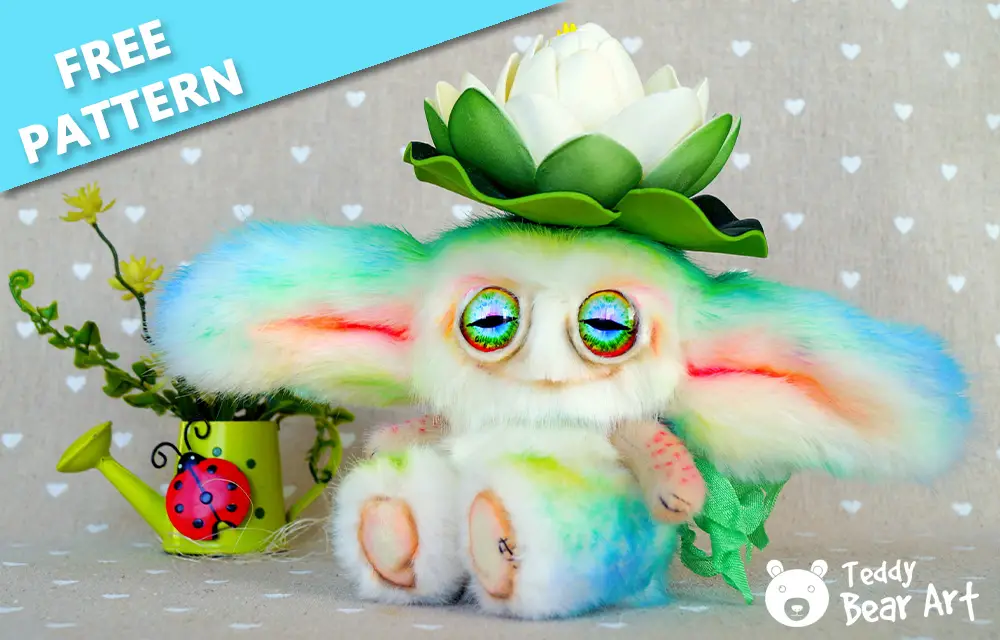
Welcome to our crafting corner, where we’re all about spreading joy through creativity! Today, we’re diving into the whimsical world of cute monster plushies with our latest offering: the cute monster sewing pattern. Perfect for beginners and seasoned crafters alike, this pattern is designed with simplicity and versatility. Plus, we’ve included a step-by-step guide to ensure crafting success!
Get ready to unleash your creativity as we guide you through the steps of bringing your own adorable monster to life. If you’re stitching up a gift for a loved one or adding a quirky touch to your home decor, our pattern is sure to spark smiles wherever it goes.
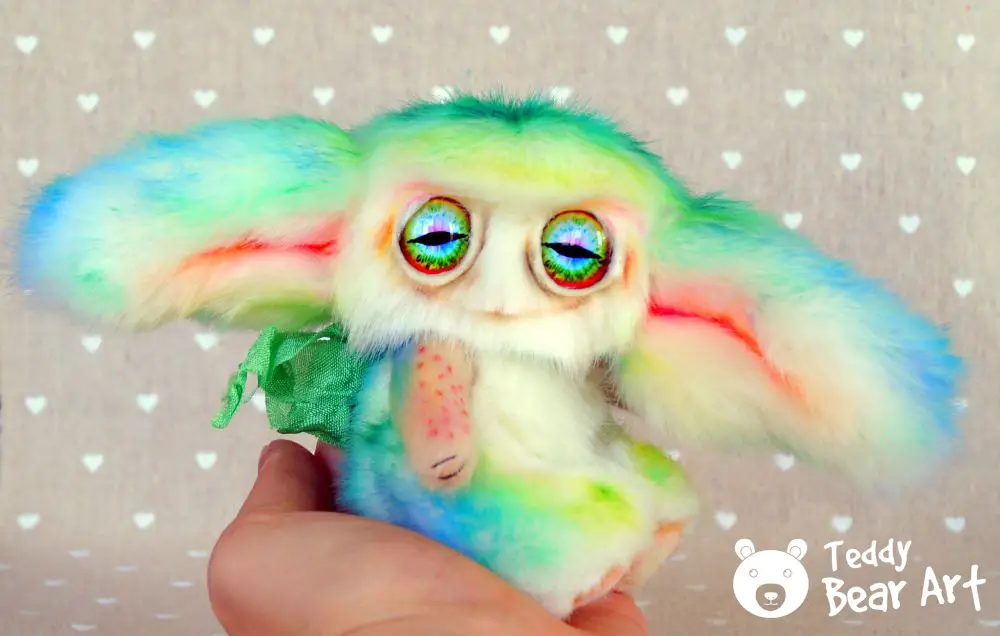
Unveiling the Charm of Cute Monsters
Cute monsters hold a special place in the hearts of crafters worldwide. With their quirky features and endless possibilities for customization, they’re the perfect canvas for imaginative stitching adventures. From fuzzy fur to googly eyes, there’s no limit to the creativity that cute monster designs inspire.
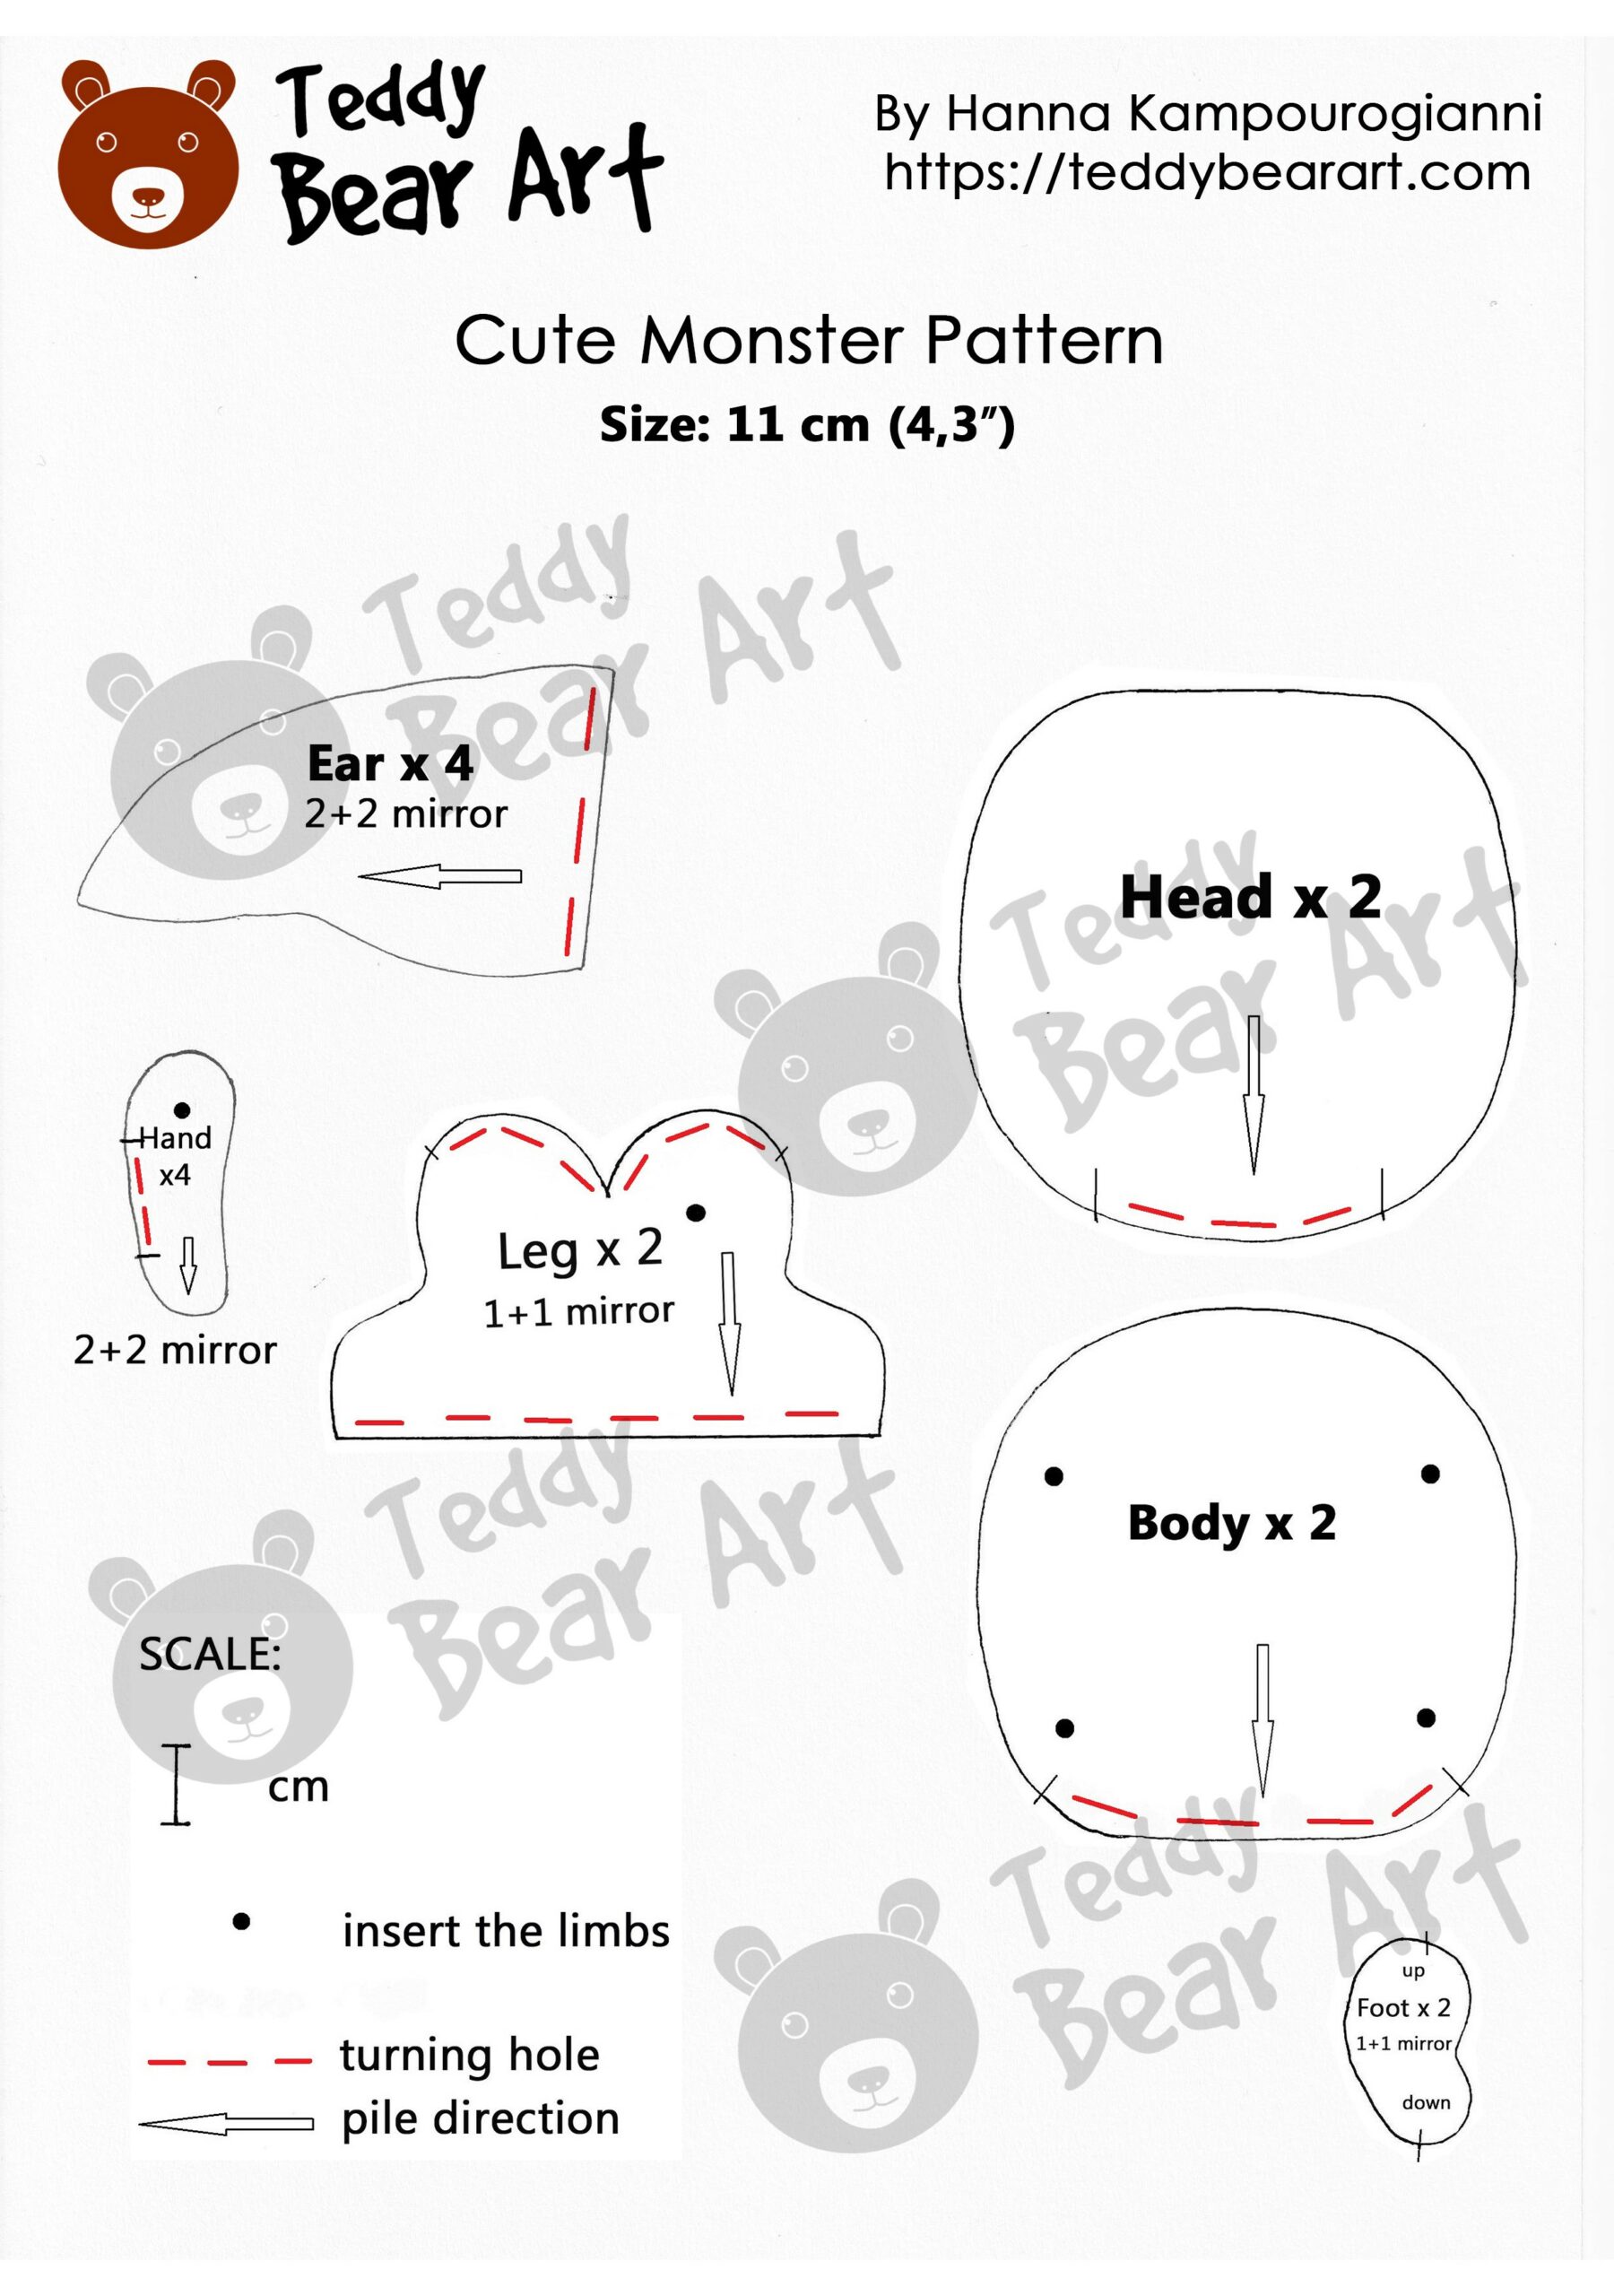
Downloading Our Free Cute Monster Sewing Pattern
Follow the instructions below:
- From a computer (Windows).
Click on the photo of the pattern you see below. In the new tab that will open, you press the right mouse button and select the “Save image as …” option. Then you choose where you want the image to be saved on your computer. - From a phone or a tablet (Android). There should be something similar for mobile devices with Android or iOS.
Click on the image. Save it by holding your finger on the image and selecting the “Save Image” option. Then go to your photo gallery and print it (there is an option).
The List of Materials
- White Minky faux fur with a 1.5 cm pile length.
- Faux fur for miniature teddies.
- A small piece of faux suede or felt fabric.
- Strong threads match your fabric color and a hand-sewing needle.
- A pair of glass dragon eyes – 15 mm in diameter.
- Waxed thread.
- Discs 15 mm in diameter – 6 pieces.
- Discs 9 mm in diameter – 4 pieces.
- Washers 15 mm in diameter – 6 pieces.
- T-shaped cotter pins 1.6×20 – 5 pieces.
- Glass or metal pellets for weight.
- Stuffing material.
- Oil paints and brushes.
- Strong glue UHU.
- A long needle for setting the eyes (approx. 10 cm – 15 cm).
- Scissors.
- An awl.
- Pliers.
Step-by-Step Crafting Guide
Let’s dive into the fun part: crafting your own cute monster plushie! Follow along as we break down the stitching process into easy-to-follow steps. From cutting out the fabric pieces to sewing on the finishing touches, we’ll guide you every step of the way.
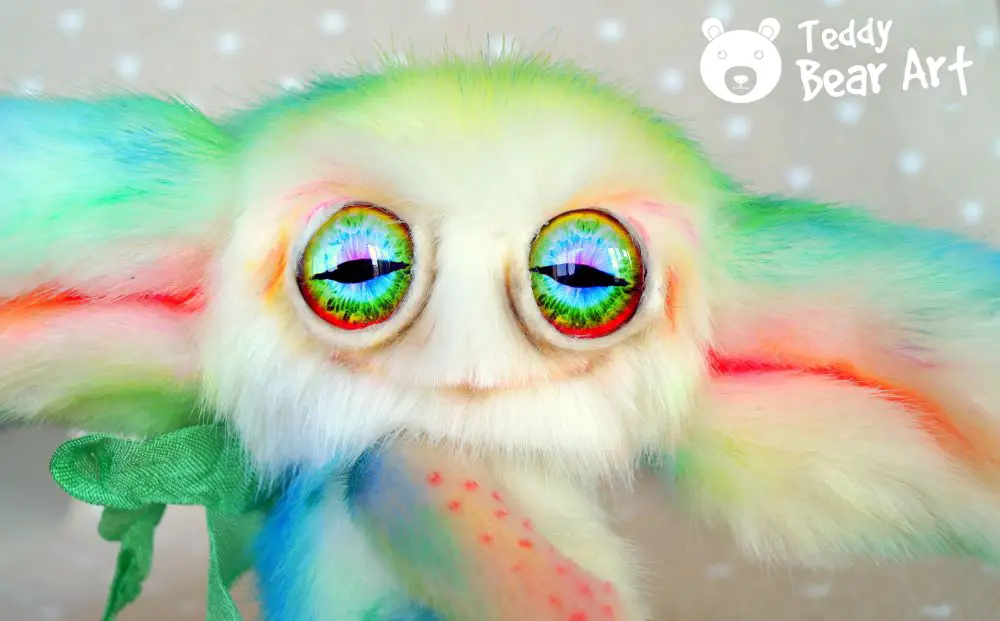
1. Stitching Parts:
Cutting Out the Pattern Pieces:
- Begin by placing the pattern pieces on the fabric, ensuring you follow the direction of the pile.
- Maintain a distance of 7 mm from the edge and carefully cut out all the pattern pieces, being mindful not to cut the pile. Bring the scissors as close to the base of the fabric as possible for precision.
Sewing the Head, Body, Ears, and Legs:
- Utilize fur fabric with a 1.5 cm pile to sew the head, body, ears, and legs of the monster. This fabric choice will contribute to the plush and cuddly appearance of your creation.
Creating Monster Hands:
- Craft the monster’s hands using fur fabric for miniature teddies to maintain consistency in texture and appearance with the rest of the beast.
Adding Feet:
- Cut out feet from felt or artificial suede and securely sew them to the legs.
Finishing Touches:
- Once all parts are sewn, carefully turn them out to reveal their intended shape, ready for assembly. This step completes the initial stitching process, setting the stage for further embellishments and detailing.
2. Creating a Face:
Inserting Eyes:
- Begin by inserting the eyes using one of these techniques.
Adding Eyelids:
- Cut small pieces from felt fabric and carefully glue them to the eyes to create eyelids.
Crafting a Smile:
- Trim the pile of the fabric to form a charming smile, adding character to the face of your creation.
Attaching Ears:
- Sew up the ears securely to the head, ensuring they are positioned as desired for a pleasing aesthetic.
3. Stuffing and Inserting the Joints:
Inserting Joints and Stuffing:
- Begin by carefully reading instructions on how to insert the joints and ensure all parts are filled tightly, except for the body and the ears.
- Take care to sew up any openings securely, ensuring the stuffing remains intact within the plushie.
Finishing Details:
- After sewing, use a needle or an awl to gently free the fur from the seams.
- Next, comb the fur along the seams in various directions to minimize their visibility, achieving a polished and professional finish.
4. Assembling Parts of the Monster:
Attaching Head and Limbs:
- Follow this guide to attach the head and limbs to the body, especially if you are a beginner. Note, that the head always has to be attached first.
Adding Weight and Filling:
- Insert a small textile bag filled with metal granules for weight inside the body, then fill the rest with synthetic filler.
- Once filled, sew up the hole securely to ensure the stuffing remains in place. Carefully remove any excess pile from the seam and comb it for a neat finish.
Final Touches:
- With the assembly complete, your cute monster toy is almost ready to bring joy to its new owner!
Personalization and Creative Touches
One of the best things about crafting cute monsters is the opportunity to let your creativity shine. Feel free to put your own spin on the design by experimenting with different colors, textures, and embellishments.
Use oil paints to give your monster a personal touch, embroider it with claws or cute patches, and add unusual accessories.
Whether you prefer a pastel-colored sweetheart or a wild and wacky creature, the choice is yours!
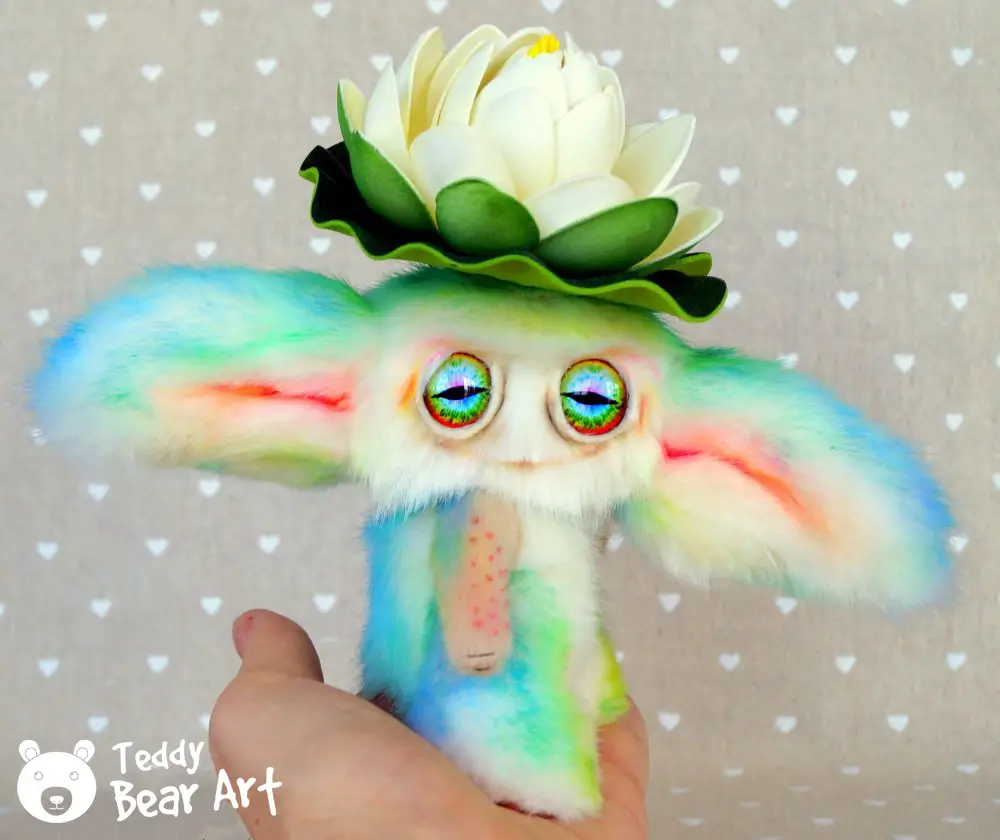
Crafting cute monster plushies is sure to bring a smile to your face and warmth to your heart. With our free sewing pattern in hand, you’re all set to embark on a delightful crafting adventure. Thank you for joining us on this journey, and happy stitching!
More Goodies
Explore our collection of monster sewing patterns to create an array of adorable plush toys.
- Monster Sewing Patterns: Create Plush Toys from a Single Pattern: Utilize our complimentary monster sewing pattern to unlock your creative potential and craft charming plush toys, all from just one pattern!
- Plush Monster Sewing Pattern and Tutorial: Dive into detailed tutorials accompanied by our plush one-eyed monster sewing pattern for a fun crafting experience.
- Step-by-Step Guide for Cute Monster Toy: Follow along with our step-by-step guide and free pattern to craft your own one-eyed cute small monsters.
- Craft a Stuffed Vampire Toy: Get creative with our easy-to-follow tutorial and free pattern to craft a unique stuffed vampire toy.
Get Free Patterns & Be the First to Know!
Want free teddy bear patterns, exclusive tutorials, and a chance to win craft supplies?
Sign up for our newsletter using the subscribe form in the middle of this article to receive new patterns, insider tips, and the latest news on teddy bear art. You’ll also automatically be entered into our annual giveaway for a chance to win teddy bear crafting materials.
Bonus entry: Save one of our pins on Pinterest to increase your chances of winning!
Let’s create, inspire, and craft beautiful teddy bears together!

Hey Hanna,
This article is an absolute gem! Not only does it offer a comprehensive guide to crafting cute monster plushies, but it also exudes a contagious enthusiasm for creativity.
The step-by-step instructions you provided accompanied by vivid imagery, make the crafting process accessible and enjoyable for both beginners and seasoned crafters alike.
Moreover, the article celebrates the joy of customization, encouraging readers like me to infuse their unique personality into their creations. From selecting fabrics to adding personalized touches like embroidered claws or quirky accessories, there’s ample room for creative expression.
Kudos to you Hanna for crafting such an engaging and uplifting piece!
Hey there!
Wow, thank you so much for your incredibly kind words! I’m thrilled to hear that you enjoyed the article on crafting monster plushies. It’s always been my aim to make creativity accessible and fun for everyone, regardless of skill level.
Customization is where the magic truly happens, right? I’m glad you found inspiration in adding those personalized touches to your creations. After all, it’s those unique quirks that make each plushie truly special.
Your support and enthusiasm mean the world to me! Stay tuned for more crafting adventures and feel free to reach out if you ever need any tips or advice. Happy crafting!
Hey Hanna,
This is a great article. Your tutorial on sewing adorable monster plush toys is a fun and inspiring introduction to the creative crafting world. The joy of creating something unique by hand is emphasized, combining simplicity and the chance for individual expression.
This brings up two fascinating points that merit more discussion:
How should someone who has never sewn before approach this project to guarantee a productive and pleasurable crafting session?
What other advantages might participants experience from this creative activity besides making a cute plush toy?
Are there any potential advantages to mental health or learning new skills?
Hey there!
Thanks so much for your kind words! I’m thrilled you enjoyed the article and found the tutorial inspiring.
For someone who’s new to sewing by hand, diving into a project like crafting a monster plush toy can be an exciting adventure! My advice would be to start with the basics. Familiarize yourself with different hand stitches like the running stitch, backstitch, and whip stitch. Practice these stitches on scrap fabric to get comfortable with the motions before diving into the main project. Don’t worry if your stitches aren’t perfect at first – practice makes progress!
Now, onto the second point – the benefits of crafting go far beyond just creating a cute plush toy. Engaging in creative activities like hand sewing can have a multitude of positive effects on both mental and emotional well-being. It can serve as a form of mindfulness, helping to reduce stress and promote relaxation. Plus, there’s something incredibly satisfying about working with your hands and seeing your creation come to life stitch by stitch.
Moreover, crafting is a fantastic way to learn new skills and improve cognitive functions. It enhances problem-solving abilities, boosts self-esteem, and fosters a sense of accomplishment. And let’s not forget the social aspect – joining crafting communities or taking classes can lead to new friendships and a sense of belonging.
So, whether you’re stitching up a quirky monster plush or tackling any other creative project by hand, remember that the benefits extend far beyond the finished product. It’s all about the joy of making and the journey along the way!