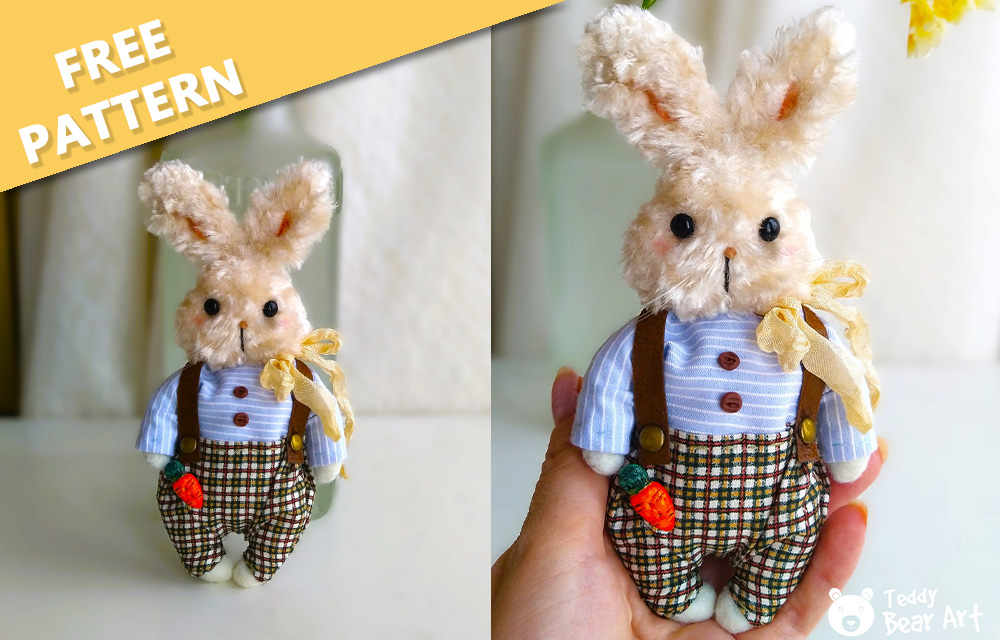
Are you looking for an easy stuffed bunny sewing pattern? You’re in the right place! In this comprehensive guide, we’ll provide you with step-by-step instructions on how to create your very own stuffed bunny, complete with outfit patterns to add a touch of style.
There’s something truly enchanting about bringing a cuddly bunny to life with your own hands. Whether it’s for a cherished gift or simply to add a bit of whimsy to your home decor, this adorable companion is sure to bring joy and charm wherever it goes. Let’s dive in and start crafting your new furry friend!
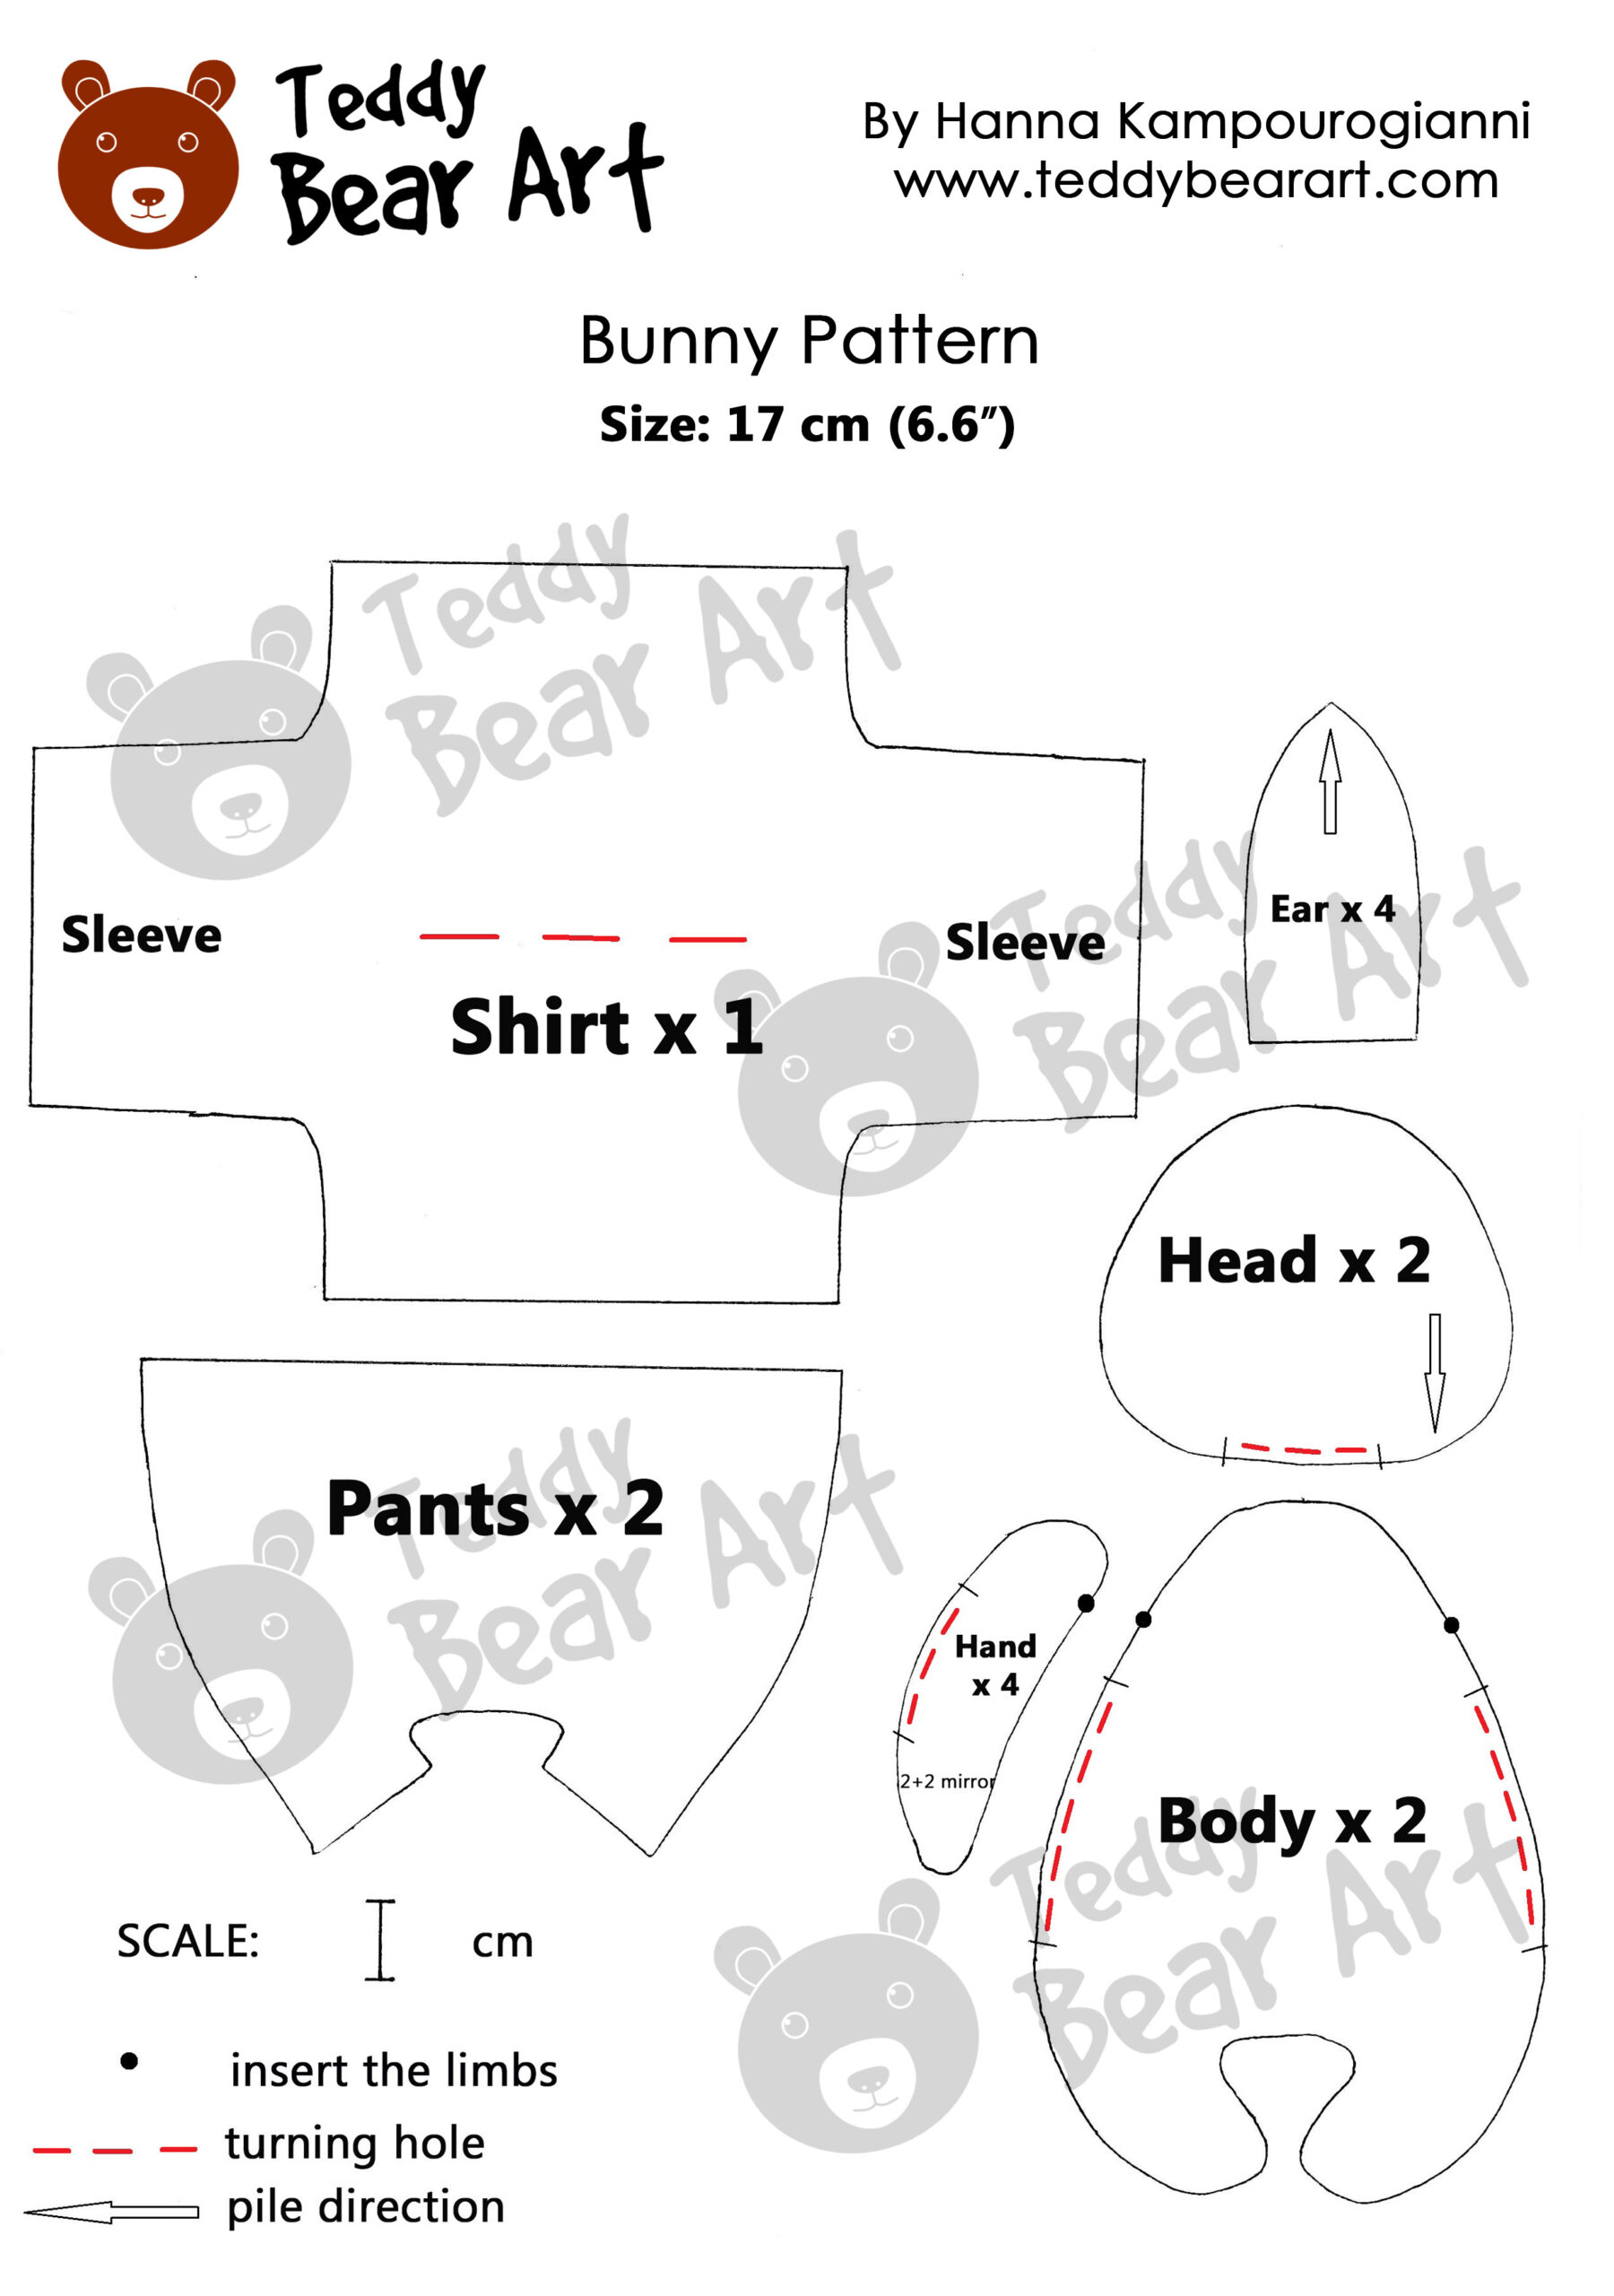
Stuffed Bunny Sewing Pattern Download
Before diving into the sewing process, make sure to download our stuffed bunny sewing pattern.
Follow the instructions below:
- From a computer (Windows).
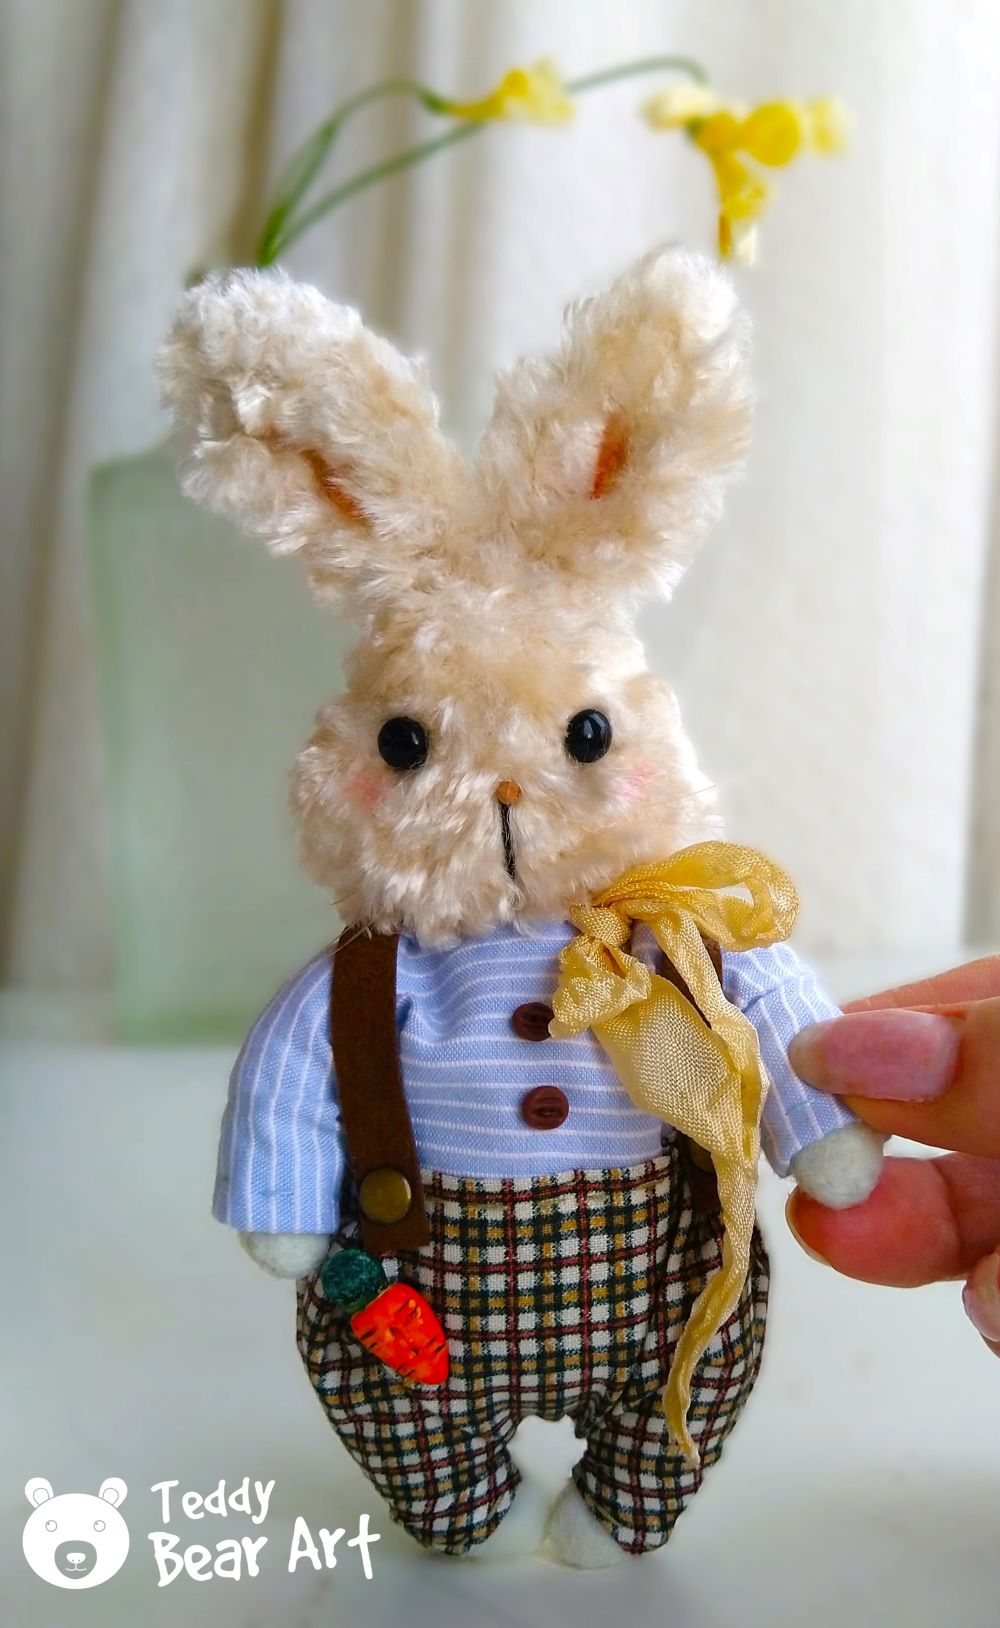
Click on the photo of the pattern you see below. In the new tab that will open, you press the right mouse button and select the “Save image as …” option. Then you choose where you want the image to be saved on your computer. - From a phone or a tablet (Android). There should be something similar for mobile devices with Android or iOS.
Click on the image. Save it by holding your finger on the image and selecting the “Save Image” option. Then go to your photo gallery and print it (there is an option).
Materials and Tools
To get started, gather your materials and tools. You’ll need:
- A small piece of white curly viscose or plush fabric with a pile length of 9 mm
- Thin felt fabric (1-2 mm)
- Cotton fabric
- Scissors
- Needle and thread
- A pair of black glass eyes on a metal loop approx. 6-7 mm in diameter
- Strong thread
- Discs 6 mm in diameter – 2 piece
- Beads 6 mm in diameter – 4 piece
- T-shaped cotter pins 1.6×20 – 3 pieces
- Thin fishing line
- Stuffing material (polyfill)
- Weighting material
- Pliers
- Awl
Step-by-Step Sewing Instructions
Follow our detailed instructions to sew your bunny together. From cutting the fabric to stitching the limbs, we’ll guide you through each step of the process.
- Head Assembly:
- Cut two pieces of viscose or plush for the head, leaving 5 mm seam allowances. Seam them together, leaving an opening for turning inside out. Flip it right side out, stuff it, insert a disc with a cotter pin, and sew the opening shut.
- Embroider a mouth and nose. The bunny’s nose can be sculpted and glued, or you can sew on a small bead or embroider with embroidery floss. Choose your preferred method.
- Seam and attach the ears. Trim the fur inside and at the tips to shape them.
2. Body and Arms:
- Sew the body and arms from felt.
- Stuff the arms with synthetic filling, insert beads with cotter pins, and seam the openings shut.
3. Assembly:
- First, attach the bunny’s head to the body, and then the arms.
- Stuff the body with synthetic filling, optionally add weight and seam the opening shut.
- Craft whiskers for the bunny from the fishing line. Explore how to attach whiskers.
Adding Personal Touches: Outfit Patterns
Dressing your stuffed bunny in adorable outfits adds personality and charm. Let’s explore how to craft stylish attire for your cuddly companion.
Creating Pants:
- Cut out the pants, leaving a 0.5 cm allowance for rolling.
- Roll up and hem the legs and waist of the pants.
- Seam the two parts of the pants together, ensuring a snug fit.
- Carefully turn the pants inside out for a polished finish.
Crafting a Shirt:
- Begin by cutting out the shirt, leaving a 0.5 cm allowance for rolling, focusing only on the sleeves.
- Seam and hem the sleeves neatly.
- Cut along the neckline of the shirt (indicated by a red dotted line) and roll up and hem or overlock it.
- Fold the shirt in half and seam it together, ensuring a symmetrical look.
- Carefully turn the shirt inside out for a clean finish.
Assembling the Outfit:
- Dress your bunny by first putting on the shirt and sewing it at the waist securely.
- Next, dress the bunny in the pants, ensuring beautiful symmetrical folds at the front and the sides.
- Seam the pants to the body with an invisible stitch along the entire waistline, ensuring a seamless and snug fit.
Tip: If you are sewing clothes from fabric whose edges do not fray, then there is no need to roll up or hem the edges.
Dressing your bunny in these handmade outfits adds a touch of whimsy and personality. Enjoy creating stylish looks for your adorable companion!
Finishing Touches and Embellishments
As you near the completion of your stuffed bunny, it’s time to add those final touches that truly bring it to life. Here’s how to add charm and character to your creation.
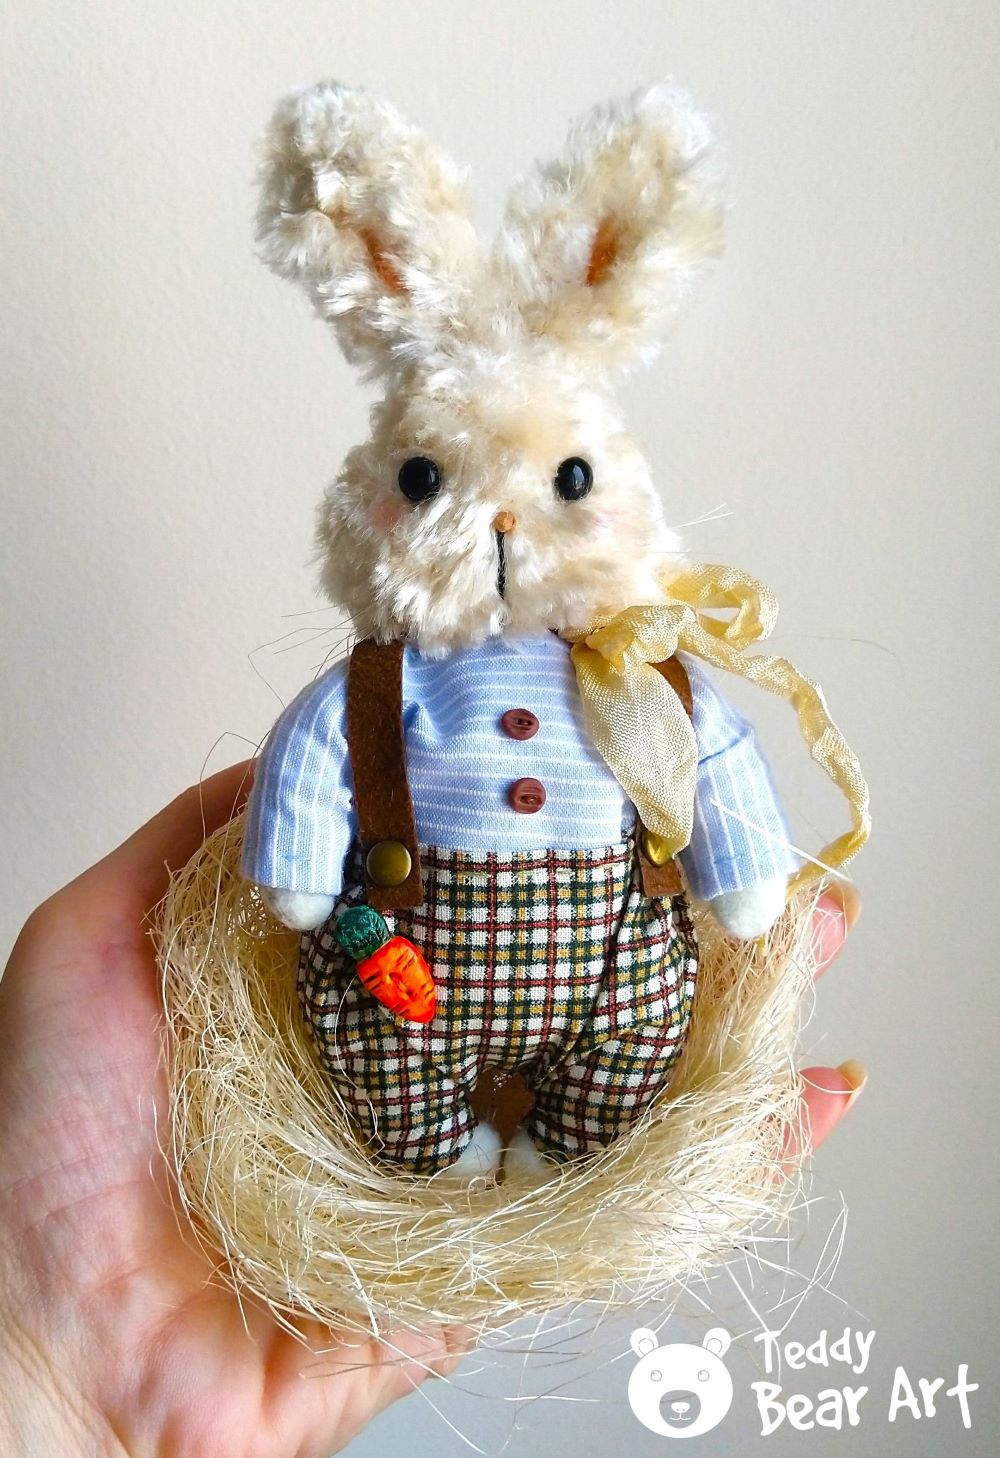
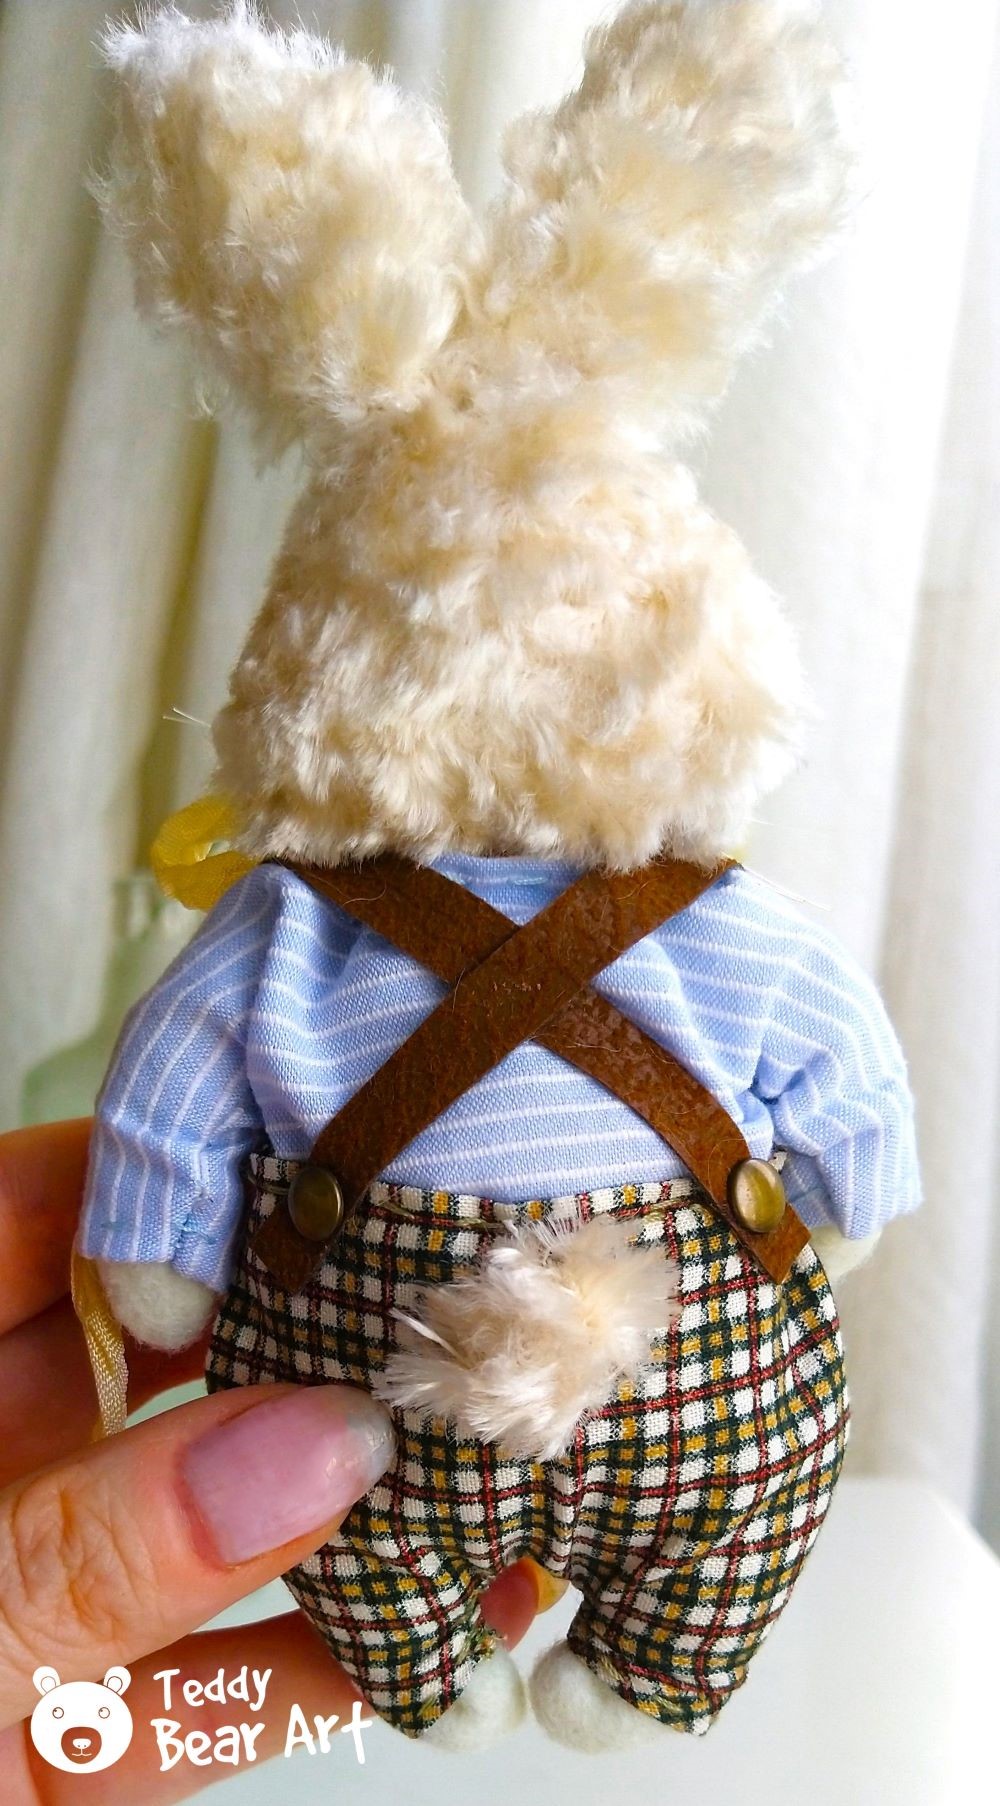
Accessories:
Inject personality into your bunny’s attire by adding suspenders made from faux leather. Cut them out, sew them onto the pants, and embellish with rivets, buttons, or adorable accessories like carrots, flowers, and more. You can also add glasses, ribbons, or a bow tie for extra flair. And of course, don’t forget the tail!
Detailing:
Enhance the realism of your bunny by tinting the insides of its ears and adding a touch of blush for rosy cheeks. These subtle details add depth and warmth to your creation, bringing it to life in a delightful way.
Final Flourishes:
To add a finishing touch of elegance, consider embroidering delicate patterns or adding lace trim to the bunny’s outfit. These small additions can elevate your creation from cute to enchanting, adding a touch of sophistication to your cuddly companion.
Tip: The secret to a harmonious bunny look lies in the scale of the chosen accessories and the print of the fabrics for clothing. The smaller and finer they are, the more beautiful the whole image will look.
By paying attention to these finishing touches and embellishments, you’ll create a stuffed bunny that’s not only adorable but also brimming with personality and charm. Enjoy adding your own creative flair to make your bunny truly one-of-a-kind!
Conclusion
In conclusion, crafting your own stuffed bunny using the provided sewing pattern and outfit designs was a delightful journey filled with creativity and joy. From the initial stages of cutting out fabric to the final touches of adding accessories, each step contributed to the unique character of your bunny.
By following the step-by-step instructions provided in this guide, you learned how to bring your cuddly companion to life with precision and care.
More Goodies
But wait, there’s more! Expand your crafting horizons with these additional goodies:
- Dive into the world of jointed teddy bunnies with our Free Jointed Teddy Bunny Pattern. Create your own posable bunny friend with this versatile pattern.
- Need some guidance? Check out our Free Jointed Teddy Bunny Pattern Tutorial for step-by-step instructions on bringing your jointed bunny to life.
- Dress up your bunny in style with our collection of Teddy Bear Clothes Patterns – Bunny Jacket, including this adorable bunny jacket pattern. Your bunny will be the envy of all its furry friends!
Now, with your newfound skills and inspiration, it’s time to reflect on the memories made and the adorable bunny created.
Happy sewing, and may your future projects be just as fulfilling!
Get Free Patterns & Be the First to Know!
Want free teddy bear patterns, exclusive tutorials, and a chance to win craft supplies?
Sign up for our newsletter using the subscribe form in the middle of this article to receive new patterns, insider tips, and the latest news on teddy bear art. You’ll also automatically be entered into our annual giveaway for a chance to win teddy bear crafting materials.
Bonus entry: Save one of our pins on Pinterest to increase your chances of winning!
Let’s create, inspire, and craft beautiful teddy bears together!
Hey there Teddy Bear Art team!
Just stumbled upon this awesome guide and had to drop a comment. Hanna, your Easy Stuffed Bunny Sewing Pattern is seriously impressive!
Although I’m not usually into crafting, I couldn’t resist checking out this guide. And I gotta say, it’s got me intrigued. The idea of making my own stuffed bunny with some cool outfits? That’s pretty neat.
I like the step-by-step instructions you’ve laid out here. Makes me feel like even a guy like me could give it a shot. And those outfit patterns? Surprisingly stylish. Who knew dressing up a bunny could be so fun?
I’m not sure if sewing’s my thing, but your guide has piqued my interest. Might have to give it a try and see how it goes. Thanks for sharing this with us, Hanna. Keep up the awesome work!
Looking forward to seeing more cool stuff on your site. Cheers!
Hey there!
Thanks so much for checking out the guide and leaving such a cool comment! 😊 It’s awesome to hear that even if crafting isn’t usually your thing, you found the guide interesting. Who knows, maybe giving it a shot could be a fun new adventure!
If you do decide to try it out, feel free to reach out if you have any questions or need any tips along the way. And don’t forget to share your bunny creation with us if you do make one—I’d love to see how it turns out!
Thanks again for stopping by, and happy crafting! 🐰✨
What a delightful guide to crafting a stuffed bunny! The step-by-step instructions and outfit patterns included here make it seem so easy and fun to create your own cuddly companion.
I’m curious, for those who may be new to sewing, what tips would you offer to ensure a successful outcome when following this guide? Additionally, have you personally tried making any other stuffed animals using similar patterns?
Thank you so much for your kind words! I’m thrilled to hear that you enjoyed the guide to crafting a stuffed bunny. Sewing your own cuddly companion can indeed be a rewarding experience.
For those who are new to sewing, I would offer a few tips to ensure a successful outcome:
1. Start Simple: Begin with basic patterns and gradually work your way up to more complex designs as you gain confidence and skill.
2. Take Your Time: Sewing can be a relaxing and enjoyable activity, so don’t rush through it. Take your time to carefully follow each step of the instructions.
3. Practice Patience: Mistakes happen, especially when you’re learning something new. Don’t get discouraged if things don’t turn out perfectly on your first try. Keep practicing, and you’ll improve with time.
4. Use Quality Materials: Invest in good-quality fabric and tools to ensure a professional-looking finished product.
5. Don’t Hesitate to Ask for Help: If you’re unsure about a certain technique or step, don’t hesitate to reach out for help. There are plenty of online communities and resources available where you can seek advice and guidance from more experienced sewists.
As for other stuffed animals, yes, I’ve personally tried making various creatures using similar patterns. From teddy bears to kittens to elephants, there’s no limit to the adorable companions you can create with a bit of creativity and some basic sewing skills. Each project brings its own unique challenges and joys, making the journey of crafting stuffed animals truly delightful!