Many people want to learn how to make DIY stuffed animals, but don’t know where to start. Information is often scattered across different websites and videos, making it difficult for beginners to put it all together. We created this complete guide to show you step by step which materials you need, how to choose a pattern, and how to sew your very first DIY stuffed animal at home. Everything is simple, clear, and approachable, even if you’ve never held a needle before.
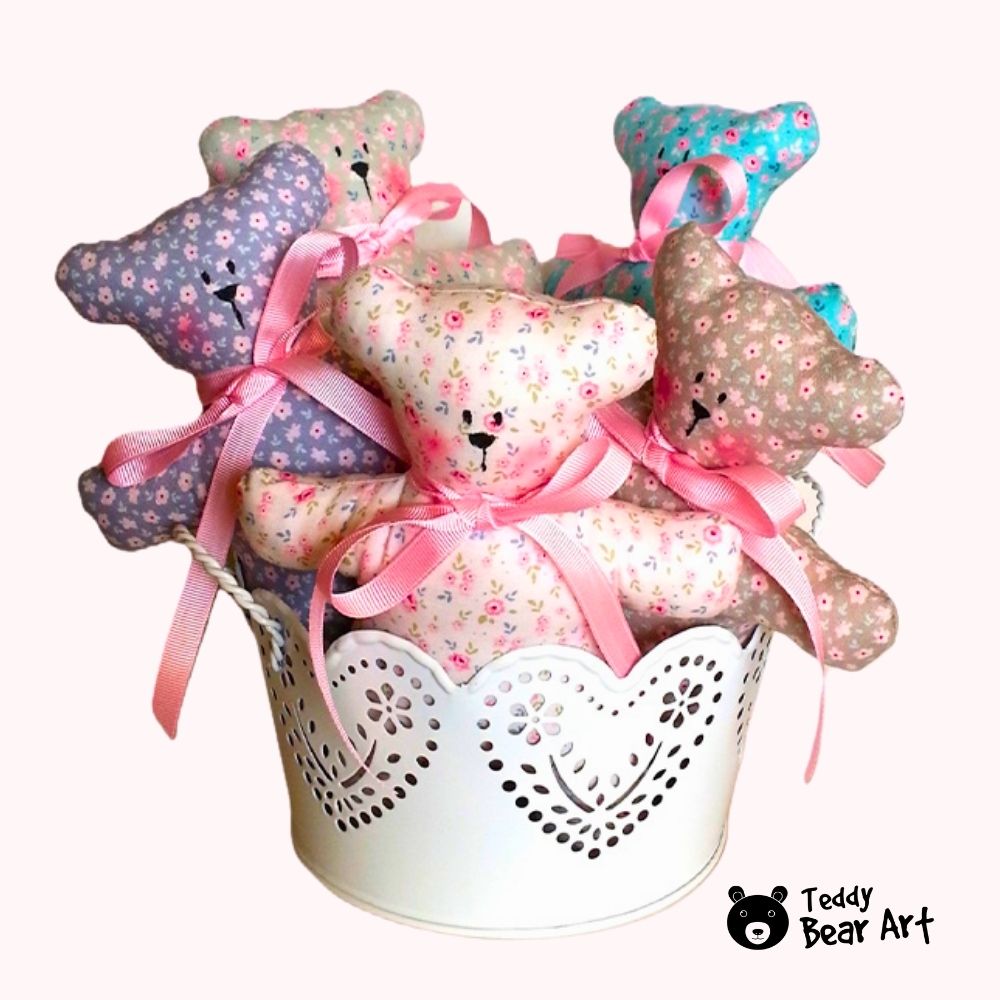
DIY stuffed animals are handmade toys crafted from fabric, stuffing, and a little imagination. Unlike mass-produced plushies, these are one-of-a-kind. You can choose the colors, fabrics, and finishing touches, which make each toy a reflection of your personality. For many crafters, they also become treasured gifts that carry memories and warmth.
Essential Materials and Tools
Before you start cutting fabric, gather your supplies. The basics include:
- Fabric: Felt, cotton, fleece, plush, or faux fur. Beginners usually find felt or fleece the easiest to sew.
- Stuffing: Polyfill, wool, cotton scraps, or even small plastic pellets to add weight.
- Tools: Sharp scissors, sewing needles, thread, pins, or a sewing machine if you prefer.
- Extras: Safety eyes, beads, or any kind of eyes you wish, buttons, ribbons, or embroidery thread for features.
Tip: Keep a small basket with all your supplies. Having everything in one place makes the project smoother.

Choosing or Creating a Pattern
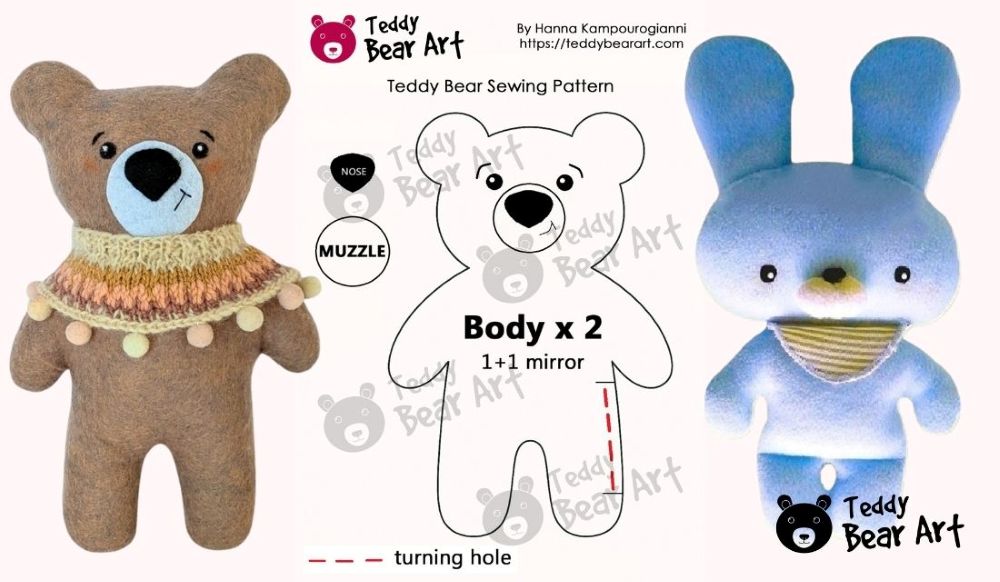
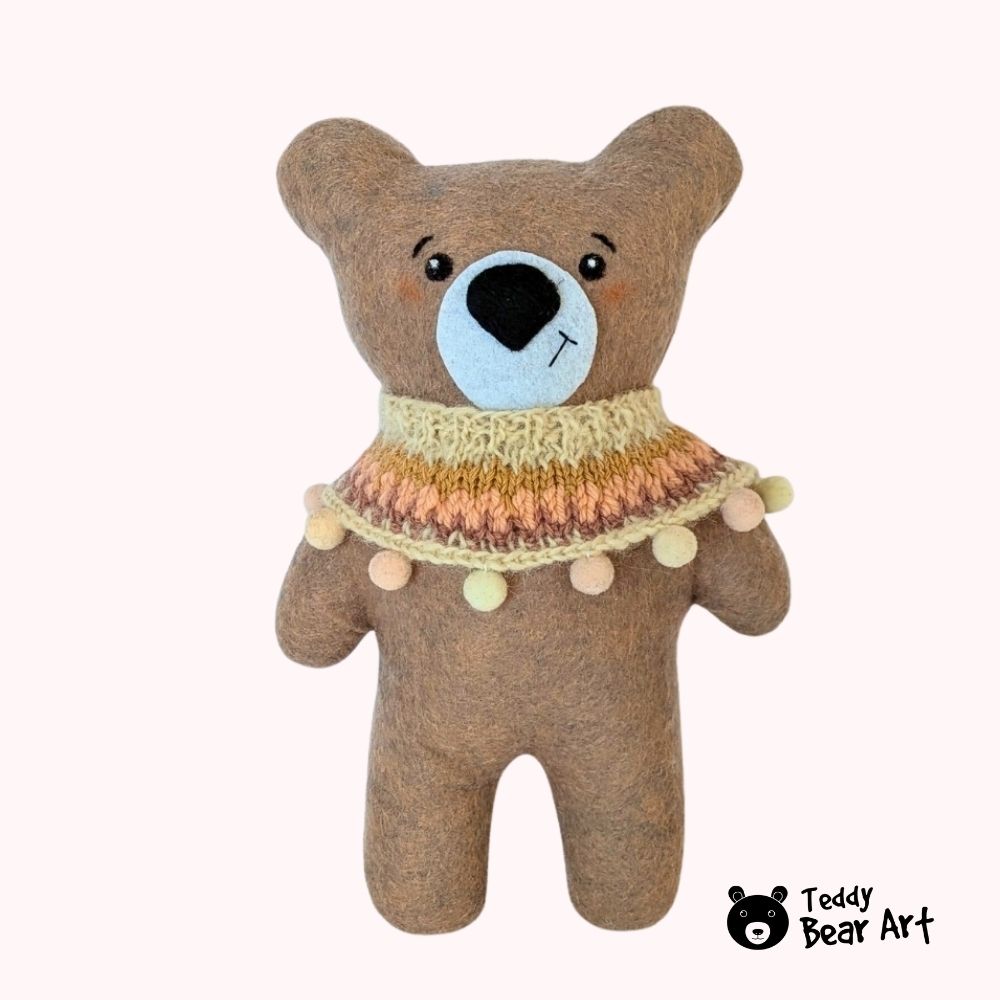
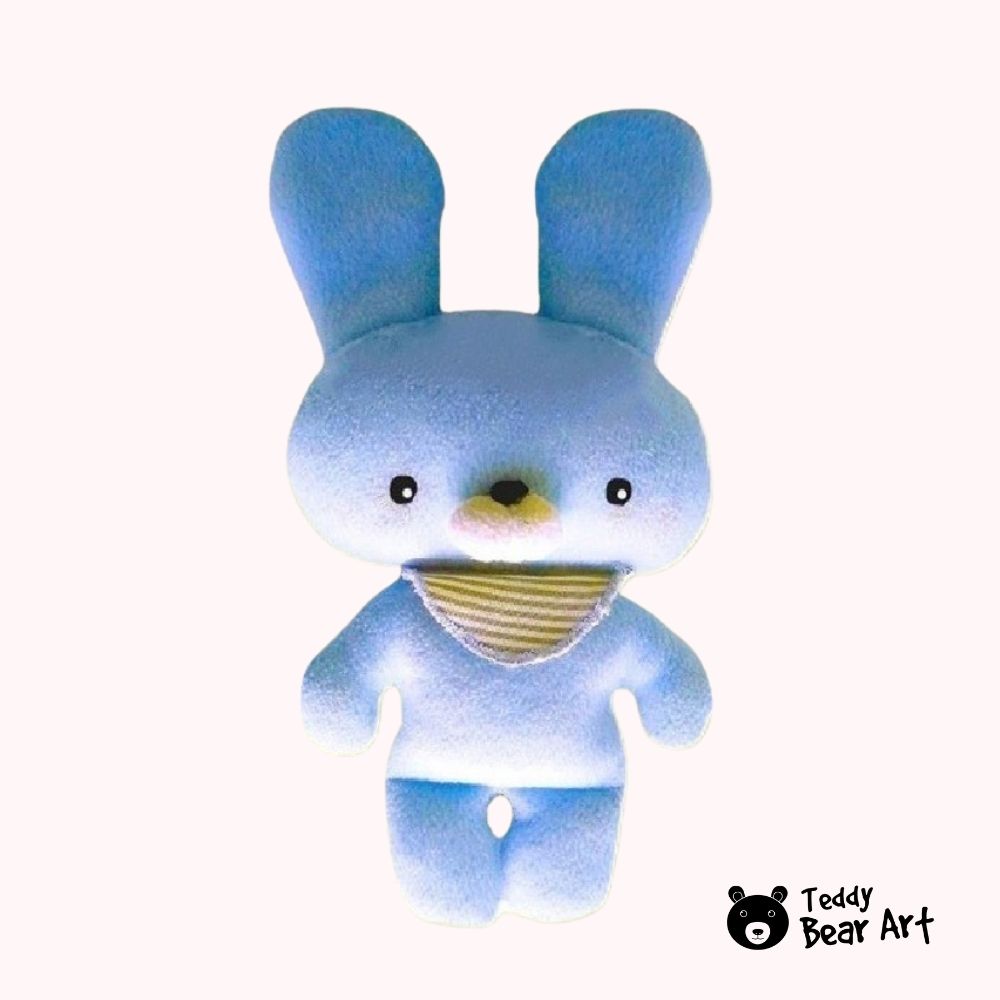
A pattern is your starting point. You can download free printables, buy professional designs, or sketch your own. Beginners might enjoy simple silhouettes like a teddy bear, a bunny, or even a heart-shaped plush. To make things easier, here are three beginner-friendly patterns you can use right away:
When working with patterns, keep in mind that the size you choose will affect both the level of detail and the sewing difficulty. A larger bear is usually easier to work with, while a tiny animal requires more patience and precision.
Step-by-Step Guide: How to Make DIY Stuffed Animals
Step 1: Trace the pattern
Lay your fabric flat and trace each piece with a fabric marker or a simple pencil. Leave a small seam allowance (around 0.5–1 cm).
Step 2: Cut your fabric
Use sharp scissors for clean edges. Cutting slowly helps prevent uneven lines.
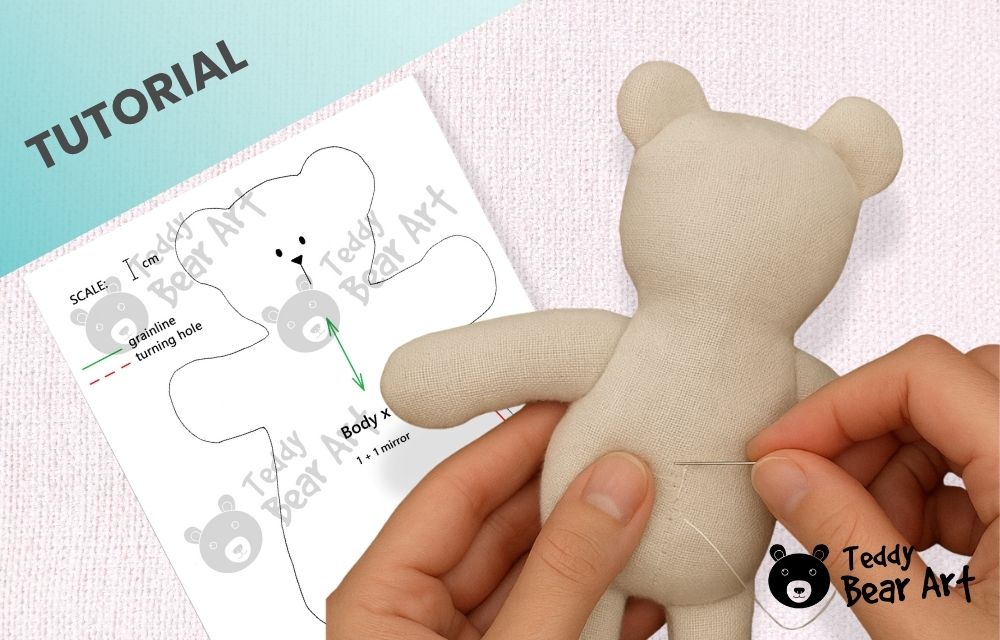
Step 3: Sew the pieces together
Place fabric pieces right sides facing each other and sew along the edges, leaving a small opening. You can do this by hand or on a machine.
Step 4: Turn inside out
Carefully flip the fabric so the seams are hidden inside. A wooden chopstick or pencil helps push out corners like ears and arms.
Step 5: Stuff your toy
Insert stuffing gradually, pressing it into small areas first. The goal is even firmness without lumps.
Step 6: Close the opening
Use a ladder stitch or another invisible seam to close the back neatly. Take your time—this last step makes the toy look professional.
Step 7: Add decorations
Sew on button eyes, embroider a nose, or tie a ribbon around the neck. Small outfits like dresses or scarves can bring even more personality to your creation.
Safety Tips:
If you’re making a toy for a child, safety comes first. Replace buttons with embroidered eyes for toddlers, double-stitch seams so stuffing doesn’t escape, and avoid beads or other small parts that could be swallowed.

FAQ
What is the easiest DIY stuffed animal for beginners?
The easiest DIY stuffed animals for beginners are usually simple shapes like teddy bears, bunnies, or cats made from felt or fleece. These fabrics are easy to cut and sew, and using a basic paper pattern helps you practice stitching without frustration.
Can I make DIY stuffed animals without a sewing machine?
Absolutely! DIY stuffed animals can be made entirely by hand using backstitch. Hand-sewing gives you precise control, especially for small details like ears, paws, or decorative features.
How do I make my DIY stuffed animals look professional?
Pay attention to even stitching, properly aligned patterns, and consistent stuffing. Turning the seams inside out carefully and closing openings with invisible stitches can make a big difference. Adding small details like ribbons, tiny clothes, or embroidered faces enhances the overall finish.
Before You Go
DIY stuffed animals are more than a craft project—they’re an expression of creativity and care. Start simple, enjoy the process, and don’t stress about perfection. Each stitch adds character, and every toy becomes a little work of art. So gather your fabric, pick a pattern, and bring your very own soft and huggable friend to life.
Get Free Patterns & Be the First to Know!
Want free teddy bear patterns, exclusive tutorials, and a chance to win craft supplies?
Sign up for our newsletter using the subscribe form in the middle of this article to receive new patterns, insider tips, and the latest news on teddy bear art. You’ll also automatically be entered into our annual giveaway for a chance to win teddy bear crafting materials.
Bonus entry: Save one of our pins on Pinterest to increase your chances of winning!
Let’s create, inspire, and craft beautiful teddy bears together!
The Step-by-Step Guide was especially helpful it broke the process down into such manageable parts, making something that could feel intimidating seem totally doable. I loved how practical the tips were, like using a chopstick to turn the fabric or the suggestion to keep all materials in a single basket. Those small details really show a thoughtful understanding of beginner crafters’ needs. One thing I appreciated was the reminder that imperfections don’t take away from the charm every stitch adds personality. That mindset really encourages creativity over perfectionism. For those who want to design their own patterns, are there any beginner tips or tools you recommend for sketching and scaling shapes? And what’s the best way to fix small mistakes, like uneven seams or stuffing lumps, without having to start over?
Aww, thank you so much for such a thoughtful comment — that truly made my day!
I’m really glad the step-by-step guide felt clear and encouraging for you. I honestly believe those little practical details (like the chopstick trick or keeping everything in one basket) can make crafting feel a lot less overwhelming and way more fun.
When it comes to designing your own patterns, a great beginner-friendly tip is to start with simple shapes — circles, ovals, and soft curves are your best friends. I love using plain printer paper or thin cardboard for sketching because it’s easy to adjust. If you want clean, symmetrical pieces, fold your paper in half and draw only one side of the shape — then cut it out so both sides match perfectly.
For scaling patterns, a basic ruler or a grid cutting mat works wonders. Some crafters also use free online grid generators or tracing paper to enlarge or reduce their pattern evenly without losing proportions.
And don’t worry about little hiccups like uneven seams or lumpy stuffing — they happen to everyone (even seasoned makers!). If a seam looks wonky, gently unpick just that small section with a seam ripper and re-stitch it — no need to undo the whole piece. For stuffing lumps, try massaging and redistributing the filling with your fingers or a blunt tool (like the chopstick again!) to smooth everything out.
Thank you for such a detailed and easy-to-follow article — it really inspired me to finally try making my own soft toy at home. I’ve been thinking about it for a while, but didn’t know where to start, and your step-by-step instructions made everything look much less intimidating.
I have a question: is it okay to use an old cotton pillowcase instead of fleece or plush for my first project? I’d love to practice with materials I already have at home before buying something new.
Thank you so much for your kind words. I’m really glad the article inspired you to give it a try.
Yes, you can absolutely use an old cotton pillowcase for your first project. Cotton works well, especially if the fabric is dense.