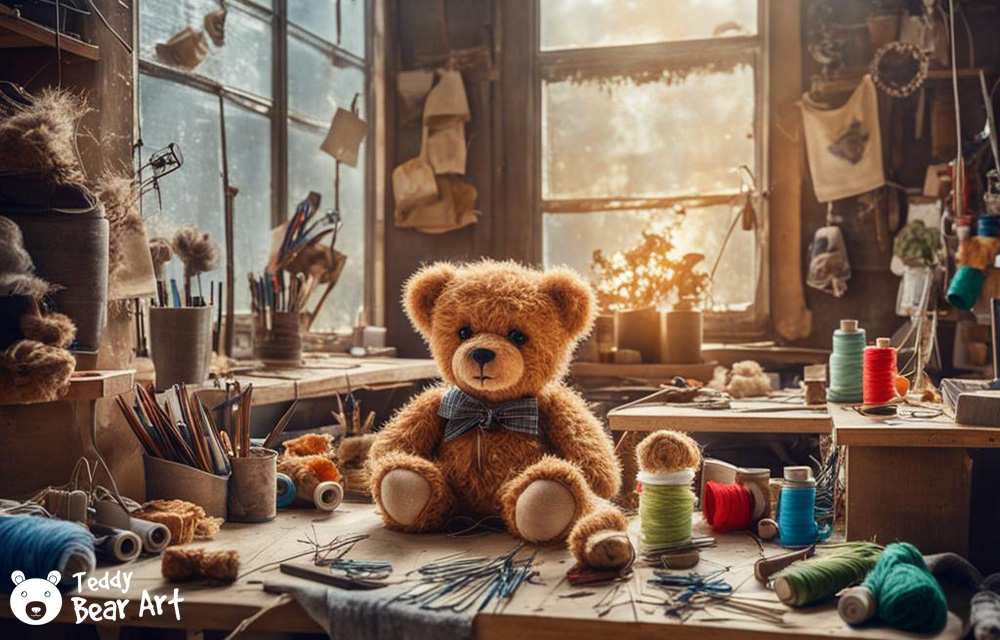
Are you eager to learn the art of creating cuddly companions? Welcome to our Teddy Bear Tutorial for Beginners, where we’ll take you on a delightful journey into the world of teddy bear making. Throughout this tutorial, we’ll provide an overview of the materials and tools needed for a beginner, step-by-step instructions, practical tips, and helpful resources to guide you every step of the way.
From selecting the perfect pattern to mastering basic sewing techniques, we’ll cover all the essentials you need to start creating your own cuddly companions.
This blog post will set the stage for your teddy bear-making adventure. Imagine the joy of holding a teddy bear that you’ve crafted with your own hands—a unique creation infused with love and personality. Our goal is to empower you to bring your imagination to life through the magic of teddy bear making.
So, whether you’re dreaming of crafting a cherished keepsake for yourself or a heartfelt gift for someone special, grab your supplies and get ready to embark on an enchanting journey into the world of teddy bear making. Let’s dive in and unleash your creativity together!
The List of Materials and Tools
Before diving into the full list of materials and tools, it’s important to know exactly what supplies are essential to get you started on the right foot. To make it easier for beginners, I’ve put together a detailed guide covering the Top 10 Teddy Bear Making Supplies You Need as a Beginner. This list highlights the must-have items that will help make your crafting process smoother and more enjoyable.
Let’s kickstart your teddy bear-making adventure by getting everything in place. Before you dive into your first project, it’s crucial to gather all the necessary supplies and set up your crafting space. This ensures a smooth and enjoyable experience from start to finish.

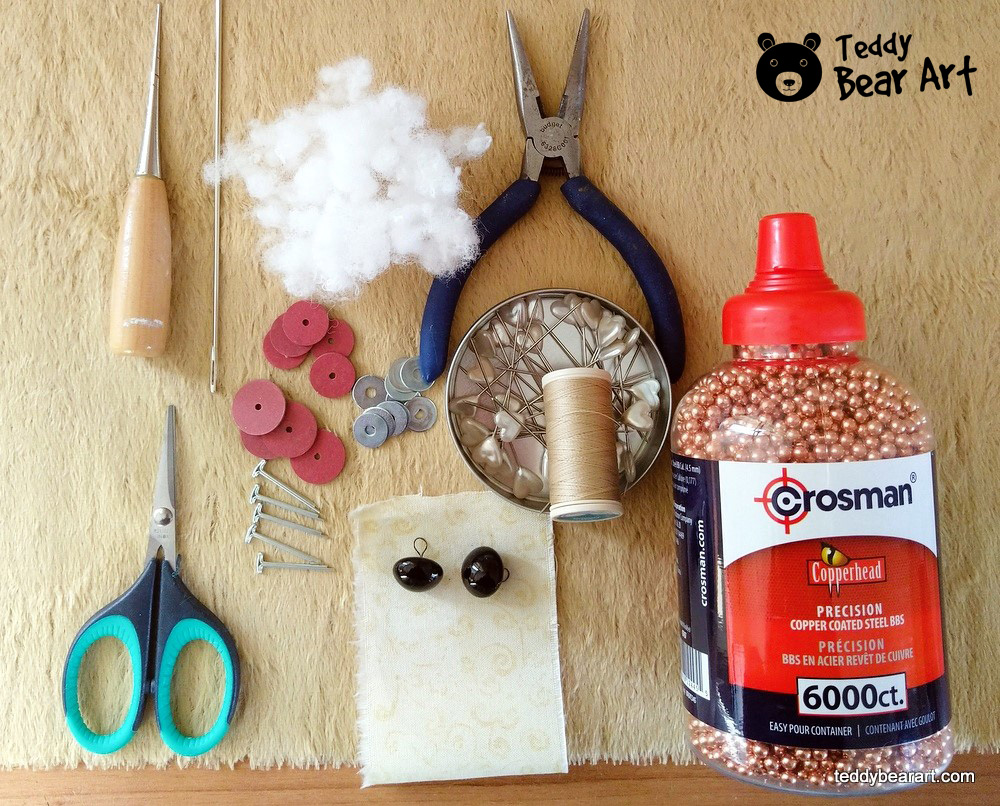
Firstly, gather your materials. You’ll need:
- Fabric: Choose a soft and durable fabric for your teddy bear’s body and limbs. Opt for materials like mohair, cotton, or fleece in colors and textures that suit your preferences.
- Stuffing: Select a high-quality stuffing material to give your teddy bear its cuddly form. Polyester fiberfill is a popular choice, providing softness and resilience.
- Disks and Joints: For jointed teddy bears, you’ll need disks and joints to connect the limbs to the body. These components allow your teddy bear to move and pose realistically.
- Sewing Needles: Invest in a set of sewing needles suitable for hand stitching. Choose needles of various sizes to accommodate different fabrics and stitching techniques.
- Thread: Stock up on strong, durable sewing thread in colors that complement your chosen fabric. Ensure you have a thread in both matching and contrasting colors for various sewing tasks.
- Safety Eyes, Buttons, or Glass Eyes: Consider using safety eyes, buttons, or glass eyes to add lifelike features to your teddy bear’s face. Safety eyes are specially designed for plush toys, with a secure backing to prevent them from coming loose. Buttons can also be used for eyes and noses, but ensure they’re securely attached to prevent any choking hazards. For a more realistic look, you may opt for glass eyes, which come in a variety of colors and sizes. Whichever option you choose, ensure they’re securely attached to your teddy bear’s face according to the pattern instructions. Safety is paramount when selecting and attaching facial features to your teddy bear.
- Embroidery Floss: For adding decorative details or stitching facial features, have a selection of embroidery floss in coordinating colors on hand.
- Weighted Materials (Optional): Adding weight to your teddy bear can give it a more lifelike feel and enhance its cuddliness. Here are some weighted materials you may consider incorporating into your project:
- Polypropylene Pellets: These small plastic beads are commonly used as stuffing material and can also be used to add weight to specific parts of your teddy bear, such as the bottom or feet.
- Glass, Steel, or Copper Beads: Tiny beads provide a substantial weight and can be strategically placed within the teddy bear’s body to achieve a balanced feel.
- Microbeads: Microbeads are even smaller than polypropylene pellets and can be used to add weight without creating bulkiness. They’re often used in conjunction with other stuffing materials for a softer feel.
Tools:
- Scissors: A sharp pair of scissors is essential for cutting fabric with precision. For the first time, you can use the scissors you have, but in the future invest in fabric scissors specifically designed for cutting through multiple layers of fabric without fraying.
- Awl: An awl is a handy tool for creating small holes in the fabric for inserting joints or positioning features like eyes and nose securely.
- Pliers: Pliers are useful for gripping and tightening joints, ensuring they’re securely fastened to the fabric.
- Pins: Use straight pins to hold fabric pieces together during the sewing process. Opt for rust-resistant pins with flat heads for easy insertion and removal.
- Pattern: Choose a teddy bear pattern suited to beginners. Look for patterns with clear instructions and simple construction to help you navigate the crafting process with ease.
- Optional Embellishments: Depending on your design preferences, consider adding embellishments such as ribbons, bows, or appliques to customize your teddy bear’s appearance.
Once you’ve gathered your supplies, find a comfortable and well-lit workspace where you can spread out and work without interruption. Having a dedicated crafting area allows you to focus on your project and ensures you have everything you need within reach.
Organize your materials neatly, keeping them sorted and easily accessible. This not only streamlines the crafting process but also prevents frustration and unnecessary delays.
Now that you’re all set up and ready to go, it’s time to dive into the exciting world of teddy bear making. With your supplies at the ready and your creative spirit ignited, let’s embark on this delightful journey together!
Choosing the Right Pattern
For more insights into understanding the difference between handmade stuffed toys and collectible teddy bears, explore our article: Understanding the Difference Between Handmade Stuffed Toys and Collectible Teddy Bears.
When it comes to choosing the right pattern for your teddy bear project, it’s essential to select one that suits your skill level and preferences. Beginner-friendly patterns often feature simple designs with clear instructions, making them ideal for those new to teddy bear making.
Look for patterns that include step-by-step guides and templates for cutting and sewing, ensuring a smooth and enjoyable crafting experience.
To help you get started, we’ve curated a selection of beginner-friendly teddy bear patterns from our collection. These patterns are designed with simplicity and clarity in mind, perfect for those embarking on their teddy bear-making journey.
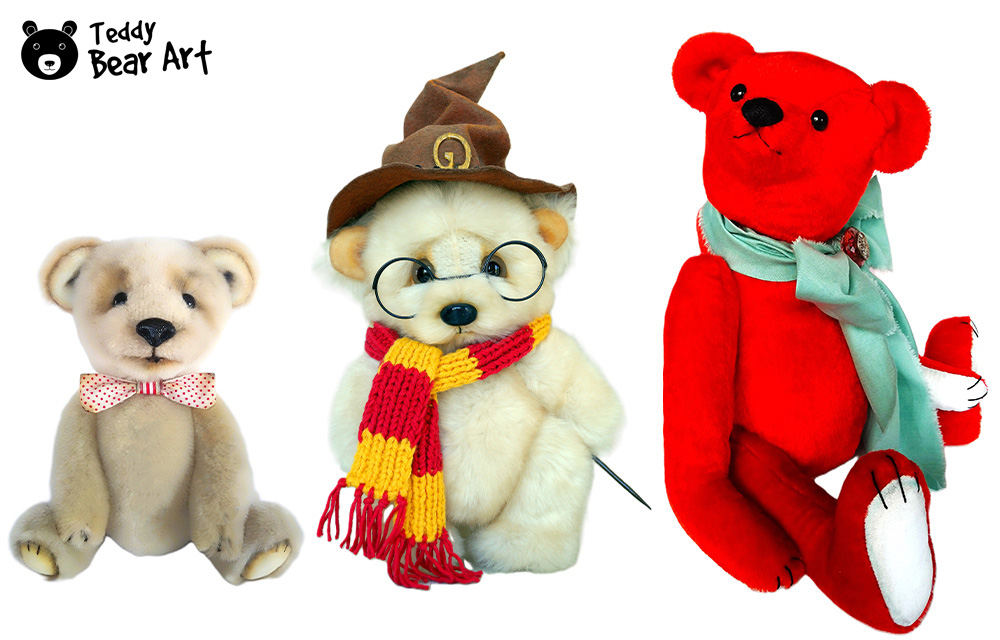
Explore our range of patterns, each offering a unique design and style to suit your tastes. Whether you prefer classic teddy bears or whimsical characters, you’re sure to find the perfect pattern to inspire your creativity.
Check out our beginner-friendly teddy bear patterns:
- Classic Teddy Bear Pattern: Dive into the world of teddy bear making with this timeless design. Explore our exclusive Mohair Red Teddy Bear Sewing Pattern for a glimpse into classic craftsmanship: Sneak Peek: Exclusive Mohair Red Teddy Bear Sewing Pattern and Unveiling the Charm: The Red Teddy Bear Sewing Pattern Guide.
- Cute and Cuddly Bear Pattern: Embrace simplicity and sweetness with our adorable free Teddy Bear Sewing Pattern Guide. Perfect for beginners of all ages, it’s a delightful introduction to the art of teddy bear making: Free Teddy Bear Sewing Pattern Guide.
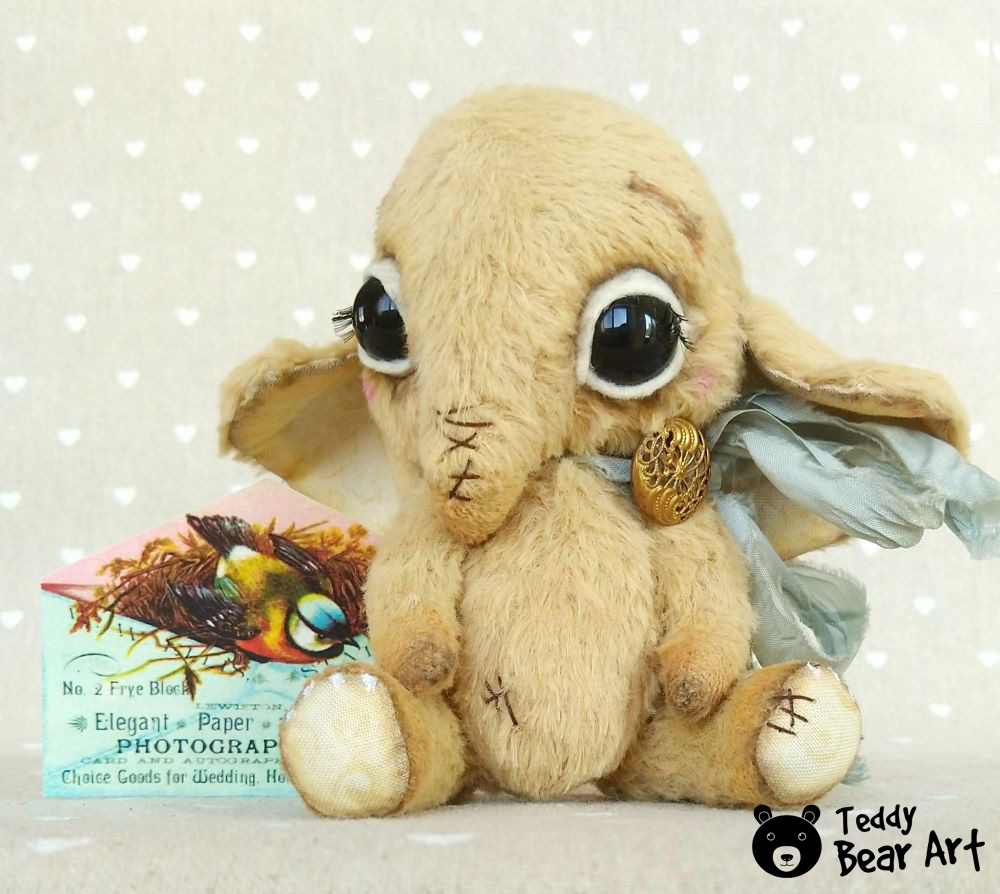
- Whimsical Teddy Bear Pattern: Unleash your creativity with our charming Bear Friend Baby Elephant pattern. Discover the joy of crafting unique characters and exploring imaginative designs: Crafting with the Perfect Teddy Elephant Pattern: Elephant Love.
With these patterns at your fingertips, you’ll be well-equipped to embark on your teddy bear-making adventure with confidence and creativity.
Where to Buy Bear Making Supplies
Now that you’ve selected your pattern, it’s essential to gather the supplies needed to bring your teddy bear to life. Here are some tips on where to find high-quality materials and essential tools:
- Local Fabric Stores: Explore nearby fabric stores in your area, where you can find a variety of fabrics suitable for teddy bear making. These stores often carry a selection of stuffing, sewing notions, and other crafting supplies.
- Online Retailers: Browse online retailers specializing in crafting and sewing supplies. Websites like Amazon, and Etsy offer a wide range of materials, patterns, and tools for teddy bear making, often with convenient shipping options.
- Specialty Teddy Bear Suppliers: Consider purchasing supplies from specialty teddy bear suppliers, who offer a curated selection of materials specifically tailored for teddy bear making. These suppliers may carry unique fabrics, safety eyes, and other teddy bear-specific supplies not readily available elsewhere.
- Crafting Communities and Forums: Join online crafting communities and forums where members share tips, recommendations, and resources for teddy bear making. These communities can be valuable sources of information on where to find specialized materials and tools.
For more detailed information on where to buy teddy bear making supplies in the UK, check out our blog post: Teddy Bear Making Supplies in the UK: The List of Shops.
By exploring these avenues, you’ll be able to gather all the supplies you need to embark on your teddy bear-making journey with confidence and creativity.
Understanding Basic Techniques
Before you start stitching, let’s sharpen your fabric-cutting skills. Consistently clean and accurate cuts are crucial for a well-made teddy bear. To achieve this, ensure your fabric is firmly secured to a flat surface before cutting.
Use sharp fabric scissors and move them smoothly along the pattern lines, applying even pressure for precise cuts. Leave approximately 7 mm from the edge. Remember to take your time and double-check your cuts to avoid any mistakes.
Moving on to stitching seams, let’s focus on mastering the basics. Whether you’re using a sewing machine or sewing by hand, start with straight seams. Practice sewing along the edge of your fabric, maintaining a consistent seam allowance.
Take it slow at first to ensure accuracy, gradually increasing your speed as you gain confidence. Don’t forget to backstitch at the beginning and end of each seam to secure your stitches and prevent unraveling.
As you progress, experiment with different seam finishes to enhance the durability and appearance of your teddy bear. Practice techniques such as zigzag stitching or serging to prevent fraying and add a professional touch to your seams.
When it comes to hand sewing, there are several stitches you’ll need to know for teddy bear making.
The basic running stitch is ideal for joining pieces of fabric together with a simple straight stitch before the main stitching process begins.
Use a backstitch as the main stitch to sew together pieces of fabric, providing strength and durability to your teddy bear’s seams.
Additionally, the ladder stitch is perfect for neatly and discreetly closing seams, giving your teddy bear a polished and professional finish.
Starting Your First Teddy Bear
Now that you have all your supplies gathered and your skills honed, it’s time to embark on your first teddy bear project. We’ll walk you through each step of the process, from assembling your materials to stitching the final seams, ensuring a successful and rewarding crafting experience.
For a comprehensive guide on assembling materials and preparing your workspace, check out our blog post: Preparing for Your First Teddy Bear Project.
Once you’re ready to start stitching, our tutorial on Basic Sewing Techniques for Teddy Bear Making will provide you with step-by-step instructions and expert tips to ensure clean and precise stitches.
When it comes to putting it all together, our article Assembling Your Teddy Bear: Step-by-Step Guide will guide you through the process, from sewing the body pieces to attaching the limbs and adding the finishing touches.
For guidance on attaching eyes to your teddy bear, explore our blog post: 5 Ways to Attach Teddy Bear Eyes and Bring Them to Life.
And if you’re interested in jointing your teddy bear for added flexibility, don’t miss our tutorial: How to Make a Jointed Teddy Bear: Mastering Limbs with Discs and Cotter Pins.
By following these detailed guides and tutorials, you’ll be well-equipped to bring your first teddy bear to life with confidence and skill.
Conclusion
Congratulations on completing your first teddy bear tutorial! Whether you’re crafting a bear for yourself or as a heartfelt gift for a loved one, we hope this guide has inspired you to explore the world of teddy bear making further. Stay tuned for more tips, tricks, and tutorials to take your crafting skills to the next level!
Explore a wide range of teddy bear patterns and tutorials for beginners at our library. With an extensive collection of designs and resources, you’ll find everything you need to kickstart your teddy bear-making journey.
Get Free Patterns & Be the First to Know!
Want free teddy bear patterns, exclusive tutorials, and a chance to win craft supplies?
Sign up for our newsletter using the subscribe form in the middle of this article to receive new patterns, insider tips, and the latest news on teddy bear art. You’ll also automatically be entered into our annual giveaway for a chance to win teddy bear crafting materials.
Bonus entry: Save one of our pins on Pinterest to increase your chances of winning!
Let’s create, inspire, and craft beautiful teddy bears together!
Hey Hanna,
What a delightful and comprehensive introduction to the art of creating teddy bears. This tutorial seems ideal for those new to crafting who want to start making adorable creations.
A few questions popped into my mind:
What difficulties may novices encounter when sewing teddy bears, and how can they get past them?
Given the range of materials mentioned, how can one select the best fabric for durability without sacrificing the teddy bear’s softness?
Hey there!
Thanks for the kind words! I’m glad you found the tutorial helpful.
To address your questions:
1. Novices often face challenges with sewing teddy bears, such as getting the proportions just right or stitching on small details. One common hurdle is achieving a smooth, seamless finish, especially around curves and joints. My advice? Practice, practice, practice! Starting with simpler patterns and gradually working your way up can help build confidence and skills. And don’t be afraid to seek out online tutorials or join crafting communities for support and guidance.
2. Choosing the right fabric is crucial for both durability and softness. For durability, look for fabrics with a tight weave and good tensile strength, like mohair or dense cottons. These materials can withstand the wear and tear of cuddles and playtime. As for softness, opt for plush fabrics like faux fur or high-quality minky. These materials not only feel luxurious but also provide that huggable factor we all love in teddy bears. Ultimately, it’s about finding the perfect balance between durability and softness based on your preferences and the intended use of the teddy bear.
Hope this helps! Let me know if you have any more questions or if there’s anything else I can assist you with. Happy crafting!
I’m new to this but I found it really enjoyable and easy to follow. Me and my wife are potentially looking to go ahead with something like this for our kids.
The steps that you have laid have tempted us to give it a try!
Do you mind if we ask, do you have any recommendations for materials that are beginner friendly but also kind to the budget? Unfortunately money matters and would love some more information on best pricing.
Thanks for sharing!
Chris
Hey Chris!
Thanks for jumping into the teddy bear making journey with us! It’s awesome to hear that you and your wife are considering it for your kids.
When it comes to materials, there are definitely some budget-friendly options out there. For starters, you can look for basic fabrics like fleece or felt, which are not only affordable but also easy to work with, especially for beginners. They come in a variety of colors and textures, perfect for creating adorable teddy bears.
For stuffing, polyester fiberfill is a popular choice. It’s soft, hypoallergenic, and budget-friendly. You can usually find it at craft stores or online in bulk at a reasonable price.
And don’t forget about the little extras like safety eyes and noses! You can often find sets of these at reasonable prices online, or you can even get creative with embroidered features if you’re looking to keep costs down.
Hope this helps! Let me know if you have any more questions as you dive into this fun project. Happy teddy bear making!