Download the printable teddy bear sewing pattern, which is suitable for beginners. In this article, you will find the list of required materials, a pattern tutorial, and a step-by-step teddy bear-making tutorial. Learn how you can personalize your plush bear.
If you are going to create your first teddy bear, please read How To Make A Teddy Bear (Part 1) and How To Make A Teddy Bear (Part 2).
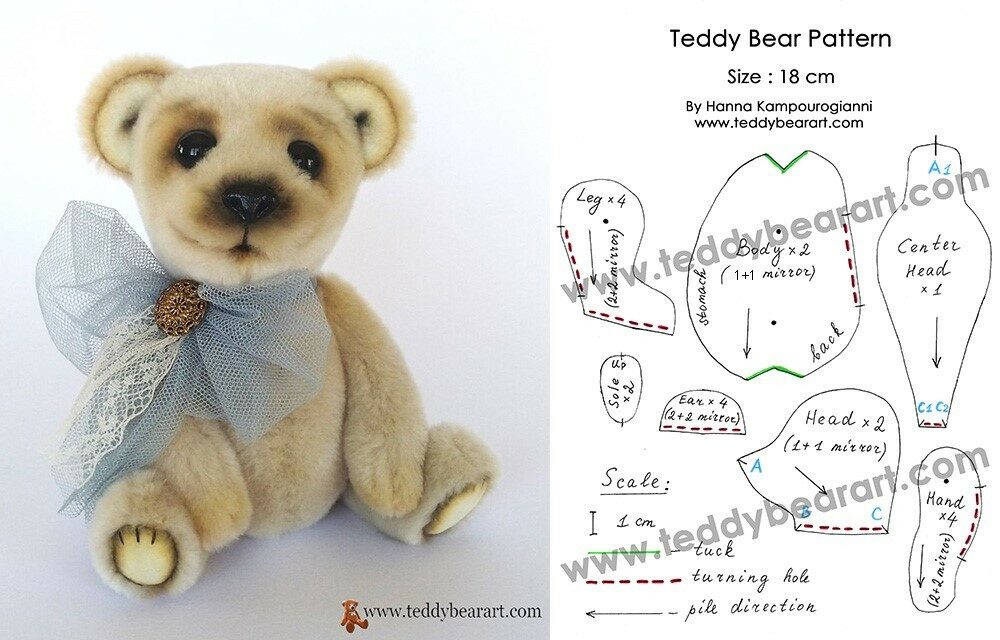
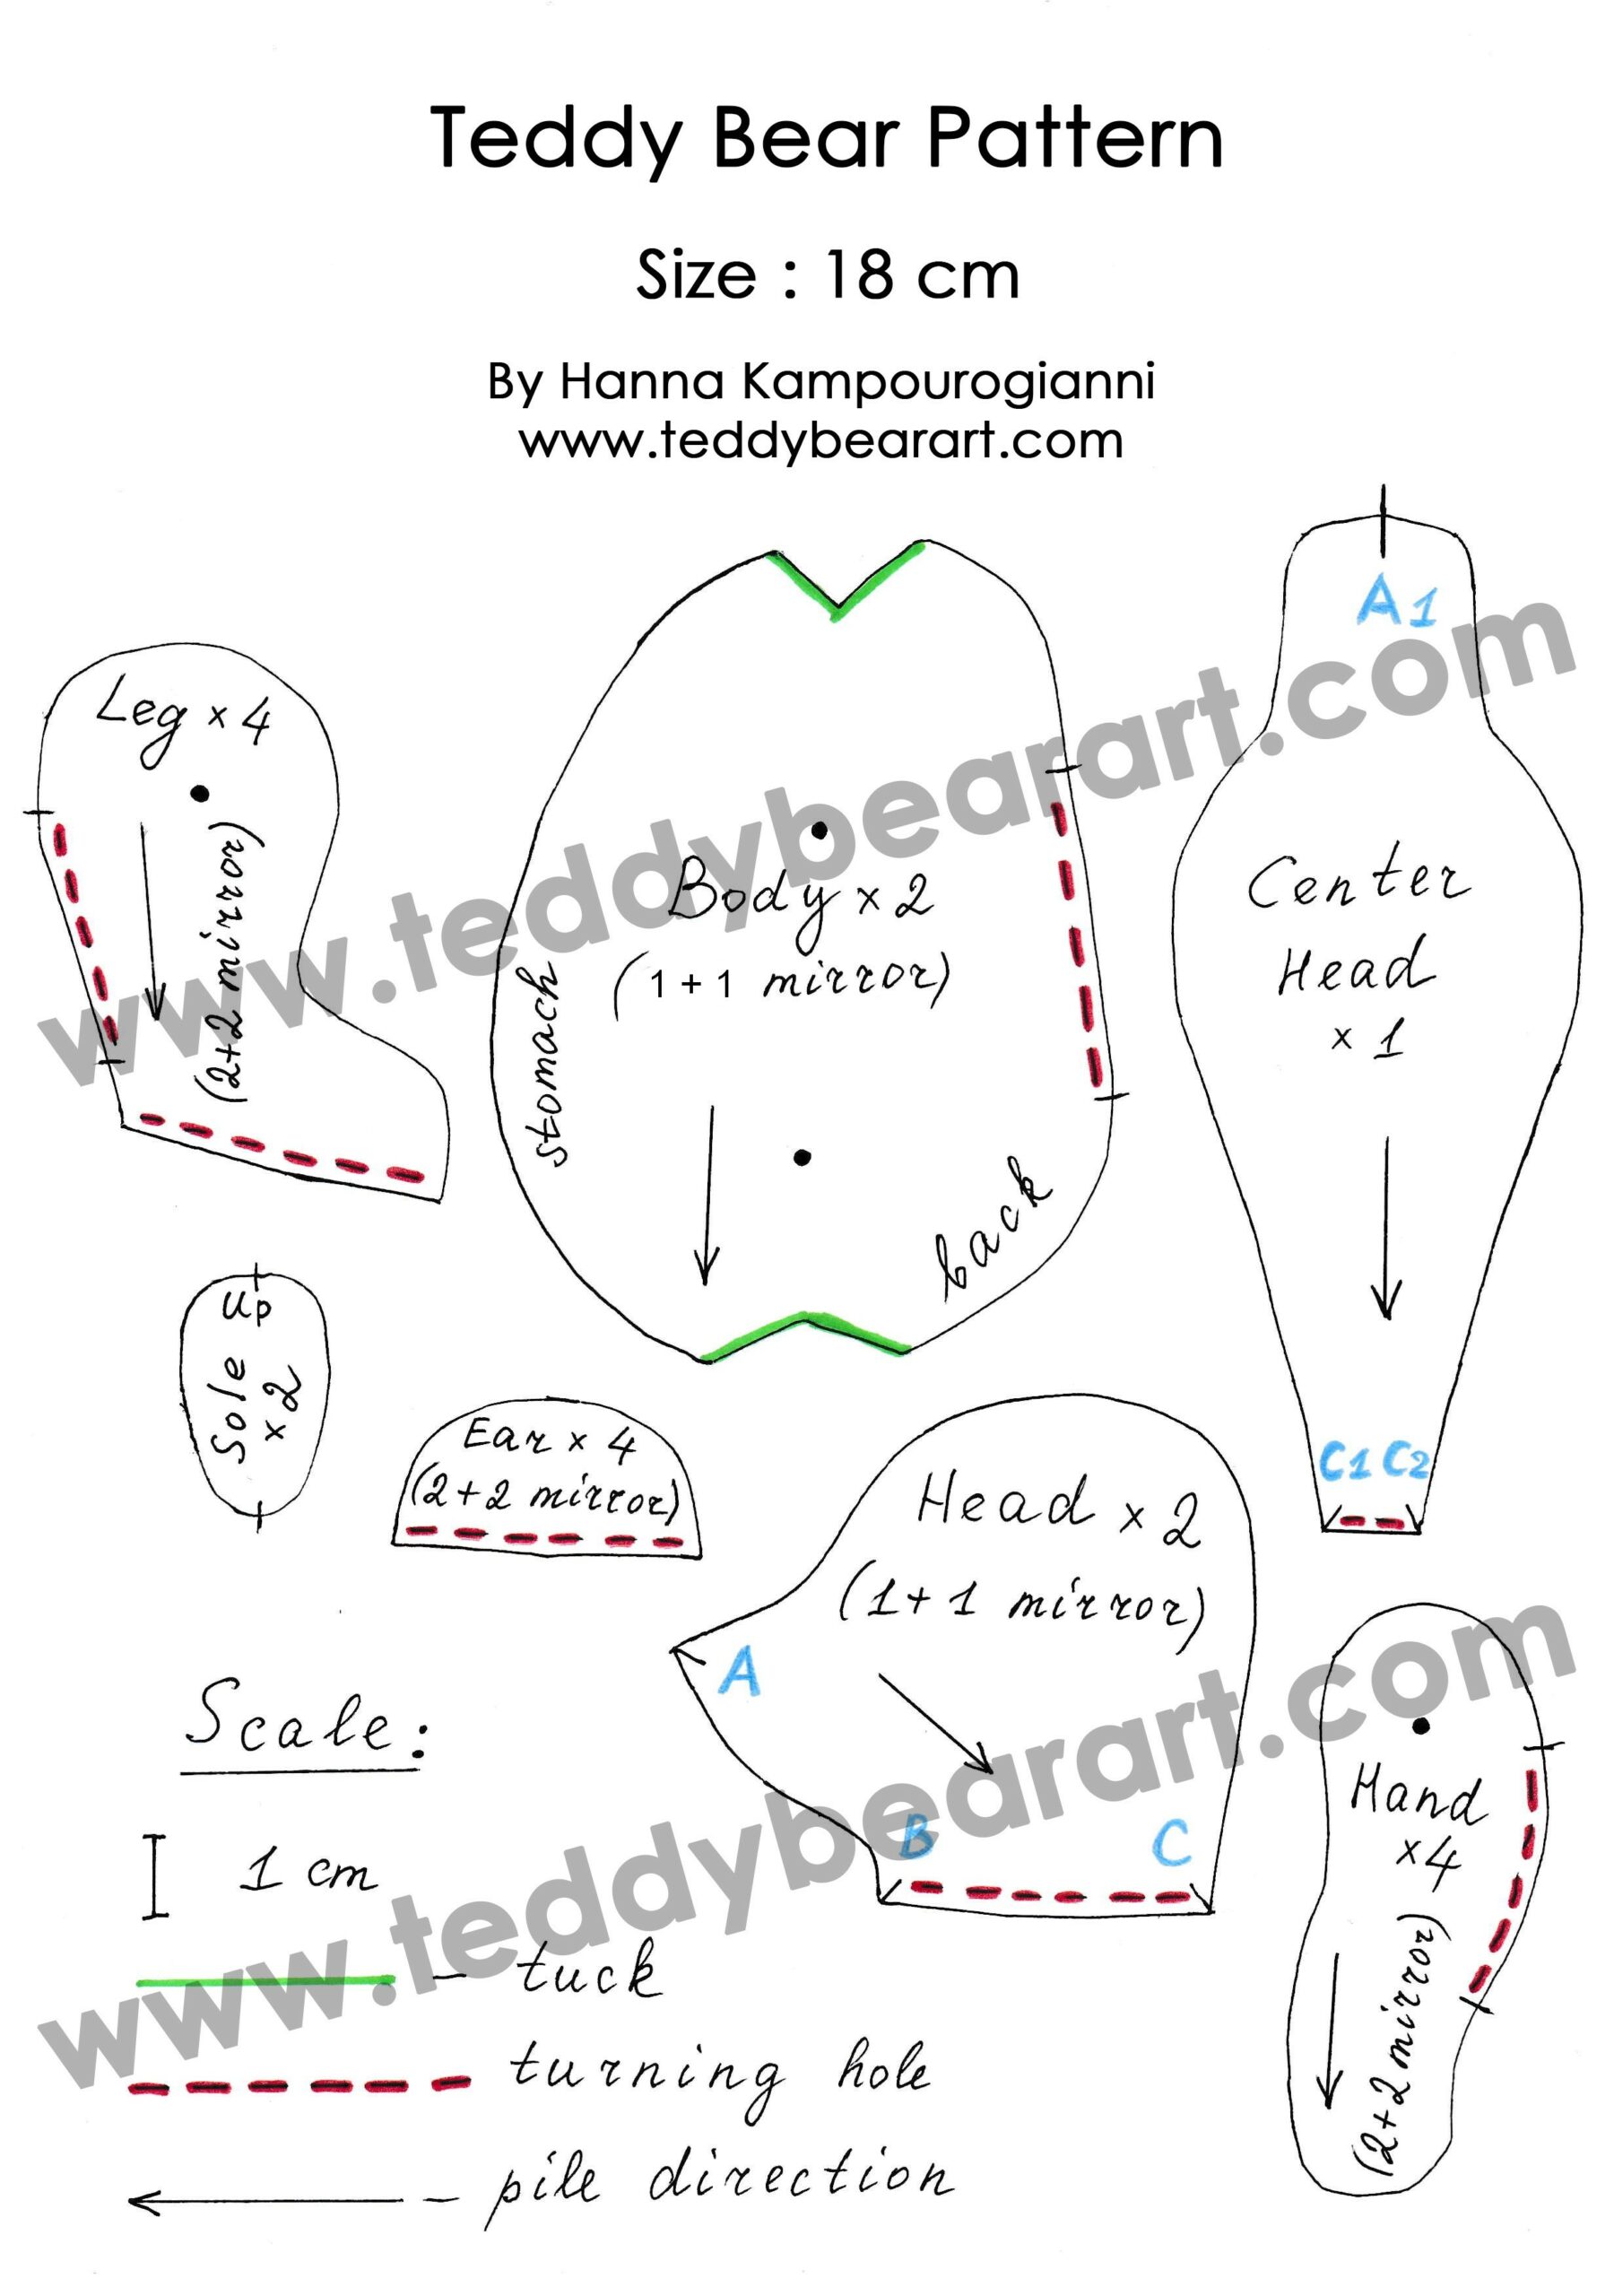
Download the Pattern
- From a computer (Windows).
Click on the photo of the pattern, and select the “Save image as …” option. - From a phone or a tablet (Android). There should be something similar for the iPad.
Click on the image. Save it by holding your finger on the image and selecting the “Save As” option. Then go to your photo gallery and print it (there is an option).
The List of Materials
1. A piece of faux fur Steiff Schulte 20×44 cm with a pile of length 9 mm. Or another similar good-quality plush.
2. Strong threads, the same color as your fur, and a needle for hand sewing.
3. Brown or black threads for the face and feet embroidery.
4. Scissors.
5. A pair of black glass eyes on a metal loop – 12 mm in diameter.
6. Waxed thread.
7. An awl.
8. Synthetic filler.
9. Metal or glass pellets for the weight (small diameter).
10. A piece of fabric to put inside metal pellets for weight.
10. Oil paints (orange, brown, black).
11. Black acrylic paint.
12. Varnish for acrylic paints.
13. Brushes.
14. Pins.
15. Milliput White modeling clay.
16. Pliers.
17. A piece of thick fabric for the ears and feet.
18. Strong glue UHU.
19. A long needle (10 cm – 15 cm) for setting the eye.
20. Discs 20 mm in diameter – 10 pieces.
21. Washers 15 mm diameter – 10 pieces.
22. T-shaped cotter pins 12,5×28 – 5 pieces.
Pattern Tutorial
Print the pattern following the scale ( 1 cm). If for some reason you cannot print it, just transfer it from the screen of your device to the baking fabric or contact me.
Transfer it to the fabric following the direction of the pile. Arrange the pattern pieces on the fabric so that the direction of the fur matches the arrows.
Leave 5-7 mm for seam allowances.
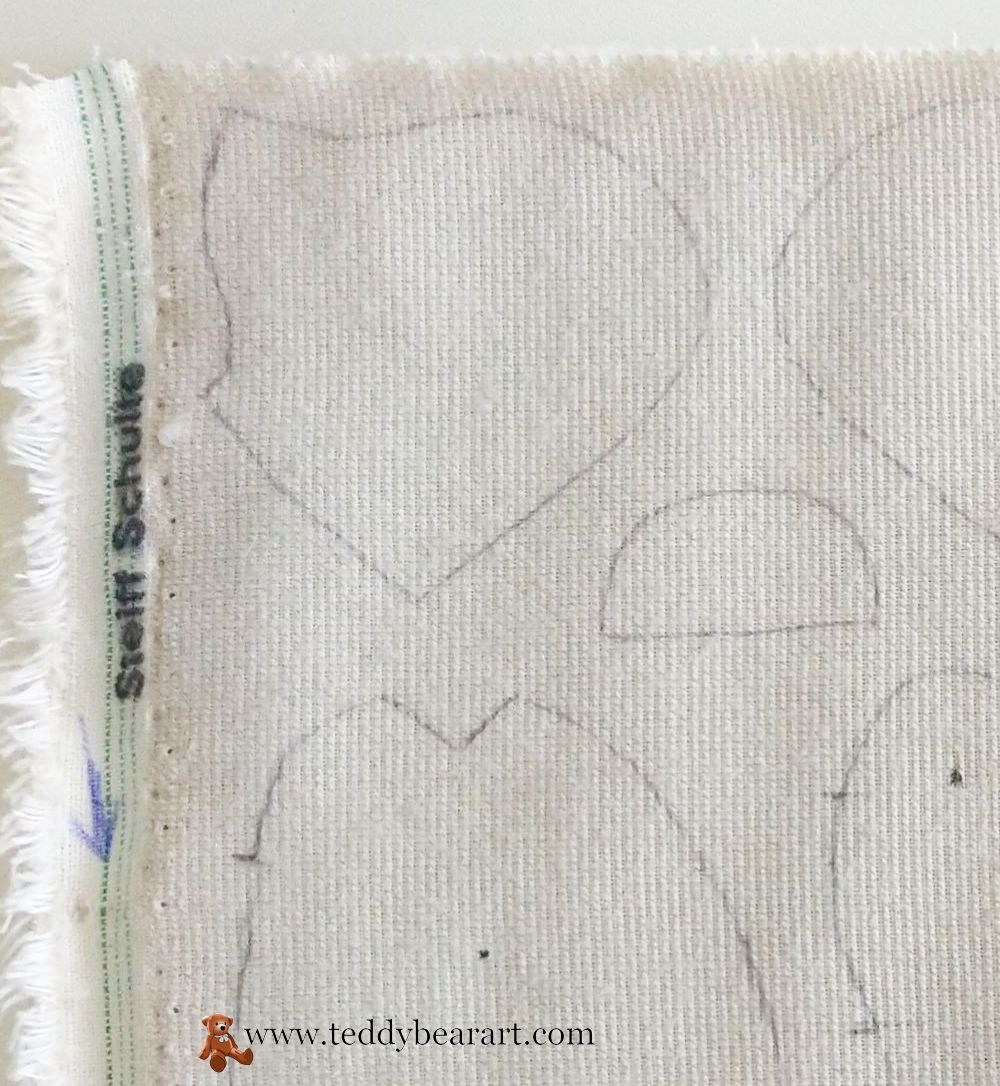
Cut out all the details of the pattern, carefully moving the scissors as close to the base of the fabric as possible so as not to accidentally cut the fur along the edges.
Step 1: Sew up all the tucks (marked in green).
Step 2: Sew the two sides of the head (1 + 1 mirror) along the marks from A to B.
Step 3: Sew up the center part of a head from A(A1) to C(C1), and from A(A1) to C(C2). Leave the opening for the eversion unsewn (highlighted with a red dotted line).
Step 4: Sew together body parts (1+1 mirror). Leave the opening for the eversion unsewn (highlighted with a red dotted line).
Step 5: Sew the outer and inner parts of the arms (1+1 mirror). Leave the opening for the eversion unsewn (highlighted with a red dotted line).
Step 6: Sew the outer and inner parts of the legs (1 + 1 mirror). Leave the opening for the eversion unsewn (highlighted with a red dotted line).
Step 7: Sew on the feet.
Step 8: Sew the ears (1 part with the pile + 1 part without the pile).
Bear Making Tutorial
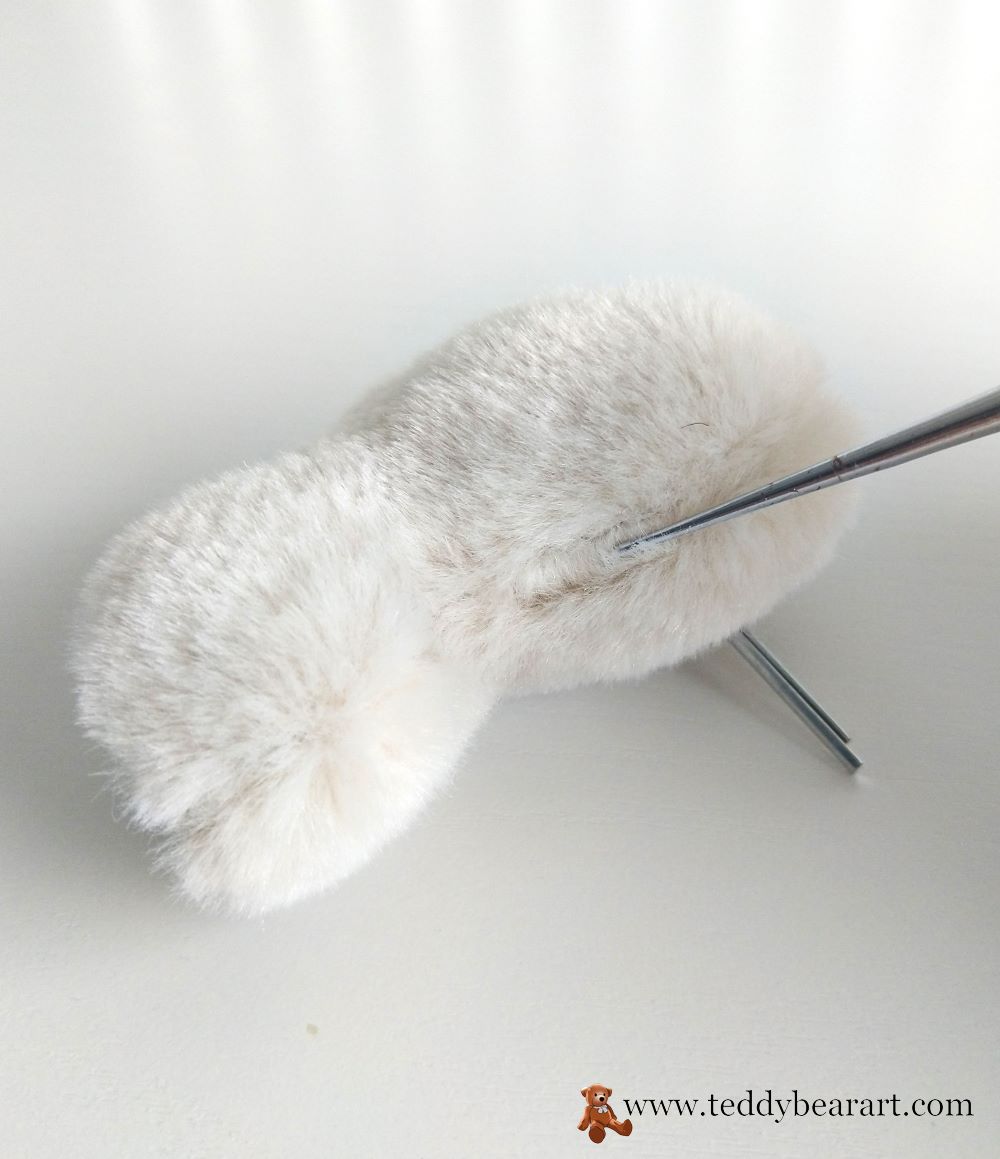
Turn out all the parts of the bear using a wooden stick with a blunt end.
Stuff the head with synthetic filler. Ensure the stuffing is evenly distributed and firmly packed.
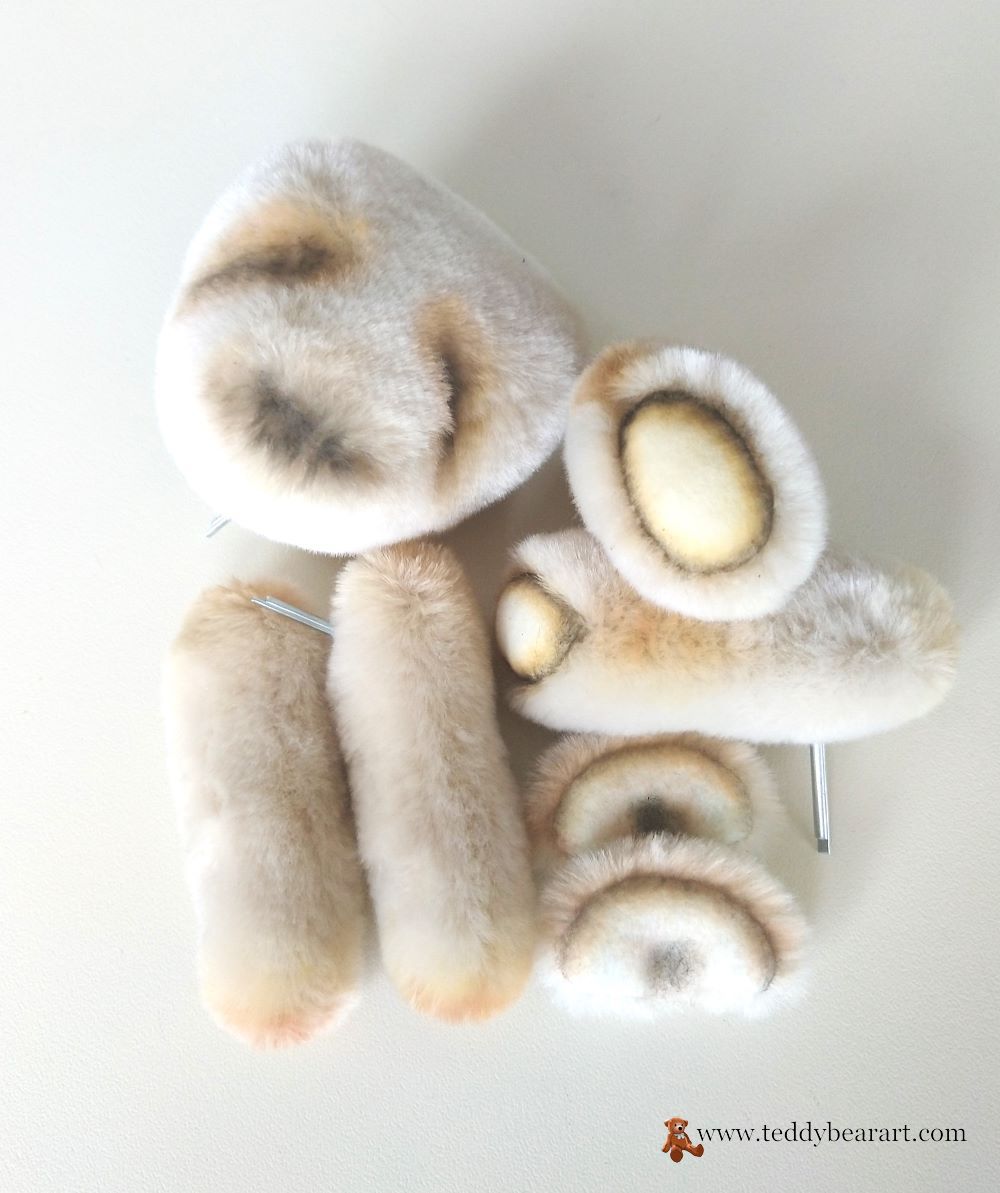
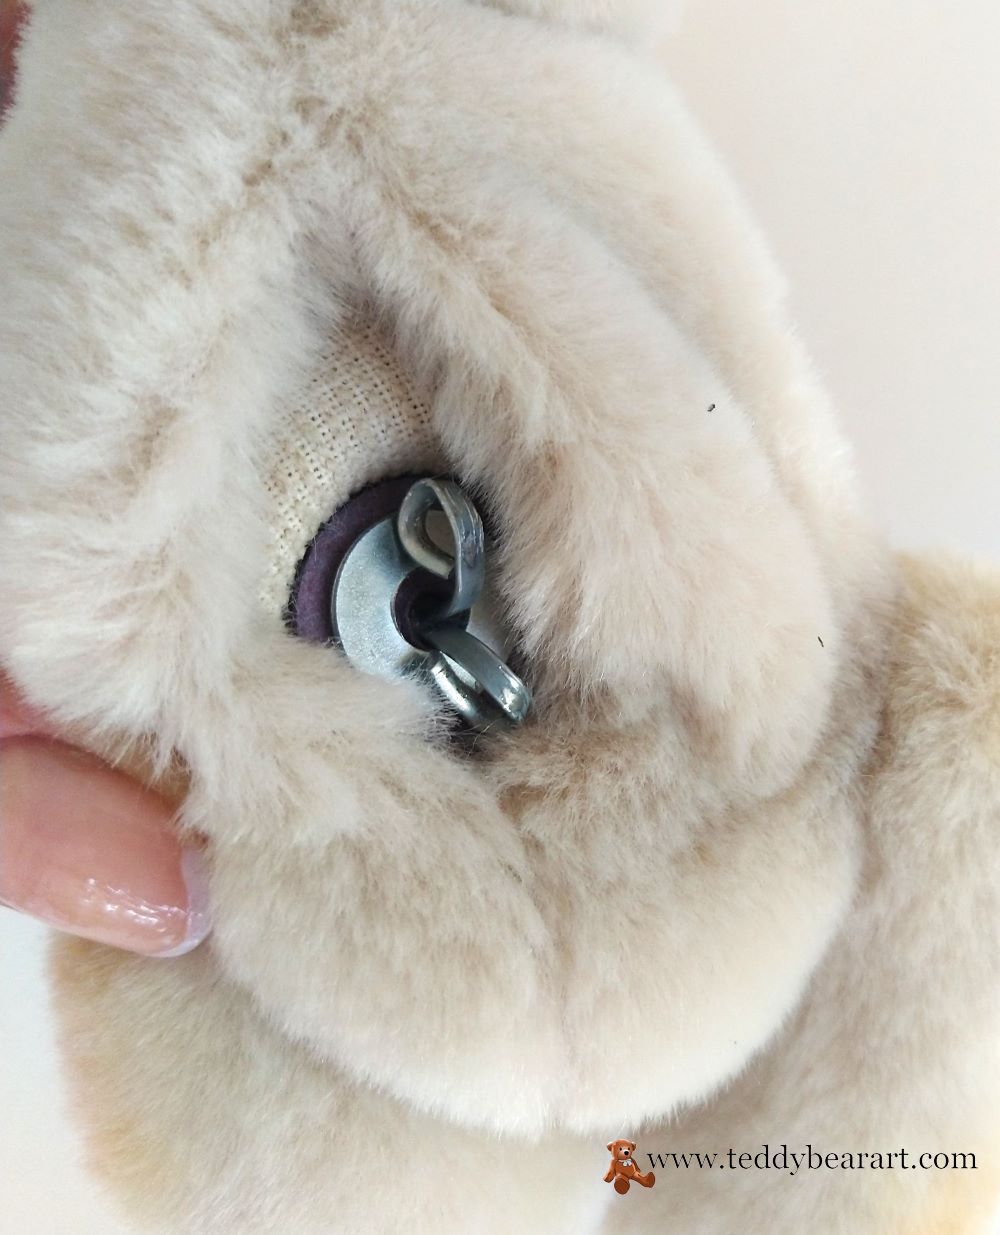
Insert the disc and washer with a cotter pin into the hole and tighten with waxed thread and needle.
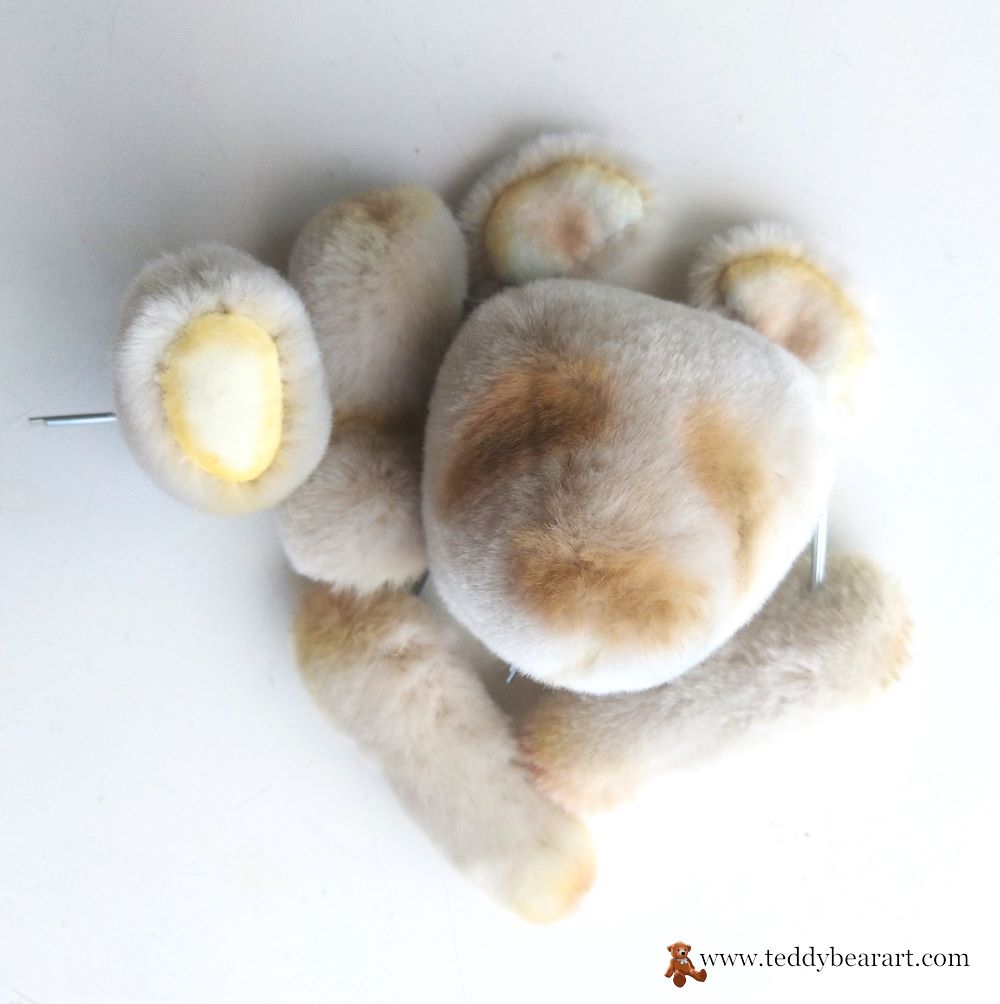
Insert discs and washes with cotter pins inside of the limb. Fill the limbs with the synthetic filler and close the holes. Stuff the limbs and sew up the holes.
Now, let’s start making the face of the bear.
Start with toning in the eye area. Mark with pins where the eyes will be located. Pick up some oily orange paint on the brush and dry the brush well on a sheet of white paper. Wipe until the trace of paint is barely visible. And only after that apply paint on the muzzle of the bear.
Then, with the same brush, apply shadows to the area of the nose, ears, and paws of the bear.
Do the same with brown paint, and then with black, applying them with top coats in the same places.
Remember that toning stuffed toys is always better to start with light tones and finish with dark ones.
Leave the teddy bear for a while for the paint to dry. Until then, sculpt his nose.
I use Milliput White self-hardening epoxy clay. The great advantages of this material are that it is ideal for sculpting small parts, does not need to be sanded (immediately gives a very smooth surface), is durable, and does not require the use of a kitchen oven (safe for our health).
How to blind a bear’s nose? It’s pretty simple. Roll it into a ball, then flatten it a little and shape it into a triangle. Using an awl, make two symmetrical nostrils. Use a needle to make small holes all over the surface.
Let the bear’s nose dry. I usually put parts from epoxy clay to dry on disposable plastic plates or plastic glasses, then they easily peel off from such surfaces.
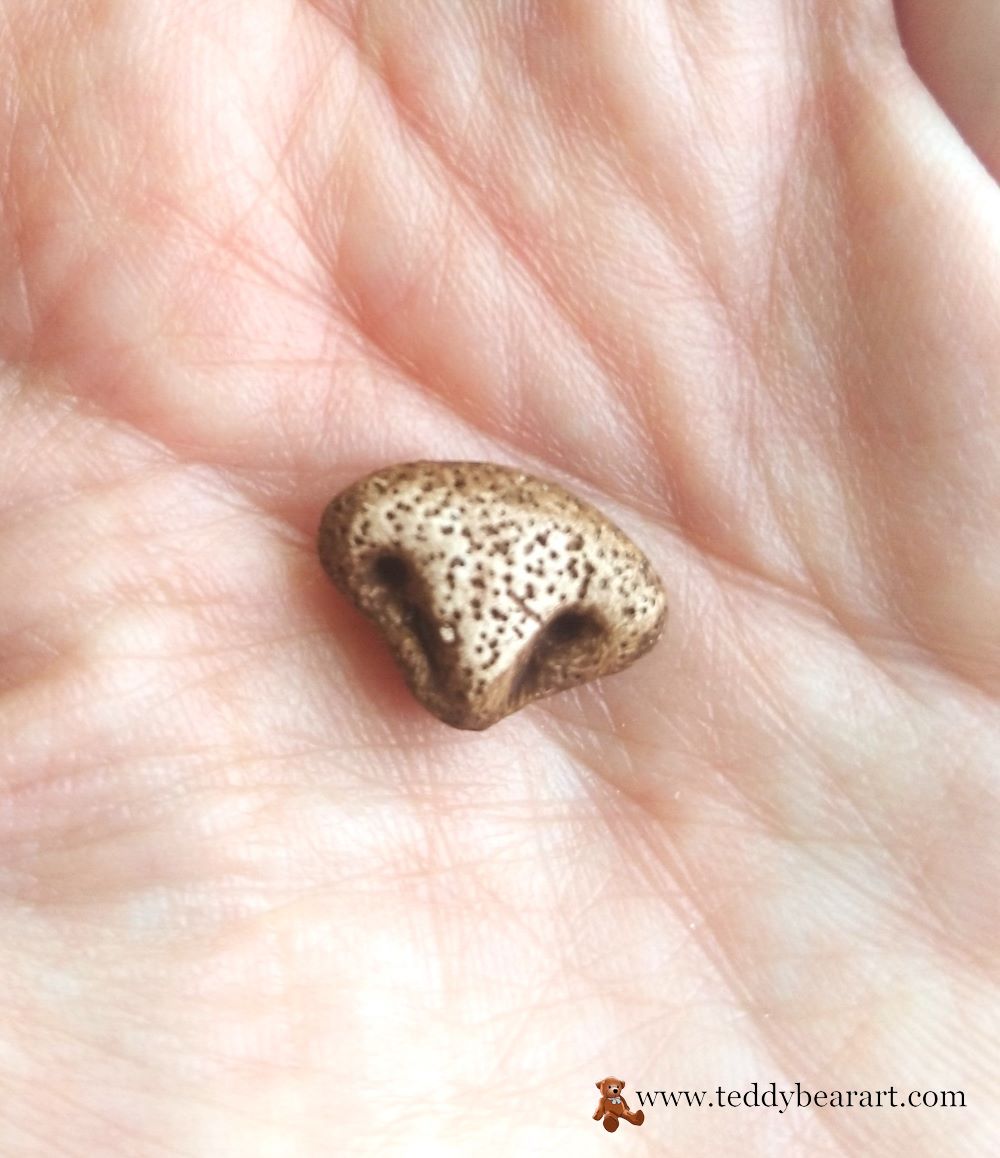
When the nose is dry, cover it with brown or black acrylic paint and let it dry well again. After that, apply a gloss varnish designed for acrylic paints.
While the spout dries, insert glass eyes into the bear.
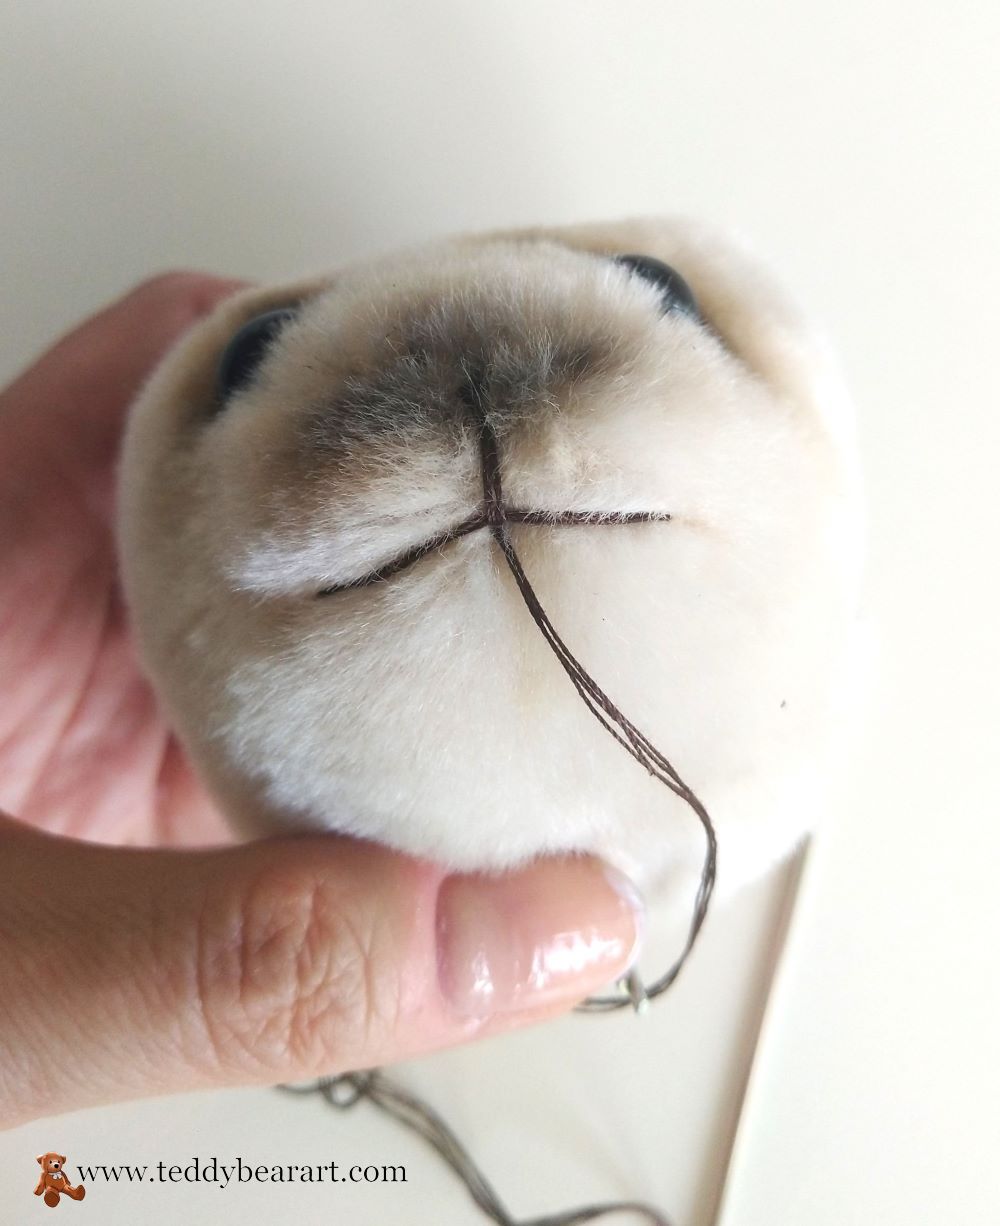
Now embroider the mouth. After that, glue the nose and sew on the ears, having previously outlined their location with the help of pins.
Color the mouth of your teddy bear. Follow the principle of color transition “From light layer to dark”. If you want, then with a thin brush with a minimum amount of black oil paint, draw on the eyebrows.
Embroider the bear’s paws.
Proceed to the final assembly of the bear only after the oil paint has completely dried. Insert the head into the body first and secure it from the inside.
Then insert the legs and at the end of the arms.
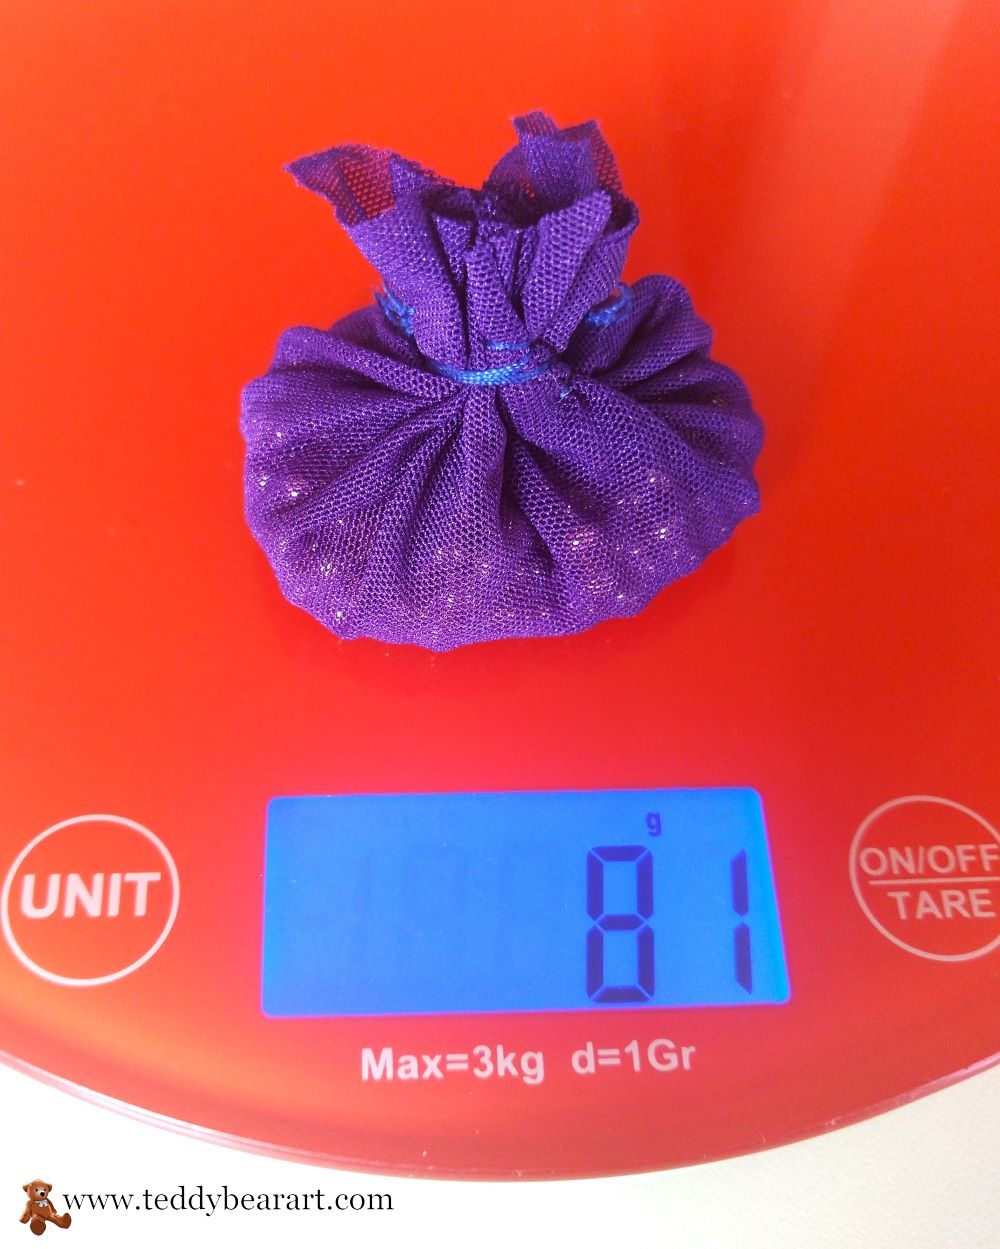
Prepare your weight pack. Insert it into the lower part of the bear’s body, and fill the body with synthetic filler. Make sure the bear is comfortable to sit on and sew up the opening.
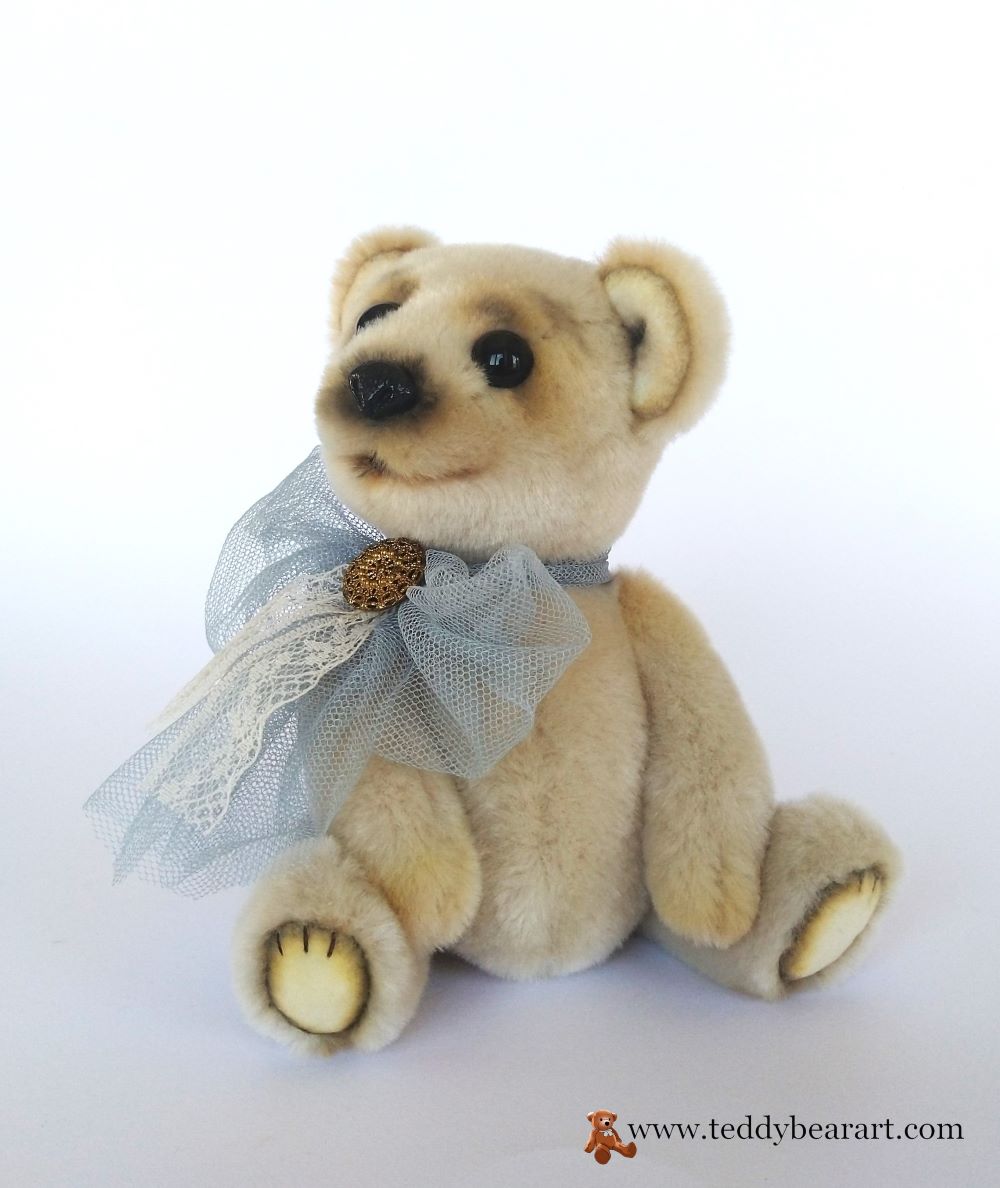
Add a bow, ribbon, pendant, or button to your teddy bear according to your taste.
Conclusion
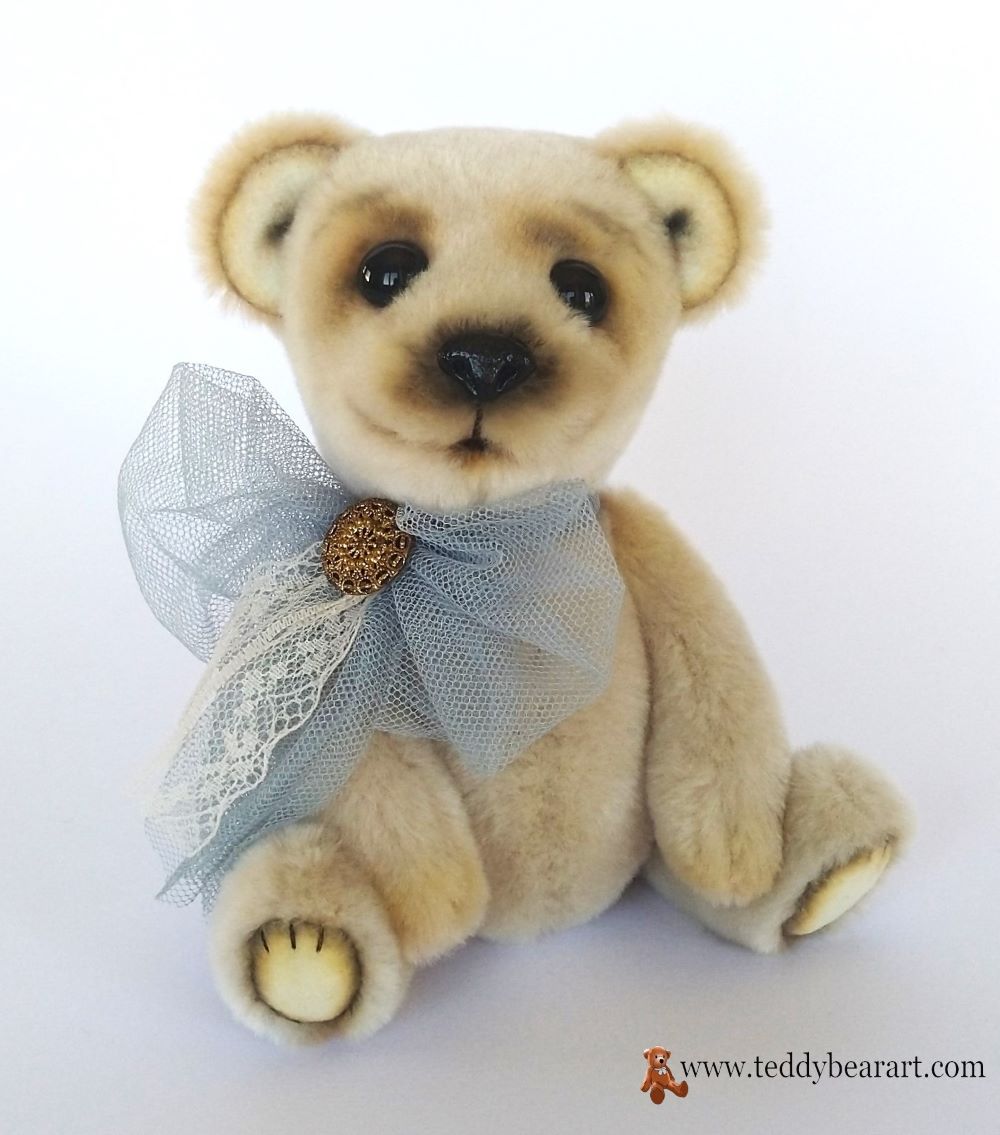
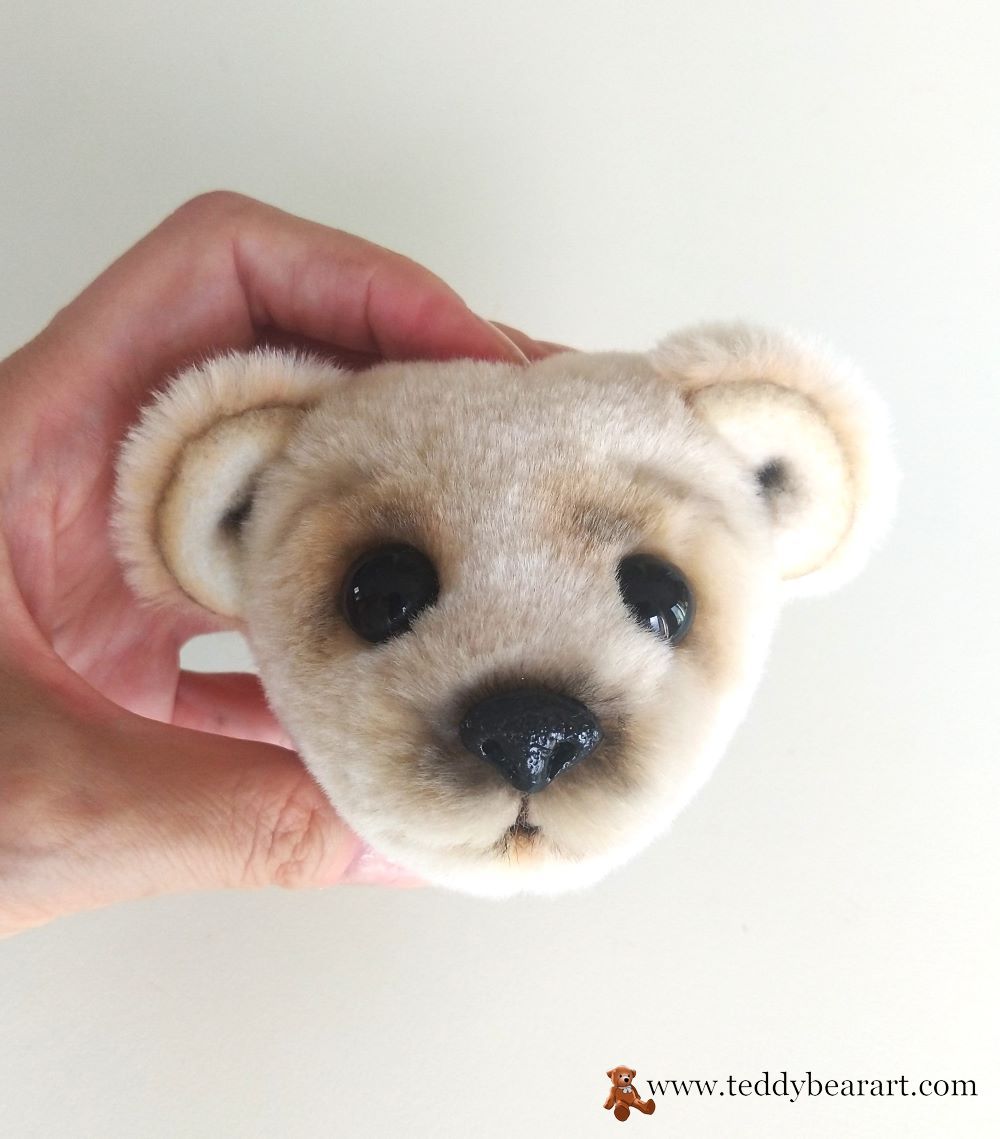
Your cute teddy bear is ready! Make beautiful photos and enjoy the result.
Be proud of yourself, because you have done a great job. You had learned how to work with a teddy bear pattern, how to make a stuffed bear from zero, and how to personalize it.
Feel free to sell teddy bears made from this pattern. I will be pleased if you mention my name.
If you ever need a hand or have any questions, feel free to leave them in the comments below, and I will be more than happy to help you out.
Get Free Patterns & Be the First to Know!
Want free teddy bear patterns, exclusive tutorials, and a chance to win craft supplies?
Sign up for our newsletter using the subscribe form in the middle of this article to receive new patterns, insider tips, and the latest news on teddy bear art. You’ll also automatically be entered into our annual giveaway for a chance to win teddy bear crafting materials.
Bonus entry: Save one of our pins on Pinterest to increase your chances of winning!
Let’s create, inspire, and craft beautiful teddy bears together!