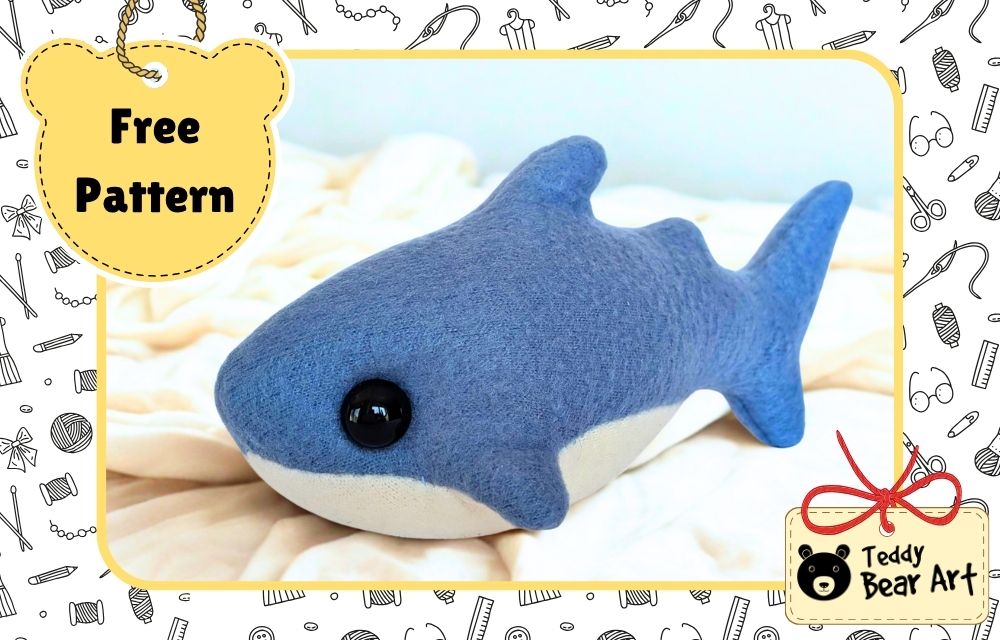
If you’ve been looking for how to sew a shark plush quickly, you’re going to love how easy this little project is. I’ve made quite a few simple plush toys over the years, and this shark quickly became one of my favorites because it’s fast, beginner-friendly, and actually turns out cute every single time. No complicated shapes, no confusing steps, just a fun sewing project you can finish in one cozy sitting.
Download the Pattern
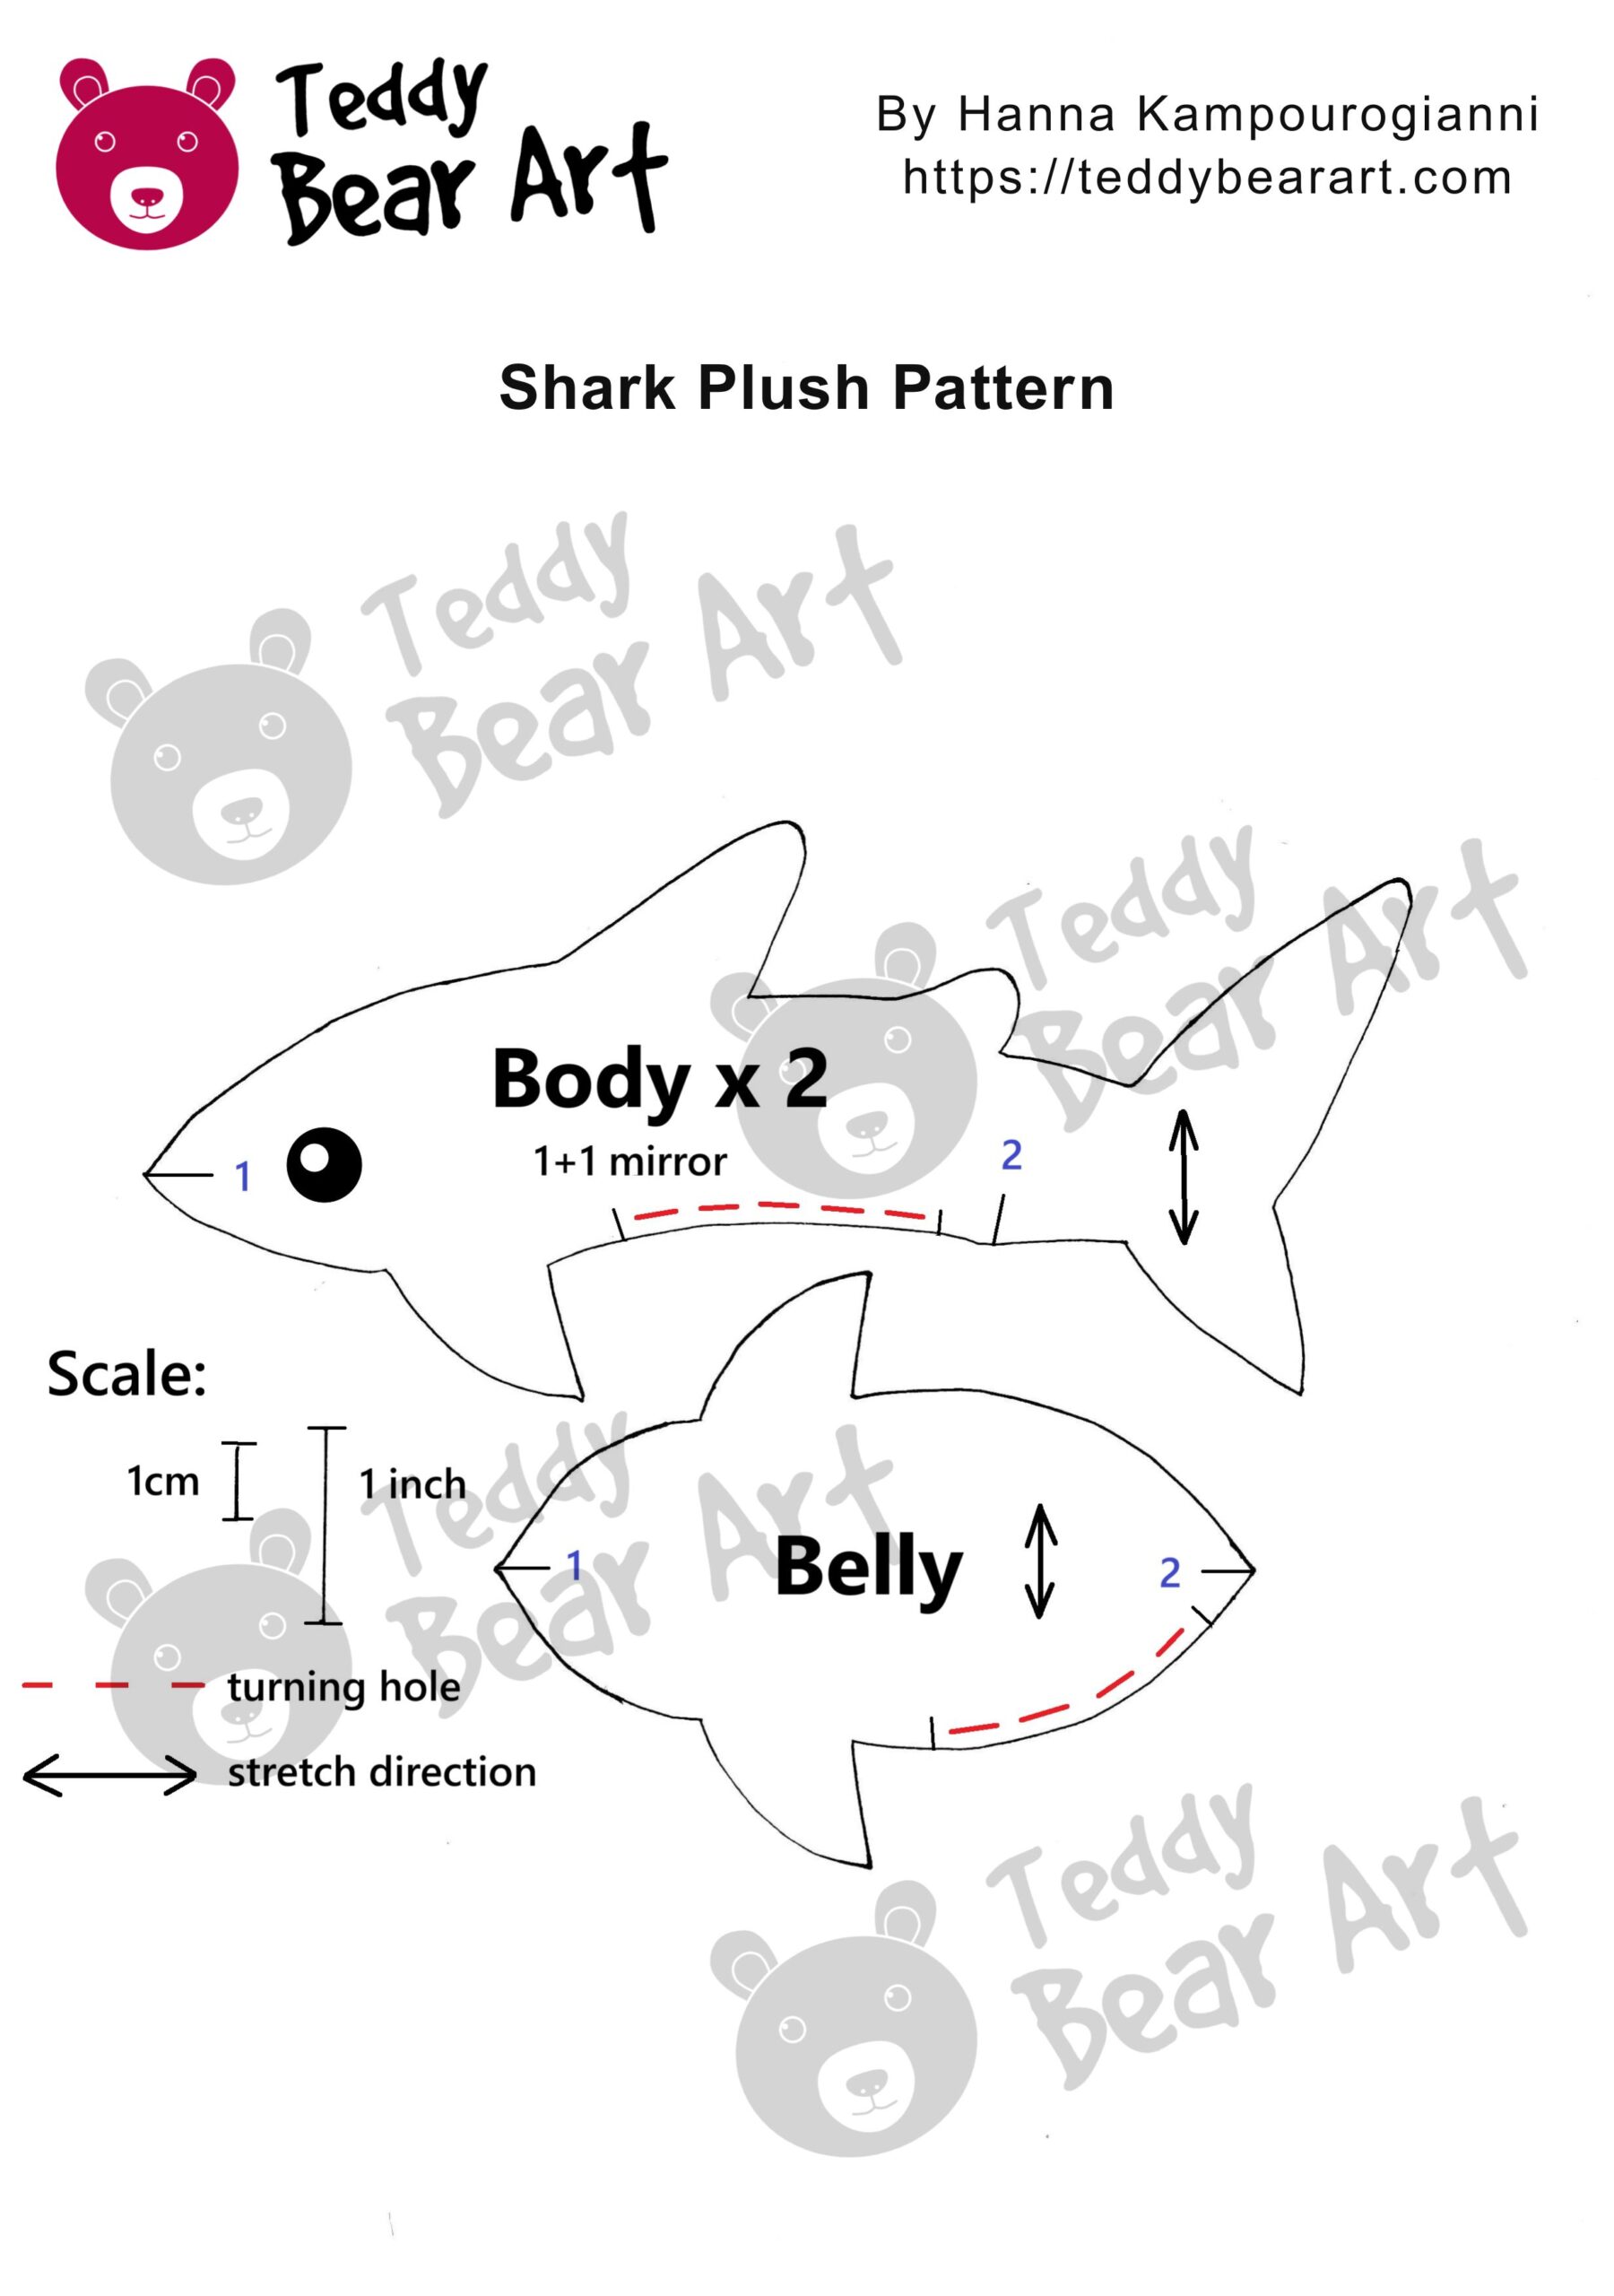
Notice that seam allowances are not included. For this project, it is fine to include 5 mm for seam allowances.
To download the pattern, follow the instructions below:
From a phone or tablet: There should be a similar option for mobile devices with Android or iOS. Click on the image. Save it by holding your finger on the image and selecting the “Save Image” option. Then, go to your photo gallery and print it (an option available).
From a computer: Click on the photo of the pattern you see below. In the new tab that will open, you press the right mouse button and select the “Save image as …” option. Then, you choose where the image will be saved on your computer.
Materials
- Fleece fabric (main color)
- Fleece fabric (white for belly)
- Polyester stuffing (polyfill)
- Black beads (10–12 mm) for eyes or embroidery thread
- Matching sewing thread and a needle
- Sissors
How to Sew a Shark Plush Step by Step
Start by sewing the two mirrored body pieces of the shark together along the back, from mark 1 to mark 2.
Next, attach the belly piece, sewing from mark 1 to mark 2 on both sides, and leave a small opening for turning.
Turn the plush right side out, gently shape the fins using a wooden stick or similar tool, then fill it with polyester stuffing. Once you’re happy with the shape, close the opening neatly.
Sew on bead eyes, and your shark is ready. Try to follow the stretch direction of the fleece for the best result.

Tips and Creative Variations
If you want your shark to look extra polished, focus on the stuffing. Even distribution makes a big difference in the final shape. Add small amounts at a time and gently adjust as you go.
Fabric choice also changes the result. Fleece gives a soft, cozy look, felt creates a more structured toy, and minky adds that plush, premium feel. Try different options and see which one you enjoy working with most.
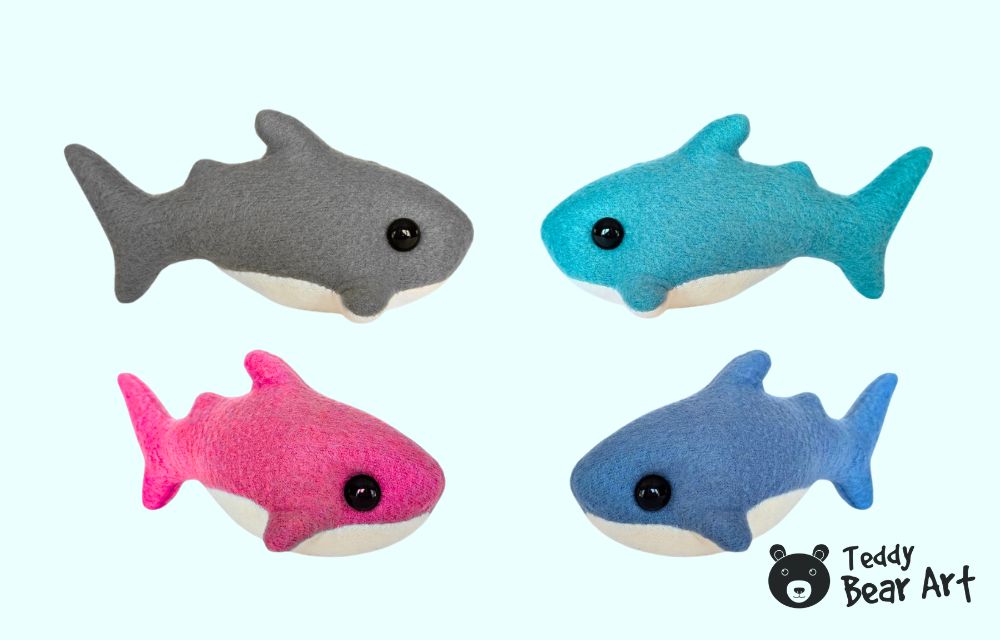
You can also play with colors. Sharks don’t have to be grey. Soft blue, pastel pink, or even patterned fabric can make your plush stand out. This is especially useful if you’re making items to sell or gift.
Another fun idea is resizing the pattern. Make a tiny version for a keychain or a larger one for a pillow-style plush. Once you understand the basic construction, scaling becomes very easy.
FAQ
What fabric is best for beginners?
Fleece is usually the easiest to handle. It doesn’t fray and is very forgiving.
Do I need a sewing machine?
No, this project works perfectly fine with hand sewing.
Is this pattern suitable for selling finished toys?
Yes, handmade plush toys like this are great for small shops, especially if you experiment with colors and sizes.
If you try this shark, you might be surprised how quickly it comes together. And once you finish one, it’s hard to stop.
Before You Go
Making something with your own hands doesn’t have to be complicated. This project is a great reminder that simple patterns can still bring a lot of joy. If you’ve been hesitating to try plush sewing, this is a perfect starting point.
If you enjoyed learning how to sew a shark plush with a free, simple pattern in under 1 hour, save this page so you can come back to it anytime. It’s one of those patterns you’ll want to reuse again and again.
Click the image below to get the free dinosaur pattern and start your next project:
Get Free Patterns & Be the First to Know!
Want free teddy bear patterns, exclusive tutorials, and a chance to win craft supplies?
Sign up for our newsletter using the subscribe form in the middle of this article to receive new patterns, insider tips, and the latest news on teddy bear art. You’ll also automatically be entered into our annual giveaway for a chance to win teddy bear crafting materials.
Bonus entry: Save one of our pins on Pinterest to increase your chances of winning!
Let’s create, inspire, and craft beautiful teddy bears together!
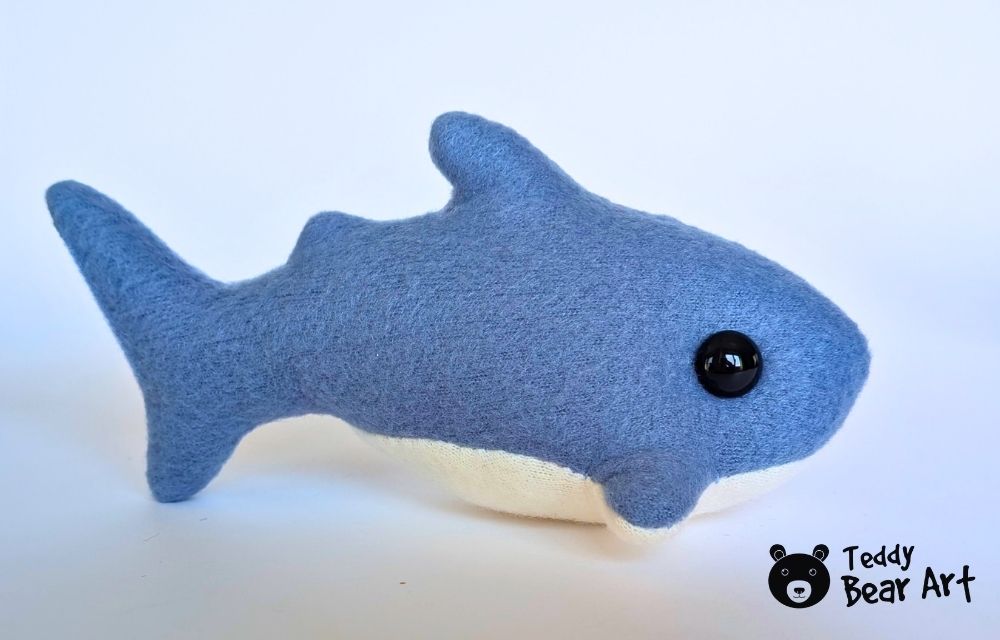
What a cutie is this baby shark!!!
This is such a refreshing little project, simple, quick, and actually doable without feeling overwhelmed. I like how you kept the steps clean and beginner friendly.
The idea of turning it into a keychain size is especially clever. Just out of curiosity, have you tried adding little details like embroidered gills or a mouth line, or do you prefer keeping it super minimal?
So glad you liked it!
Yes, keeping it simple was really the main idea here, something quick and stress-free that still turns out cute and satisfying. That said, adding small details can totally change the look in a fun way. I’ve tried light embroidery for things like a mouth line and tiny gills, and it does give the shark more personality without making the project complicated.
For keychain size, I usually lean toward minimal details because everything gets so tiny, but a simple stitched smile or a couple of subtle gill lines work really well if you want a bit more character.
This is such a wonderfully presented tutorial because it makes plush sewing feel approachable instead of overwhelming. I especially like how the step-by-step instructions, beginner-friendly materials list, and creative variation ideas give you confidence to start immediately. The reminder about stuffing evenly and experimenting with fabric choices is excellent advice, since those small details really elevate the final result. Projects like this are perfect because they’re simple enough for beginners, yet still leave plenty of room for creativity and personalization.
I saved this pattern to my collection of simple plushie, together with the dino pattern. Thank you for sharing! And I am waiting for more easy patterns.
Thank you for your feedback! Happy that you like these patterns.