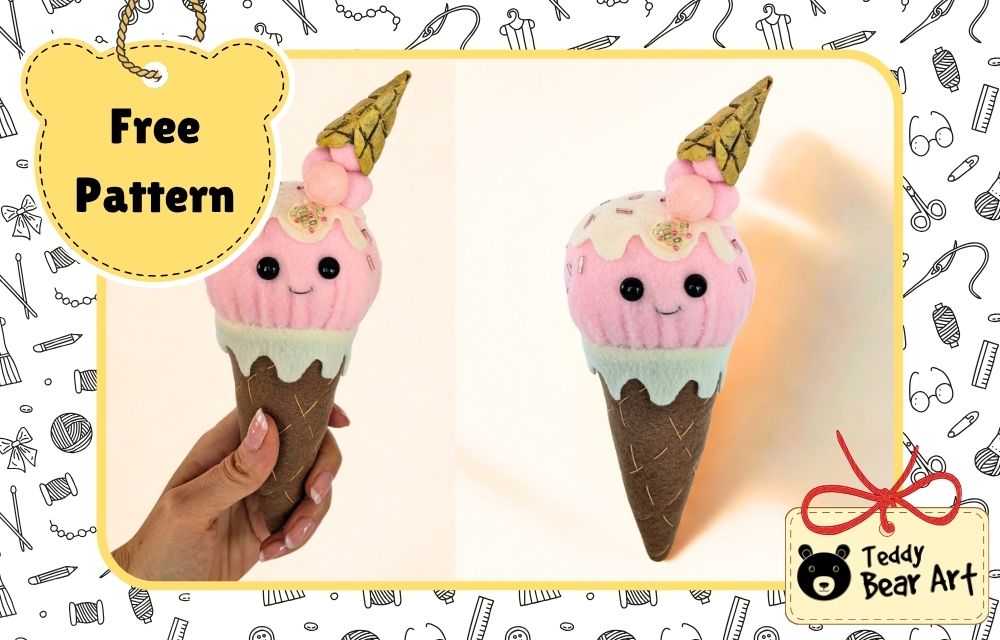
This ice cream plush pattern tutorial is a fun and easy sewing project for anyone who wants to make a cute handmade fleece toy. The shape is simple, the materials are easy to find, and the little decorative details make the finished plush look extra sweet. You can sew it in soft pastel colors, make it look like your favorite ice cream flavor, or decorate it with beads, pom-poms, and a tiny handmade cone on top.
This project is beginner-friendly, but it still looks very charming and special when finished. It is a lovely idea for a handmade gift, cute room decor, nursery decoration, or just a fun plushie project to enjoy in your sewing time.
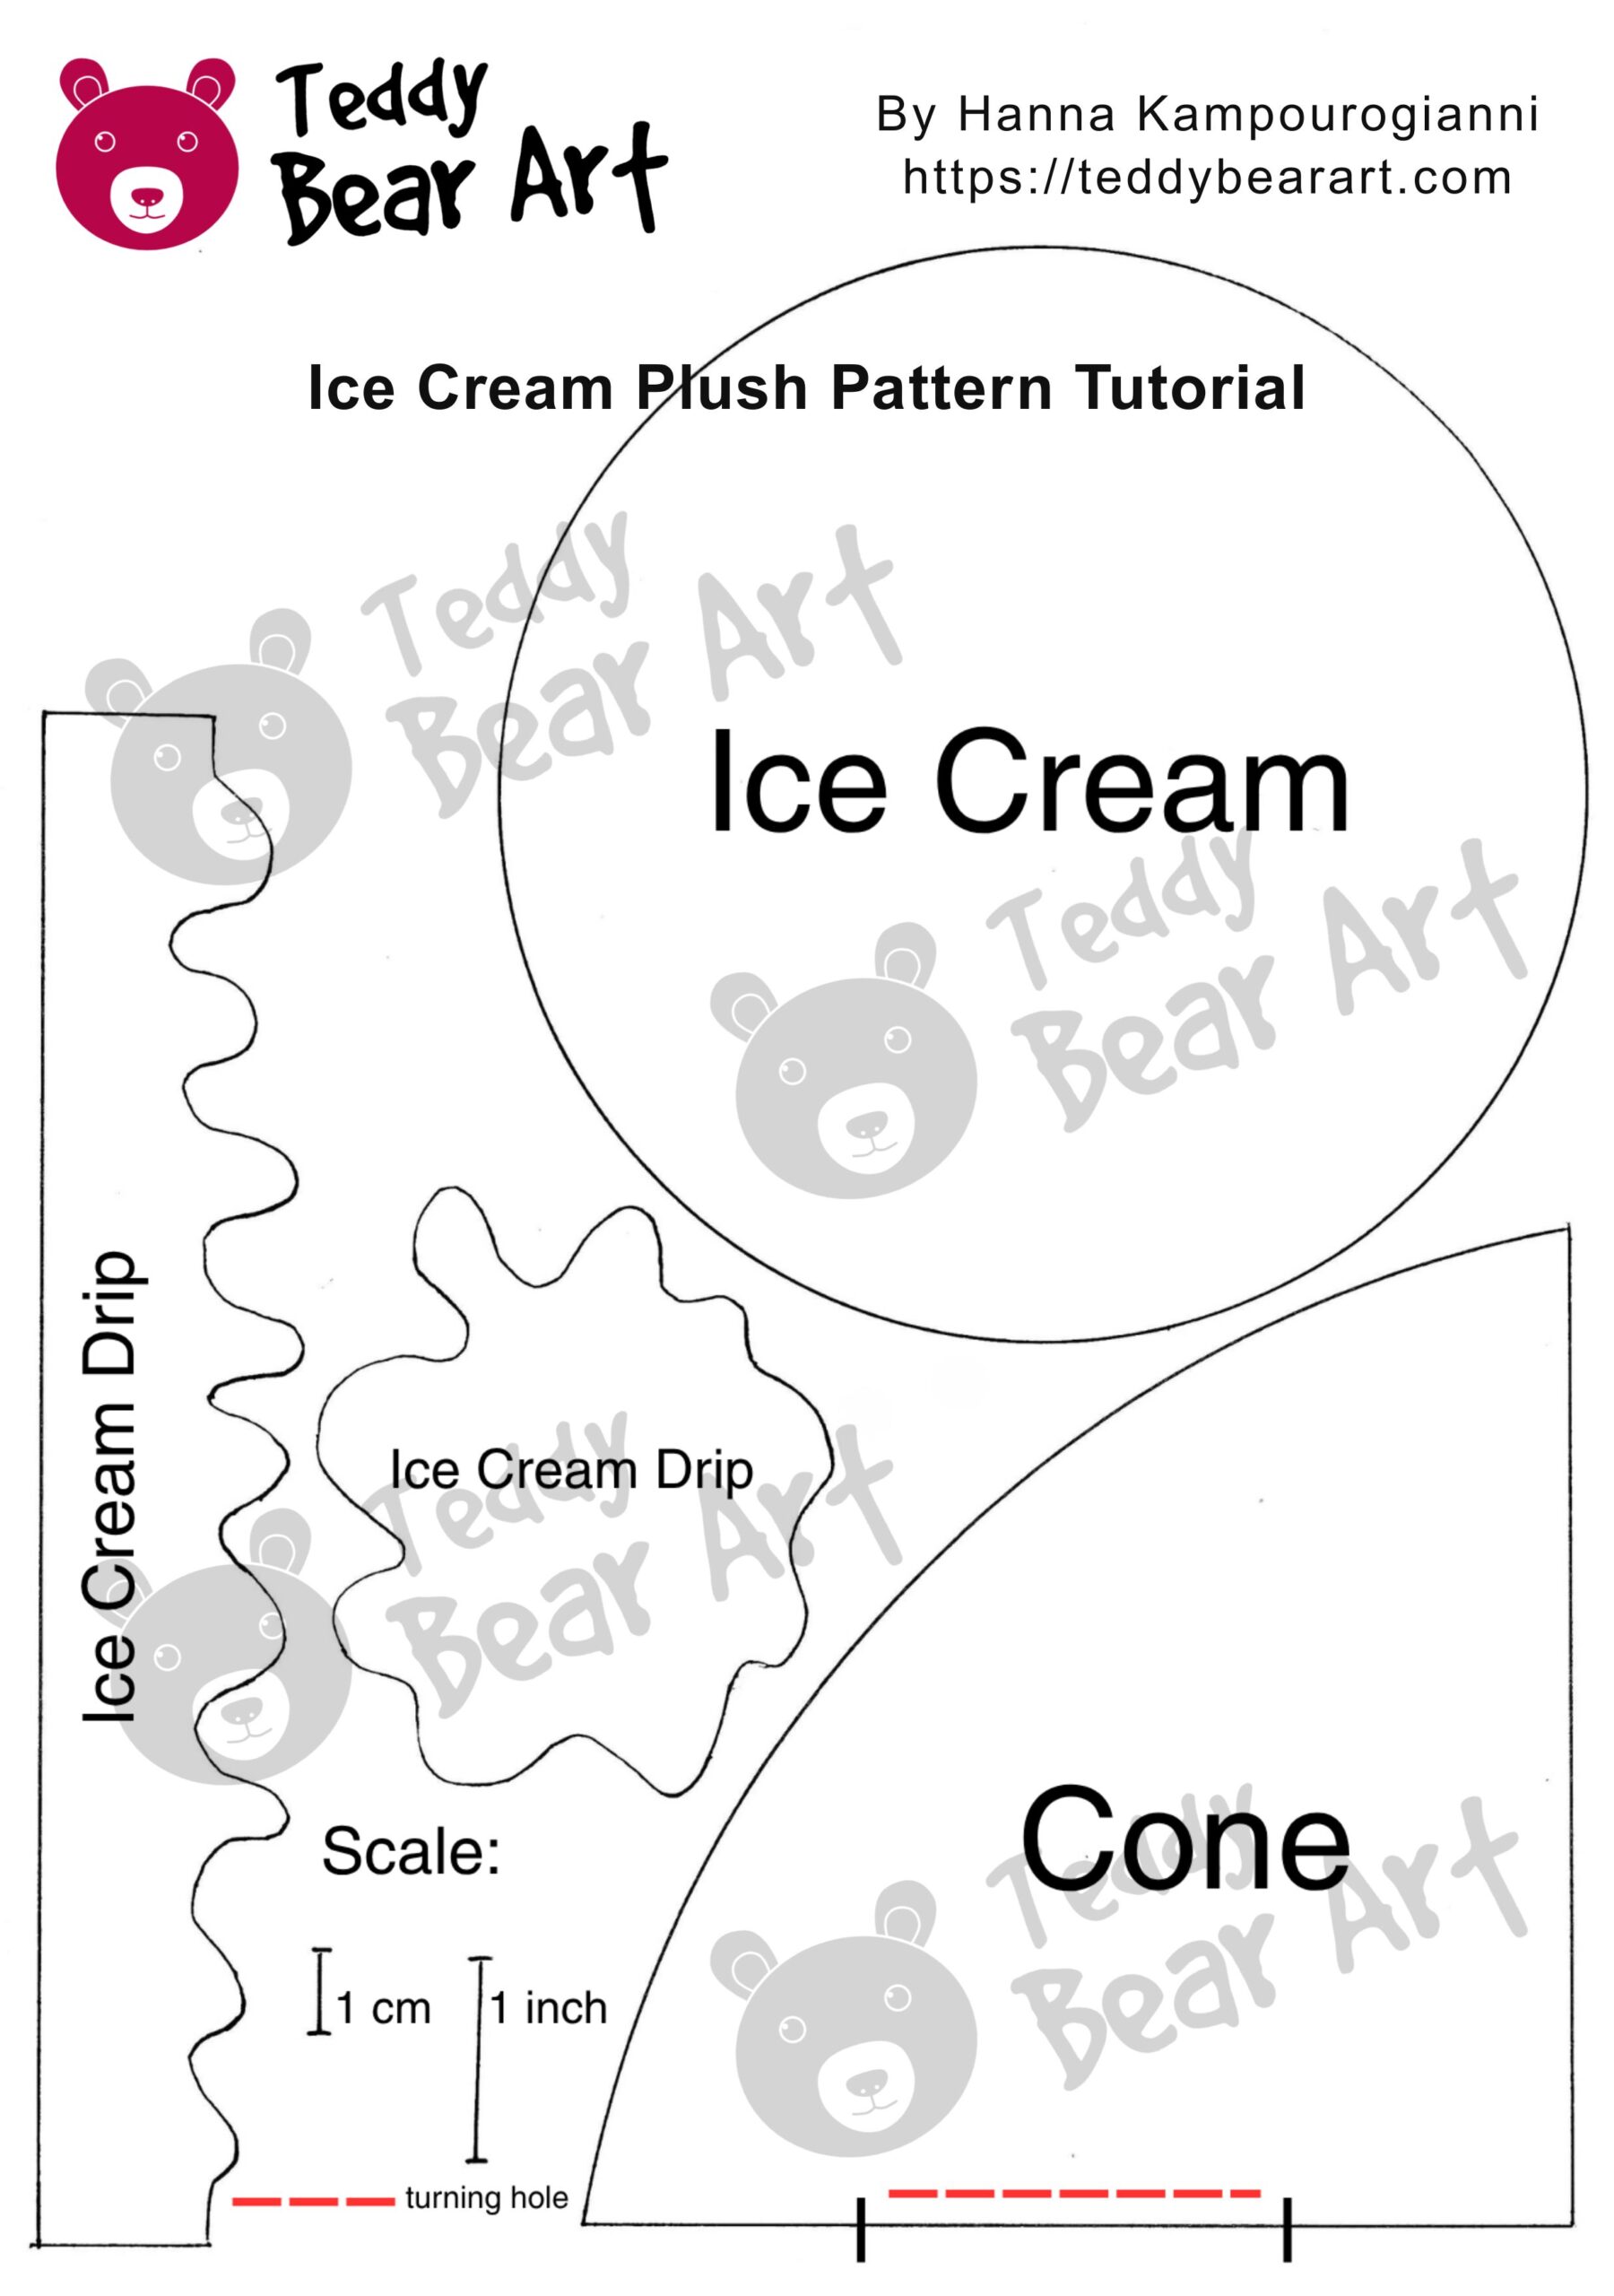
Download The Pattern
Notice that seam allowances are not included for the ice cream and cone pieces. The seam allowances for the ice cream drip pieces are already included, so you can cut those pieces directly along the pattern line.
To download the pattern, follow the instructions below:
From a phone or tablet: There should be a similar option for mobile devices with Android or iOS. Click on the image. Save it by holding your finger on the image and selecting the “Save Image” option. Then, go to your photo gallery and print it (an option available).
From a computer: Click on the photo of the pattern you see below. In the new tab that will open, you press the right mouse button and select the “Save image as …” option. Then, you choose where the image will be saved on your computer.
Materials You Will Need
- Fleece fabric
- Matching sewing thread
- Beads for eyes or small glass eyes
- Polyester fiberfill
- Beads for sprinkles
- Small pom-poms
- Air-dry clay or polymer clay for a mini cone decoration
- Needle
- Scissors
You can choose any colors you like. I made my ice cream scoop pink and used a soft brown fabric for the cone, but you can create a vanilla, chocolate, strawberry, mint, or fantasy ice cream version. The decorations are also completely optional, so feel free to make your plush as simple or as detailed as you want.
Step-By-Step Ice Cream Plush Tutorial
Step 1: Cut Out All Pattern Pieces
Start by printing and cutting out the pattern pieces. Then place them on your fleece fabric and cut out all the parts.
Please pay attention to the seam allowance. Seam allowances are not included for the ice cream and cone pieces, so you need to add your preferred seam allowance before cutting them from fabric. The seam allowances for the ice cream drips are already included, so you can cut those pieces directly along the pattern line.
This small detail is important because it helps the finished plush keep the right shape.
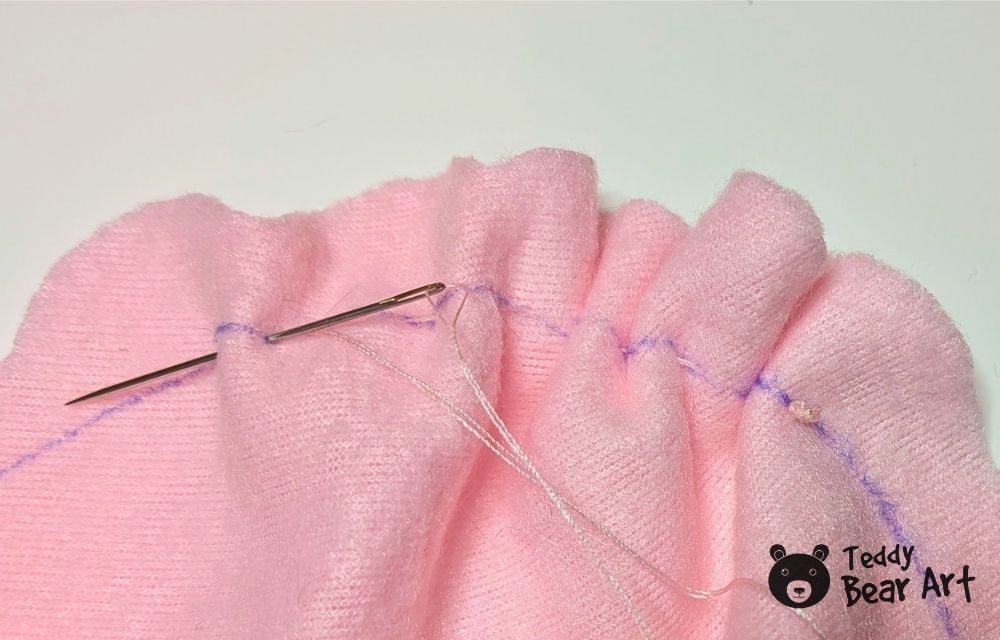
Step 2: Gather The Ice Cream
Take the round piece for the ice cream. Sew a simple running stitch around the edge of the circle by hand. Gently pull the thread to gather the fabric, but do not secure the thread yet.
We leave the thread unfinished at this stage because later it will be easier to adjust the folds around the top of the cone. This helps the scoop sit more evenly and look softer and more natural.
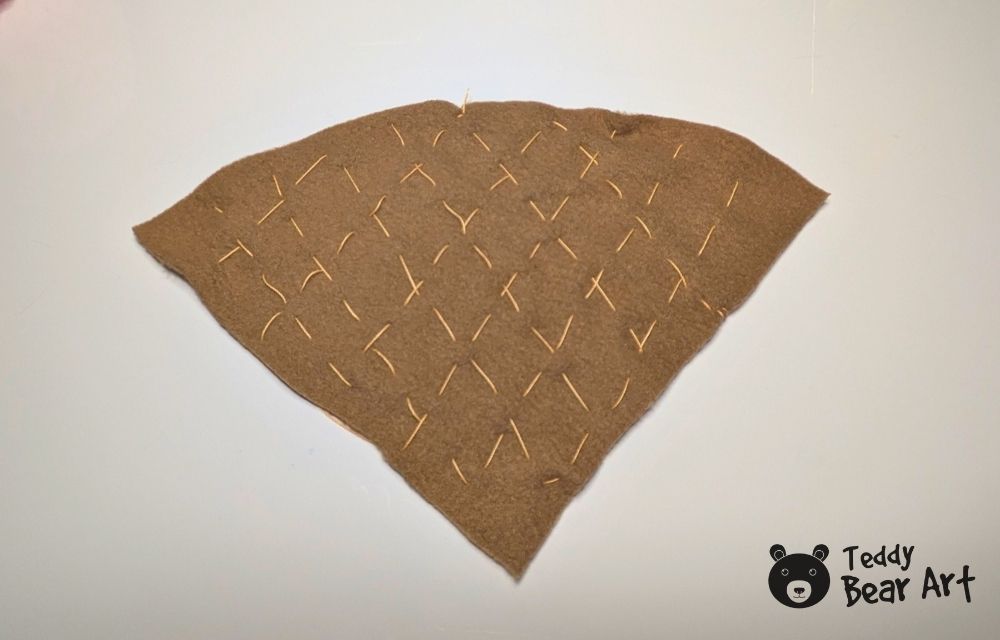
Step 3: Sew The Cone
Before sewing the cone together, draw diagonal lines on the cone piece with a fabric marker or pen. These lines will create a waffle cone effect.
You can stitch these lines by hand or with a sewing machine. I sewed mine by hand because I like the warm handmade look it gives to the cone. You do not need to make every line perfect. A slightly uneven stitch can actually make the cone look more natural and charming.

Fold the cone piece with the right sides together and sew the side seam. Leave the hole for turning.
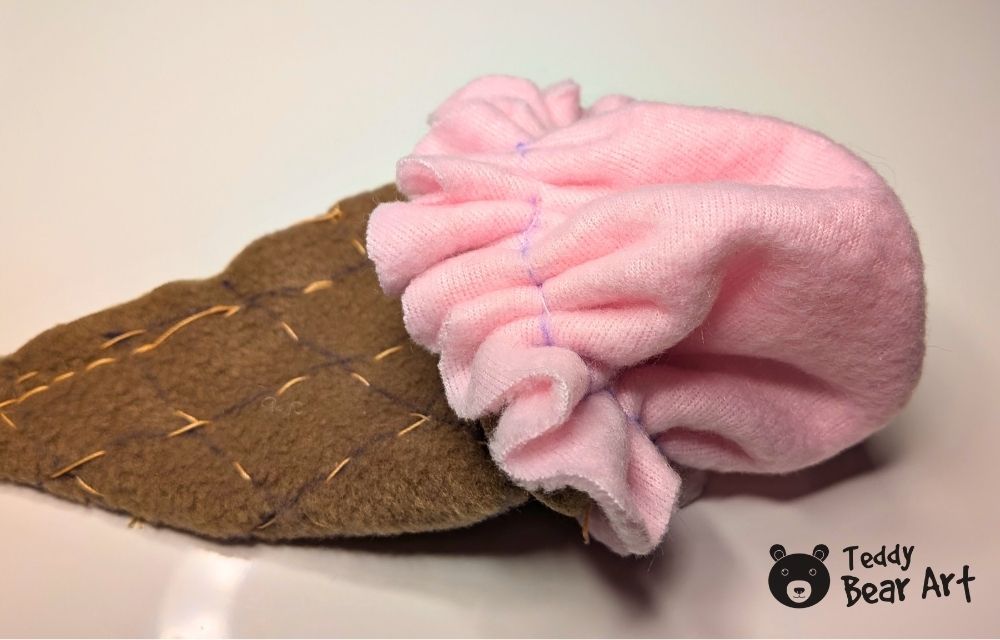
Step 4: Attach The Ice Cream To The Cone
Now place the gathered ice cream over the top of the cone. Adjust the folds evenly around the opening. This is why we did not secure the gathering thread earlier.
When the scoop looks balanced, tighten and secure the thread. Then sew the ice cream to the cone by hand with small stitches. Try to keep the stitches neat, but do not worry too much because the melted cream detail will cover this area later.
Step 5: Stuff The Plush
After sewing, turn the ice cream right side out.
Take your time at the pointed end. You can use a blunt tool to gently shape the tip, but do not push too hard because fleece can stretch.
Add polyester fiberfill inside the ice cream plush. Fill the ice cream and cone gently, making sure the shape stays soft and rounded.
Do not overstuff it. If you add too much filling, the fleece may stretch and the plush can lose its cute soft shape. Once you are happy with the form, close the opening with a neat hand stitch.
Step 6: Add The Face
Add the eyes to the front of the ice cream scoop. You can use beads or small glass eyes. If the plush is for a very young child, embroidered eyes are the safest option.
After placing the eyes, embroider a small smile with black or dark thread. Before securing everything permanently, check the expression from a little distance. Even a tiny change in eye placement can make the face look happier, softer, or more surprised.
Step 7: Decorate The Top
Now add the second ice cream drip on top of the scoop. You can sew it in place or carefully glue it if the plush is only for decoration.
After that, add your decorations. You can sew on beads as sprinkles, attach small pom-poms, or make a tiny cone from air-dry clay or polymer clay. I added small decorative elements on top to make the plush look more fun and sweet.

You can also use a tiny cherry, embroidered sprinkles, felt hearts, or any other small detail that matches your style.
Step 8: Add The Ice Cream Drip Around The Cone
Take the ice cream drip that goes around the top of the cone. Place it over the seam between the scoop and the cone. Sew it carefully around the plush.
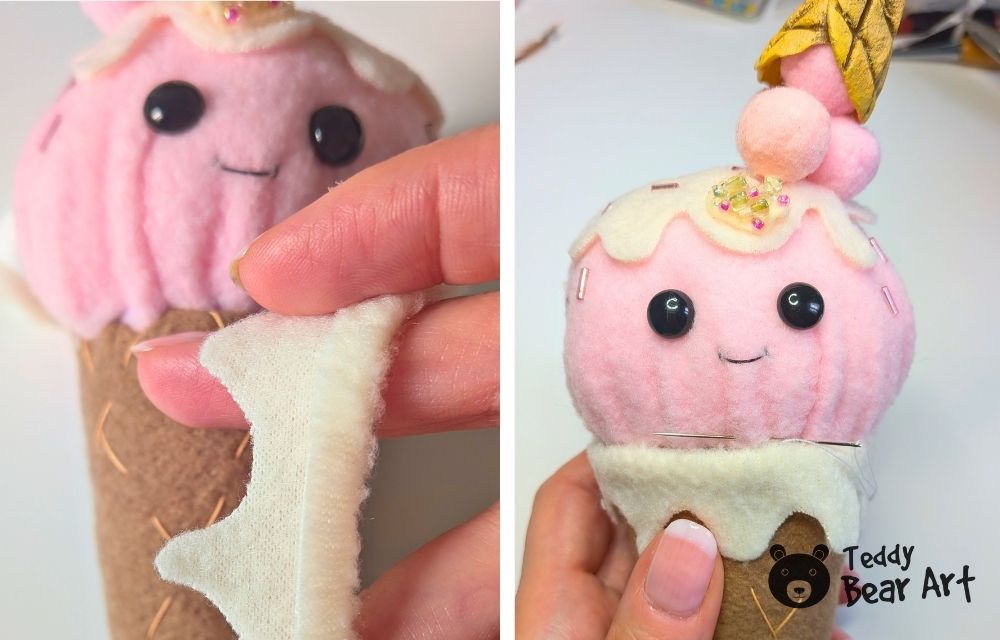
This detail is very useful because it hides the joining line and makes the ice cream look more finished. It also adds a soft, playful dessert look to the whole toy.
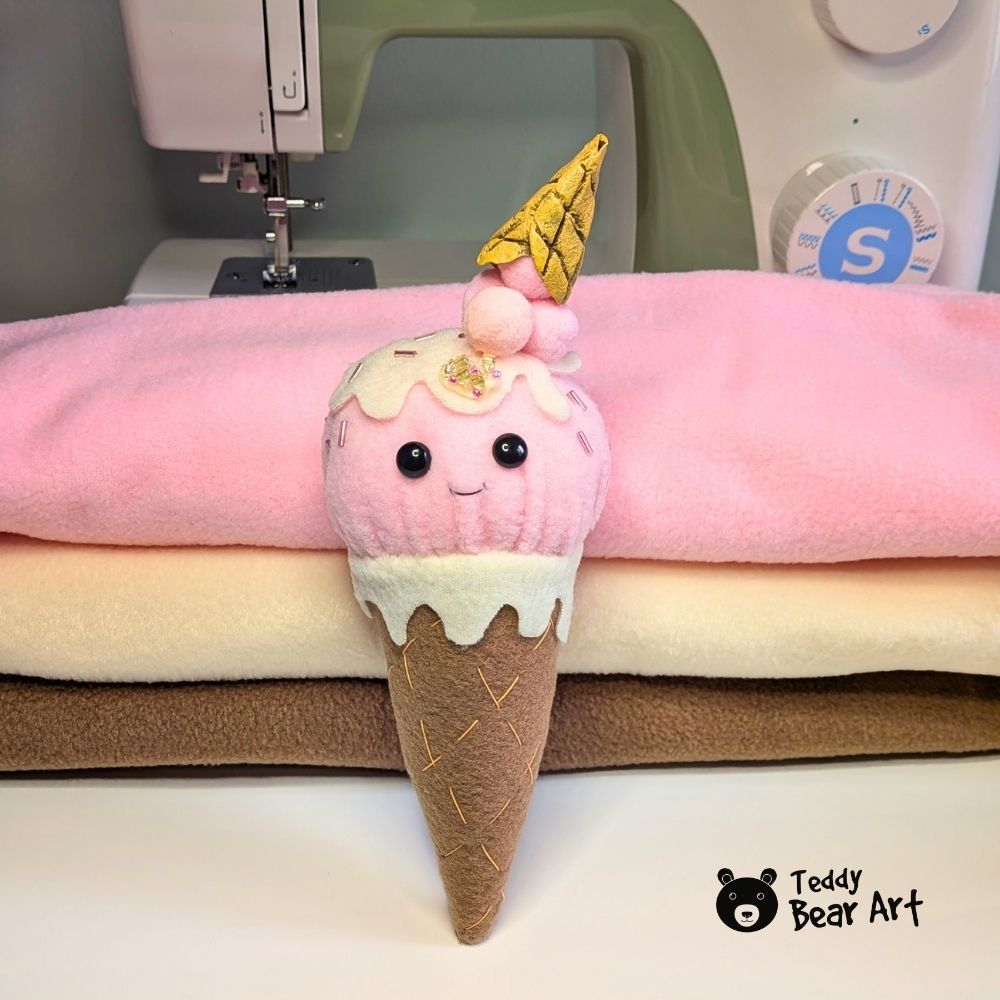
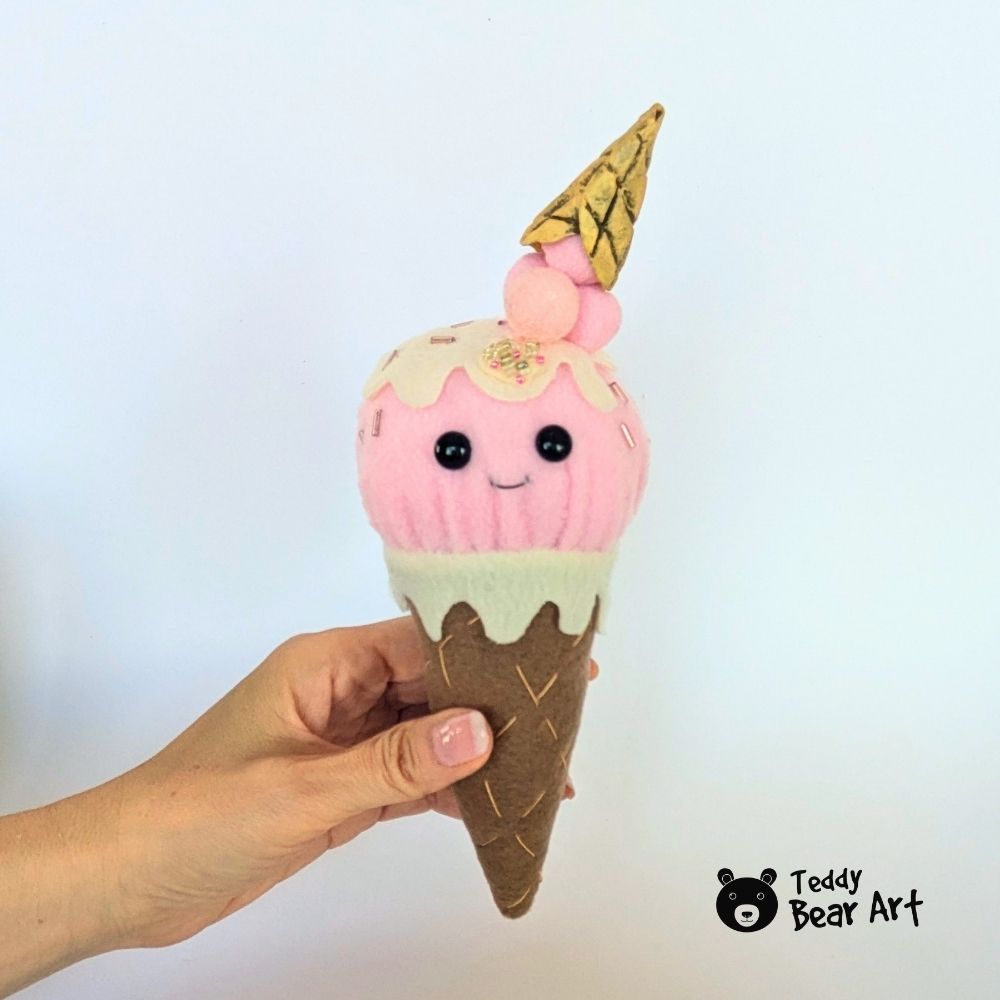
Your fleece ice cream plush is finished. Now you have a cute handmade toy that looks sweet, soft, and full of personality.
You can use it as a small handmade gift, a cute shelf decoration, a nursery accent, a craft fair item, or a fun addition to your handmade plush collection.
Helpful Tips
Use soft fleece because it is forgiving and easy to sew, especially for beginners. It also gives the ice cream scoop a soft and fluffy look.
Do not overstuff the plush. A little softness makes the toy look more handmade and cuddly.
Mark the waffle lines on the cone before sewing it together. It is much easier to stitch the decorative lines while the fabric is still flat.
Be careful with small decorations if the plush is intended for a child. Beads, pom-poms, and clay pieces are better for decorative plush toys or gifts for older children and adults.
FAQ
Can I sew this ice cream plush by hand?
Yes, you can sew the entire ice cream plush by hand. A sewing machine can make some steps faster, but it is not required. Hand sewing also gives this plush a lovely handmade look.
What fabric is best for it?
Fleece is a great choice for this project because it is soft, easy to work with, and does not fray as much as many other fabrics. It also gives the plush a cozy and cute appearance.
Before You Go
This free easy ice cream plush pattern is a sweet and creative sewing project that you can make from simple fleece fabric. The basic shape is beginner-friendly, but the decorations give you many ways to make your plush unique.
Try different colors, add your favorite toppings, and enjoy creating your own soft handmade ice cream toy. Download the free pattern, save this tutorial for later, and have fun sewing your cute fleece ice cream plush.
If you enjoy sewing cute food plushies, you may also like our DIY Strawberry Matcha Latte plushie with a free pattern, another unique summer sewing project.
Get Free Patterns & Be the First to Know!
Want free teddy bear patterns, exclusive tutorials, and a chance to win craft supplies?
Sign up for our newsletter using the subscribe form in the middle of this article to receive new patterns, insider tips, and the latest news on teddy bear art. You’ll also automatically be entered into our annual giveaway for a chance to win teddy bear crafting materials.
Bonus entry: Save one of our pins on Pinterest to increase your chances of winning!
Let’s create, inspire, and craft beautiful teddy bears together!
My wife found this website after our granddaughter fell in love with crafts and teddy bears. Since then, the two of them have been making little creative projects together, and I really enjoy watching it. There is something special about how these activities bring different generations together.
This ice cream plush project looks like a perfect summer craft for them. I like that the tutorial is simple and beginner-friendly, but still leaves room for choosing colors, decorations, and little personal touches.
I also appreciated the safety reminder about small decorations like beads and pom-poms. That is very important when children are involved.
My granddaughter absolutely adores the idea of sweet little characters. Are you planning to make more projects like this?
Thank you so much for such a lovely comment! I really like the idea of your wife and granddaughter making little creative projects together. That is exactly the kind of memory handmade toys can create.
And yes, some surprising new sweet ideas are coming soon!
I made this little ice cream plush yesterday, and it turned out so cute! I used soft fleece for the main part and a few small felt pieces for the details. The pattern was easy to follow, and I liked that the whole project didn’t feel overwhelming at all.
My daughter already took it from me as soon as she saw it, so I think that’s the best review a handmade toy can get. Now I want to make a few more in different colors because they would look adorable together.
Thank you so much for sharing this! It makes me so happy to hear that you already made the ice cream plush and that your daughter took it right away. That really is the sweetest review a handmade toy can get.
Making a few more in different colors sounds like such a lovely idea too. They would look adorable together as a little plush ice cream collection.