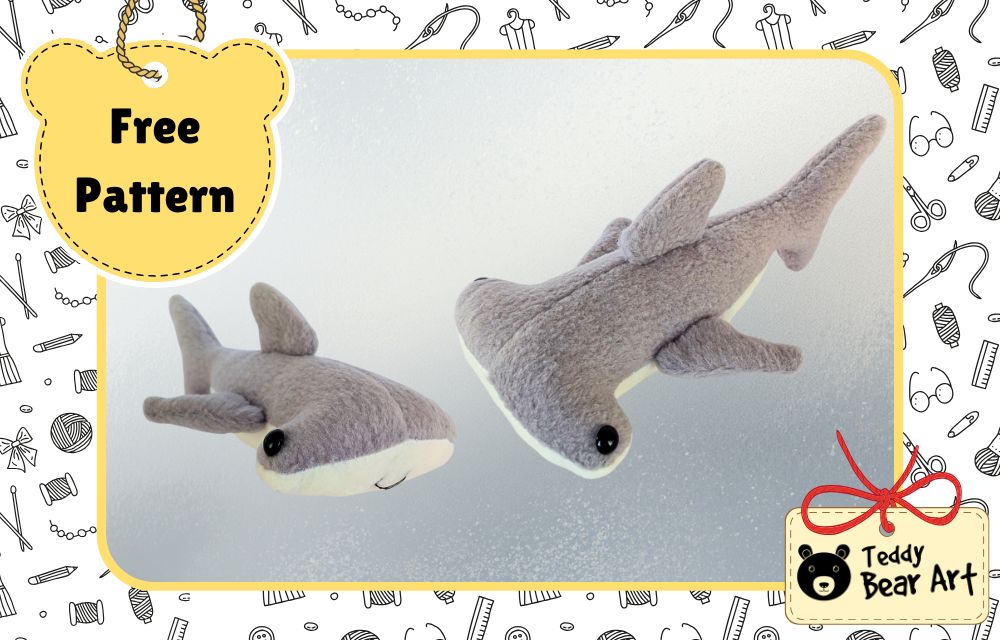
This hammerhead shark sewing pattern tutorial is a fun way to sew a soft fleece ocean animal with a wide hammer-shaped head, a white belly, little fins, and a cute handmade personality. A hammerhead shark is not the most common plush project, and that is exactly what makes it special. It has a funny shape, it looks instantly recognizable, and it gives us a lovely chance to create something more unusual than a simple fish or classic shark plush.
This free fleece plush guide is made for makers who enjoy soft toys with character. The shape is playful, but the sewing process can stay friendly and manageable if we cut the pieces carefully, pin the fleece well, and take our time around the curves. The finished shark can become a sweet handmade gift, an ocean-themed decoration, or a soft toy for anyone who loves sea animals.
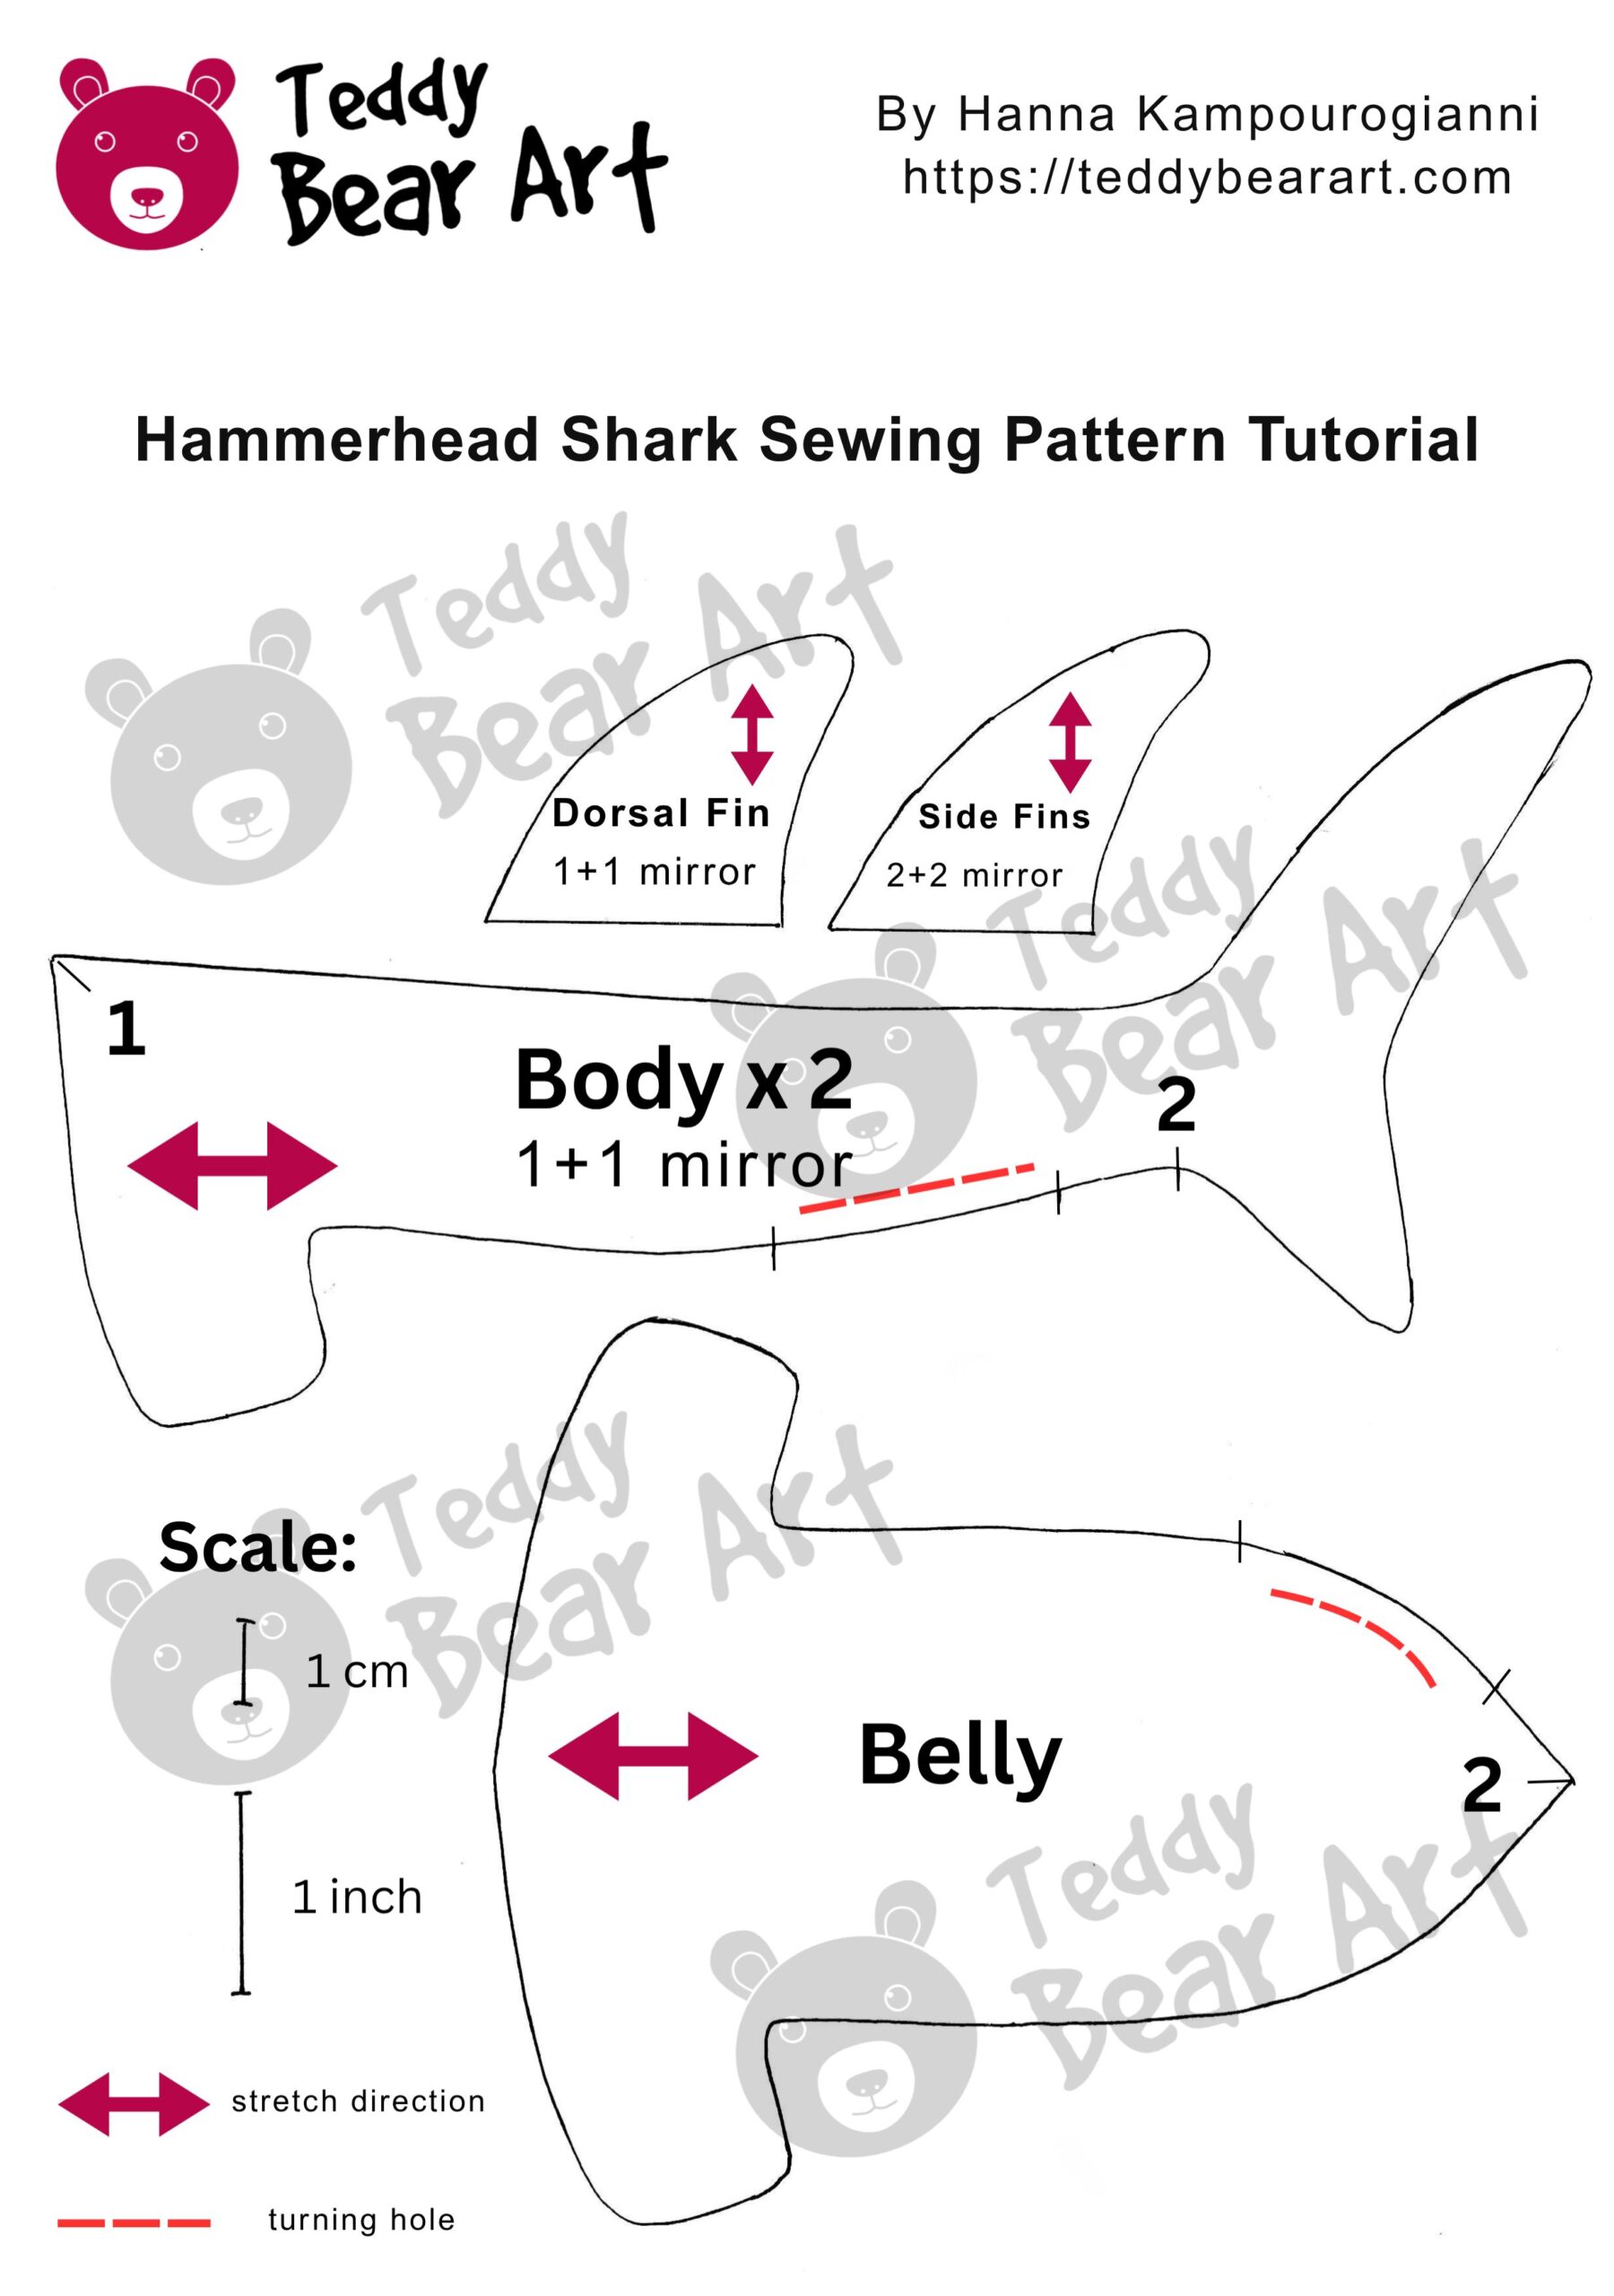
Download the Pattern
Notice that seam allowances are not included. For this project, it is fine to include 5 mm for seam allowances.
To download the pattern, follow the instructions below:
From a phone or tablet: There should be a similar option for mobile devices with Android or iOS. Click on the image. Save it by holding your finger on the image and selecting the “Save Image” option. Then, go to your photo gallery and print it (an option available).
From a computer: Click on the photo of the pattern you see below. In the new tab that will open, you press the right mouse button and select the “Save image as …” option. Then, you choose where the image will be saved on your computer.
Materials
- Fleece fabric (main color)
- Fleece fabric (white for belly)
- Polyester stuffing (polyfill)
- Black beads for eyes or embroidery thread
- Matching sewing thread and a needle
- Sissors
Step By Step Guide: How To Sew A Hammerhead Shark Plush
Step 1: Print And Cut The Pattern
Print the free hammerhead shark sewing pattern at 100 percent scale. Do not use “fit to page,” because it can change the size of the pattern pieces.
Cut out all paper pattern pieces carefully.
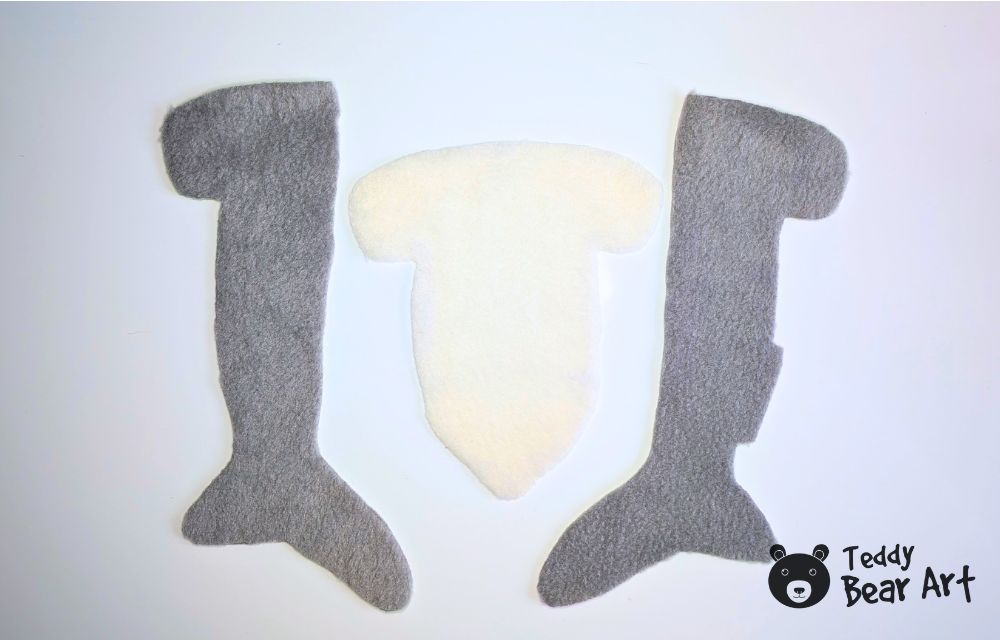
Step 2: Cut The Fleece Pieces
Place the pattern pieces on the wrong side of the fleece and trace around them with a fabric pen.
Cut the body pieces from gray or blue-gray fleece. Cut the belly piece from white fleece.
Try not to stretch the fleece while cutting. Fleece can move a little, so it helps to pin the paper pattern to the fabric before cutting.
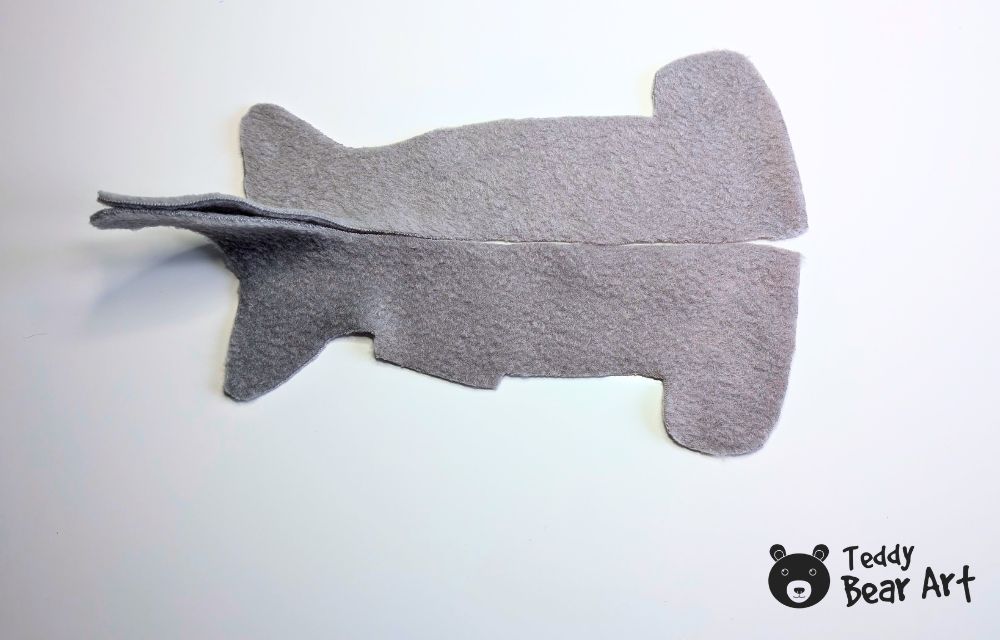
Step 3: Sew The Body Pieces
Place the two body pieces right sides together.
Sew the body from mark 1 to mark 2. Follow the shape slowly and keep the edges aligned as you sew.
Mark 2 is the point where the belly piece will finish, so stop sewing there.
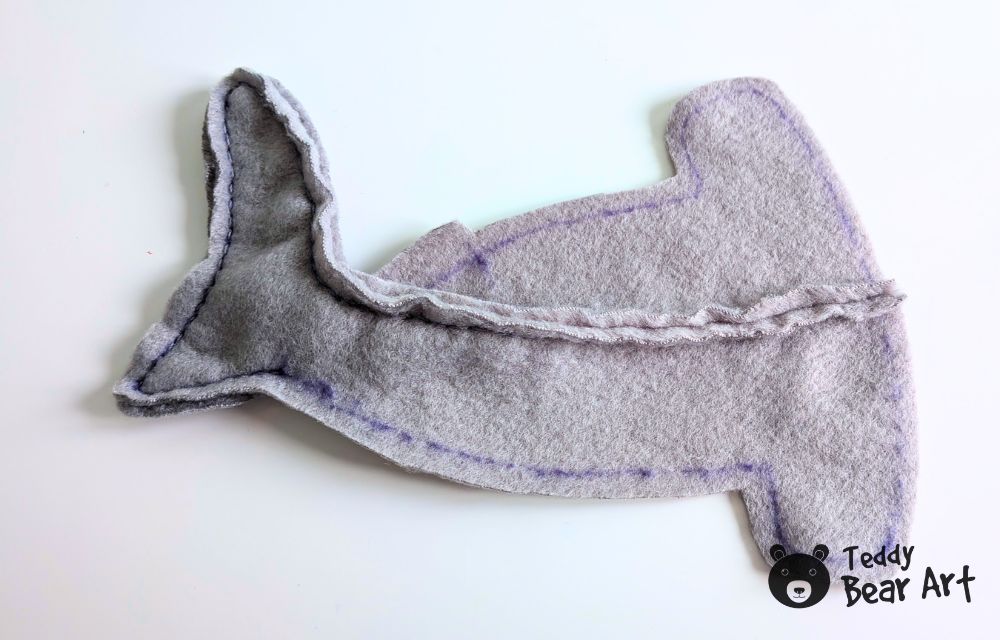
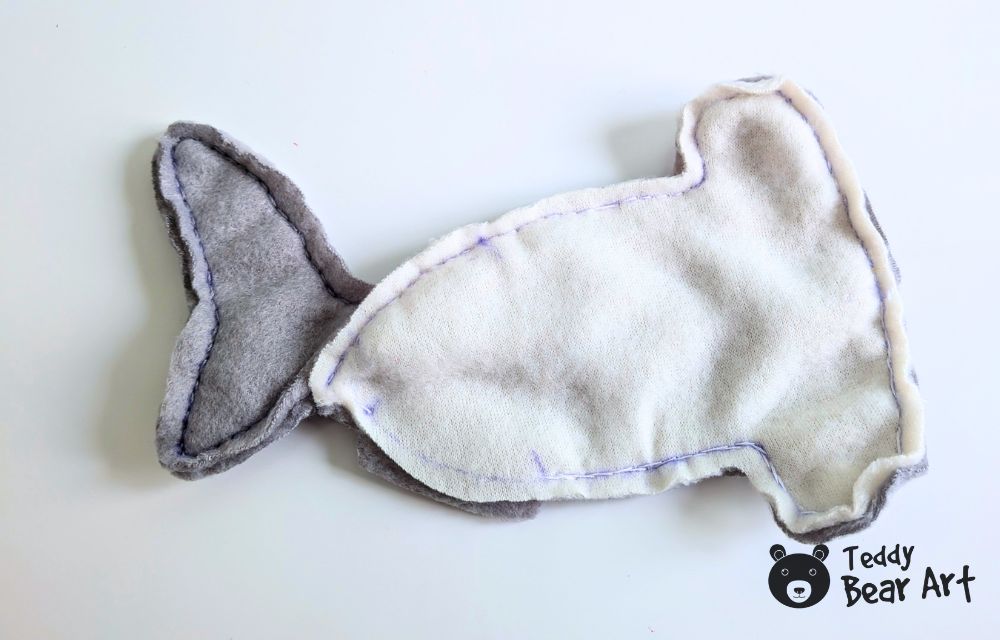
Step 4: Sew The Belly Into The Body
Place the white belly piece into the body, right sides together.
Pin or clip the belly carefully along the body edges. Fleece can shift, so use enough pins to keep everything in place.
Sew the belly into the body, matching the edges smoothly. Leave an opening for turning and stuffing.
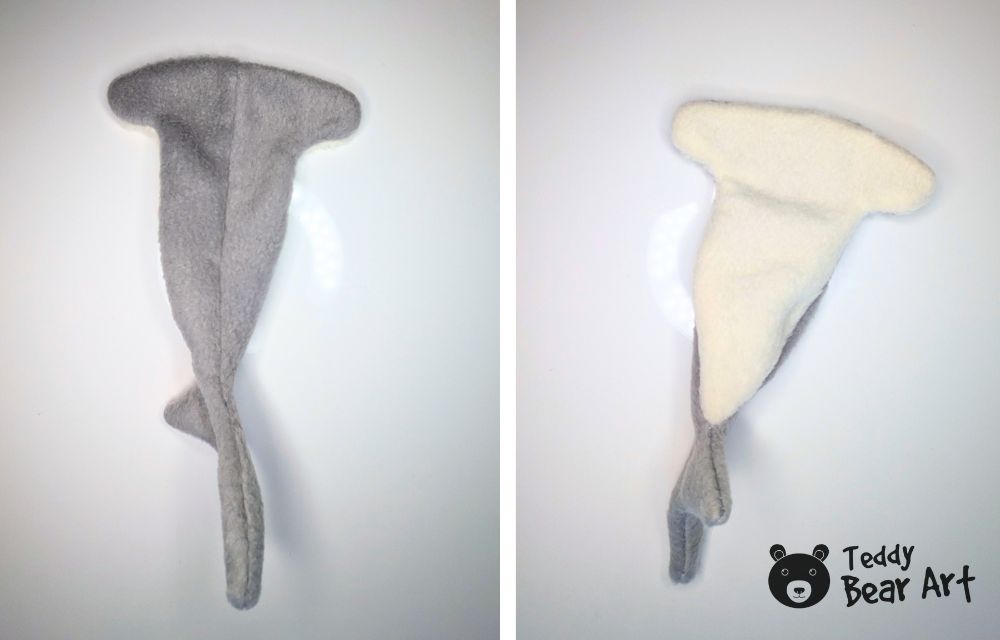
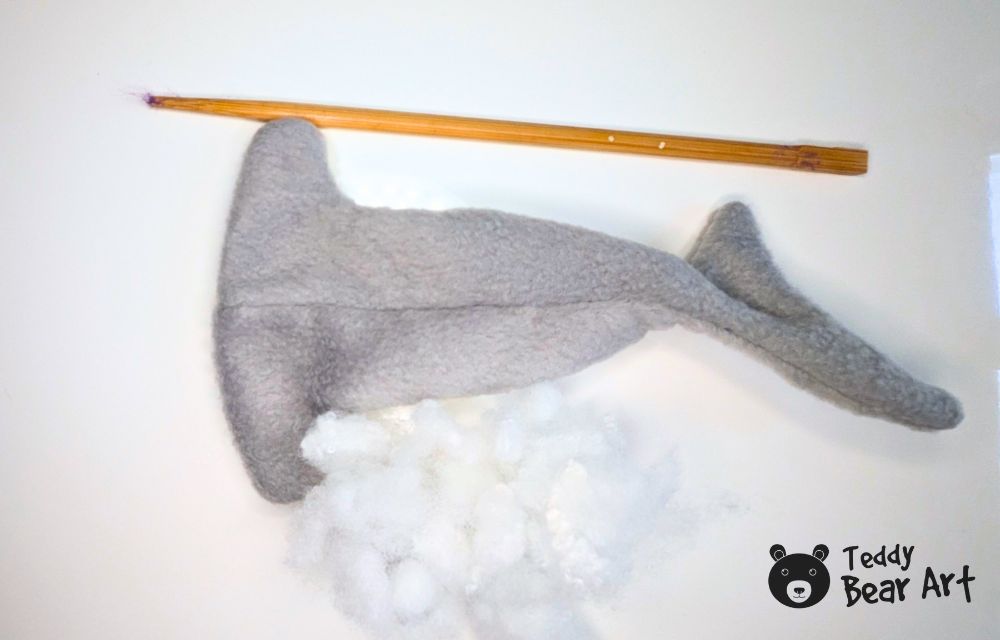
Step 5: Turn The Shark Right Side Out
Turn the shark right side out through the opening.
Use a chopstick or a blunt turning tool to gently push out the head, tail, and curves. Do not use anything sharp, because it can damage the fleece.
After turning, smooth the seams with your fingers and check the shape.
Step 6: Stuff The Hammerhead Shark Plush
Start adding stuffing in small pieces.
Fill the head first, then the tail, and then the body. Add the stuffing slowly so the plush stays smooth and even.
The shark should feel full but still soft. Do not overstuff it, because too much stuffing can distort the shape.
Step 7: Close The Opening
Fold the raw edges of the opening inside.
Close the hole with a ladder stitch using matching thread. Pull the thread gently so the seam becomes almost invisible.
Tie a secure knot and hide the thread end inside the plush.
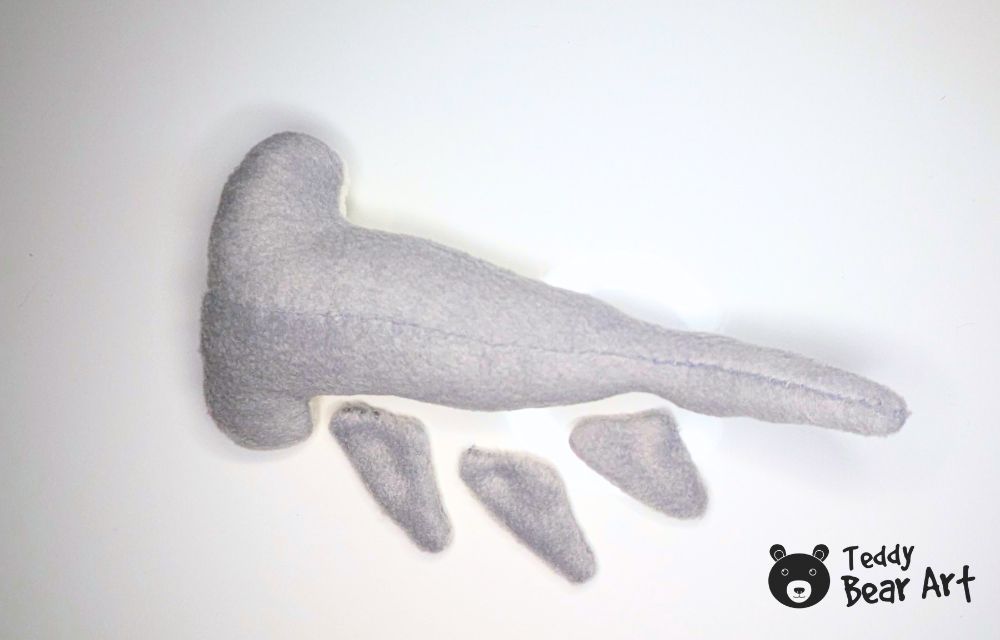
Step 8: Add The Final Details
After the body is closed, check the shape of the shark and adjust the stuffing with your hands.
Now prepare the fins. Place two fin pieces right sides together and sew around the curved edge, leaving the straight edge open. Turn the fin right side out and smooth the shape with your fingers. The fins can stay flat.
Place the fins on both sides of the shark body and check that they look even. Pin them in place first, then hand sew them securely to the body with small neat stitches.
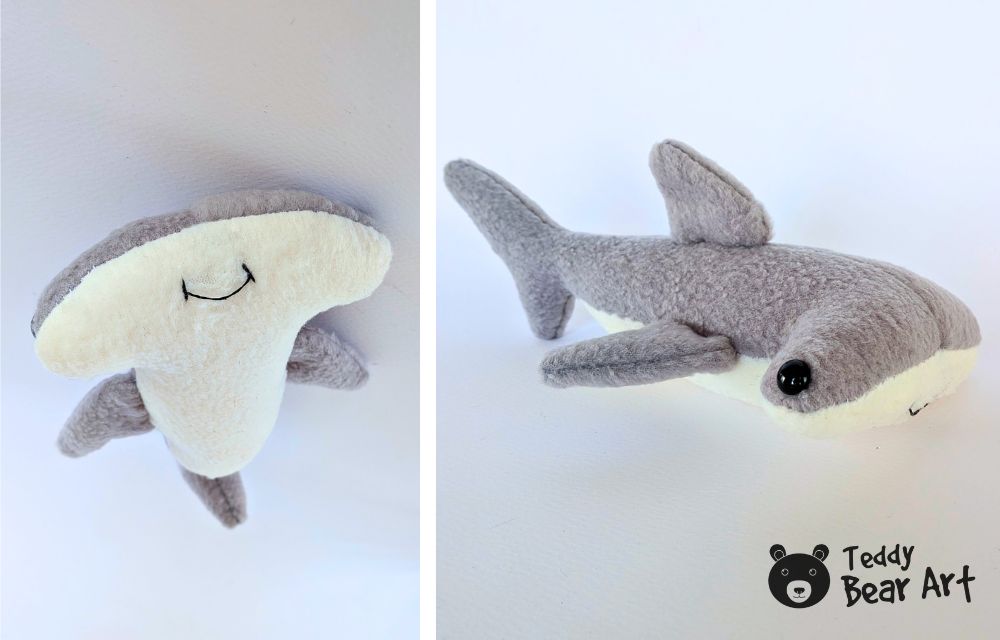
Add the eyes if you have not added them earlier. You can use black beads, safety eyes, or embroidered eyes. For toys made for small children, embroidered eyes are the safest choice.
Embroidery the smile.
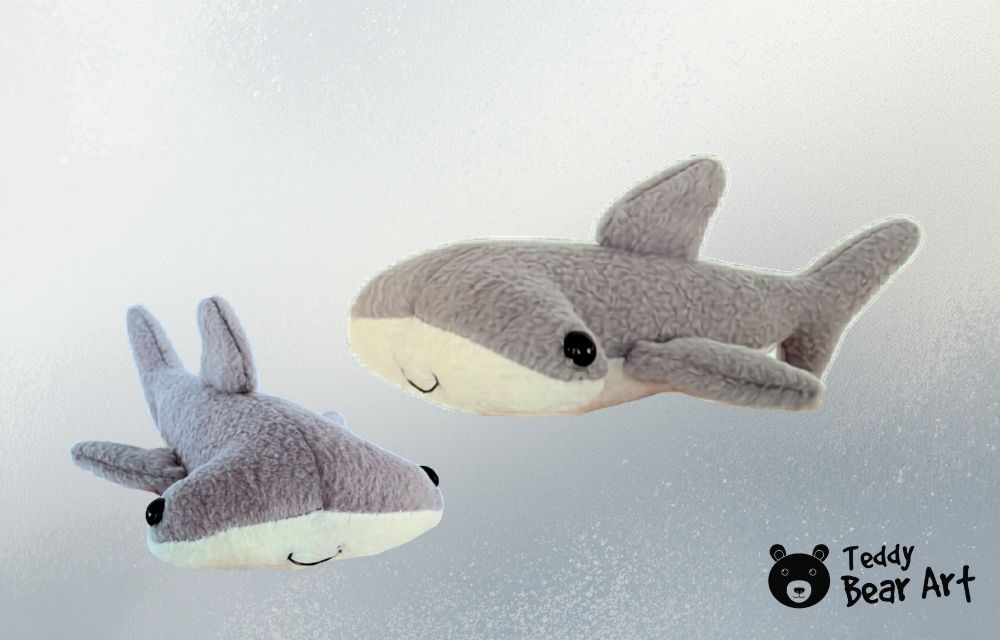
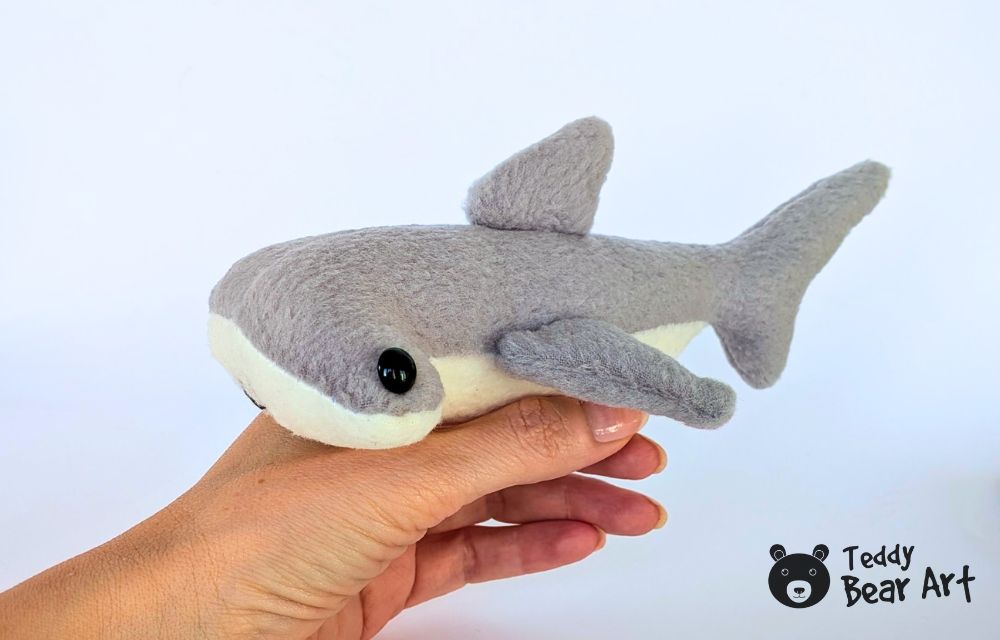
Now your fleece hammerhead shark plush is finished.
Tips For A Cleaner Fleece Shark Plush
This Hammerhead Shark Sewing Pattern Tutorial is not difficult, but a few small habits can make the finished plush look much more polished.
Use sharp scissors. Dull scissors can chew fleece and leave uneven edges.
Do not stretch the fabric while sewing. Let the feed dogs move the fleece through the machine, or guide it gently by hand.
Use more pins than you think you need. The hammerhead shape has wide areas and curves, and the layers can slide if they are not secured.
Keep the stuffing light in narrow places. The tail and fins should not become hard or bulky.
Check the eyes before closing the body. The expression of this plush depends a lot on eye placement.
Take extra care with the white belly. A neat belly piece makes the shark look more professional and gives a lovely contrast to the gray fleece.
For a sweeter look, embroider a small smile. For a more realistic shark, leave the face simple and let the head shape do the talking.
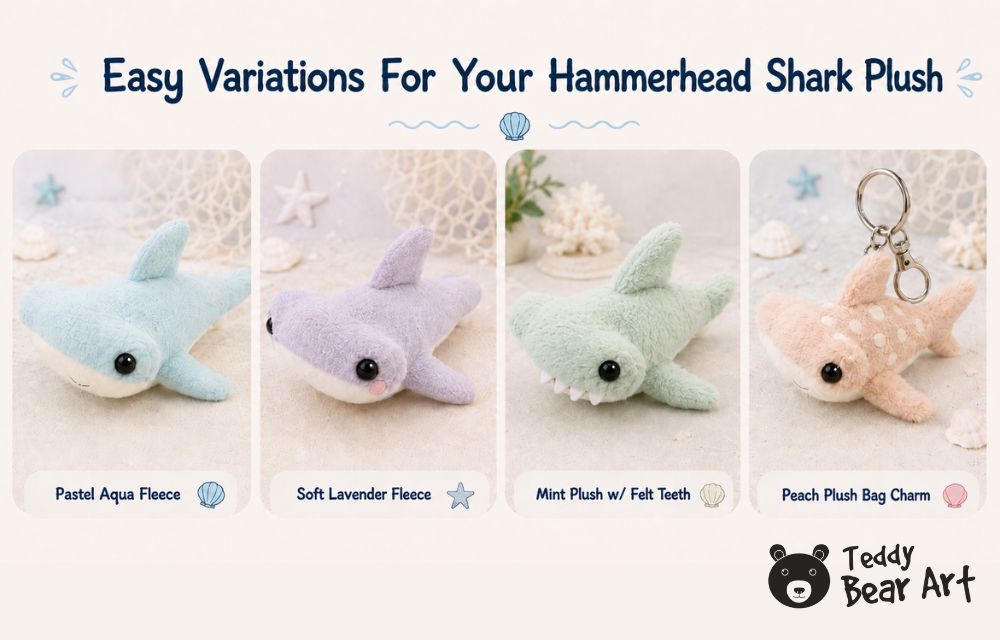
Easy Variations For Your Hammerhead Shark Plush
Once the basic shark is finished, the same pattern can inspire many versions. A pale blue shark can look soft and babyish. A charcoal gray shark feels more realistic. Pastel fleece can turn it into a fantasy ocean plush, especially if paired with embroidered stars, tiny cheeks, or a colorful belly.
The pattern can also be enlarged for a pillow-style shark. If making a bigger version, add more stuffing slowly and strengthen the seams around the fins. A larger hammerhead head needs balanced stuffing on both sides so it does not twist or droop.
For a playful gift, sew a baby hammerhead shark and pair it with a larger one. A tiny version can be used as a bag charm if sewn from felt or thinner fleece, though very small pieces are trickier to turn.
Another cute idea is to add soft felt teeth. Keep them rounded and gentle, not sharp. This keeps the plush friendly while still giving it a funny shark personality.
FAQ
Is this hammerhead shark plush good for beginners?
Yes, it can be a beginner-friendly project, especially for someone who has already sewn one simple plush toy before. The shape is more interesting than a basic shark, but the steps are still manageable with careful pinning and slow sewing.
Can we sew this hammerhead shark by hand?
Yes, the plush can be sewn by hand. Use small backstitches for the main seams and a ladder stitch for closing the opening. Hand sewing will take longer, but it gives good control around the head and tail.
What fabric works best for this pattern?
Fleece is the best choice for a soft plush result. Felt can also work, but the toy will feel flatter and less cuddly. Cotton is possible, but it will not have the same soft plush texture.
Can the pattern be resized?
Yes, the pattern can be printed larger or smaller. A larger shark will need more fleece and stuffing. A smaller shark may be harder to turn and stuff neatly, especially around the fins and head.
What is the safest eye option?
For toys made for babies or very young children, embroidered eyes are the safest option. For display pieces or older children, beads or safety eyes can be used if they are attached properly.
Before You Go
A handmade hammerhead shark is such a fun change from the usual plush animals. The wide head gives it instant character, the white belly adds charm, and the fleece makes it soft enough to cuddle. With a free pattern, simple sewing steps, and a little patience around the curves, this ocean animal plush can become a project that feels both easy and special.
Save this guide, print the pattern, choose a soft piece of fleece, and enjoy creating a cute hammerhead shark plush with its own handmade personality.
You may also like this shark:
Get Free Patterns & Be the First to Know!
Want free teddy bear patterns, exclusive tutorials, and a chance to win craft supplies?
Sign up for our newsletter using the subscribe form in the middle of this article to receive new patterns, insider tips, and the latest news on teddy bear art. You’ll also automatically be entered into our annual giveaway for a chance to win teddy bear crafting materials.
Bonus entry: Save one of our pins on Pinterest to increase your chances of winning!
Let’s create, inspire, and craft beautiful teddy bears together!
Oh my heart, I am absolutely obsessed with this! As someone who is basically a permanent resident of the “ocean aesthetic” corner of the internet, finding a Hammerhead Shark sewing pattern that actually captures their quirky little faces is a total win. I usually stick to sewing traditional woodland creatures, but there is something so misunderstood and majestic about sharks, especially Hammerheads! They’re like the weird, wonderful architects of the sea. Seeing one transformed into a soft, cuddly fleece plushie is exactly the kind of “land-sea” crossover I need in my life.
Thank you so much! I love how you described Hammerheads as “weird, wonderful architects of the sea” because that feels so true. They are unusual, a little funny, and still so beautiful in their own way. I’m really happy this fleece plushie captured that quirky ocean charm for you. And I agree, sometimes it’s so fun to step away from the usual woodland animals and try something a bit more unexpected!
Thank you for sharing this fun hammerhead shark sewing pattern tutorial. I really like this kind of project because fleece plush toys are beginner-friendly but still end up looking very impressive when finished.
I also noticed the arrows on the pattern pieces that show the fleece stretch direction. Could you explain why the stretch needs to go that way? I’m curious how it affects the final shape of the plush toy.
Thank you so much! I’m really happy you enjoyed the hammerhead shark tutorial.
Yes, the arrows on the pattern pieces are very important. They show the direction in which the fleece stretches the most. If the pieces are cut the wrong way, the plushie can become distorted, too wide, too narrow, or lose its intended shape after stuffing. For this shark, I place the stretch direction so the body keeps a smooth shape and looks balanced when finished.
So it’s a small detail, but it really helps the finished plush toy look much better!