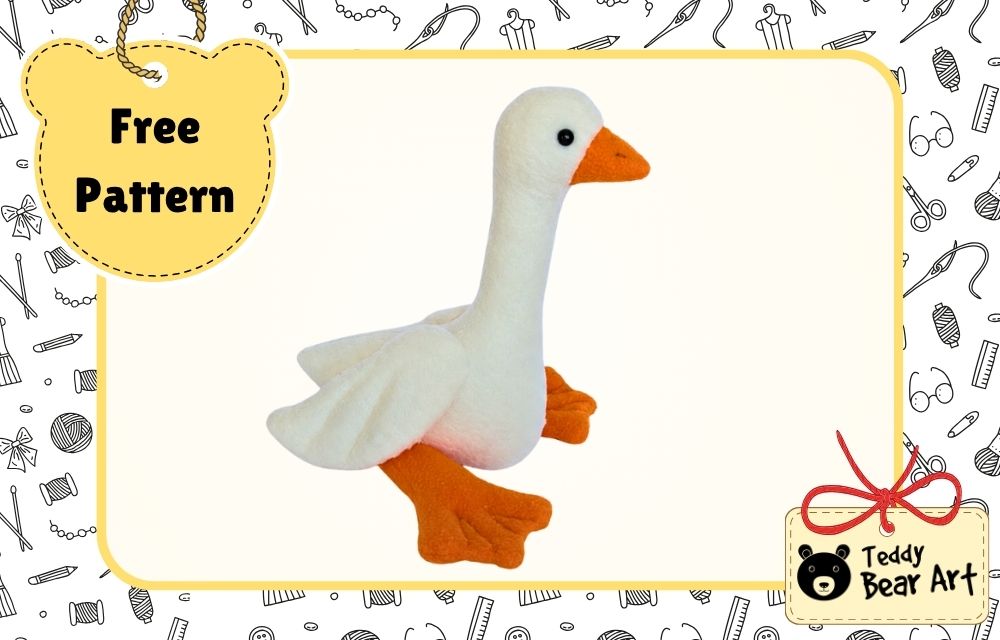
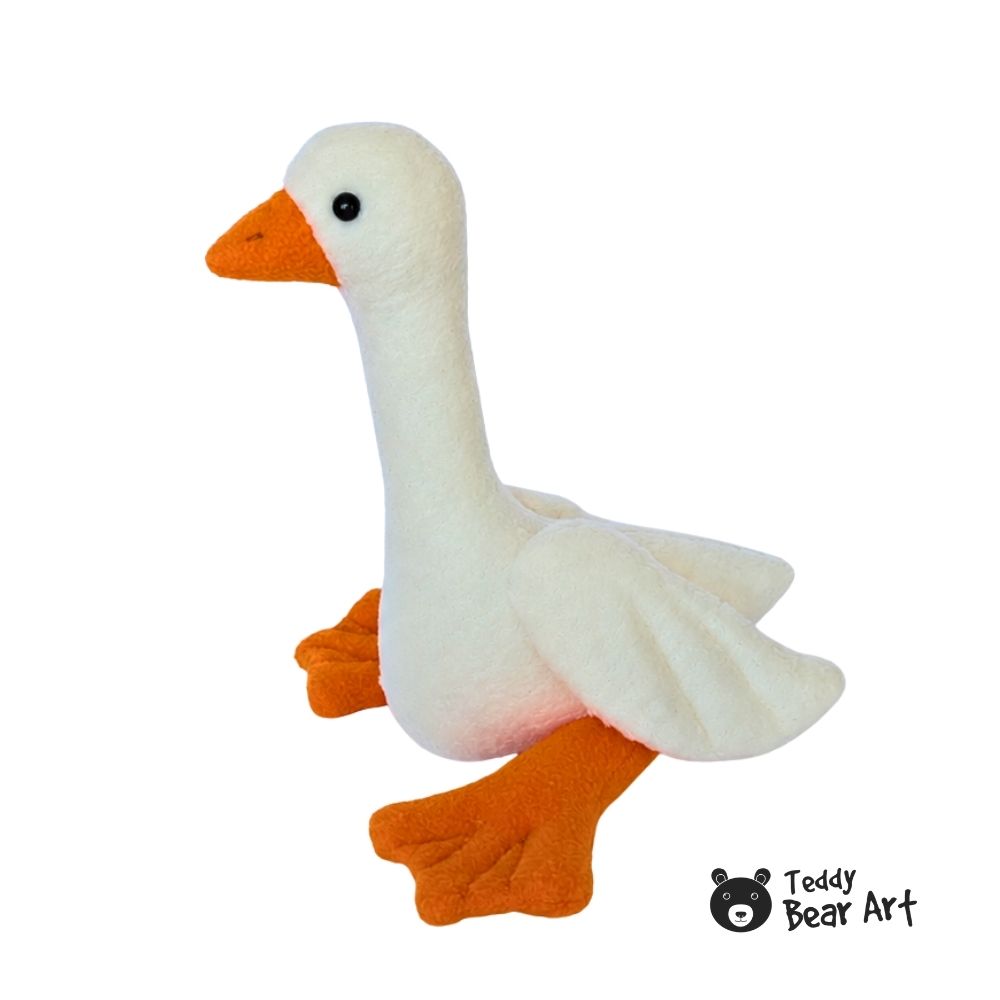
If you are looking for a free goose sewing pattern that feels simple but still has personality, this little fleece goose is a lovely project to try. I made mine from soft white fleece with a bright orange beak and matching orange legs, and the finished toy has that funny, calm look geese often have.
The pattern is not complicated, but a few small details make it special: soft wings with feather stitching, flat webbed feet, tiny nostrils, and a long neck that gives the goose its character.
This goose plush is a nice project for beginners who already know basic sewing, as well as for makers who enjoy quick animal plush patterns. You can sew it by hand, but I used a sewing machine for the main seams because fleece behaves nicely, and the shapes are simple.
The most important thing is not speed. Take your time with the stuffing, the eyes, and the wing placement, because those little choices decide if the goose looks sweet, proud, silly, or serious.
Download The Pattern
Notice that seam allowances are not included. For this project, it is fine to include 5 mm for seam allowances.
To download the pattern, follow the instructions below:
From a phone or tablet: There should be a similar option for mobile devices with Android or iOS. Click on the image. Save it by holding your finger on the image and selecting the “Save Image” option. Then, go to your photo gallery and print it (an option available).
From a computer: Click on the photo of the pattern you see below. In the new tab that will open, you press the right mouse button and select the “Save image as …” option. Then, you choose where the image will be saved on your computer.

Materials You Need
- White fleece for the body and wings
- Orange or yellow fleece for the beak and legs
- Matching sewing thread
- Polyester stuffing
- Black beads, embroidery thread, or small felt circles for eyes
- Sewing needle
- Sewing machine, optional
- Scissors
- Pins or clips
- Fabric marker or pen (pencil)
How To Sew The Goose Plush
There are two ways to sew the beak and body. You can cut the body and beak pieces separately, sew each beak piece to each body piece along mark 1, and then sew the two joined pieces together. But I used another method, and I liked how clean it looked on fleece.
First, take a piece of orange or yellow fleece for the beak and sew it to a piece of white fleece for the head and body. Make two such joined fabric pieces. After that, place the body pattern on top of the joined fabric so the beak part of the pattern sits on the orange or yellow fleece, and the head and body sit on the white fleece. Then trace and cut two mirrored body pieces from this joined fabric.
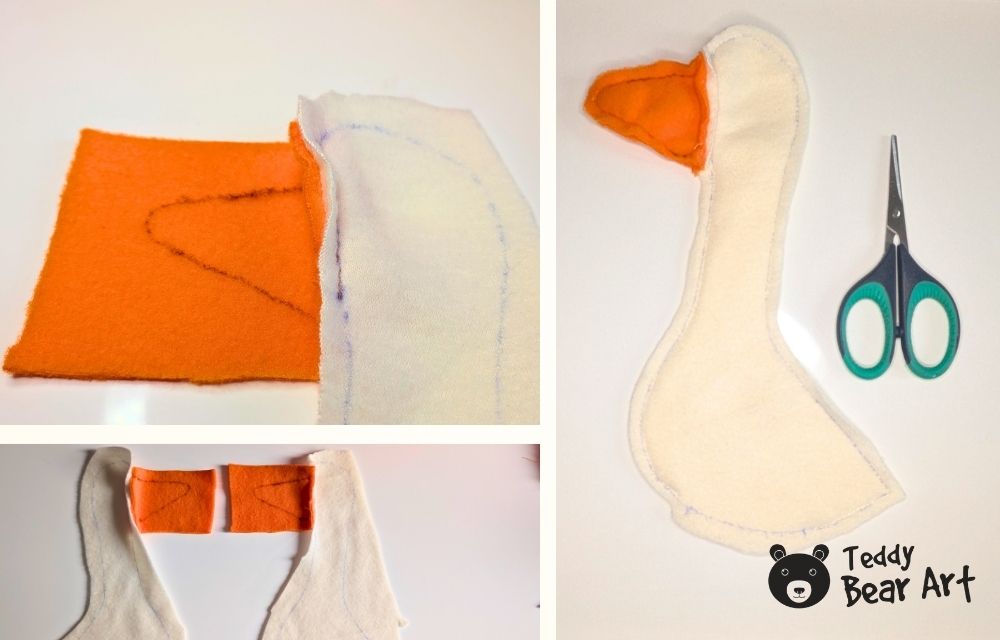
This way, the color change between the beak and the white face is already sewn before you cut the goose shape. It keeps the beak neat and helps both sides look even. Just check the fabric direction before cutting, especially if your fleece has a visible nap or stretch.
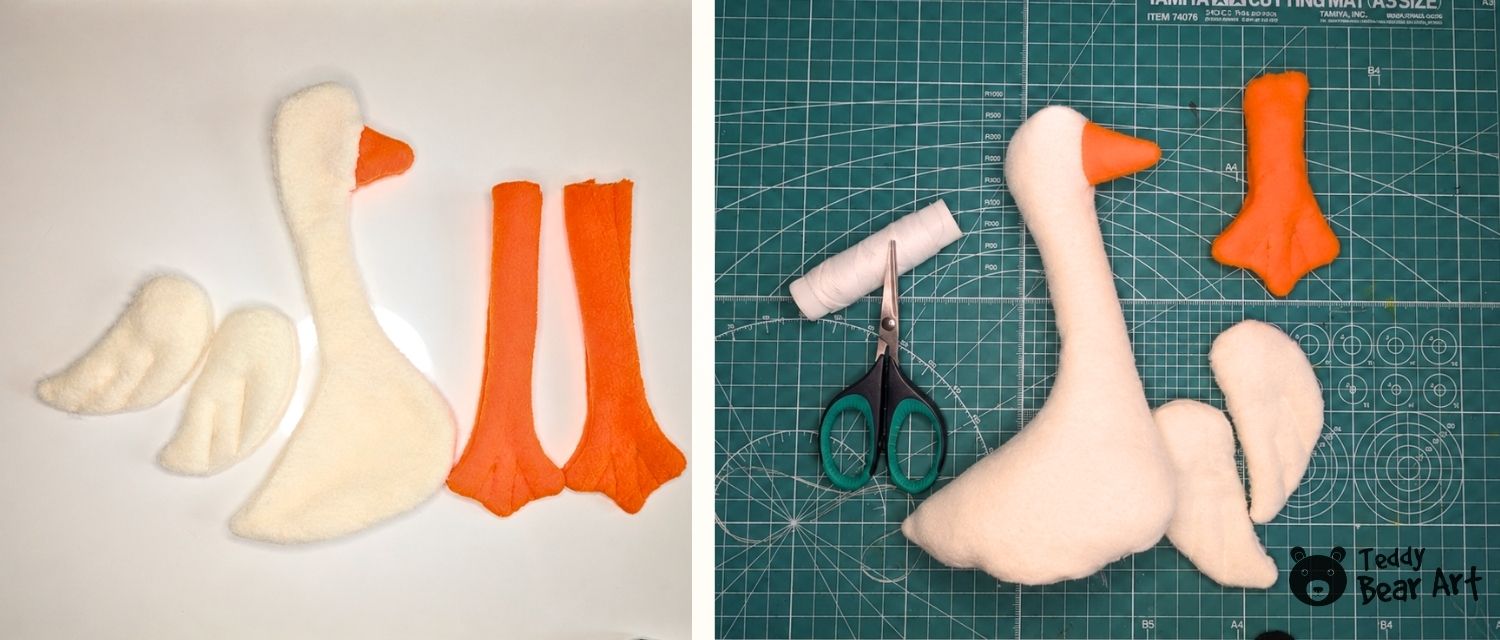
Place the two joined body pieces right sides together and sew around the goose shape, leaving the turning opening shown on the pattern. Turn the goose right side out. Use a wooden stick or another blunt tool to gently shape the beak, neck, and tail area. Do not push too hard through the fleece, especially near the beak and narrow curves.
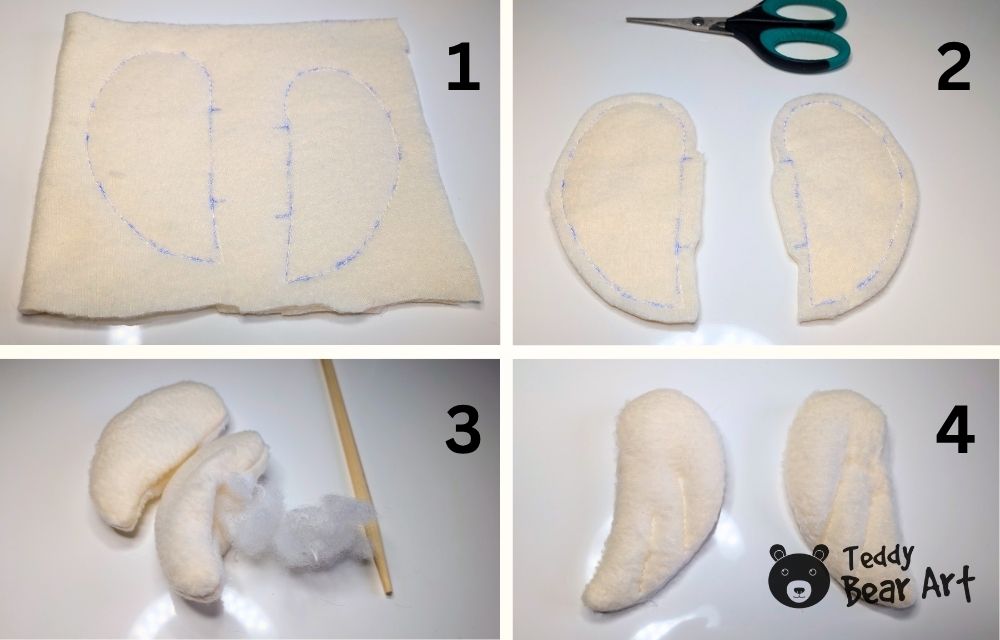
Next, sew the wings. Each wing uses two pieces. Place them right sides together, sew around the edge, and leave the opening for turning. Turn the wings right side out and smooth the shape with your fingers. Add just a little stuffing. The wings should stay soft and slightly flat, not round and puffy. Close the openings by hand, then sew a few curved lines on the front side of each wing to imitate feathers. Keep the lines simple, because this soft topstitching is what gives the wings that handmade charm.
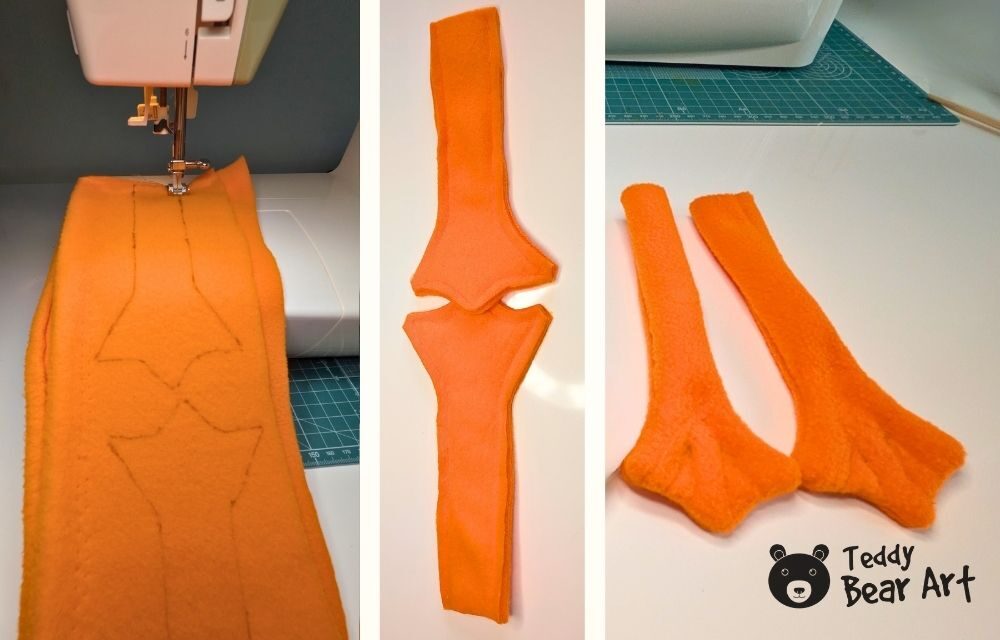
Now sew the legs. Place each pair of leg pieces right sides together and sew around the shape, leaving the turning opening. Turn the legs carefully. The feet are part of the same leg piece, so there is no separate sole. Before stuffing, sew the webbing lines on the flat foot area. Do not stuff the flat webbed part. Stuff only the long leg section, then close the opening by hand.
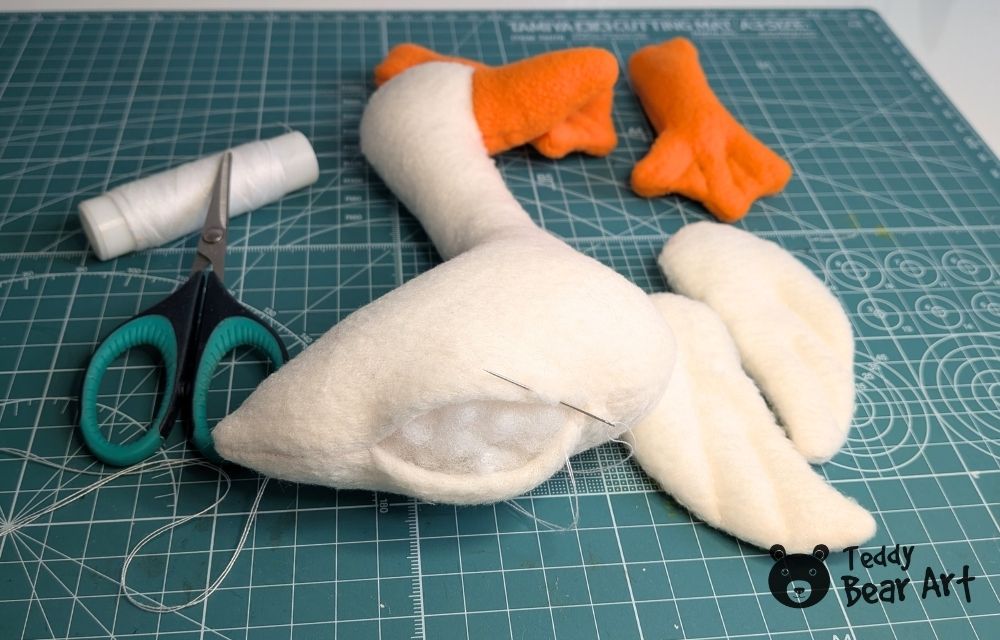
Stuff the goose body slowly. Begin with the head and neck, adding small pieces of stuffing little by little. The neck needs enough filling to hold its shape, but try to keep it smooth and not too hard. Then fill the body, shaping the chest and lower part with your fingers as you go. Close the opening neatly. If you need a reminder for this part, this video ladder stitch tutorial for stuffed toys is a helpful extra resource.
After the body is stuffed and closed, make the nostrils. Use two tiny stitches on the beak with a very light pull. Do not tighten too much. A small pull is enough to give the beak a little shape and expression.
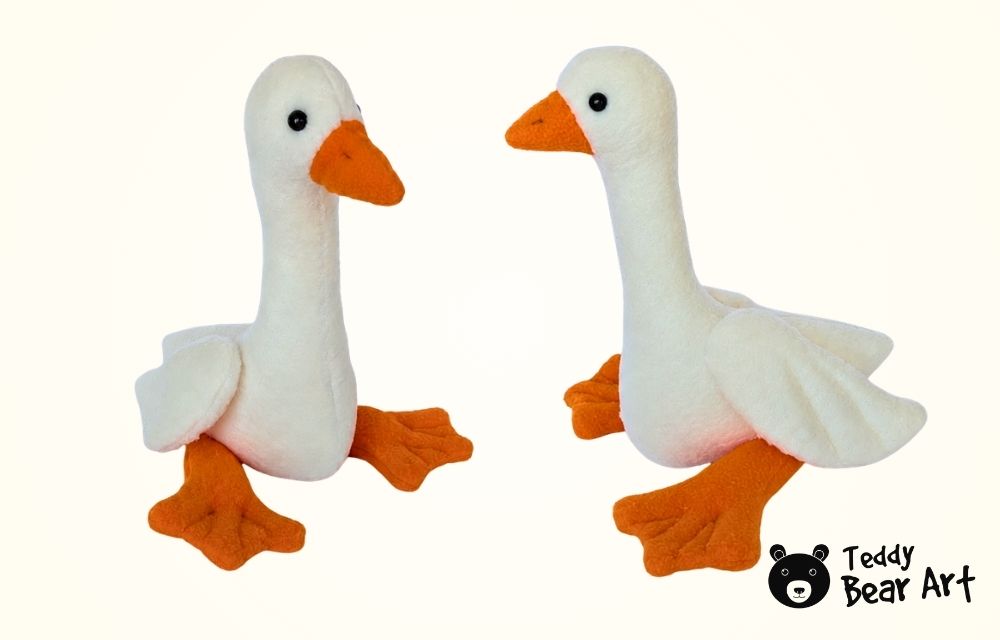
For the eyes, you can use black beads, embroidery, or small felt circles. I used bead style eyes because they give the goose a bright and sweet look. Place the eyes a little above the beak line and check the expression before sewing them firmly. Even a tiny change in eye placement can make the goose look sleepy, curious, shy, or extra cute.
Pin the wings to the sides of the body before sewing. I would not place them too close to the back seam. They look better when they sit naturally on the sides, like small, soft bird wings. Sew them by hand with small stitches.
Attach the legs last. But first pin both legs first and check that they hang at the same angle.
You can keep the goose classic with white and orange fleece, or make a softer version with cream fleece and pale yellow details. A tiny bow, scarf, or spring ribbon would also look sweet, especially if you want to use this goose sewing pattern for Easter, nursery decor, or a handmade gift.
FAQ
Can I sew this goose by hand?
Yes. Use small, even stitches and take extra care around the beak and feet. A sewing machine makes it faster, but hand sewing works well for fleece plush toys.
What fabric is best for this goose plush?
Fleece is my first choice. It is soft, easy to turn, and hides tiny imperfections. Minky can also work, but it moves more, so I would save that for a second version.
Can I make the goose larger or smaller?
Yes, resize all pattern pieces together. A smaller goose would make a cute ornament, and a larger one could be a soft shelf sitter or nursery decoration.
Before You Go
This free goose sewing pattern is simple, but the finished goose has plenty of charm. The long neck, soft fleece body, stitched wings, and funny flat feet make it feel handmade in the best way. Save this goose sewing pattern tutorial for your next sewing day, and have fun turning a few small pieces of fleece into a sweet little goose plush.
You may also like:
Get Free Patterns & Be the First to Know!
Want free teddy bear patterns, exclusive tutorials, and a chance to win craft supplies?
Sign up for our newsletter using the subscribe form in the middle of this article to receive new patterns, insider tips, and the latest news on teddy bear art. You’ll also automatically be entered into our annual giveaway for a chance to win teddy bear crafting materials.
Bonus entry: Save one of our pins on Pinterest to increase your chances of winning!
Let’s create, inspire, and craft beautiful teddy bears together!
Hi Hanna, first of all, thank you so much for explaining yesterday how to sew a neat circle on the turtle shell. I’m very grateful for your help. I finished my turtle yesterday evening, and now I want to try sewing this goose too!
Actually, I would love to make a few geese and place them on a shelf as summer cottagecore decor. They would look so sweet together. I wanted to ask: is it possible to enlarge this goose pattern? If yes, what is the best way to do it so the shape still stays nice and the pieces fit together properly?
Hi Shafna, I’m so happy to hear that you finished your turtle! Well done! And yes, a few little geese on a shelf would look absolutely adorable for summer decor.
In the printer settings, choose a bigger scale, for example 120% or 130%. If the enlarged pattern no longer fits on one page, the printer may split it onto several pages, or you can use the “poster” option if your printer has it. Then you simply tape the pages together and cut out the pieces.
I would start with 120% first, just to test the size, and then make a bigger one if you like the result.
This goose pattern is such a fun idea because it feels simple enough for a relaxed sewing day, but the little details like the long neck, stitched wings, and flat webbed feet give it a lot of personality. Good point that the expression really comes down to stuffing, eye placement, and wing position, because those small choices really do make handmade plushies come alive.
One thing I was wondering is whether you have a favorite tip for getting the neck evenly stuffed without making it too stiff, since that seems like the part that would really shape the whole look. I was also curious if you think fleece is the best fabric for total beginners, mainly because it is forgiving, or because it helps the finished goose keep that soft, slightly whimsical style better than cotton would. It would be fun to add a follow-up with a tiny scarf or summer accessory, because this pattern feels like it could easily branch out in a bunch of cute directions.
Hi Aly, thank you so much for such a lovely comment. I’m very happy you noticed the neck, wings, and little webbed feet, because these simple details really help give the goose its personality.
For the neck, my best tip is to add the stuffing in very small pieces and push it down gradually with a wooden stick or the back of a pencil. It is better not to use one big piece of stuffing, because then the neck can become lumpy or too stiff. I usually try to make it firm enough to hold the shape, but still soft enough to look natural.
And yes, I do think fleece is a very good choice for beginners. It is forgiving, soft, easy to turn, and it gives the finished goose that cozy, whimsical look. Cotton can also work, but it usually feels less plush and shows small sewing mistakes more clearly. A tiny scarf or little summer accessory would be such a cute idea for this goose too!