
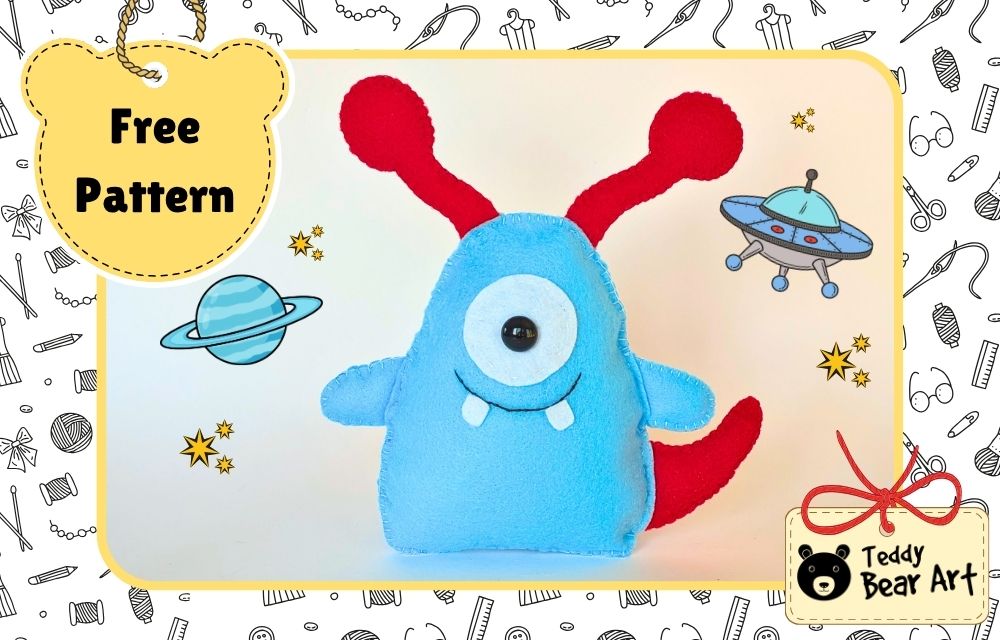

This easy alien plush pattern sewing guide shows how to make a cheerful one-eyed alien from felt using simple hand sewing. The free template includes all the main pieces, and the project is easy enough for beginners.
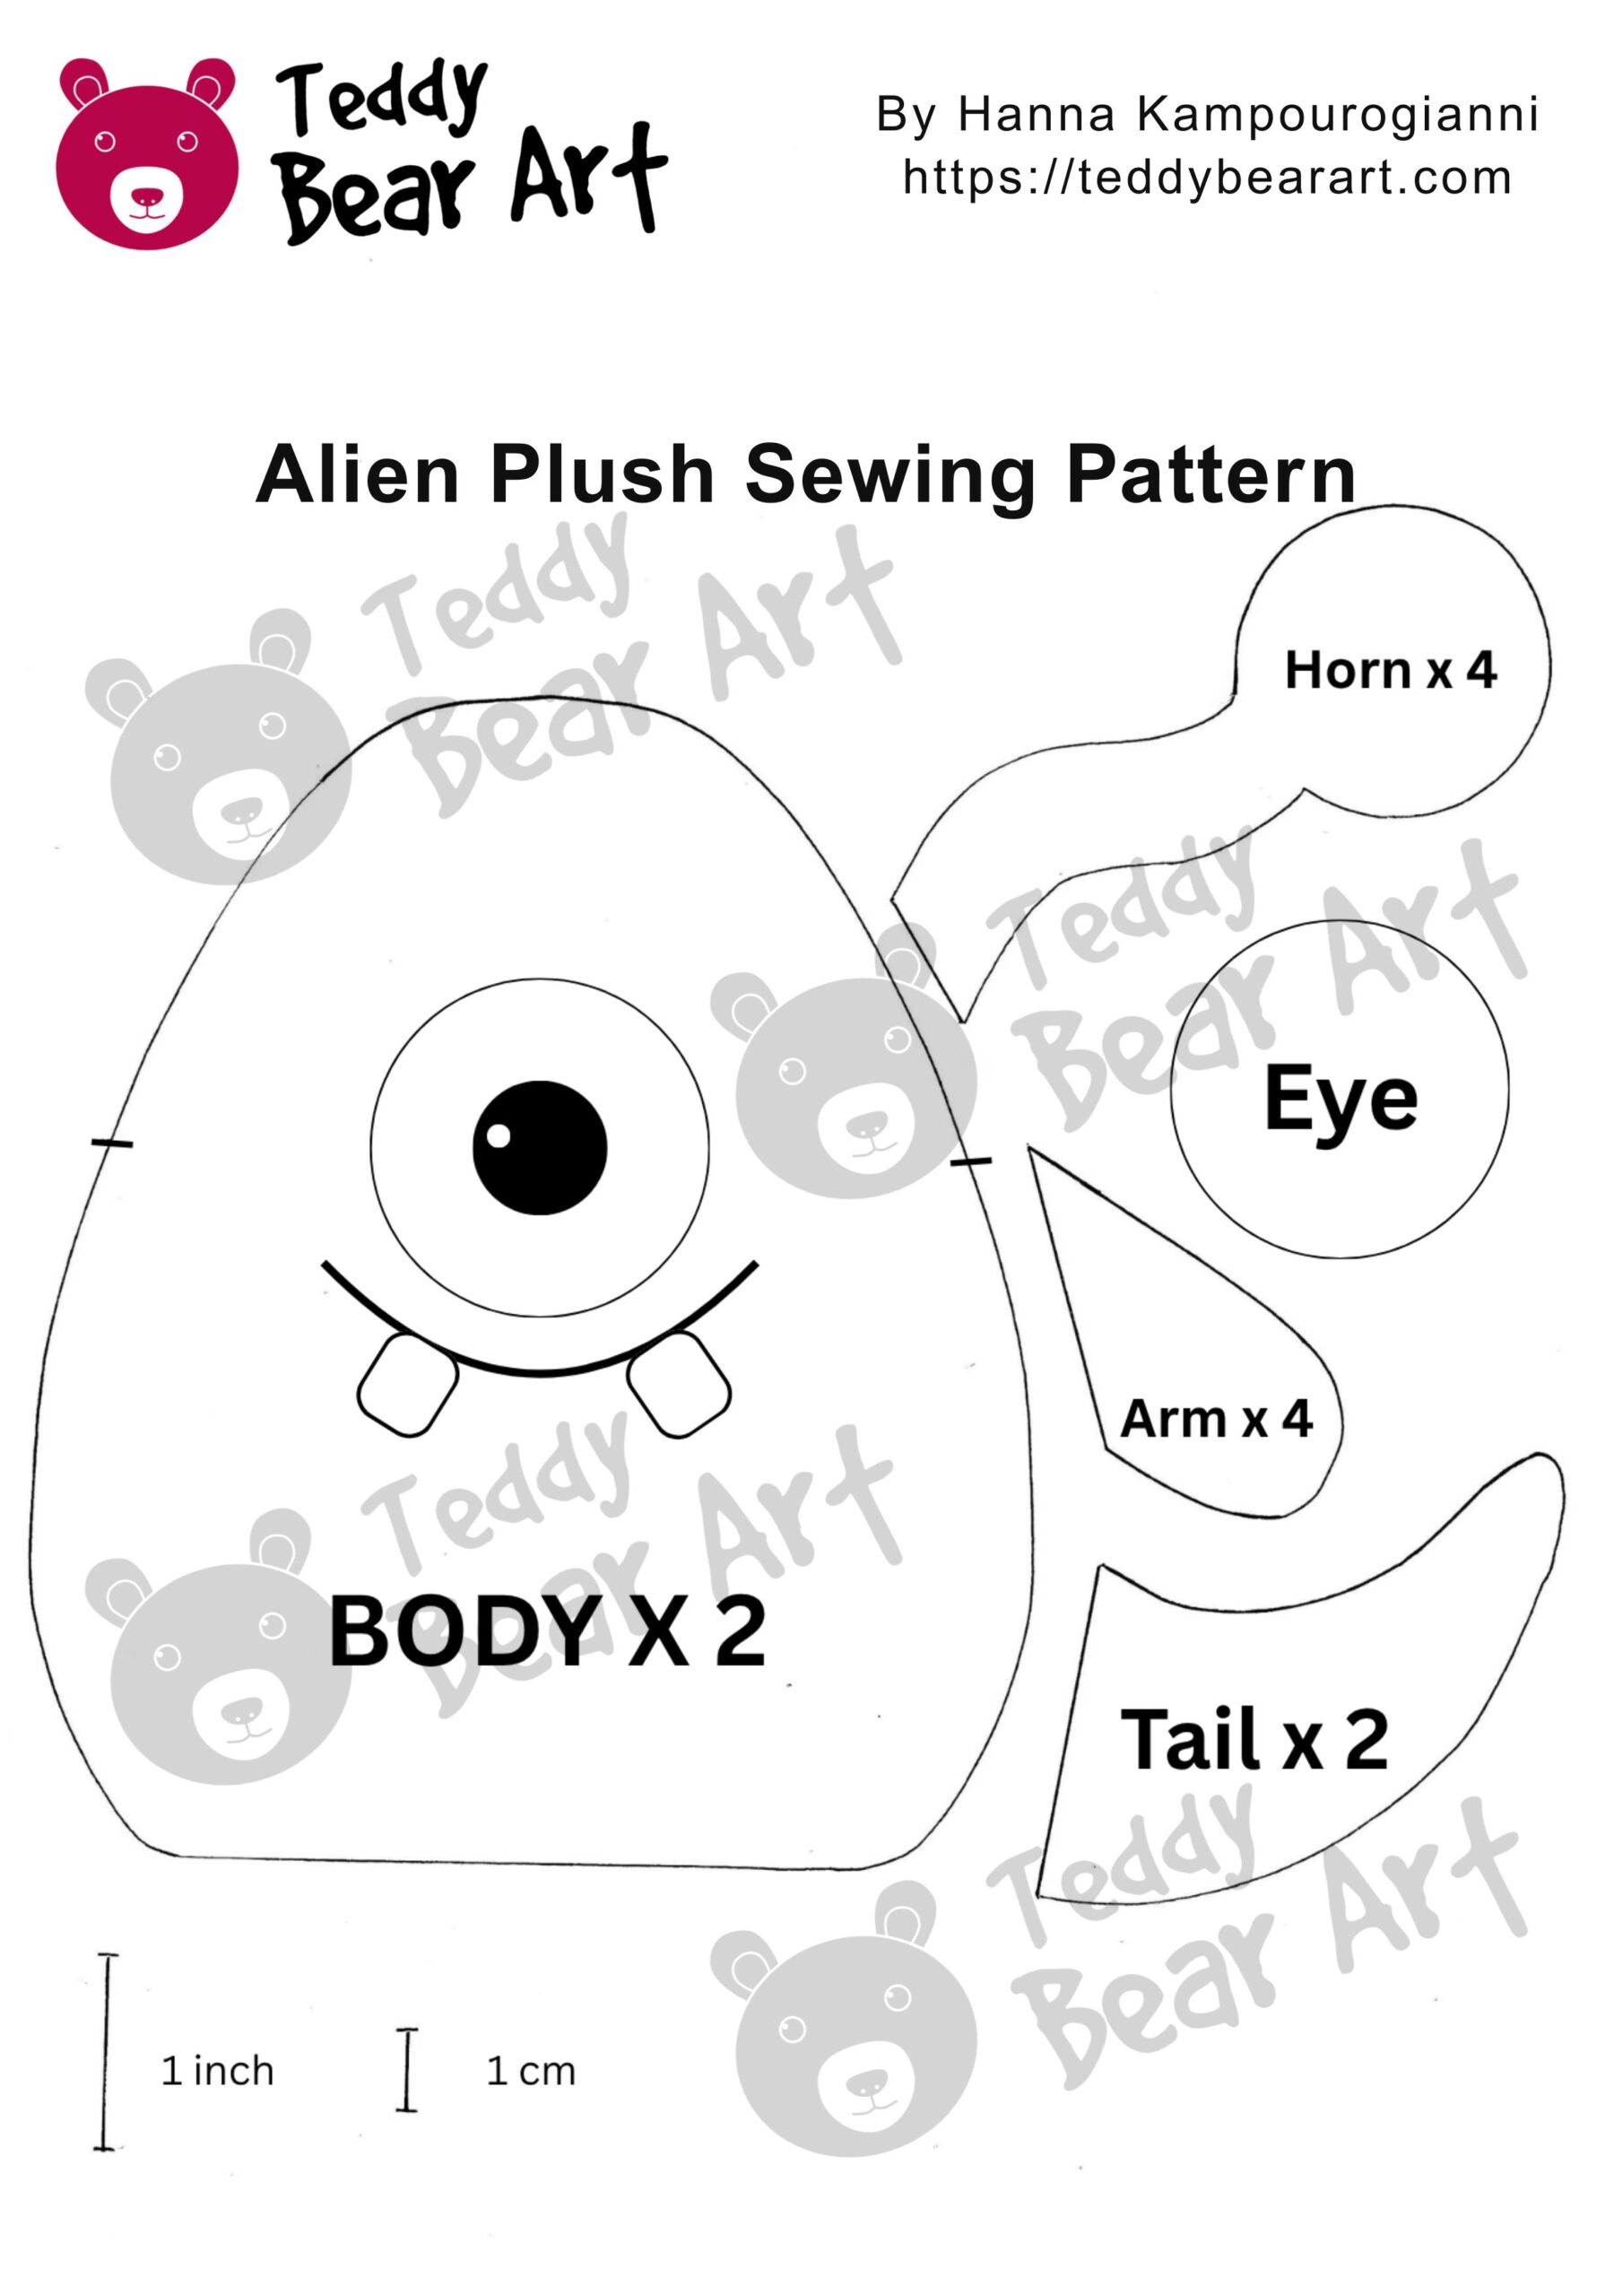
Download The Pattern
Notice: No additional seam allowance is needed. Cut directly along the pattern lines.
To download the pattern, follow the instructions below:
From a phone or tablet: There should be a similar option for mobile devices with Android or iOS. Click on the image. Save it by holding your finger on the image and selecting the “Save Image” option. Then, go to your photo gallery and print it (an option available).
From a computer: Click on the photo of the pattern you see below. In the new tab that will open, press the right mouse button and select the “Save image as …” option. Then, you choose where the image will be saved on your computer.
What You’ll Need
- Blue felt for the body and arms
- Red felt for the antennae and tail
- White felt for the eye and teeth
- One black eye or button
- Polyester stuffing
- Blue and red sewing thread
- Black thread for the mouth
- Hand-sewing needle
- Scissors
- Awl or thick needle
Easy Alien Plush Pattern Sewing Guide
Cut and Sew the Felt Pieces
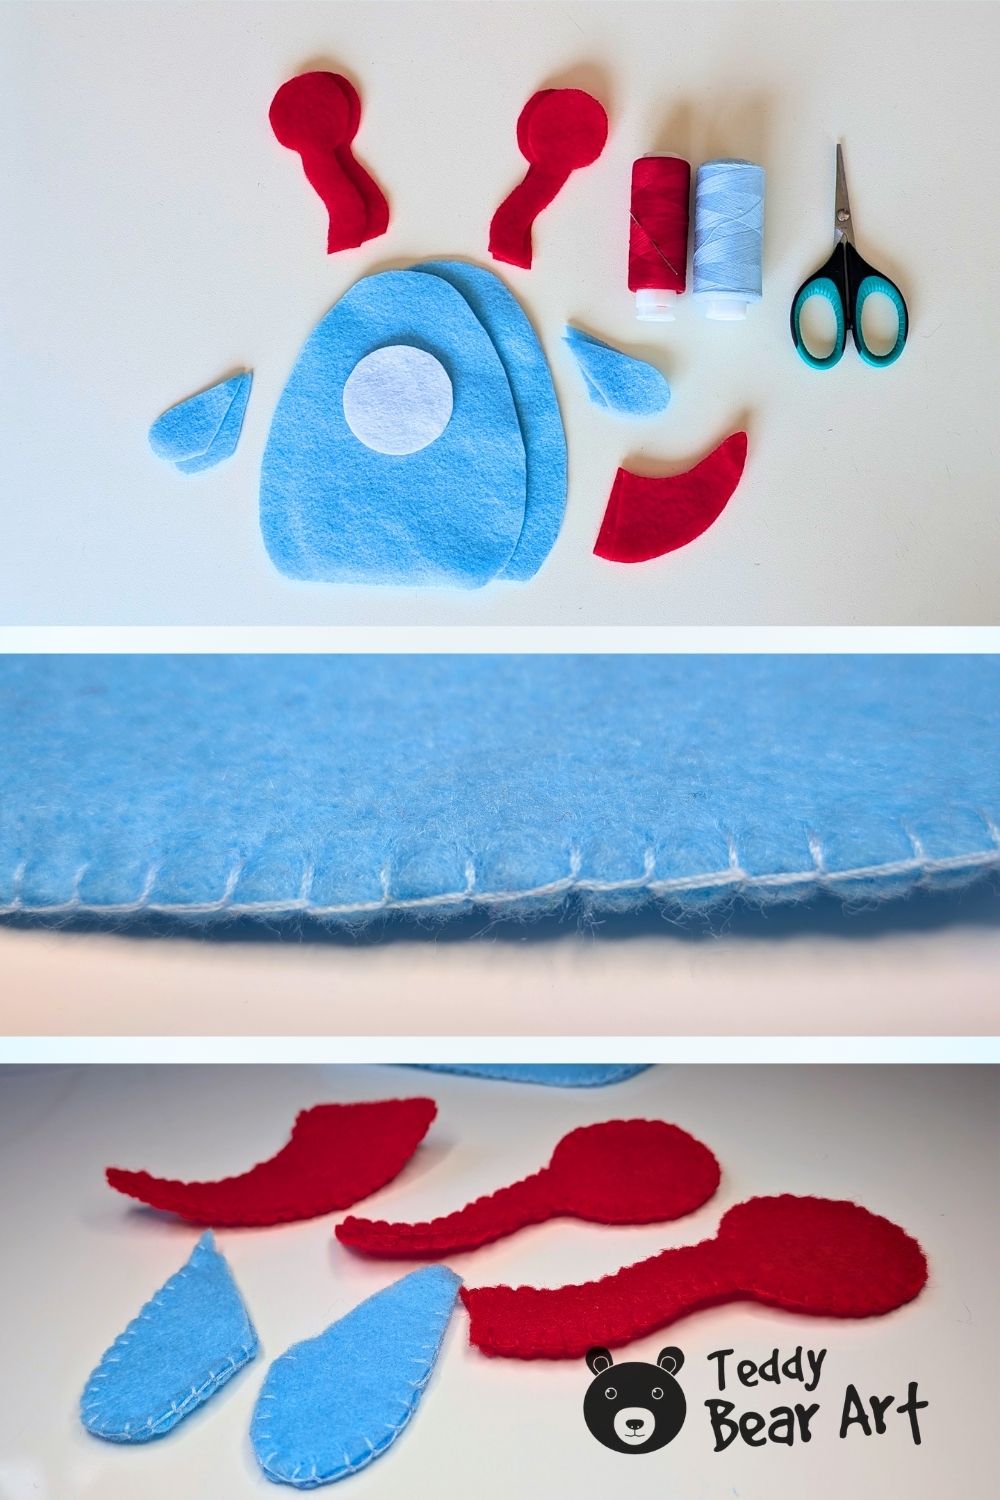
Cut all the felt pieces and match the pairs for the body, arms, antennae, and tail.
Start sewing the small pieces with blanket stitch. If you are new to this stitch, watch my short video tutorial below to see how to start, keep the stitches even, and securely finish the thread.
Blanket Stitch Tutorial: How to Sew by Hand for Beginners
Sew around each pair, leaving a small opening for stuffing. Keep the stitches fairly small, especially around the curved parts.
Stuff the Arms, Tail and Body
Lightly stuff the two arms and tail. You only need enough filling to give them shape. Too much stuffing will make these small pieces bulky.
Now place the two body pieces together and decide where the smaller parts will sit. Position the antennae at the top, the arms at the sides, and the tail on one side of the body.
The unfinished ends of these pieces should be placed between the two body layers.
Start sewing around the body with blanket stitch. When you reach an antenna, arm, or tail, stitch through all the layers with a simple stitch, so the piece is firmly attached.
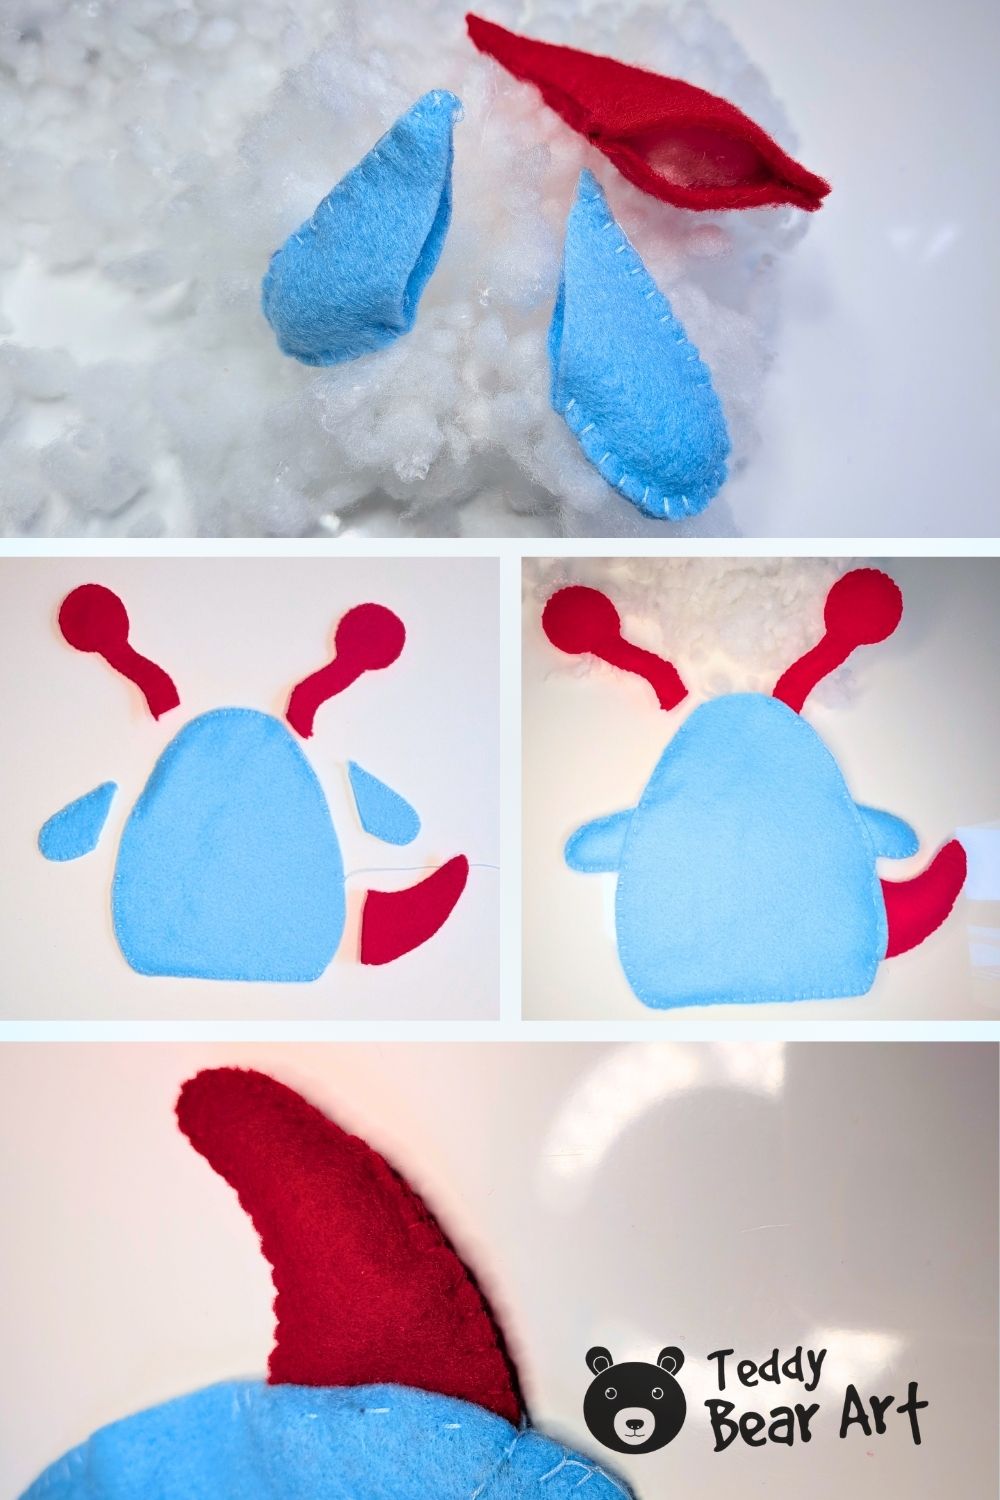
Leave an opening in the body for stuffing. It can be on the bottom of the body or on the top of the head, whatever you like more. Fill the alien gradually with polyester stuffing.
Finish sewing the opening with the same blanket stitch.
Add the Eye, Smile, and Teeth
Place the white felt circle on the front of the alien. Check its position before sewing because the large eye will become the main feature of the face.
Sew around the white circle with small stitches.
Next, embroider a simple curved smile with black thread. I kept the mouth very simple because the large eye already gives the face plenty of expression.
Make a small hole in the center of the white felt circle with an awl. Insert and secure the black eye.
Finally, cut two small rounded teeth from white felt and attach them just below the smile.
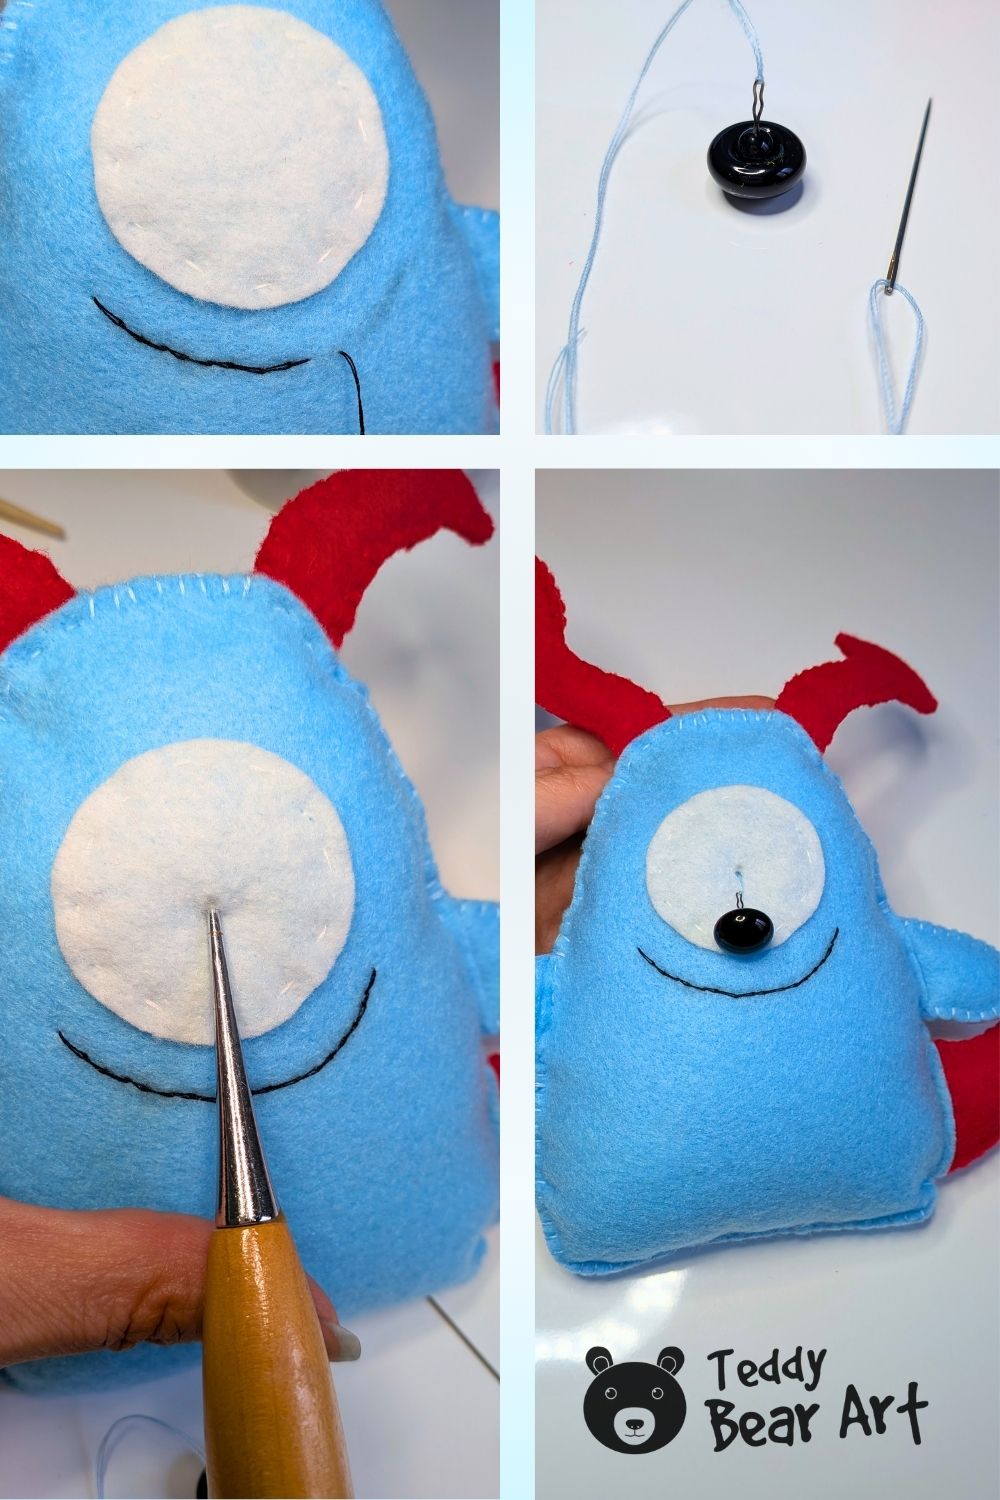
Your alien is finished. Check the stitching, remove any loose threads, and gently adjust the stuffing with your fingers if the body needs a little reshaping.

Make Your Alien Look Different
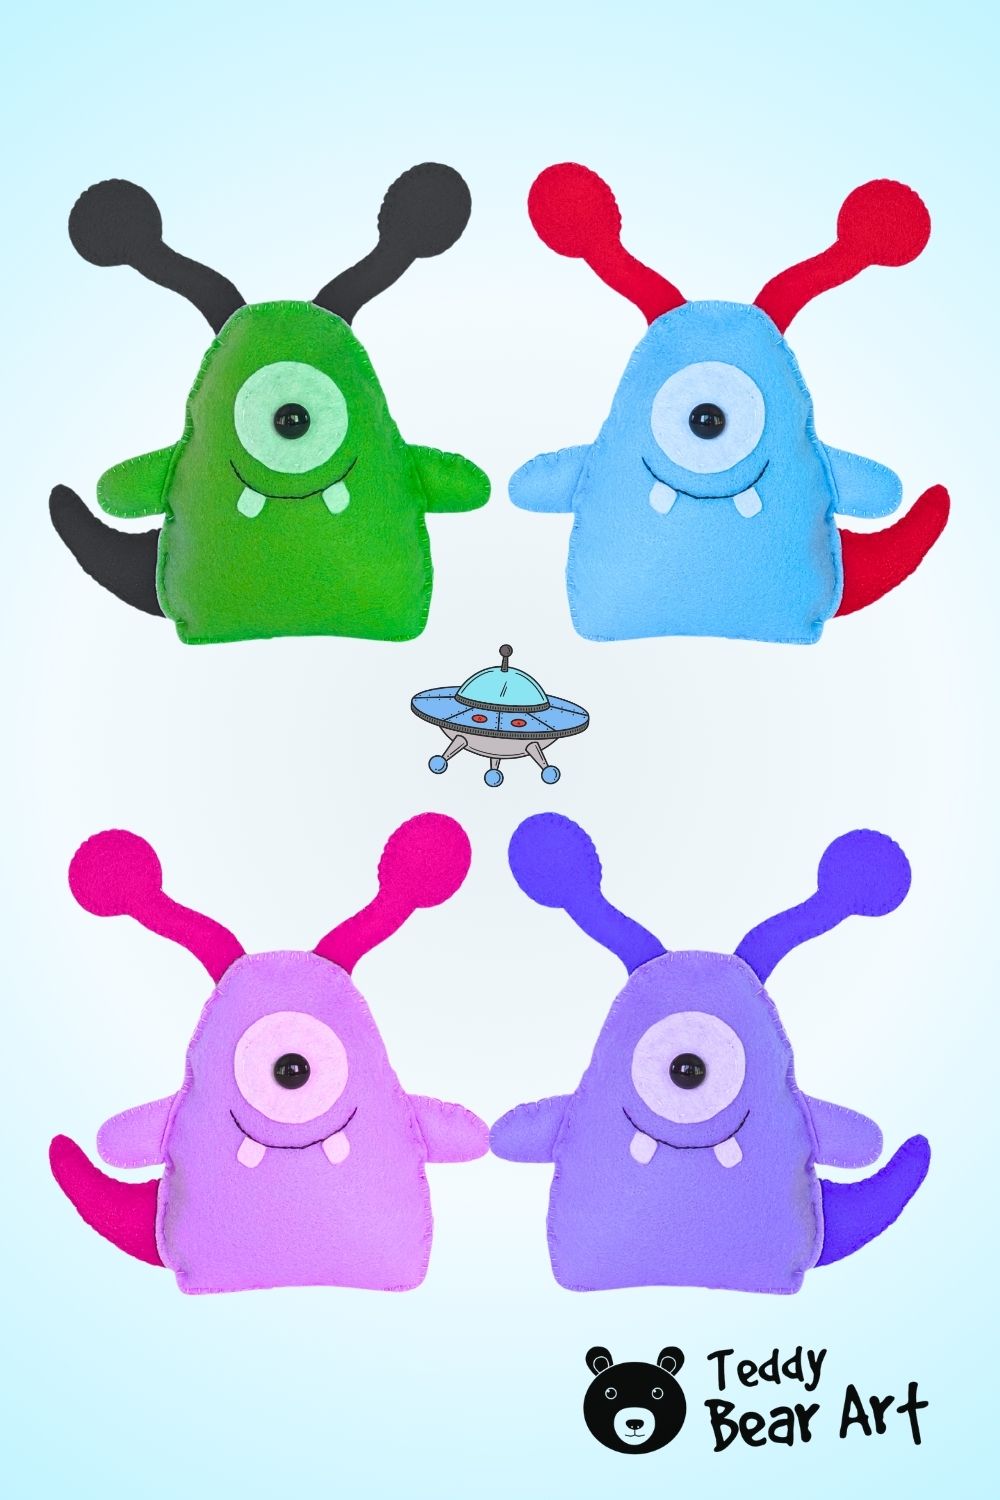
Once you have sewn the first one, it is easy to use the same idea to create more characters.
Change the felt colors, make the antennae shorter or longer, alter the shape of the tail, or experiment with the face. You could make a larger eye, add two eyes instead of one, change the teeth, or give your alien a completely different expression.
Simple felt toys are especially fun for this because even a small design change can create a new personality.
FAQ
Are the antennae stuffed?
I didn’t stuff them because my felt was thick enough to hold its shape. But you can stuff them too, using a wooden stick to push the filling inside.
Can I sew this guy on a sewing machine?
Yes, you can, as long as you keep the seams on the outside.
What can I use instead of polyester stuffing?
You can use small, clean felt scraps or another soft filling material.
Before You Go
You can start with the free alien template exactly as it is, then use your favorite colors and details to make your own version. This alien plush pattern sewing guide is simple enough to repeat several times, and each finished character can look completely different.
If you enjoyed sewing this little alien, you might also like making my second one-eyed felt character.
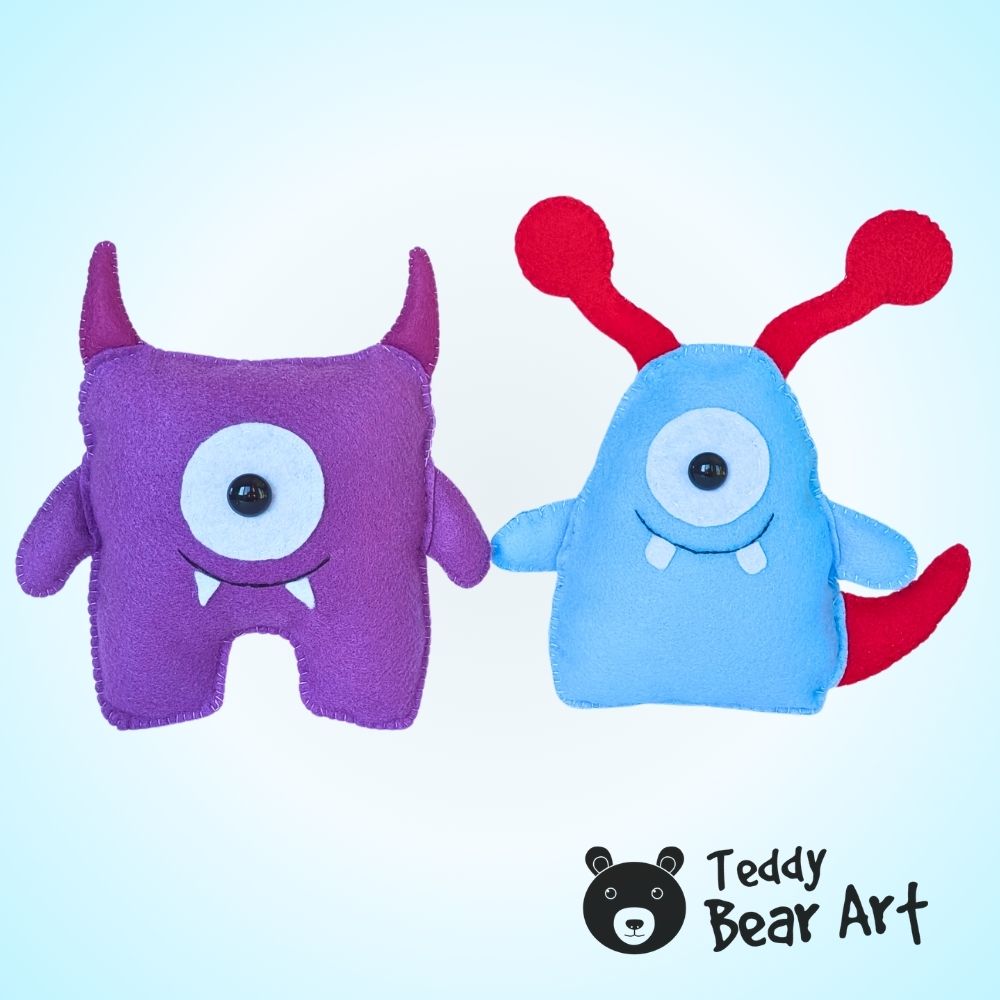
It uses another simple body shape with pointed horns, legs, and a different expression, so the two toys look great together while still having their own personalities.
Get Free Patterns & Be the First to Know!
Want free teddy bear patterns, exclusive tutorials, and a chance to win craft supplies?
Sign up for our newsletter using the subscribe form in the middle of this article to receive new patterns, insider tips, and the latest news on teddy bear art. You’ll also automatically be entered into our annual giveaway for a chance to win teddy bear crafting materials.
Bonus entry: Save one of our pins on Pinterest to increase your chances of winning!
Let’s create, inspire, and craft beautiful teddy bears together!