


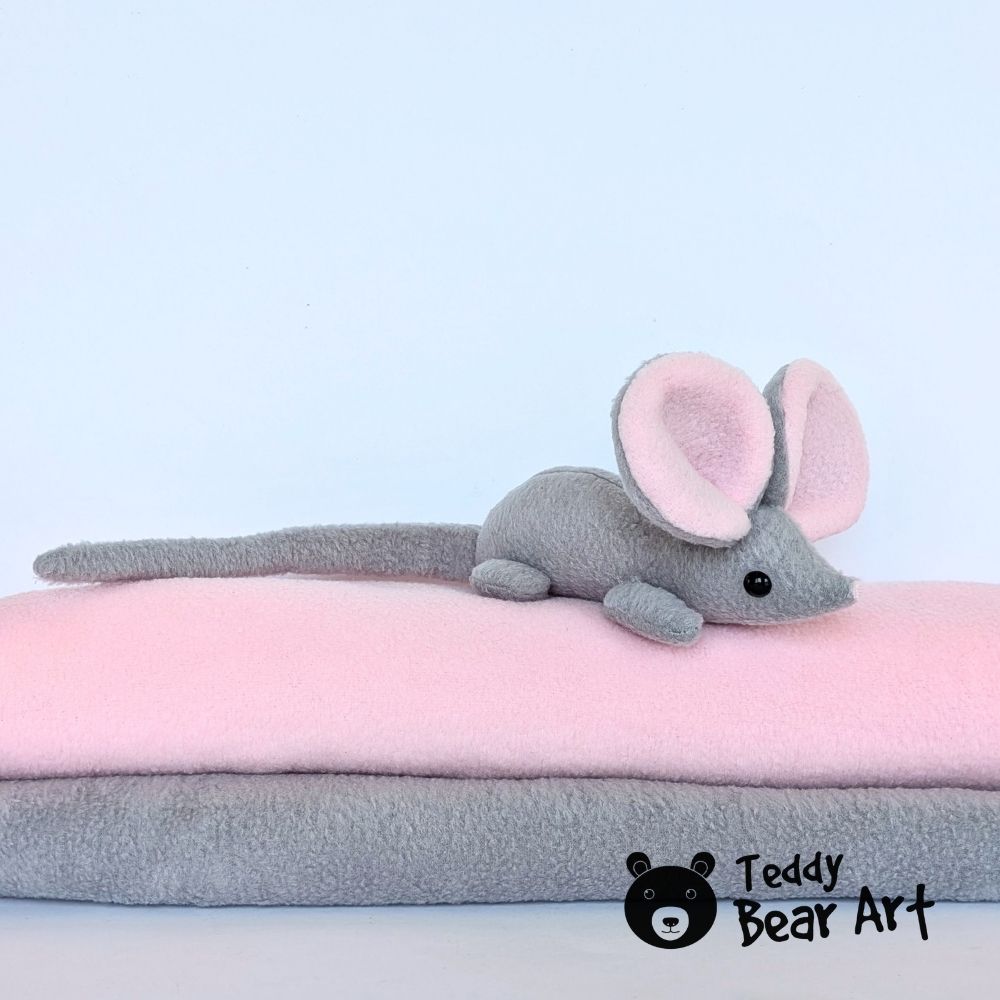
This mouse lying down sewing pattern is a simple project for anyone who loves soft toys with a little personality. Instead of sitting upright, this mouse has a long, low body, tiny paws, an extra-long tail, and oversized pink ears that make her instantly recognizable. She is easy to sew from fleece, and the construction is uncomplicated enough for beginners.
Materials
- Gray fleece for the body, paws, ears, and tail
- Pink fleece for the inner ears
- Black beads for the eyes
- Polyester stuffing
- Matching sewing thread
- Needle
- Scissors
Download the Pattern
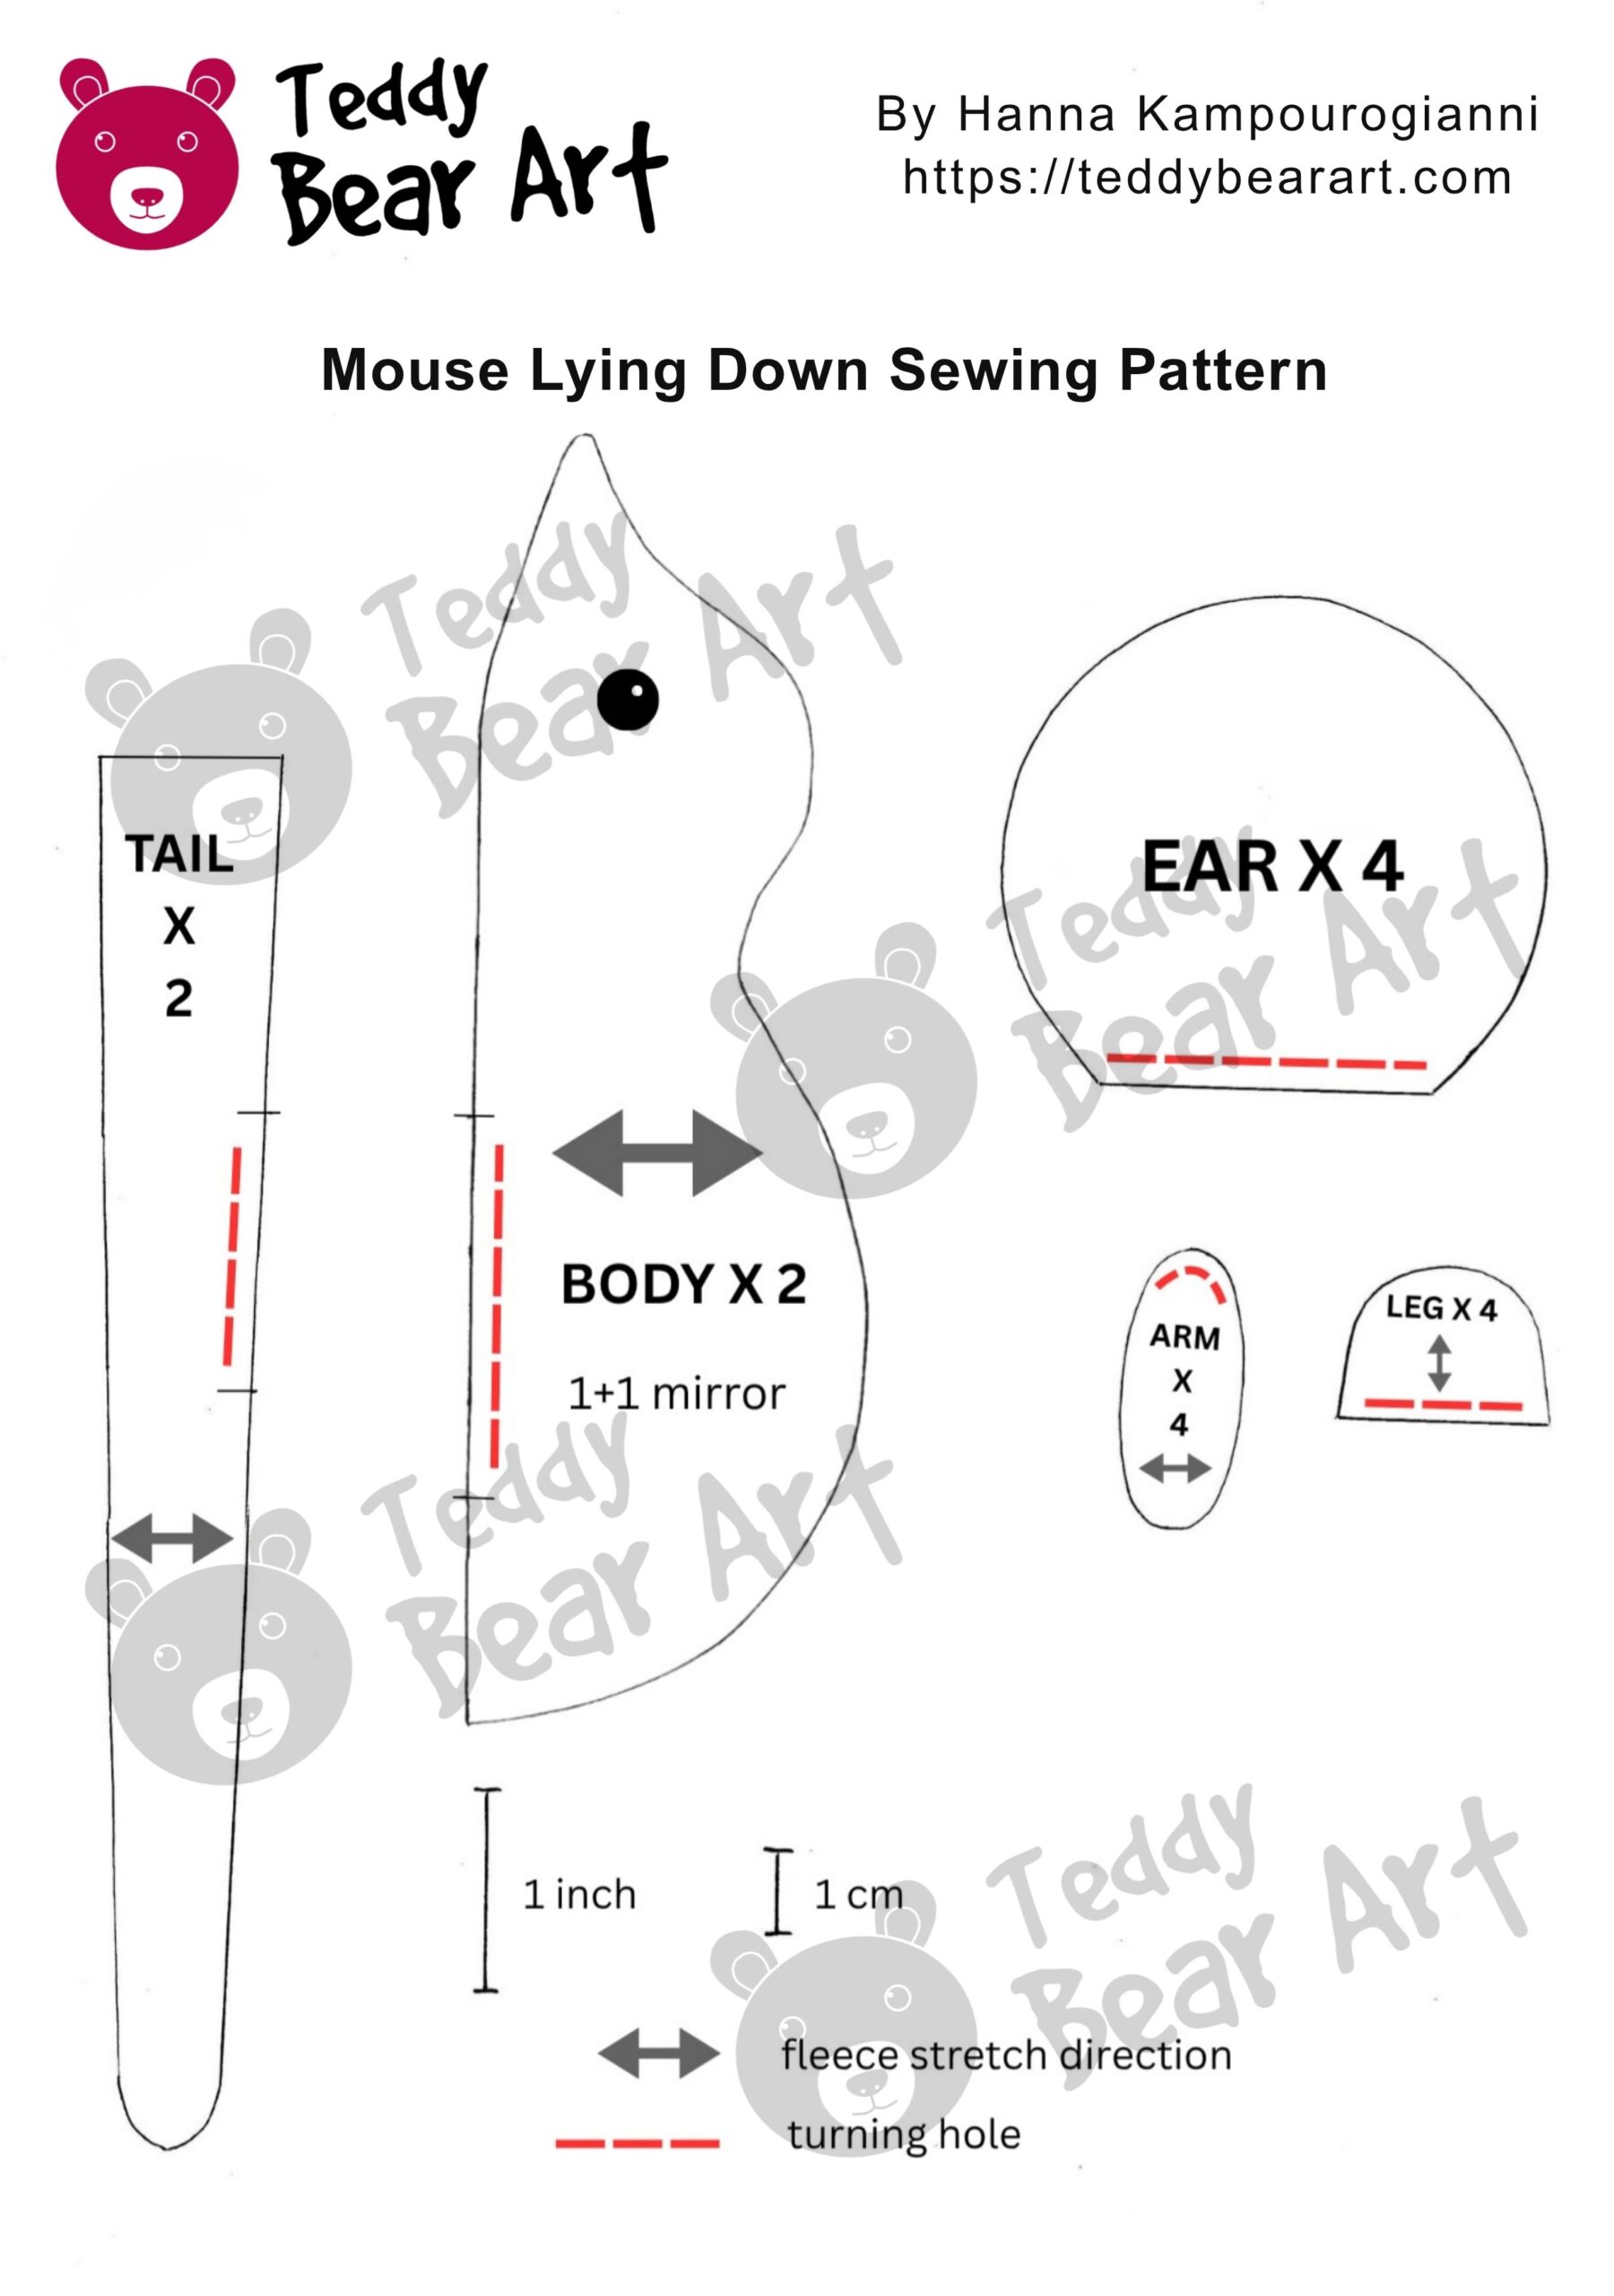
Notice that seam allowances are not included.
To download the pattern, follow the instructions below:
From a phone or tablet: There should be a similar option for mobile devices with Android or iOS. Click on the image. Save it by holding your finger on the image and selecting the “Save Image” option. Then, go to your photo gallery and print it (an option available).
From a computer: Click on the photo of the pattern you see below. In the new tab that will open, you press the right mouse button and select the “Save image as …” option. Then, you choose where the image will be saved on your computer.
Want to sew this mouse in a different size? Follow our guide on how to resize a plush sewing pattern before cutting your fabric.
How to Sew a Mouse Lying Down
Sew the Body
Place the two body pieces together with the right sides facing inward. Pin them so they do not move while you sew.
Stitch around the body, following the shape of the back, head, nose, and lower edge. Leave an opening along the underside for turning and stuffing.
Trim the seam allowance where necessary, especially around the narrow nose area, then carefully turn the body right side out. Take your time pushing out the nose so that it keeps its pointed mouse shape.
Fill the body with polyester stuffing.
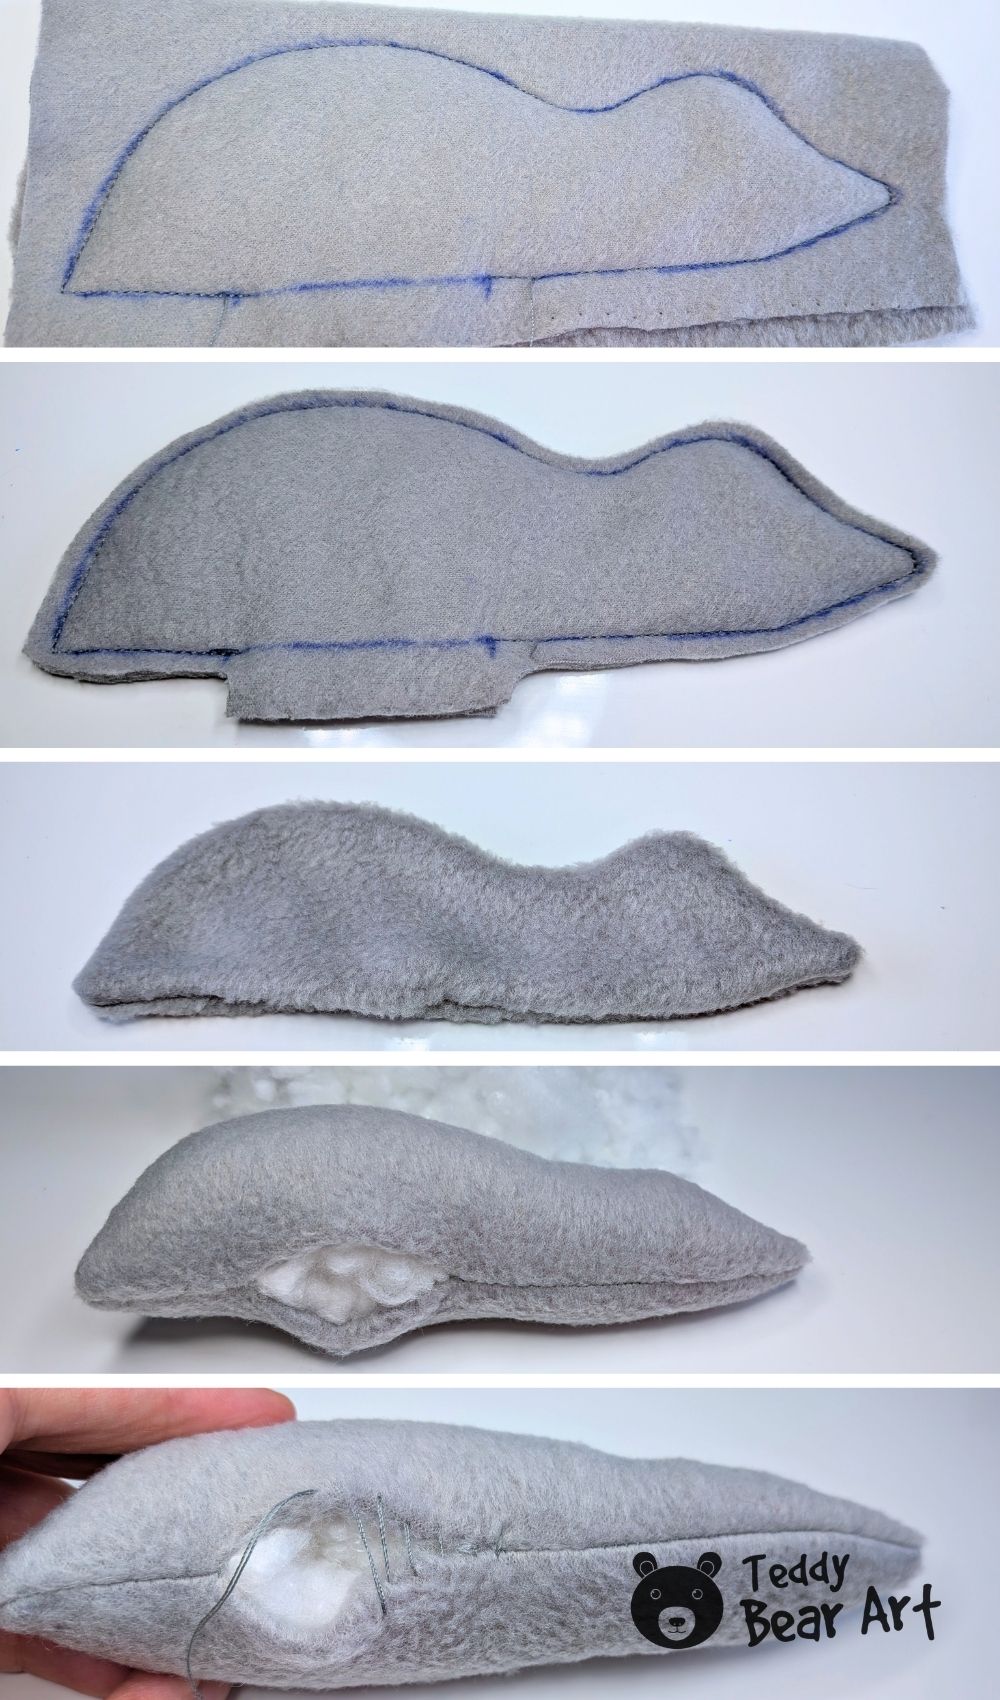
Close the opening by hand. A ladder stitch works very well because the stitches almost disappear into fleece. If you have not used this stitch before, you can follow my ladder stitch tutorial on YouTube.
Make the Ears, Paws, and Tail
Next, prepare all the smaller pieces.
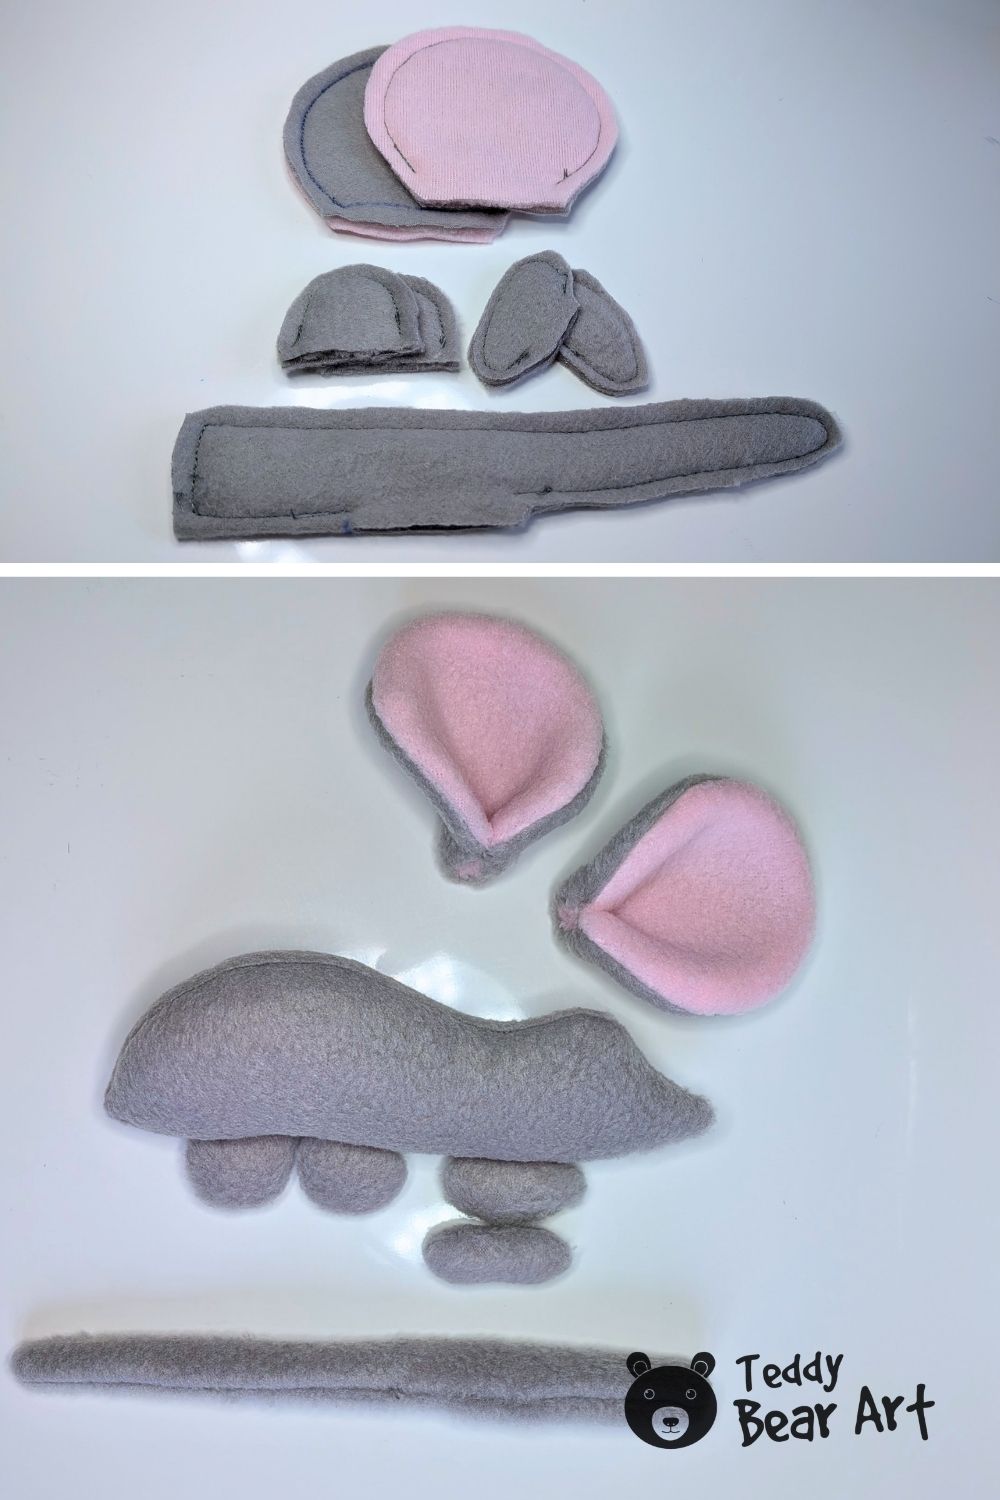
For each ear, place the pink inner ear piece together with the gray outer ear piece and sew around the curved edge. Turn the ears right side out.
The ears are not stuffed. Their shape comes from the fleece itself and from the small fold at the bottom when they are attached to the head. This little fold is what gives them their deep, rounded appearance instead of leaving them completely flat.
Sew the paw pieces together, leaving a small opening for turning. Turn them right side out and add just a small amount of stuffing. The paws should stay soft and relatively flat so that the finished mouse looks as though she is resting naturally on the floor.
For the tail, sew the long gray fleece pieces together and turn the tail right side out. Do not stuff it. A soft, flexible tail suits this design much better and can be arranged in different positions when you photograph your finished mouse.
Assemble the Mouse
Position the ears before sewing them permanently. The ears are very large compared with the body, so even a small change in their angle can completely change the mouse’s expression.
Fold the lower edge of each ear slightly to create the rounded shape, then hand-sew the ears securely to the head.
Attach the four paws along the lower sides of the body. Because this mouse is designed to lie down, keep the paws close to the surface rather than positioning them underneath like legs on a standing toy.
Sew the tail securely to the back of the body. Its long shape balances those oversized ears and makes the mouse look even more playful.
Now add the face.
Sew two black beads onto the head for the eyes. Check their position from the front and side before tightening the thread. The face is simple, so the placement of the eyes makes a surprisingly big difference.
Cut a tiny nose from pink fleece or felt. You can use whichever material you have available. Glue it carefully onto the tip of the muzzle.
A tiny nose is enough here. Keeping the face simple lets the huge ears, long body, and little black eyes do most of the work.

Your lying mouse is finished.
FAQ
Can I sew this mouse with a sewing machine?
Yes. The main body, paws, ears, and tail can all be sewn on a sewing machine. Hand sewing is useful when attaching the finished pieces to the body and closing the stuffing opening.
Because some of the pieces are small, beginners may actually find it easier to sew certain areas by hand. There is no need to rush this project.
Can I use a different fabric?
Fleece is my favorite choice for this mouse because it is soft and easy to shape. Other soft fabrics can also work, especially fabrics that do not fray heavily.
If you use a much thicker fabric, remember that small pieces such as the paws and tail may become harder to turn.
Do I have to use beads for the eyes?
No. I used black beads because they give the mouse bright, expressive eyes and suit the simple design.
For a toy intended for a very young child, avoid detachable beads and other small glued or sewn embellishments. Embroidered eyes would be a safer alternative.
Before You Go
This mouse lying down sewing pattern is a simple and cute project for beginners.
One little mouse is cute, but two together are even better.
I also have a free fleece mouse sewing pattern and tutorial for a completely different mouse that stands upright. I used the same gray and pink fleece for both, so they look like they belong together even though their body shapes and patterns are different.
The standing mouse has a taller body and a very different pose, while this one stays low to the ground with her long tail stretched behind her. Sew both, and you will have a sweet little pair of handmade mice.
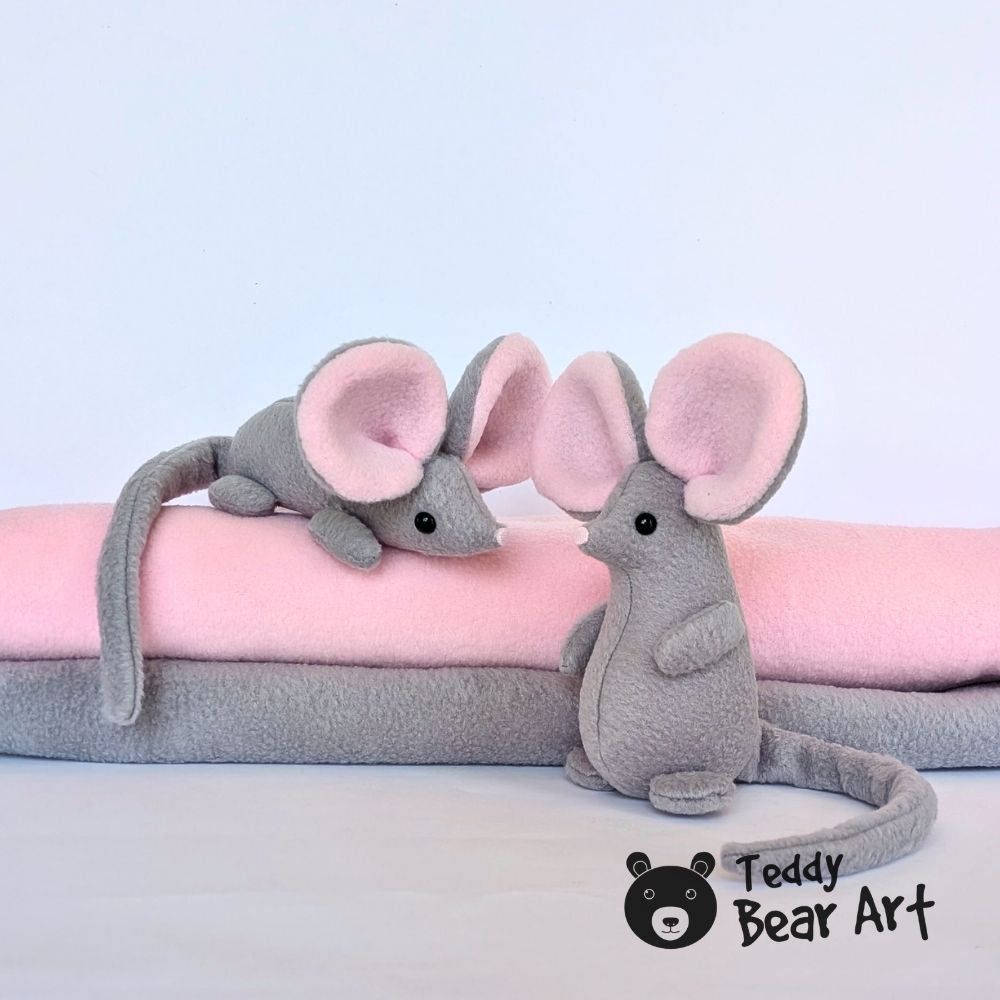
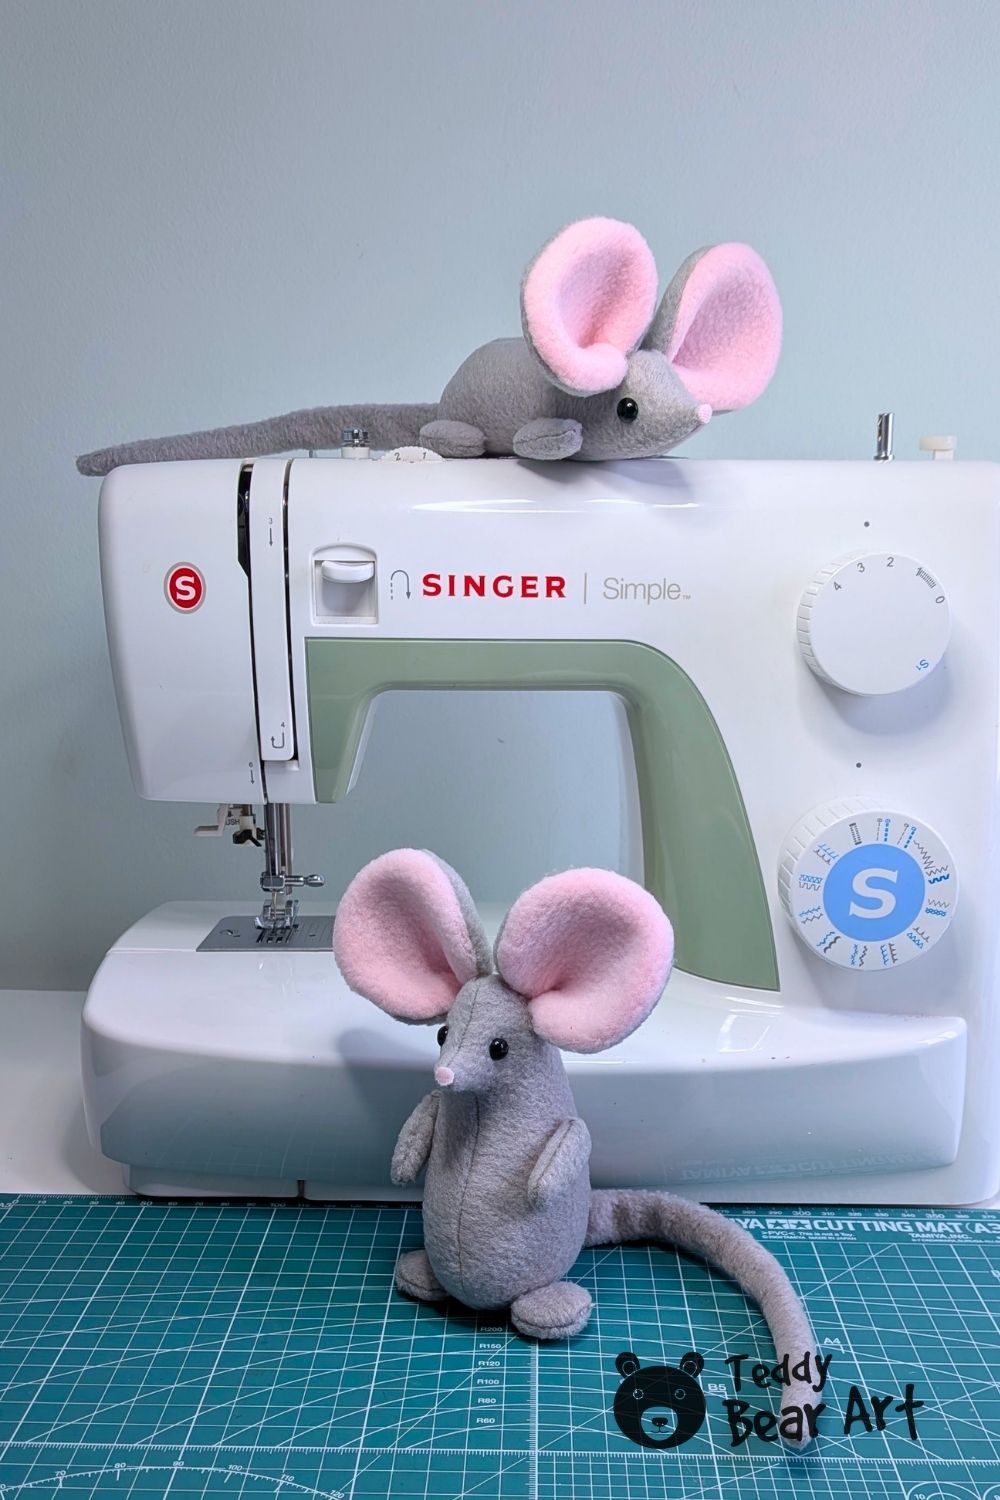
They are also fun to photograph together. Place one mouse above the other, let them face each other, or arrange them around your sewing machine and fabric to create a tiny mouse-making scene.
Get Free Patterns & Be the First to Know!
Want free teddy bear patterns, exclusive tutorials, and a chance to win craft supplies?
Sign up for our newsletter using the subscribe form in the middle of this article to receive new patterns, insider tips, and the latest news on teddy bear art. You’ll also automatically be entered into our annual giveaway for a chance to win teddy bear crafting materials.
Bonus entry: Save one of our pins on Pinterest to increase your chances of winning!
Let’s create, inspire, and craft beautiful teddy bears together!