
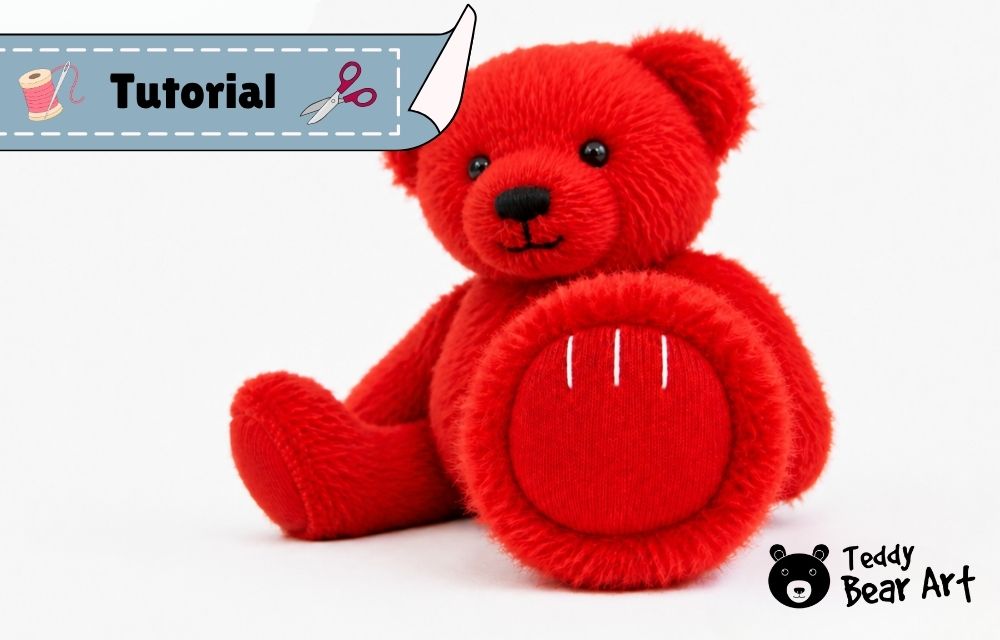

If you are wondering how to embroider teddy bear footpads neatly, this is one of the simplest methods I use. You only need a needle, thread, and a small ruler to create three clean lines that make the paw look more finished and expressive.

This technique is especially useful for beginners because there is no complicated embroidery involved. You simply make one center stitch first, then use it as a guide for two matching stitches on each side.
What You Need
- A finished teddy bear footpad
- Strong embroidery thread
- A hand-sewing needle
- A small ruler
- Scissors
How to Embroider Teddy Bear Footpads
Start With the Center Stitch
Begin by finding the center of the footpad.
Decide how long you want the embroidered lines to be. Insert the needle at one end of the planned line and bring it out at the other end, creating one straight vertical stitch.
This first stitch is important because it becomes your reference point for the other two.
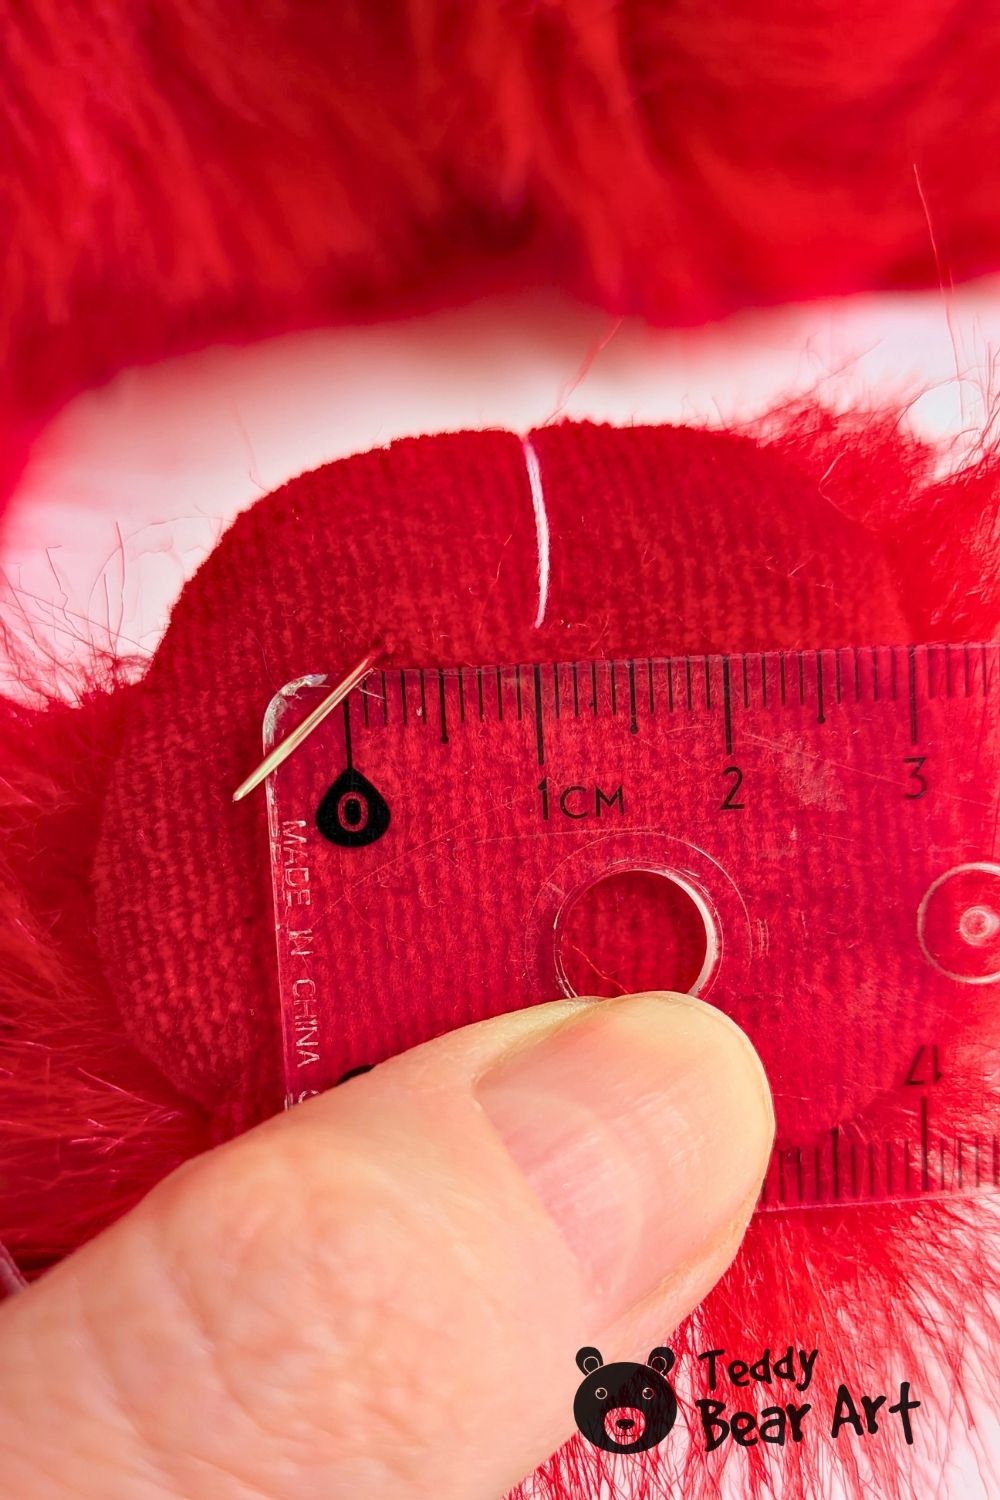
Measure the Side Stitches
Place a small ruler across the paw and decide how far the next stitches should sit from the center one.
Measure the same distance on both sides.
This little step makes a big difference. It is easy to think the stitches look even while sewing, then notice later that one sits slightly farther away.
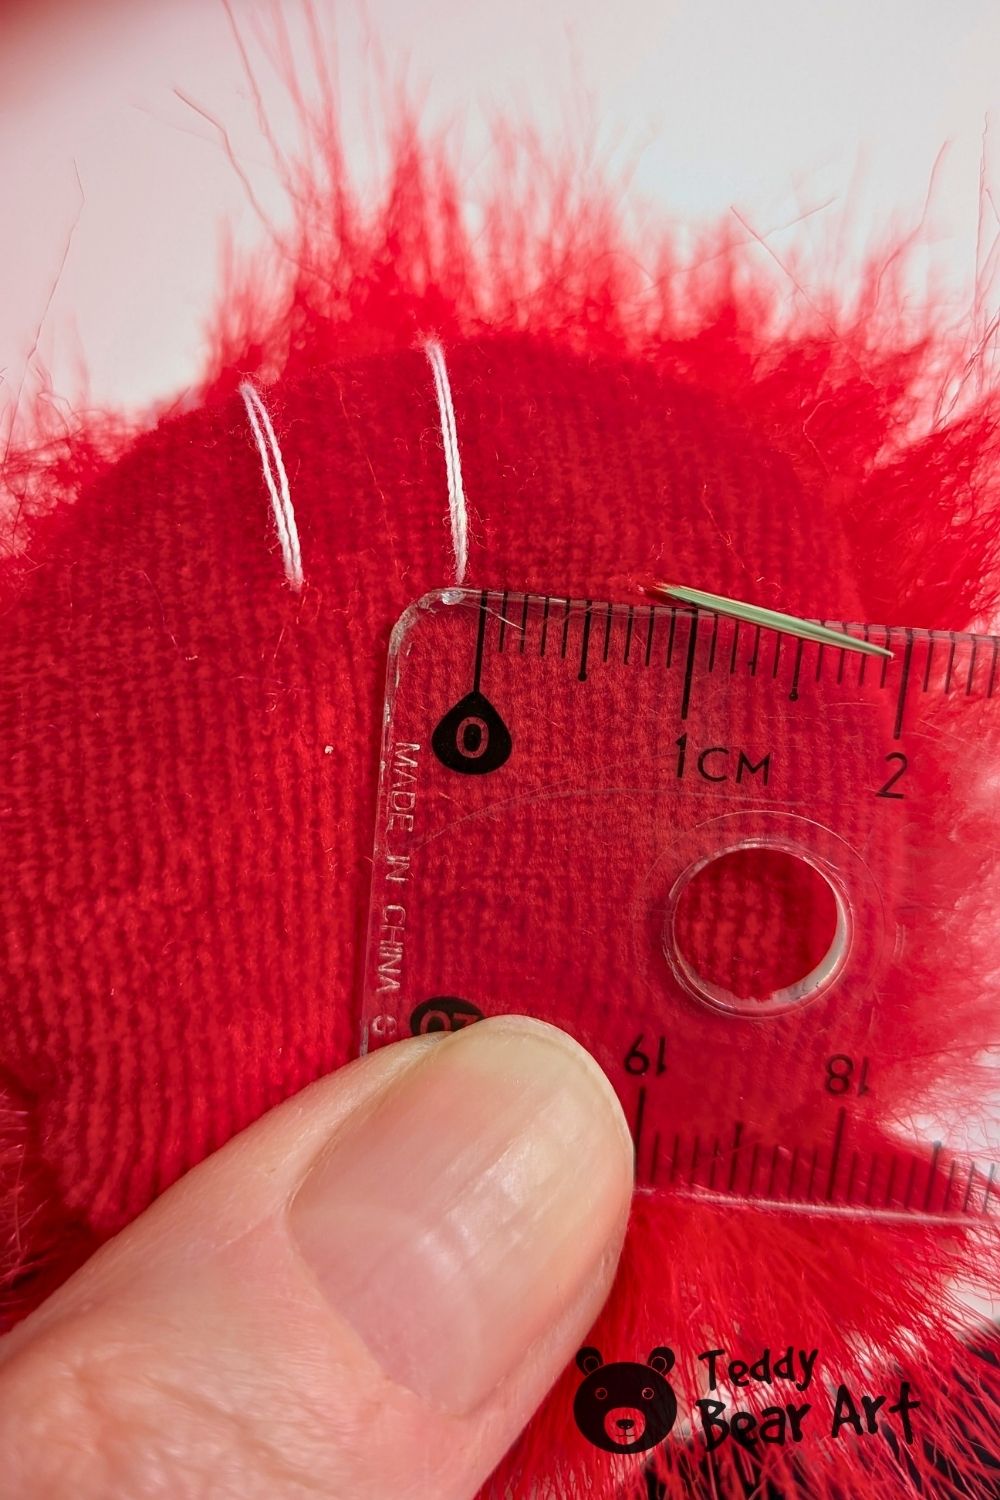
Add Two Matching Stitches
Make the second stitch on one side of the center line, then repeat on the opposite side.
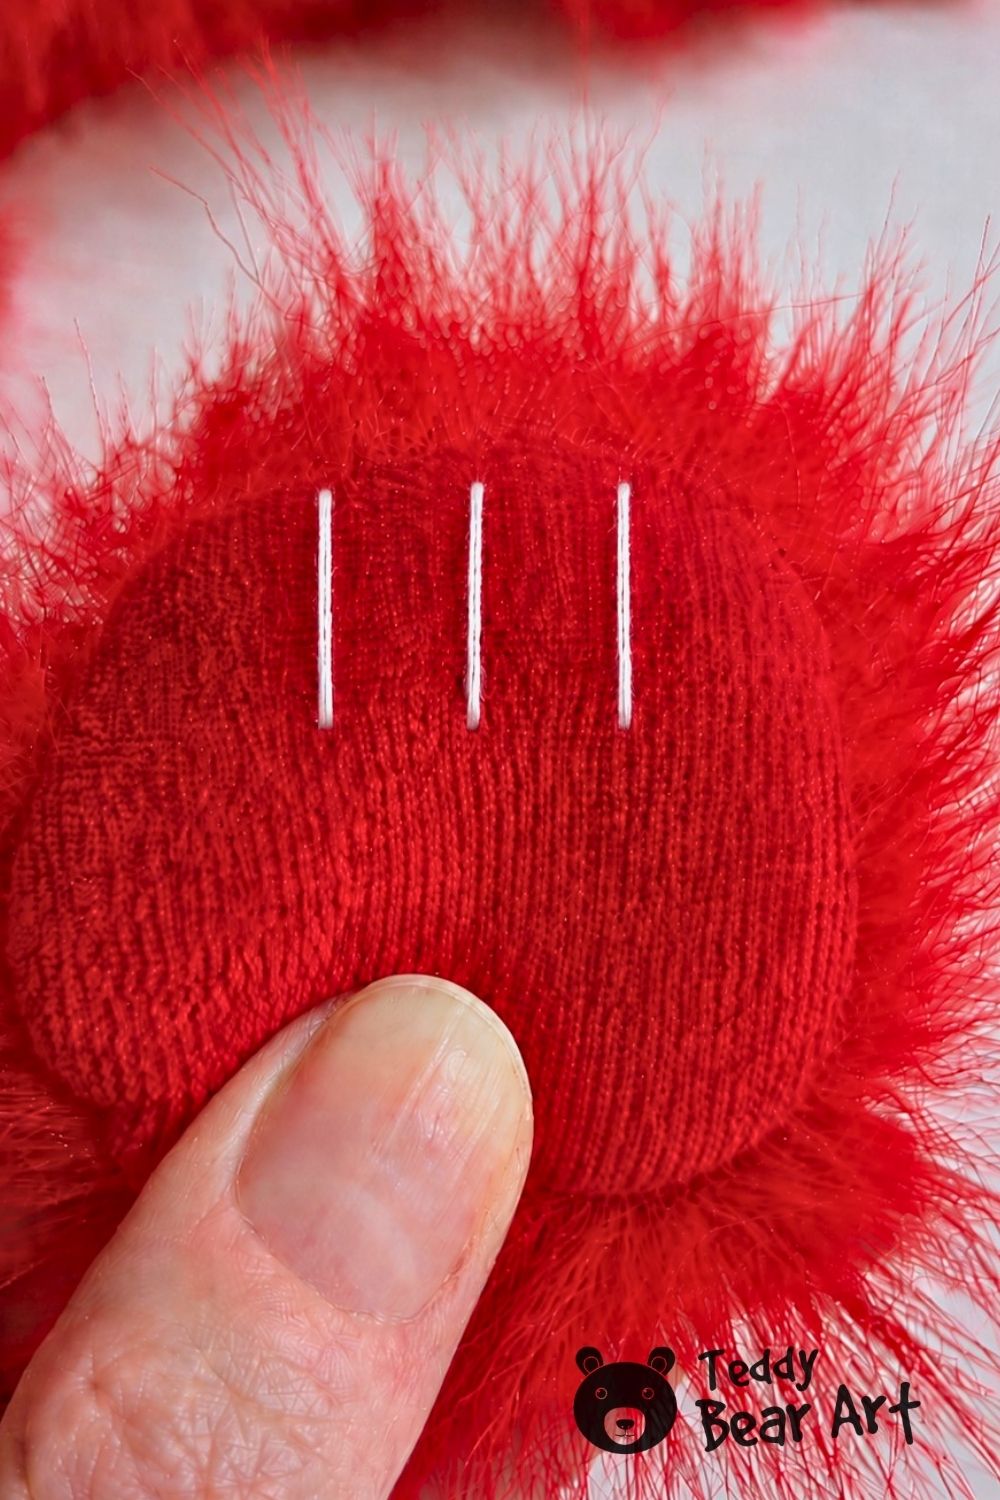
Try to keep all three stitches:
- The same length
- Straight
- Parallel
- Evenly spaced
You now have three simple embroidered lines arranged symmetrically across the footpad.
This method is purely decorative. You do not need to pull the stitches tightly or change the shape of the paw.
Simple Tips for a Neater Result
I prefer making the center stitch first instead of starting at one side. It is much easier to keep the design balanced this way.
Use the ruler for both spacing and stitch length, especially on small paws where even a few millimeters can be noticeable.
Also avoid pulling the thread too tightly. The stitches should lie neatly on the surface without creating dents in the fabric.
If your first stitch is not perfectly centered, it is usually worth removing it and trying again. Once the center is correct, the other two stitches are very quick to position.
Before You Go
Learning how to embroider teddy bear footpads does not have to involve complicated techniques. Three carefully measured stitches can be enough to give a handmade teddy bear paw a cleaner, more intentional finish.
It is a very small detail, but these little details are often what make a handmade bear feel complete.
If you enjoy adding small handmade details to your bears, explore more of our teddy bear making guides and tutorials for simple techniques you can use in your next project. You may also like:
Get Free Patterns & Be the First to Know!
Want free teddy bear patterns, exclusive tutorials, and a chance to win craft supplies?
Sign up for our newsletter using the subscribe form in the middle of this article to receive new patterns, insider tips, and the latest news on teddy bear art. You’ll also automatically be entered into our annual giveaway for a chance to win teddy bear crafting materials.
Bonus entry: Save one of our pins on Pinterest to increase your chances of winning!
Let’s create, inspire, and craft beautiful teddy bears together!
Hello Hanna,
This is such a simple detail, but I can see how it would make a handmade bear look so much more finished. I really like that you start with the center stitch and work outward instead of trying to eyeball all three from one side. I know I would probably convince myself they were even and then notice they weren’t once I was finished! Using a ruler seems well worth the extra minute. Measure twice and cut once, right?
I also like the look of the three simple lines rather than doing something overly complicated on the paws. Do you embroider the paw pads before attaching the legs to the body, or after?
Thanks for making this beginner-friendly. It’s a good reminder that sometimes the smallest details make the biggest difference in how a finished project looks.
Angela M 🙂
Thank you, Angela! I always do the embroidery before attaching the legs to the body. It’s much easier to handle the paw this way and keep the stitches neat and under control.